PASTA MODEL

PASTA MODEL

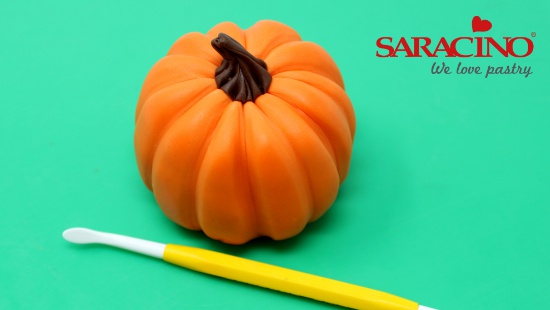
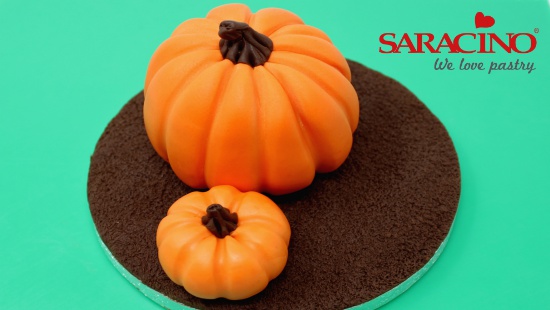
PASTA MODEL – gum paste designed for modelling


It is a READY TO USE product so NO need to add CMC to create your piece.

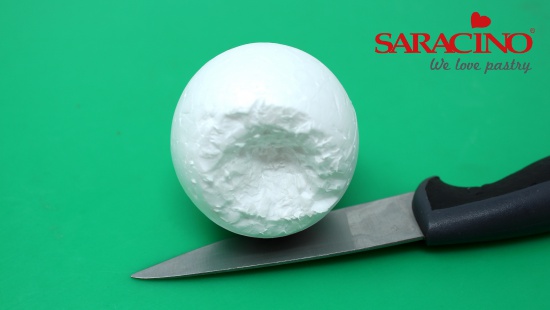
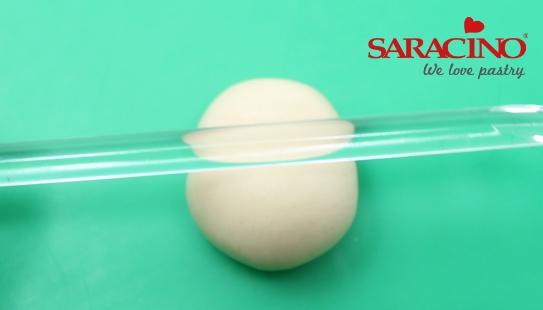
When you unwrap the paste it will be very firm,

Don’t worry as this is how it is supposed to be!

Simply cut off a small piece and knead it in your hands. Your hands warmth will make the paste workable and stretchy.

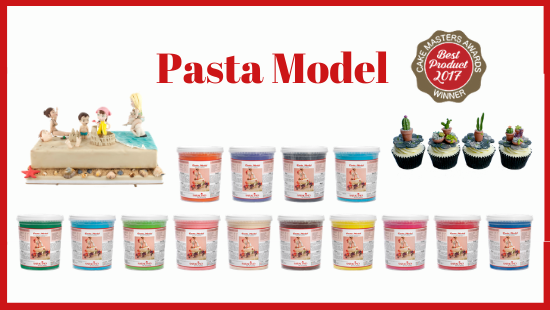
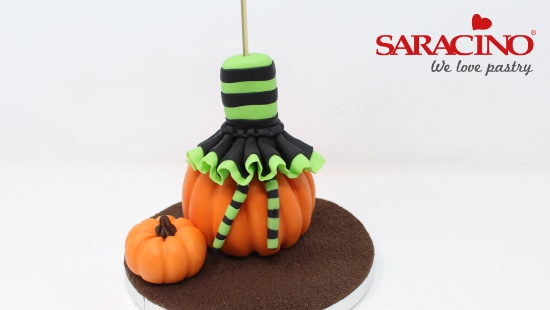
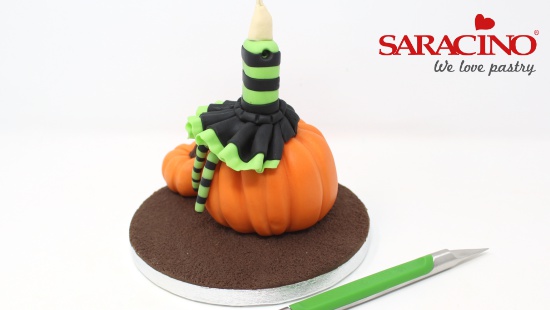
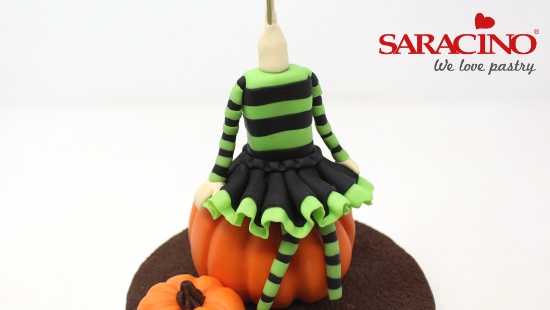
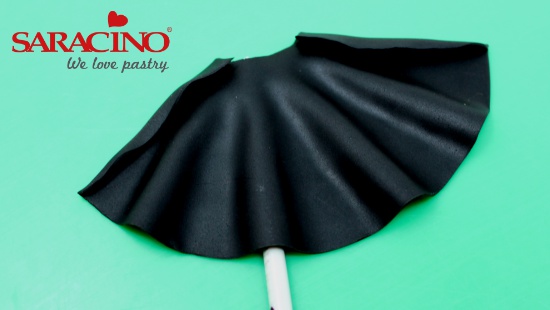
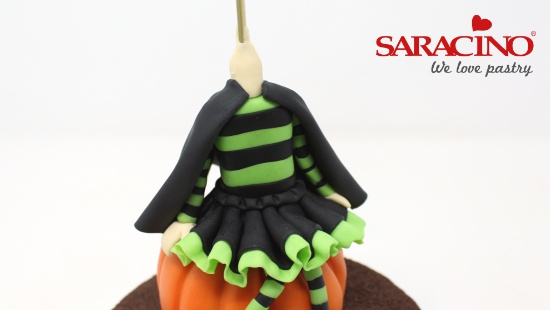
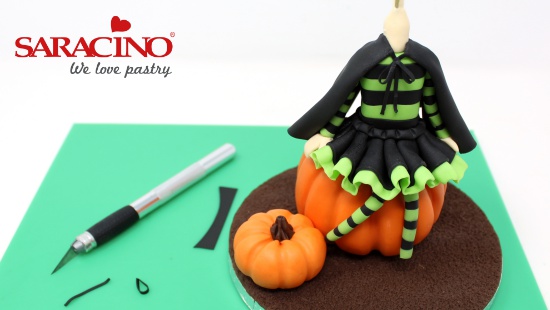
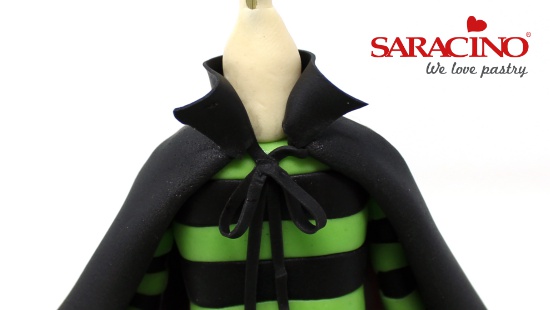
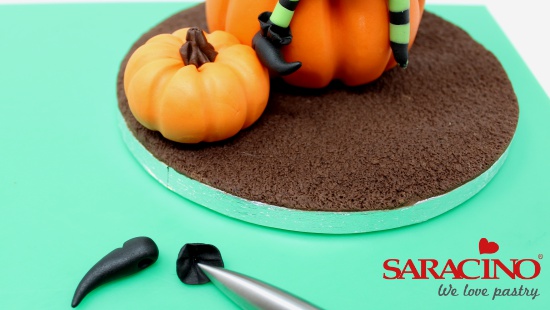
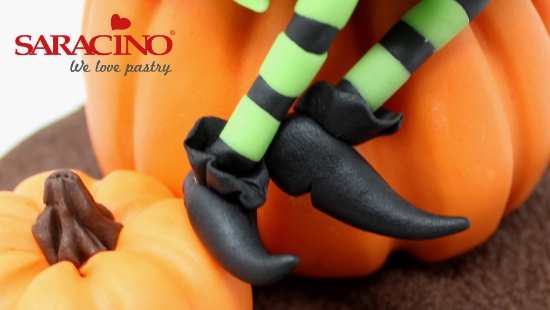
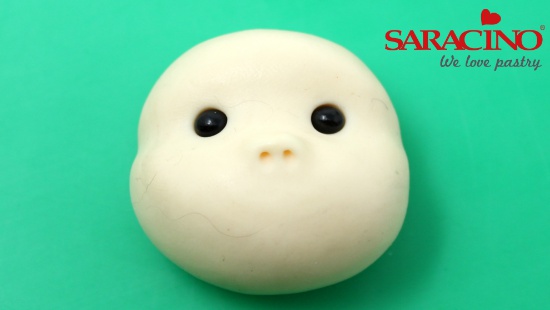
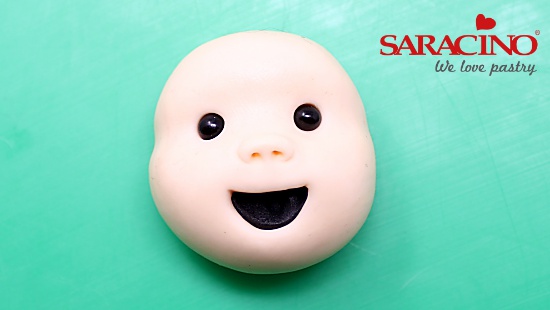
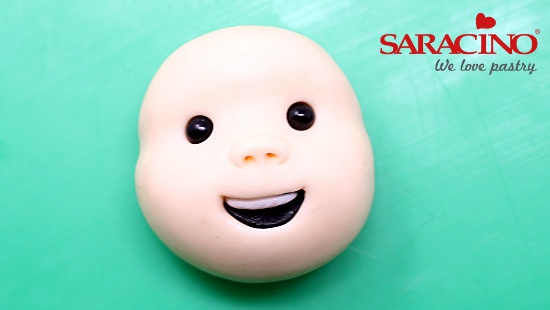
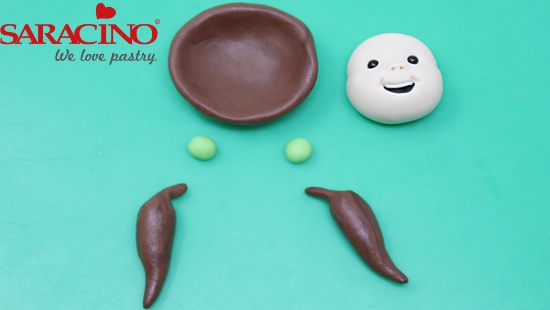
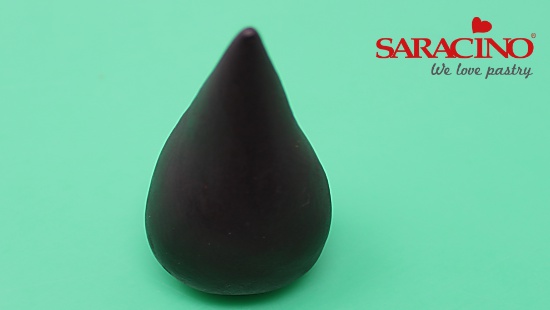
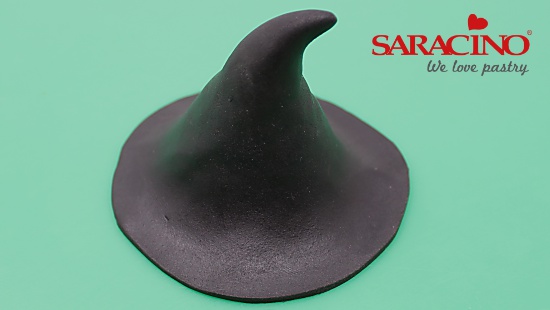
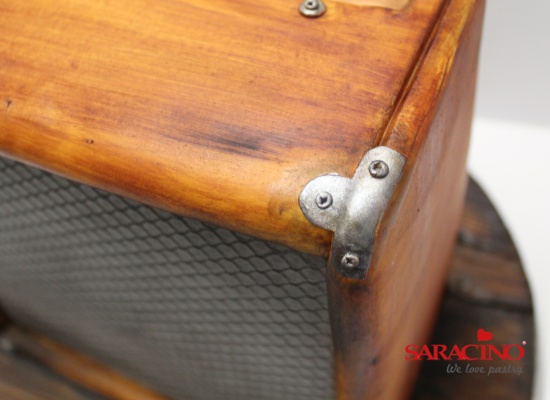
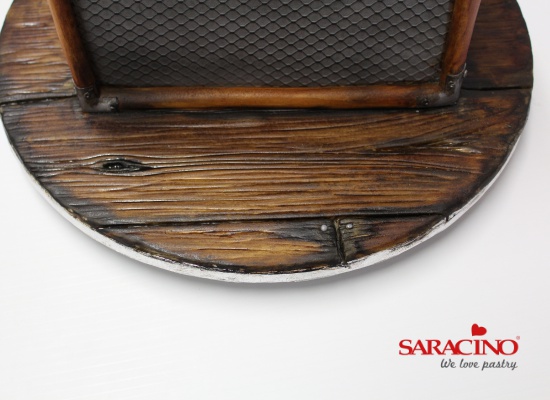
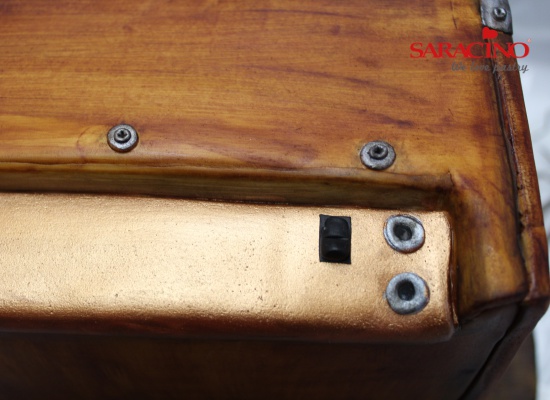
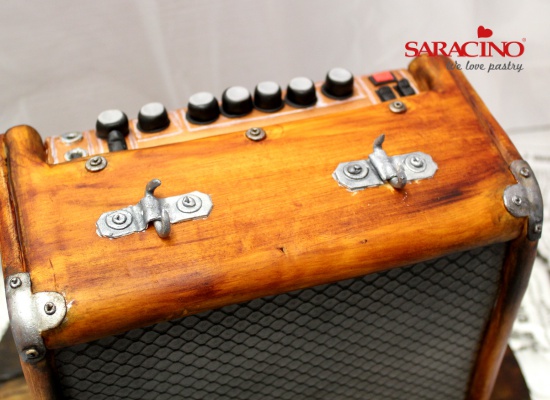
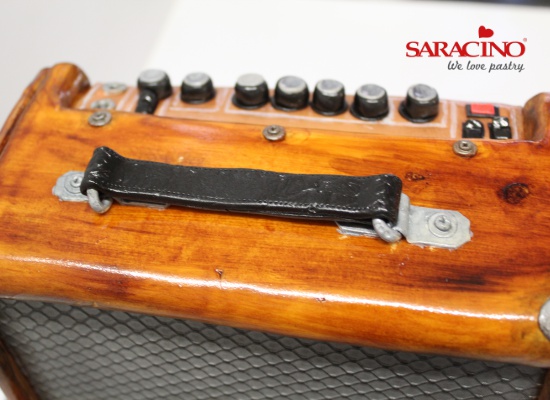
Saracino Pasta Model, the winner of the ‘Best Product’ Cake Master Award in 2017, is the ideal fondant for modelling and creating 3D images.

The perfect balance of sugars and cocoa butter ensures perfect results in most climates and gives a brilliant effect to every occasion. Once you try this product, you just won’t be able to resist Pasta Model for making your decorations. Our modelling paste is extremely elastic and strong. It can be modelled without cracking. When worked it maintains its form and you can work on the project for hours. You can also blend the joints beautifully by simply smoothing the surface with your fingers or modelling tool.

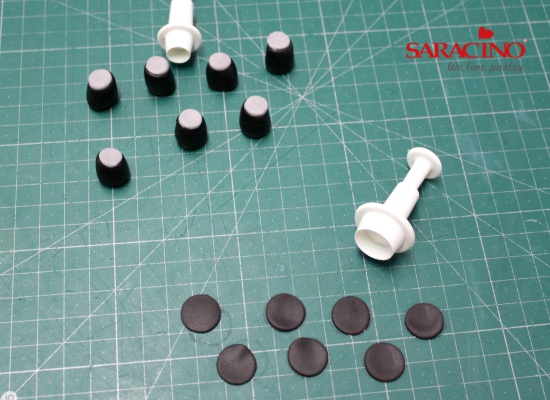
It can be finely moulded which assists with delicate work such as laces, moulds and small flowers. It also has a subtle aroma and taste.

Saracino Pasta Model currently comes in 15 different colours: white (available in 5kg, 1kg and 250g packs) and orange, blue, light blue, skin tone, yellow, Tiffany, light green, green, fuchsia, brown, black, pink, red and violet (available in 1kg and 250g packs). This means there is plenty for you to choose from. Pasta Model is also easily coloured with gel and powder colours of your choice.


If you have not tried this product yet, it is the way to go. We promise you will not go back.

PASTA SCULTURA

PASTA SCULTURA

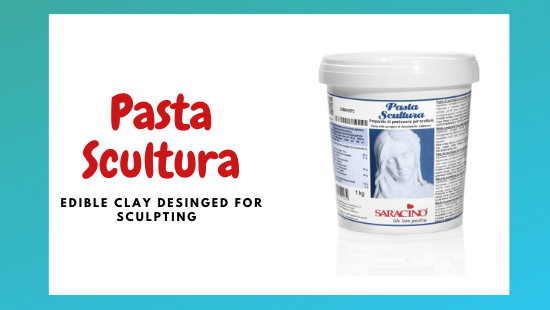
PASTA SCULTURA – sugar paste designed sculpting 


PASTA SCULTURA DESCRIPTION

Saracino Pasta Scultura is a mixture of sugars and chocolate substitute. Its consistency is similar to modeling clay.

Soft and malleable, it is the best choice for artists who want to use a technique similar to the traditional clay processing technique.

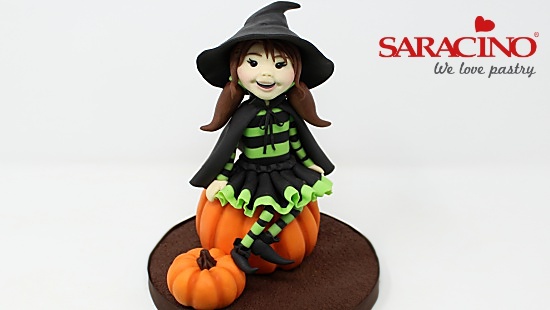
Thanks to its characteristics, it is the perfect choice to create big and extraordinarily beautiful figures by gently adding layers of sculpture paste. The joints merges without leaving a trace.

Saracino Sculpting Paste is available in 1 kg buckets and has a beautiful ivory white color and can be colored with the powdered food colorants or garnished with pearlescent or golden dyes.

We recommend using our Sculpting paste with temperatures not above 27 °-28 ° and avoiding using it in environments with high humidity levels.

FAQ – PASTA SCULTURA


1. IS IT A NEW VERSION OF SARACINO PLASTIC CHOCOLATE? No. Saracino modeling chocolate contains chocolate. Pasta Scultura contains chocolate surrogates.

2. WHAT IS ITS MAIN USE? We create it to work specifically with the “addition” sculpture technique. Its consistency is like clay, you can add or remove as much as you want to the model, changing its shape according to your creative needs.

3. IS IT GLUTEN FREE? Yes it is, like all Saracino products.

4. DOES IT DRY QUICKLY? It dries less quickly than plastic chocolate and can be remodeled by heating or manipulating it. It really depends on the size of the model and the temperature of the laboratory.

5. DOES IT HARDEN? Yes it does when not handled. In the original packaging, the product is solid.

6. HOW CAN I START WORKING WITH PASTA SCULTURA? Once extracted from the bucket, if it is perceived as difficult to mix, it can be cut into small pieces and put in the microwave to soften it. We suggest a maximum time of 10 seconds, constantly checking the consistency of the paste.

7. CAN I MODIFY THE MODEL AFTER A FEW DAYS? Yes you can, by softening the paste gently.

8. IS IT EASY TO MODEL? Modeling is very easy, you can smooth the piece of pasta “added” to the creation with just one finger or with special tools. This is the reason why it is perfect to work on large modeling projects and on edible sculptures.

9. HOW CAN I MODEL SARACINO PASTA SCULTURA? You can work it with modeling tools or with your hands. If you prefer the second option, it is better to use thin plastic gloves because in this way it will not stick to the fingers.

10. DO I NEED TO TAKE ANY SPECIAL PRECAUTIONS BEFORE USING IT? It is better to wear a white coat to avoid “dark particles” on the paste and to wash your hands and to dry them perfectly.

11. IS PASTA SCILTRA AVAILABLE IN DIFFERENT COLORS? No it isn’t. It is available only in ivory white color.

12. IN WHAT TYPE OF PACKAGE IS IT AVAILABLE? Currently, it is available only in 1 kg buckets.

13. IS PASTA SCULTURA EDIBLE? IF SO, WHAT IS ITS TASTE? Yes it is. Our Pasta Scultura has a chocolate flavor.

14. HOW CAN I STORE THE PRODUCT AFTER OPENING THE PACKAGE? It should be kept in its original packaging with the lid closed.

15. WHAT IS THE MAXIMUM WORKING TEMPERATURE? We recommend you not using it with temperatures above 27 °/28°.


TRICK OR TREAT CUTE WITCH

TRICK OR TREAT CUTE WITCH

TRICK OR TREAT CUTE WITCH


You will need:
  • 80g sugarpaste: brown
  • Saracino pasta model: (24g skintone; 60g light green; 30g brown; 210g orange; 20g; 150g black)
  • Edible glue
  • Cornflour puff
  • Saracino dust colours: yellow; orange; brown; rose
  • 4mm dragees x 2: Drageekiss black
  • Small rolling pin
  • Small sharp knife
  • Palette knife
  • No.8 filbert paintbrush
  • Scissors
  • No. 0 round silicone shaper (cerart)
  • Hard point silicone shaper (cerart)
  • Large celpin
  • Dresden (PME)
  • Cake Dutchess modelling tool set
  • 15cm cake drum
  • Scalpel
  • Kebab wooden skewer
  • 5.5cm diameter polystyrene ball
  • Celpad

Step 1

Pin the brown sugarpaste straight onto the damp round cake drum. Trim the excess from the edge and texture firmly with a nailbrush. Reserve the trimmed paste.

Step 2

Use a sharp knife to cut a hollow slightly narrower than the top of the polystyrene ball.

Step 3

Roll out 170g of orange Saracino and cover the polystyrene ball with the hollow at the top. Blend the seams underneath and create the hollow with a celpin.

Tip

The paste will adhere to the polystyrene either by brushing with water or with piping gel.

Step 4

Roll the celpin around the ball, leaning into the paste to create the hollows. Blend the joins at the base and smooth.

Step 5

Add as many segments as you wish using the celpin. Use the narrow end of the Dresden to enhance them.

Step 6

Smooth over the grooves with a small bone tool. Create the stalk from a mushroom shape of 2.5g of the brown sugarpaste and press the wide end into place in the hollow. Mark the grooves with the Dresden tool.

Step 7

Create a small pumpkin from 40g of Saracino by first rolling into a ball, then creating the indents with a narrow paintbrush handle. Use 1g of brown sugarpaste to make the stalk as before.

Step 8

Roll two legs from black Saracino. Each leg is to be 10cm long and weigh 2g. Repeat to make two arms, this time 6cm long each and weighing 1.5g each. Roll out light green Saracino and cut narrow strips as in the image. Wrap around the arms and legs and roll to fix.

Tip

Saracino that is still soft does not need edible glue to stick to itself.

Step 9

Create the body using 28g of light green Saracino rolling to a sausage measuring 5cm tall and 2.5cm wide. Roll out black Saracino and cut narrow stripes. Wrap around the body and trim the excess. Roll the body to blend.

Step 10

Thinly roll out more light green Saracino and cut a strip 24cm long by 1cm wide. Place on a celpad and use the orange Cake Dutchess tool wide end to press onto the paste and pull. This will leave a frill-like texture. Leave to rest while you complete the next stage.

Step 11

Roll out 50g of black Saracino to 25cm long and minimum of 7cm wide (we will trim this to size shortly). Place on top of the green frill and press to attach. Find three similar width handles and create the pleats by sliding one handle underneath the paste and placing a handle on top either side, the gently press the outer handles and slide towards the middle.  (See image). Repeat along the length of the paste.

Tip

Work quickly when creating the pleats, but if the paste begins to dry out, gently warm with a hair dryer

Step 12

Gently tighten the pleats by pushing the paste together and trim with a smooth bladed knife. Reserve the trimmed sections without damage in order to create the back of the skirt.

Step 13

Bend the two legs one third of the way down and place onto the pumpkin. Place the body on top and push a wooden skewer down through the polystyrene ball. 

Safety Tip

Cut the skewer to slightly longer than needed and push a brightly coloured spare piece of paste on top.

Step 14

Lightly brush edible glue around the waist band and gently wrap the skirt around, pressing gently into place. Cut to fit with the scissors and add the reserved pleated black paste at the back if there is a gap. Roll a narrow sausage of black Saracino as a waistband and use the narrow end of the orange Cake Dutchess tool to press into the waistband above each pleat.

Step 15

Use the cone end of the green Cake Dutchess tool and create a hollow to fix the arm into. Roll 1.5g of skin Saracino into a sausage and fix into place for the neck.

Step 16

Pinch the arms over at the top as in the image and cut each to 6cm long. Create the hands from 1g of skin Saracino each. Roll to a double ended cone and slightly flatten one end. Use a scalpel to cut away a wedge to separate the thumb and pinch the top to a point. Hollow the end of the arms and press the hand into place. Lift as in the image.

Step 17

Glue inside the arm sockets and fix the arms into place with the palms down on the pumpkin.

Step 18

Roll out 50g of black Saracino and cut out the cloak as in the template. Turn over and curl back the straight sides.  Use a handle to lift pleats from the curved side.

Step 19

Glue slightly around the shoulders and wrap the cloak around. Use the handles to lift the cloak up and give movement.

Step 20

Thinly pin out more black Saracino and cut very narrow strips. Attach two as strings at the opening of the cloak. Bend two more into loops and attach with edible glue. Press the paintbrush handle onto the knot area to fix. Cut out the collar as in the template.

Step 21

Glue around the base of the neck and add the collar with the straight side at the bottom. Curl back the fronts.

Step 22

Cut any excess off the legs and pinch to a point. Cut 1g of black Saracino and half and roll each into a ball. Open up the ball with the pointed end of the green Cake Dutchess tool and place the tool back inside, pressing against the work board repeatedly to create the frilly sock shape in the image. Roll 1.2g of black Saracino into a pointed cone, press the knife end in for the heel. Repeat for the other boot.

Step 23

Fix the sock onto the base of the legs. Push the cone tool into the top of the shoe, glue and push the sock into the shoe. Fix in place against the pumpkin with a little edible glue.

Step 24

Roll 20g of skin Saracino into a slight egg shape. Press the handle of the no.0 round Cerart tool. Smooth over the tool lines with fingertips.

Step 25

Stroke to lift up a little paste to form the nose. Round off with the no.0 round tool. Smooth over with fingers.

Step 26

Gently push the hard point tool in for the nostrils.

Step 27

Push the two black dragees in for the eyes, first with a finger, then firmly into place with the no.0 round tool.

Step 28

Open the mouth by pushing the wide end of the Dresden gently into the face first of all straight, then tilt from side to side to create the straight line of the upper lip.

Step 29

Fill the mouth with a small banana shape of black Saracino. Use the Dresden tool to smooth it into place.

Step 30

Roll a tiny sausage of white Saracino and press against the underside of the top lip.  Indent the corners of the mouth with the broad end of the Dresden.

Step 31

Roll a ball of 21g of brown Saracino and hollow so that the head can sit in the hollow. Roll the bunches from 4.5g each of brown Saracino in the shapes as in the picture. Cut 1g of light green Saracino in half and roll two balls of paste.

Tip

To attach tiny pieces of paste, glue the area they are to fix to, and lift the paste into place with a damp paintbrush

Step 32

Gently push the head into the hollowed brown paste and press into place to fix. Narrow the chin by pressing either side at the base. Mark the two lines either side of the mouth by stroking with the no.0 round tool, then stroke around the lower part of the mouth to create the lip. Add eye lashes using tiny teardrops of black Saracino. 

Step 33

Push the head onto the skewer allowing the skewer to go all the way through for support. Use the Cake Dutchess cone tool to create hollows where the hair bunches will go. Roll the green balls into teardrops, insert into the hole and hollow those before pushing the bunches into place.

Step 34

Add tendrils to frame the face and a fringe from narrow sausages of brown saracino.

Step 35

Trim off the excess kebab skewer. Dust the lips and cheeks with saracino rose dust and a no.8 filbert brush.  Dust the smooth segments of the pumpkin with yellow. Dust the indentations first with an orange and red mix, then with brown at the base.

Step 36

Roll 43g of black Saracino into a broad cone shape.

Step 37

 Press down the lower third of the cone to broaden and continue to flatten against the work board to create the brim of the hat.  Trim the brim to a circular shape with a scalpel. Bend over the tip of the hat and add indentations for character.

Step 38

 Hollow out the inside of the hat so that it fits over our little witches head and fix into place with a little edible glue.

AMPLIFIER SCULPTED CAKE

AMPLIFIER SCULPTED CAKE

AMPLIFIER SCULPTED CAKE


You will need:
  • 18” x 12” (45cm x 30cm) single layer sponge cake (10 egg mix)
  • 750g buttercream
  • 1.2kg white chocolate ganache
  • 2kg pasta top white
  • 50g black pasta model
  • 100g pasta model white
  • Dust colours: yellow, orange, brown, green, black
  • Paste colours: black, red
  • Metallic colours: light silver; light gold; bronze
  • Saracino Liquid shiny
  • Nielssen Massey lemon Extract
  • Dinkydoodle Shell and shine
  • Greaseproof paper
  • PME Stitch wheel
  • Long serrated knife
  • Long and small rolling pins
  • Palette Knife
  • Scalpel
  • PME dresden
  • No.2 brush for glue
  • No.8 filbert brush
  • Large wide paintbrush
  • Large blusher paintbrush
  • 14” (35.5cm) round cake drum
  • 8” x 4” (21 x 10cm) cake card with one hole in centre for a dowel
  • 3 long cake dowels
  • Fishnet cake lace mat (Clare Bowman)
  • Circle cutters 1m, 1.5cM

Step 1

Cut the prepared sponge into layers 21.5cm by 11cm. Spread a little buttercream onto the cake drum and place on the first layer. Spread buttercream and add two more layers. Cut two of the dowels to size and dowel through the first three layers of cake, buttercream and fix the cake card on top.  Push a long dowel down through the hole, buttercream the cake card and continue to add layers. Trim the sides and top of the sponges straight.

Step 2

Cover the sponge with white chocolate ganache by spreading with a palette knife. Chill in between adding layers until approximately 4mm thick. Smooth down with a hot knife to neaten.

Step 3

Colour 300g of the pasta top grey by adding a little black paste colour. Pin out to 3mm thick and place onto the cake lace mat. Roll over with a rolling pin to emboss, then measure the cake and cut the grey to fit the front. (You can also choose to trim when it is in place).

Step 4

Brush the ganache with tepid boiled water. Use the cake lace mat to lift the paste into place.

Step 5

Pin out 300g of white paste top and cover the cake drum (moisten the drum first with water) by adding a strip first to the front, then the back of the drum. Finally add smaller sections either side. Emphasise these joins and add a couple more by pressing in a ruler to represent floor boards. Trim the edges.

Step 6

Mark knots and lines on the boards with the narrow end of the Dresden tool. 

Step 7

Use a sharp knife to cut a small recessed section from the back of the top of the amplifier as shown 18cm long and 4cm wide.  Add more ganache then cover this section with thin white pasta top.

Step 8

Pin out white pasta top 3mm thick and cut a panel to fit the back of the cake. Fix in place with tepid water as before. Trim to fit. 

Step 9

Pin out more white paste and next cover the top, curving the paste over the edge towards the front.  Next add a strip at the front to represent the base, then  cover the sides, curving the front edge as before. 

Step 10

Add the final side and then use a Dresden tool to emphasise the joins.

Step 11

Add the washers and sockets as in the image by pinning out pasta model white thinly and using a 1cm circle cutter. Fix into place with edible glue. Use the handle of the paint brush to make holes into the input sockets.

Step 12

Create brackets for the handles by cutting out strips of white pasta model 3cm x 1cm and cut off the corners. Place the shapes onto paintbrush handles to create the ridge. Leave to set.

Step 13

Cut the T-shapes as in the image to act as the corner protectors. Roll tiny balls of white pasta model and gently press into place for the screws. Mark a cross on the top of each by pushing a scalpel into the ball. 

Step 14

To make the handle, Cut out a strip of black pasta model 20cm long by 1.5cm. Use a stitch wheel to mark along the length. Turn face down. Place the two paint brushes onto the paste, each 5cm from the middle and fold the paste over so that they form a double layer. Turn back over and pressed crunched greaseproof paper on to create a leather effect.

Step 15

Mix brown, green and a little black dust colours together with Nielssen Massey lemon extract and use a large wide paint brush to paint colour into the deeper marks and the edges of the iced drum. Vary the colour so that the deeper shades are in the deeper gaps.

Step 16

Add more brown to the mixture and paint the drum with long strokes until covered. Next add yellow and a little orange into the mix and add stripes to the cake as in the image. Allow these to dry before adding the next layer of colour. 

Step 17

Paint the cake with long strokes of the same colour mixture slightly diluted down more until an even covering in achieved.

Step 18

Cover a plate with foil. (This protects the plate and means you can simply discard the foil when you have finished.) Mix light silver with a small amount of black dust colour and add liquid shiny and paint onto any screws or corner protectors. Next use a dry large blusher brush and dry dust the grey front in circular motions with black to add depth to the grey. Mix a little lemon extract in with the black and add shading into the screws and around the brackets using a small brush.

Step 19

Mix a little brown into black dust and lemon extract and use a large flat paint brush to add the depth as shown in the image into the gaps between floor boards and in the knots.  Add two small balls of grey  and place as in the image to represent nails and paint silver.

Step 20

Paint the recessed panel with bronze and brown mixed with liquid shiny. Create switches by cutting out 1cm long rectangles from black pasta model. Next roll a small sausage of the black slightly shorter than the rectangle and flatten one side. Make two more. 

Step 21

To create the dials, roll 1g balls of black pasta model into a sausage shape and press down onto the board to flatten one end. Pin out more black and cut 1.5cm circles for each of the dials. Use a little of the grey leftover paste, pin out thinly and cut 1cm circles to sit on top of the dials.

Step 22

Mix light silver with liquid shiny and paint the lines onto the dials section as in the image using a fine paintbrush. Create the red light but cutting a small rectangle of red paste, place this on top of rolled out black paste and cut a slightly larger rectangle around.  Fix the brackets for the handles on top of the cake and make washers and screws as in step 11. Roll a thin sausage of white pasta model and fit under the ridge in the brackets for the fixings. Cut each to 1cm longer than the bracket either side and pinch to a point. Paint silver and add a little black as before the age the silver. Fix the dials into place.

Step 23

Place the handle onto the brackets slightly pulled to one side. Gently press the points of the fixings into the hollows on the handle left by the paintbrush.  Spray the whole cake with Dinkydoodle shell and shine

Step 24

TA -DA