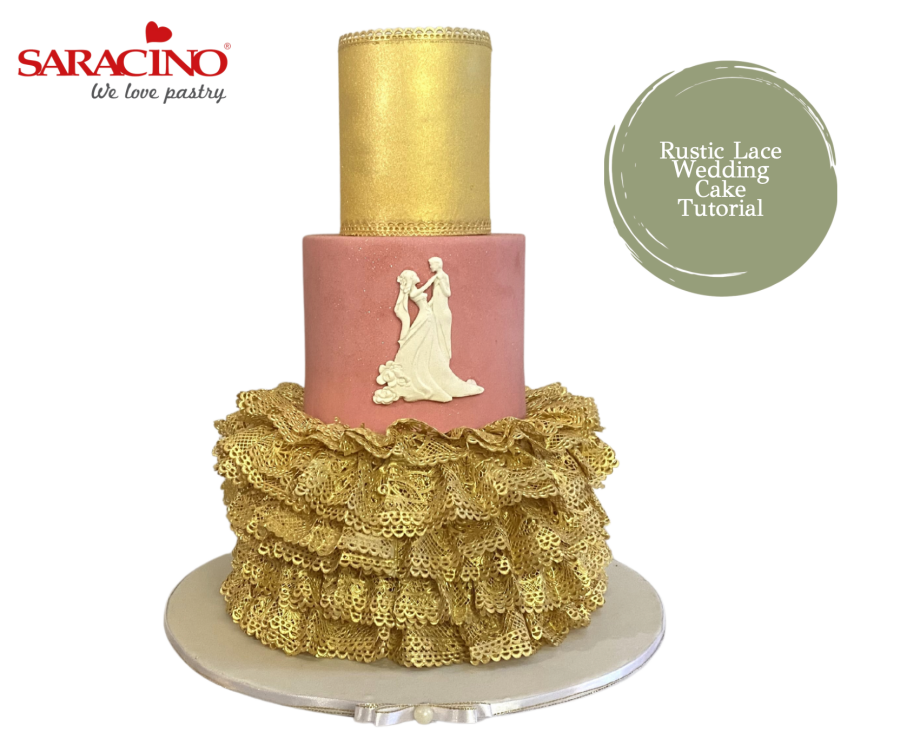
You will need:
INGREDIENTS:
- White Pasta Top
- Pink powder colour
- Cake gel
- Saracino ready to use gold lace paste – minimum 2 pots
- Pink Push Pump Glitter Dust
- Gold airbrush colour
EQUIPMENT:
8×5″ round cake or dummy
6×5″ round cake or dummy
4×5″ round cake or dummy
Large rolling pin
Fondant smoother
Sharp knife
Corn starch
Airbrush
Cake Lace mat of your choice
Cake Lace spreading knife
12″ white cake board
Small brush
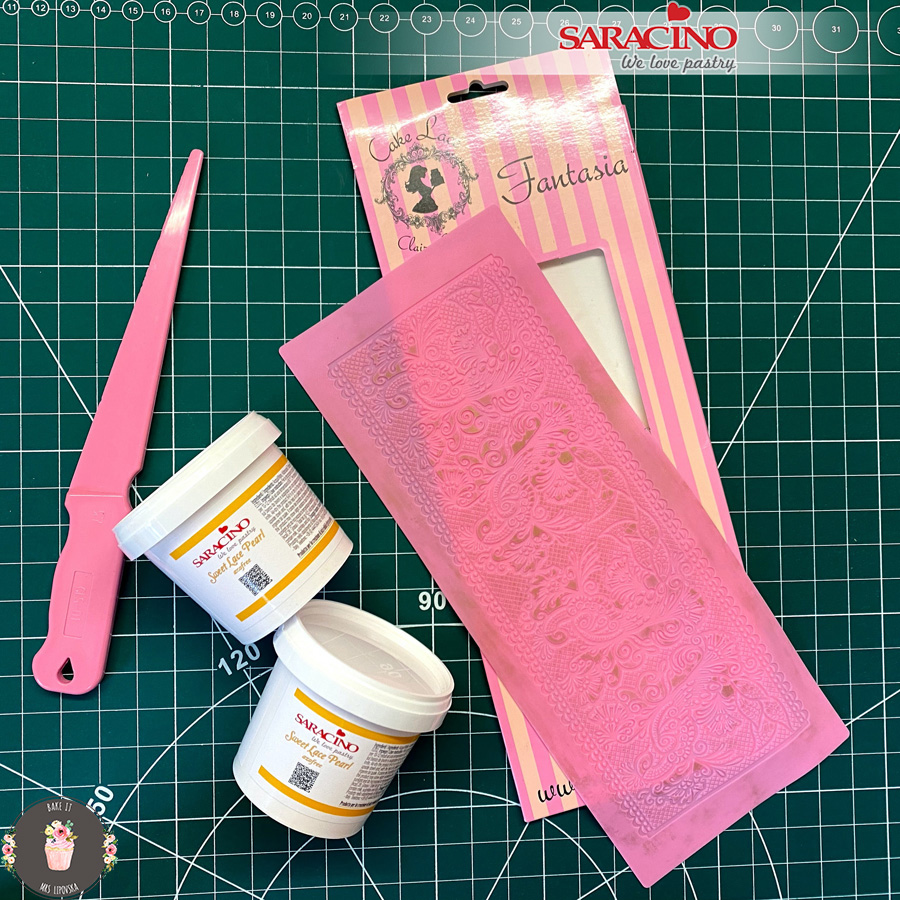
Step 1
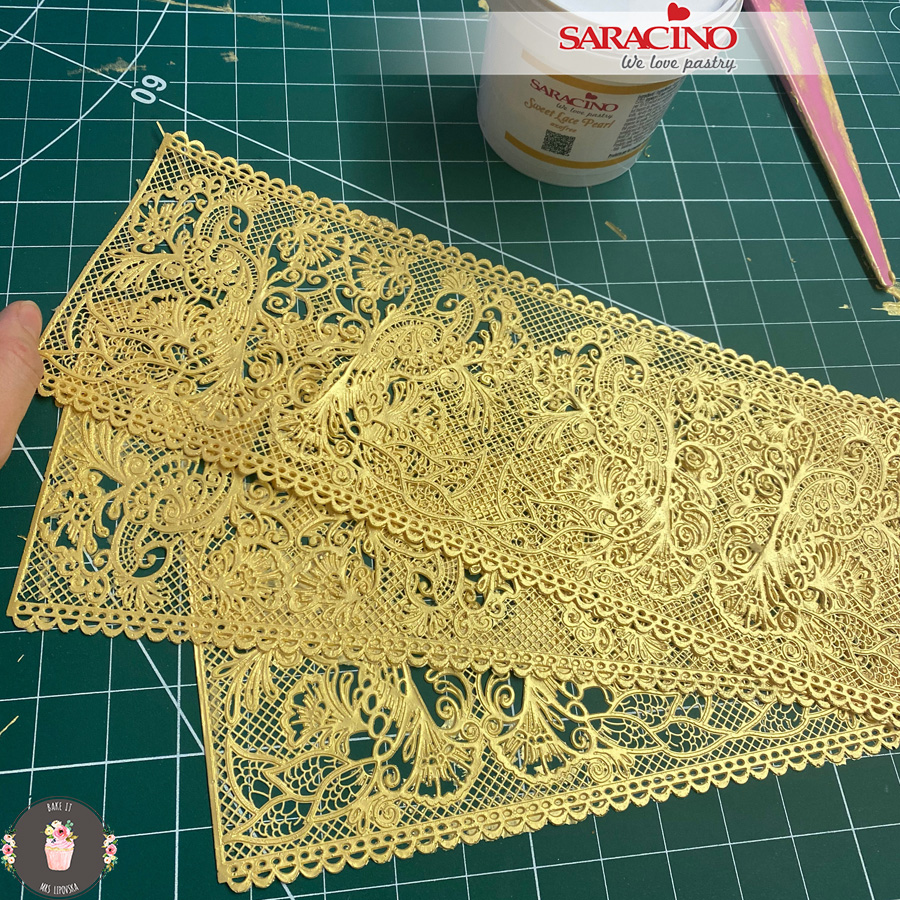
Prepare the cake lace. Make well in advance as it takes a while to create the amount of lace we need. To cover a 8×5″ size cake you will need at least 2 whole pots of cake lace mix. I recommend having an extra pot ready just in case we don’t have enough to cover our cake.
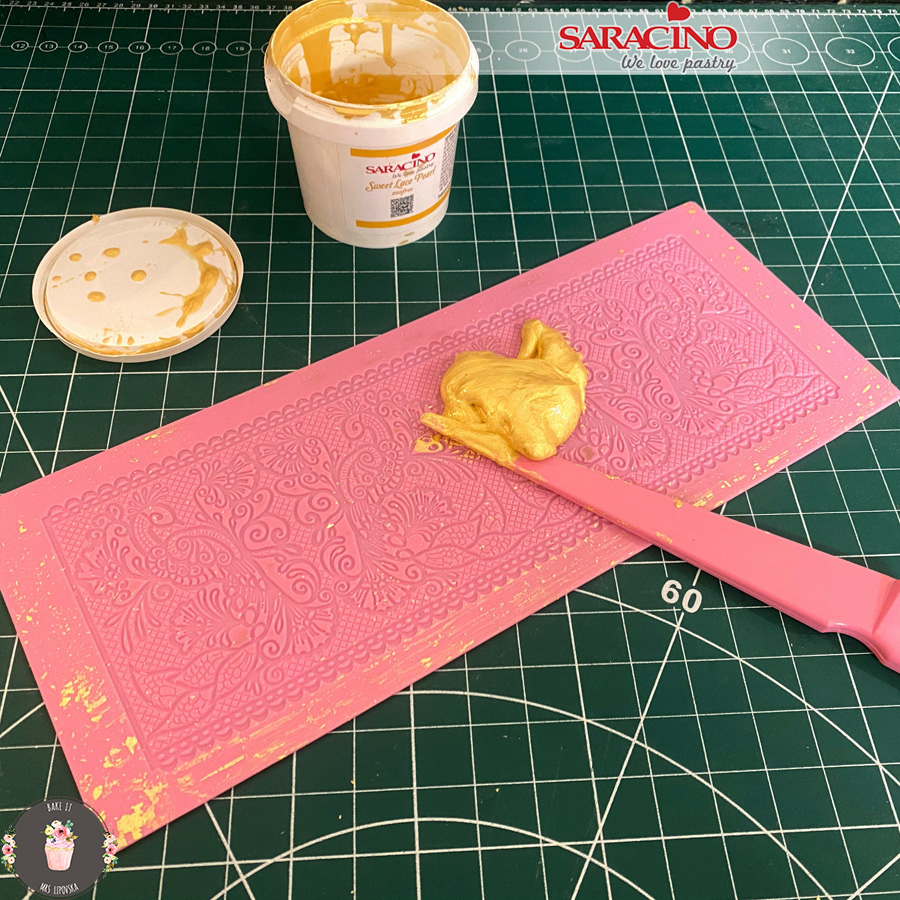
Step 2
Stir the cake lace mixture. Place onto a mat and spread using a plastic cake lace knife.
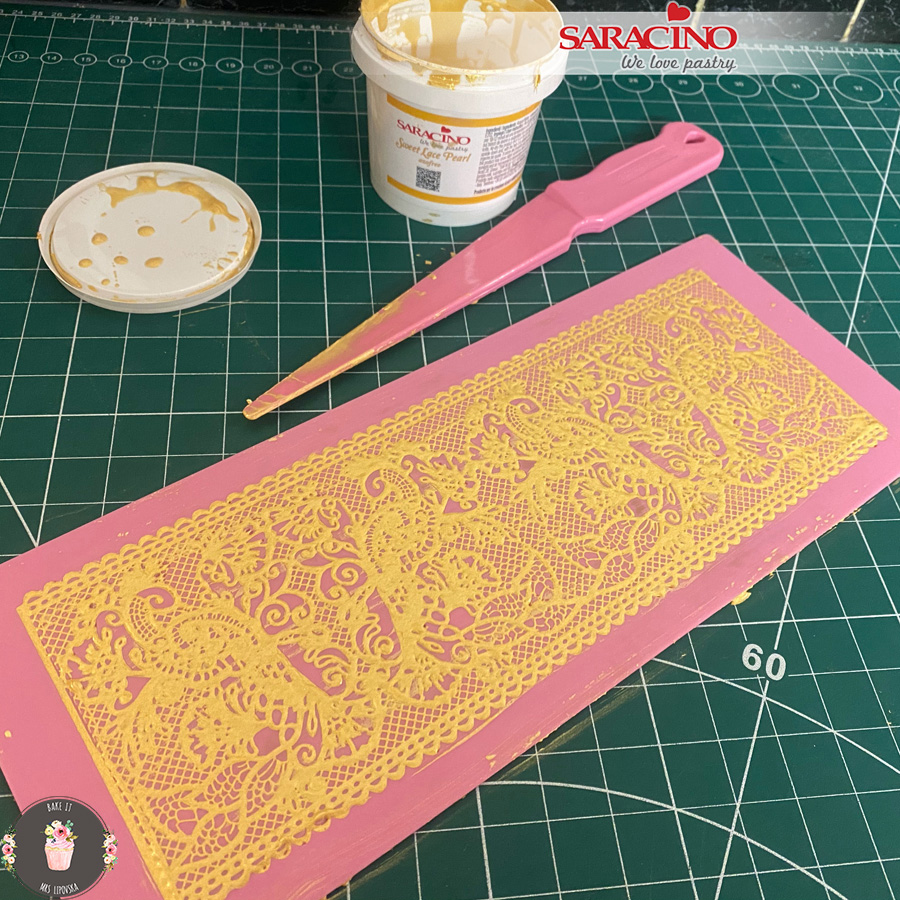
Step 3
Make sure all grooves are filled and the excess is removed.
Step 4
Allow to dry. You can leave it outside for a while or place in the oven on a very low heat.
Step 5
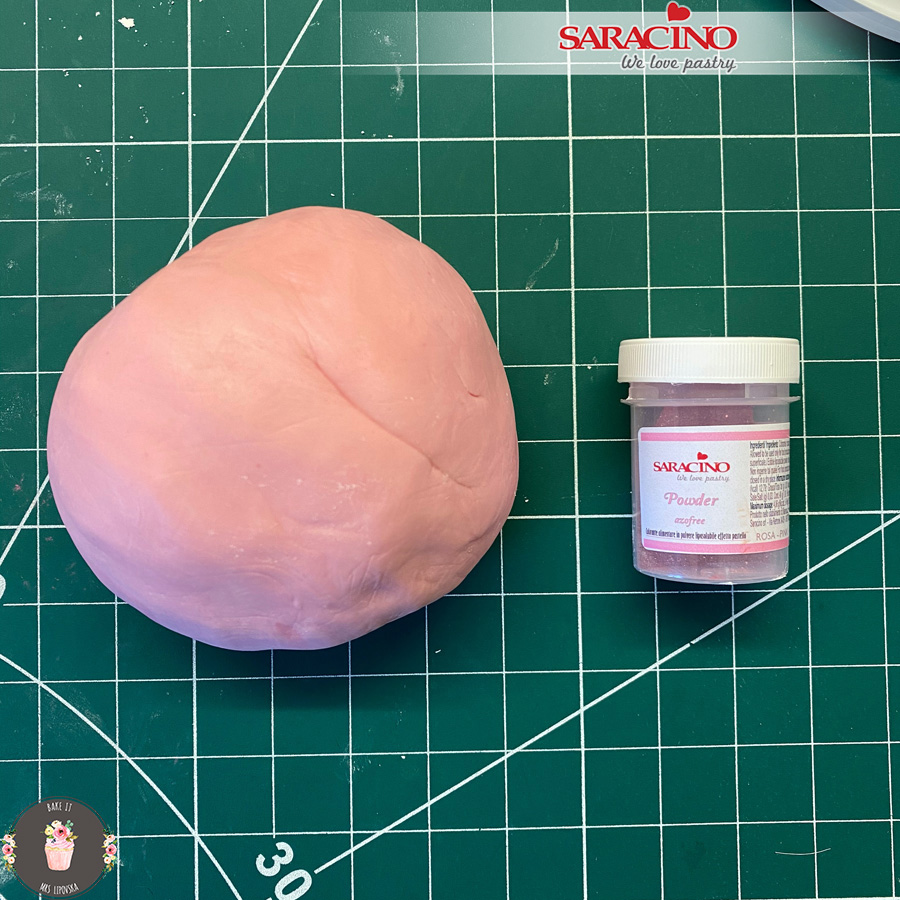
For the middle tier add pink powder colour to white Pasta Top. Knead well to achieve a uniform colour.
Step 6
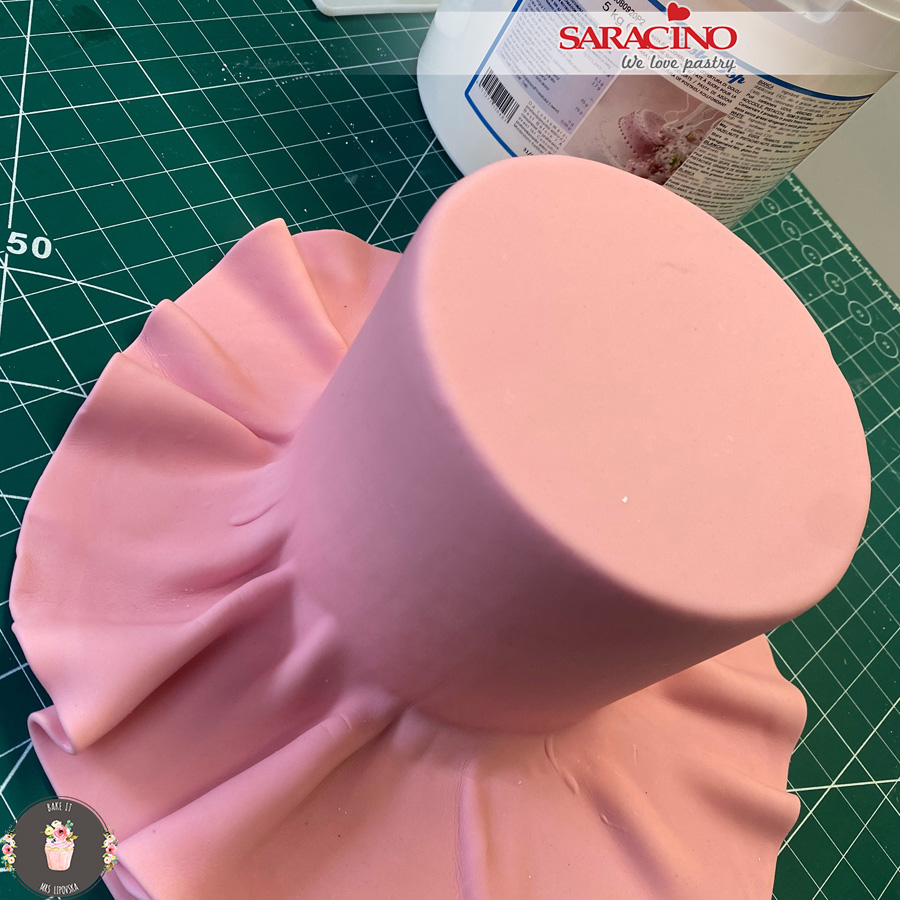
Cover the middle tier (cake or dummy).
TIP: Pasta Top is very elastic and can be rolled thinly.
Step 7
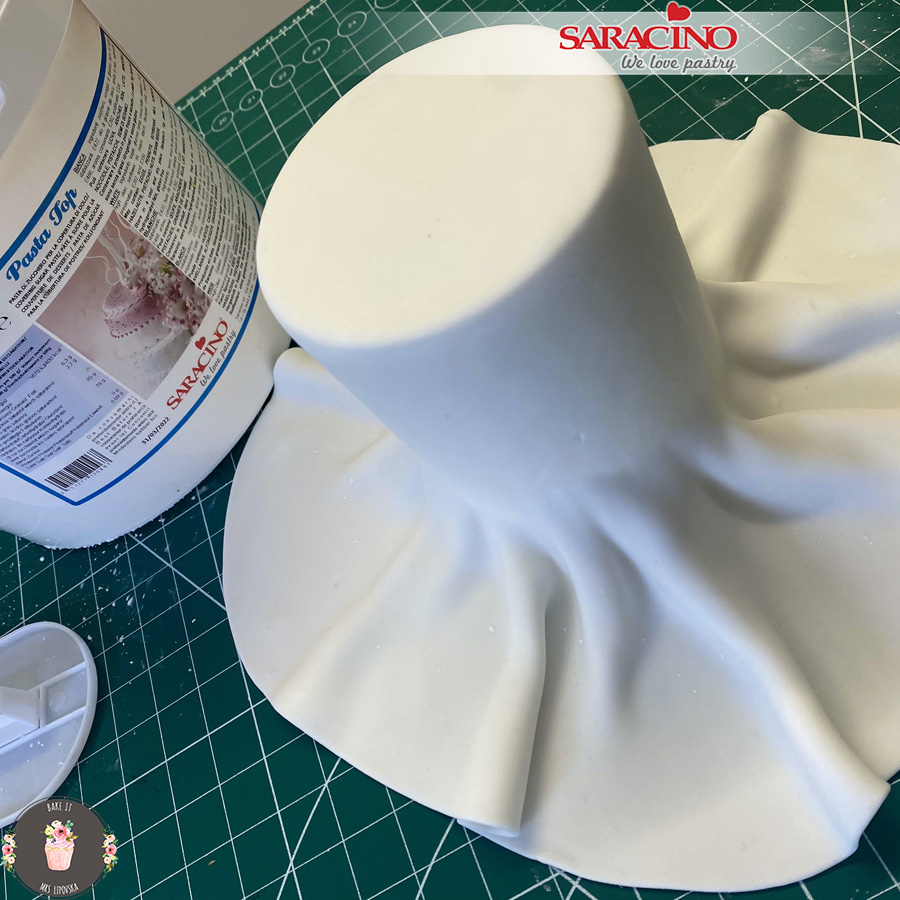
Using white Pasta Top cover the other two tiers. You can use cornstarch on your work surface if required. Trim off excess paste.
Step 8
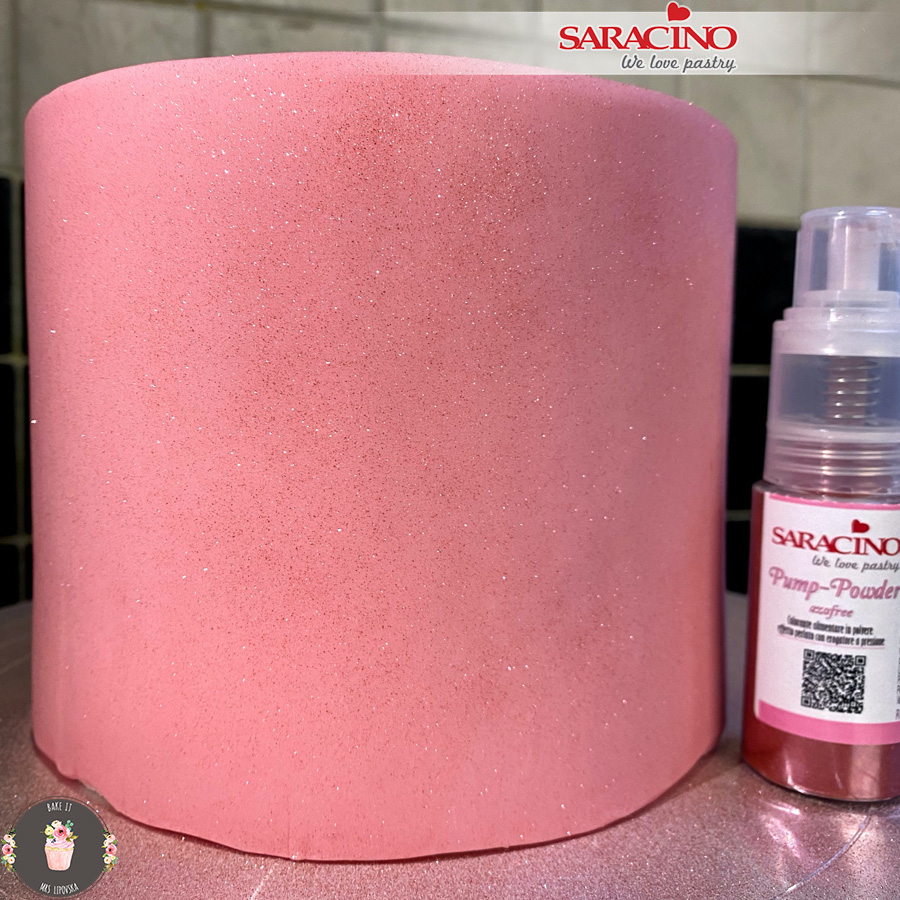
Spray the middle pink tier with pink glitter. Careful not to apply too much, we just want to achieve a nice sheen.
TIP: Keep the spray bottle a little distance away from the surface to avoid making concentrated glitter spots.
Step 9
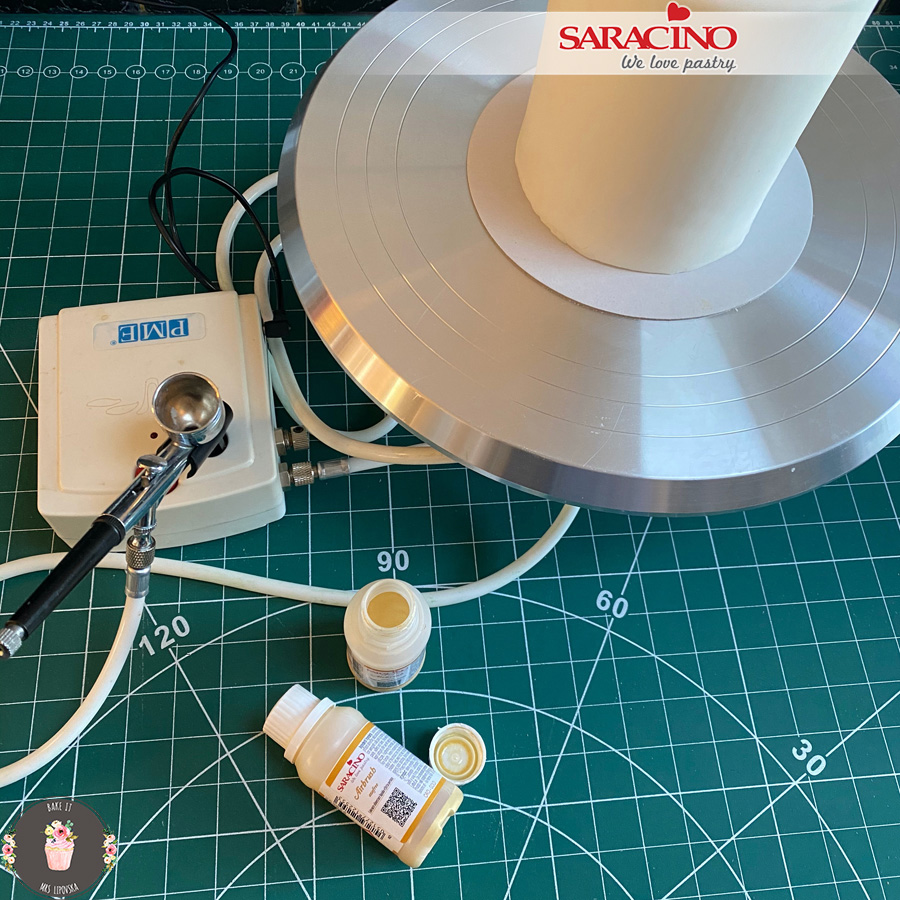
Prepare your airbrush and gold colour.
Step 10
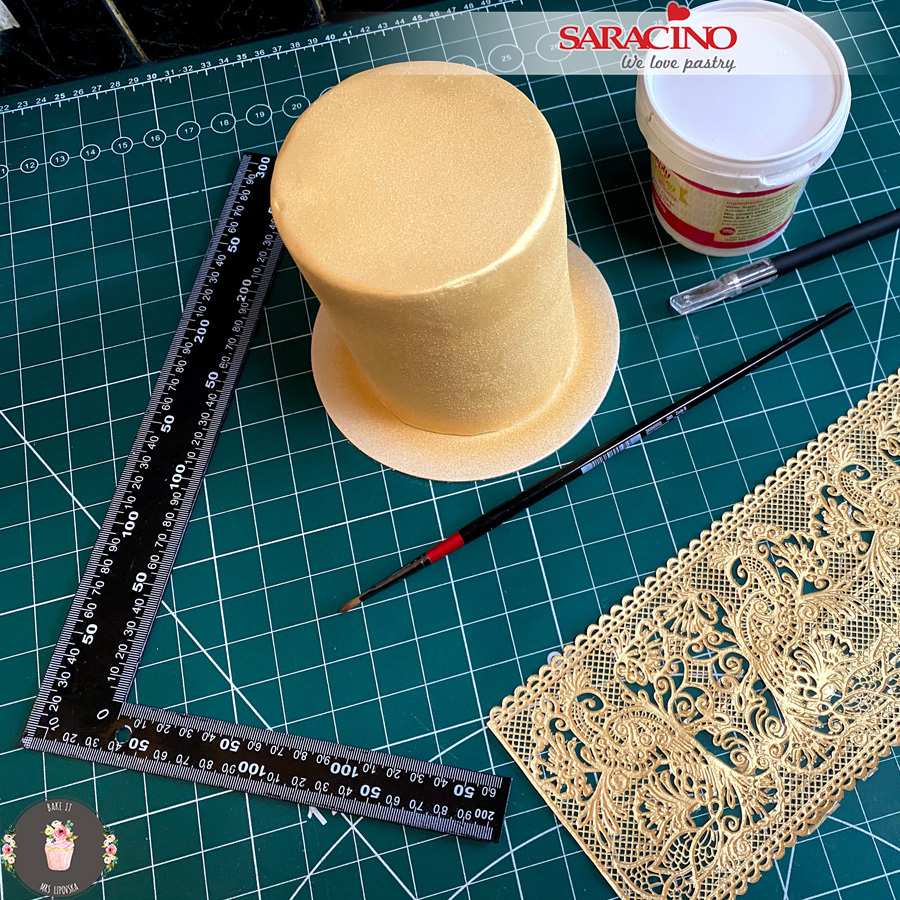
Airbrush the top tier. You will need at least two layers to achieve a nice coverage.
TIP: Don’t rush it! Make one layer at a time! Allow to dry before adding the next layer.
Step 11
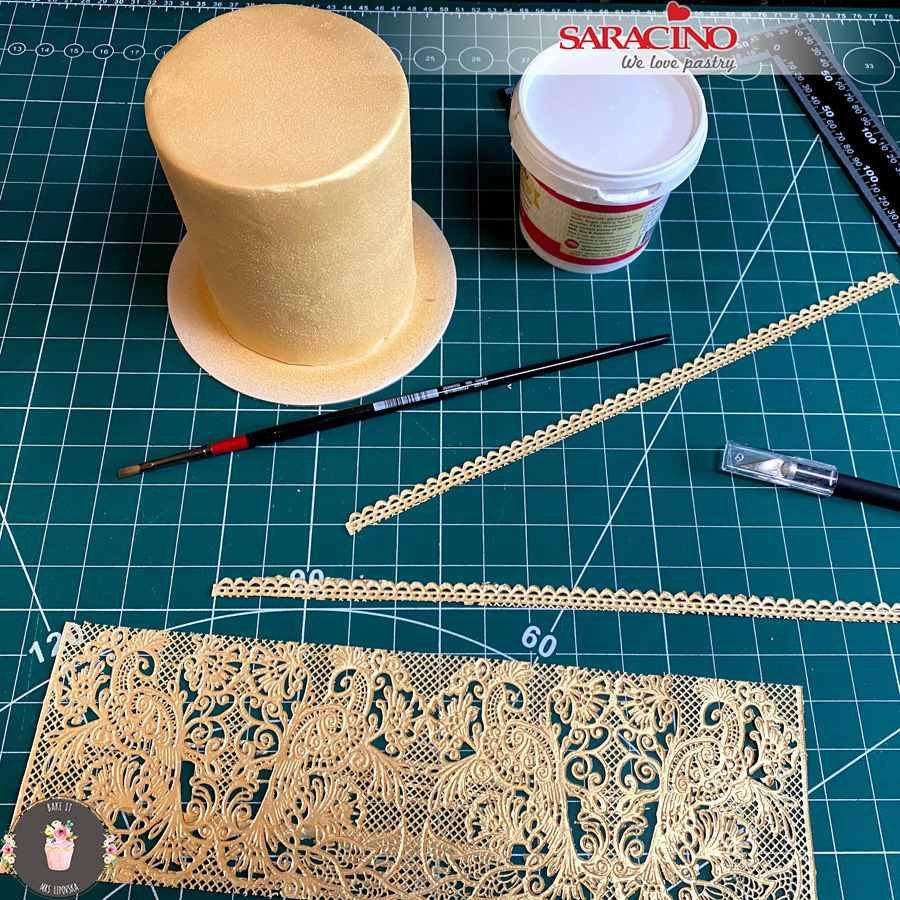
Take a sharp knife or scissors and cut off the trim from the lace.
Step 12
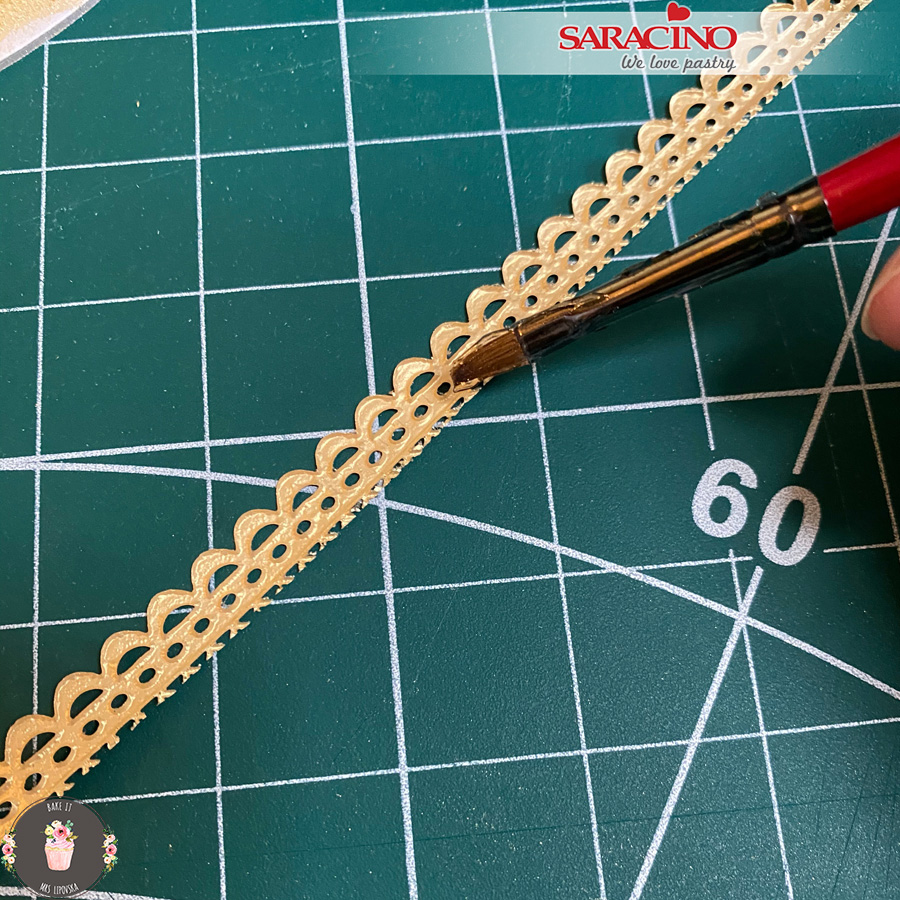
Take a small brush and apply a thin layer of edible glue to the edge of the gold lace trim.
Step 13
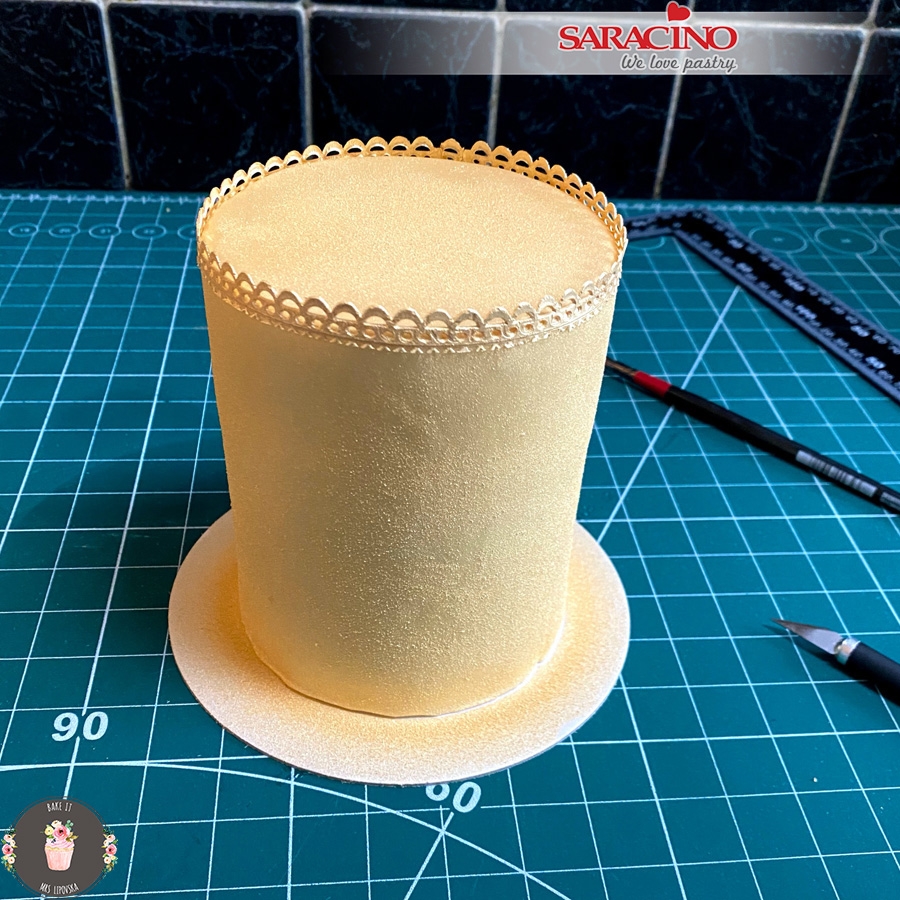
Fix around the top of the tier.
Step 14
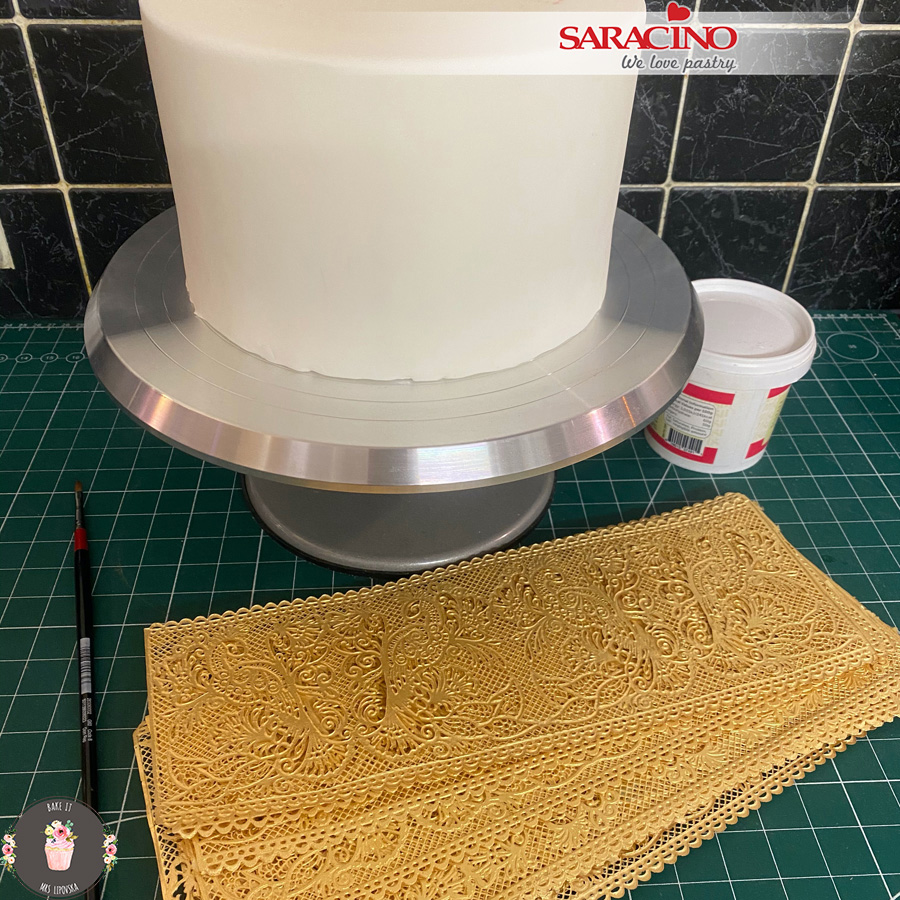
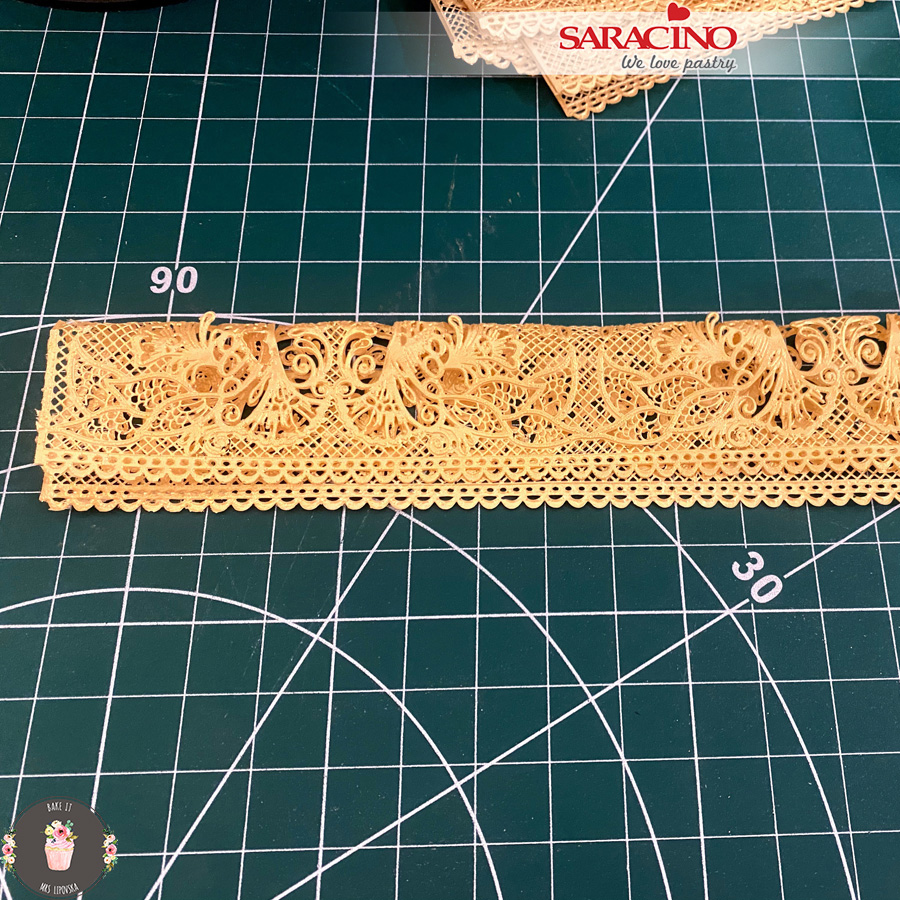
Now it’s time to fix all the lace to the bottom tier. Remember, the best part of this design is the fact that none of it has to be even. The bottom part imitates a skirt so don’t worry if it turns out not exactly perfect. I have made 22 lace sheets using 2 tubs of lace paste.
Step 15
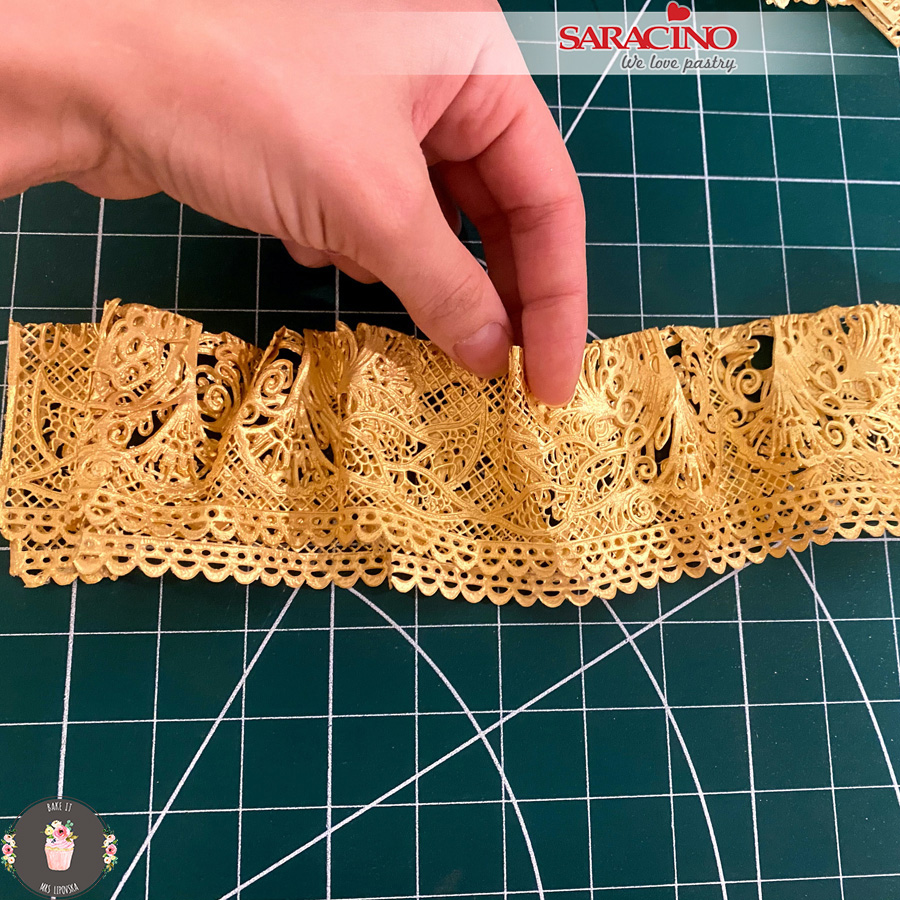
Take one lace sheet and fold it in half.
Step 16
Form a little ruffle shape ready for attaching.
Step 17
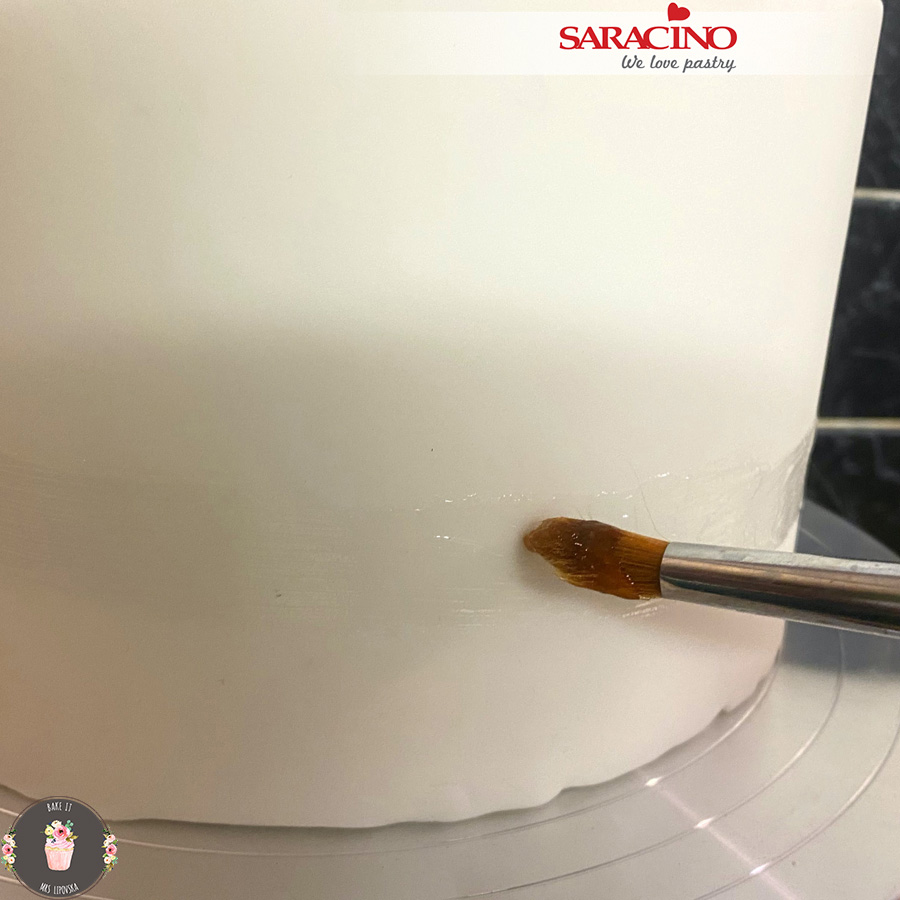
Start adding your lace from the bottom to the top. Apply glue on the cake.
Step 18
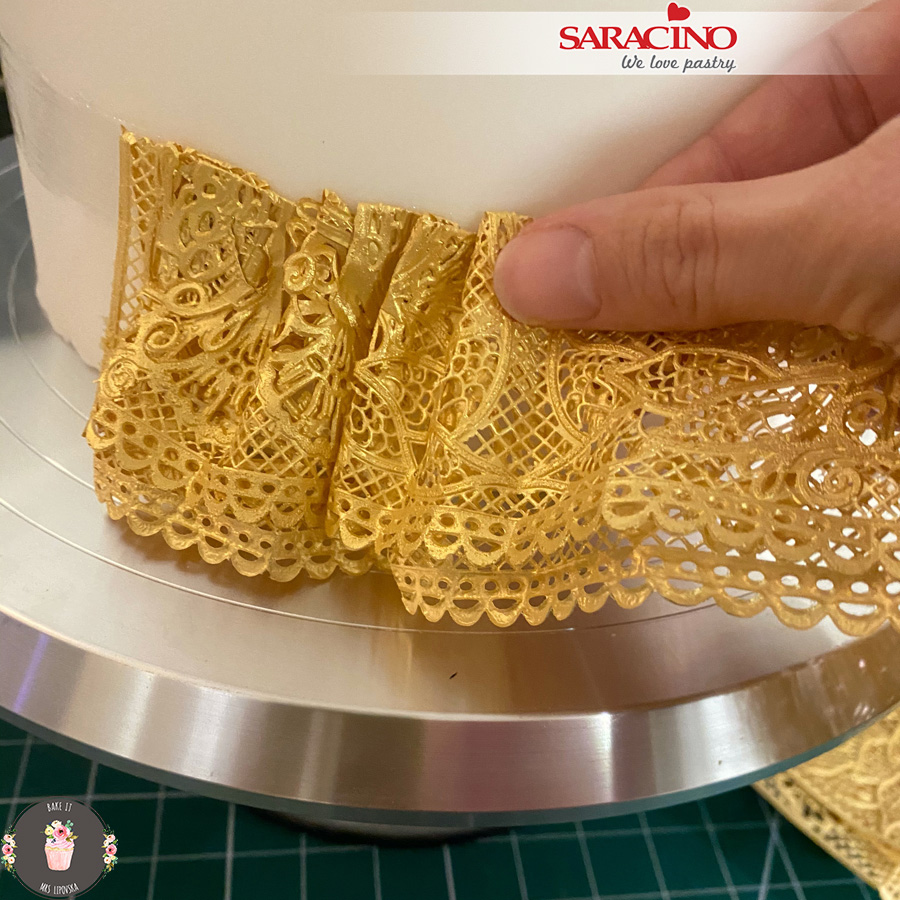
Fix the first lace piece around the bottom. Place one end of the lace, bend it and try to shape it like a ruffle skirt pushing a little into the cake as you work around the perimeter.
Step 19
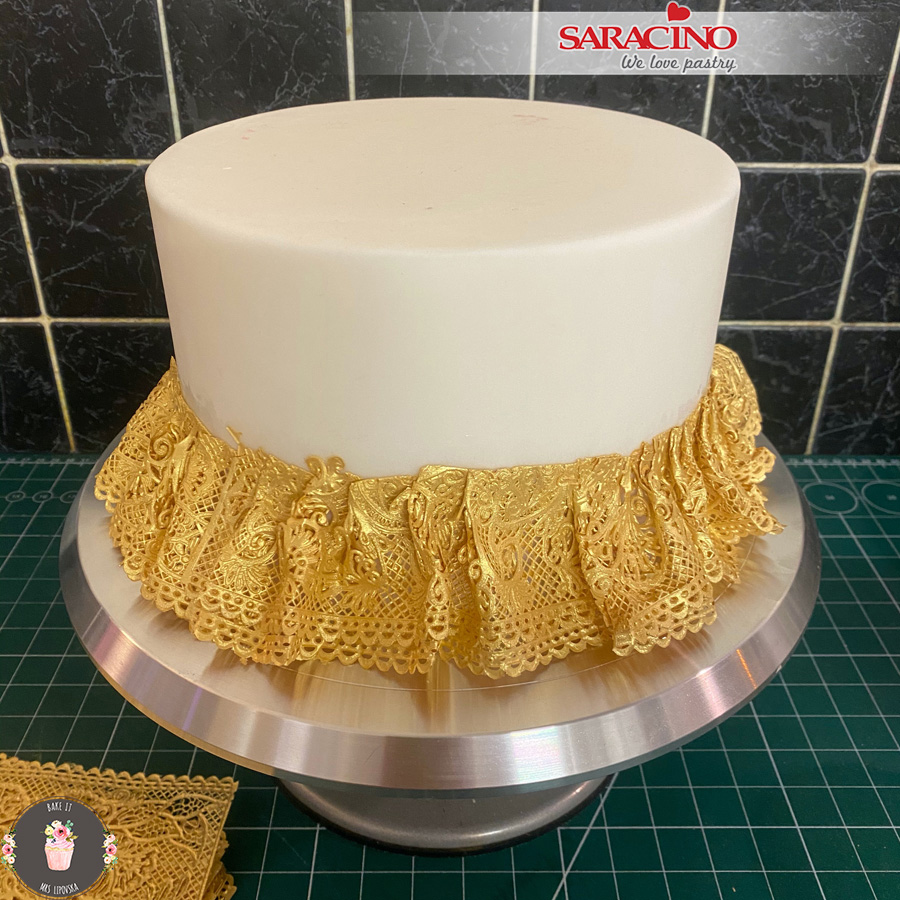
Repeat around the cake perimeter until we meet where we started.
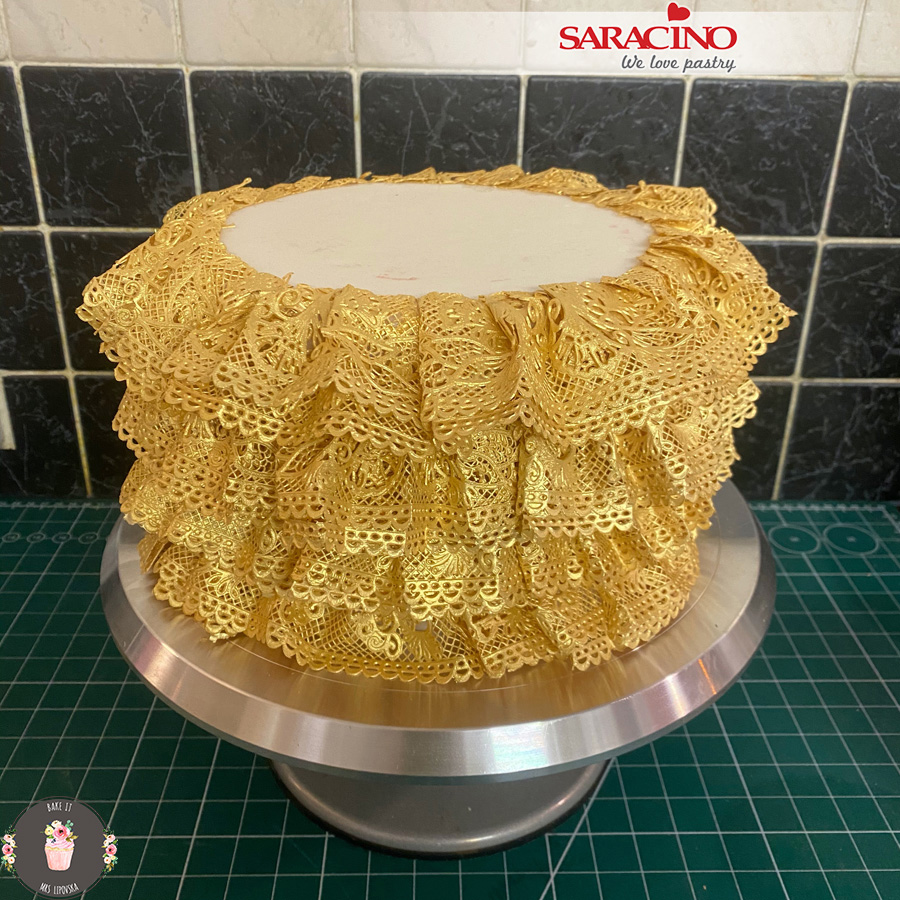
Step 20
Repeat this process keeping an even gap between lace bands. Continue until you fix a band around the top of the tier. You are aiming for a ruffle effect as shown.
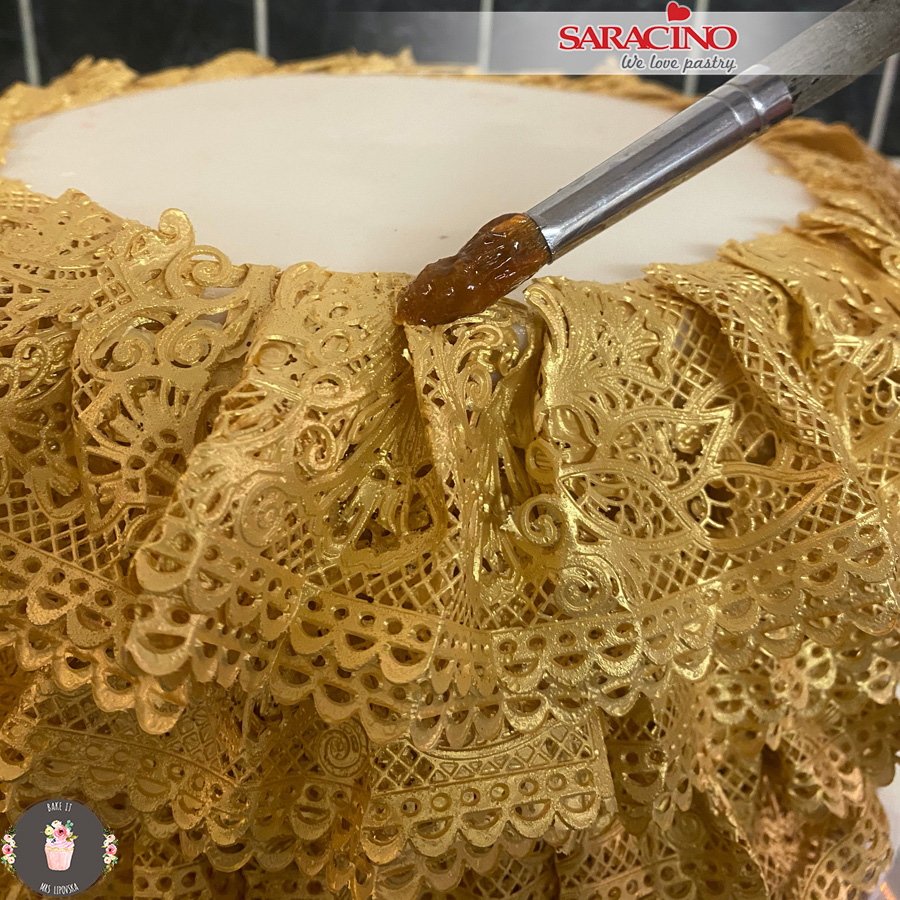
Step 21
Your top band should continue onto the top of the tier. Apply a little glue. Fix the pink centre tier over the lace so to cover the joint.
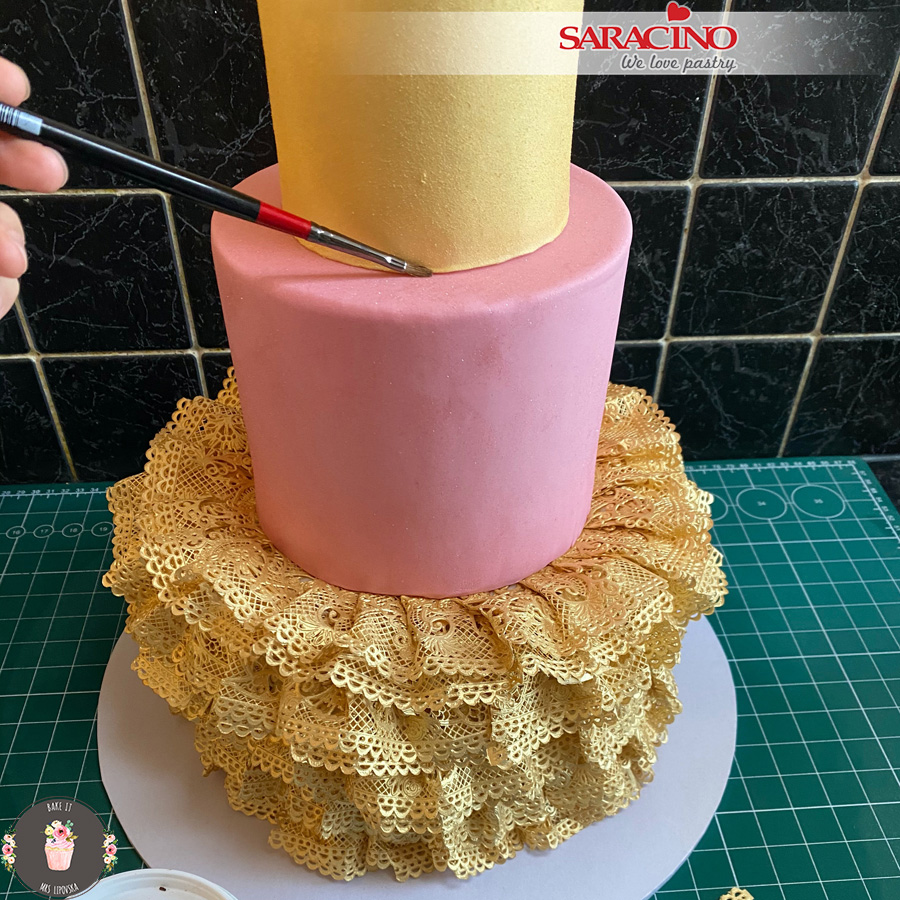
Step 22
Apply a little glue around the base of the gold top tier.
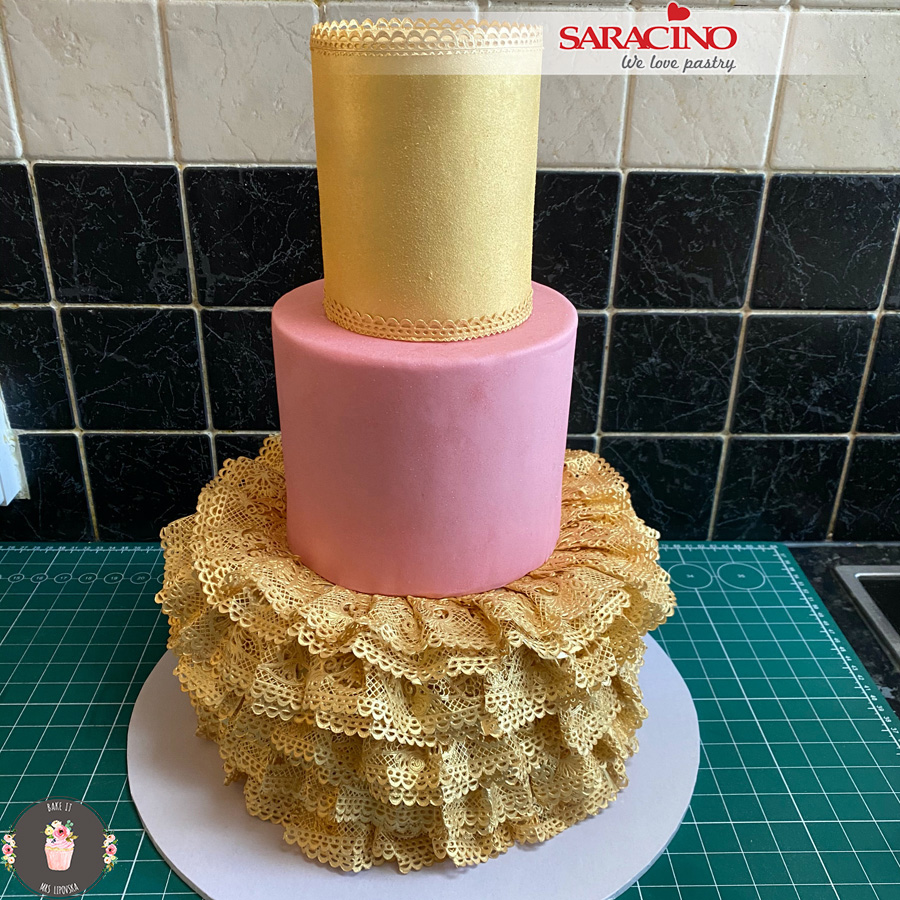
Step 23
Fix a lace trim around the bottom.
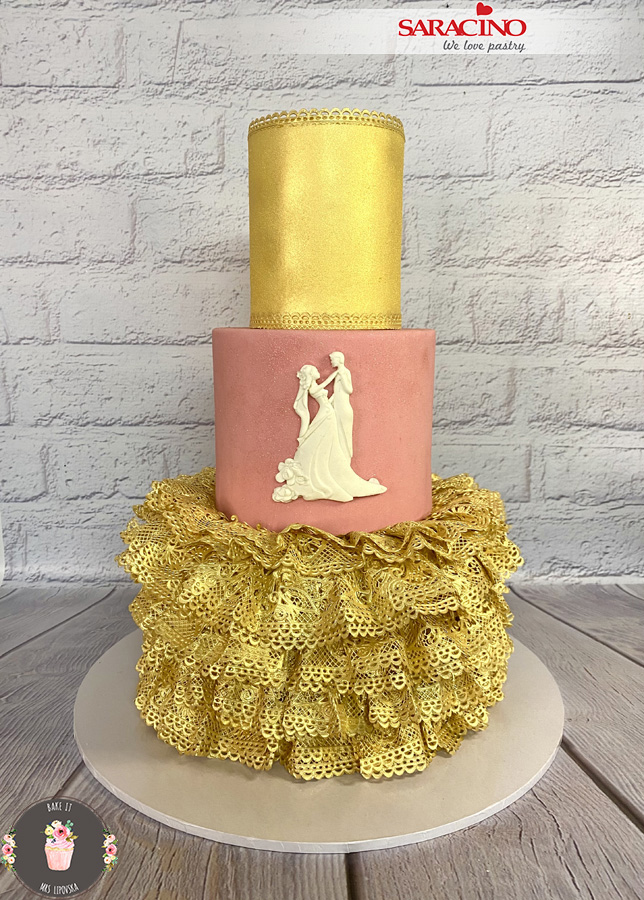
Step 24
Add a plaque or detail of your choice if required. Your beautiful cake is ready!


