

You will need:
Pasta Model Green
Pasta Model Pink
Pasta model Fuchsia
Pasta Model White
Saracino white powder colour
Saracino black powder colour
- Saracino pink powder colour
Saracino pink gel colour
Saracino blue gel colour
- Saracino silver glitter powder
- Cake Gel
- Straw
- Brushes – fine and flat
- Toothpick
- Clear Alcohol
- Scissors
- Small star cutter
- Small circle cutter

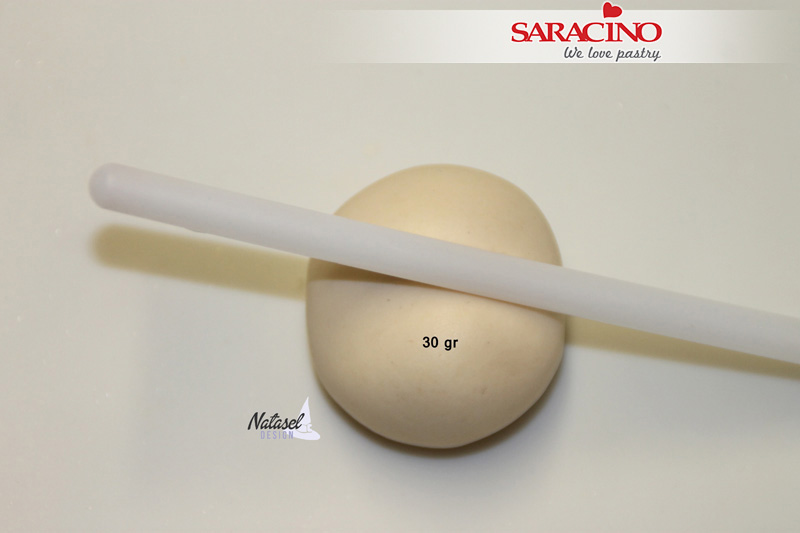
Step 1
For the head you will need 30g of skin modelling paste. Roll an egg shape and using one of your tools press approximately half way to create the eye area.
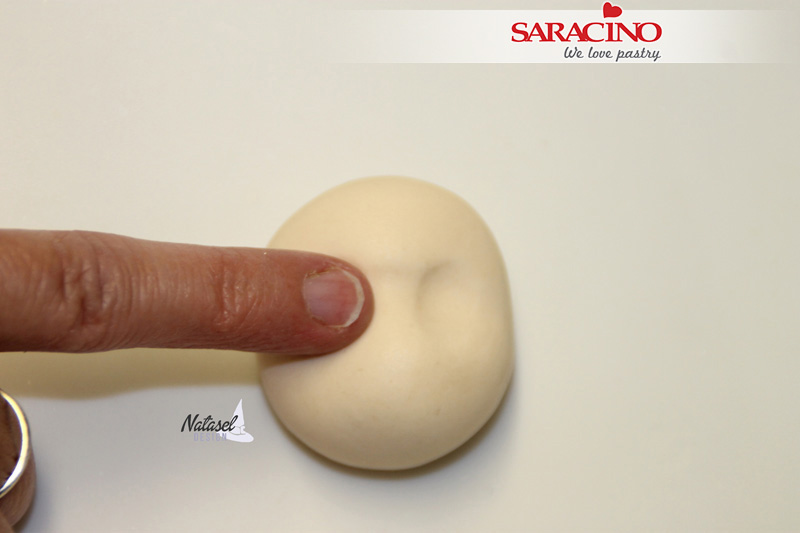
Step 2
Using your little finger or a ball tool pass two eye sockets gently into the eye area.
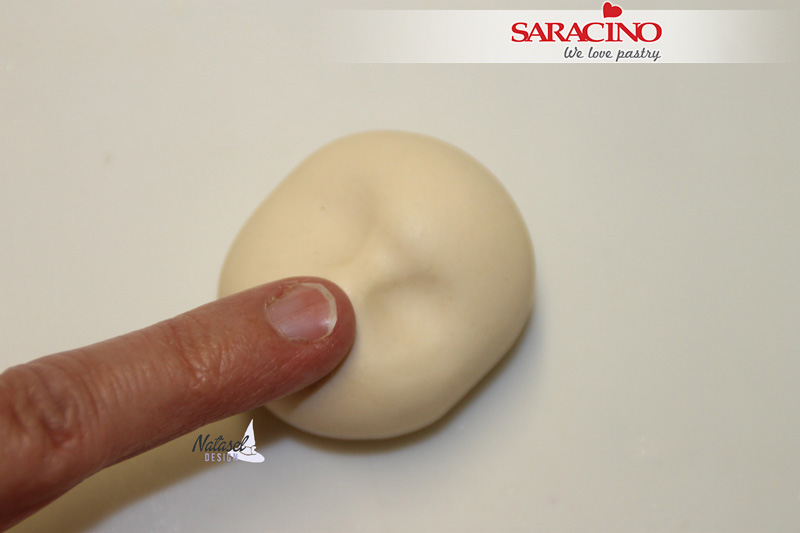
Step 3
Using your fingers press up gently to form the nose
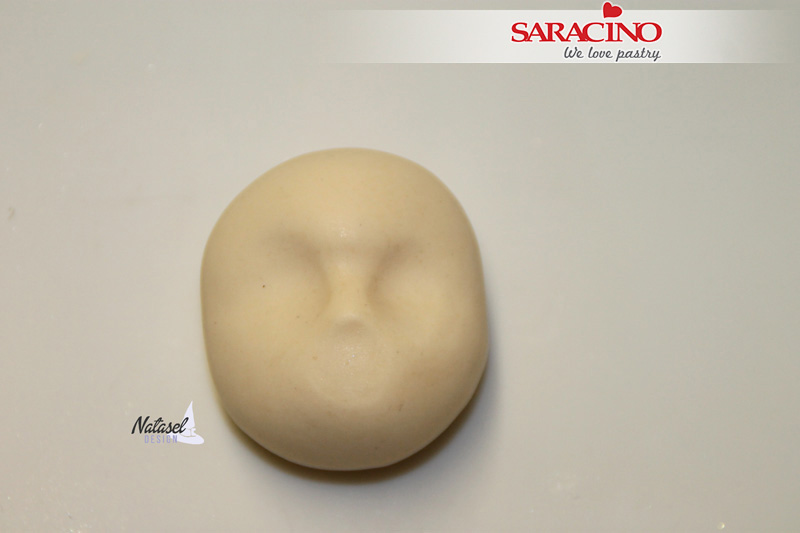
Step 4
Your face should look similar to this with an indent for the mouth area.
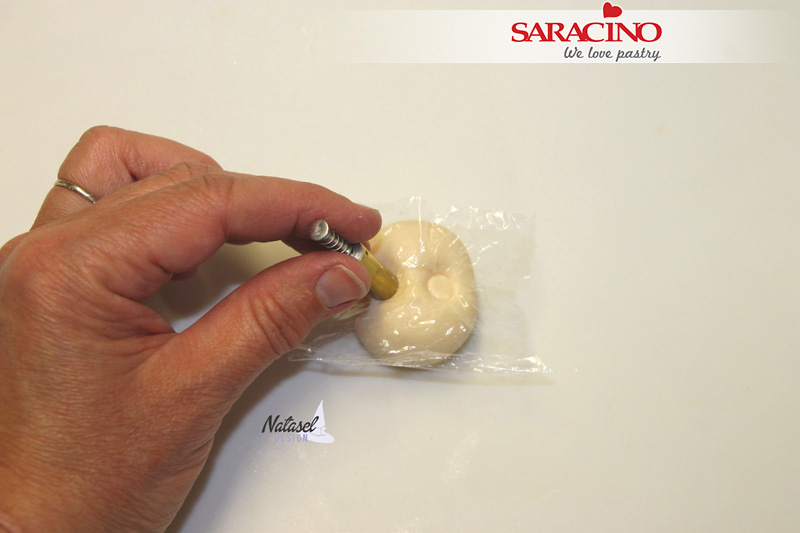
Step 5
Place a small piece of cling film over your face.Using a small round cutter indent the eyes through the cling film.
Tip – If you do not have a small enough round cutter you can use the end of a straw.
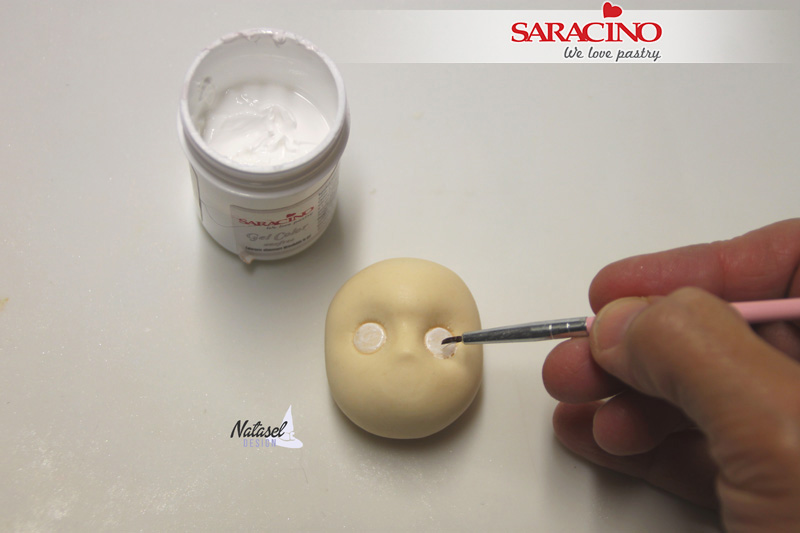
Step 6
Mix your white gel colour with a little clear alcohol. Paint the eye balls with a small brush.
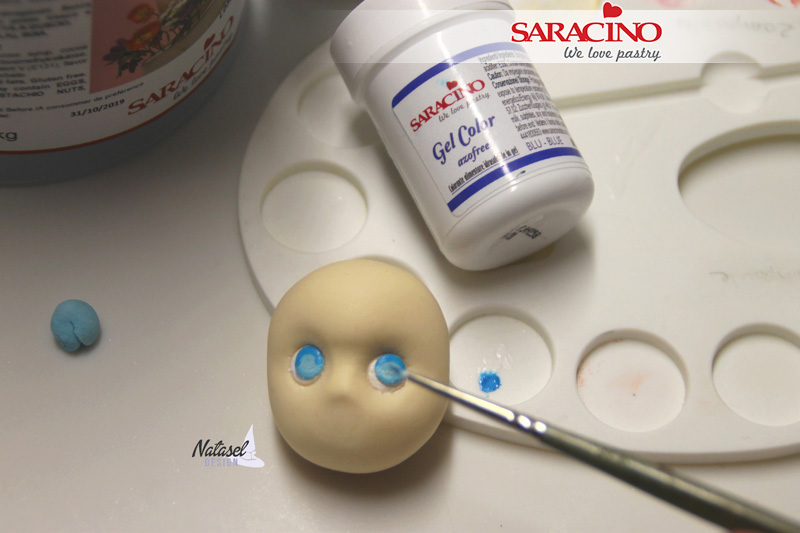
Step 7
Colour a little of your white paste with the blue gel colour. Roll a small ball and press with your finger to flatten. Place on the white eye balls. Now dilute some of the blue gel with the alcohol and using a small paint brush add highlight and shade around the blue area.
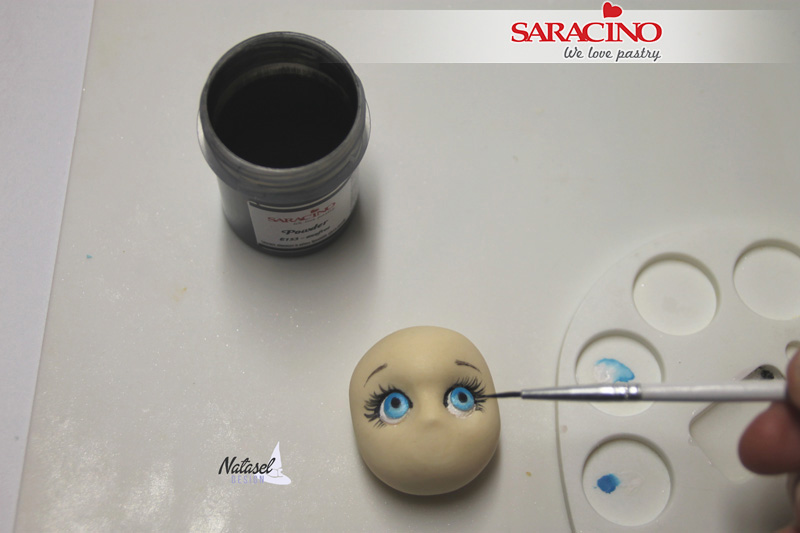
Step 8
Dilute some of your black powder colour with the clear alcohol. Using a fine paint brush paint the pupils, eyelashes and eyebrows.
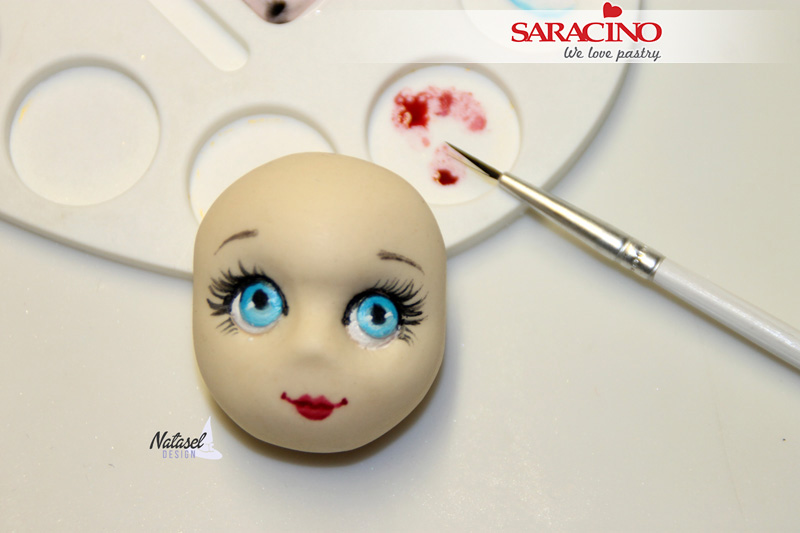
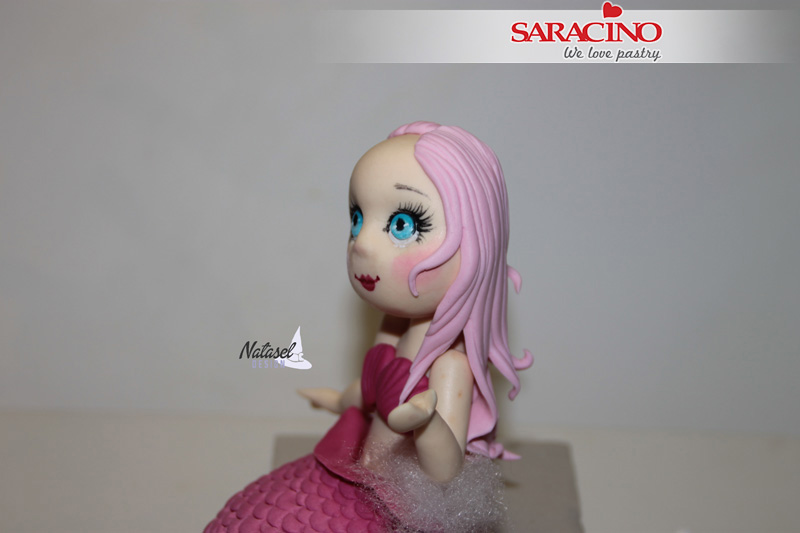
Step 9
Add two small dots of white colour to each eye. Now dilute pink powder colour with the clear alcohol and using a fine brush paint the lips.
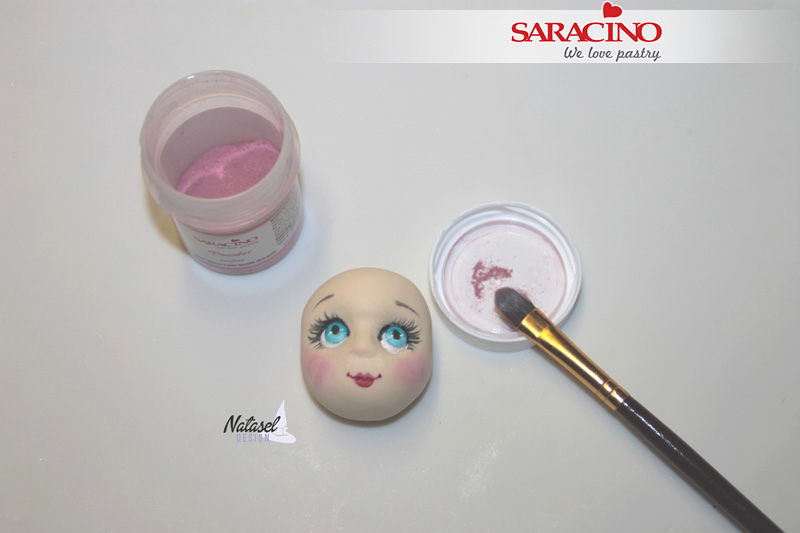
Step 10
Using your pink powder colour and a soft paint brush lightly dust the cheeks.
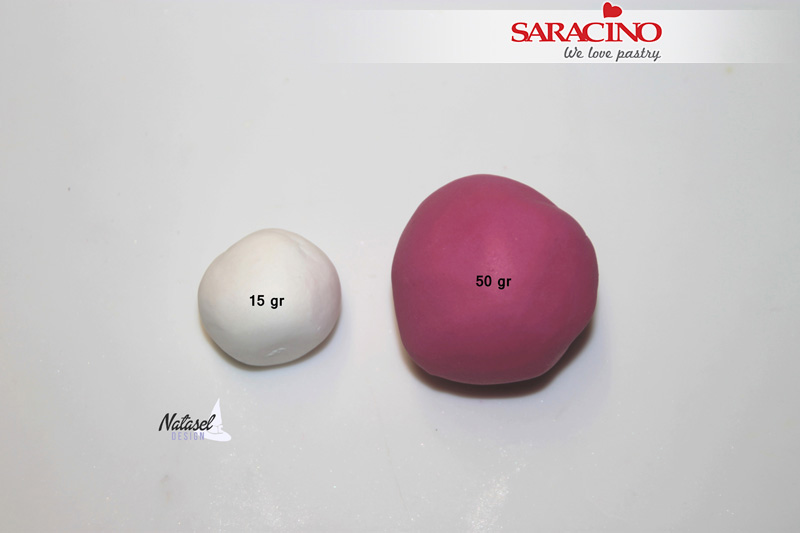
Step 11
Prepare 15g of white paste and 50g of pink paste.
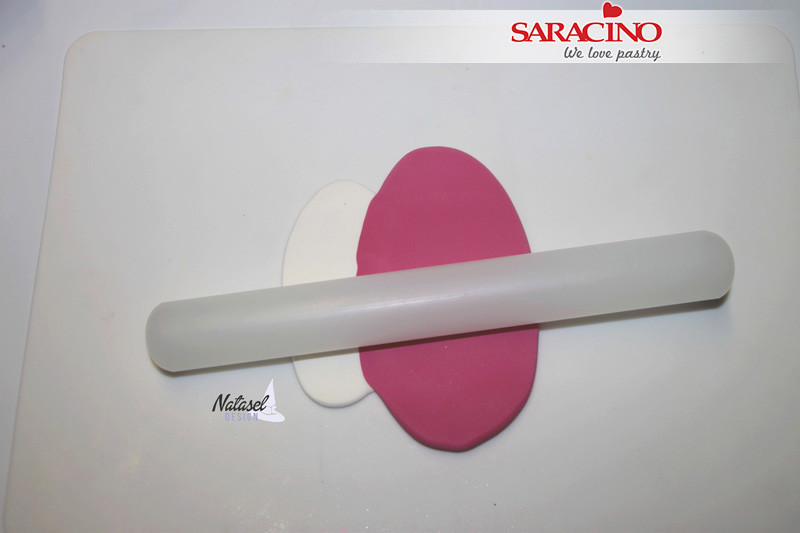
Step 12
Roll out each colour and overlap them. Fold down and roll again. We are achieving our colour blend.
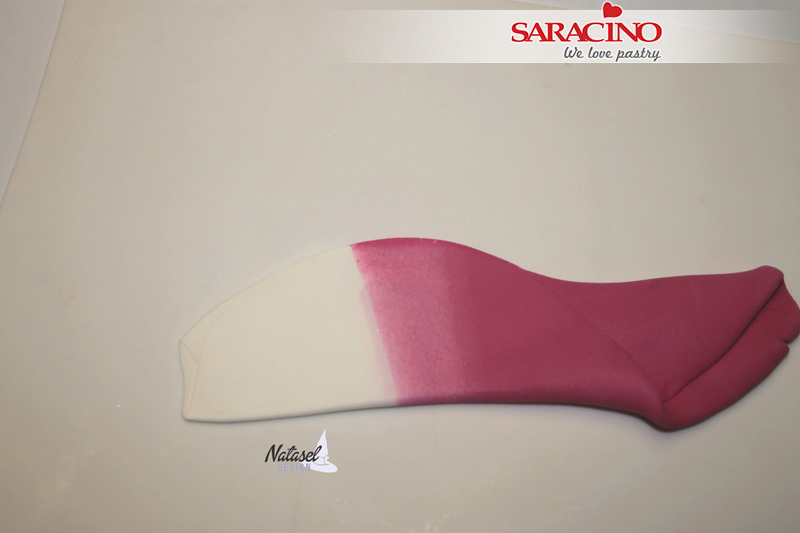
Step 13
Repeat the same process 5 or 6 times, until you get a gradient from pink to white.
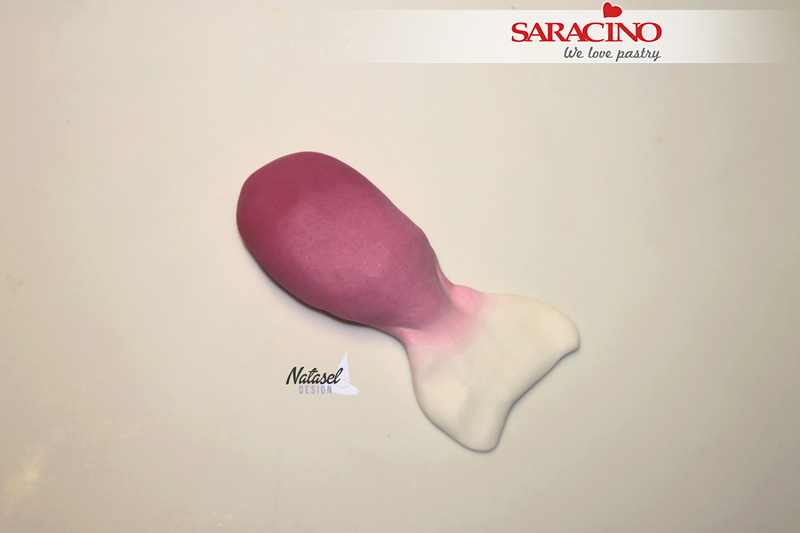
Step 14
Without mixing colours, shape the body and tail of the mermaid by forming an elongated pear shape ending in the thinner white for the tail.
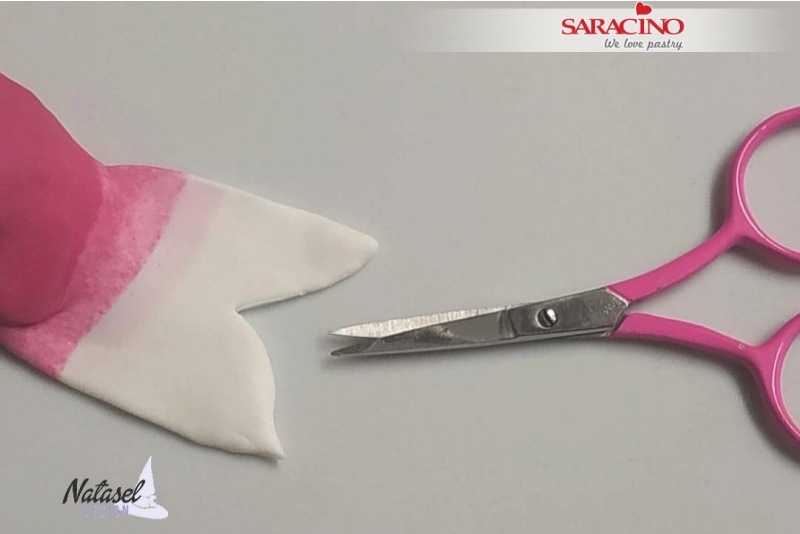
Step 15
Flatten the tail and using a small scissors or sharp knife cut the tail shape.
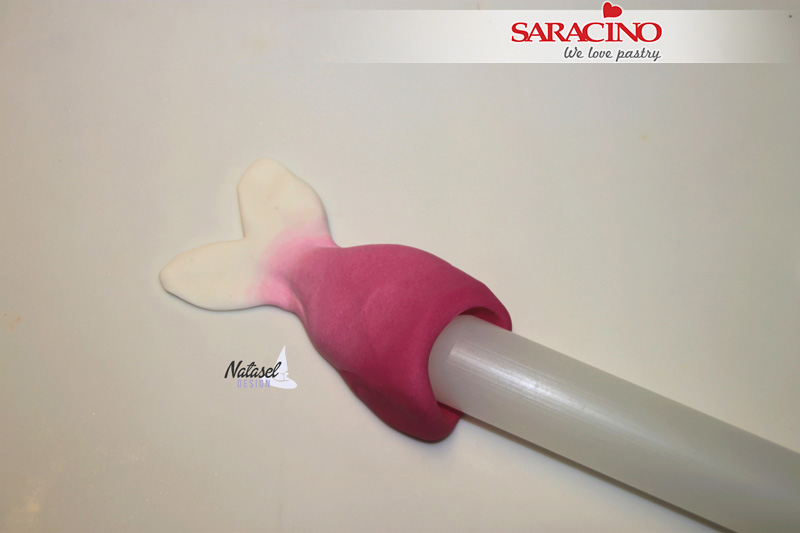
Step 16
Using the end of a rolling pin push down into the top of the pink to create a dent. Round the edges of the tail as shown.
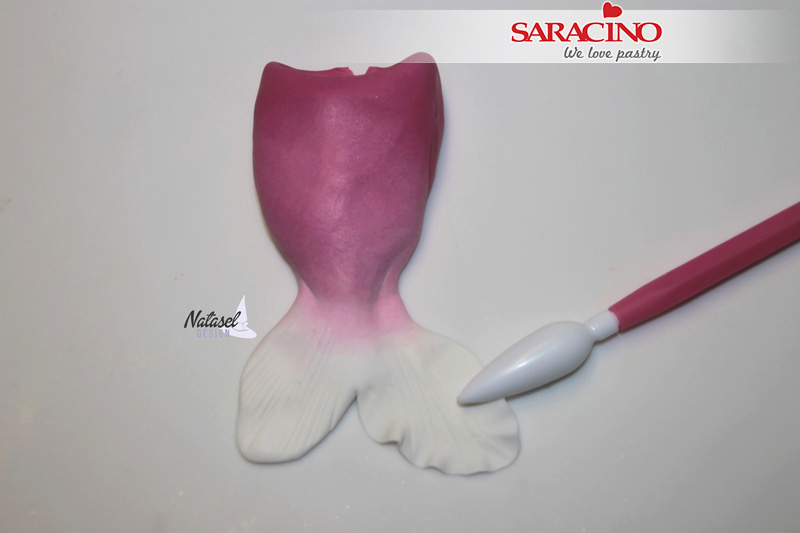
Step 17
Use your Dresden tool to add lines / texture to the tail. Now use a ball tool or similar to roll out and thin all the edges to create a more natural appearance.
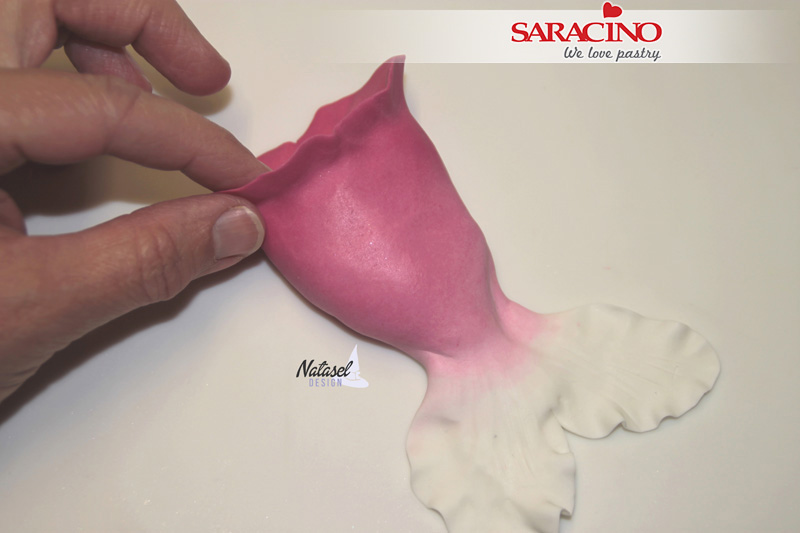
Step 18
Pinch the edge of the upper hollow.

Step 19
Trim your straw, and mark the scales of the tail.
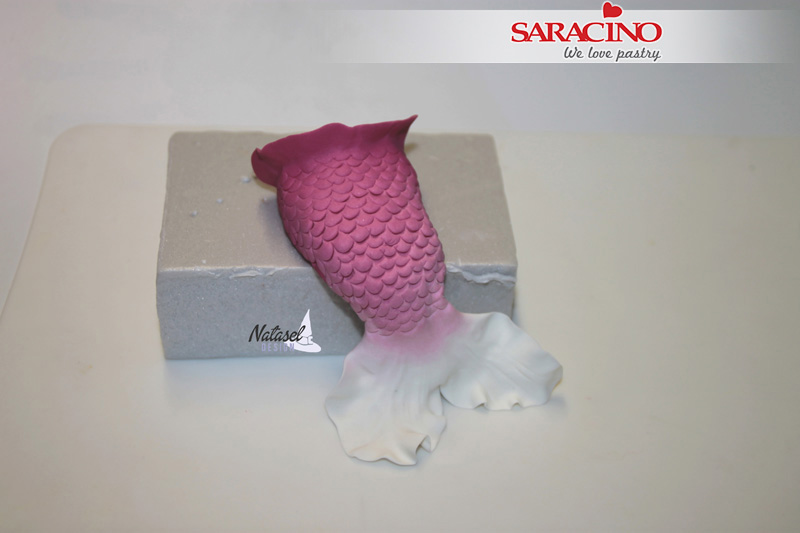
Step 20
Shape the tail area into a sitting position on a piece of polystyrene or something similar. The sitting position should match how you want it to appear on your cake.

Step 21
Using 40g of skin tone modelling paste roll a pear shape for the body. Using your fingers gently roll out and form a neck.
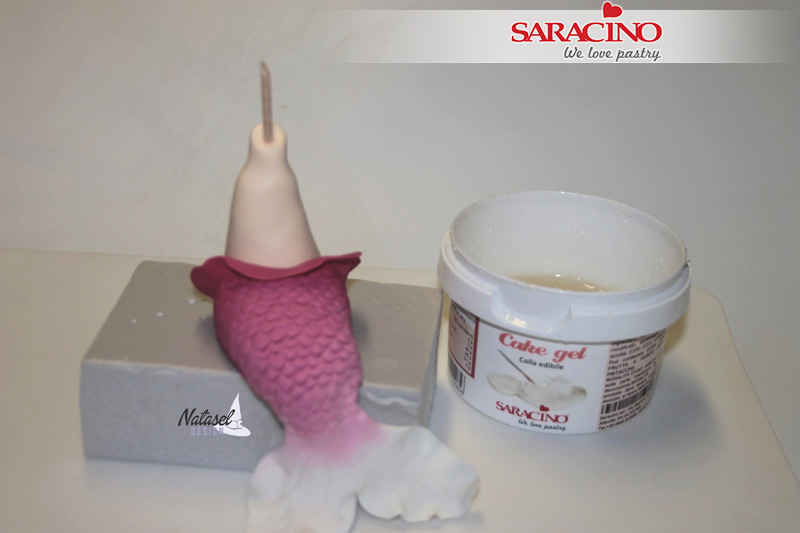
Step 22
Using a little cake gel fix the body into the top of the tail / lower body. Insert a cocktail stick into the neck ready to attach the head.
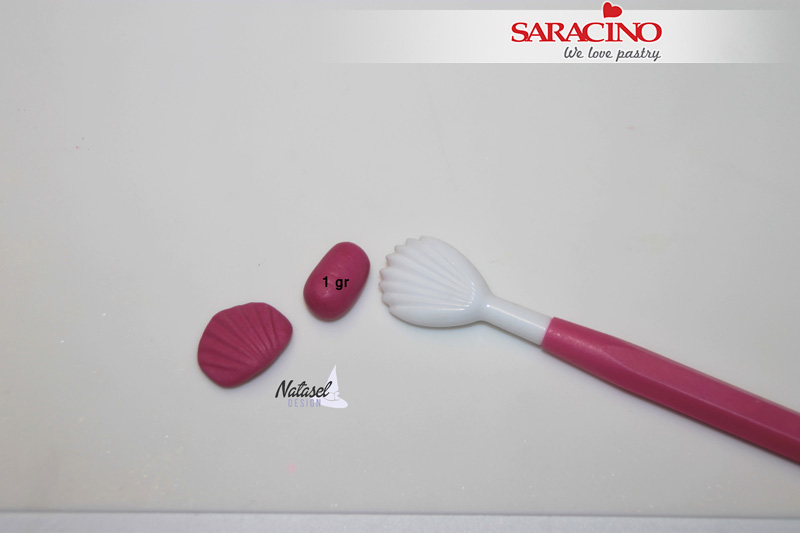
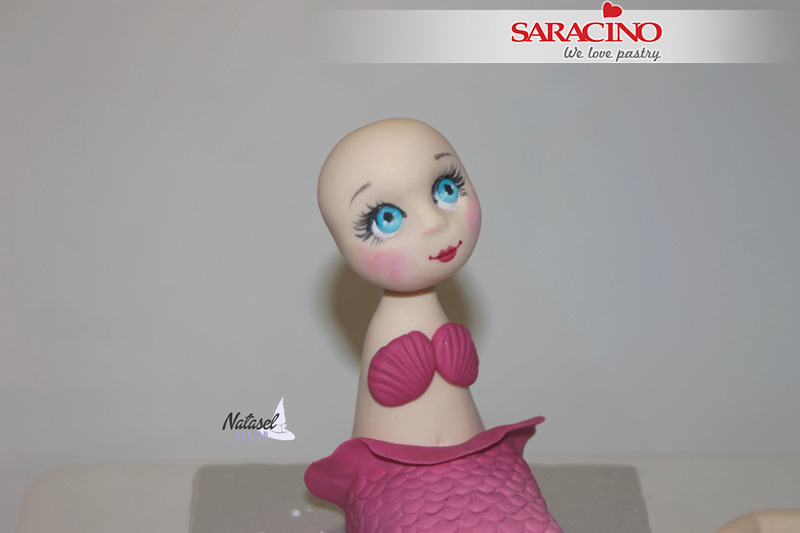
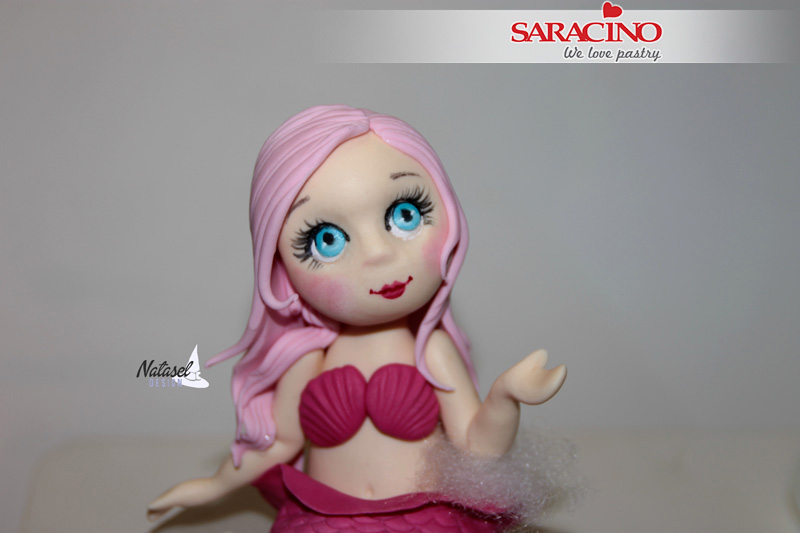
Step 23
Model two 1g fuchsia ovals, flatten them with the shell tool to form the bra of the swimsuit.
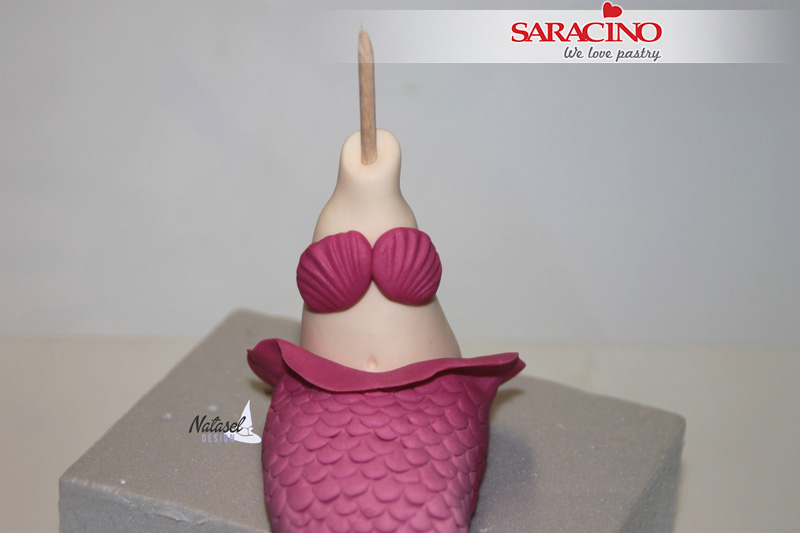
Step 24
Glue to the chest area.
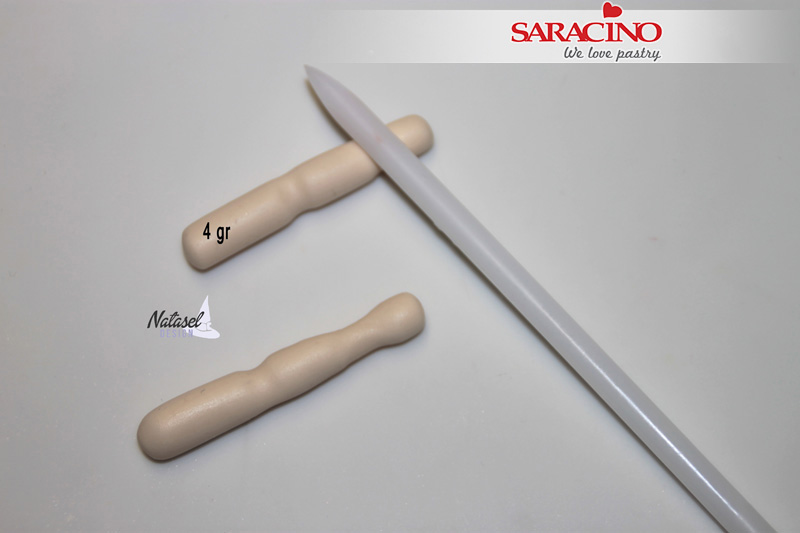
Step 25
Using 4g of skin modelling paste roll out a sausage shape. You will need two (one for each arm). Now form the elbow and wrist joints using your modelling tool.
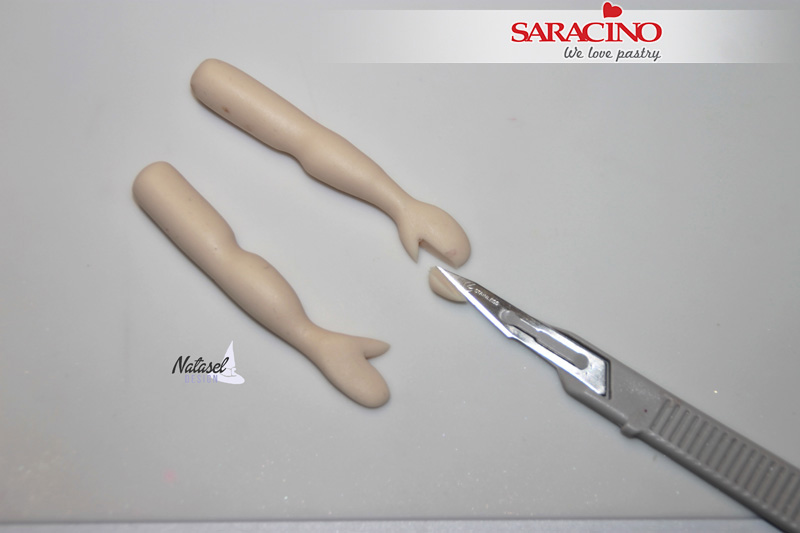
Step 26
Flatten the hands and cut a triangle to form the thumbs.
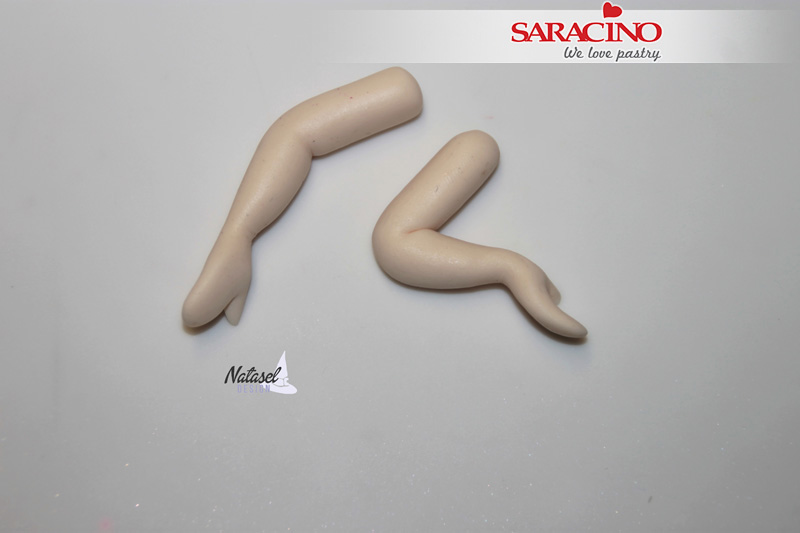
Step 27
Bend your arms to give them their final position.
Step 28
Attach the head to the body
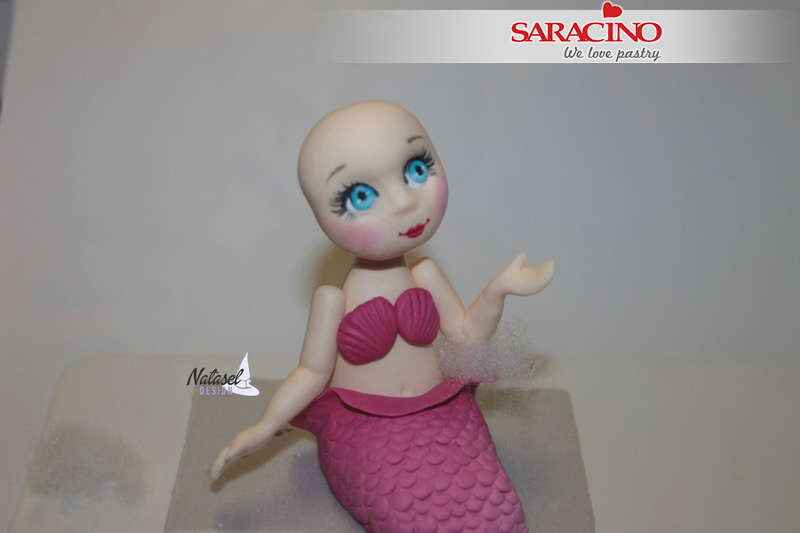
Step 29
Attach arms in the position you require. The left arm will need to be outstretched as this will be holding your oyster shell.
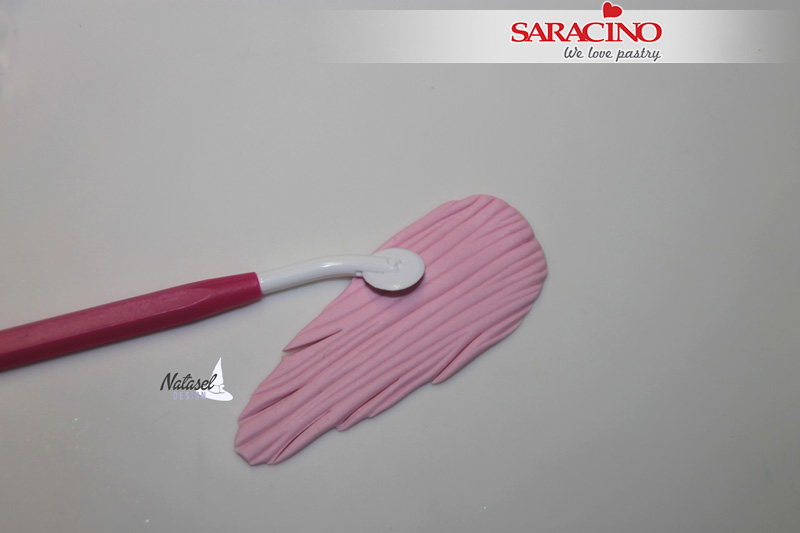
Step 30
For the hair you will need to mix a little pink paste with white paste to form light pink. Roll out thinly to approximately 6cm long and then add definition using your Dresden tool or other sharp tool.
Step 31
Attach the first piece to the back of the head. Now using a sharp knife or scissors form the separate locks of hair. Shape to give a curl and a little character.
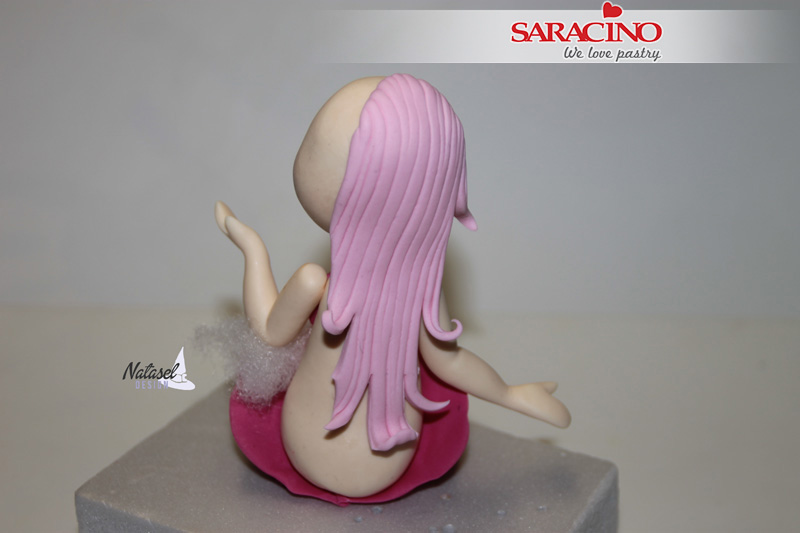
Step 32
Repeat this process around the head. The hair is to cover the shoulders.
Step 33
You can use thinly rolled individual strands to finish off the hairstyle as you desire.
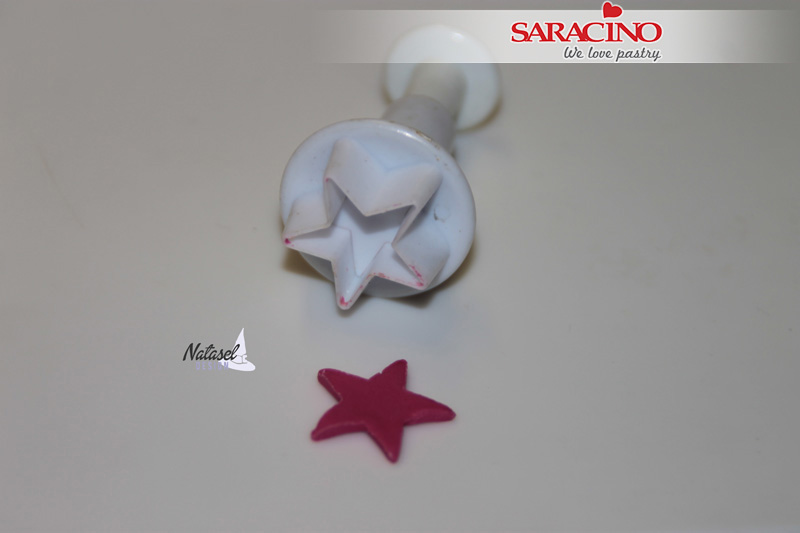
Step 34
Using your fuchsia paste roll out thinly. Now with your small star cutter cut out a star shape.
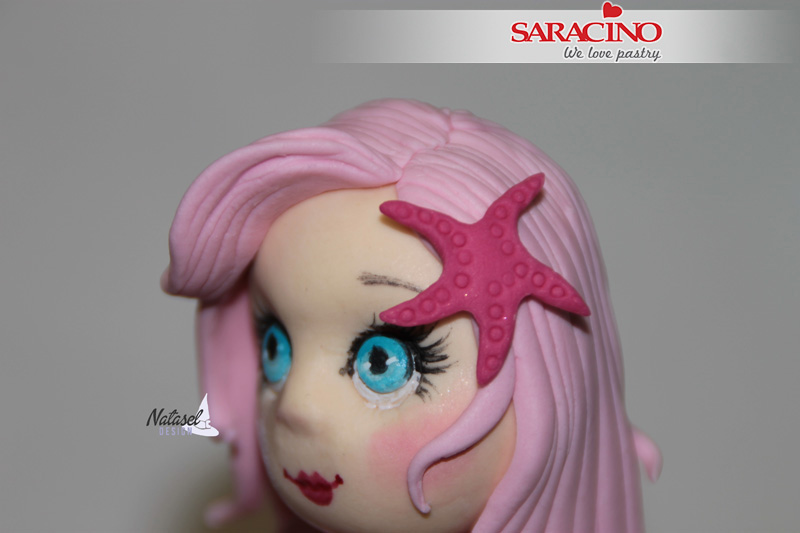
Step 35
Shape to create a starfish. Add texture using the end of a small piping nozzle. Fix to the Mermaids head.
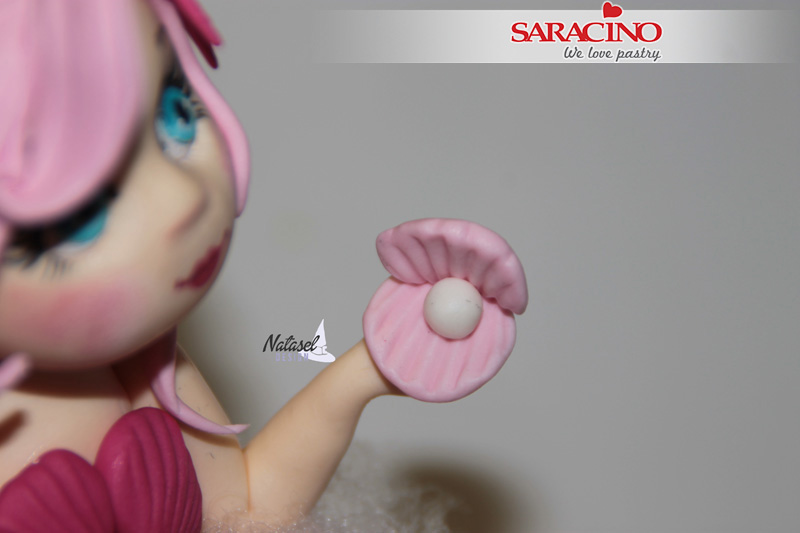
Step 36
Make the oyster shells with a white pearl in the centre using the same technique as for the bra. Attach to the hand.
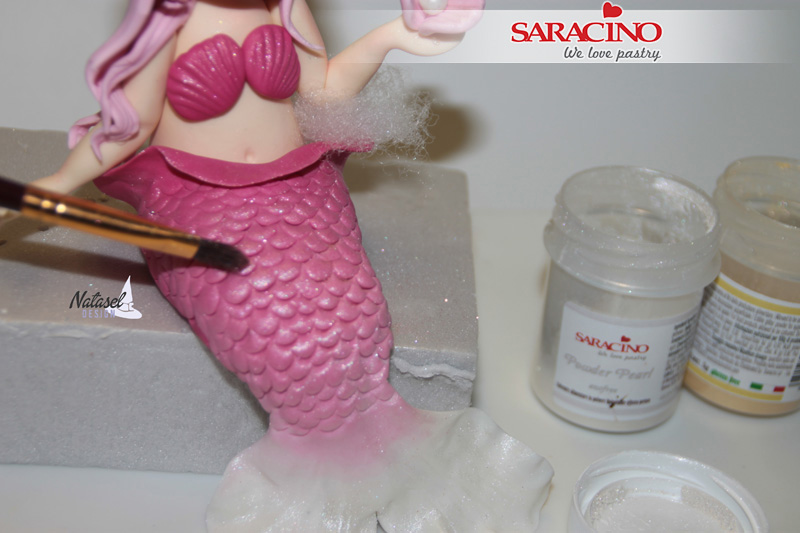
Step 37
Using your silver powder colour and a soft brush lightly dust the tail. Using the white gel colour and a fine brush add detail to the bra and the starfish.
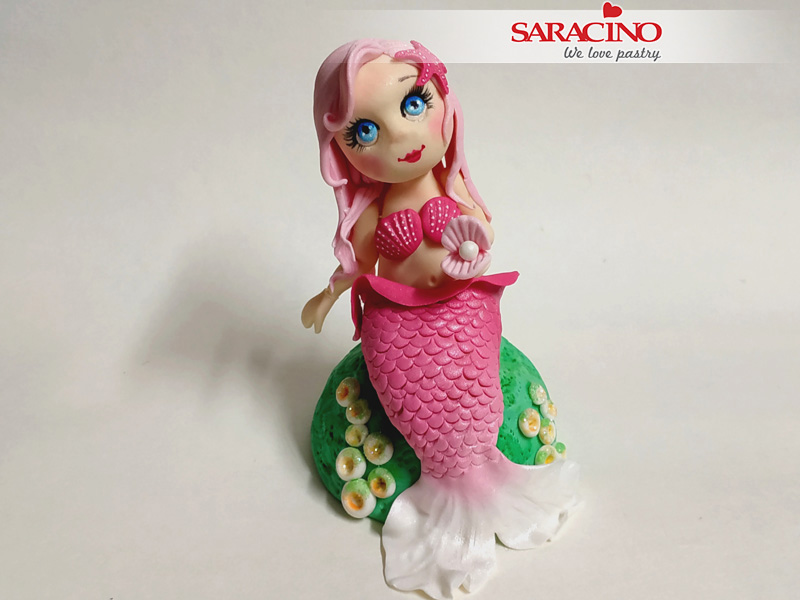
Step 38
TA DA! Your mermaid is finished!
