

You will need:
- Skin tone Saracino modelling paste
- White Saracino modelling paste
- Black Saracino modelling paste
- Skin tone Saracino dust powder
- Red Saracino airbrush colour
- Blue Saracino airbrush colour
- Brushes
- Modelling tools including wire cutters / pliers
- 0.50 Saracino wafer paper
- White flower wire different thickness
- Wooden cocktail stick
- Water
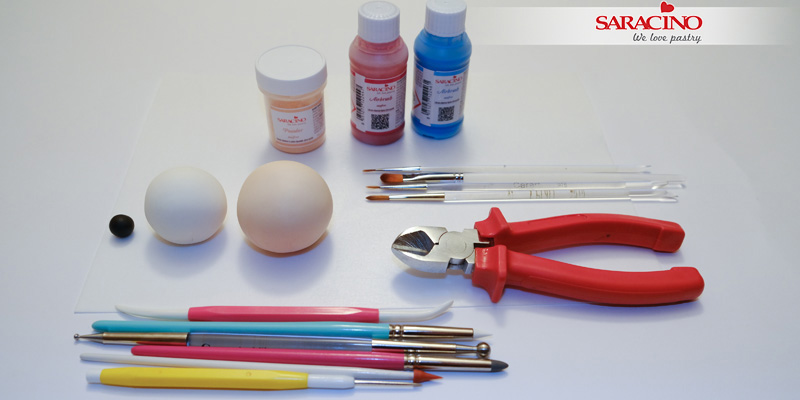
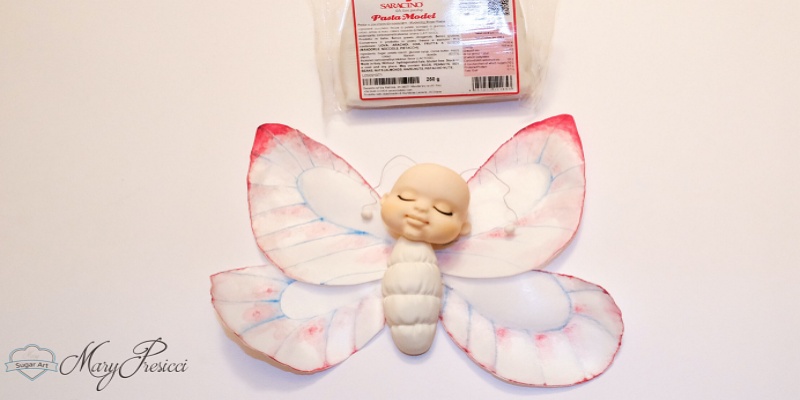
Step 1
This is everything you will need to create this baby butterfly
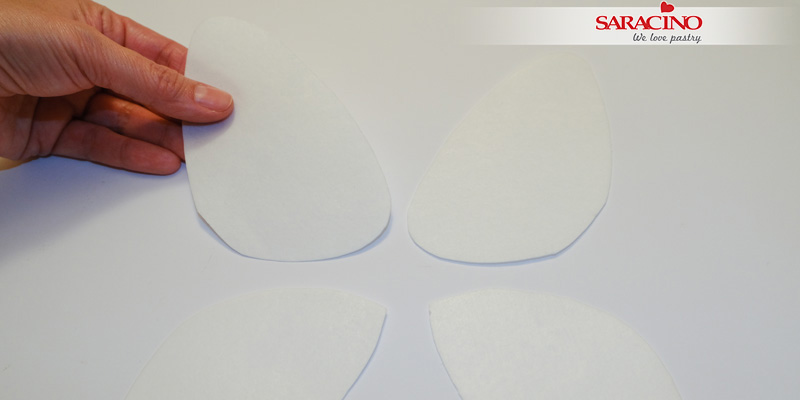
Step 2
Cut out the wings to your preferred shape using the wafer paper
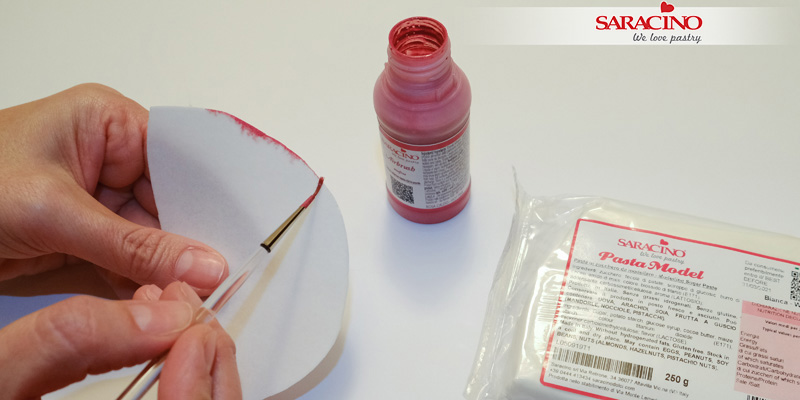
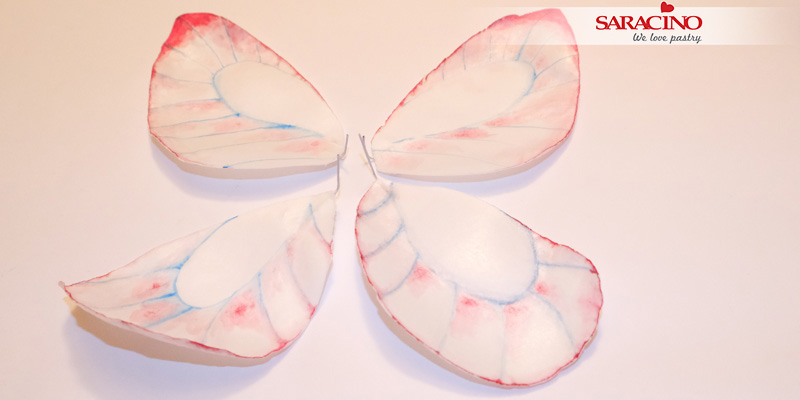
Step 3
Paint the edges of the wings with the hot pink airbrush dye and the internal parts with the blue
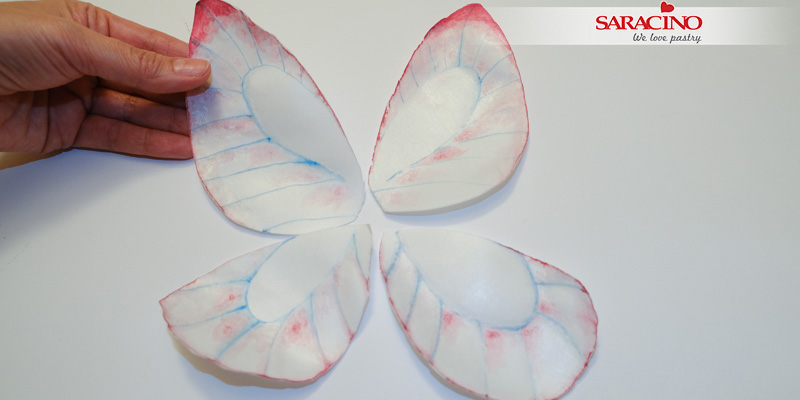
Step 4
Prepare the four wings in the same way
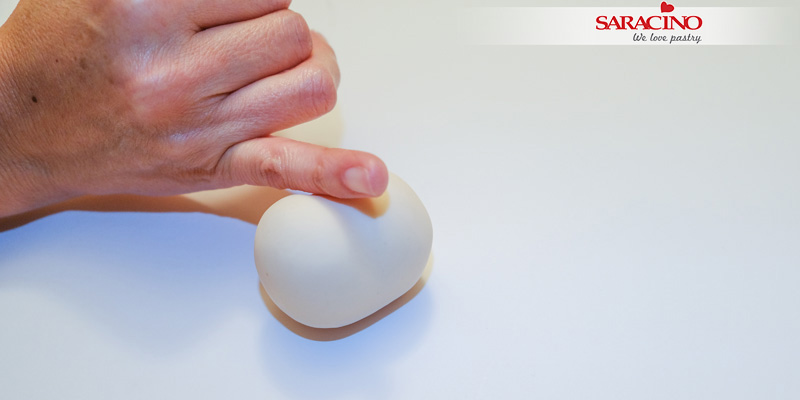
Step 5
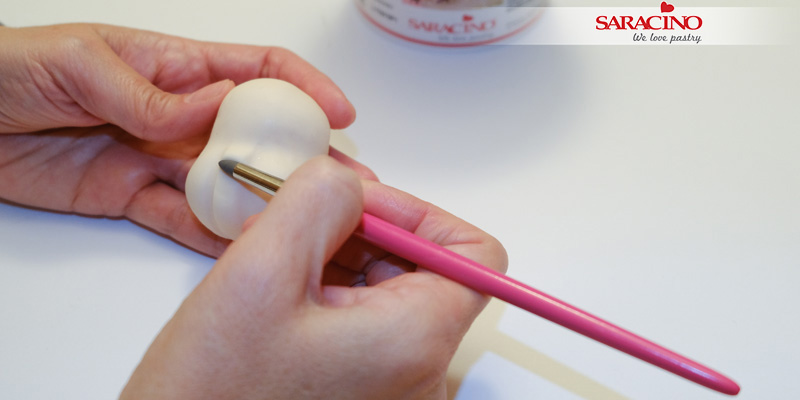
Prepare the head using the skin coloured modelling paste. Roll an oval shape and form a groove in the centre
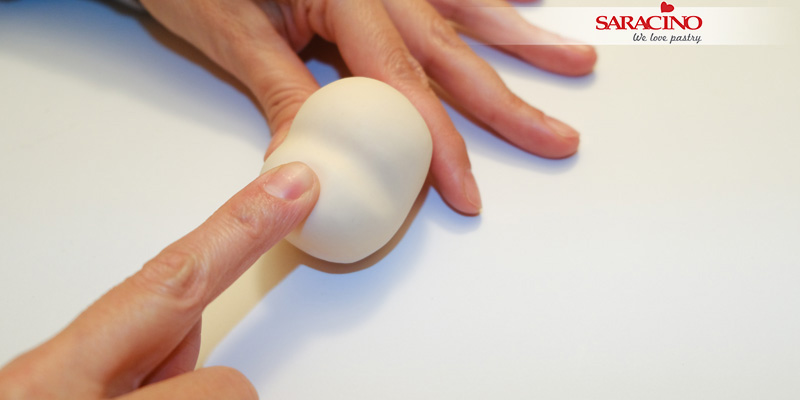
Step 6
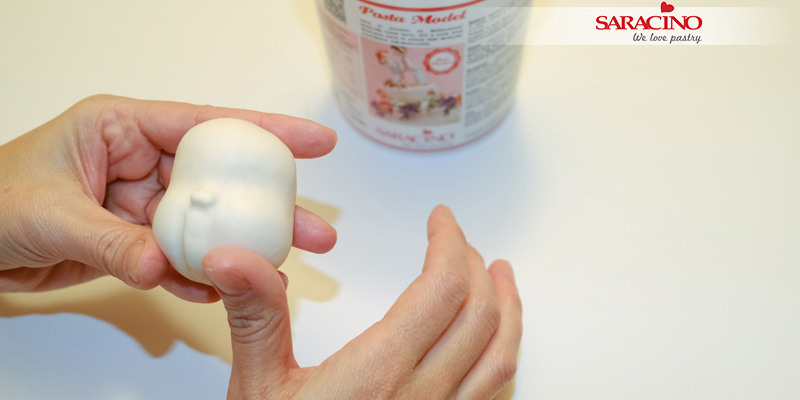
Using finger pressure make an indent for the mouth area. Pushing some paste gently up to help form a nose
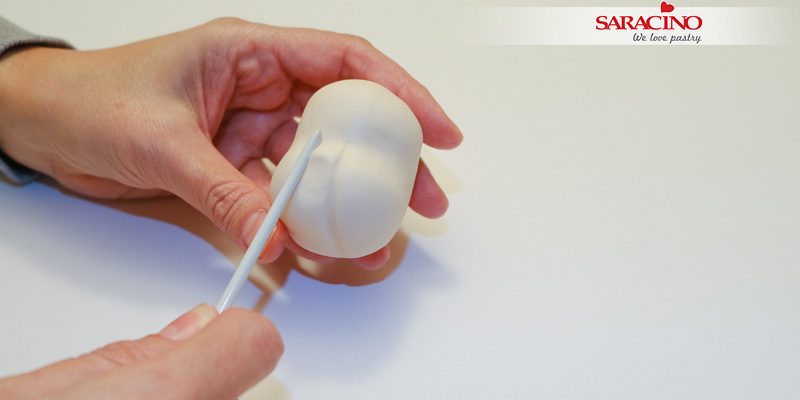
Step 7
With your Dresden tool mark the sides of the nose and continue the lines down to the chin
Step 8
Form the nose using a silicone tipped tool
Step 9
Using finger pressure give the cheeks a rounded look.
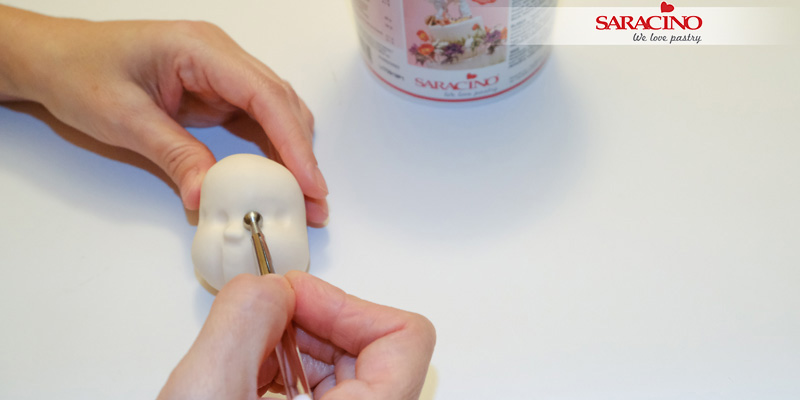
Step 10
With a ball tool define the eye area
Step 11
With your silicone tool or a Dresden tool create grooves as shown

Step 12
Using your Dresden tool define the eyelids
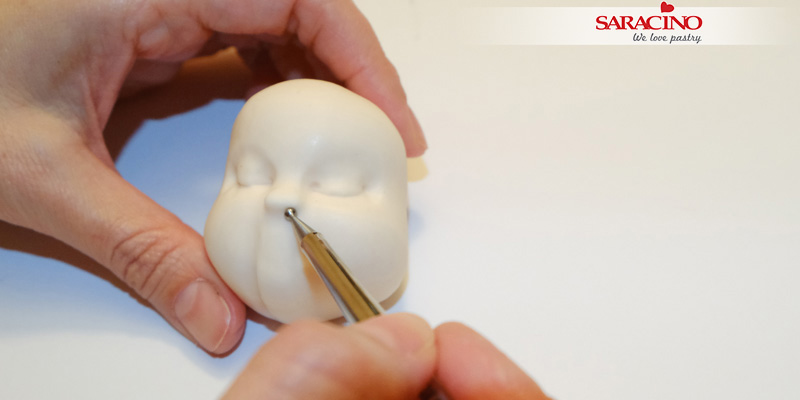
Step 13
With a small ball tool define the nostrils
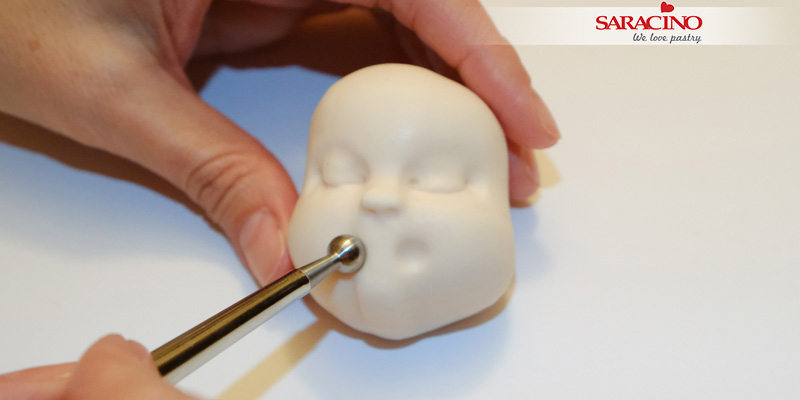
Step 14
Mark the ends of the mouth using a ball tool
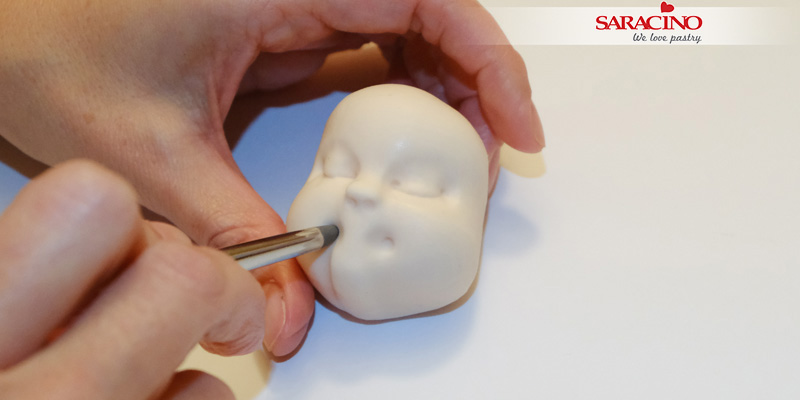
Step 15
Using your silicone tool press to form two small indents
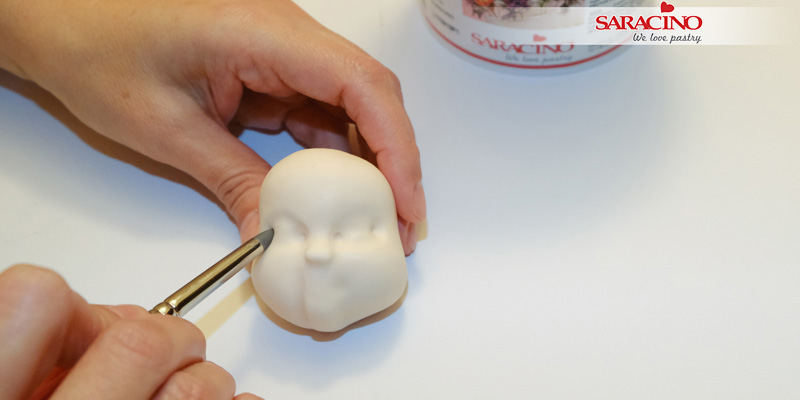
Step 16
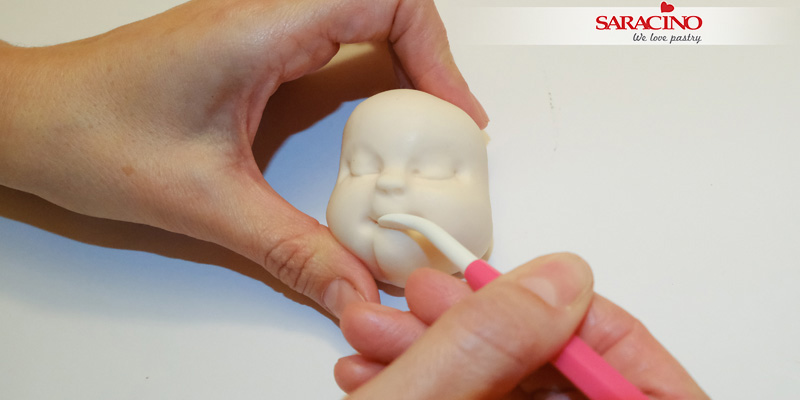
Using your Dresden tool join the two ends of the mouth and form the upper lip
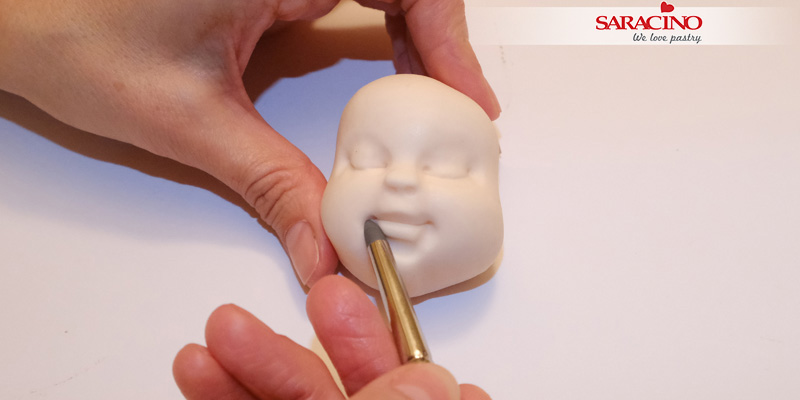
Step 17
Using your silicone tool form the lower lip
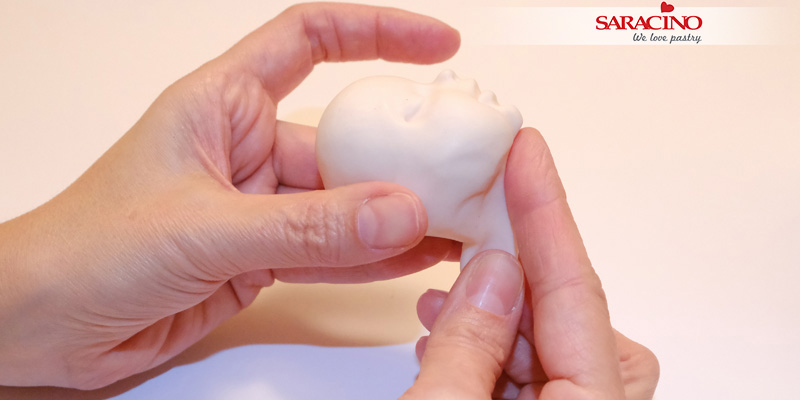
Step 18
Using your fingers form the neck and push the chin forward
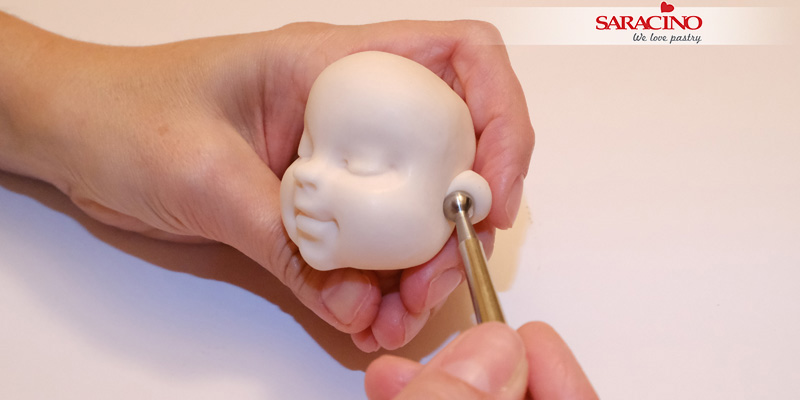
Step 19
Use two small balls of modelling paste to create the ears
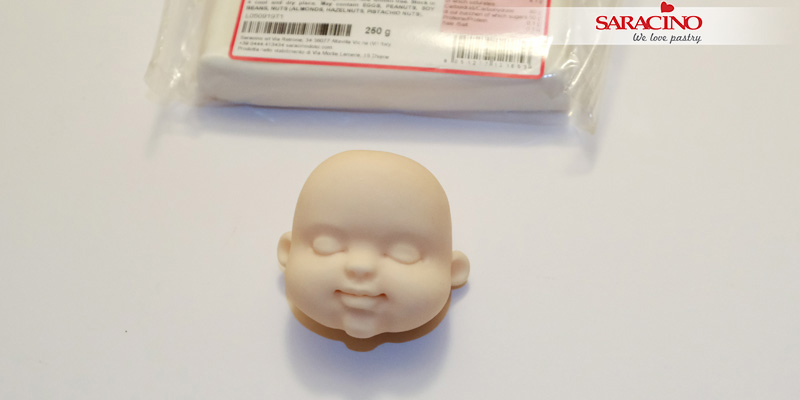
Step 20
The face is ready to be coloured
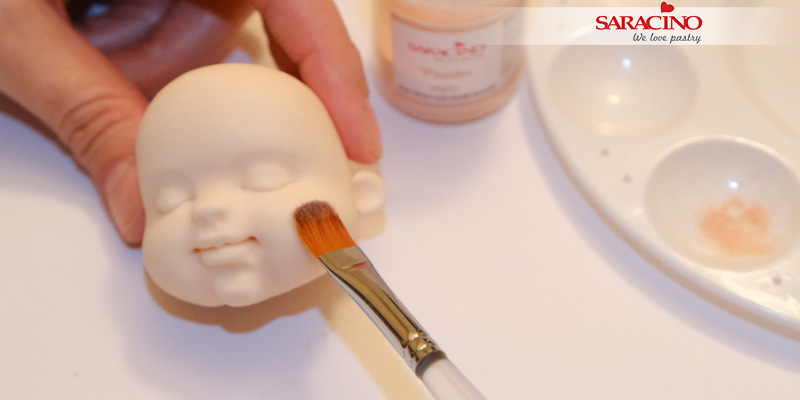
Step 21
Using a soft brush and the skin coloured Saracino dust lightly brush the cheeks
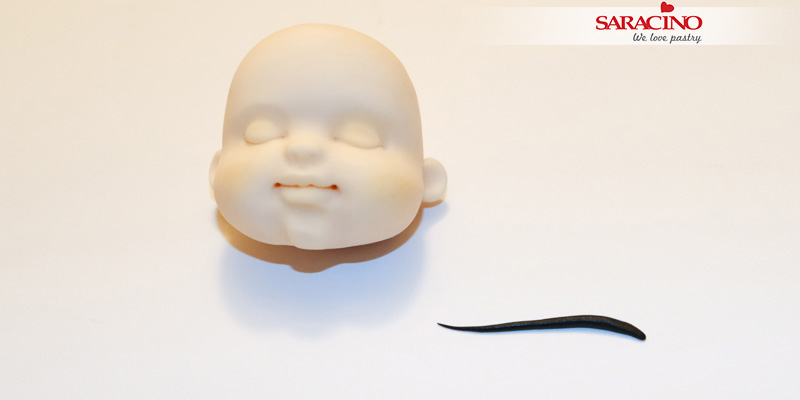
Step 22
Roll a small piece of black modelling paste very thinly to make the eyelashes
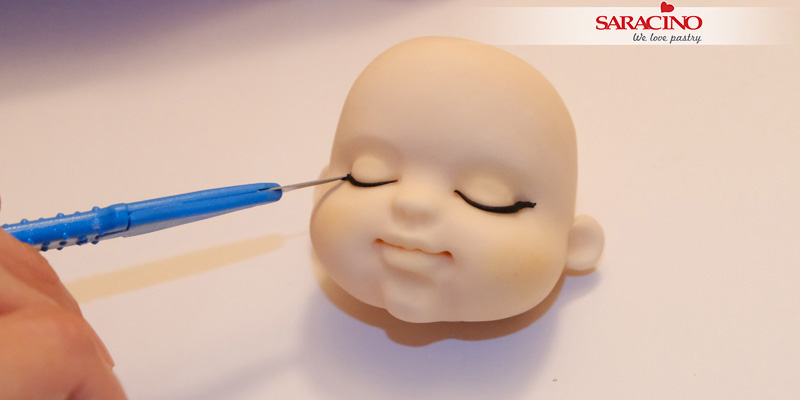
Step 23
Cut off a small piece and attach to the eyelid
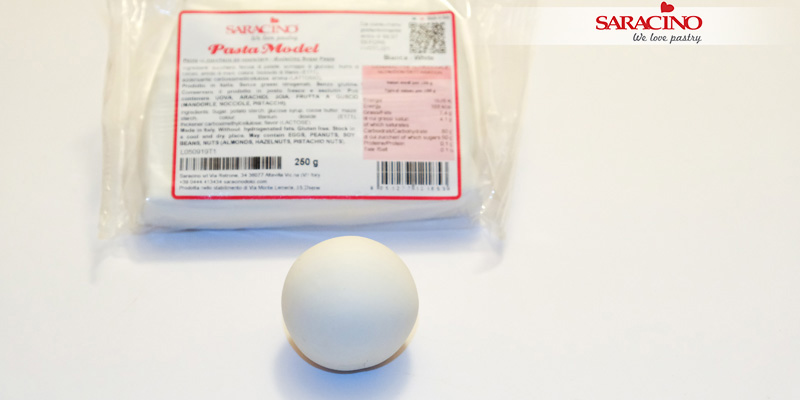
Step 24
Using the white modelling paste roll a ball shape

Step 25
Roll the ball in your hands to form an elongated egg shape

Step 26
Using your Dresden tool form markings on the body as shown
Step 27
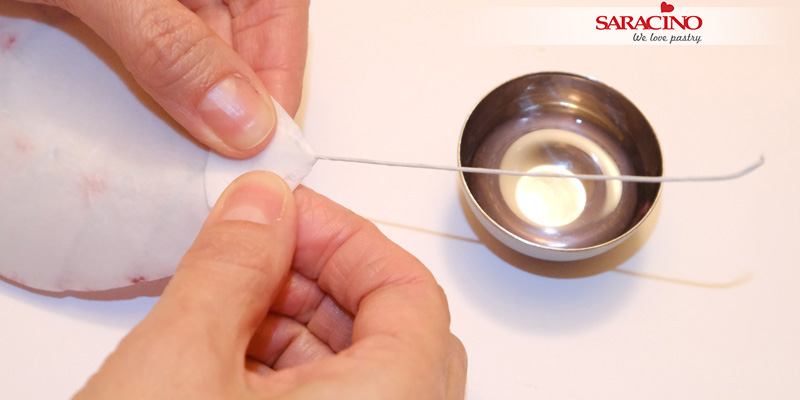
Using a little water attach your flower wire to the wafer paper wings
Step 28
Repeat this for all four wings
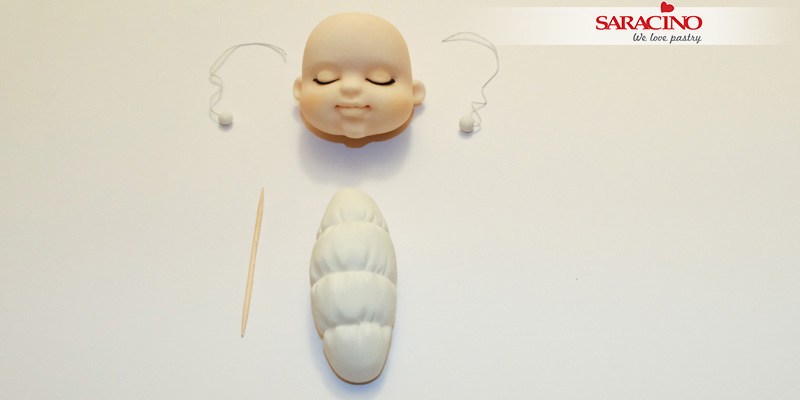
Step 29
Roll two small balls of white modelling paste. Cut two small lengths of thin flower wire and feed each into the small balls.
Step 30
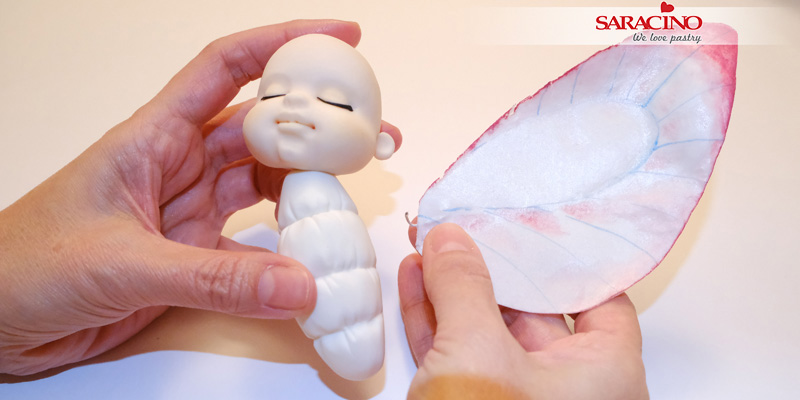
Using your cocktail stick attach the head to the body. Feed the end of the wing flower wire into the body.
Step 31
Repeat this for all four wings. Attach each antenna to the head. Your cute baby butterfly is now ready!
