
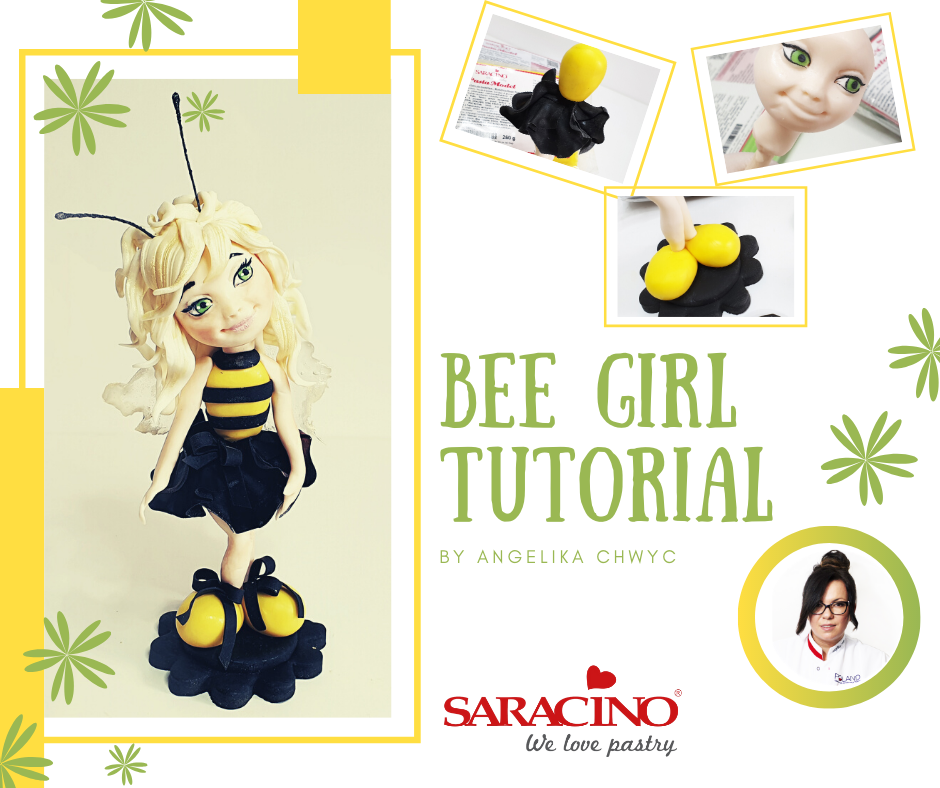
Author: Angelika Chwyc
Skill level: INTERMEDIATE
TIP:
If you prefer to model using Saracino pasta model only use ready mixed colours. If you want to mix your own coloured pastes (Pasta model and Chocolate) use Saracino colours – I present this in the tutorial.
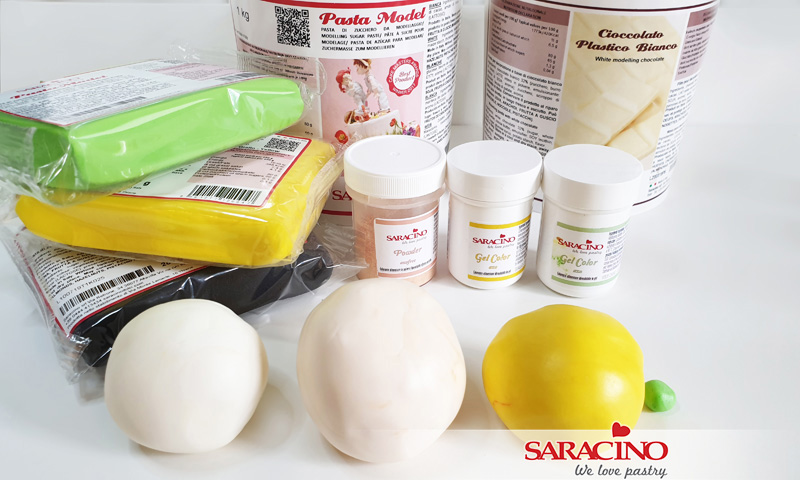
You will need:
- Saracino white modelling paste
- Saracino white modelling chocolate
- Saracino black modelling paste
- Saracino yellow modelling paste or yellow gel colour
- Saracino light green modelling paste or light green gel colour
- Saracino skin tone powder colour
- Saracino light gold powder colour
- Saracino purple gel colour
- Craft knife or scalpel
- Rolling pin
- Large brush
- Small brush
- Cocktail sticks and wooden skewer
- Florist wire
- Tool with a sharp point
Step 1
Mix white modelling paste with modelling chocolate. Mix in a ratio of 1:1 and divide into three (the colour will be slightly beige). Then colour each piece/ Two of the balls with skin colour, one ball with yellow and a small green ball.
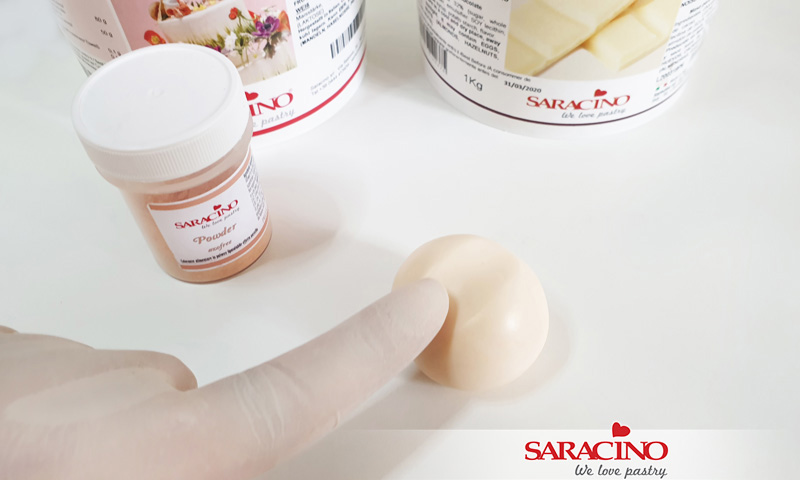
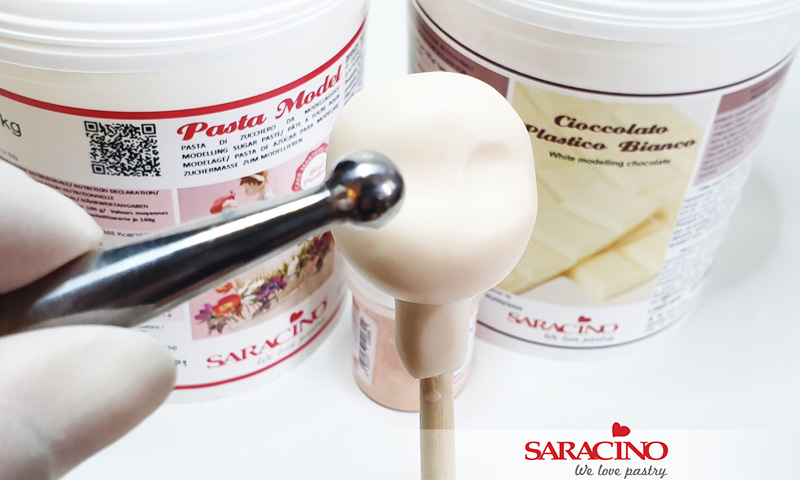
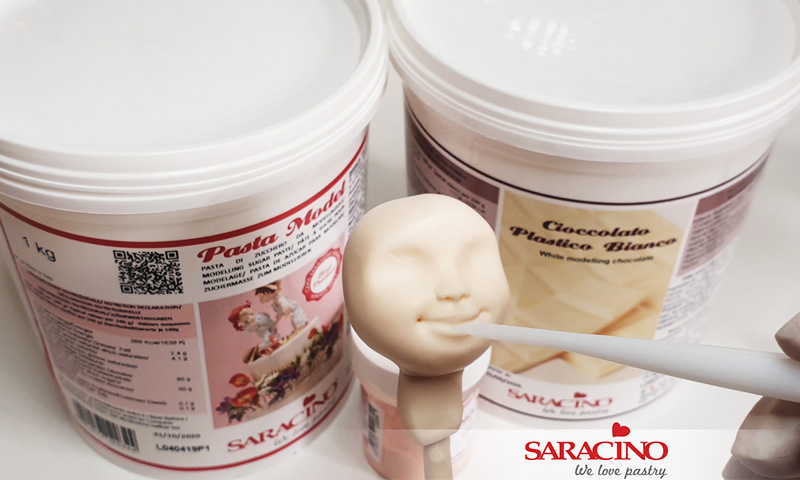
Step 2
Form an oval shape and with your finger form a dent across the centre

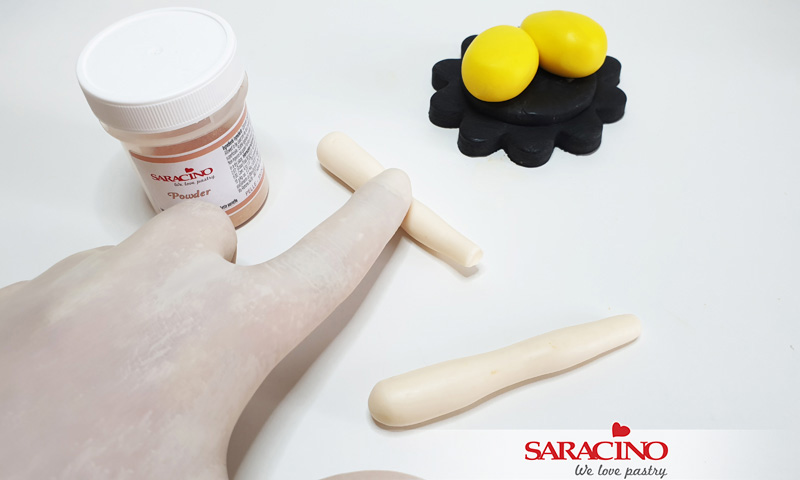
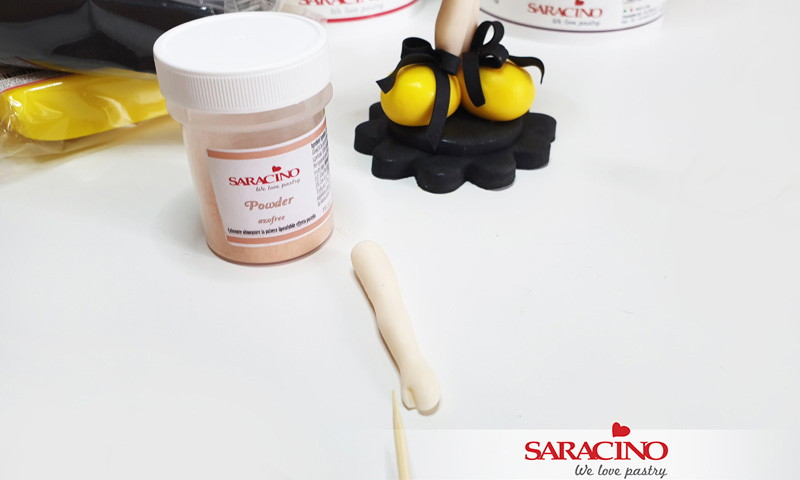
Step 3
Attach the head to the wooden stick. Using a small amount of paste, fix a piece of paste around the top of the stick to stop the head sliding down (this is not a neck and will be removed later)
To create a chin, find the centre of the bottom of the face. Press gently on both sides and try to raise the cheeks a bit. The bottom of the face should be nicely rounded
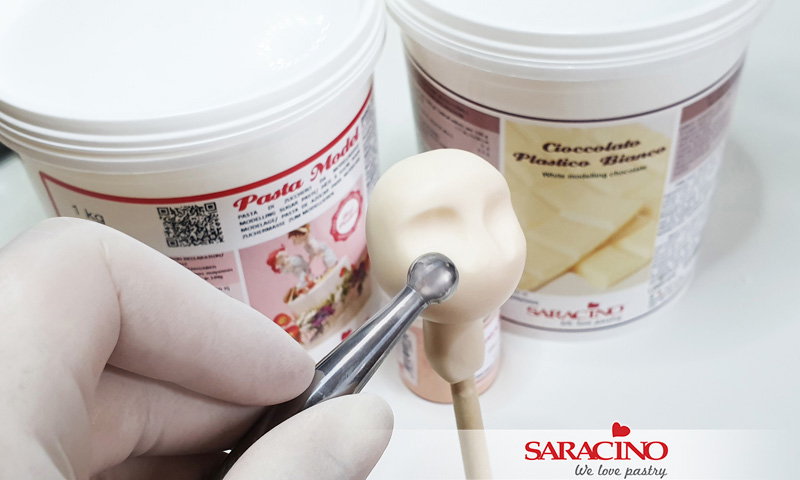
Step 4
Form the eye sockets with the ball tool.
Step 5
Then gently mark the sides of the nose.
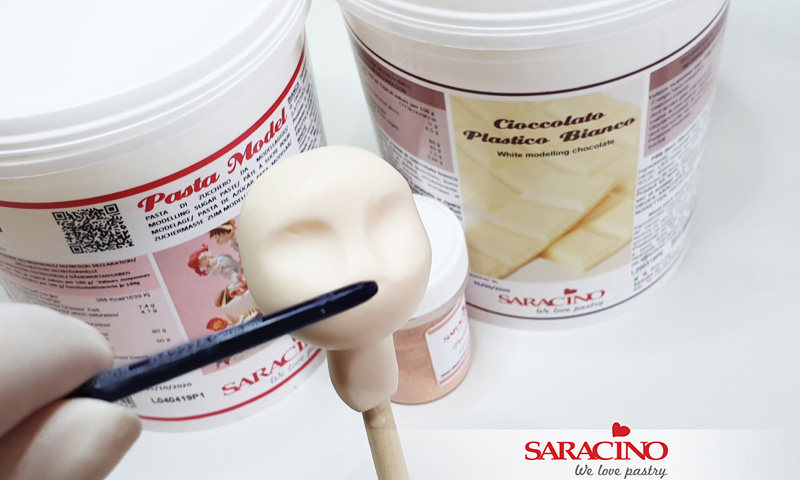
Step 6
Form the end of the nose.
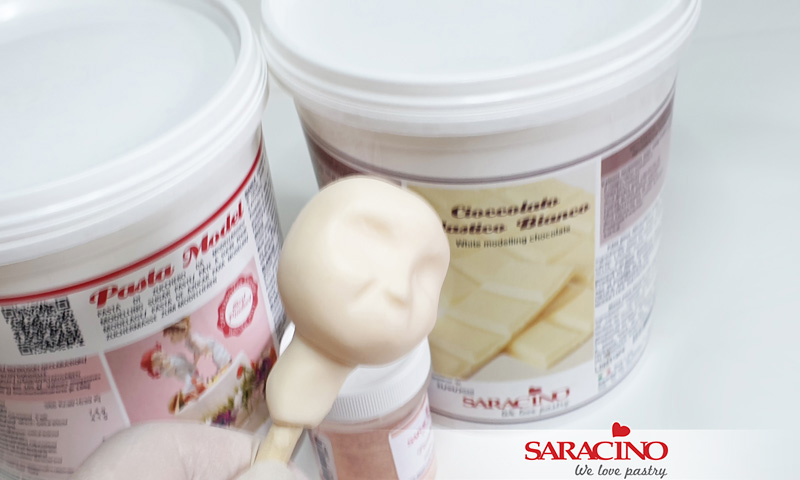
Step 7
Add two lines on the cheeks that make up the smile line
Step 8
With a slightly rounded tool, start forming lips.
Then use cocktail sticks to make holes in the mouth corners. Form holes in the nose and shape the outer edges of the nose.
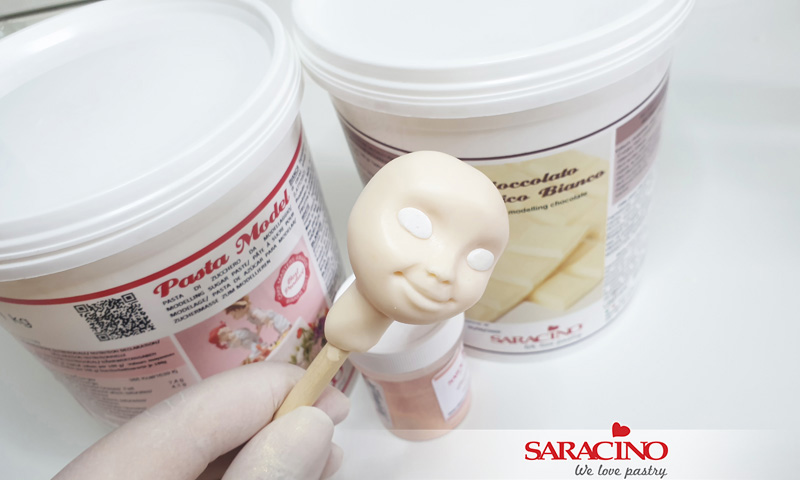
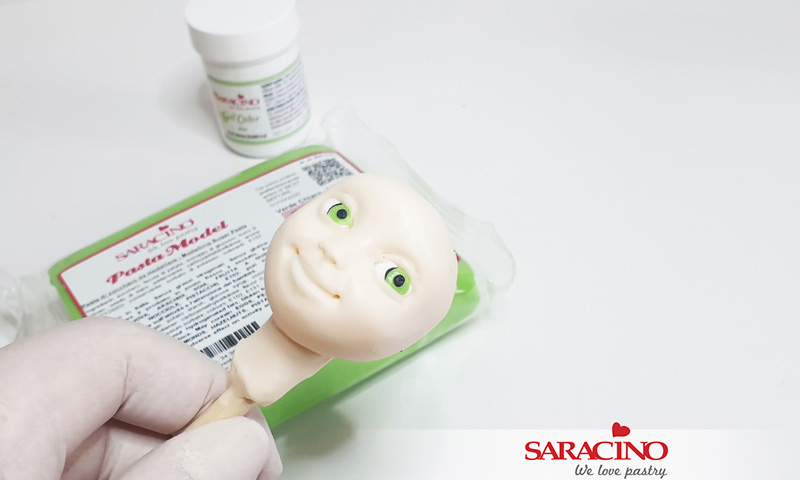
Step 9
Stick pieces of white pasta model (almond shaped) to the eye sockets and then gently push them in to form and shape them.
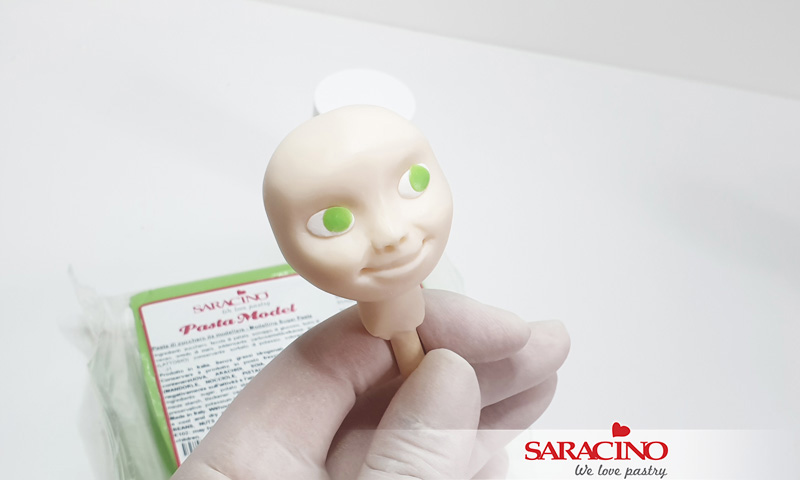
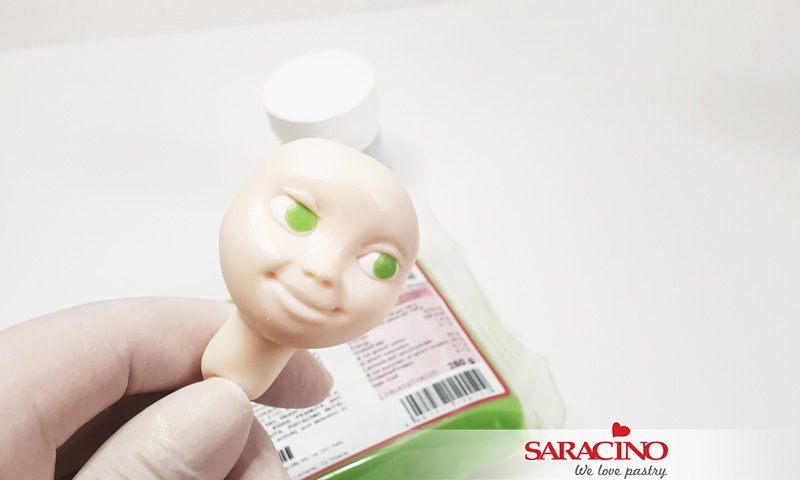
Step 10
Add green round balls to the eyes as shown. This will give our Bee Girl the look of glancing sideways.
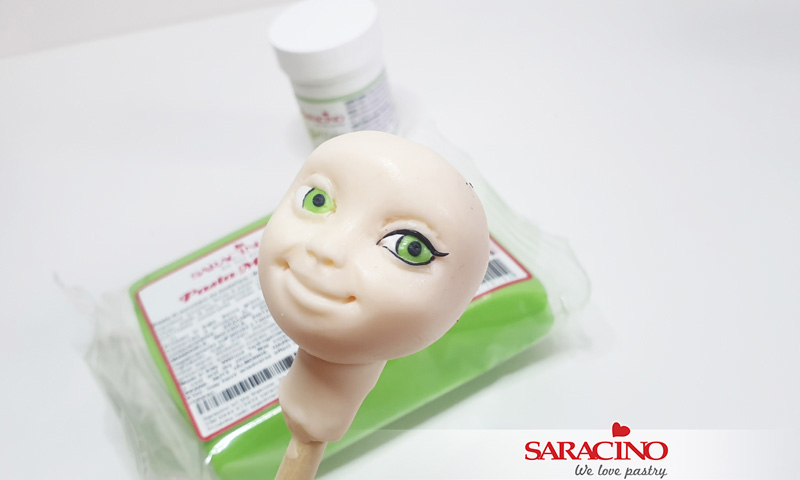
Step 11
Make eyelids from the skin color.
Step 12
Make a skin-colored line for the bottom eye lid. Using the black Pasta Model, add pupils and a thin line on the green part of both eyes.
Step 13
Use black paste and make thin lines around the eyes. The top line should be longer to form the last eyelash.
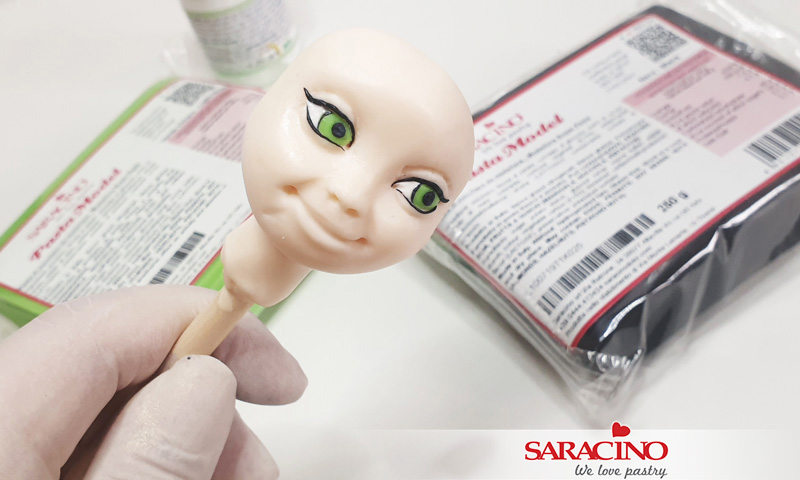
Step 14
Repeat on the other eye
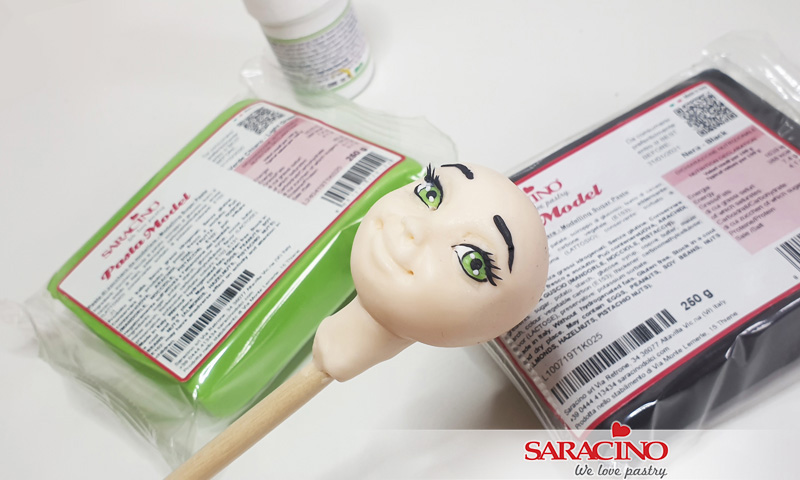
Step 15
Add a few eyelashes on each eyelid and form the eyebrows with a small line of black paste. Use a small amount of white paste to add white dots.
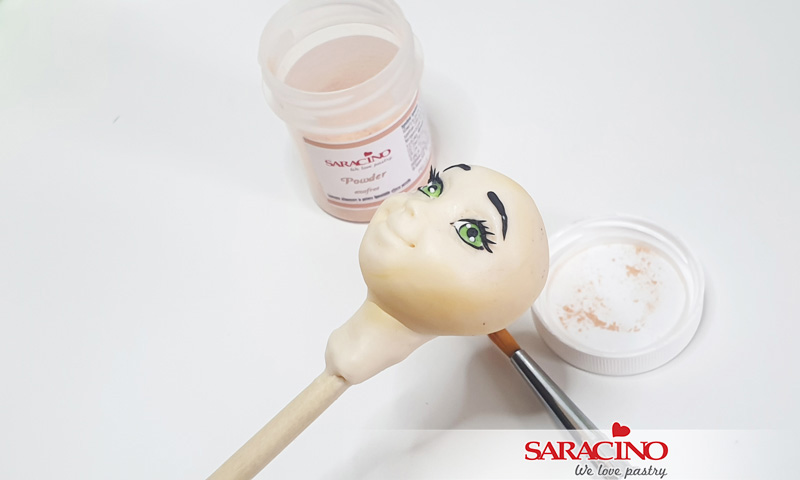
Step 16
Dust using skin powder dust to give definition and highlighting to the face.
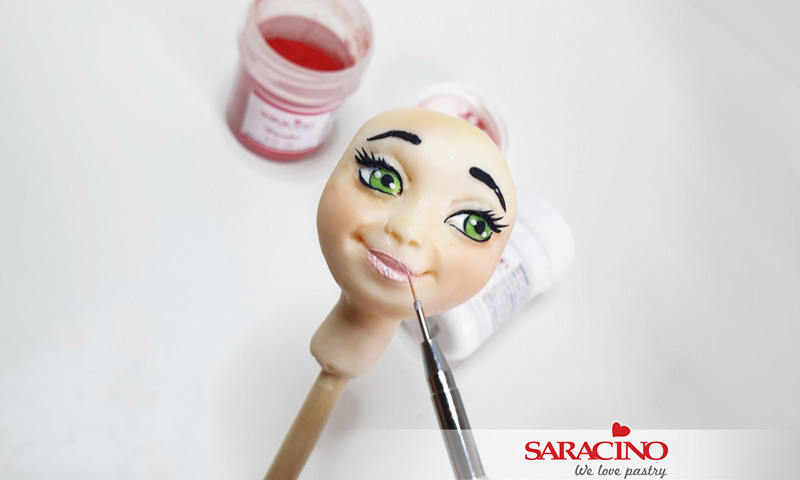
Step 17
Add a bit of red powder colour to contour the cheeks. Mix Red powder and white gel and paint the lips using your small brush.

Step 18
Remove the head from the stick and put it aside in a safe place ready for later use.
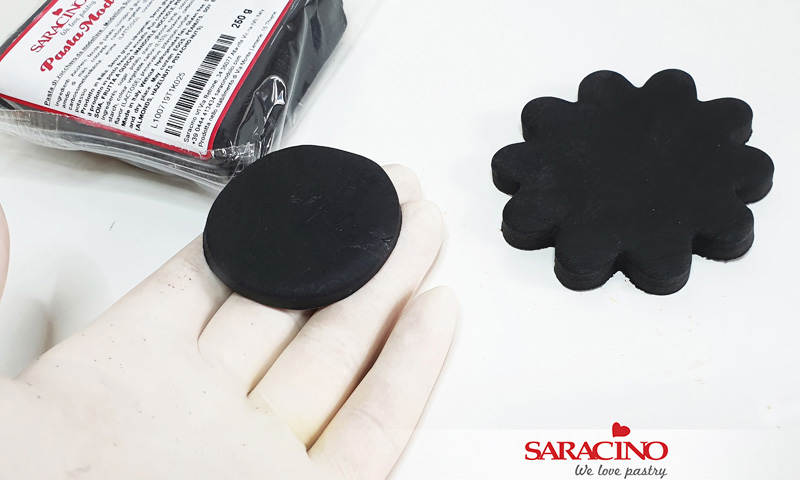
Step 19
Now we will make the stand for our Bee. Cut two shapes out of black paste – the smaller is to be a circle shape and the larger cut using a flower cutter to an overall height of 5mm each.
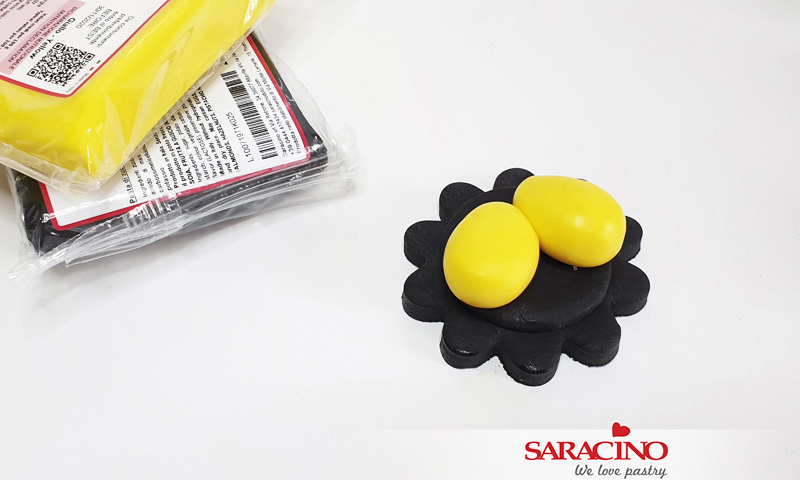
Step 20
Fix the smaller circle to the larger flower and stick with a small amount of water. Now form the big yellow oval shoes.
Step 21
Model two legs, narrowing downwards. Roll the leg at the knee to make even narrower.
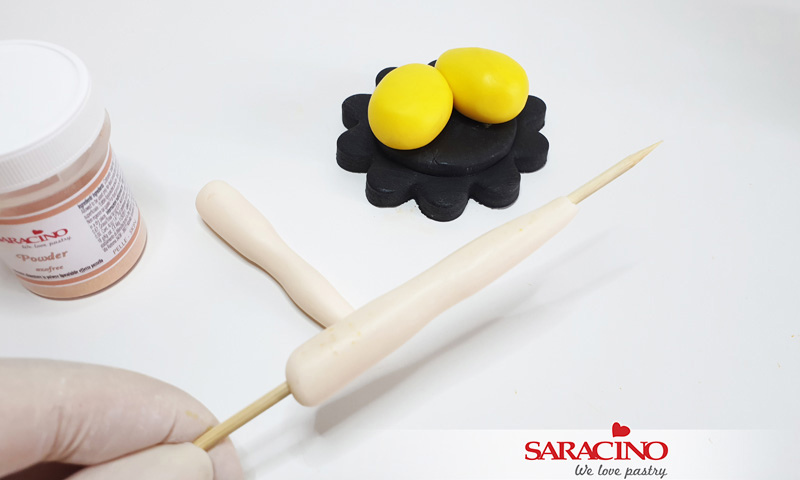
Step 22
Gently insert a wooden stick through one leg.
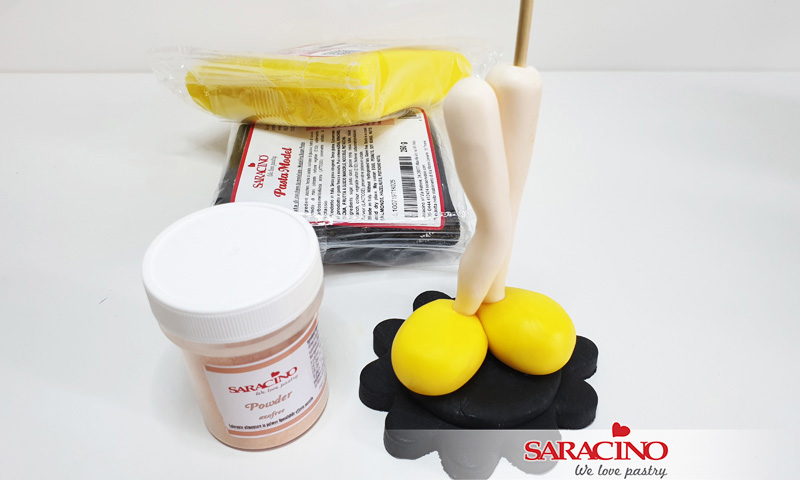
Step 23
Insert the leg with the stick into one shoe. Fix the other leg to the shoe bend at the knee.
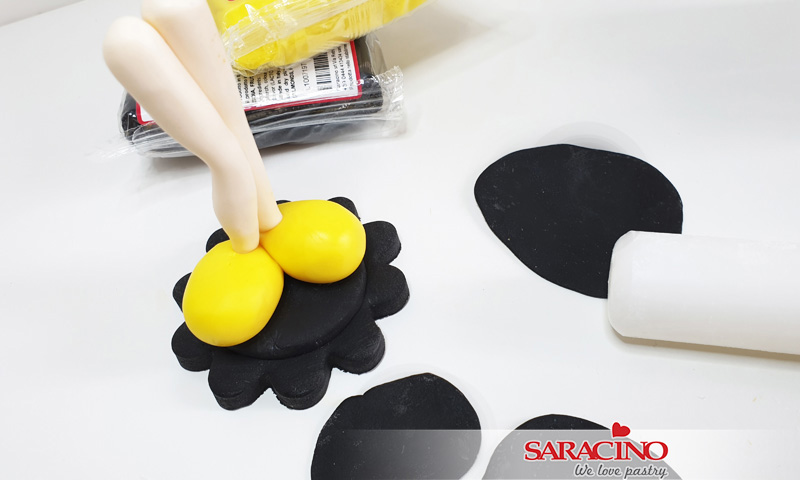
Step 24
Now make several ‘petals’ of different sizes with black paste. Roll out thinly.
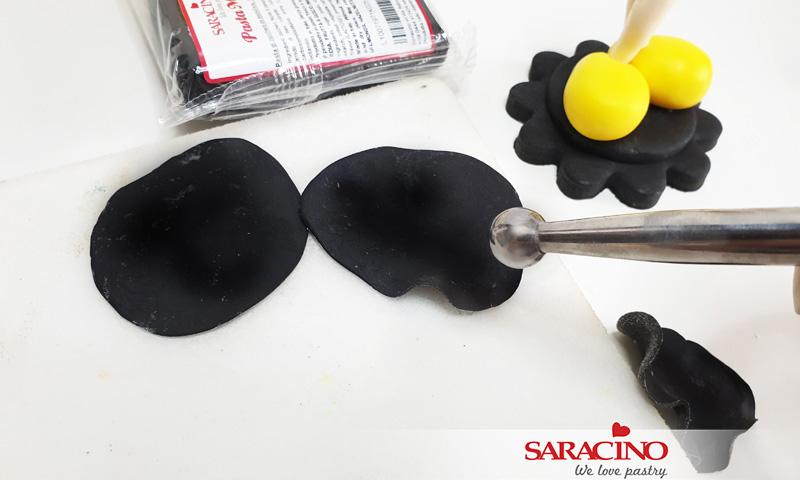
Step 25
Use the ball tool to give form and shape to the edges. You can do this on a flower modelling mat.
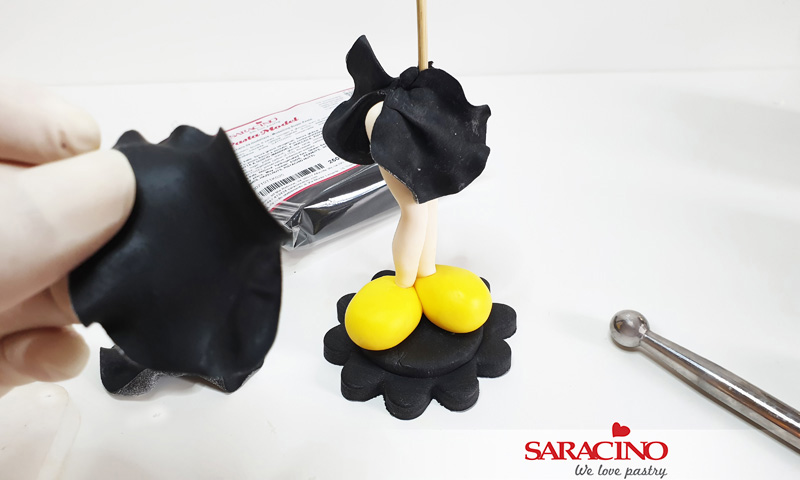
Step 26
Attach the petals randomly to form the skirt.
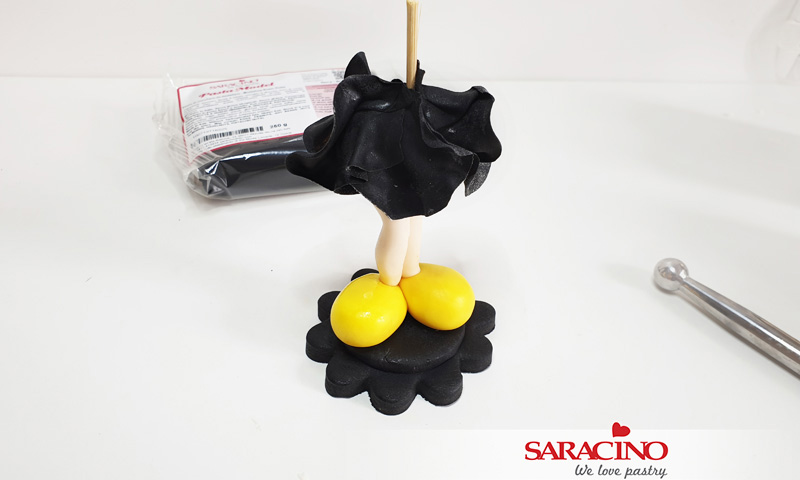
Step 27
Keep a wavy edge to the hem of the skirt.
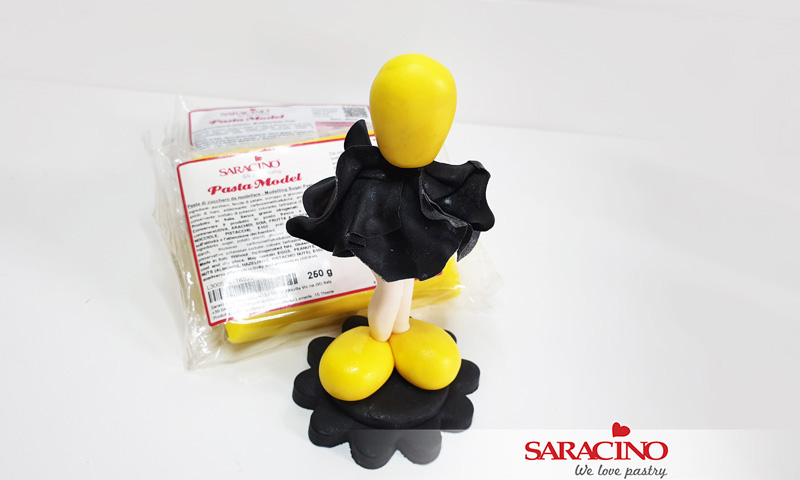
Step 28
Form the body so narrower at the waste and wider at the shoulders.
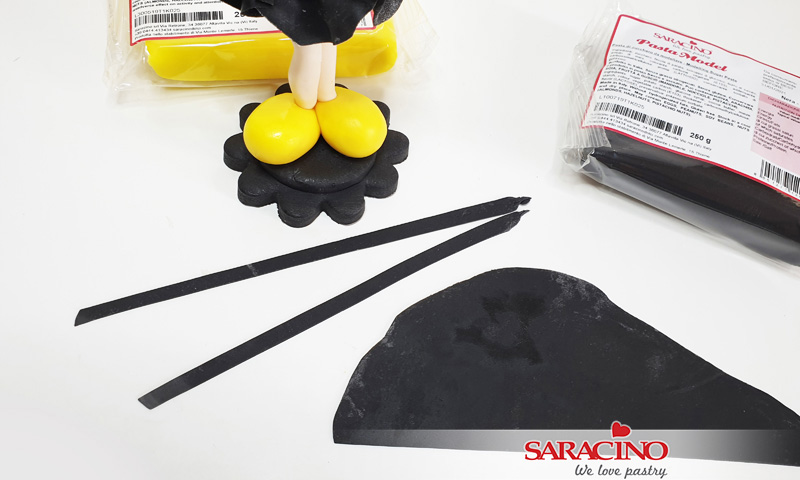
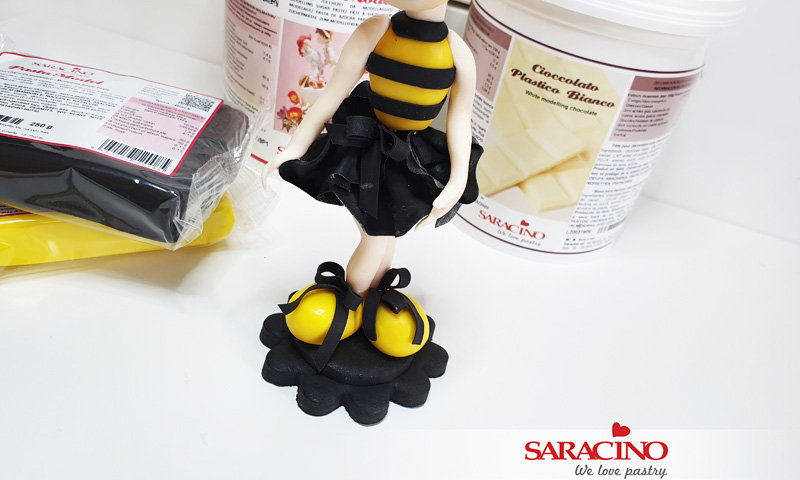
Step 29
Roll out the black paste and cut out thin strips for the black stripes.
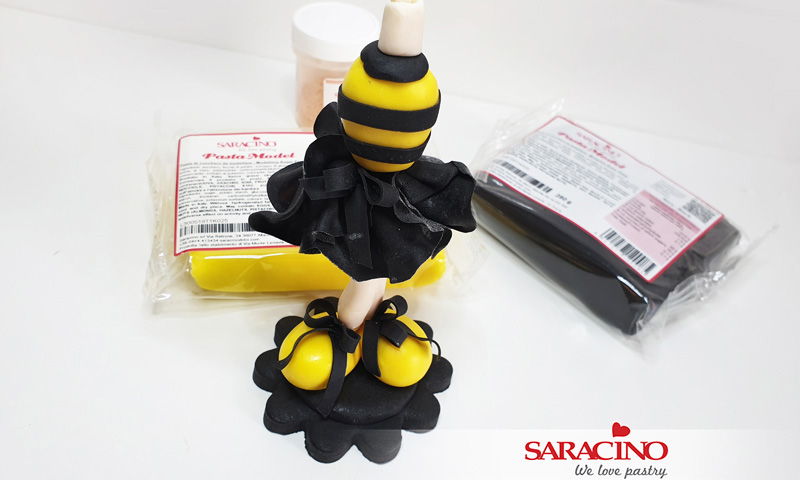
Step 30
Fix the horizontal lines onto your body. Make bows and fix onto the skirt and shoes. We now need to add a neck. Insert a wooden stick a few centimetres into the body and form the neck around the stick.
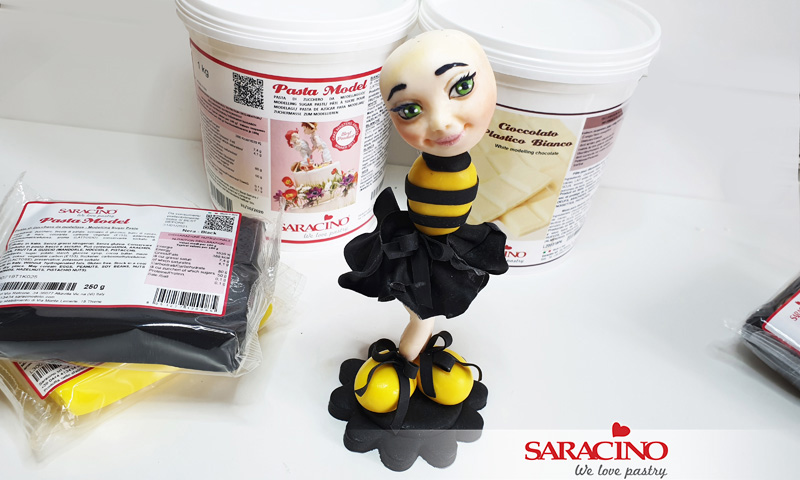
Step 31
Fix the head onto the stick
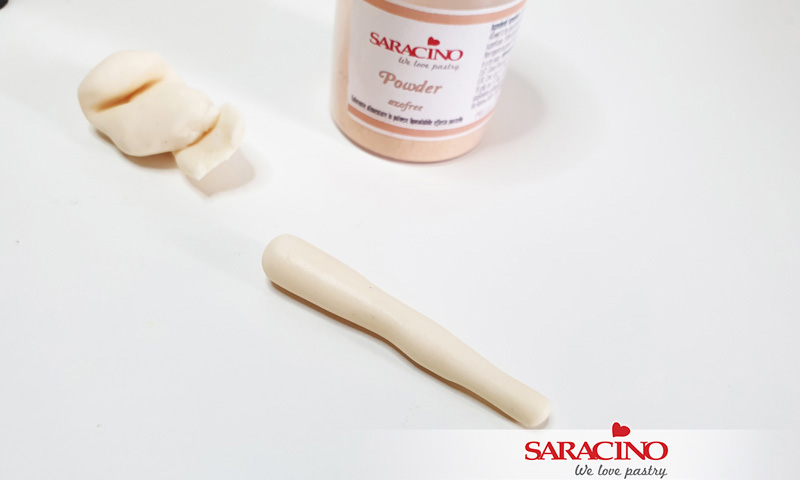
Step 32
To make the arms roll skin colour so that it narrows slightly at the wrist. Then narrow further at the elbow and the wrist.
Step 33
Form the thumb on the hands.
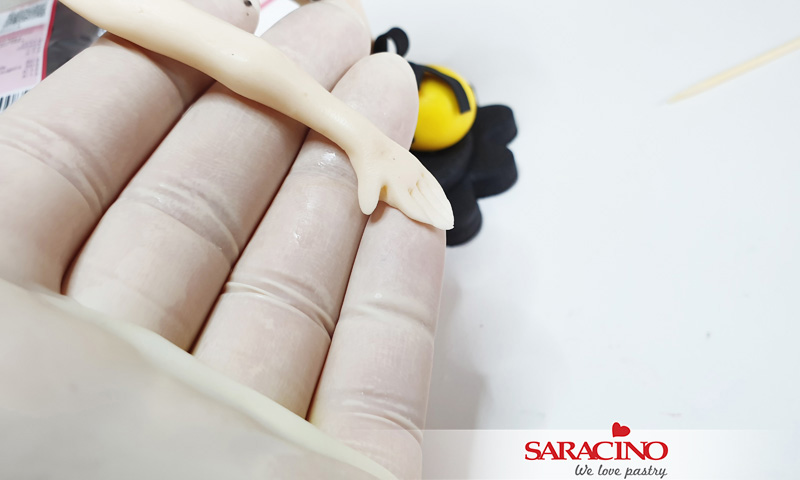
Step 34
Then mark all fingers on the hand without cutting them.
Step 35
Stick them on your torso with your hands resting on the skirt.
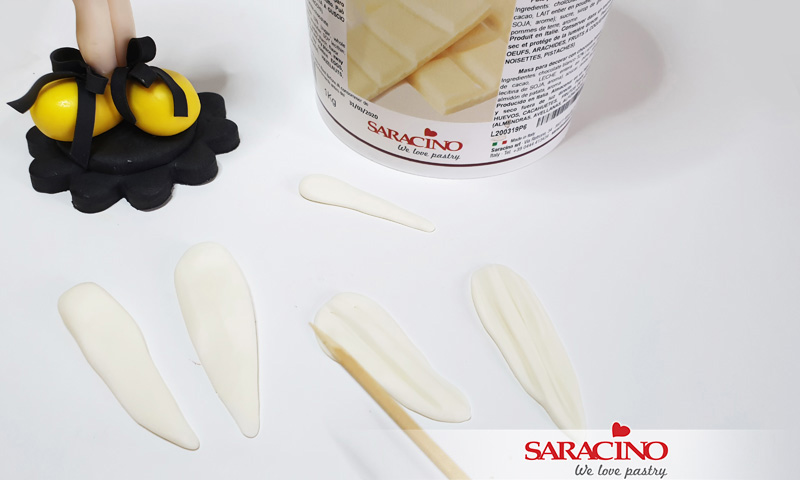
Step 36
Now for the hair. Make strands of different sizes from the beige paste (a combination of modelling paste and chocolate). Give form and texture using a wooden stick.
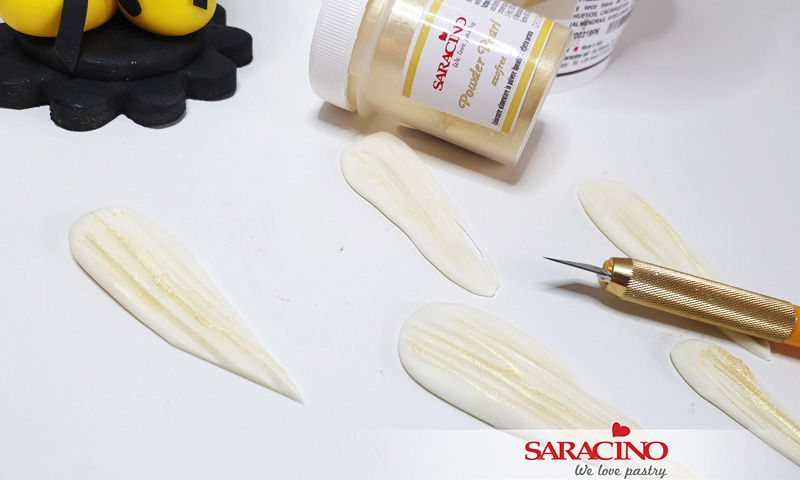
Step 37
Apply light gold powder and cut the edges so that the ends are sharp
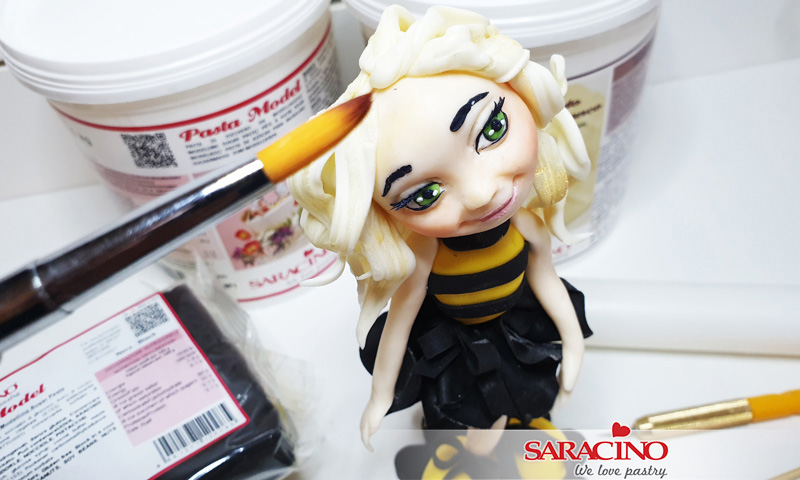
Step 38
Next apply strands of hair starting from the back of the head up. Remember to glue each element with water.

Step 39
To finish your hairstyle, add a larger element to the front and then add a few smaller ones.
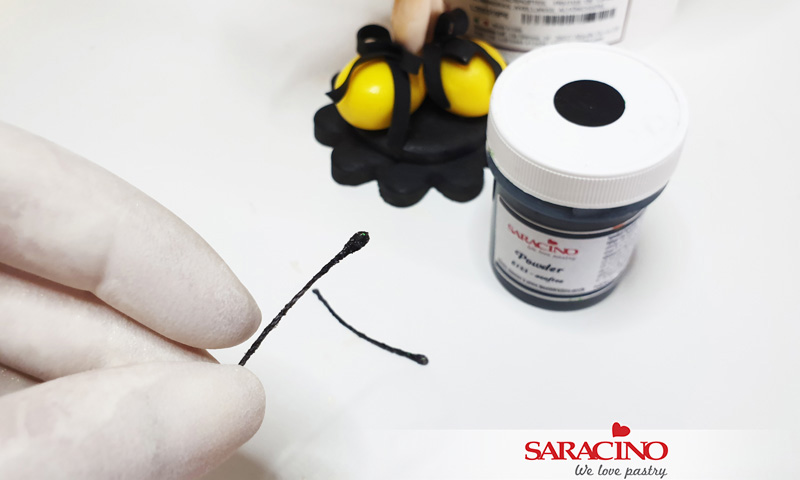
Step 40
Use florists wire to make bee antenna. Colour them black and fix them into the head.

Step 41
Make your isomalt in accordance with the instructions on the packet. Pour out small circular shapes from the isomalt and then rub one edge with a wooden stick. The shape of the wings should be uneven.
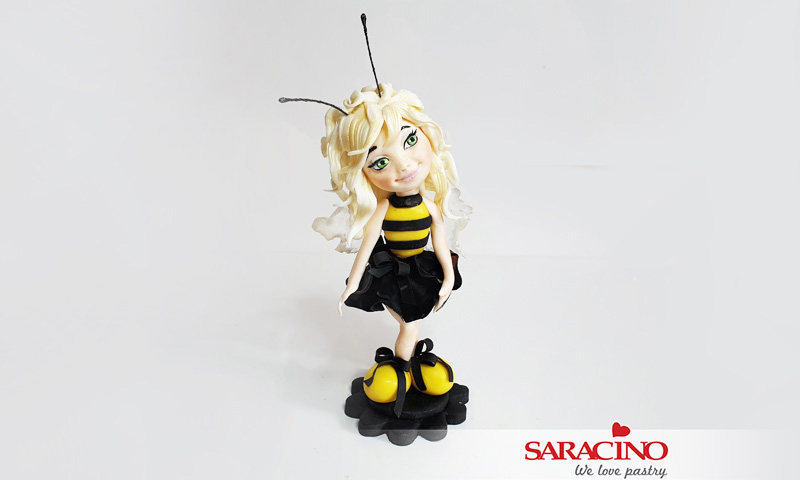
Step 42
Colour the tips of the wings using dust colours and fix them to the back using a mix of paste with water.
