You will need:
- Flowerpaste
- Saracino gel colours ( colours depends on which eye colour you would like to achieve )
- High percentage alcohol
- Glaze spray
- Ready cooked Saracino Isomalt – how to cook Isomalt click HERE
- Fine brush
- Cupcake liner (silicone)
- Balltool
Step 1
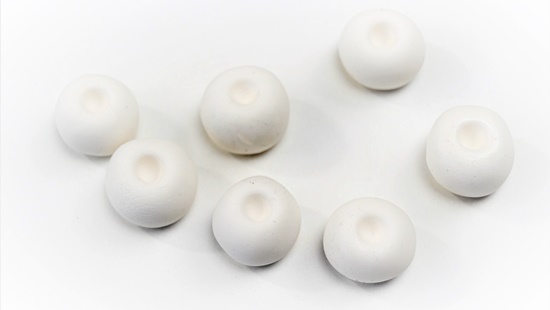
Prepare a base out of flowerpaste. This should have a depression in the centre, which determines the size of the iris. Let them dry over night.
Step 2
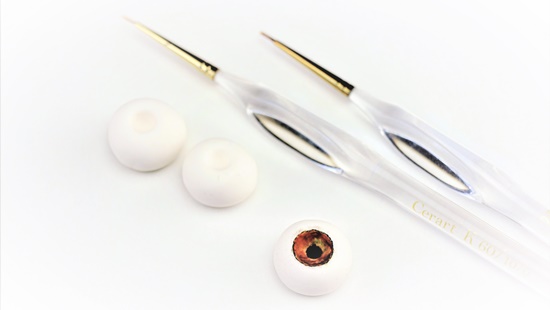
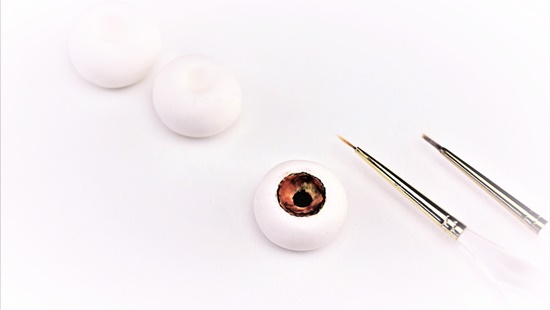
Paint the iris with a fine brush, high percentage alcohol and gel colours. Start with applying pure alcohol as a thin coat. Then add the lightest colour for your base. Draw on darker colours in spots as you go. Delude your paste colours so they do not get too strong!
I always paint with two or three differetnt colors.
Step 3
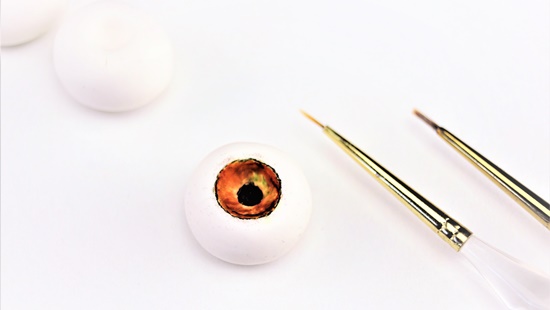
Paint the iris with a brighter zone (which will be below) and a darker zone which will point upwards. this zone is darker due to the shadow of the upper eyelid. To complete the look of an realistic iris draw a very thin line as an outline around the iris. Don’t forget the pupil – this is painted with black foo colour.
Step 4
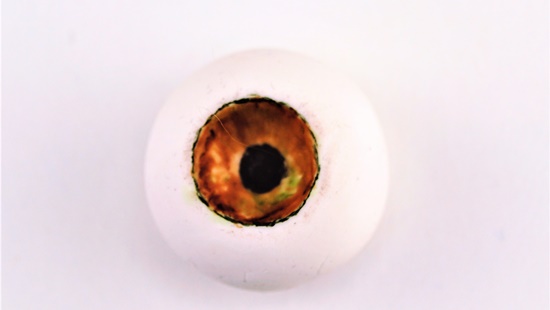
The painting must not exceed the depression. And should be well dried before further processing. A hair dryer can be used to speed up the drying process.
Step 5
Apply a first layer of food-grade lacquer and let it dry.
Step 6
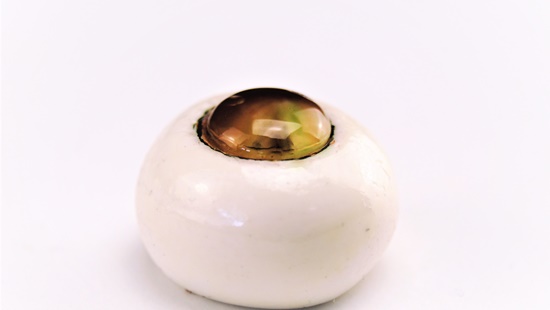
Warm the prepared eyeball carefully – a hair dryer can be used for this as well. Melt Isomalt using a silicone cupcake liner in the microwave (30 sec., then 15 sec. Intervals). Attention do not overheat, otherwise the Isomalt will go brown.
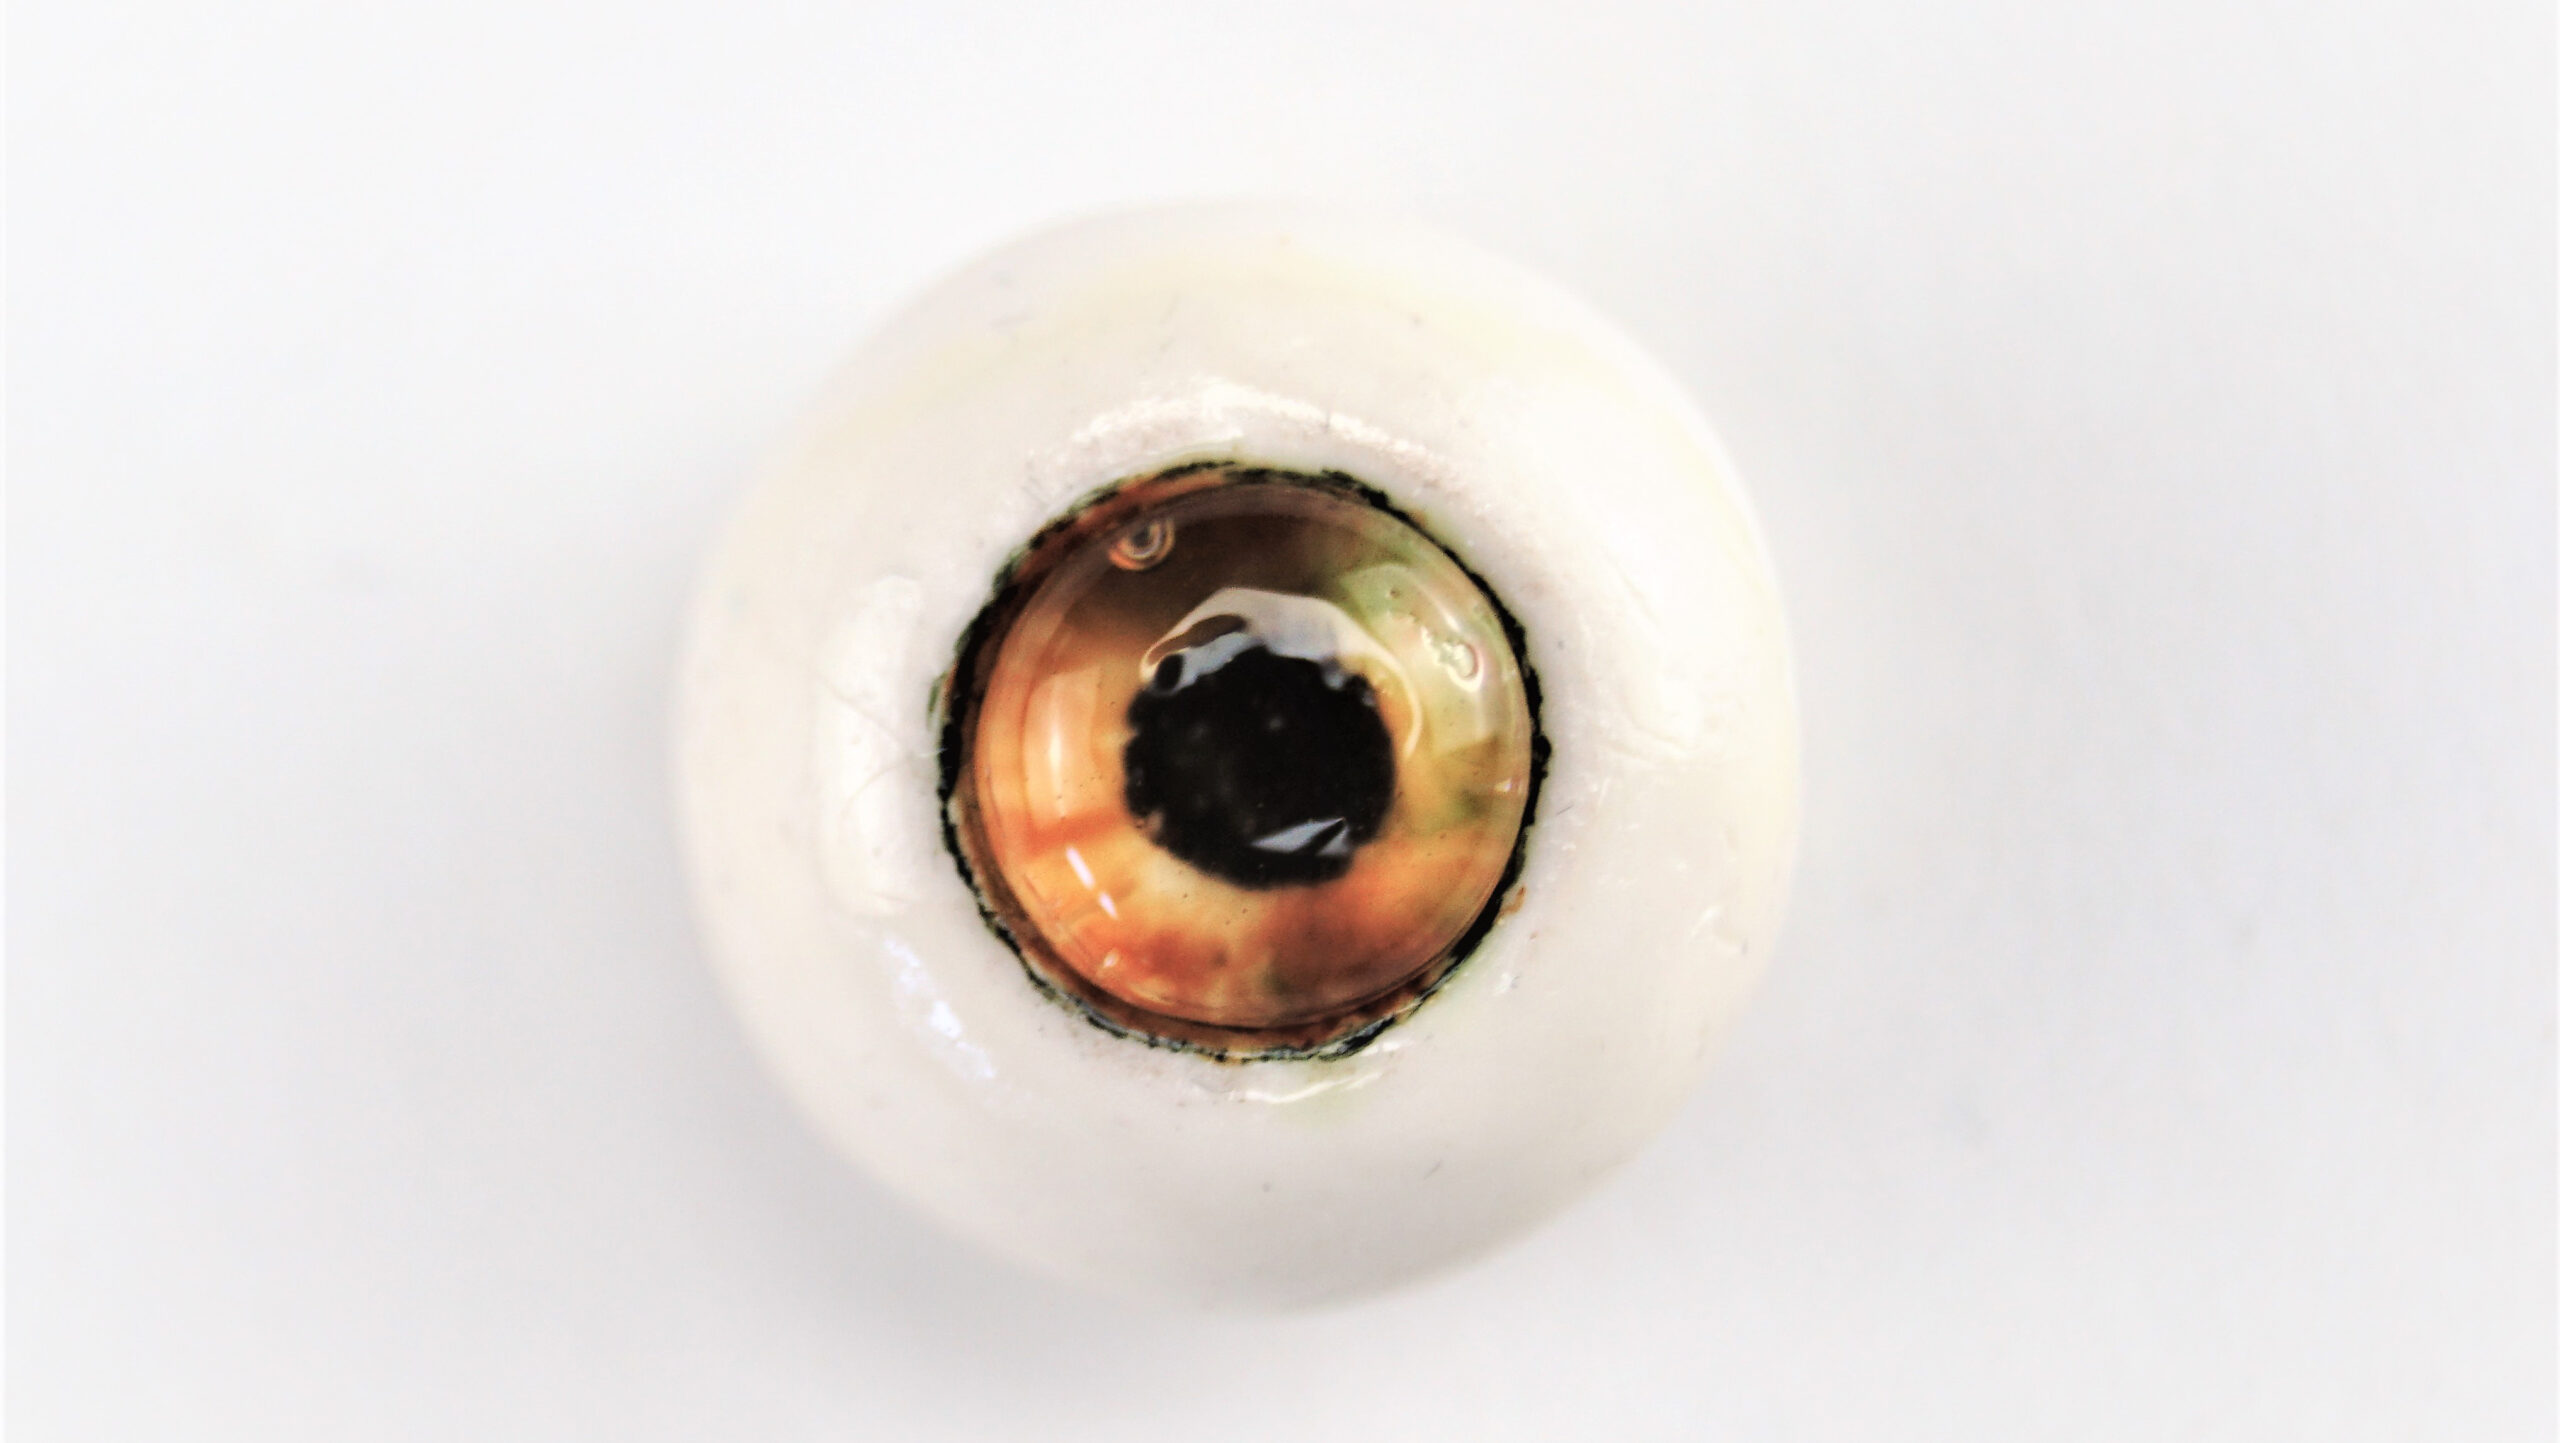
Step 7
Do not stir to avoid any further bubbles – then allow to rest a little until bubbling stops. Fill the well with a small hill. and let it cool down. Important- coat with food bag to prevent absorption of moisture that clouds the Isomalt.

