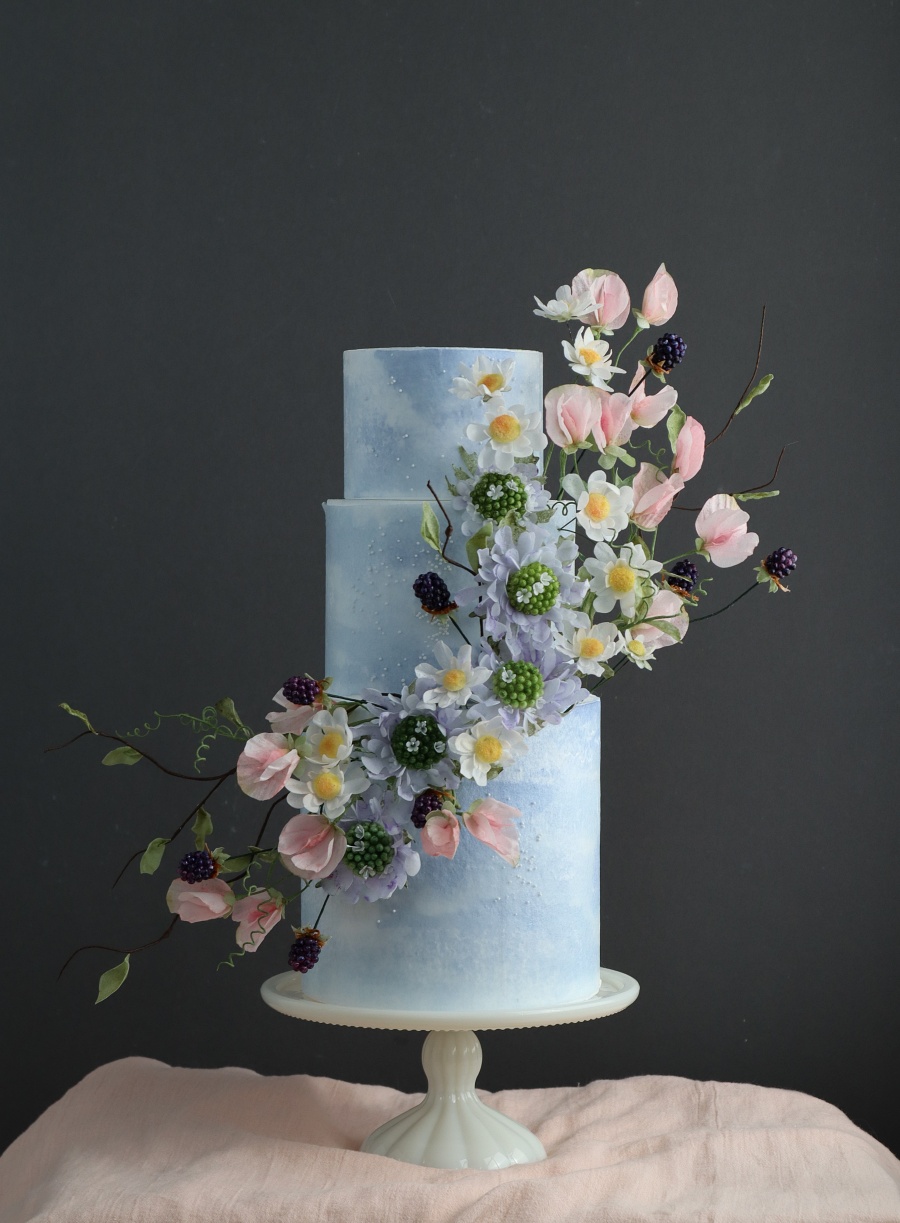
You will need:
- Sharp scissors
- Dresden tool
- Variety of brushes
- Fluffy makeup brush
- Floral modelling foam pad
- Petal formers or spoons
- Peony petal veiner (sugarartstudio.com)
- Small mixing bowls/palette
- Saracino Wafer Paper (0.27mm)
- Powder colour: moss green, dusty pink
- Airbrush colour / gel colour (soft pink, juniper green)
- Food grade glycerin
- Corn flour
- Floral wire: 22 gauge to make the stem and 28 gauge to make leaves
- Floral tape: light green and white
- TEMPLATE – dowlnload HERE
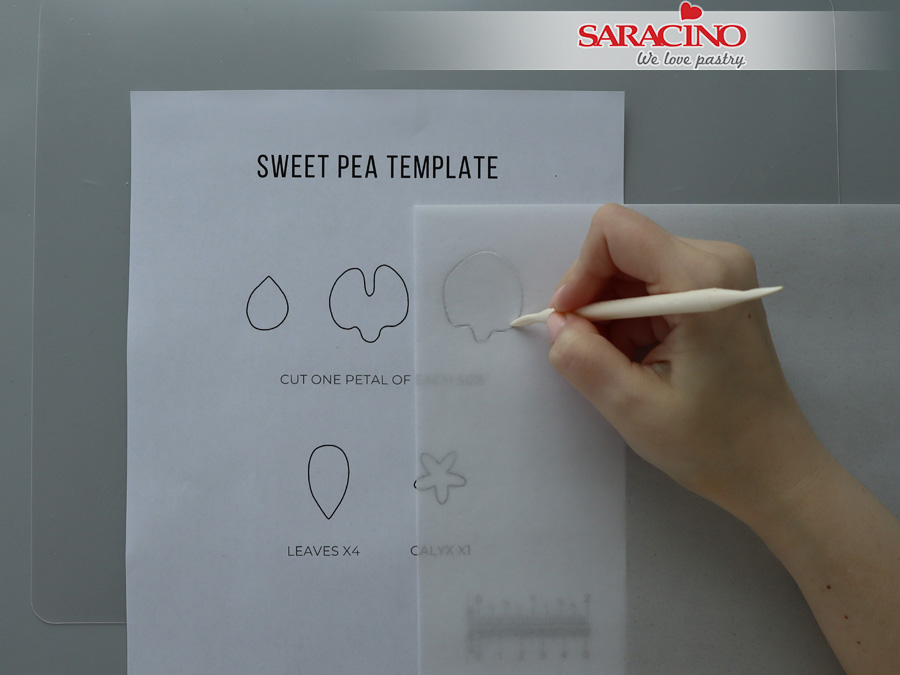
Step 1
Place one sheet of wafer paper on top of your template. Use the dull end of the Drezden tool and transfer the impression of the shape onto the wafer paper.
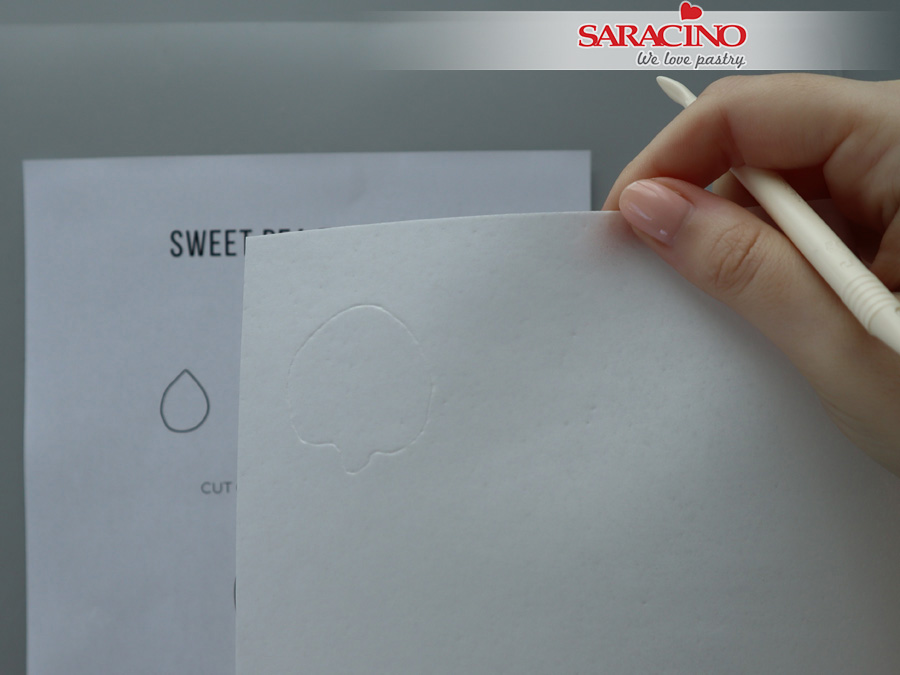
Step 2
Alternatively, you can use a pencil or light-coloured edible marker to transfer the petal outline onto the wafer paper.
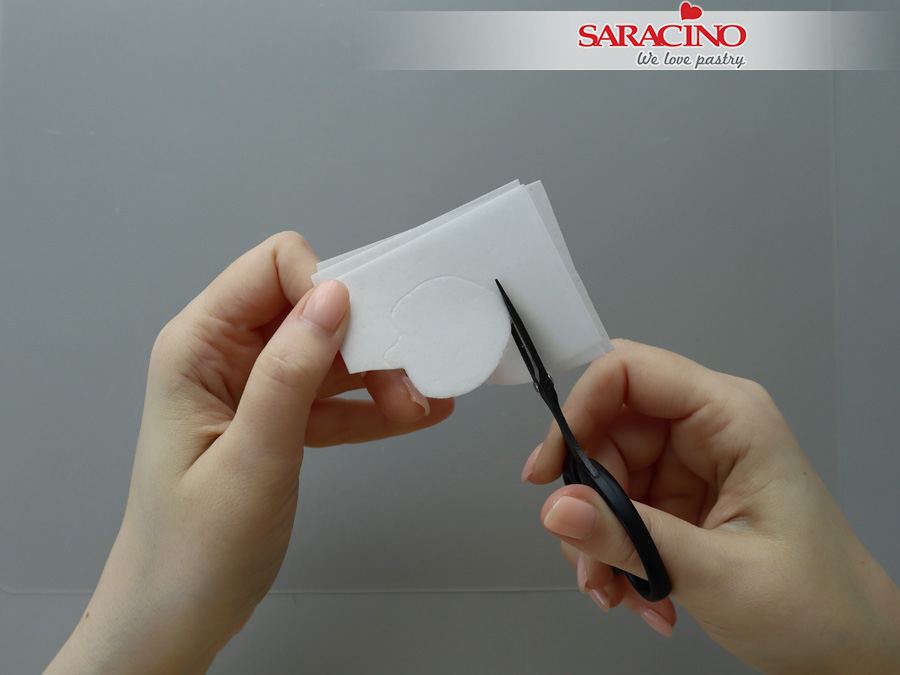
Step 3
Using sharp scissors, cut out your petals. To save time, you can cut up to 3 sheets of wafer paper at the same time.
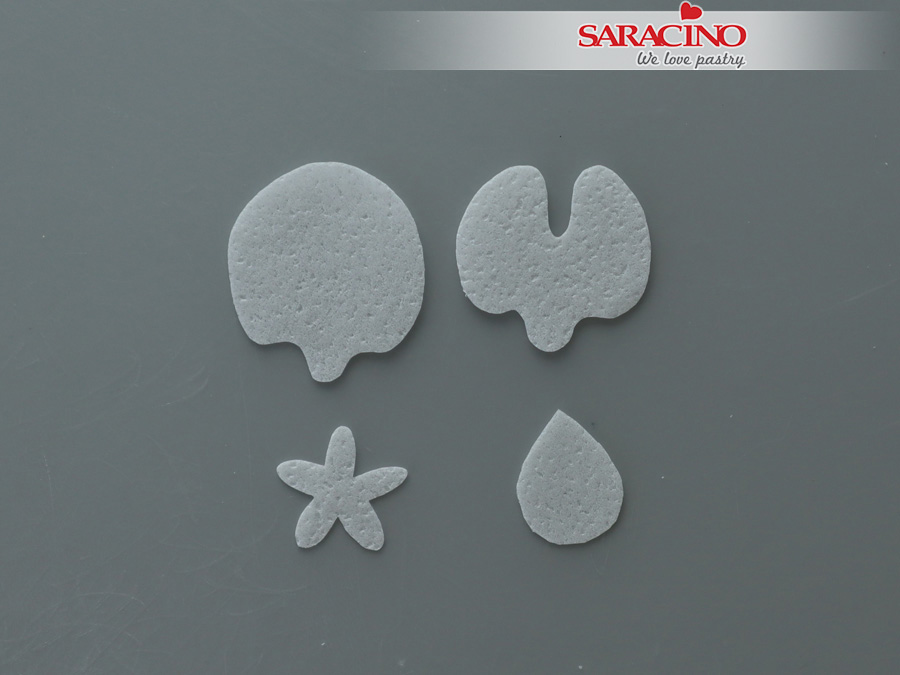
Step 4
Prepare three petals and one calyx.
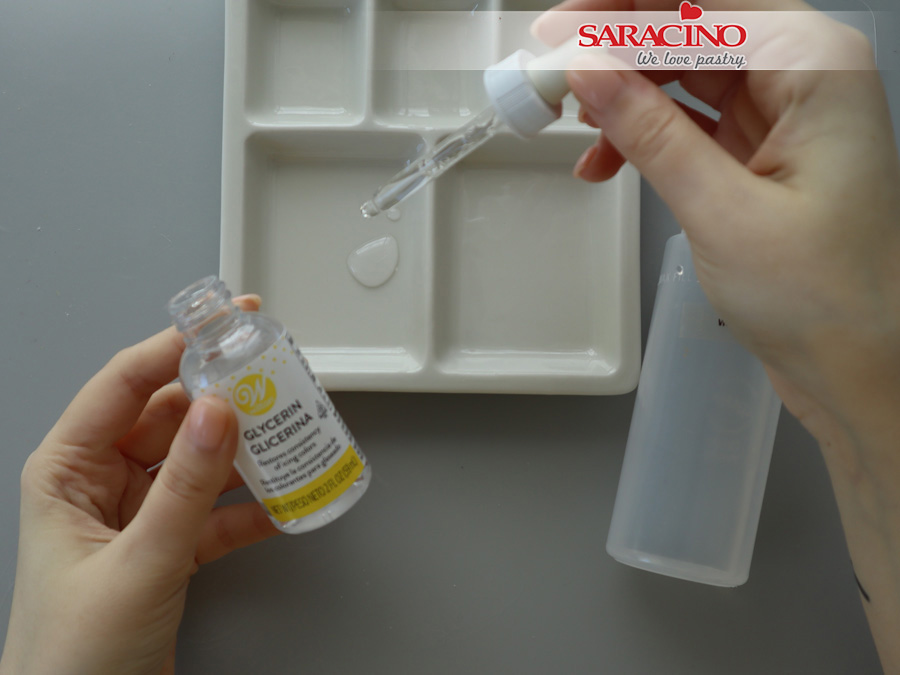
Step 5
To make AC Tonic™ wafer paper conditioner, mix ½ tsp food-grade glycerin and 2 tbsp water (preferably distilled).
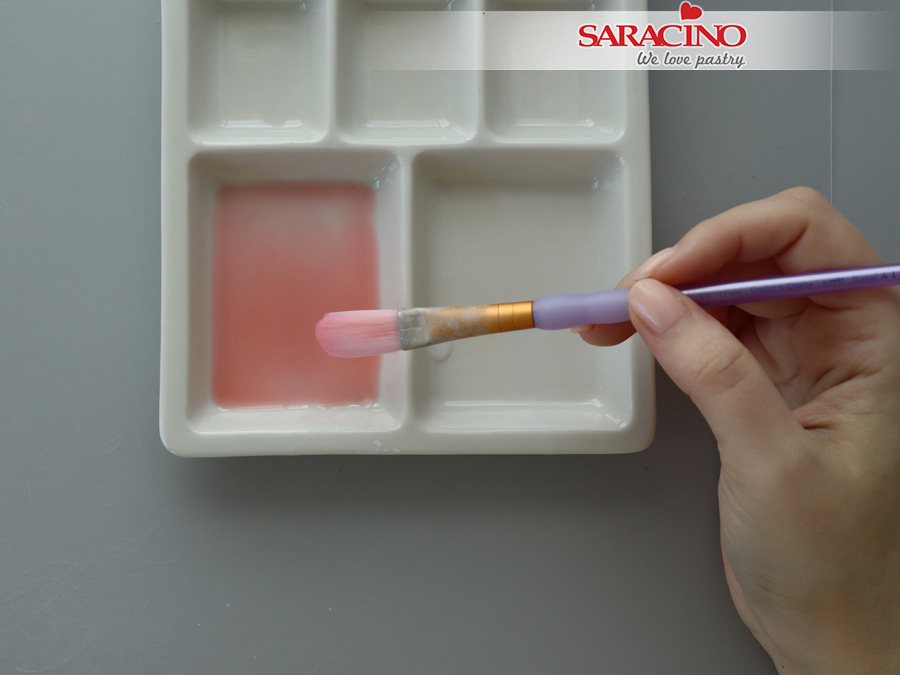
Step 6
Add soft pink gel colour to your mixture. Add more conditioner or gel colour to get your preferred shade of pink.
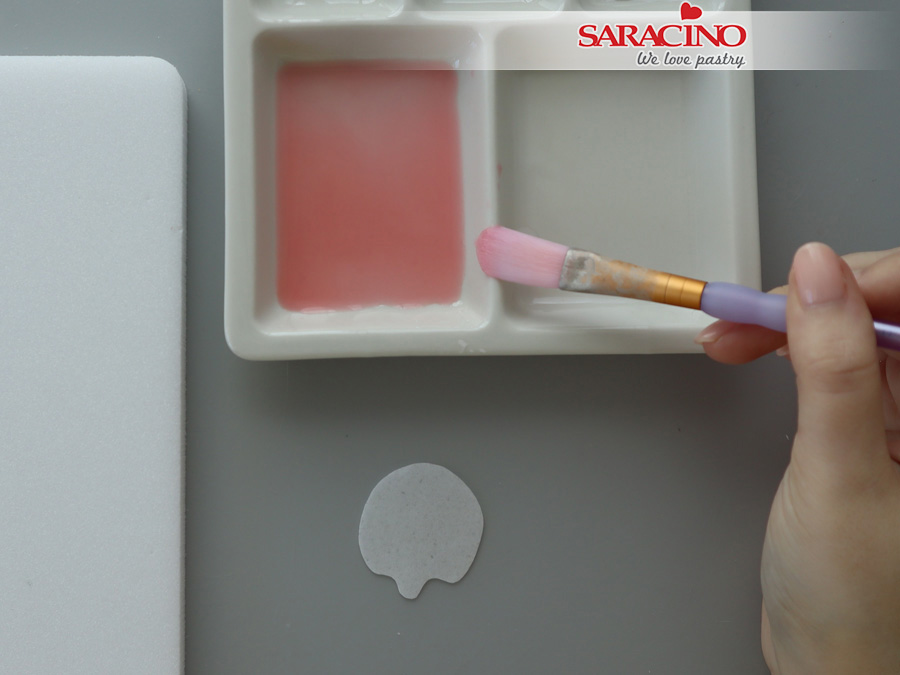
Step 7
To condition wafer paper, gently press your brush on the side of the palette to remove excess moisture.
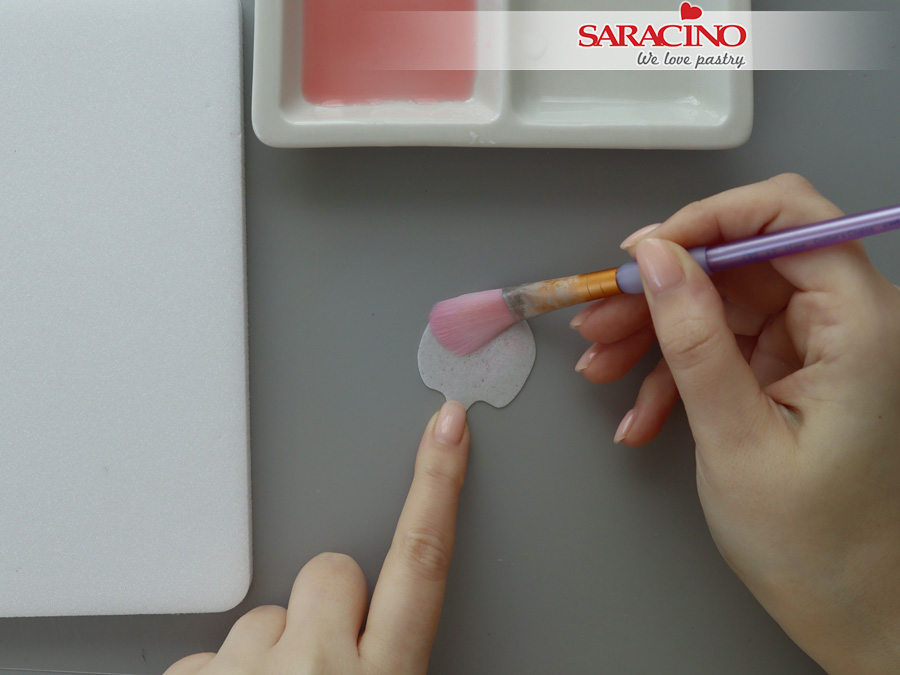
Step 8
Apply AC Tonic™ conditioner on the smooth side of your petal first.
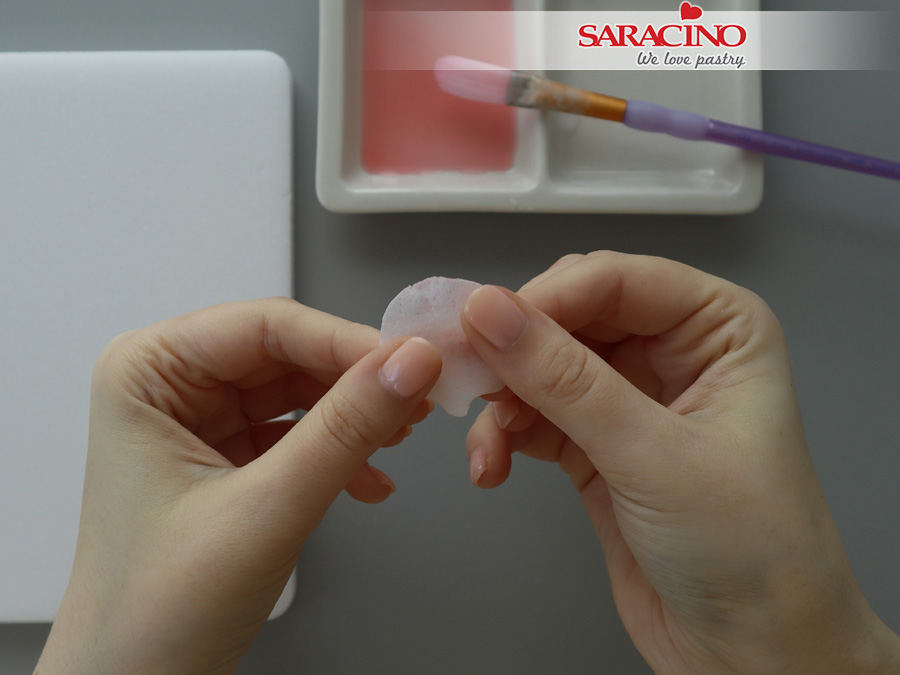
Step 9
Gently press the conditioner into the wafer paper to get a soft and flexible petal.
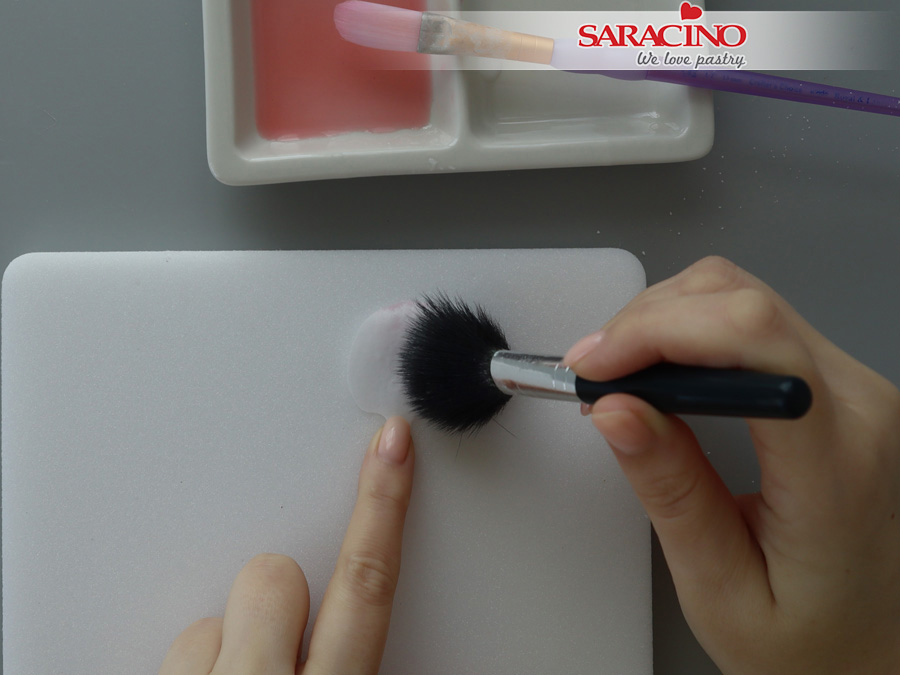
Step 10
If your wafer paper is melting or gets sticky, use a fluffy brush and apply a small amount of cornstarch.
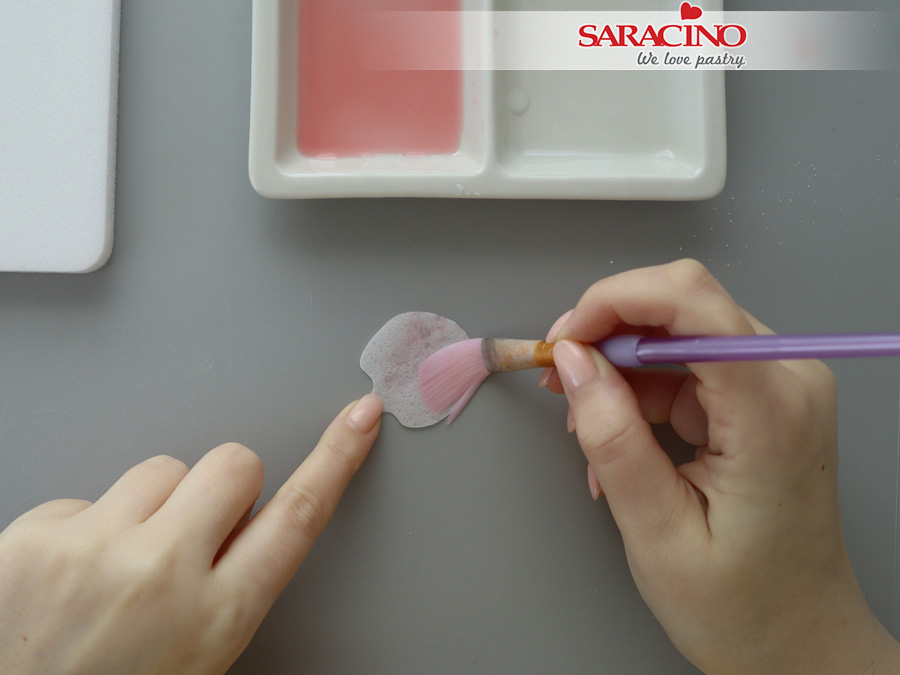
Step 11
Apply the same treatment to the other (rough) side of the petal.
Step 12
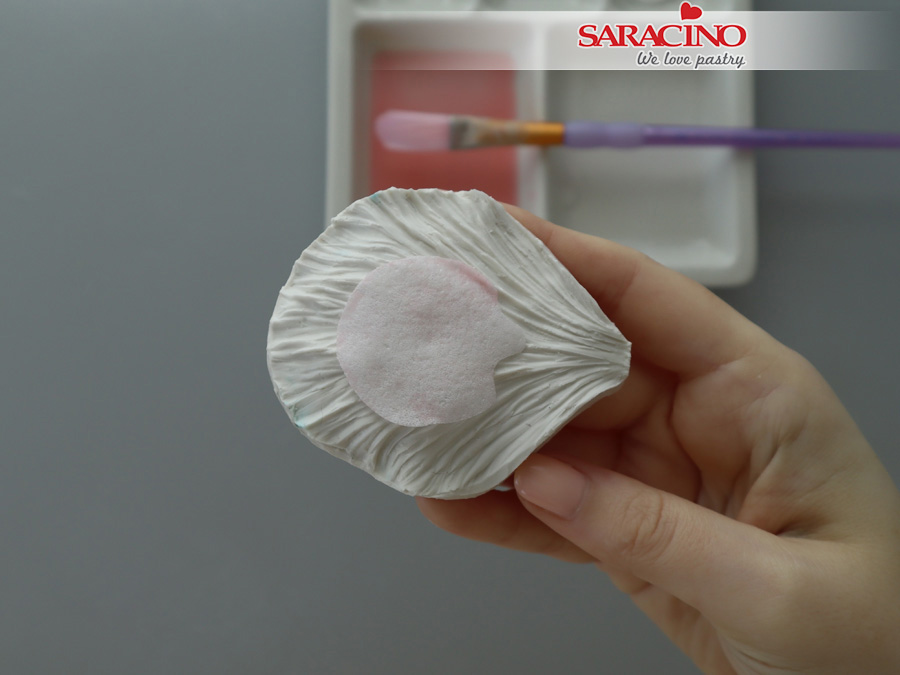
Place your conditioned petal in the silicone veiner with the rough side up. Keep your veiner on the table and firmly press, hold for 5-10 seconds.
Step 13
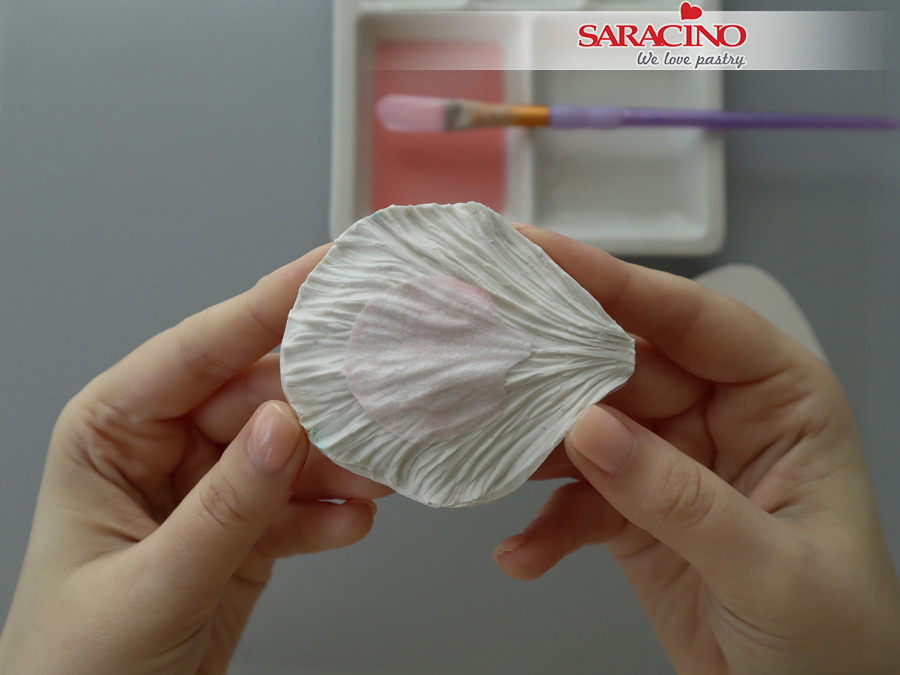
You should get a soft textured wafer paper petal.
Step 14
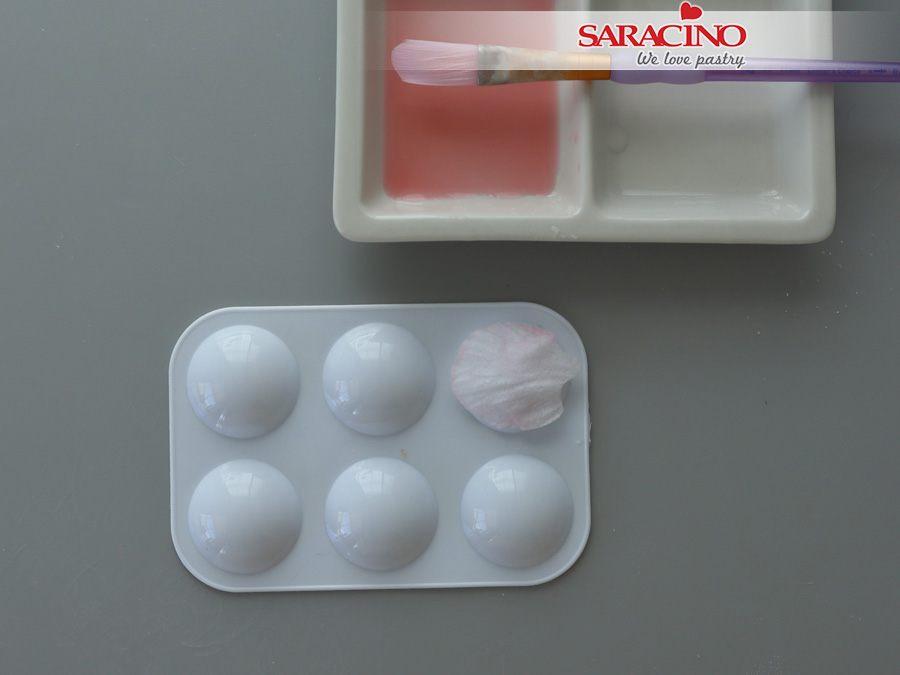
Place your petal on a petal former or a spoon. Set aside to dry completely.
Step 15
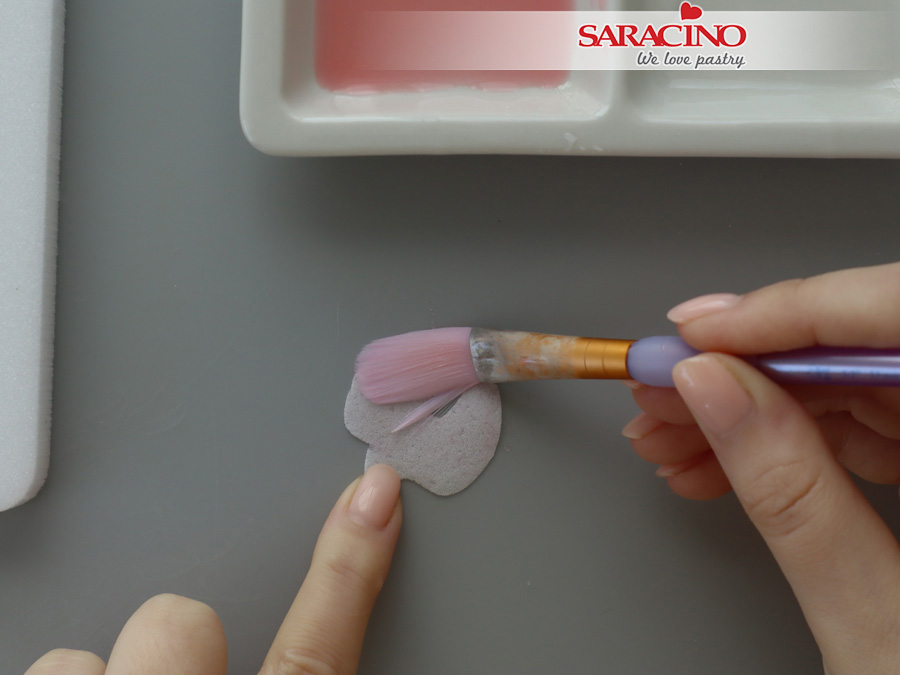
Repeat the previous steps to condition the medium size petals.
Step 16
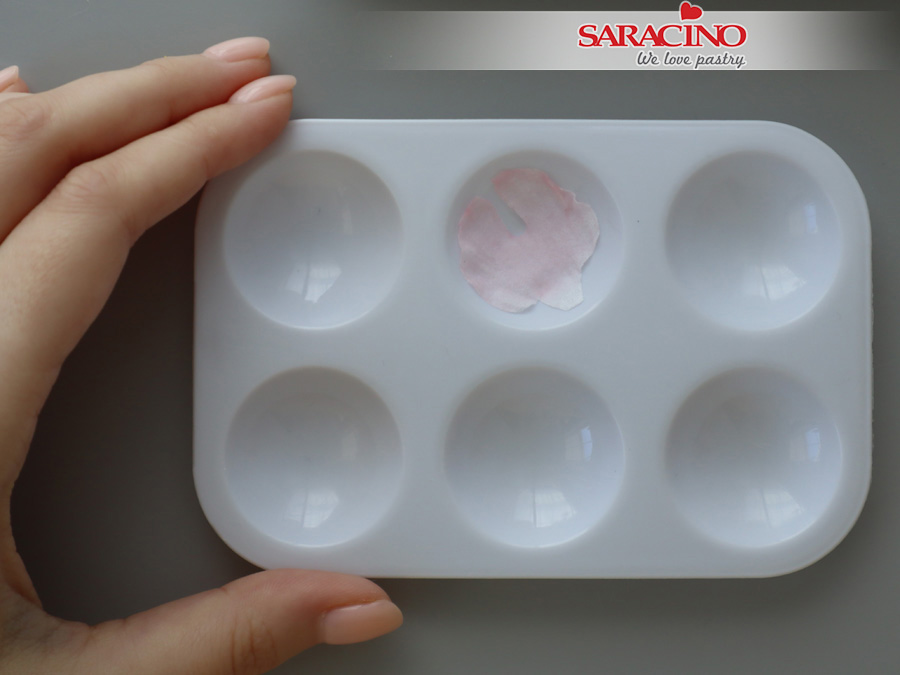
Press the petals in the veiner with the rough side up. Place a medium-side petal into a former to create a cupped shape. Set aside to dry.
Step 17
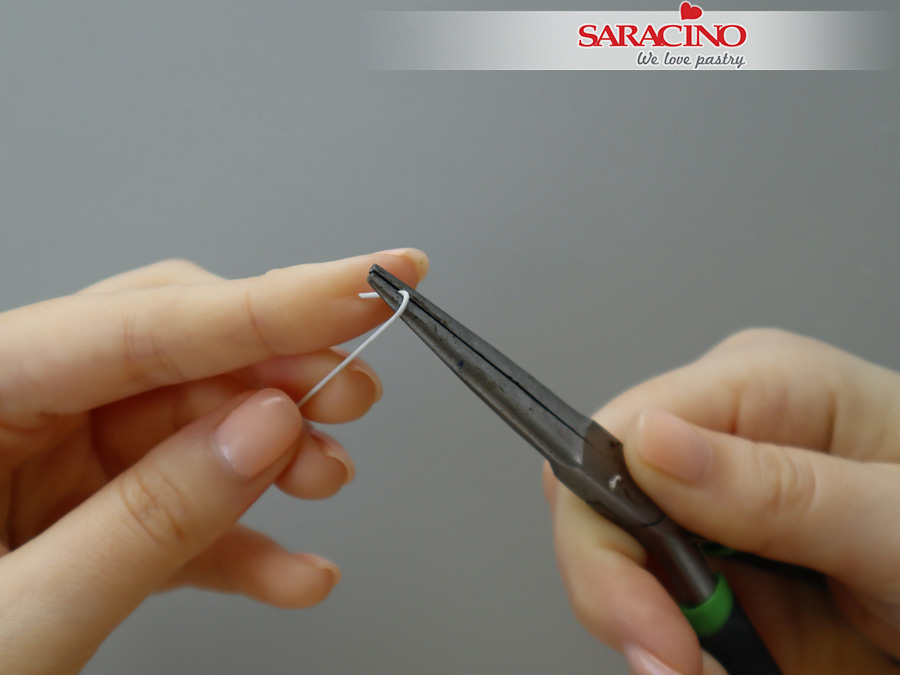
Cut 22 gauge white wire in half. Using needle-nose pliers, create a large closed hook.
Step 18
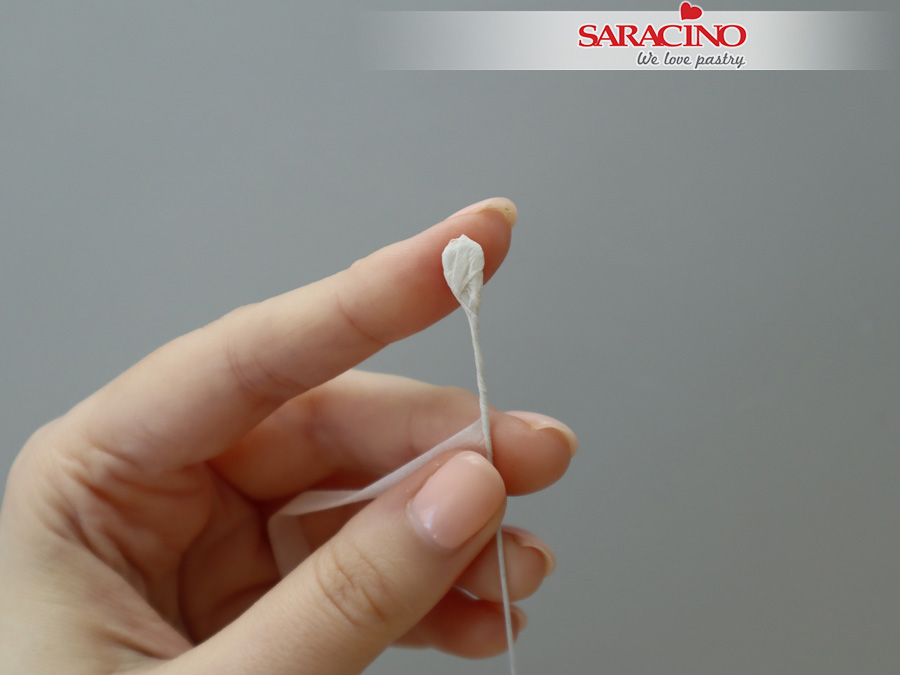
Take half-width white floral tape, stretch and start shaping a bud. Add 10-15 layers of floral tape to make the base for the sweet pea flower.
Step 19
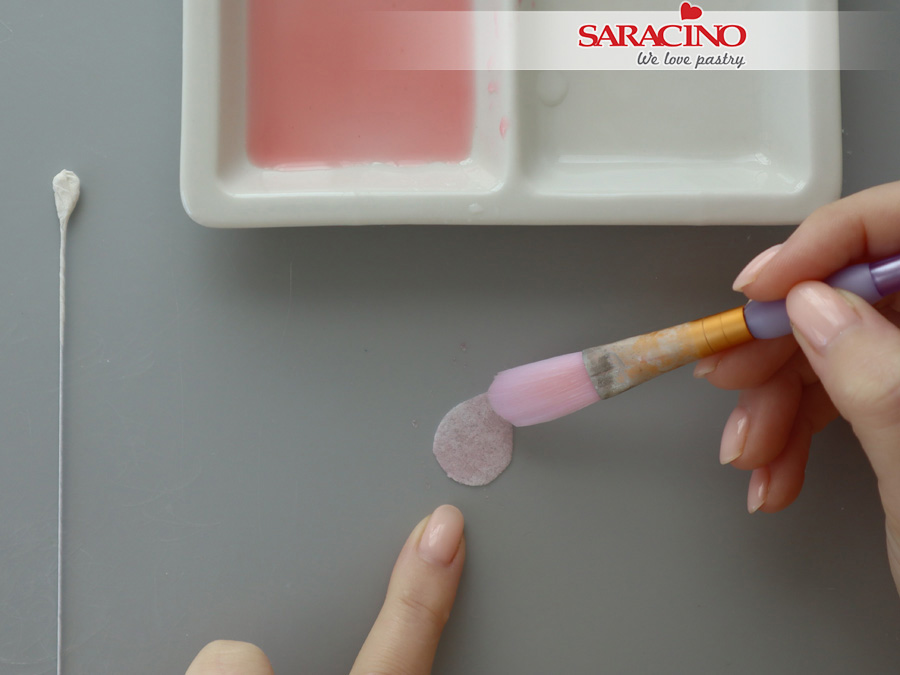
Take a small petal with the rough side up. Apply the conditioning mixture to get a saturated, even coverage.
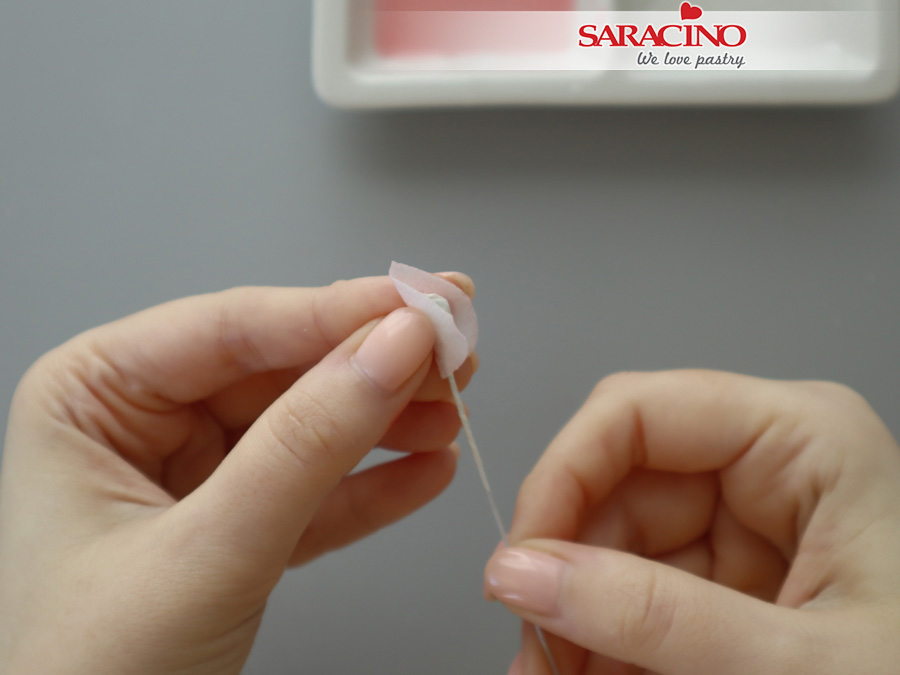
Step 20
Place your sweet pea bud inside a small petal.
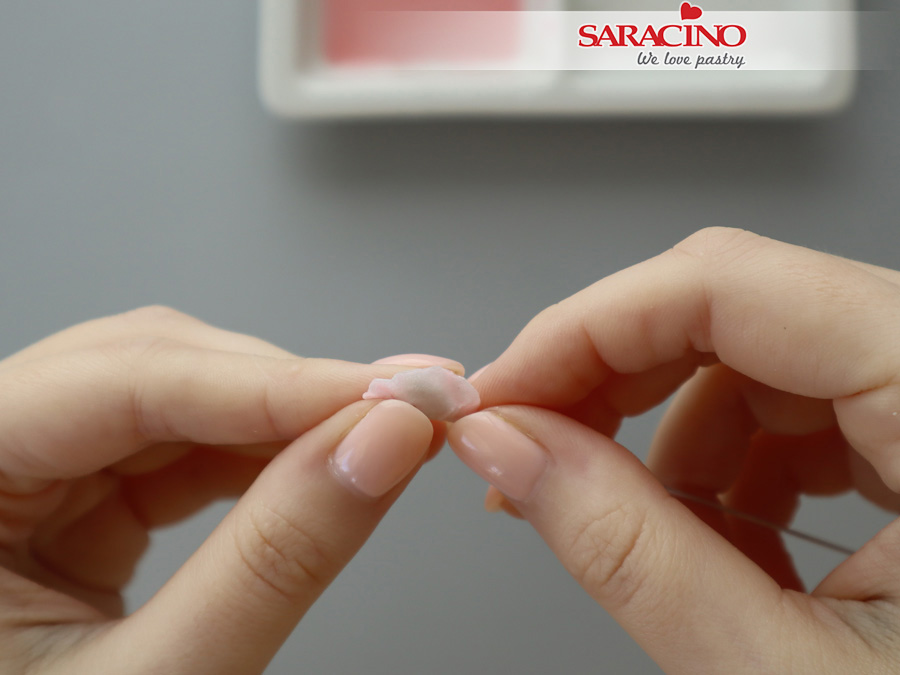
Step 21
Pinch both sides of the small petal to create the center. Set aside to dry.
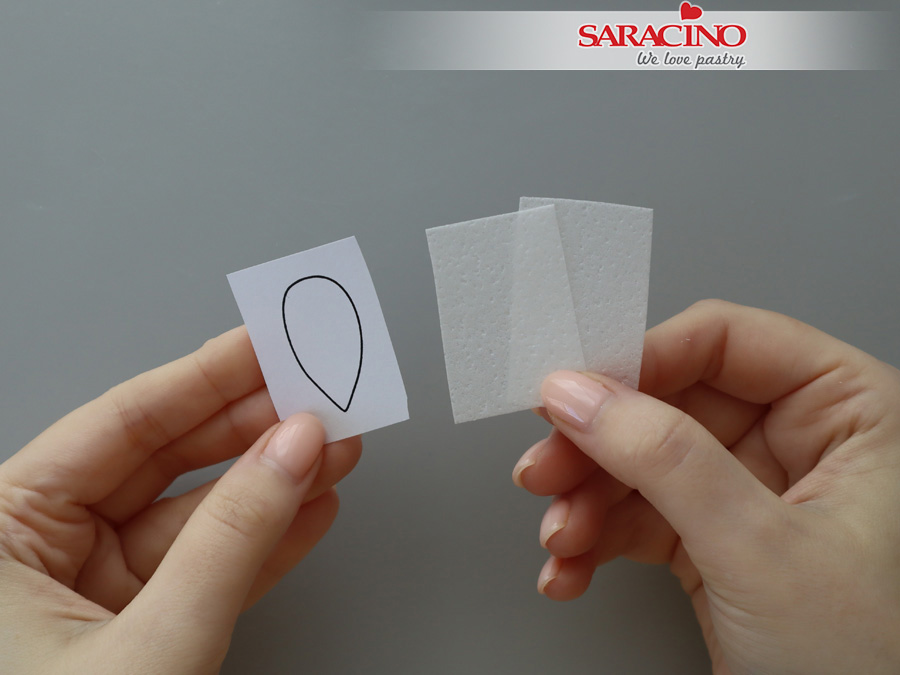
Step 22
For leaves, cut two pieces of wafer paper, roughly the size of your template.
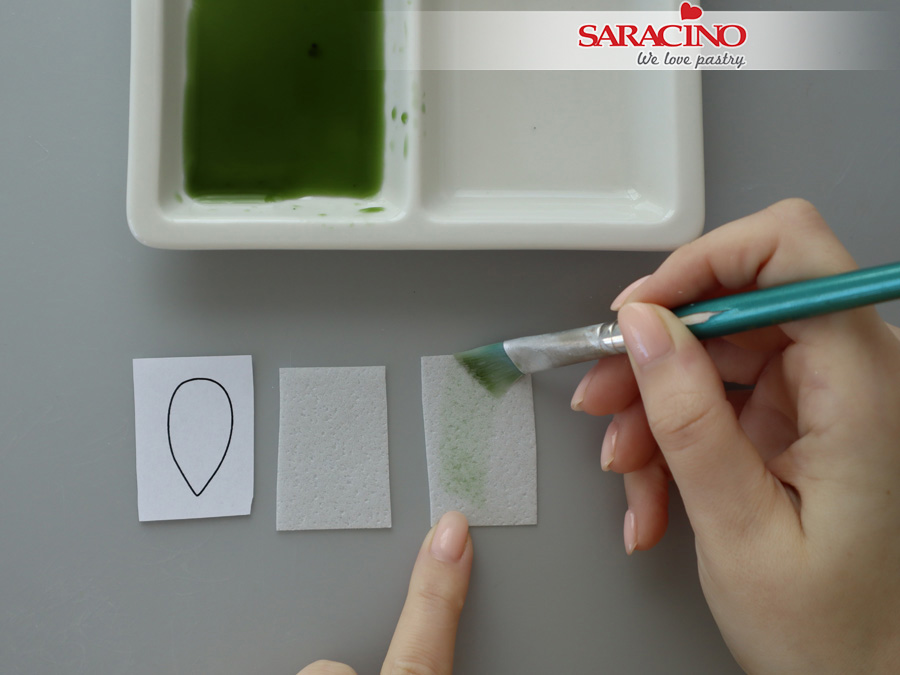
Step 23
Mix AC Tonic™ with the green gel colour of your choice. Apply a thin layer of conditioning mixture to one piece of wafer paper.
TIP: Use a scrap piece of wafer paper to check the colour and saturation of your mixture.
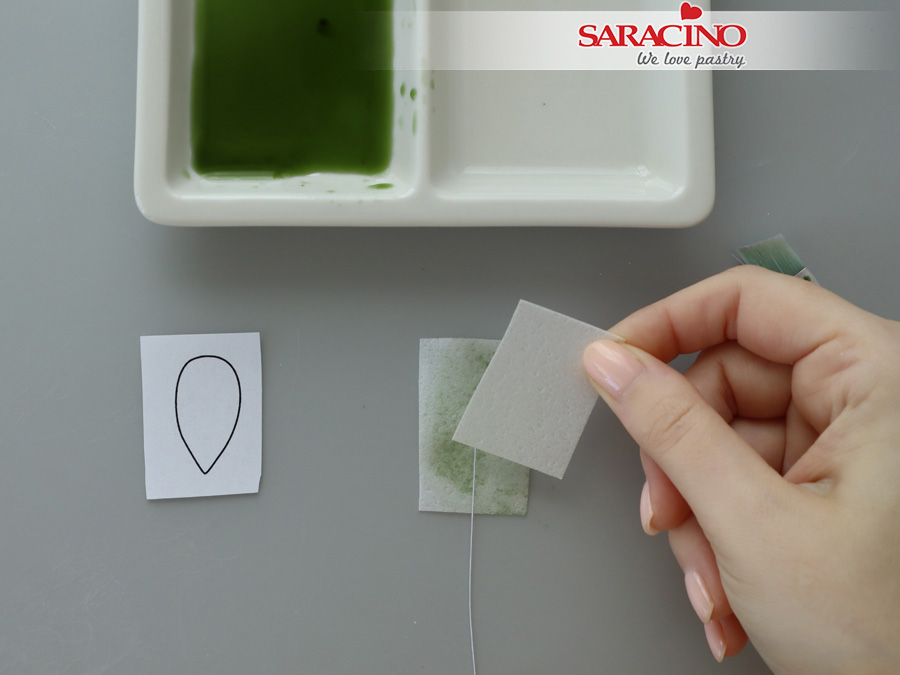
Step 24
Take a piece of 28 gauge white wire and press in the middle of the wafer paper. Sandwich with another piece of wafer paper.
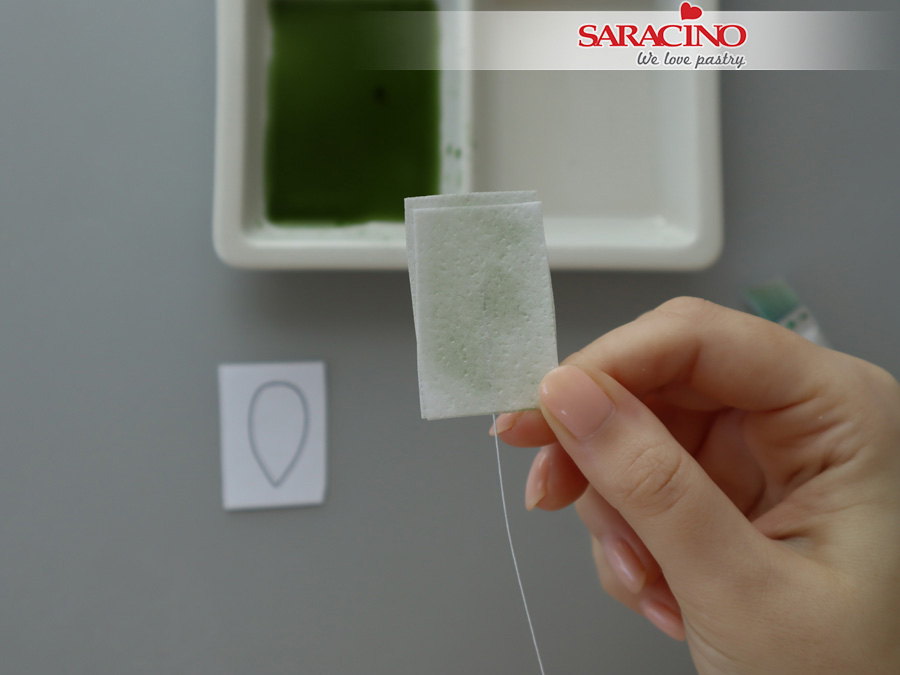
Step 25
Press both layers together to make sure that the wire is secured in the middle.
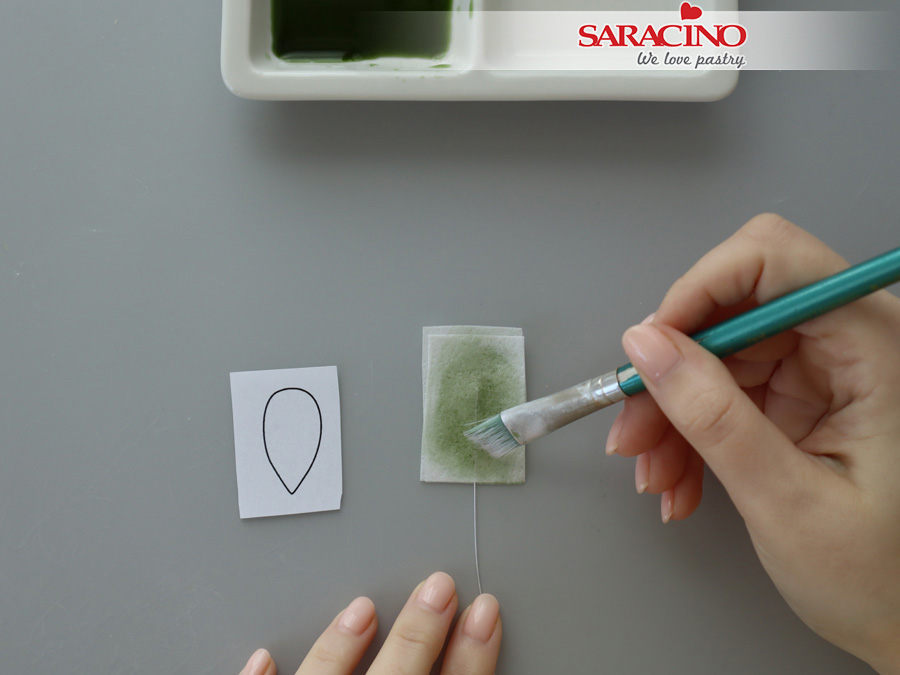
Step 26
Using the same conditioning mixture, colour the wafer paper.
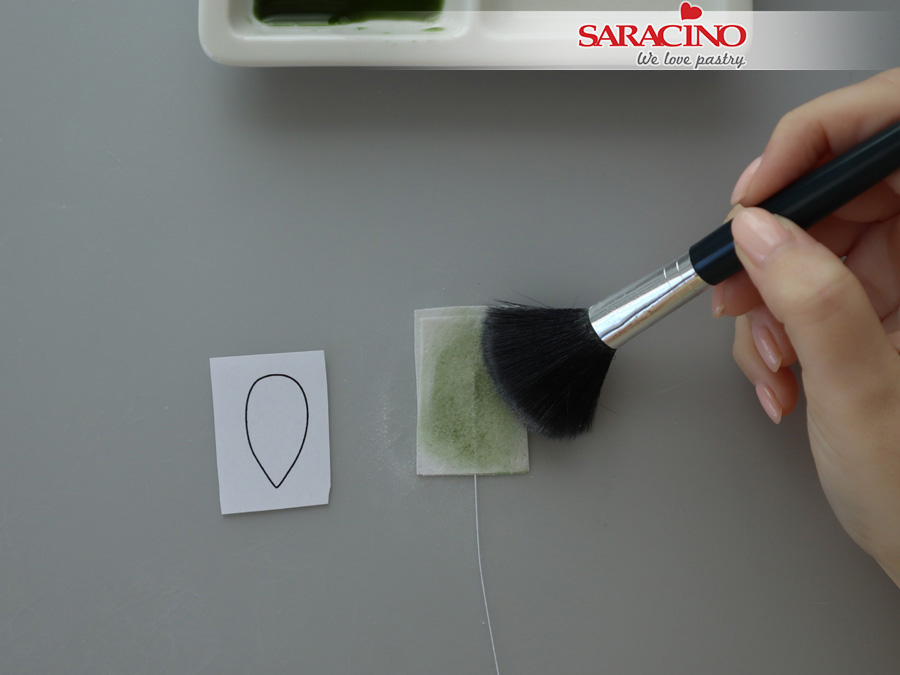
Step 27
To prevent wafer paper from sticking, apply a small amount of corn flour with a large fluffy brush.
Step 28
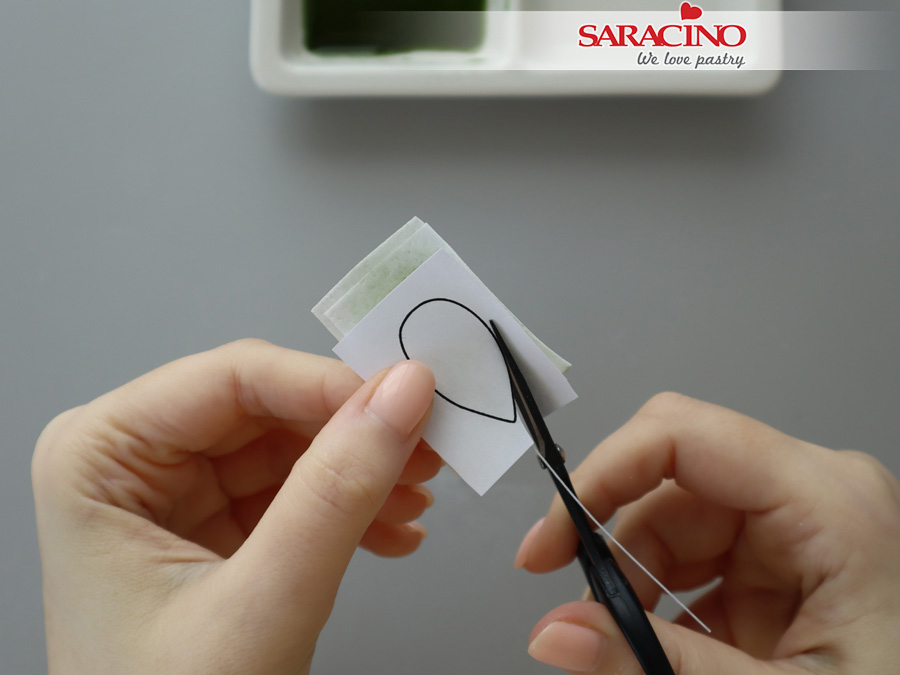
Place your leaf template on top of the coloured wafer paper. Narrow end pointing the wire. Using sharp scissors, cut out the wafer paper leaf.
Step 29
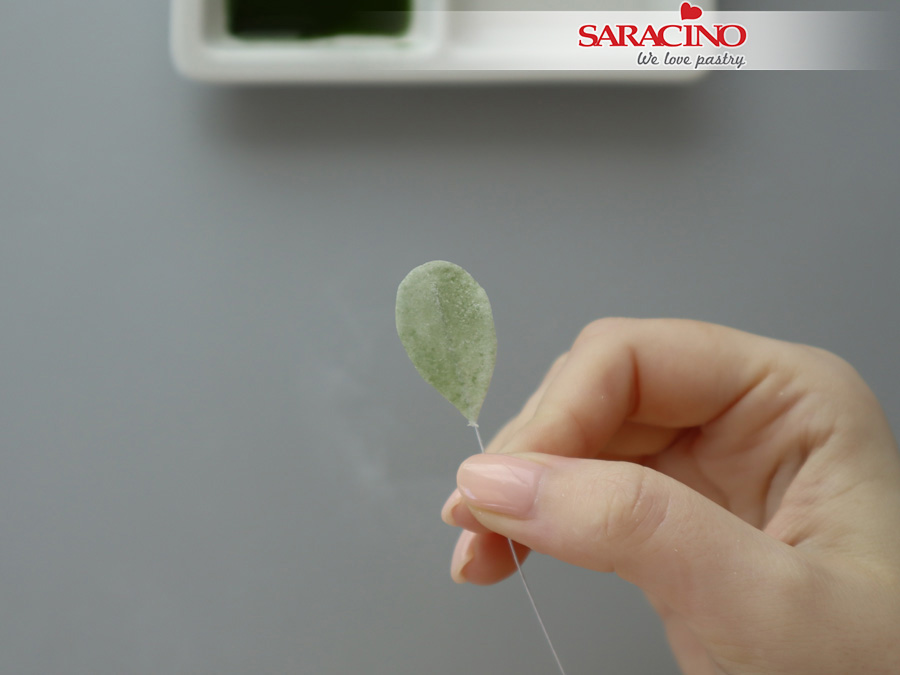
Gently peel off the paper template. You should have a teardrop-shaped leaf with the wire in the middle.
Step 30
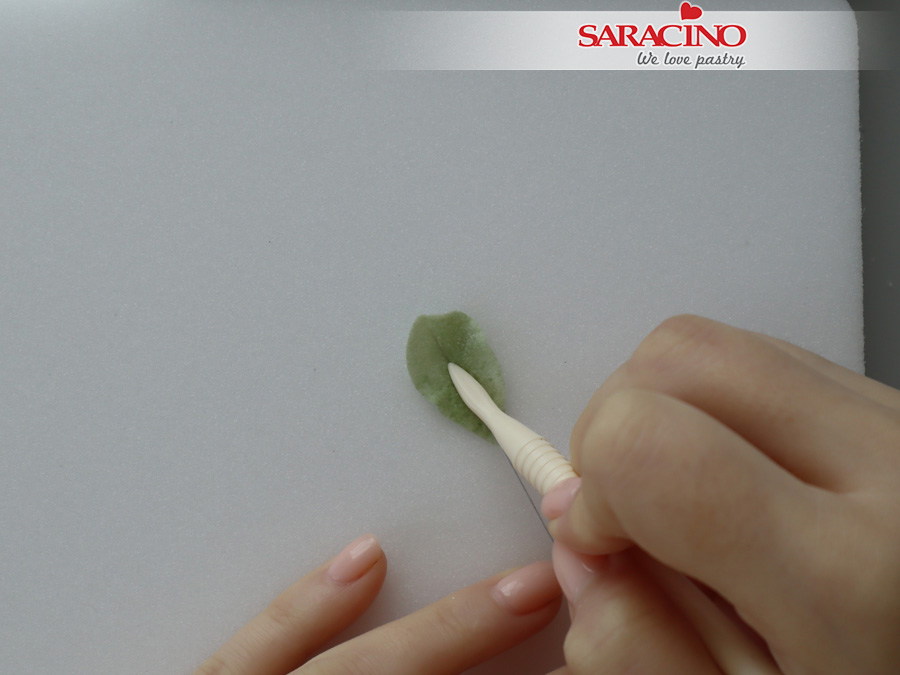
Place your wafer paper leaf on a floral foam pad and press with the dull end of the Dresden tool.
Step 31
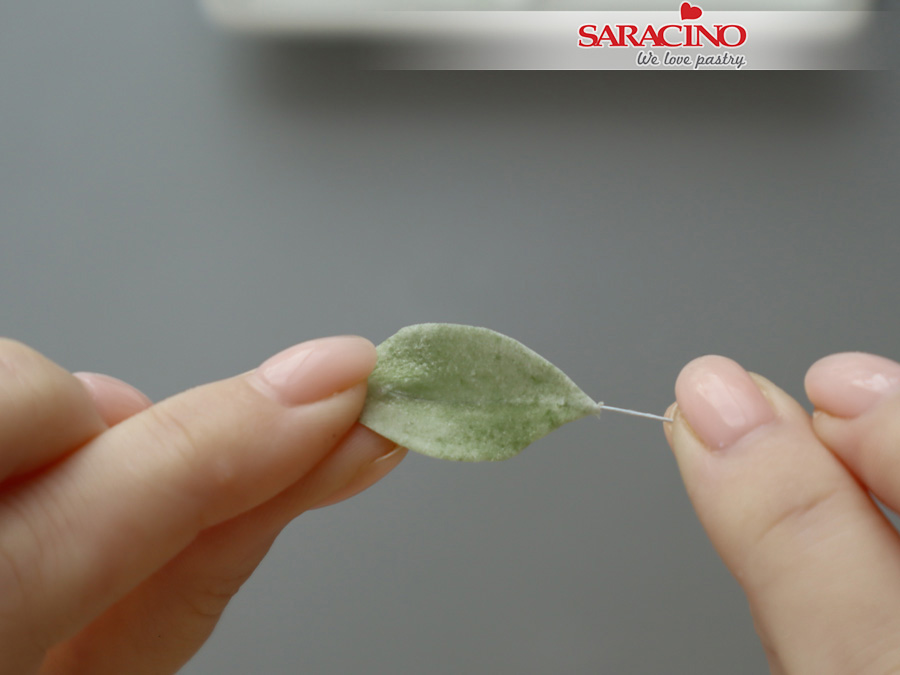
You can curl and shape your leaf to give it some movement. Set aside to dry.
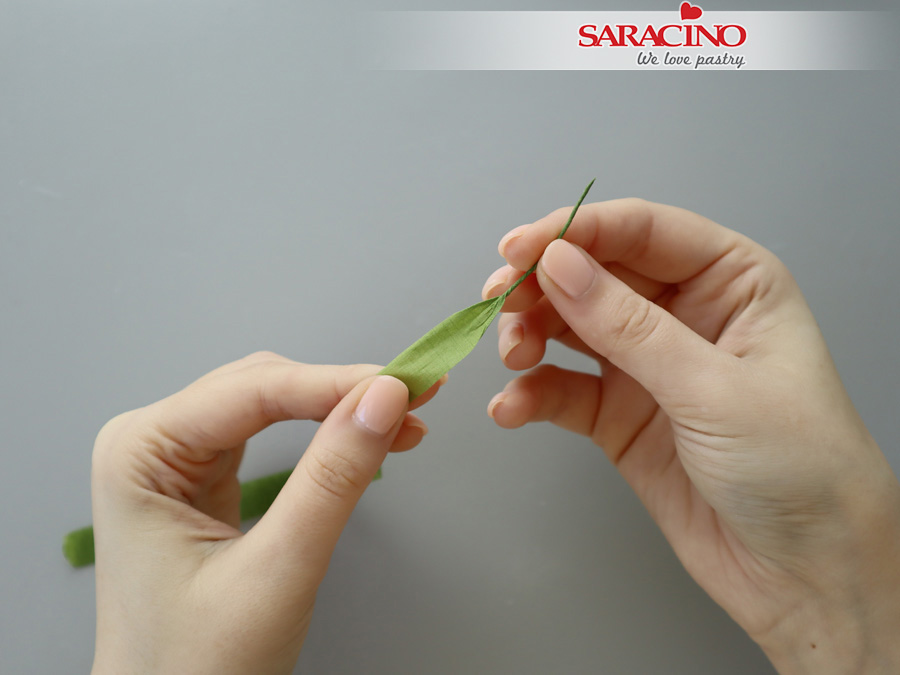
Step 32
To make tendrils take a piece of light green floral tape and stretch to activate the glue. Start twisting the tape to create the base for the tendrils.
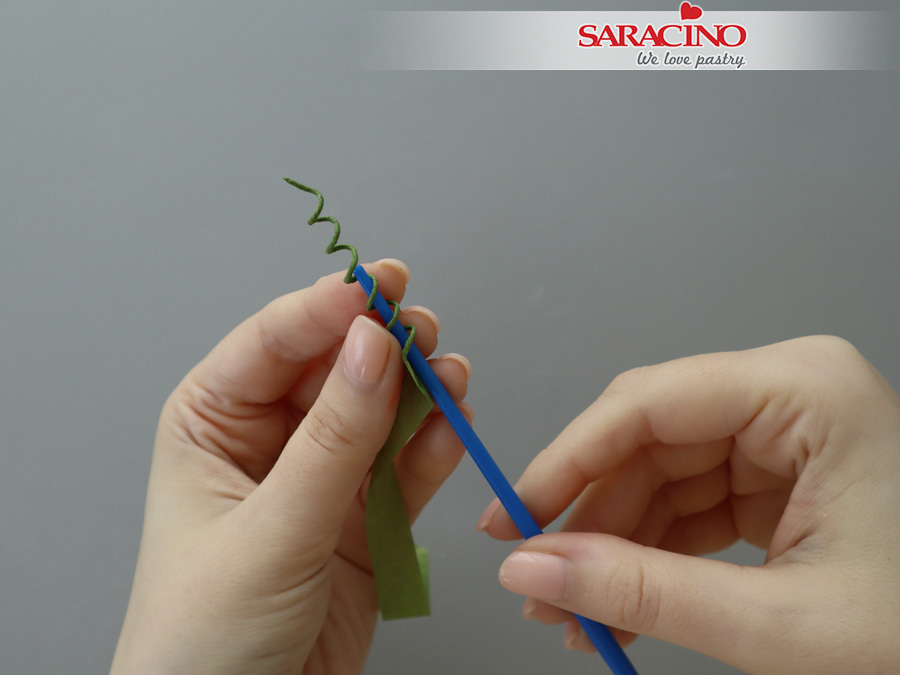
Step 33
Using a thin paintbrush, shape your floral tape onto the handle to make the spiral tendril. Gently twisting the brush, remove the tendril from the handle.
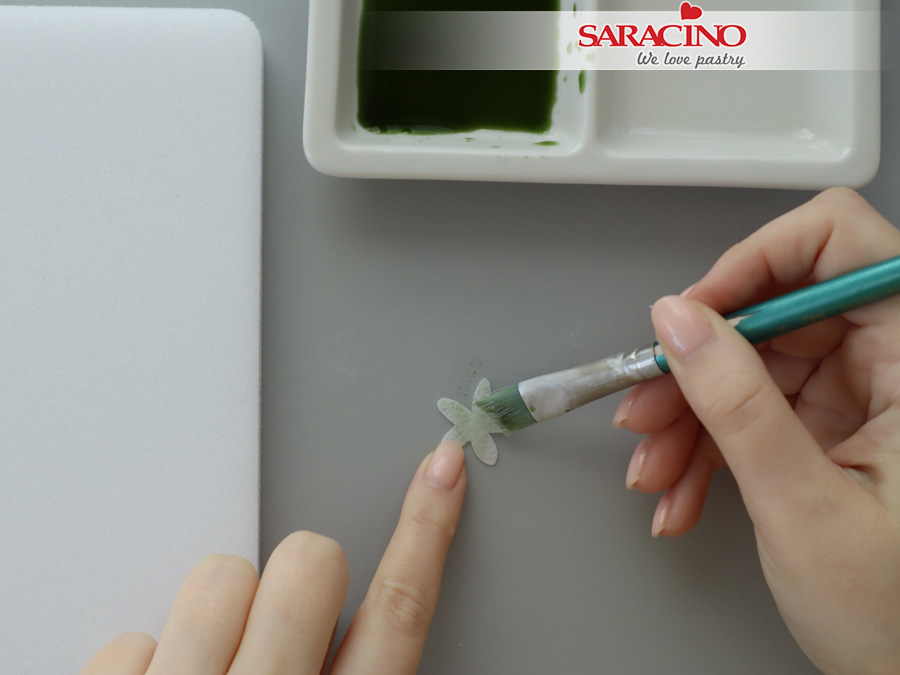
Step 34
For the calyx condition the rough side of the wafer paper with the green AC Tonic™ mixture.
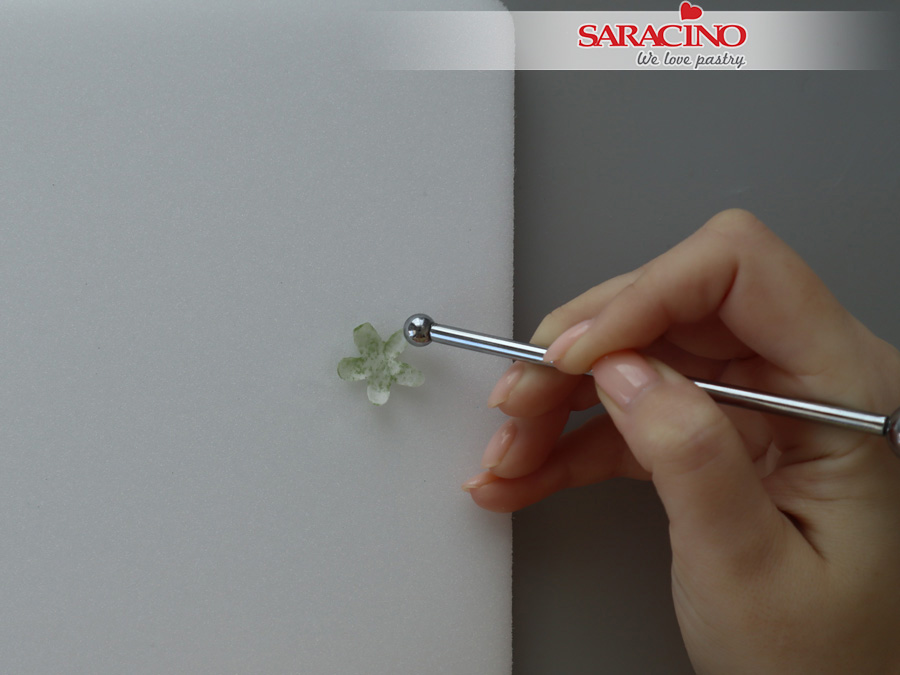
Step 35
Place your conditioned calyx on the floral foam pad with the smooth side up. Use a ball tool to add shape to the calyx.
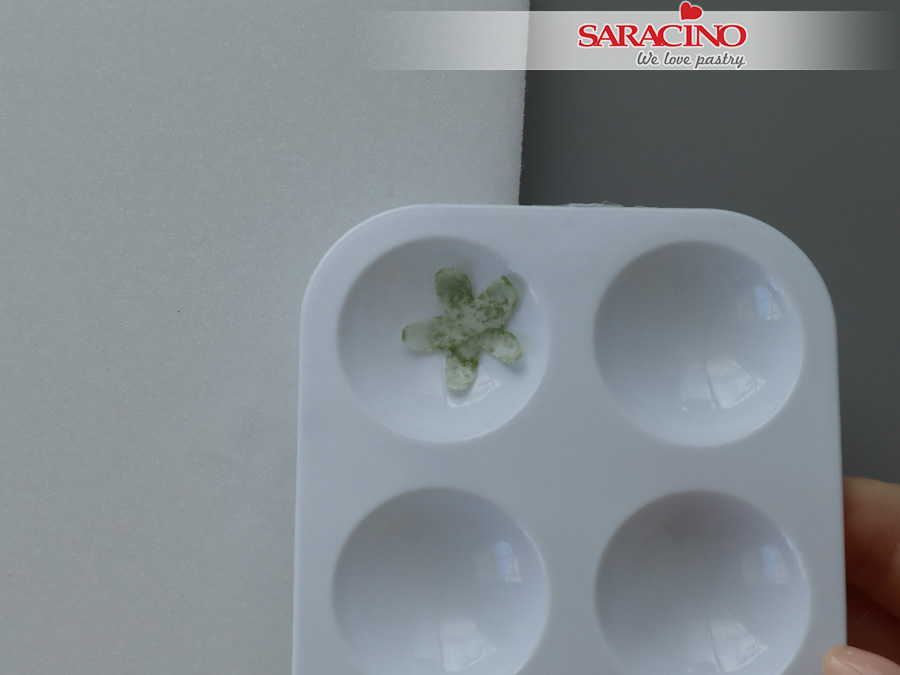
Step 36
Place it in a petal former and leave it to dry completely before assembling.
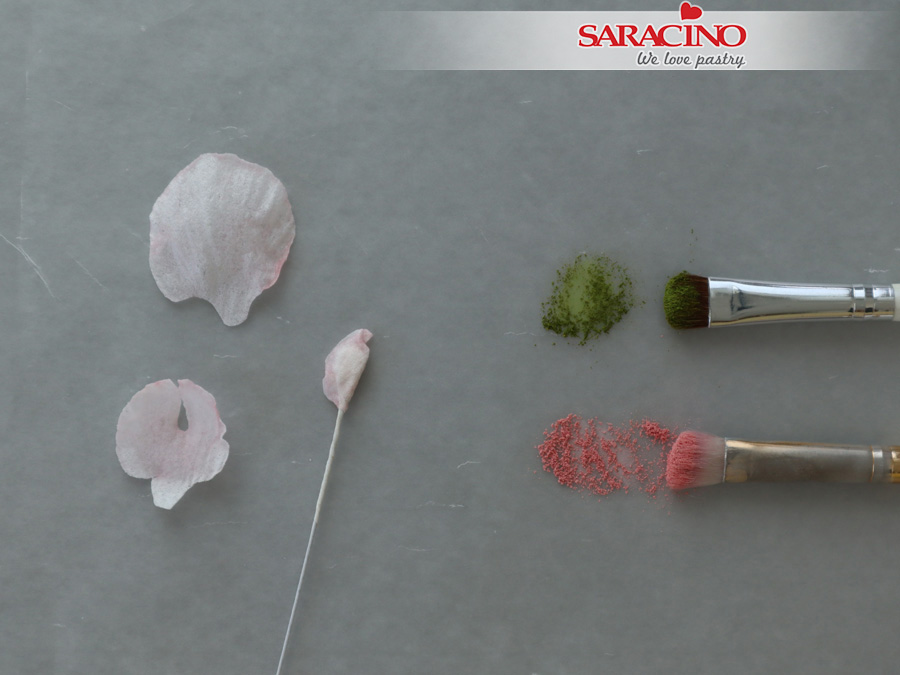
Step 37
Dusting petals – Make sure that all your petals are dry before dusting the flower.
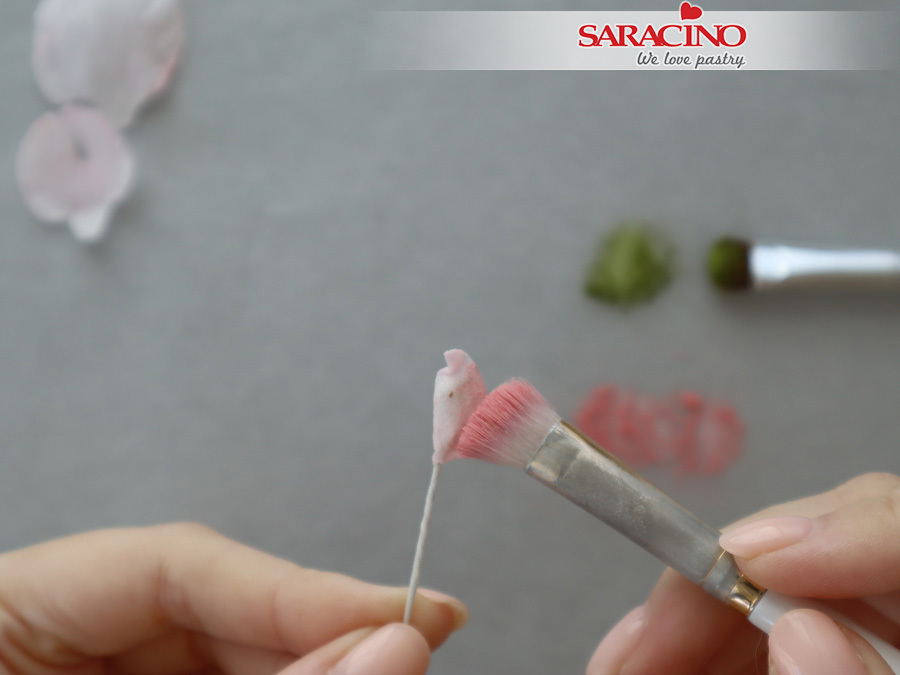
Step 38
Apply a generous amount of dusty pink powder colour to the outside part of the sweet pea center.
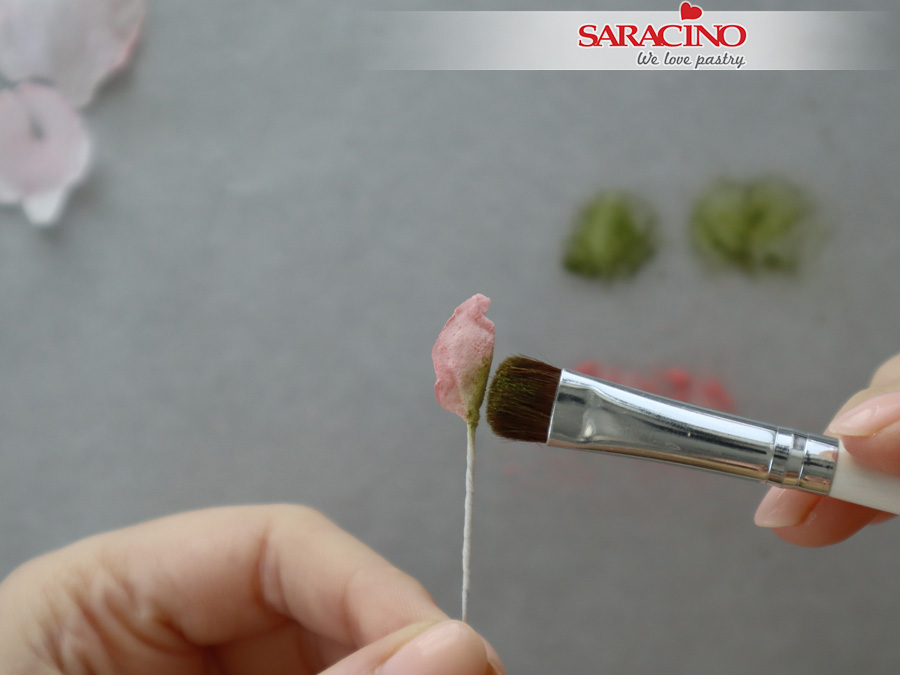
Step 39
Add moss green powder colour at the inner base of the center.
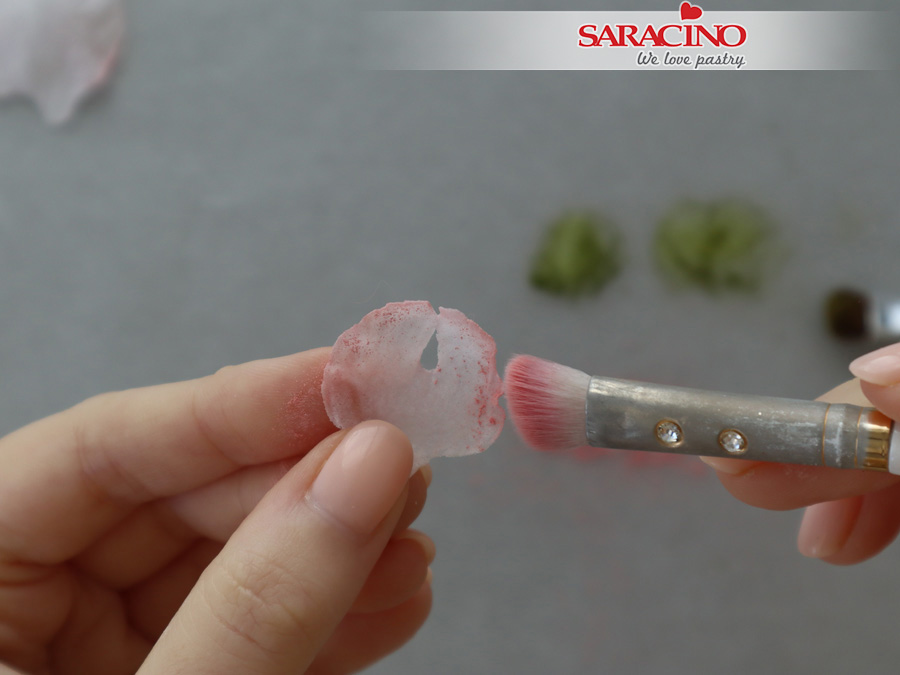
Step 40
Apply dusty pink powder colour to the outer edge of the medium petal.
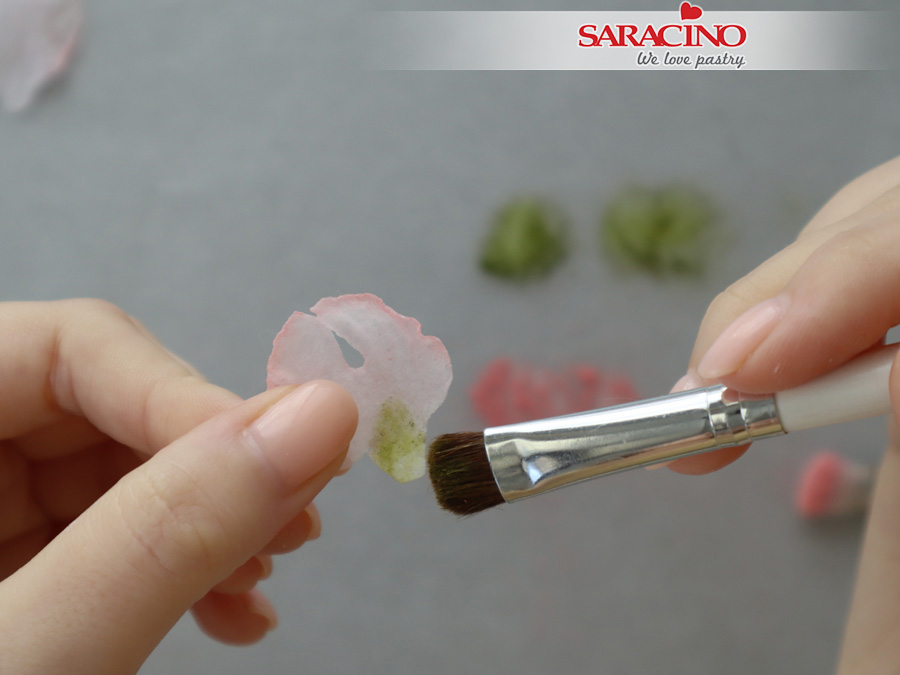
Step 41
Add moss green powder colour at the base.
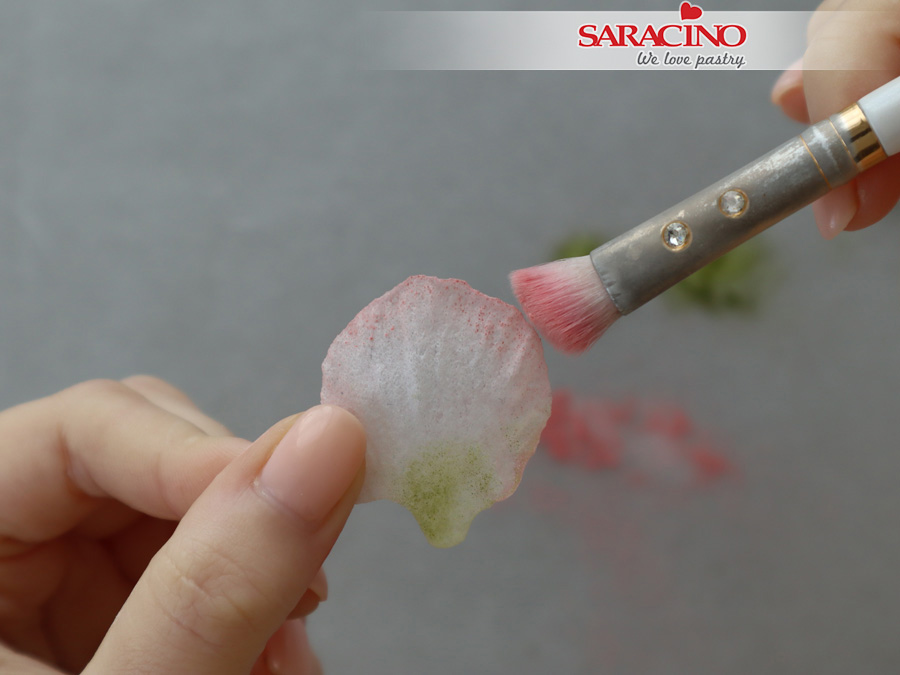
Step 42
Dust your large petal using the same colours and patterns.
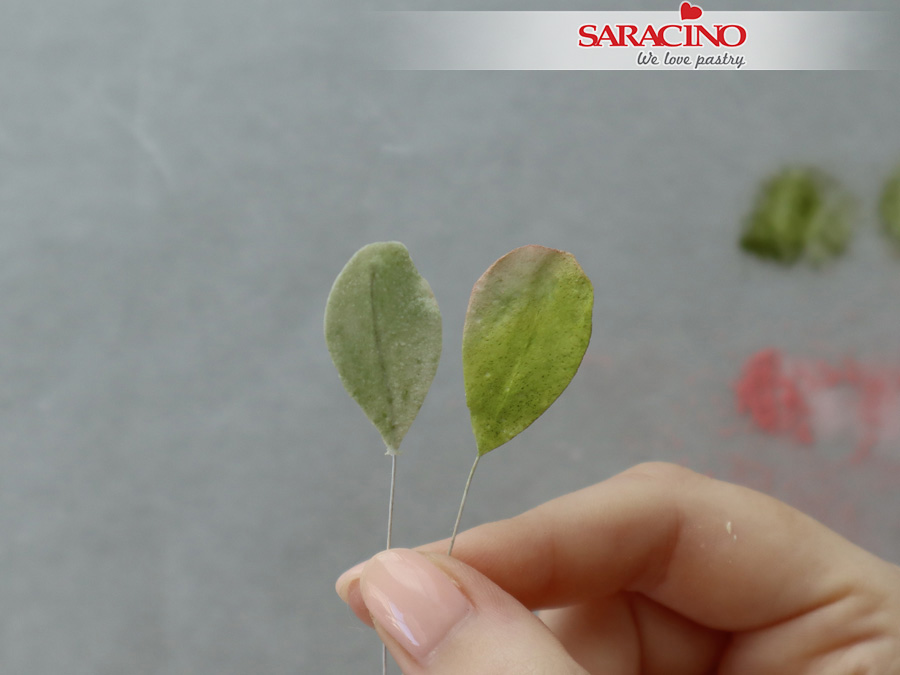
Step 43
Using moss green powder colour, dust your leaves. To make it more dimensional, add a touch of dusty pink. The petal on the left is before dusting and on the right dusted with moss green and dusty pink.
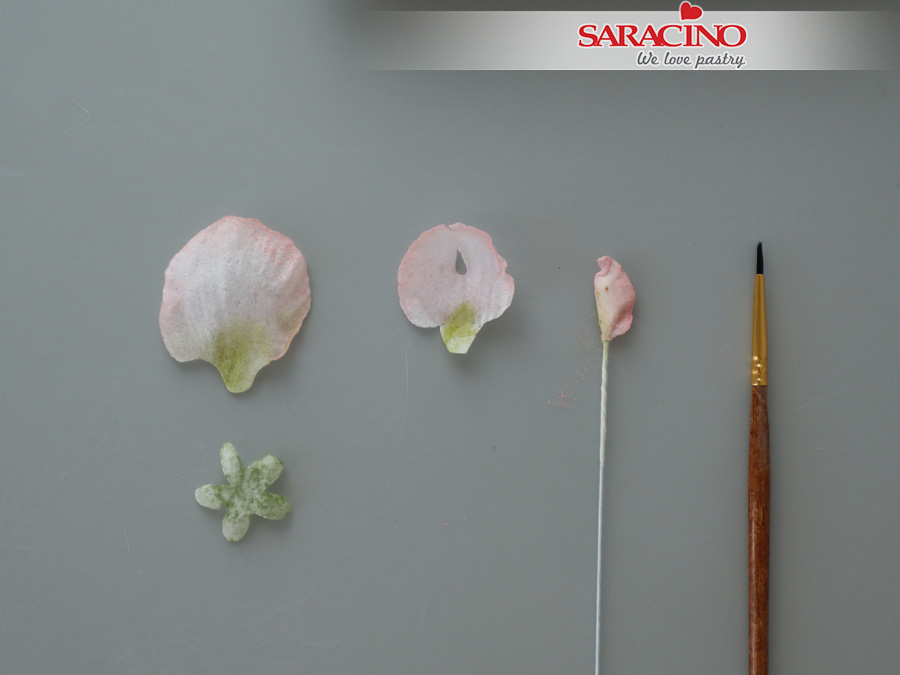
Step 44
Prepare all the dusted petals and calyx before starting assembly.
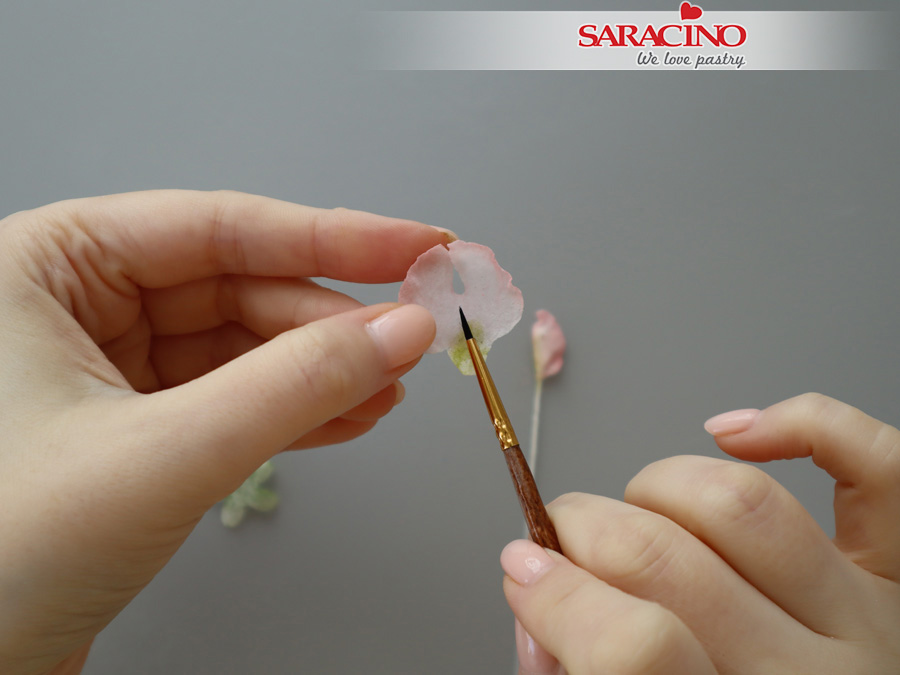
Step 45
Using a small brush, apply water in the middle of medium size petal to make it sticky.
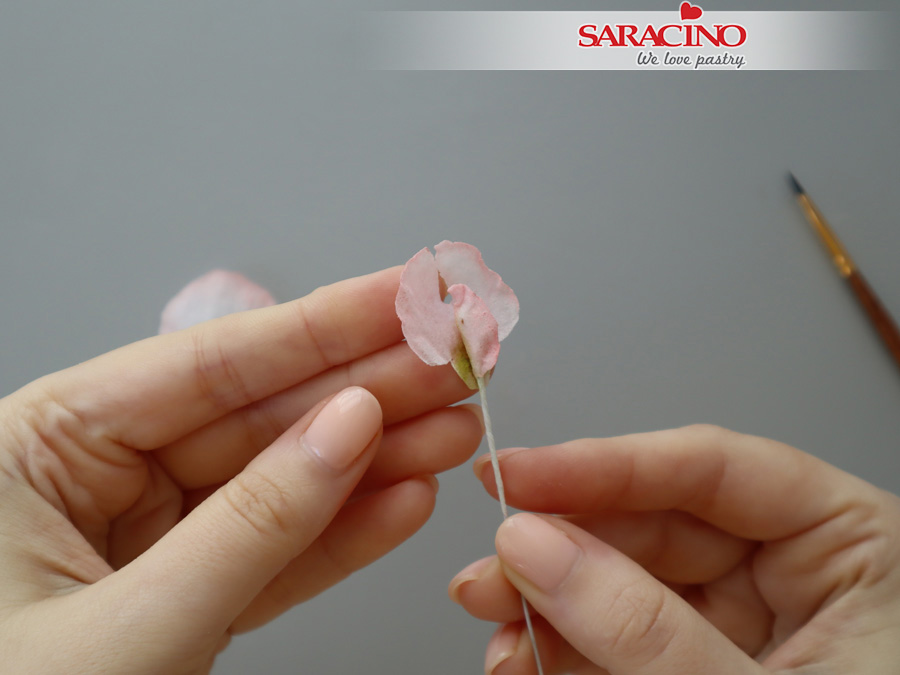
Step 46
Attach your sweet pea center to the medium size petal and hold for a few seconds.
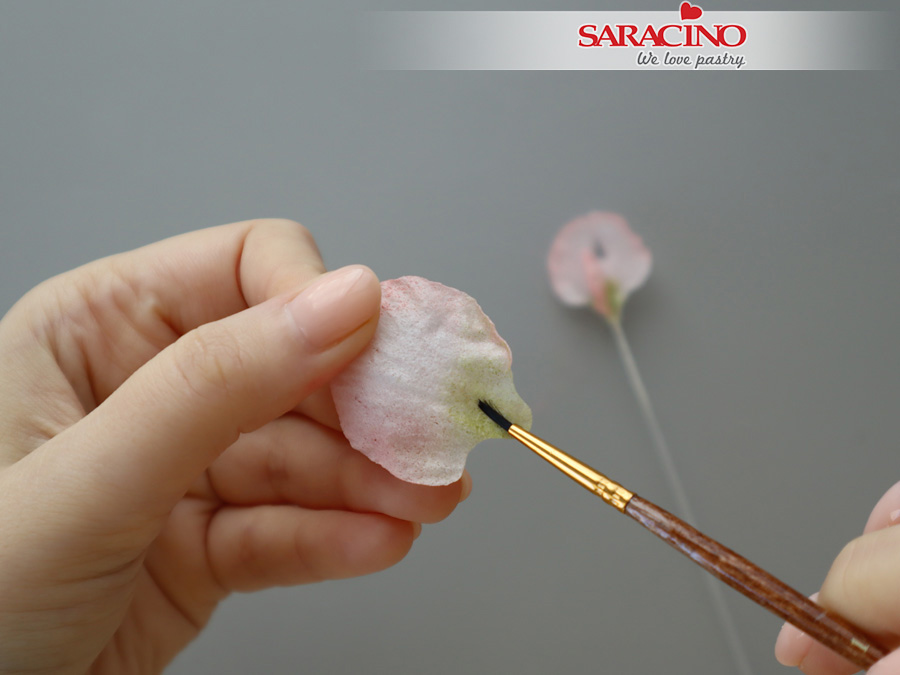
Step 47
Repeat with the large petal applying a little water in the centre.
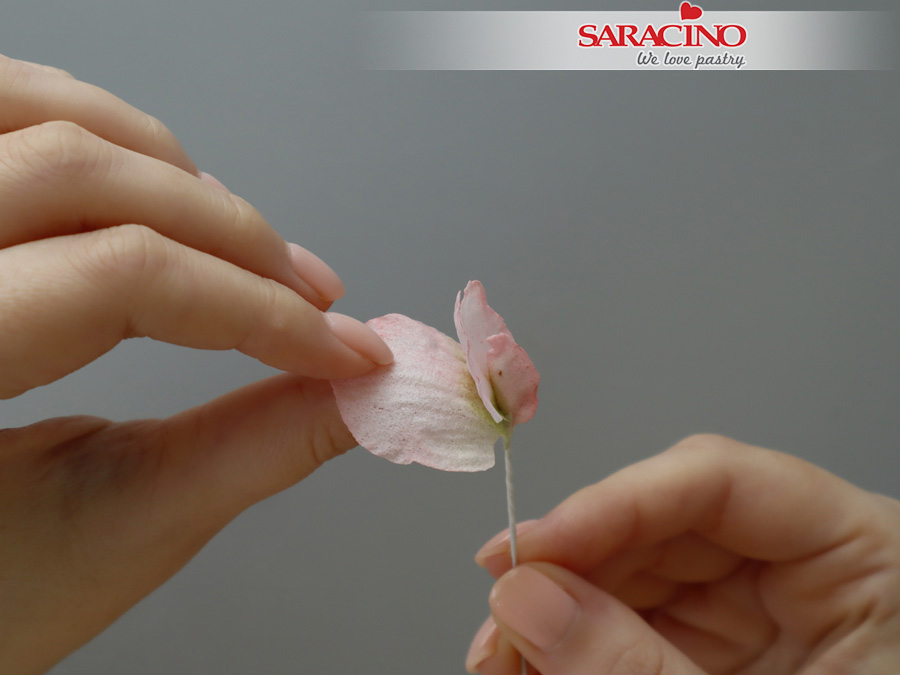
Step 48
Attach to the sweet pea flower. Hold for a few seconds.
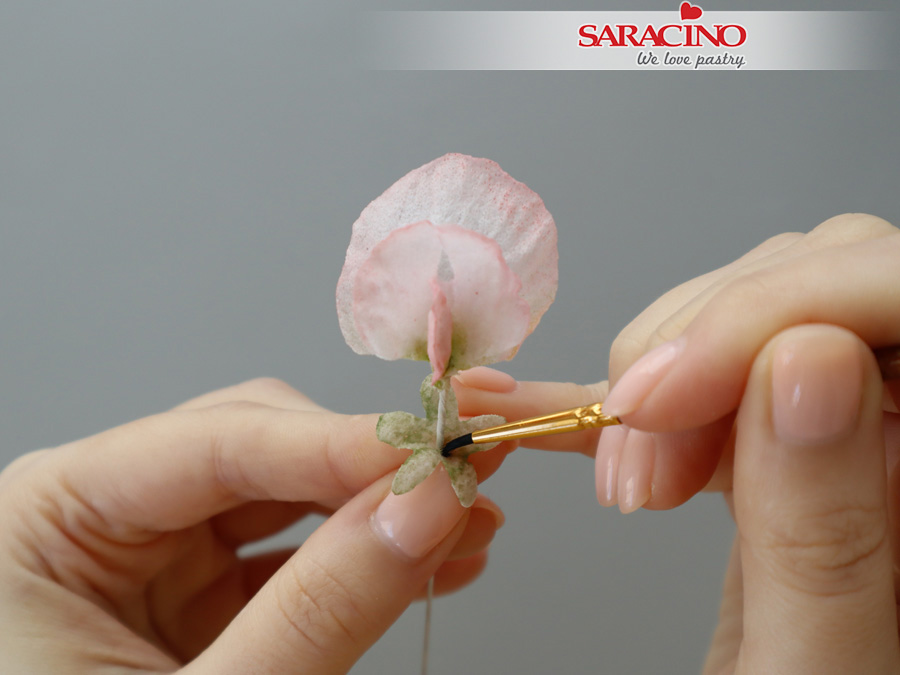
Step 49
Add the calyx to the flower. Apply a small amount of water as glue.
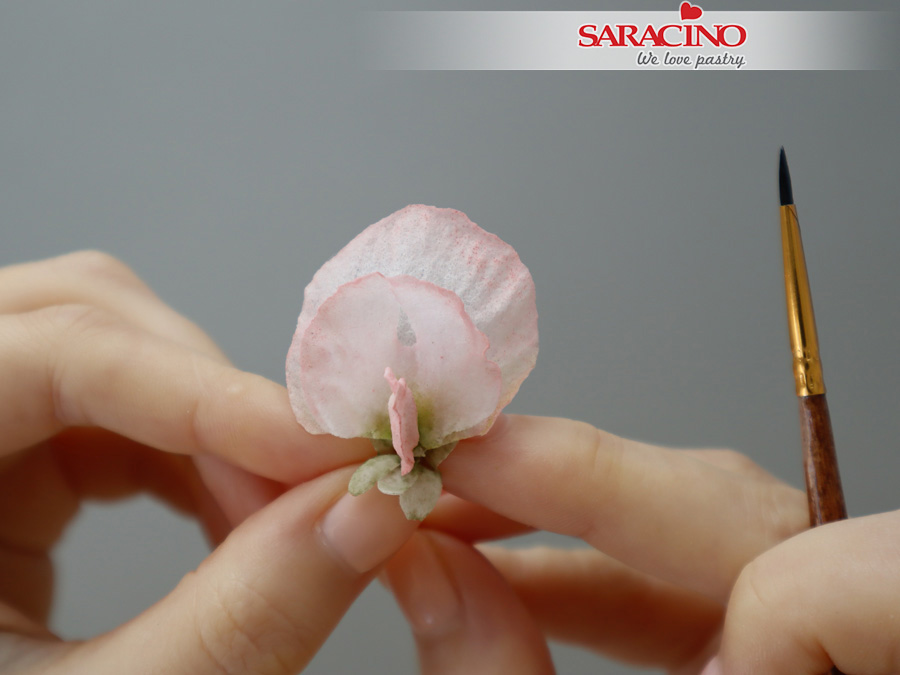
Step 50
Gently press the calyx onto the sweet pea flower.
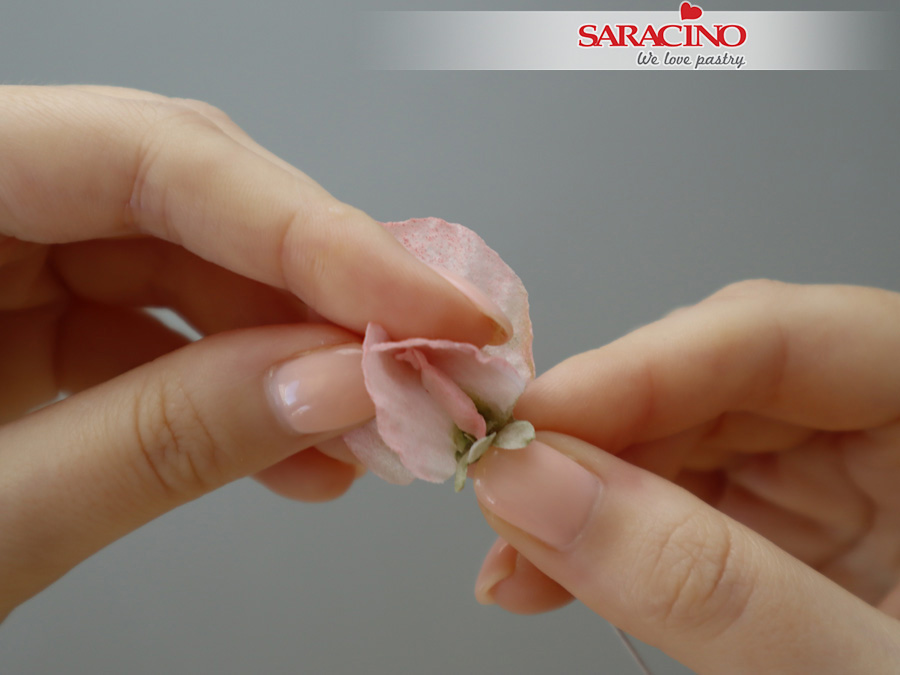
Step 51
You can reshape and form the flower while it is still soft.
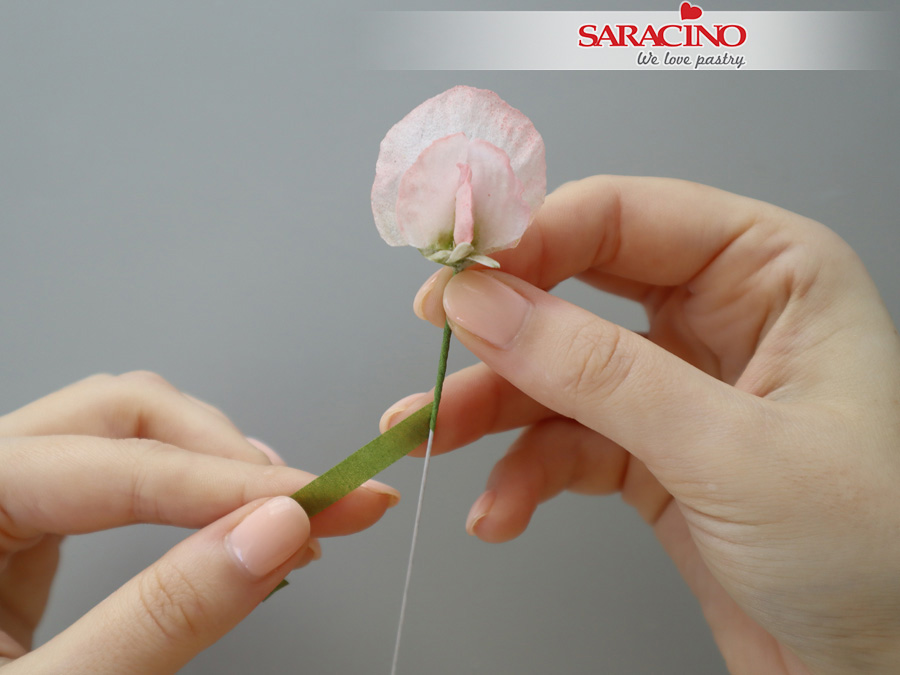
Step 52
Use a half-width light green floral tape to cover the stem.
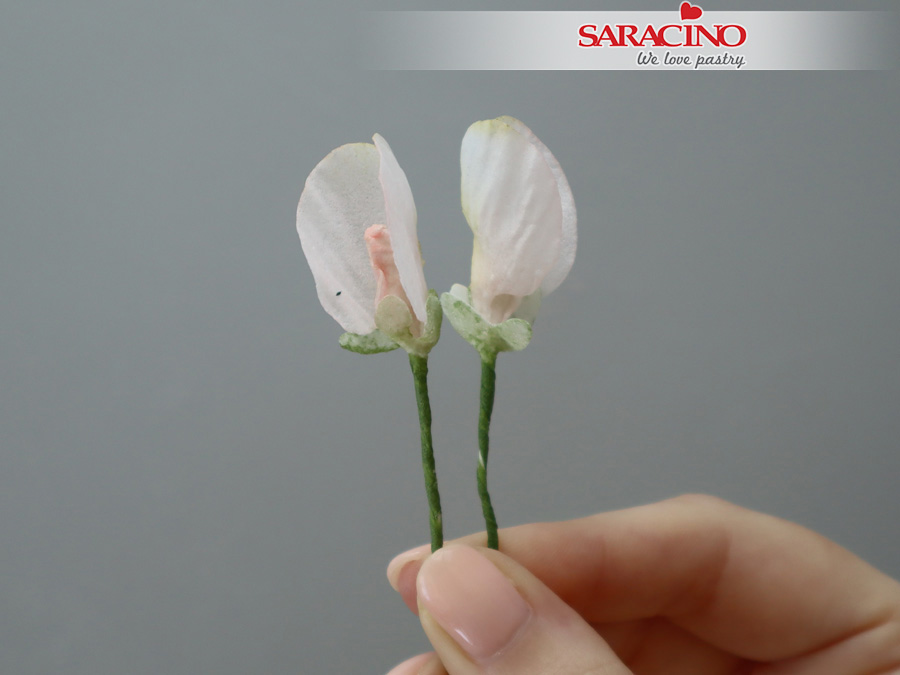
Step 53
To make sweet pea buds, use small and medium size petals. Shape the petals to a more closed look.
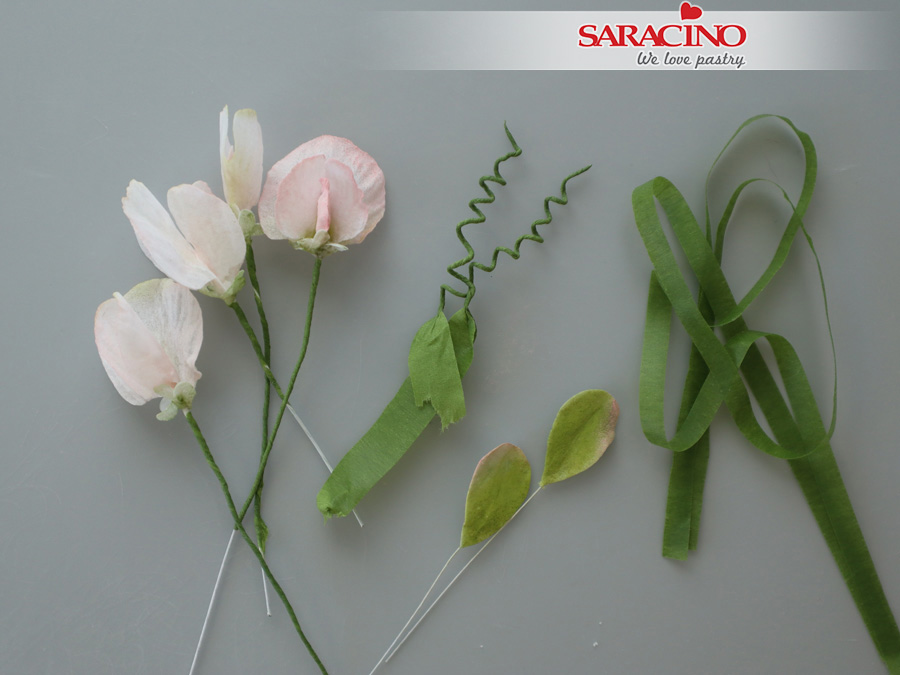
Step 54
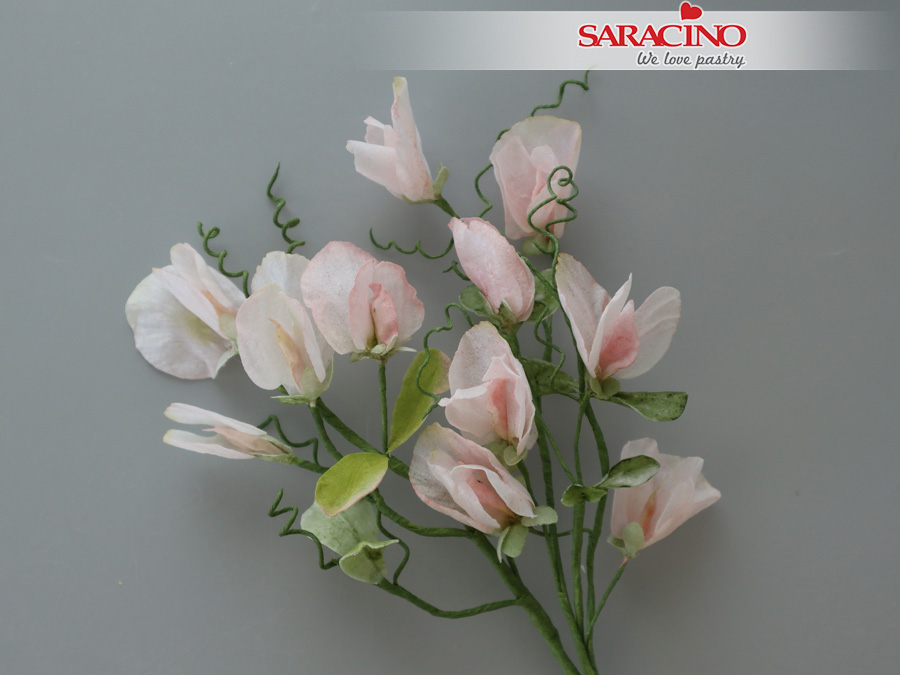
Make sweet pea flowers at different stages of bloom, leaves and tendrils to create a full branch.
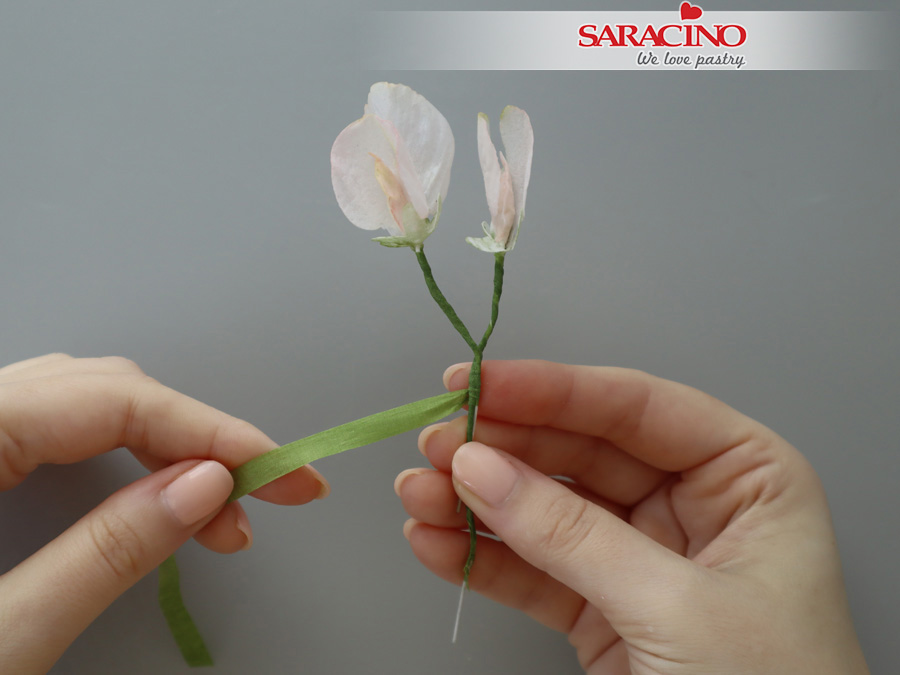
Step 55
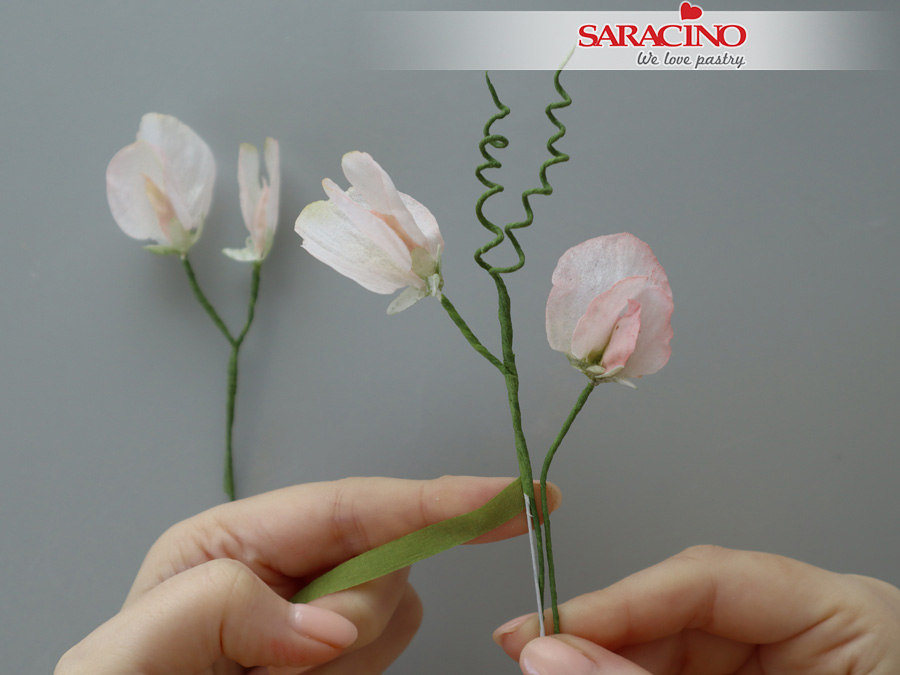
Start by grouping and taping flowers together.
Step 56
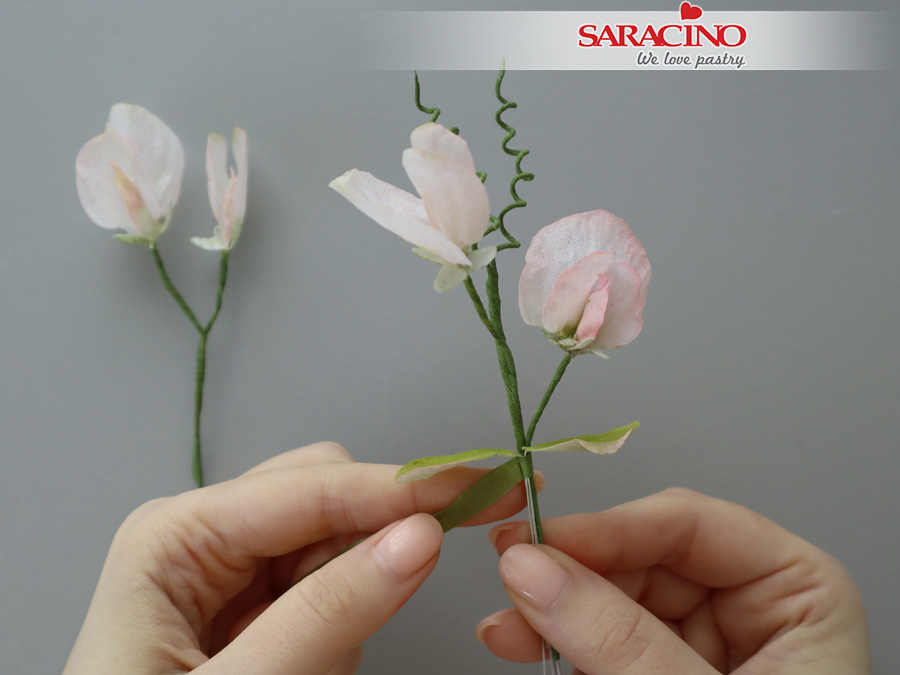
Tape a few tendrils and flowers to another piece of 22 gauge wire. Add flowers every 3-4cm.
Step 57
At the base of the flower, add two leaves on the opposite sides of the stem. Use light green floral tape to assemble the sweet pea.
Step 58
Add more flowers, leaves and tendrils to achieve the desired look.
TIP: Use posy picks to insert your flowers into an edible cake. Floral wires should never be exposed inside the cake.


