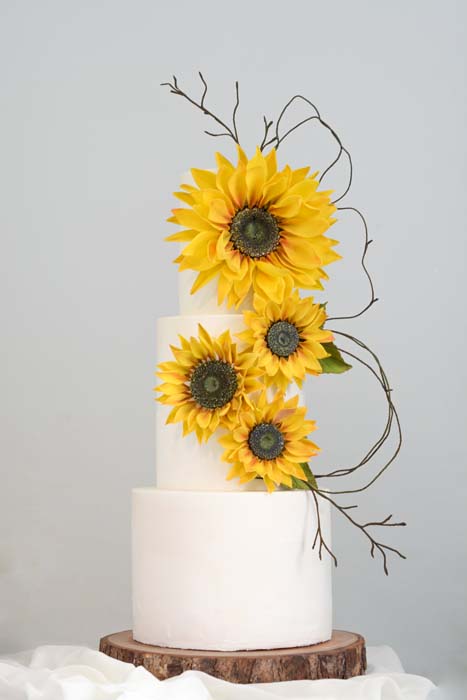
You will need:
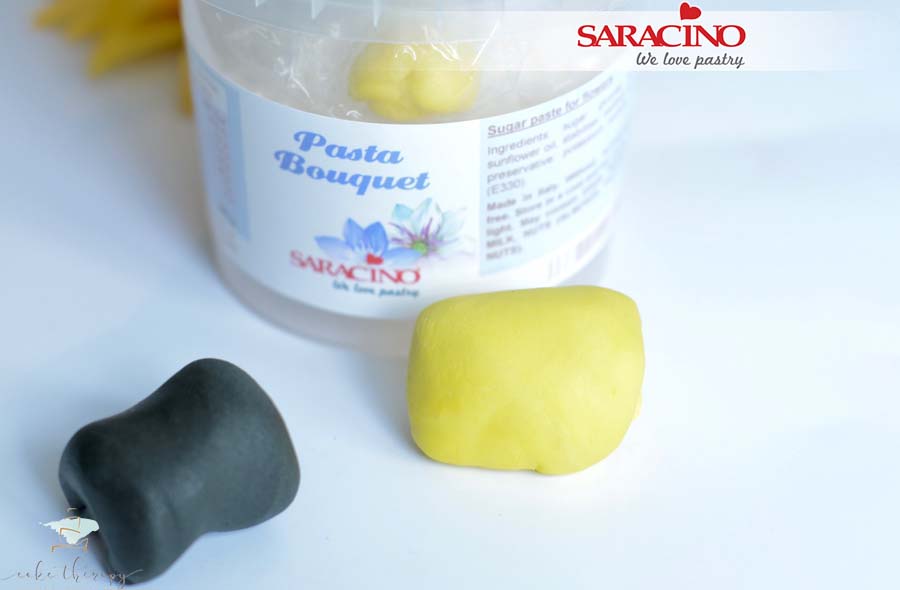
- Saracino Pasta Bouquet
- Gel colour (yellow, black, white, green)
- Powder colour (yellow, red, brown)
- Petal cutter and veiner
- Sunflower center mould
- Grooved work board
- 26 gauge flower wire
- Wire cutter
- Small rolling pin
- Foam board
- Edible glue
- Spoons or petal former
- Soft brushes for dusting
- Pointed tool
Step 1
Step 2
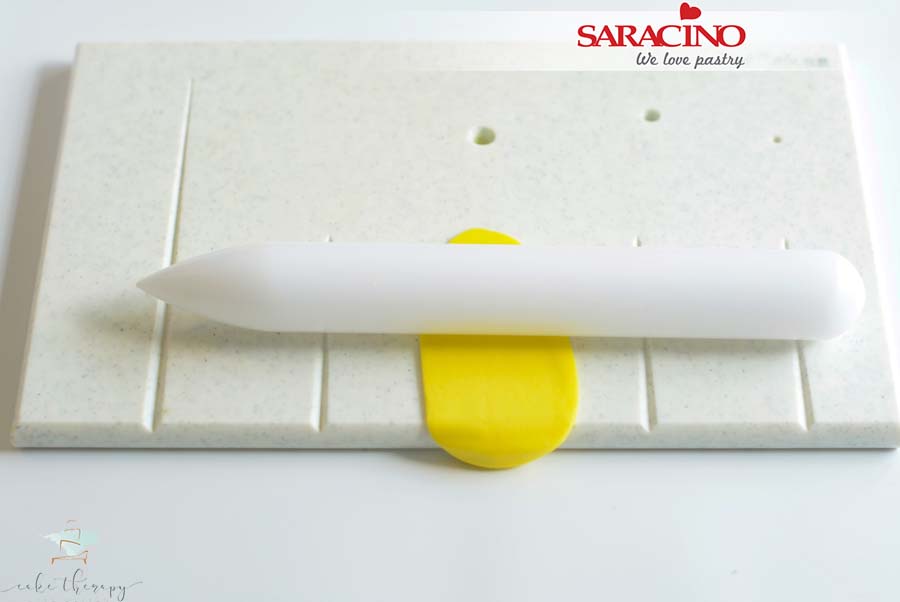
Take a small amount of the yellow Pasta Bouquet and roll it over a groove on your board until the paste is thin.
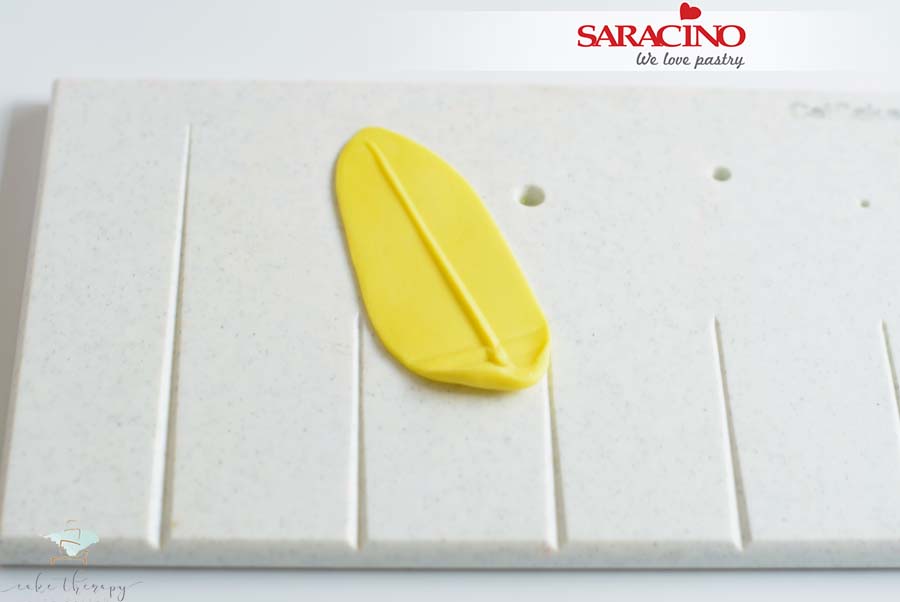
Step 3
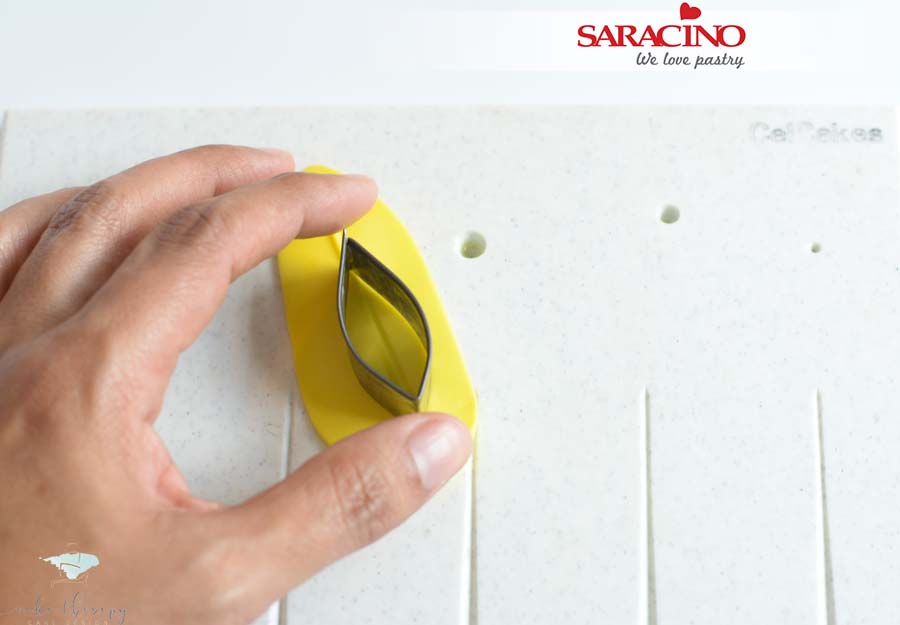
Step 4
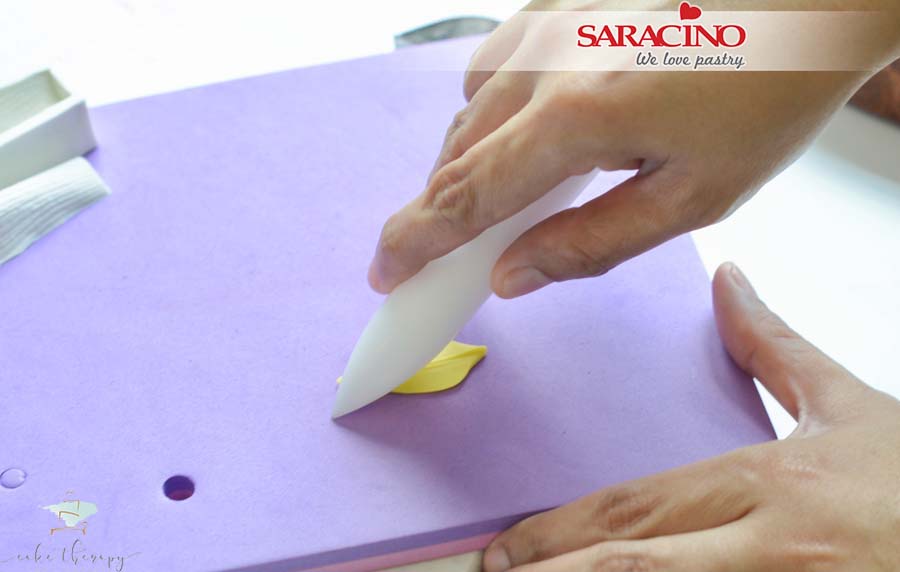
Step 5
Place the petal on a foam mat and using the end of a rolling pin or ball tool gently press around the outside of the petal to thin the edge.
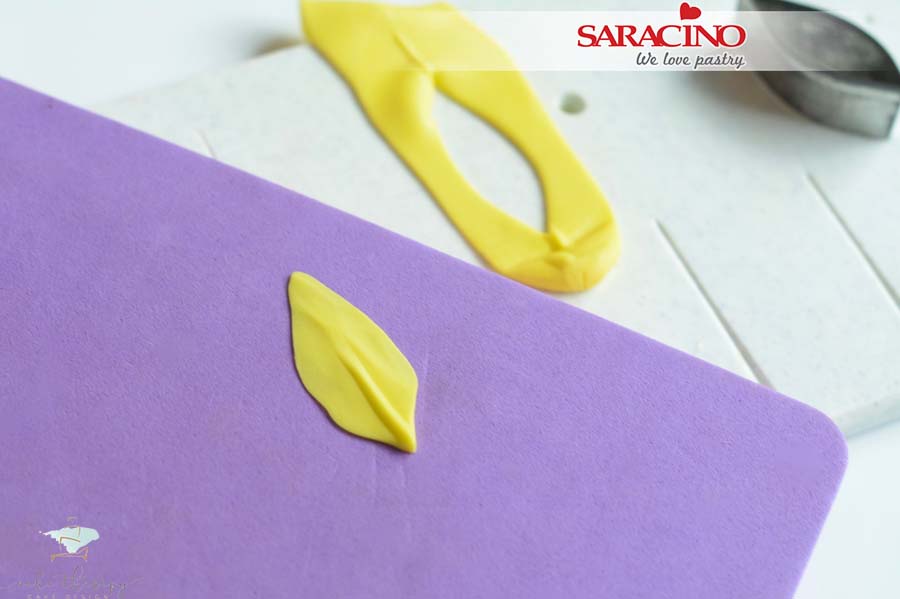
Step 6
Do not thin around the bottom of the petal. If you press too firmly at the bottom you will lose the paste needed for wiring.
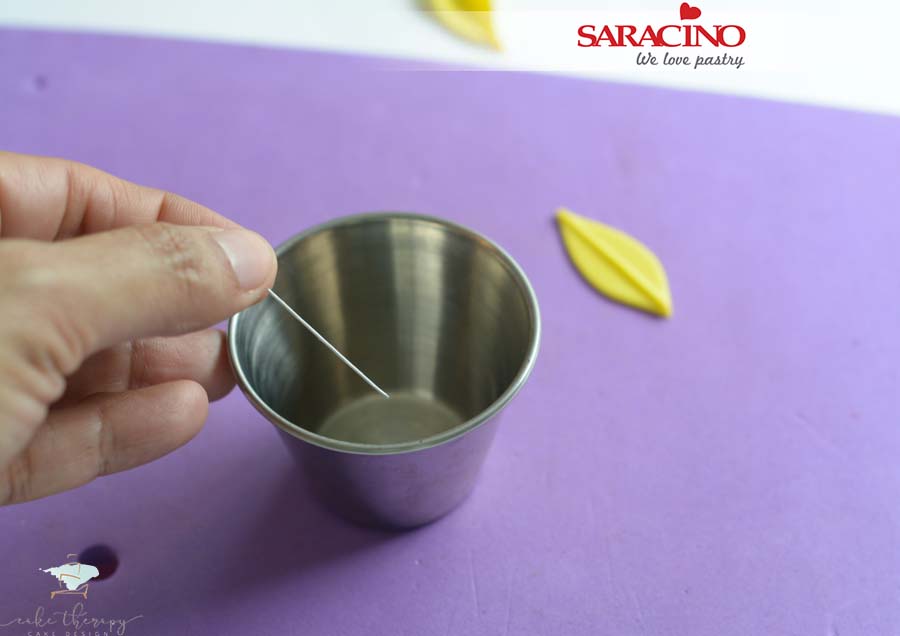
Step 7
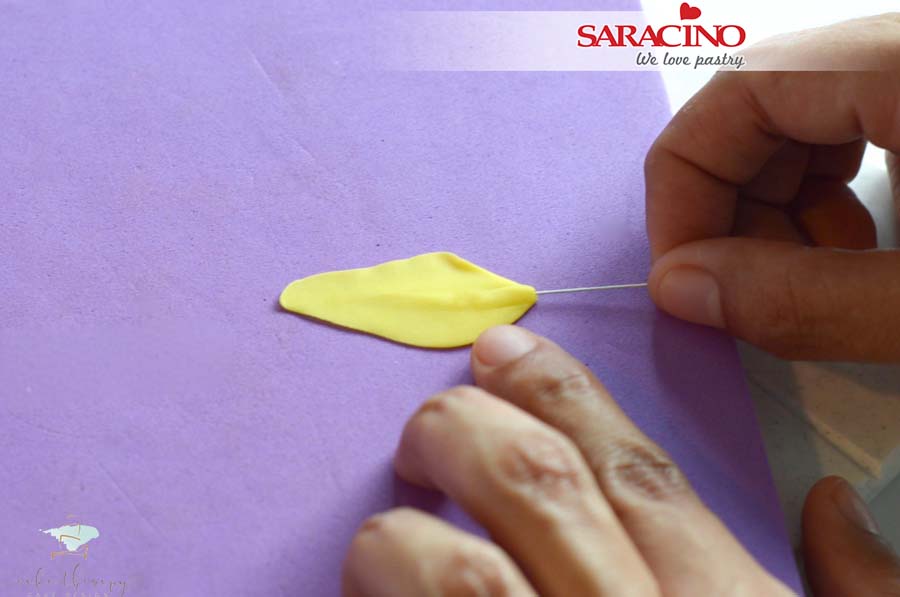
Use a small wire cutter to cut the 26 gauge wire into shorter lengths. Two inches (5cm) should be long enough. Moisten the tip of the wire with edible glue or a small amount of water. This will provide a secure attachment once dried.
Step 8
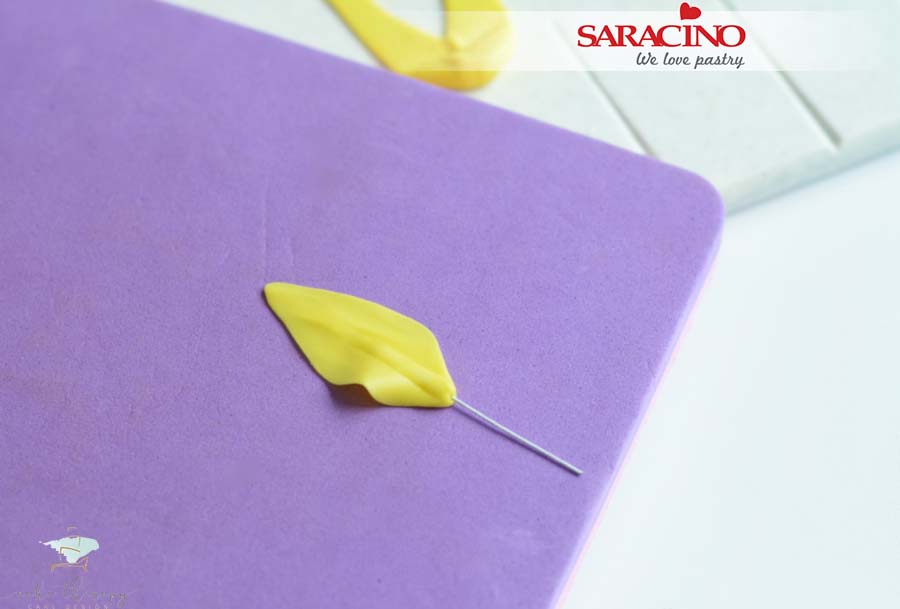
Gently insert the wire into the grooved, thicker area of the petal. Twist when inserting to make it easier.
Step 9
Make sure the wire is not visible through the petal.
Step 10
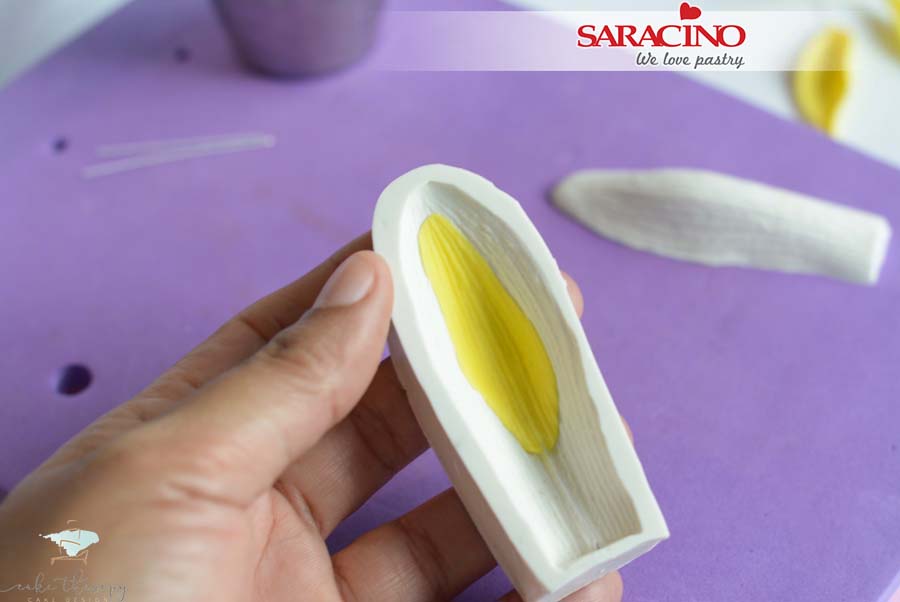
Place the wired petal into the petal veiner.
Step 11
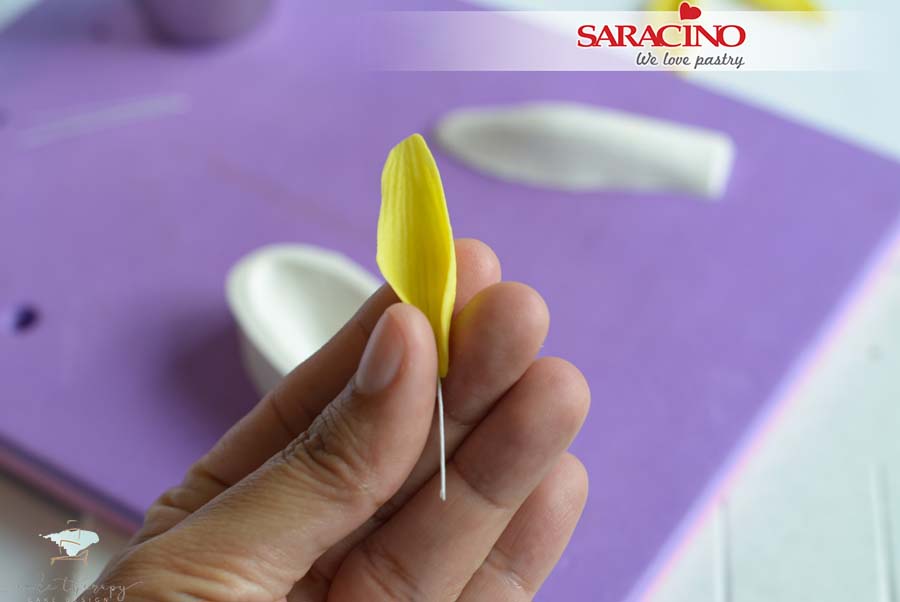
Carefully remove the petal and slightly press at the base.
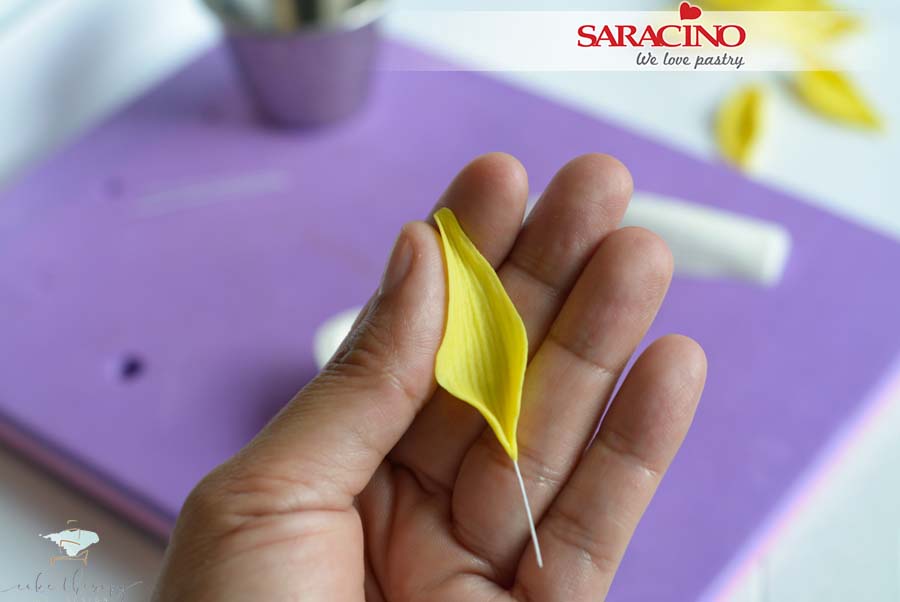
Step 12
Bend the tip of the petal as well.
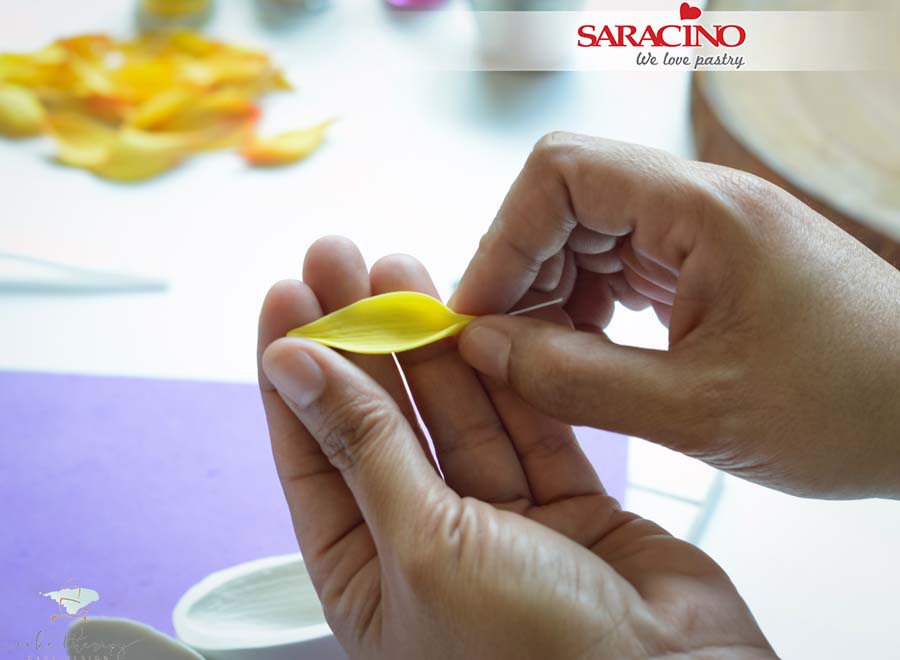
Step 13
Use your fingers to delicately give form and movement to the petal.
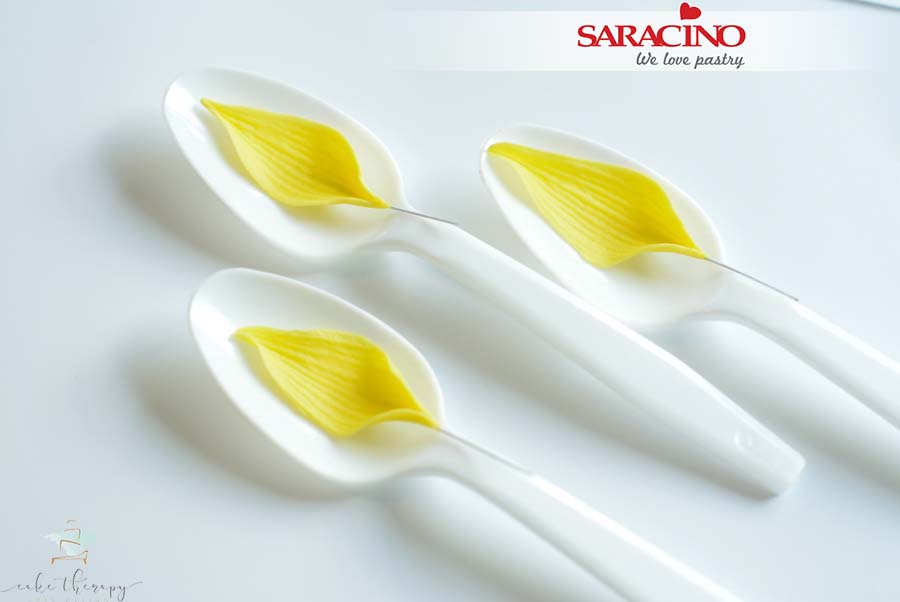
Step 14
You can use spoons to aid with petal forming and allow to dry until the next day or at least a couple of hours.
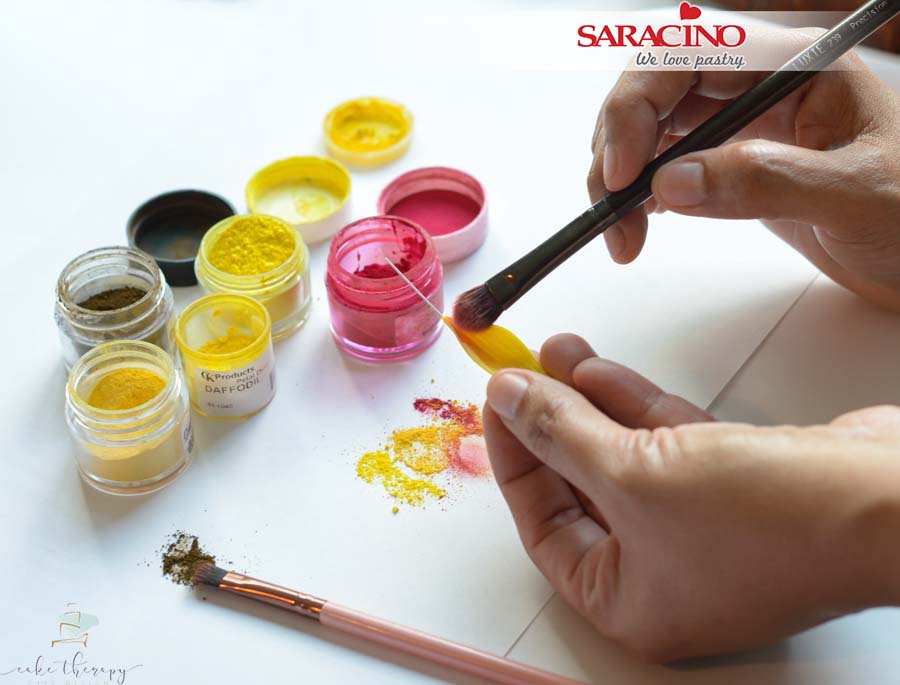
Step 15
Once the petals are dry they are ready for dusting. Use a combination of yellow and red powder colour and mix to create the desired shade of orange. Starting applying the orange tone at the base of the petal and use lighter colours towards the tip of the petal to give a nice blend and transition of colour.
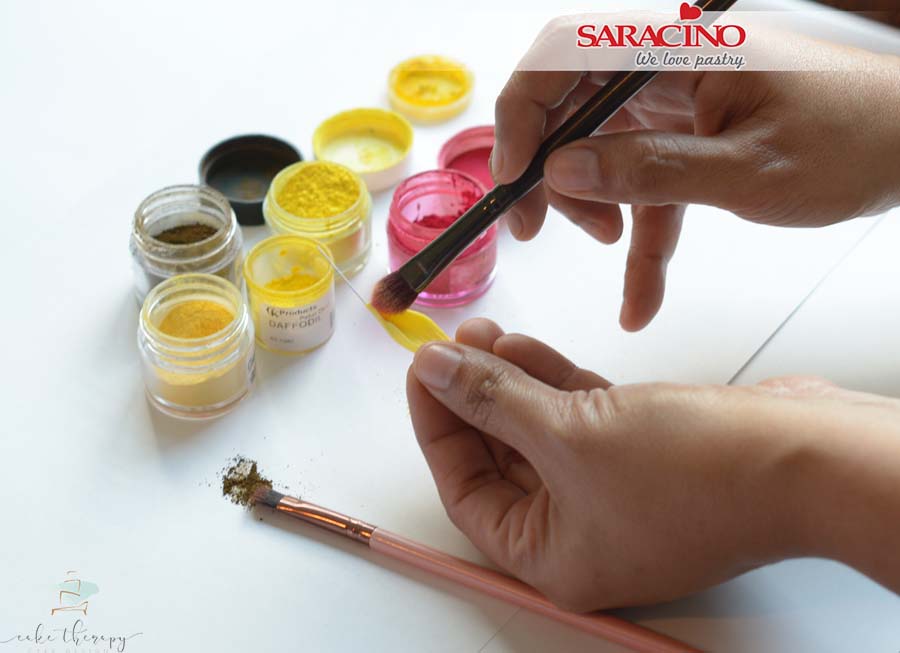
Step 16
Don’t forget to colour the back and tip of the petal.
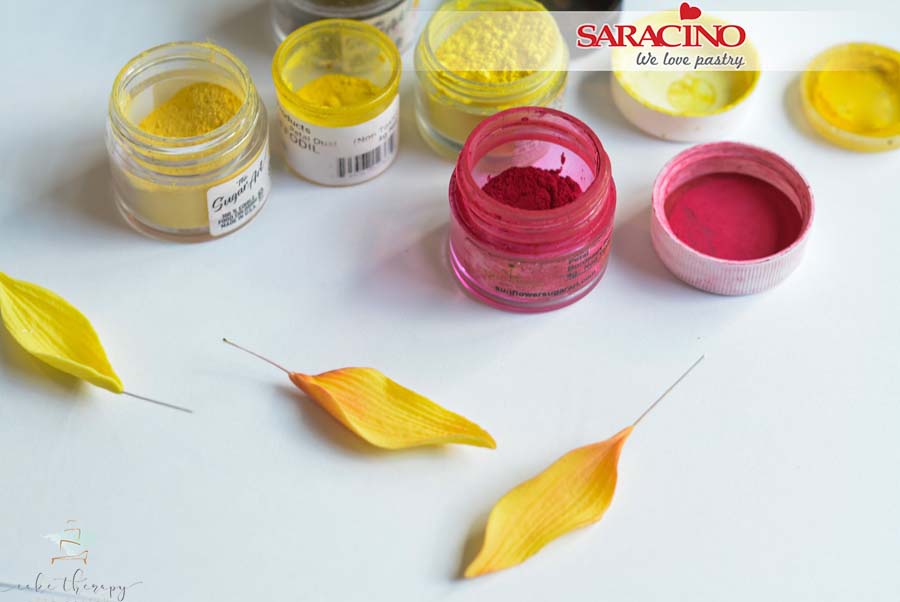
Step 17
The petal should look darker at the bottom, lighter at the center and with just a slight shade of orange at the tip.
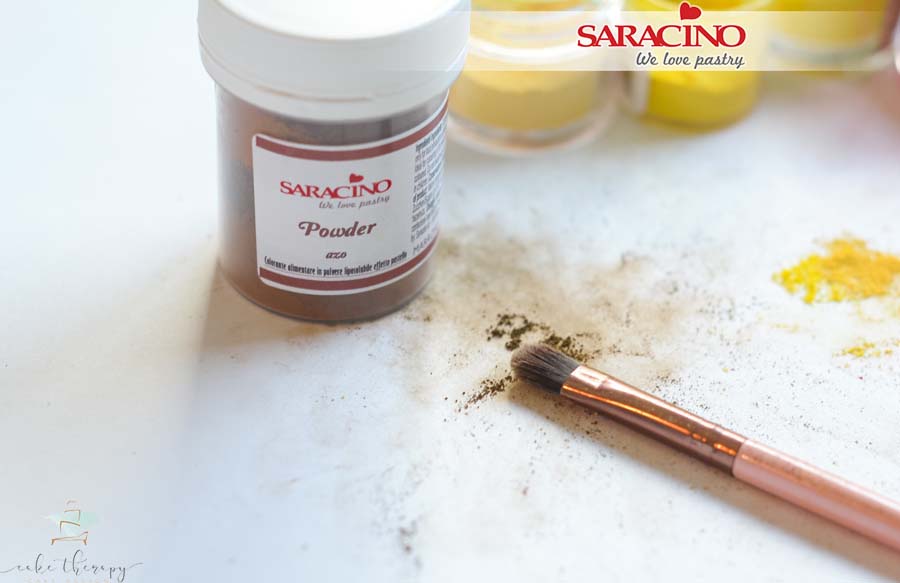
Step 18
Prepare brown powder colour and a smaller soft brush.
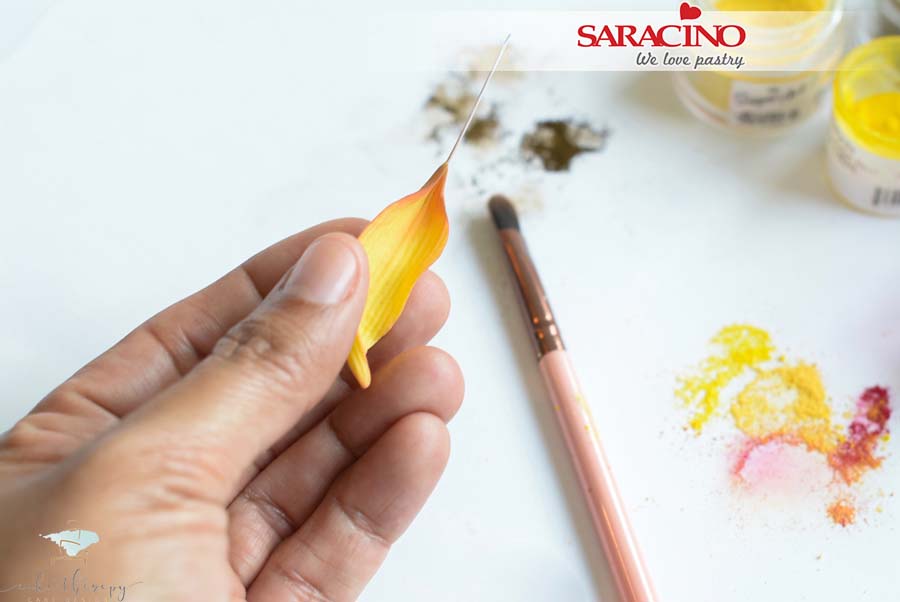
Step 19
Dust the brown colour at the base of the petal next to the wire.
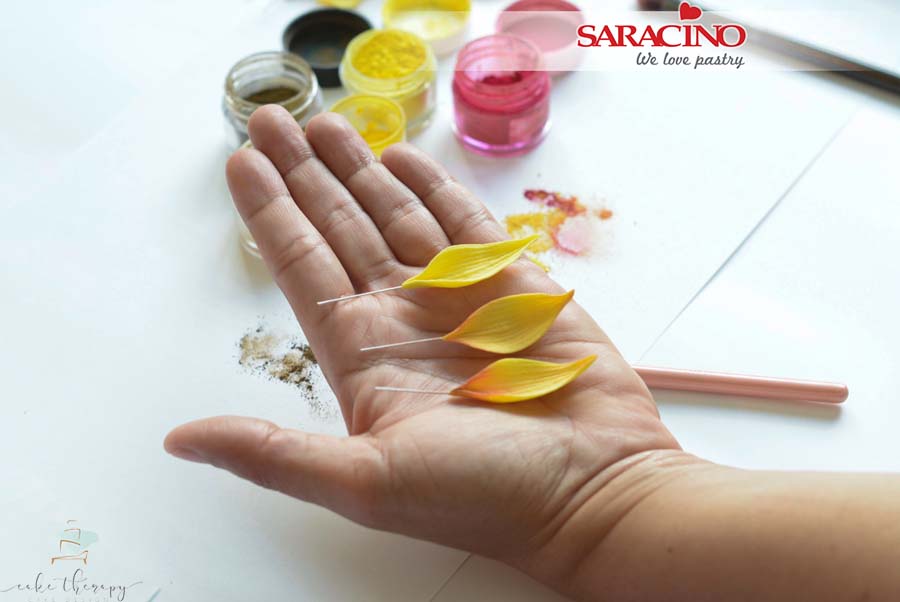
Step 20
Step 21
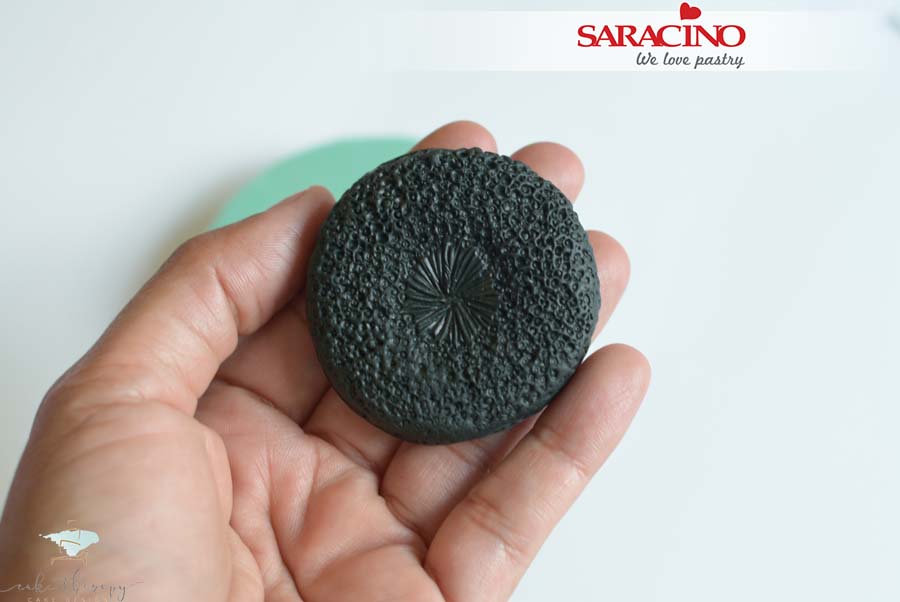
Using approximately 30g black coloured Pasta Bouquet, press into the sunflower center mould. Make sure to press evenly so the impression is uniform around the center.
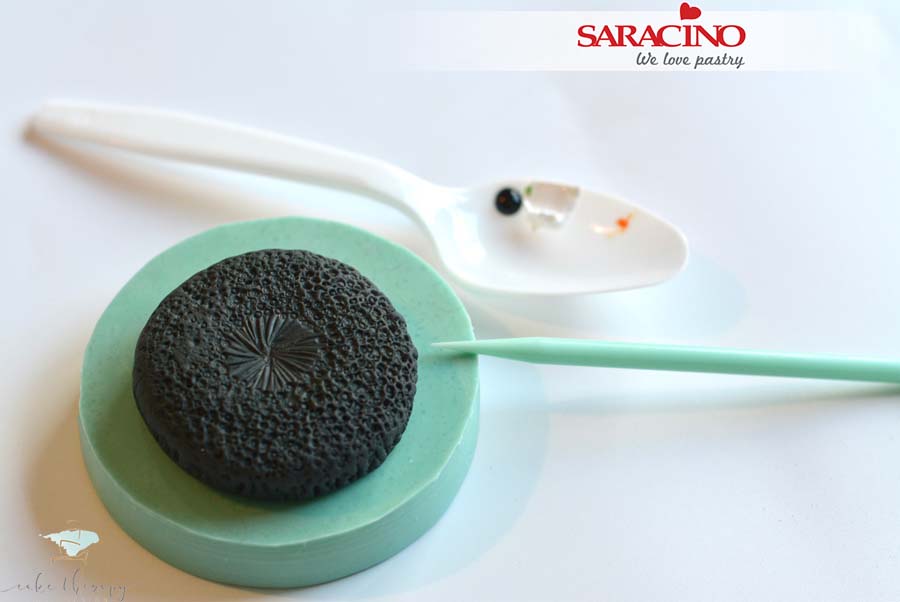
Step 22
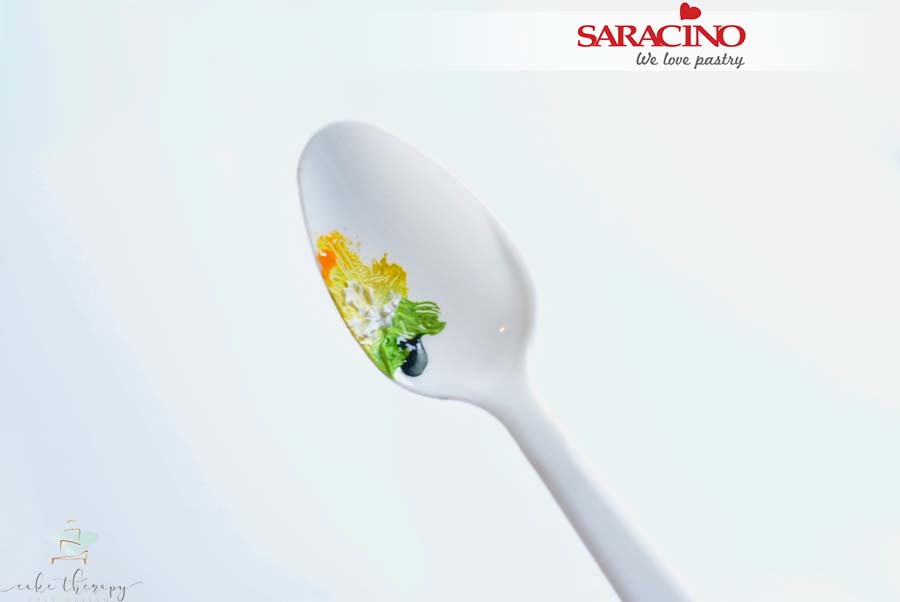
Step 23
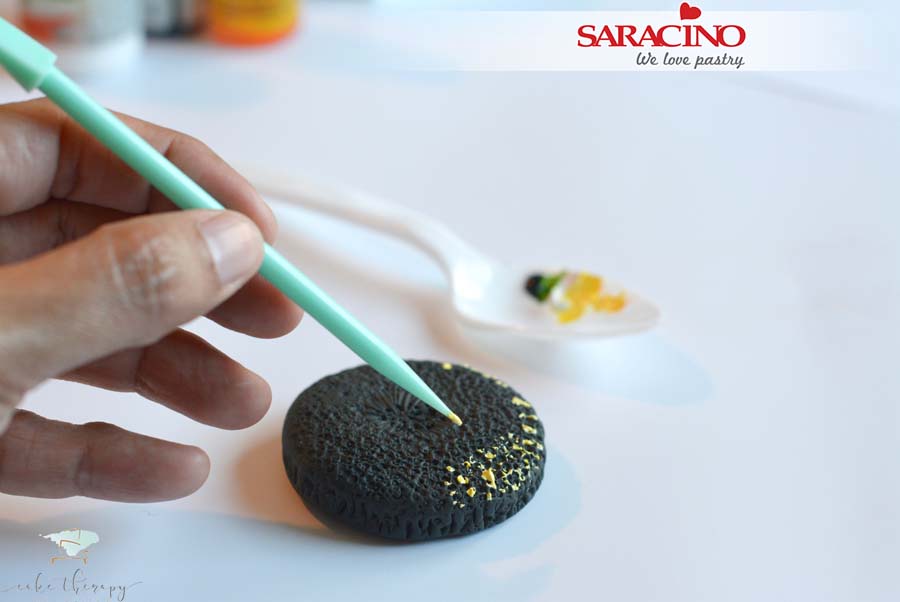
Step 24
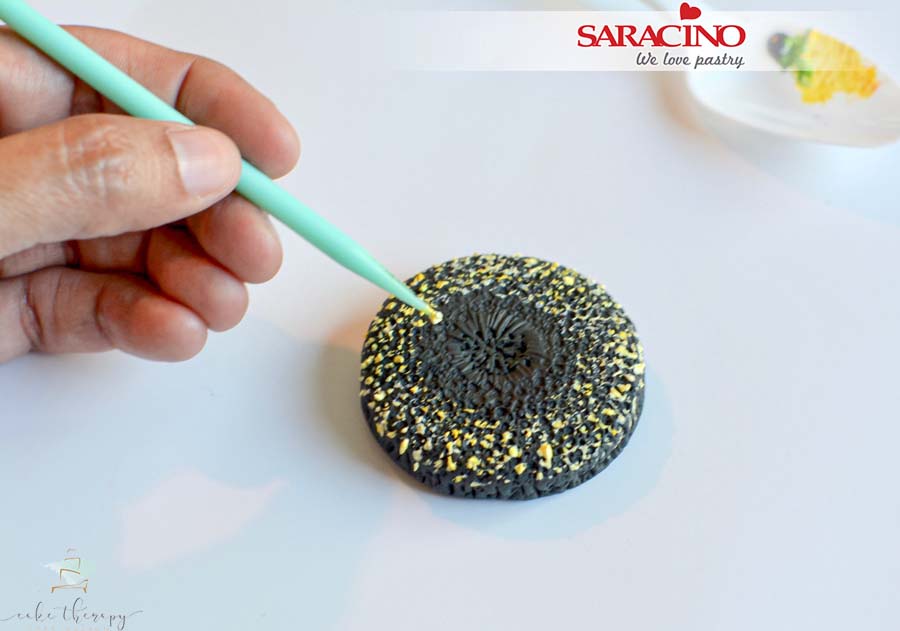
Step 25
Move around the outer part of the center and inwards to the center making smaller spots as you move towards the inner center.
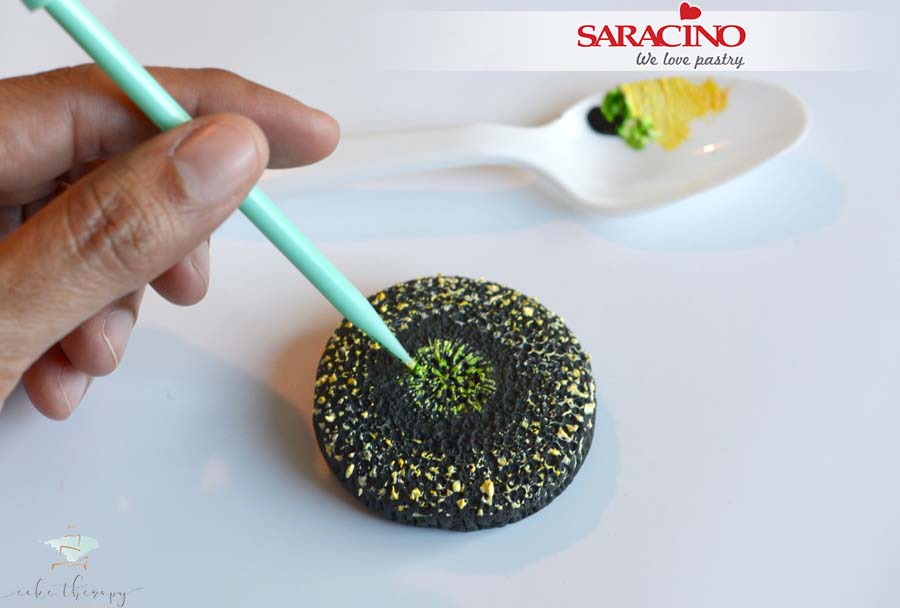
Step 26
Then follow a similar procedure with the green colour to the inner center of the flower. Allow for drying time.
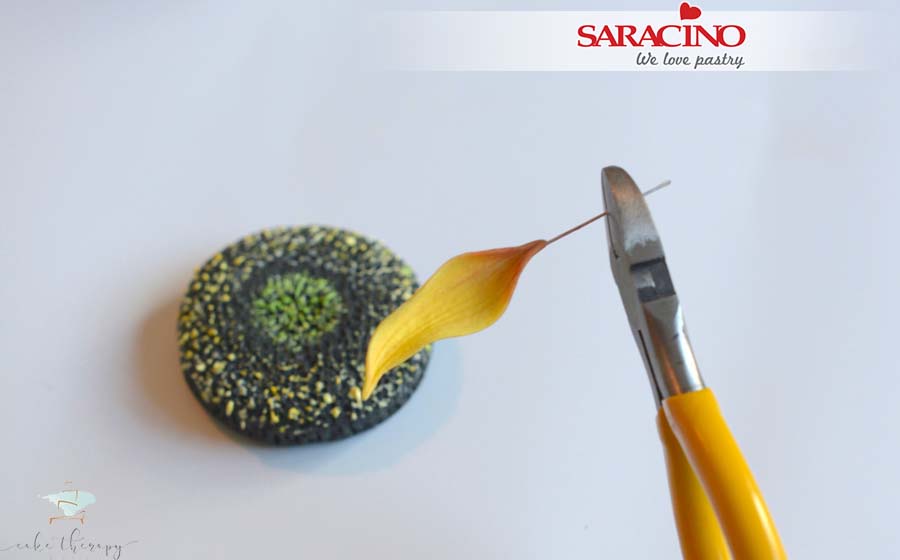
Step 27
Trim the wire excess from each petal if needed.
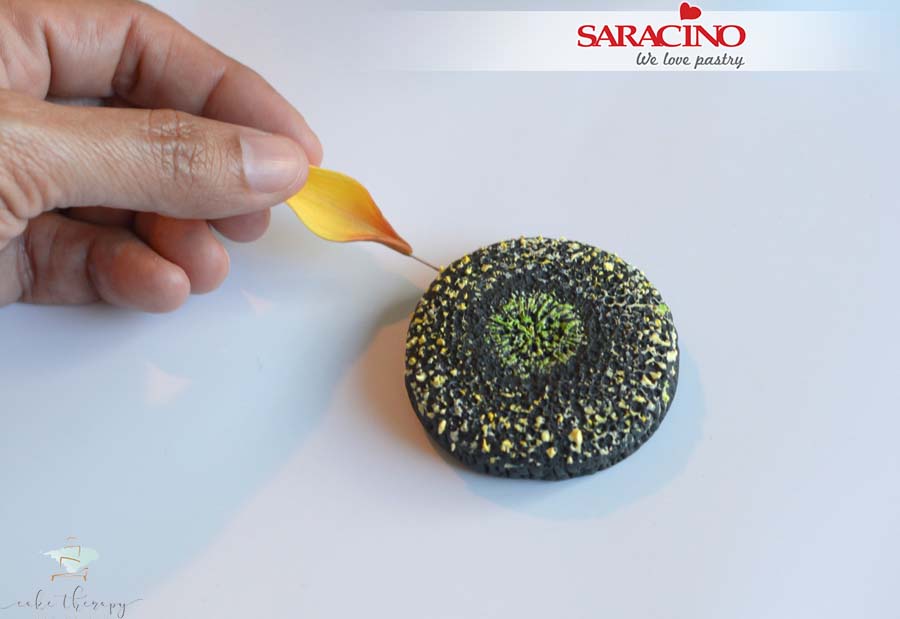
Step 28
Dip the tip of the wire into edible glue and insert the petals into the flower center.
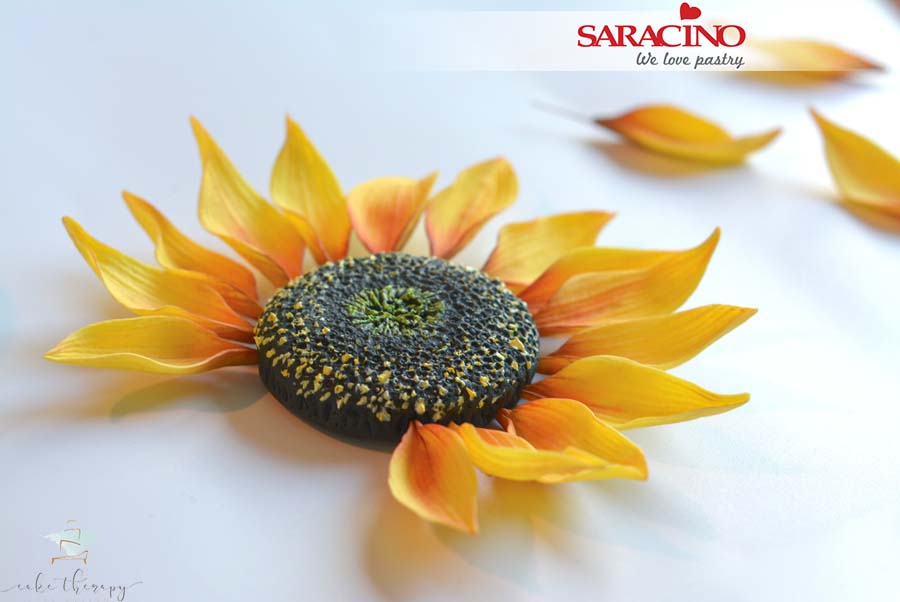
Step 29
Continue around the side making sure you leave the same amount of space between each petal.
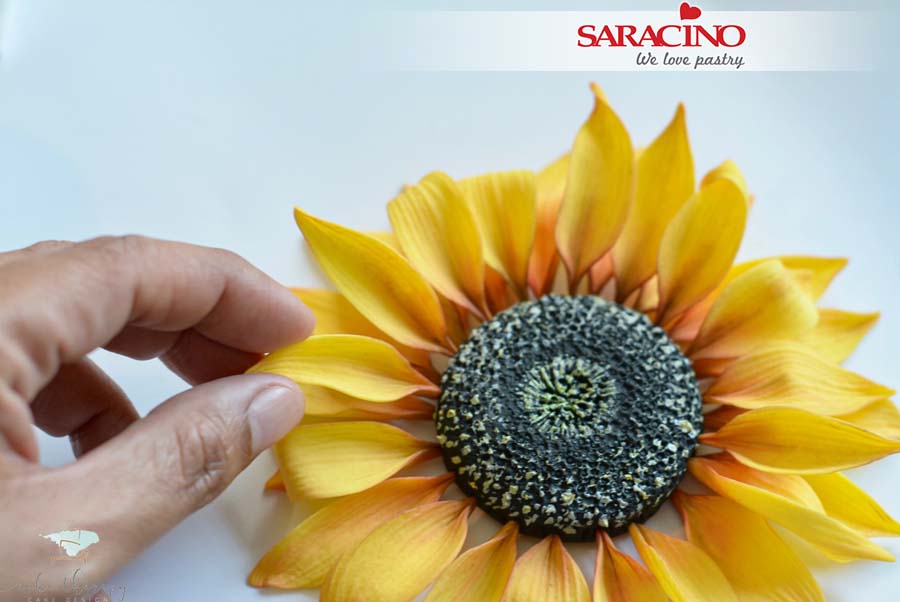
Step 30
Once you have finished the bottom layer, start inserting a second layer of petals starting in the space between the petals of the first layer below.
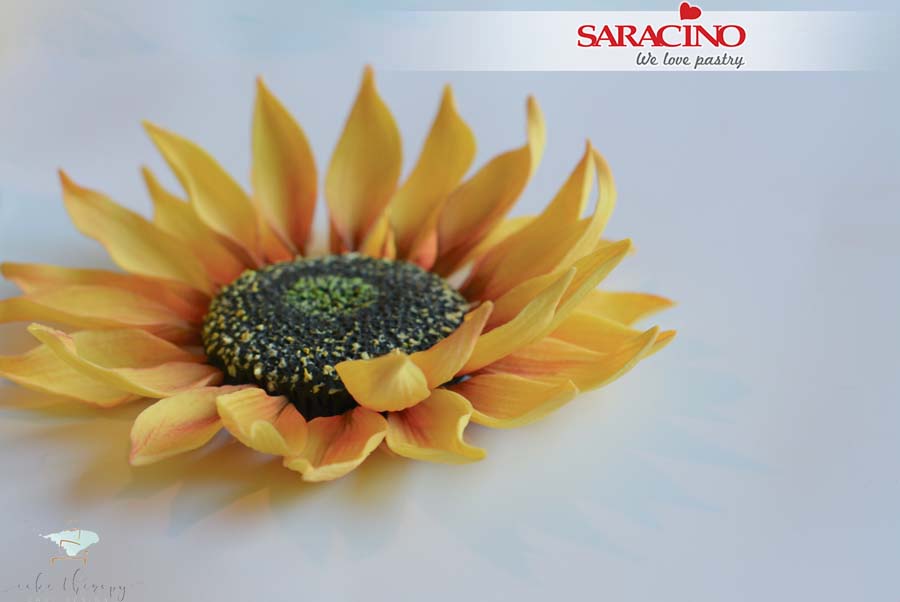
Step 31
Continue around the centre leaving the same gap between each petal until you finish the upper layer. Your sunflower is now ready to add sunshine to your cake!


