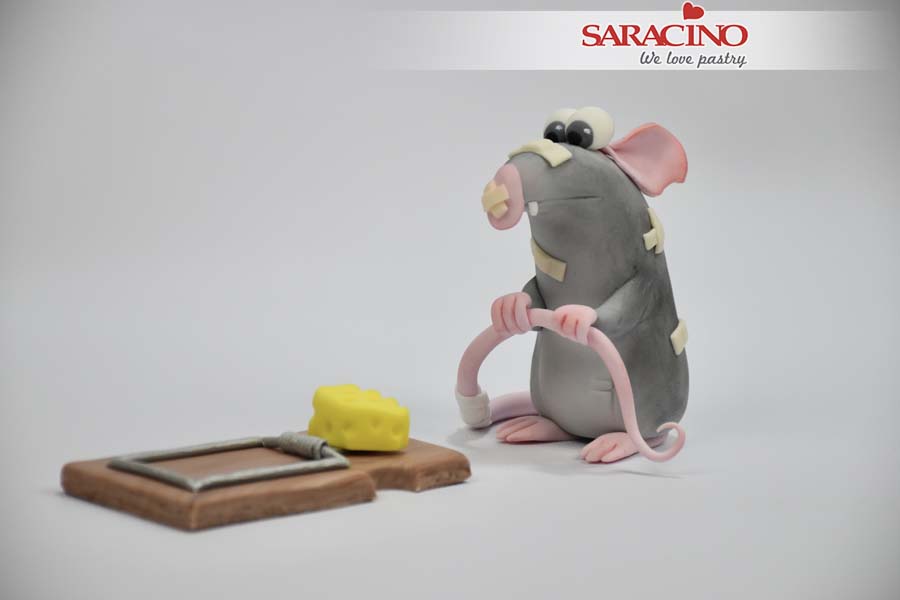
You will need:
- Dresden tool
- Large brush
- Exacto knife
- Rolling pin
- Small silicone brush
- Blade
- Small petal cutter
- Saracino Pasta Model: white, light skin, black, pink and yellow
- Edible glue
- Wooden skewer
- Ball tool
- Saracino powder colours: white, red and black
Step 1
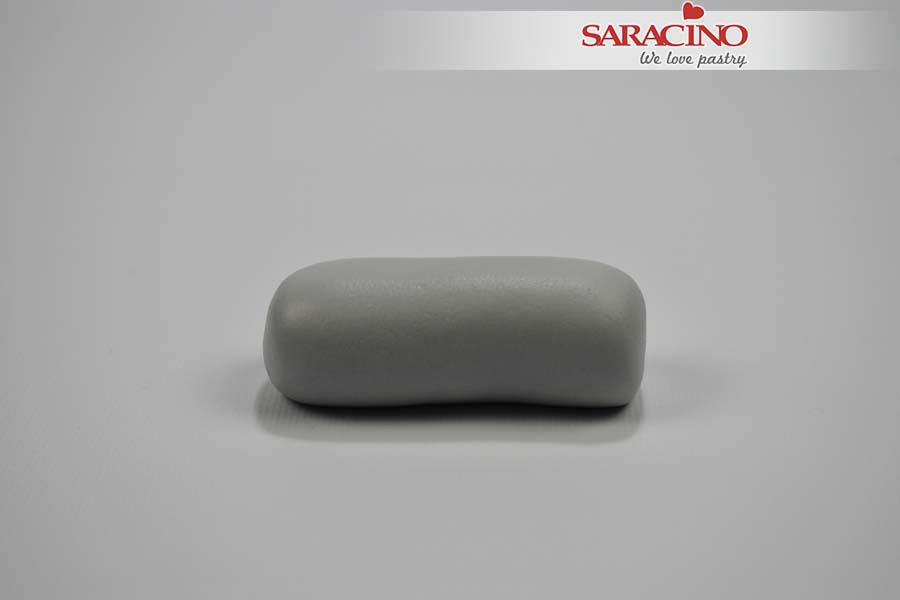
For the mouse use 100g white Saracino Pasta Model and colour it grey using a little black colour.
Step 2
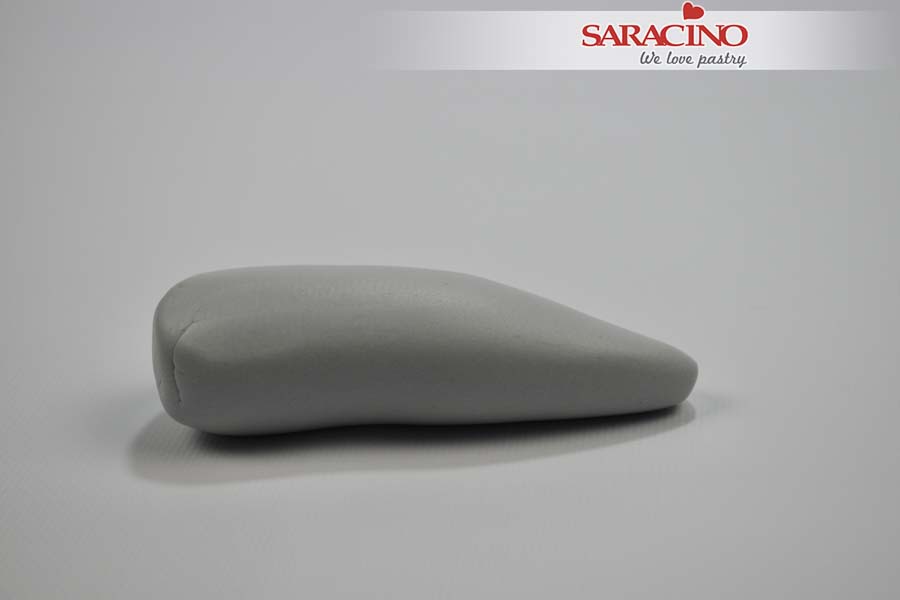
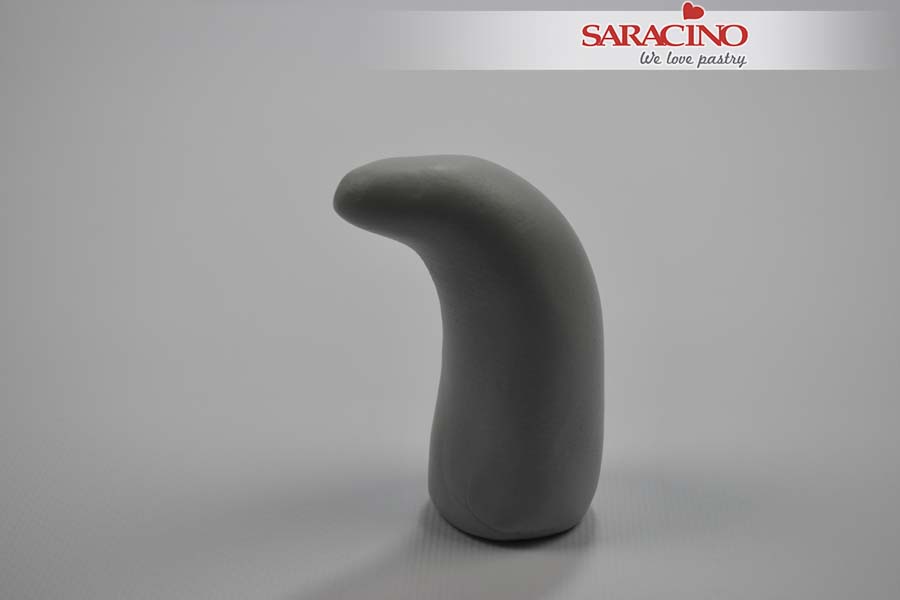
Roll it into a shape thinner at the head and wider at the bottom.
Step 3
Stand it up and gently bend the thinner end as shown.
Step 4
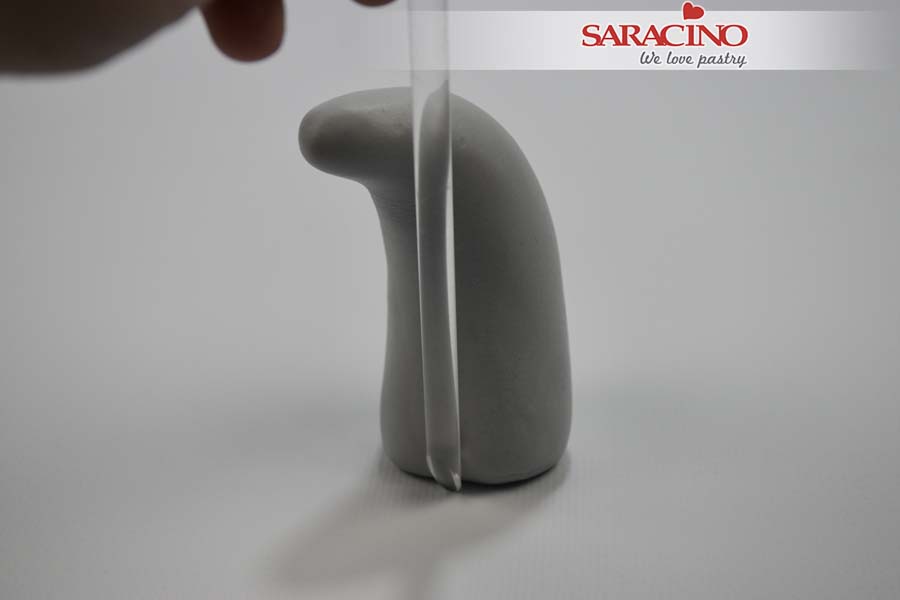
Use a modelling tool or the back of a brush to form a dent either side of the base for the legs.
Step 5
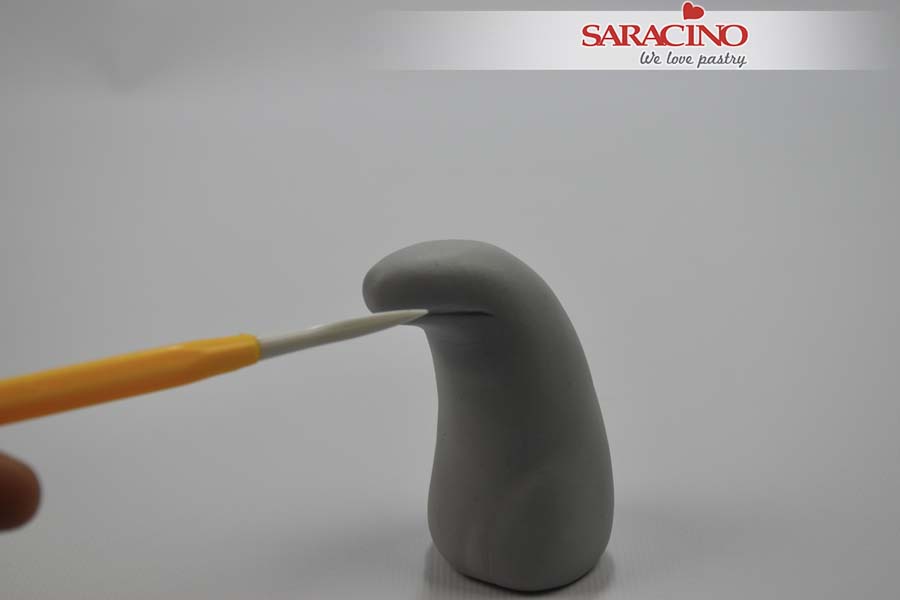
Use a Dresden tool to mark the mouth area.
Step 6
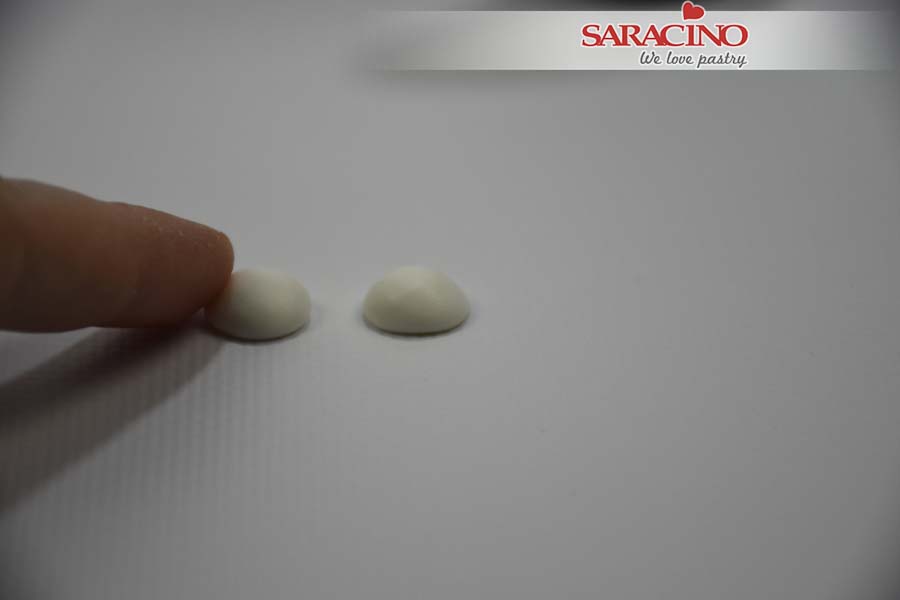
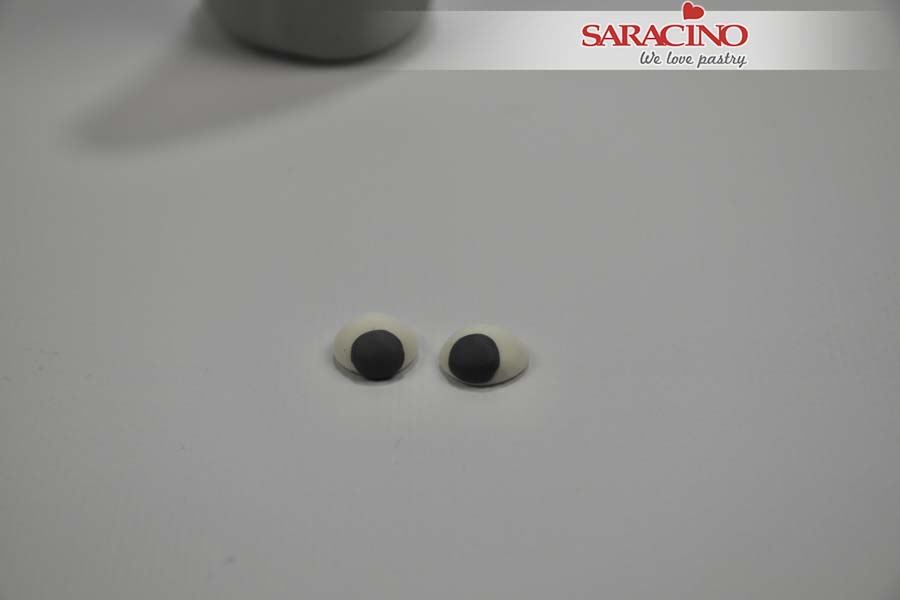
For the eyes roll two small white balls. Press with your finger to achieve the shape shown.
Step 7
Roll dark grey Pasta Model and cut out 2 small circles. Fix them to the eyes.
Step 8
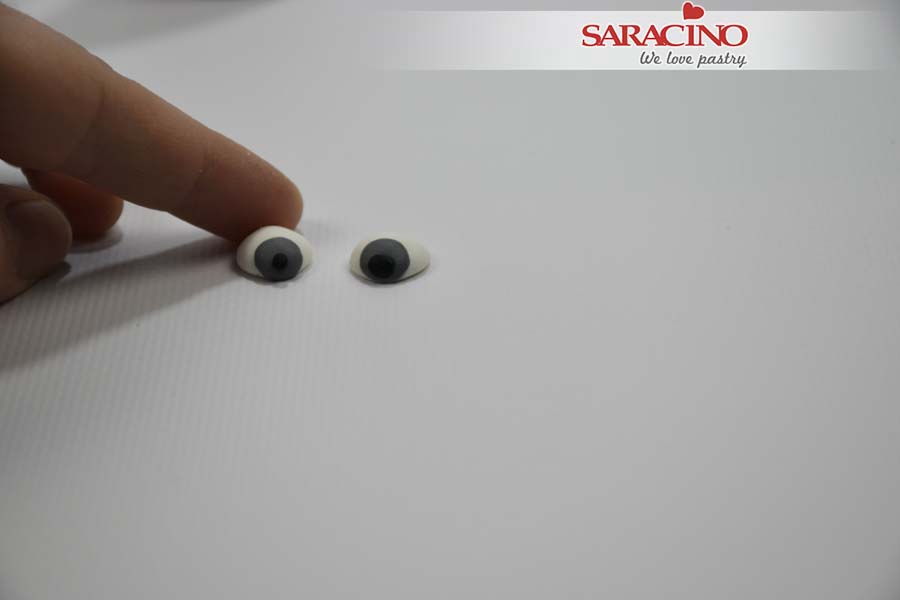
Add a small black dot to the center of each eye.
Step 9
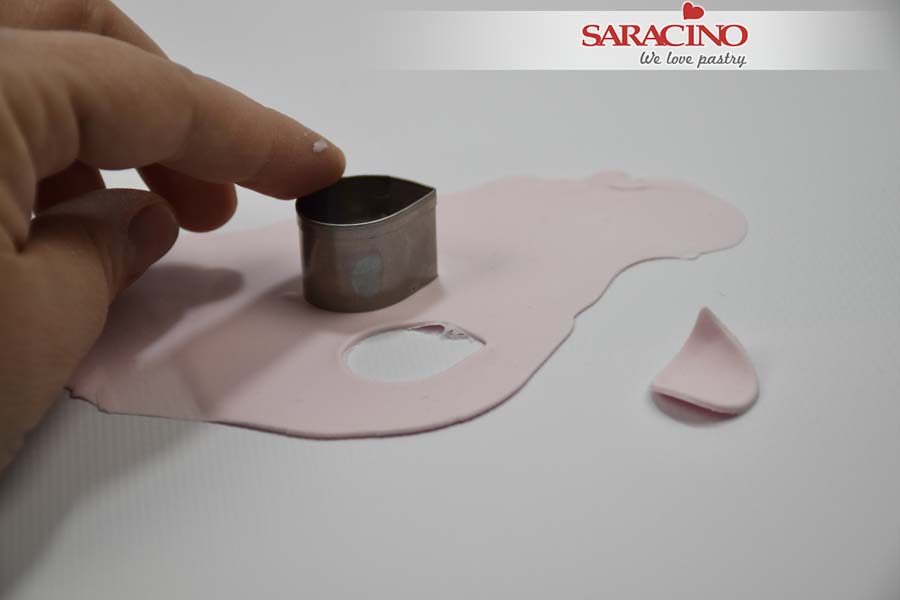
For the ears roll light pink Pasta Model and use a petal cutter to cut out two ears.
Step 10
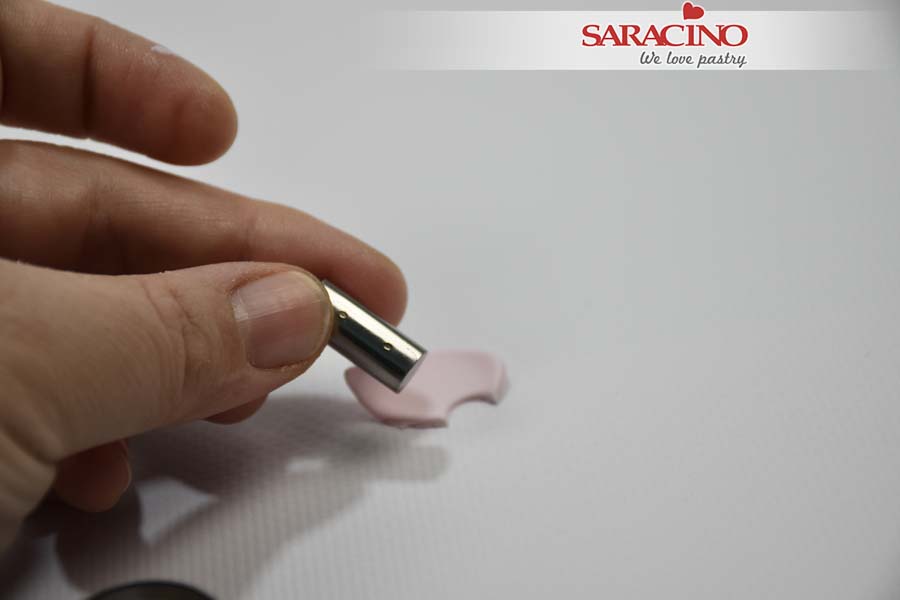
Use a small circle cutter to remove a small piece from each ear.
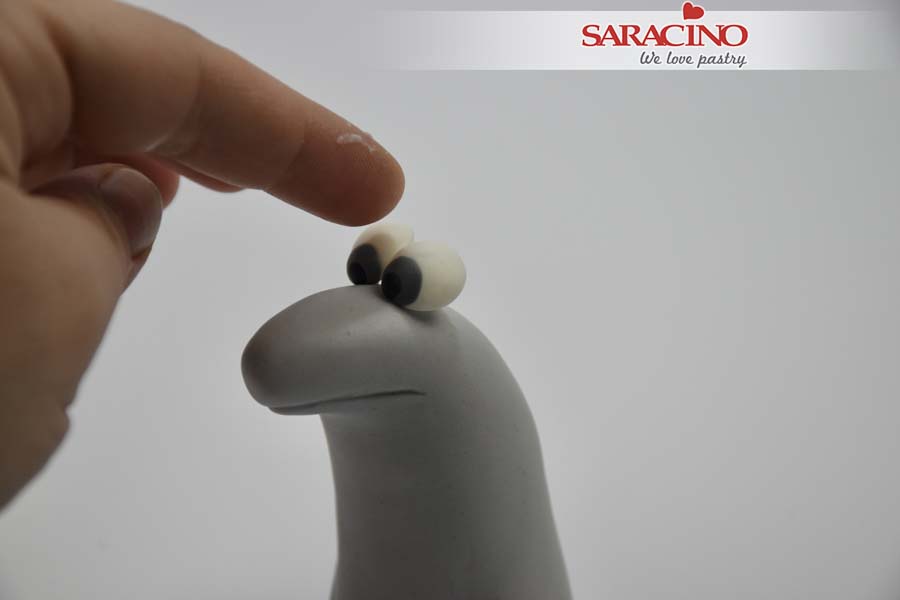
Step 11
Fix the eyes on the top of the head.
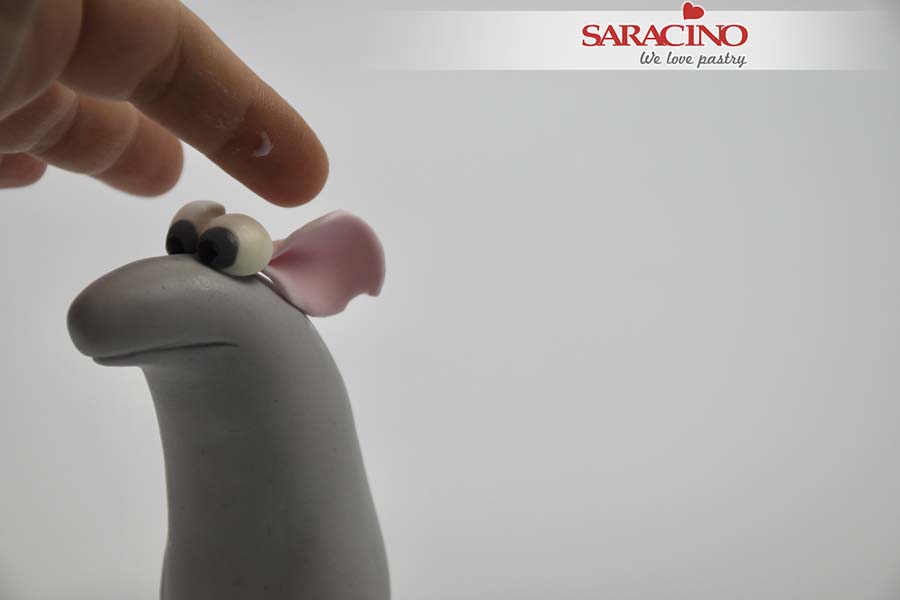
Step 12
Fold the pink ears and fix them behind the eyes.
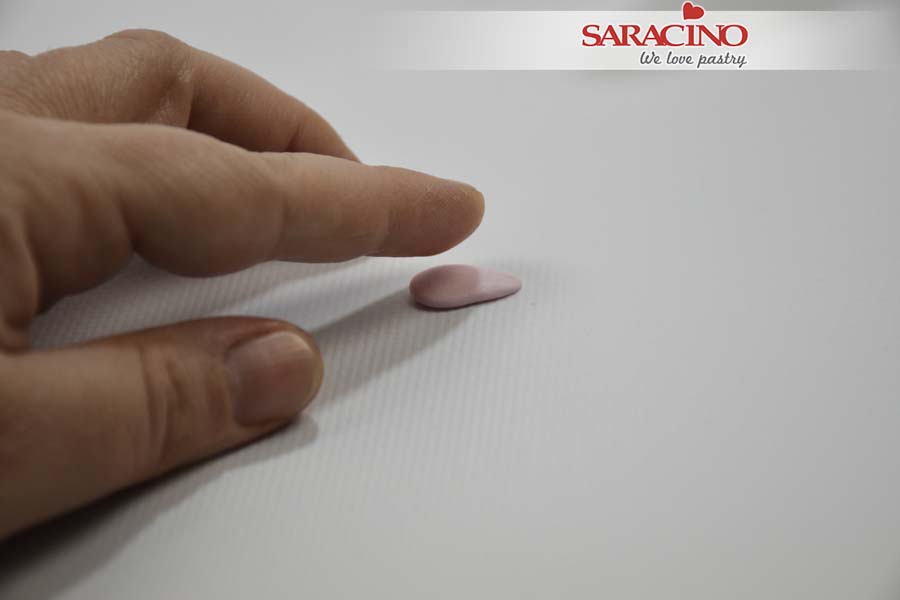
Step 13
For the nose roll a small amount of pink to a teardrop shape. Flatten with your finger.
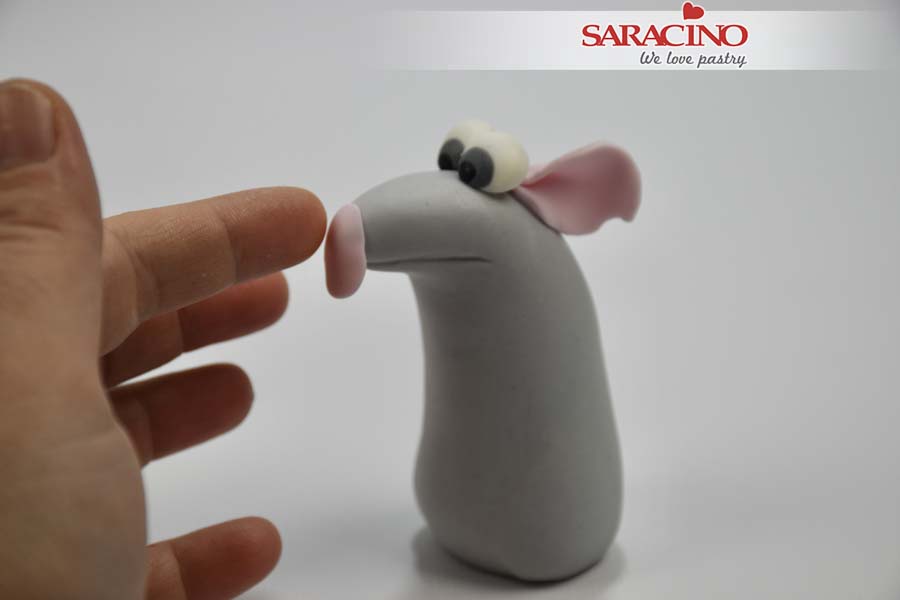
Step 14
Fix the nose to the end of the face.
Step 15
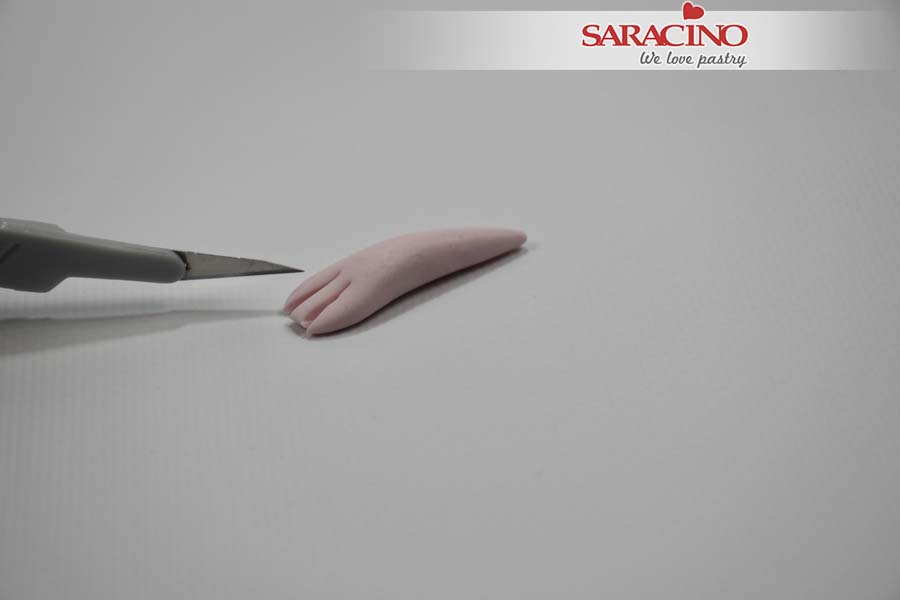
For the feet use a small amount of pink sugar paste and roll it into a long carrot shape. Use your finger to flatten the wider end. Use a sharp knife to cut 3 fingers.
Step 16
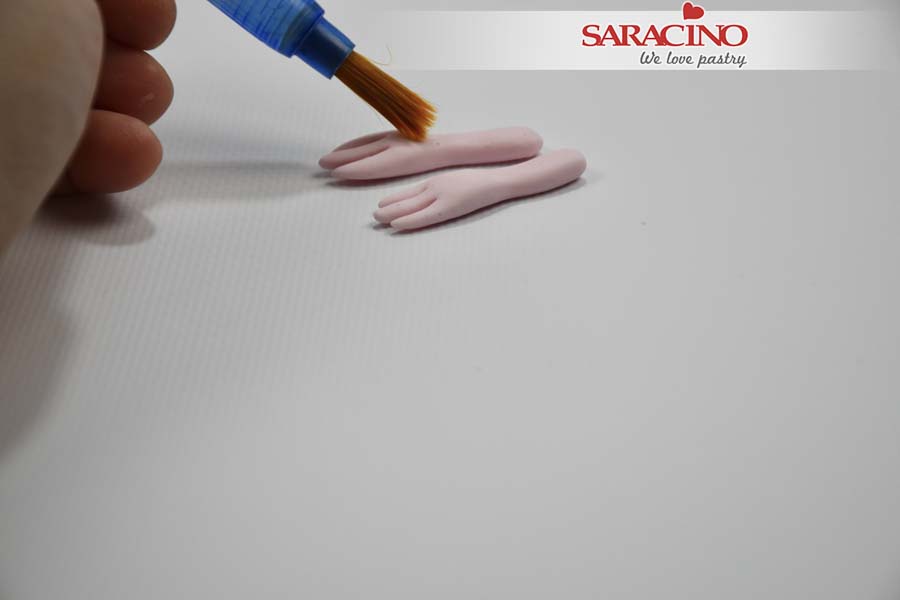
Repeat for the other leg and add a little edible glue to the top where they will be fixed to the body.
Step 17
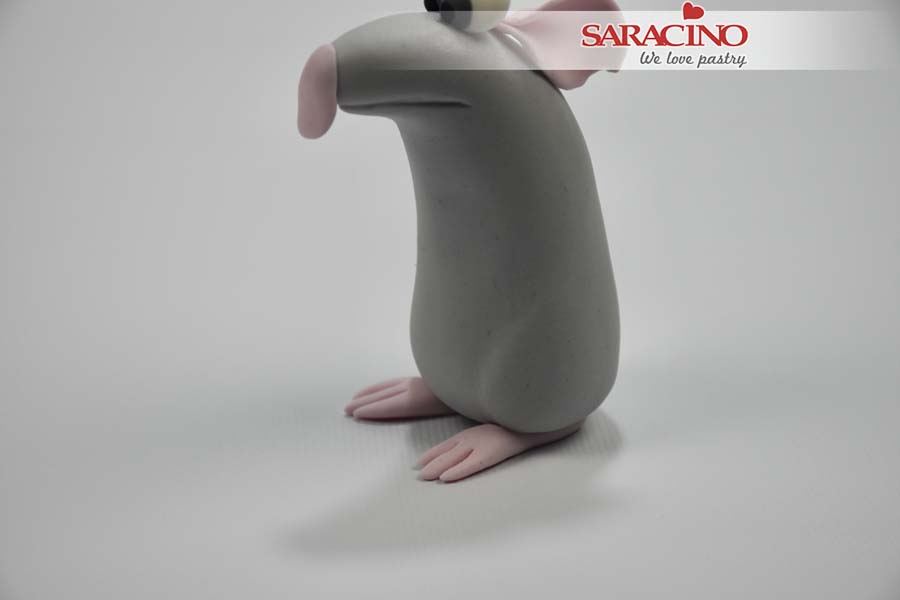
Place under the body.
Step 18
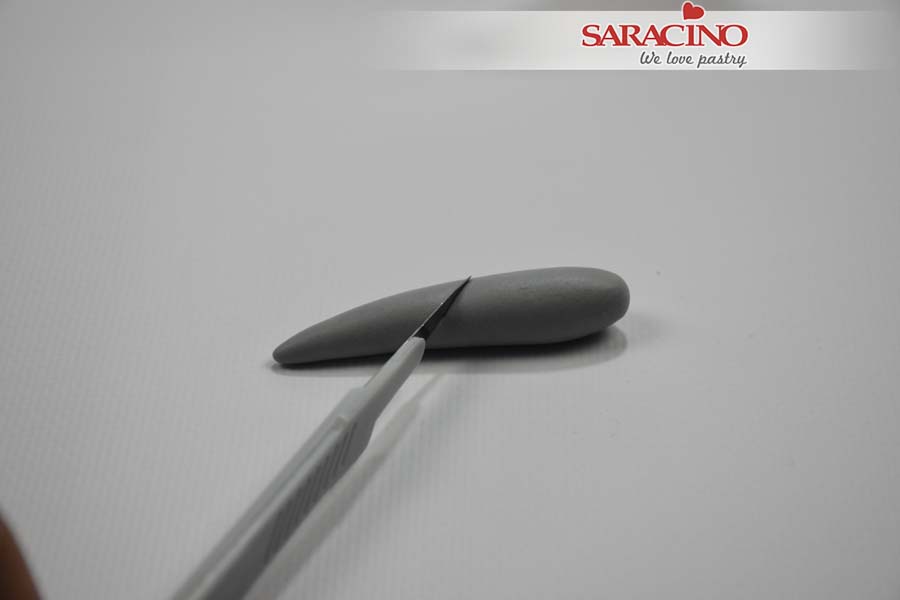
Roll a small piece of the grey paste into a carrot shape and cut to an angle as shown. We will need the thin end for each arm.
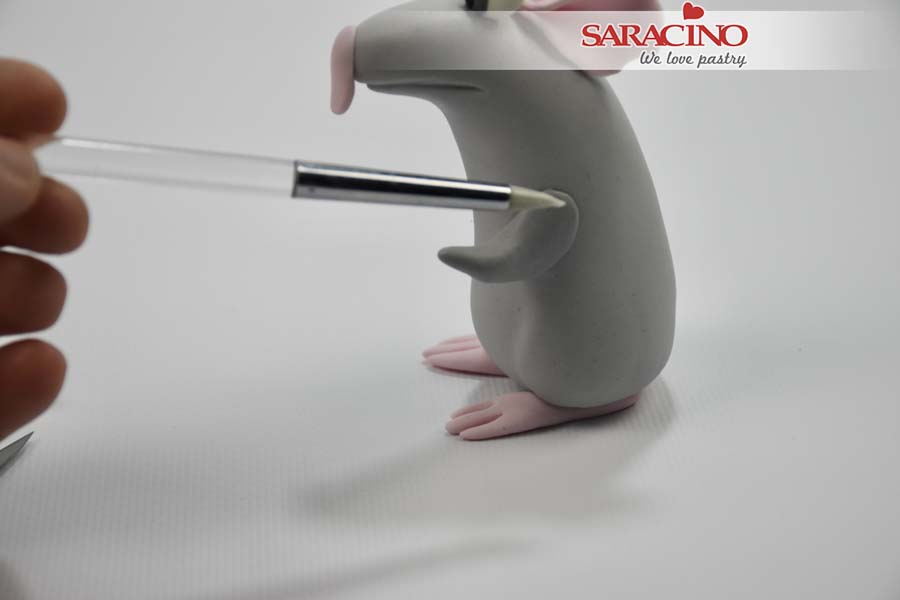
Step 19
Repeat to make two thin arms. Fix them to the body. Use a modelling tool to smooth the joint.
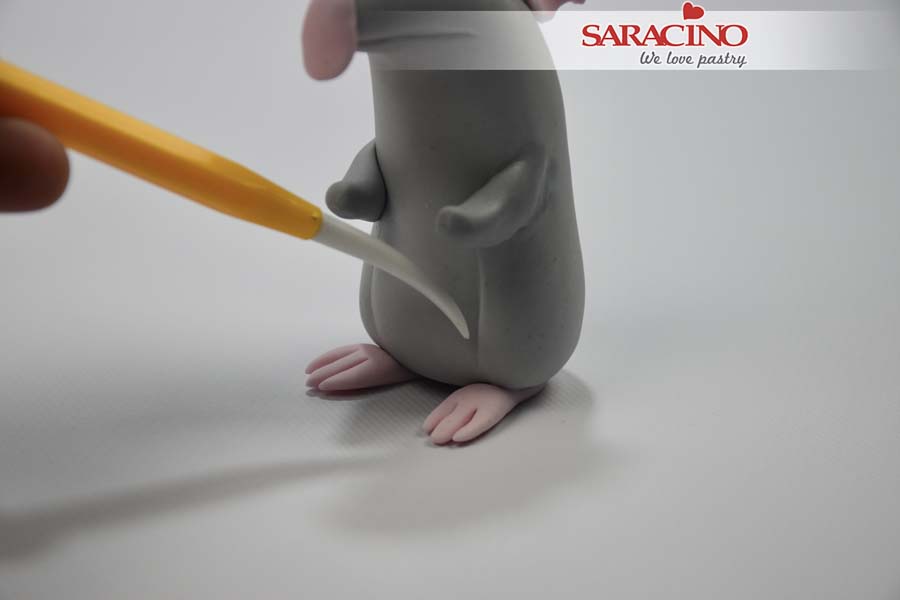
Step 20
Use the Dresden tool to shape the belly.
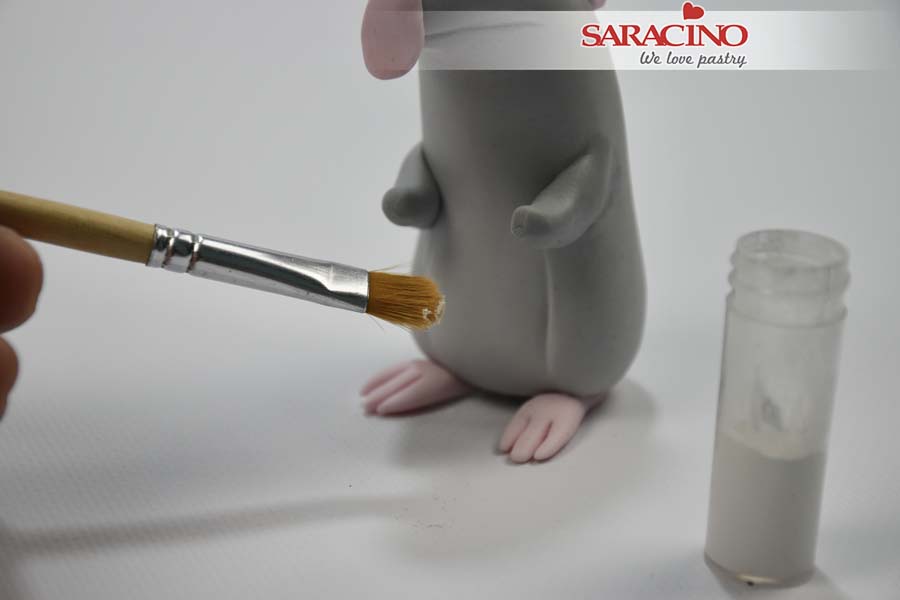
Step 21
Use a soft brush and white powder colour to dust the belly area.
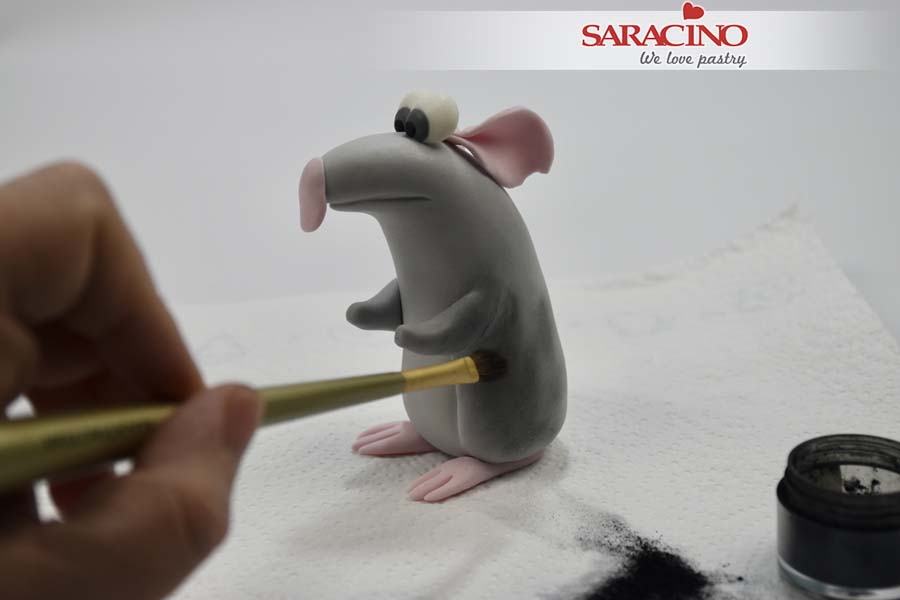
Step 22
Use black powder colour to dust the rest of the body to make it darker.
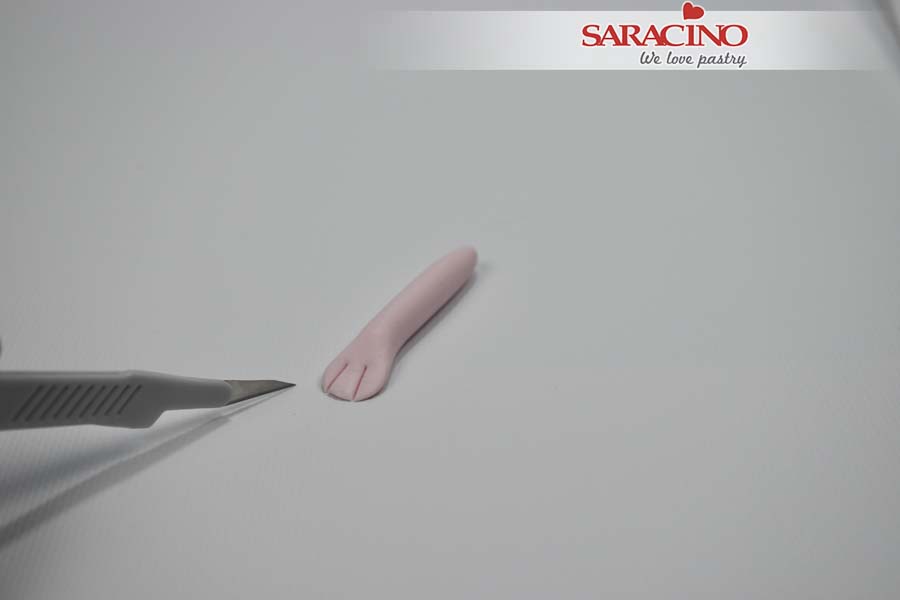
Step 23
For the hands roll a small piece of pink fondant into a sausage shape. Cut 3 fingers.
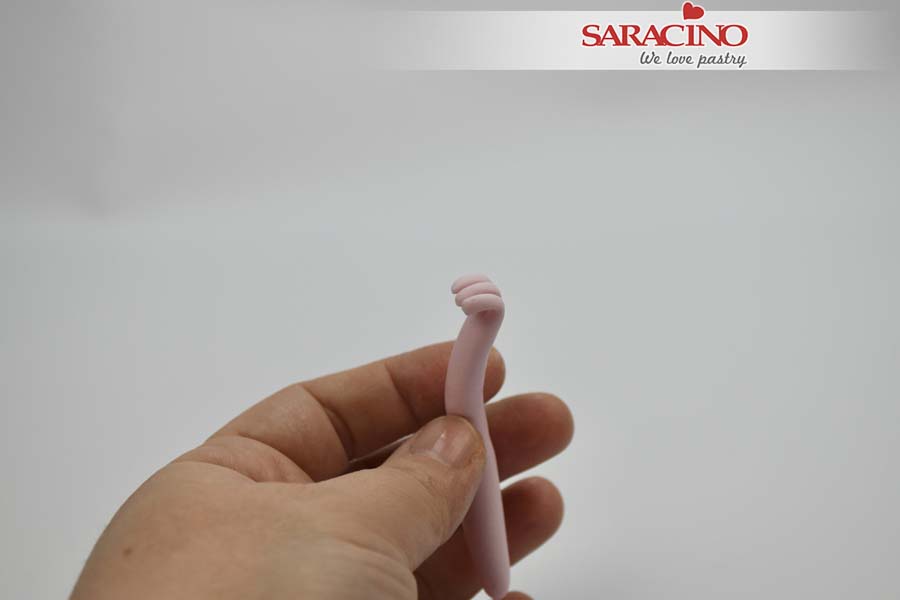
Step 24
Bend the fingers.
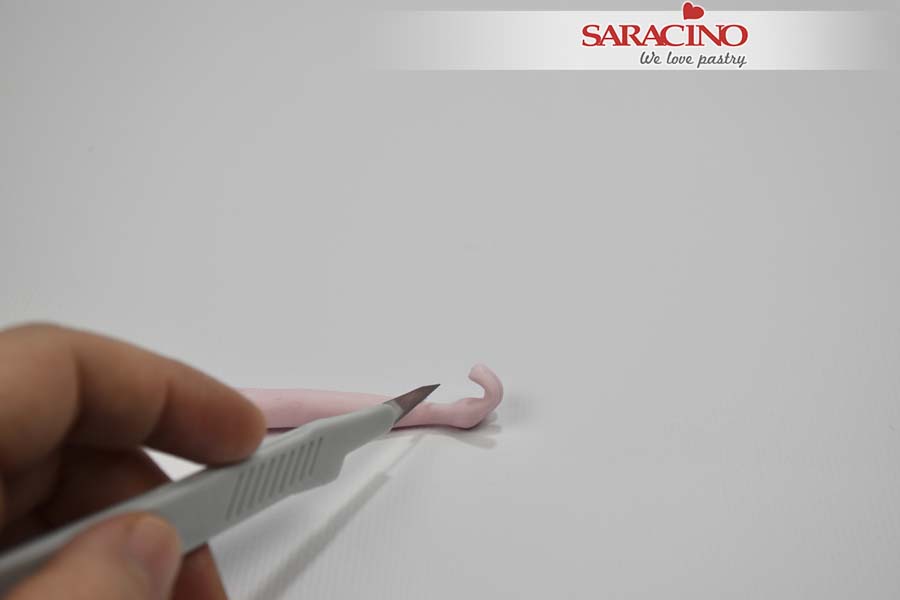
Step 25
Use your fingers to roll it thinner at the wrist. Cut with an exacto knife.
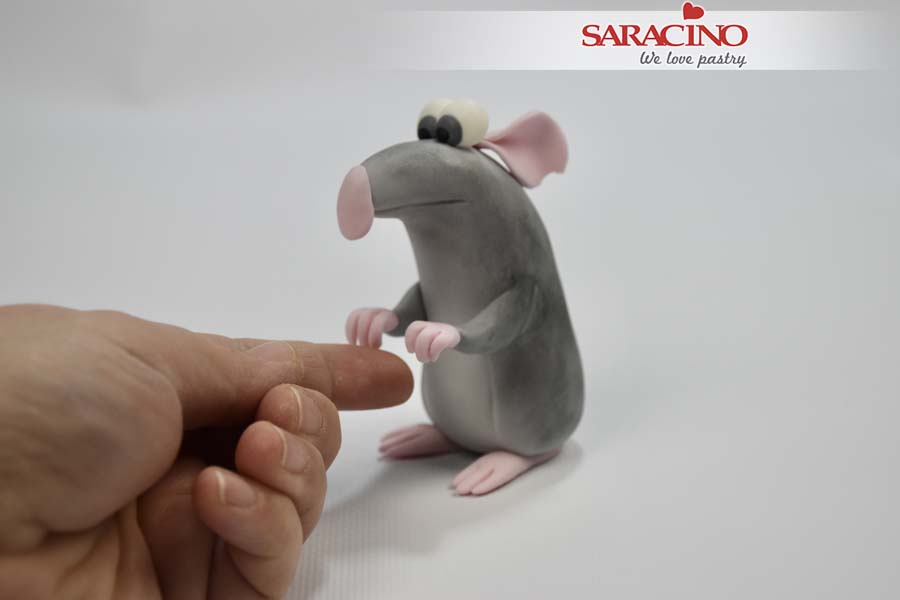
Step 26
Fix each hand to the arms.
Step 27
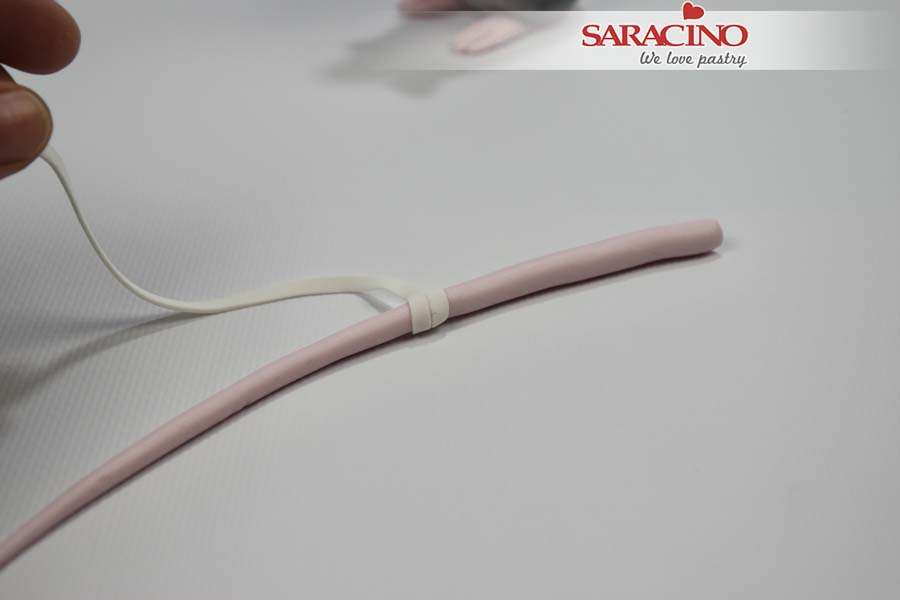
For the tail roll a thin, long piece of pink Pasta Model. For the bandage roll a white strip and wrap the tail.
Step 28
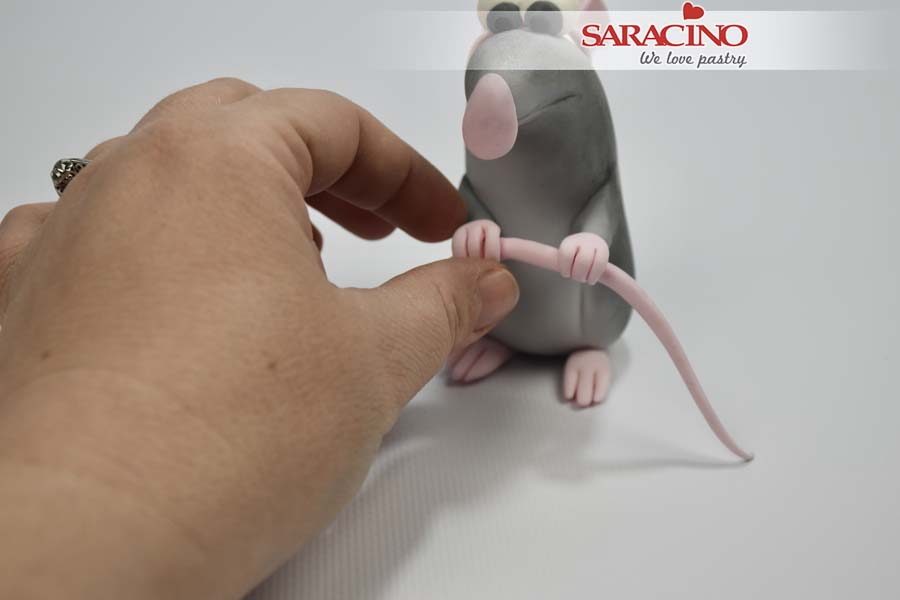
Place the tail to the back of the body and into the hands. Use a little edible glue to fix.
Step 29
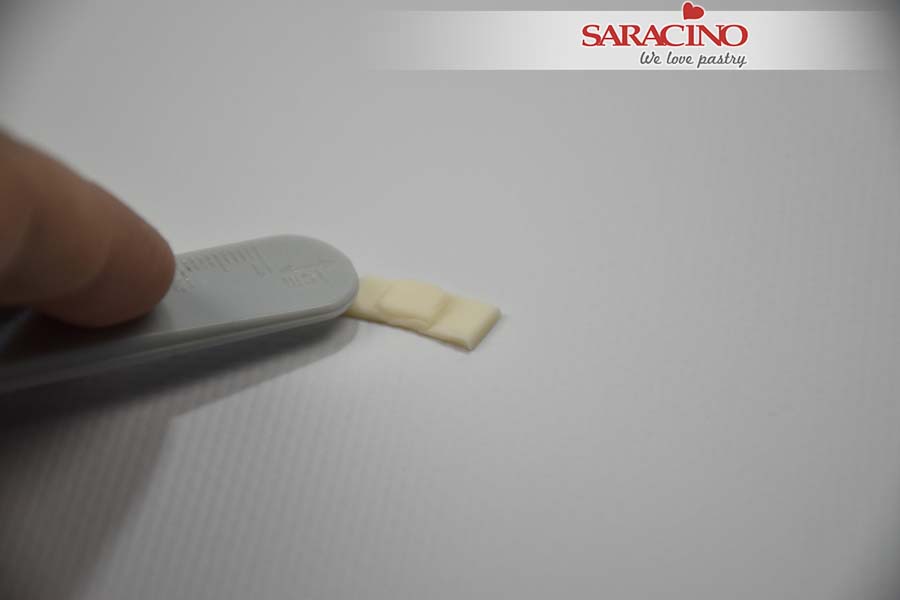
For the plasters cut a small strip of light skin colour Pasta Model. Flatten the edges.
Step 30
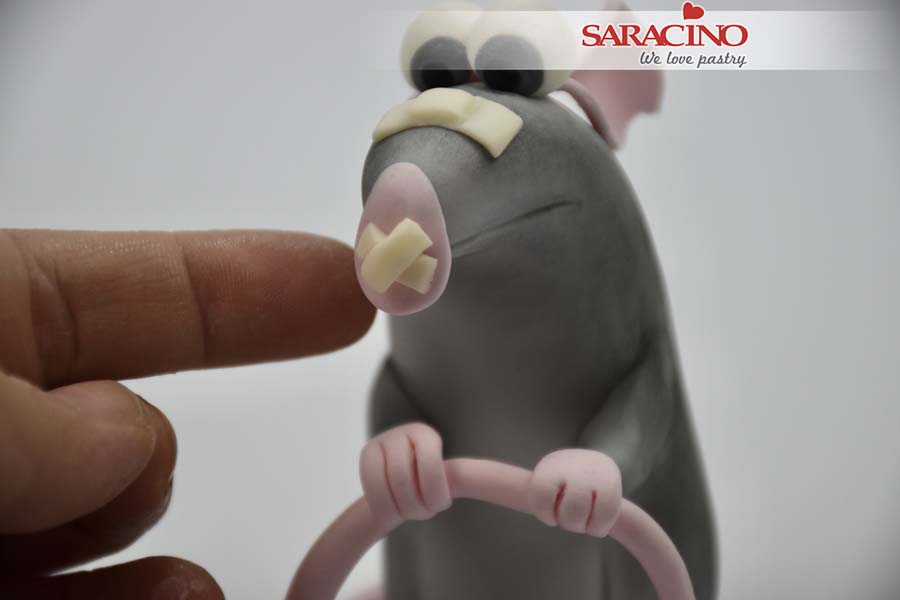
Fix to the top of the nose. Cut two more strips and place them in an X shape on the end of the nose.
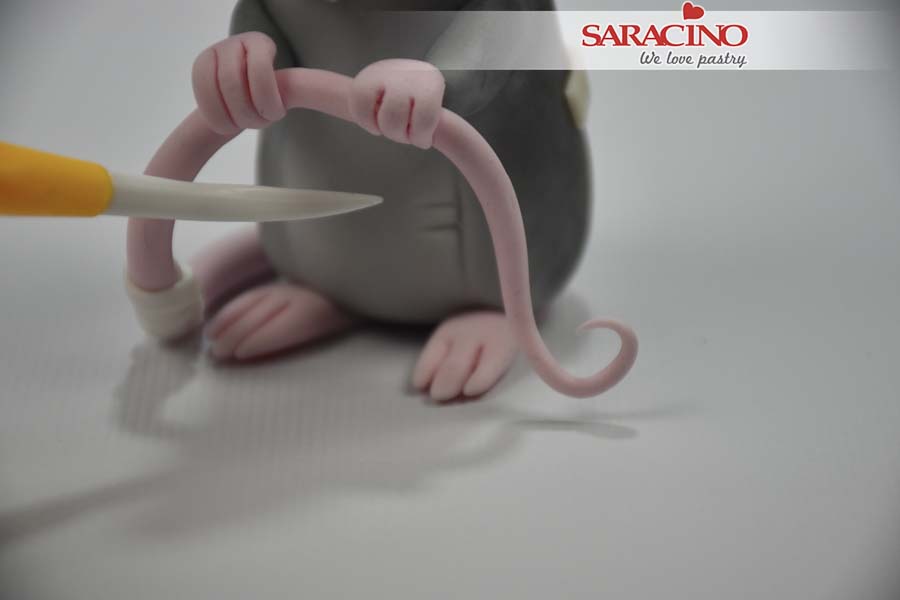
Step 31
Use the Dresden tool to make some marks around the edge of the belly.
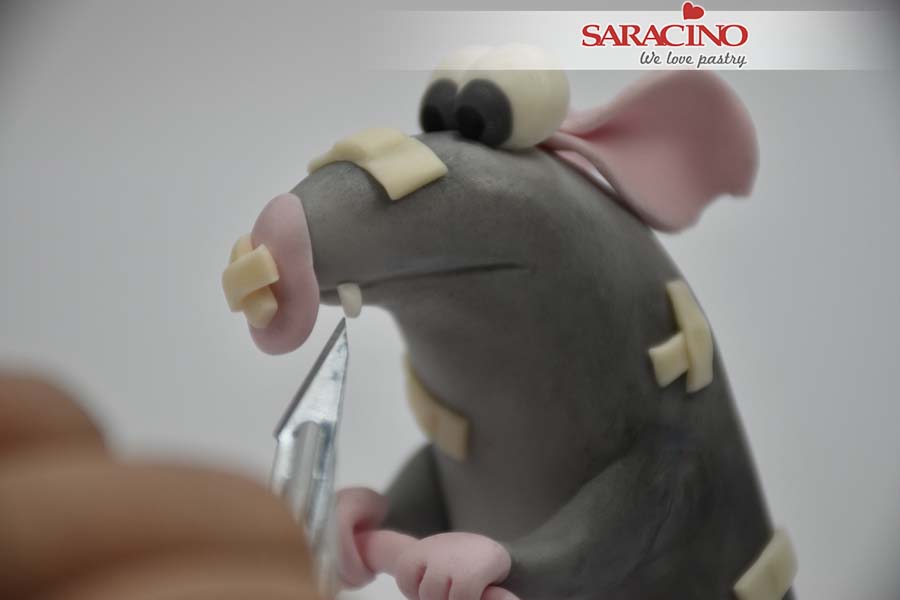
Step 32
Add more plasters to different places of the body. Cut a tiny piece of white paste and place it in the side of the mouth for a tooth.
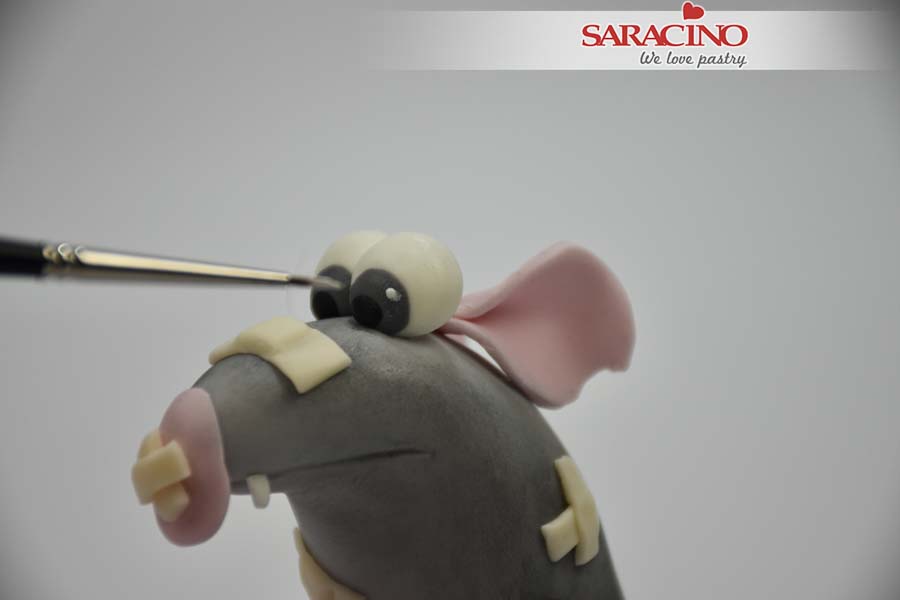
Step 33
Using white gel colour add small dots to the eyes.
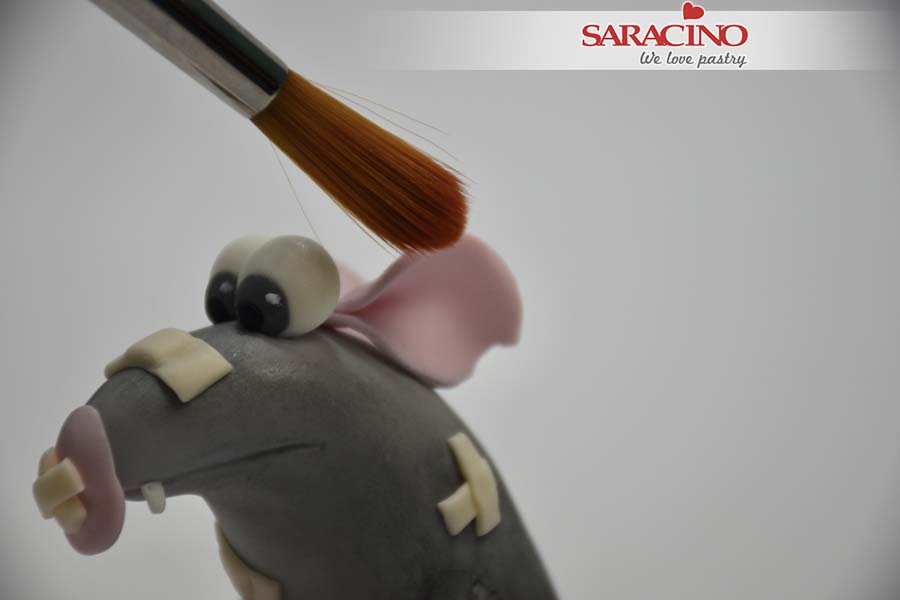
Step 34
Using a soft brush and red powder colour dust the pink areas.
Step 35
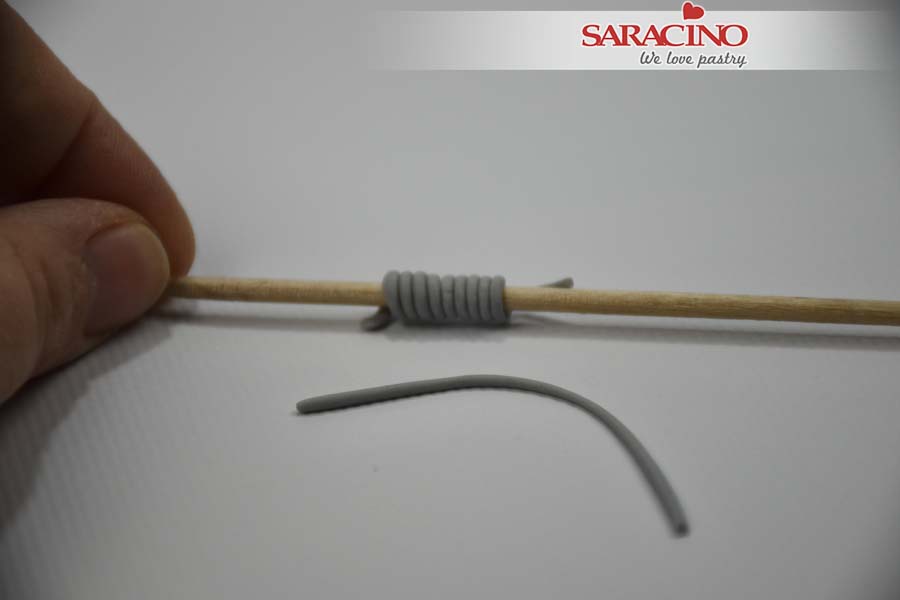
For the trap spring, roll a very thin strip and wrap it around a wooden skewer. Allow to dry.
Step 36
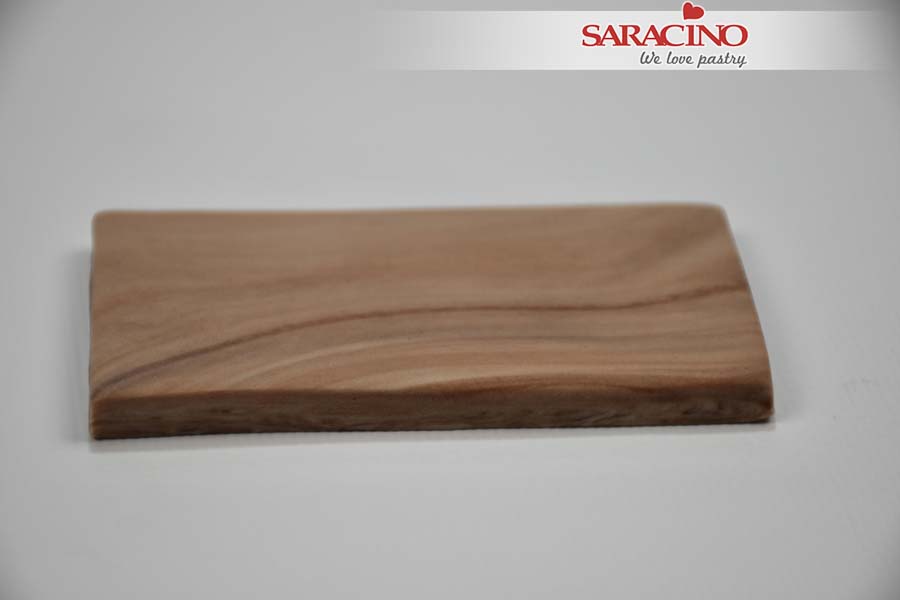
For the wood effect mix brown and light beige colour Pasta Model. Do not mix too well to give the wood effect. For the base cut it into a rectangle shape.
Step 37
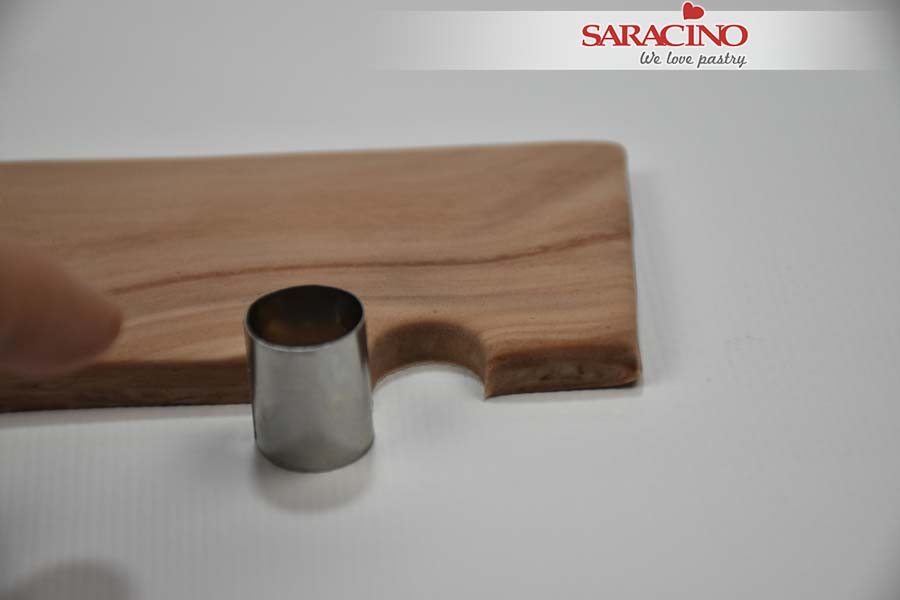
Use a circle cutter to cut the dents from the sides of the trap.
Step 38
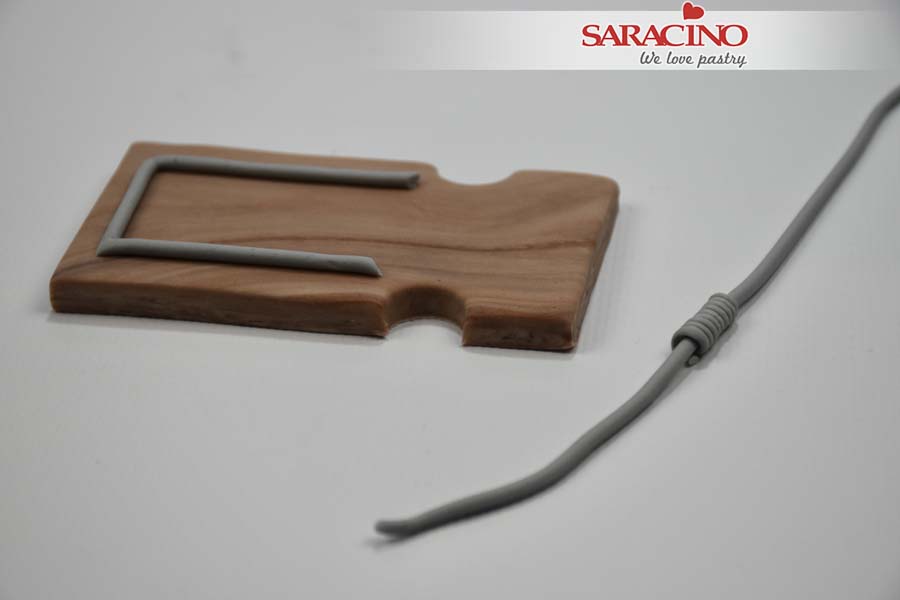
Roll some more thin grey strips to the same diameter as the wooden skewer. Take one strip and pass it through the centre of the spring. Fix the rest of them as shown.
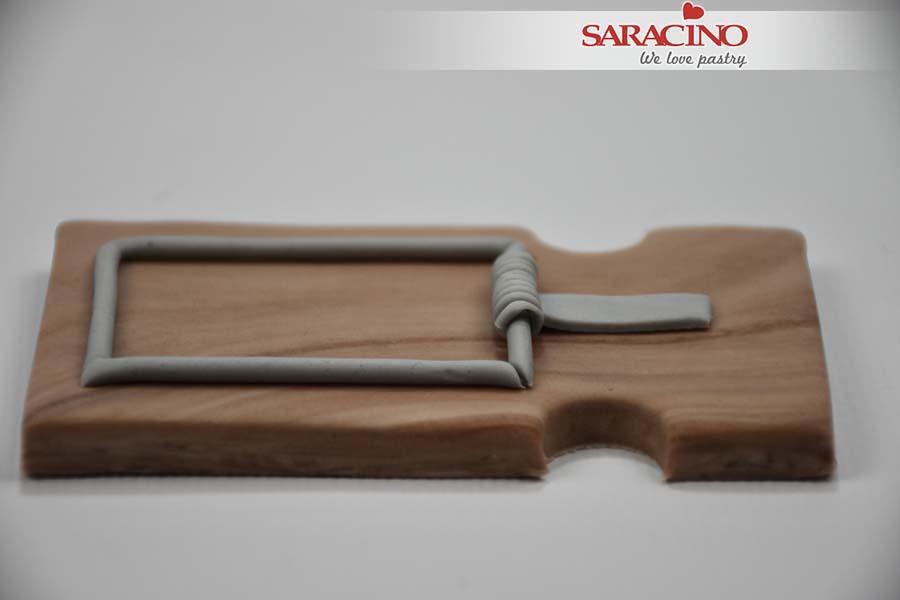
Step 39
Fix the length with the spring to the centre. Cut the excess ends. Add one more larger piece of grey paste in the centre of the trap.
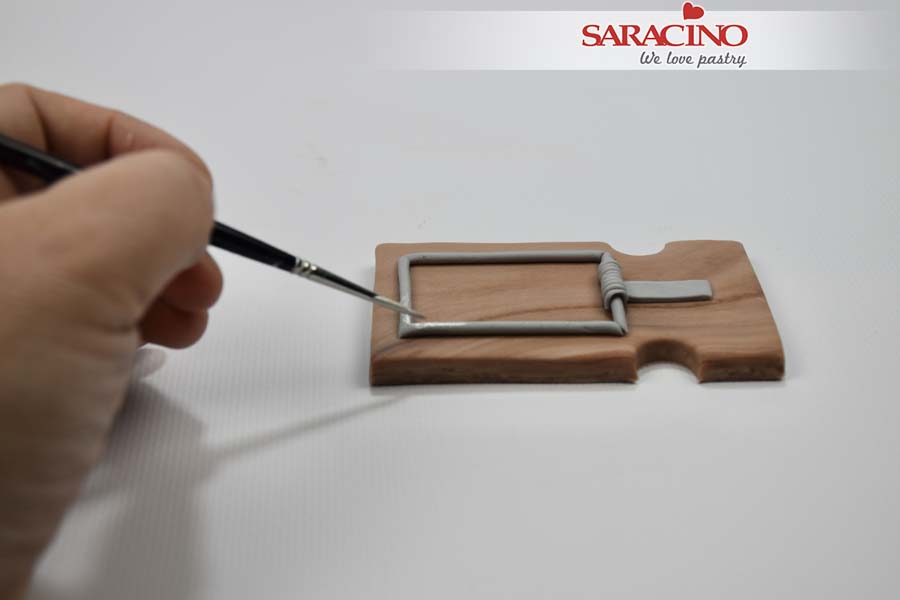
Step 40
Using silver powder mixed with clear alcohol paint the grey areas to look like metal.
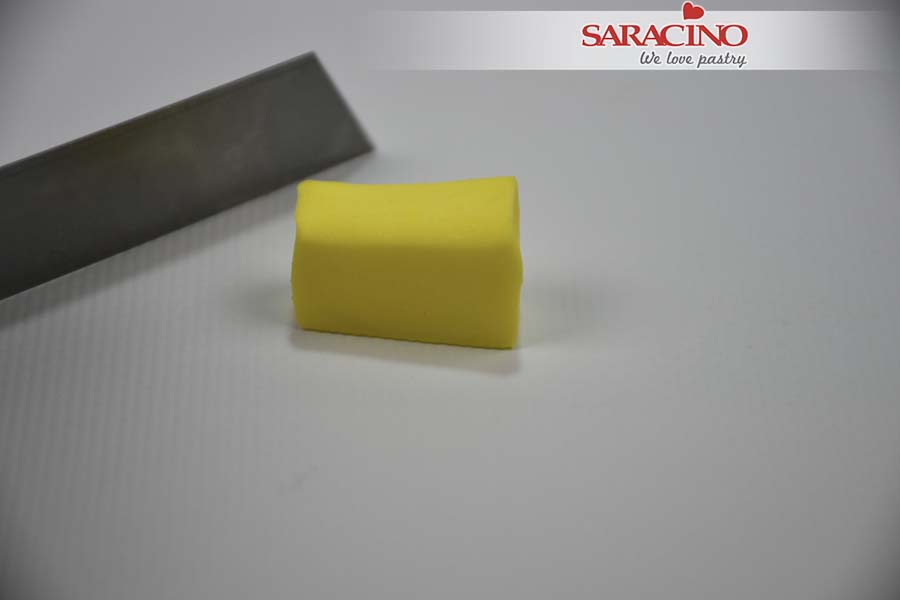
Step 41
For the cheese use a small amount of yellow Pasta Model. With a blade cut into a random ‘cheese’ shape.
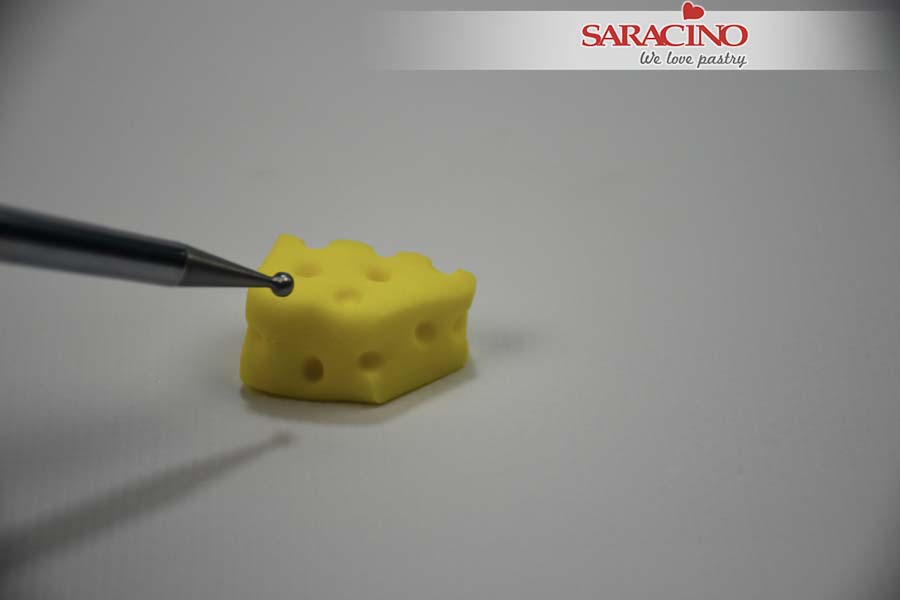
Step 42
Use a small ball tool to press some holes to make it look like cheese.
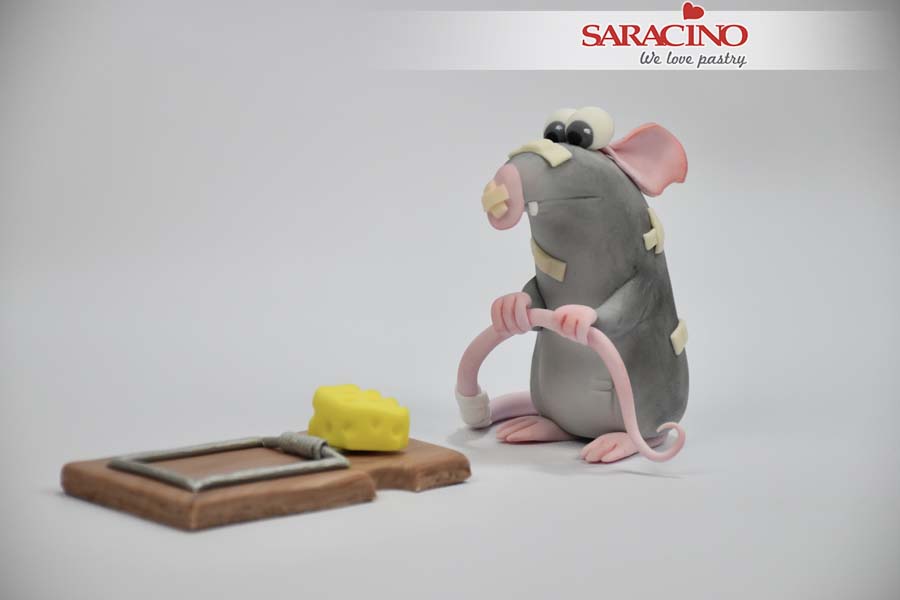
Step 43
Fix the cheese on the trap. Our hero mouse is ready!

