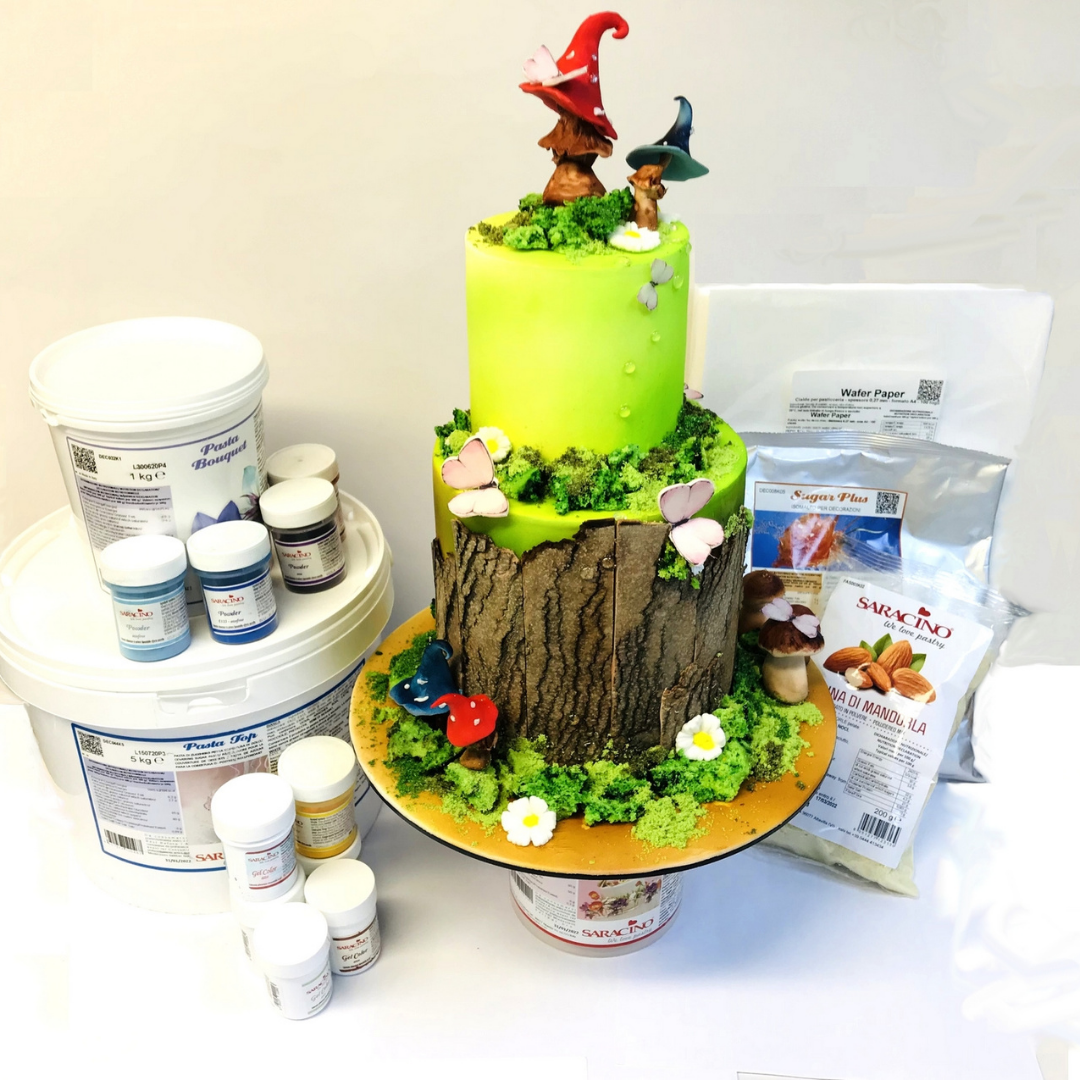
You will need:
- Pasta Top
- Pasta Model
- Pasta Bouquet
- Wafer paper
- Isomalt
- Almond powder
- Cake Gel Glue
- Powder colours: yellow, green, brown, blue
- Gel colours: red, blue, green, brown

Step 1
Cover a 15cm diameter x 14cm high tier and a 10cm diameter x 10cm high tier with white Pasta Top.

Step 2
Paint the cake with a brush, sponge or airbrush in shades of brown and meadow green.

Step 3
For the bark, colour 100g of Pasta Top in shades of light brown and dark brown.

Step 4
Roll the two brown pastes and a white paste to elongated sausage shapes and position side by side.

Step 5
Mix the colors until you get a beautiful, well-marked marbling.

Step 6
Roll out the sugar paste to a thickness of 3mm.

Step 7
Cut out a 50x14cm rectangle. I worked in two parts of 25x14cm to make it easier.

Step 8
Apply a thin layer of Cake Gel or other edible glue with a brush. Optionally you can mix CMC with water to make your own glue.

Step 9
You will need 0.27 Saracino wafer paper sheets.

Step 10
With a wafer paper sheet cover the strip of sugar paste. Be careful to put the rough side of the sheet facing up with the smooth side against the paste. Roll out in all directions.

Step 11
As you roll the wafer paper will tear and you will get a wood bark effect. Continue to roll to exaggerate the cracks and get the look you want to achieve.

Step 12
Using Saracino powder colours and a soft flat brush dust the cracks in shades of brown and green. The goal is to create a wood bark effect.

Step 13
You can exaggerate the cracks and give a slight 3D look by lifting with a scalpel blade.

Step 14
Emphasize the cracks with a darker shade of color.

Step 15
Trim the edges to return to the 50cmx14cm strip we had at the beginning.
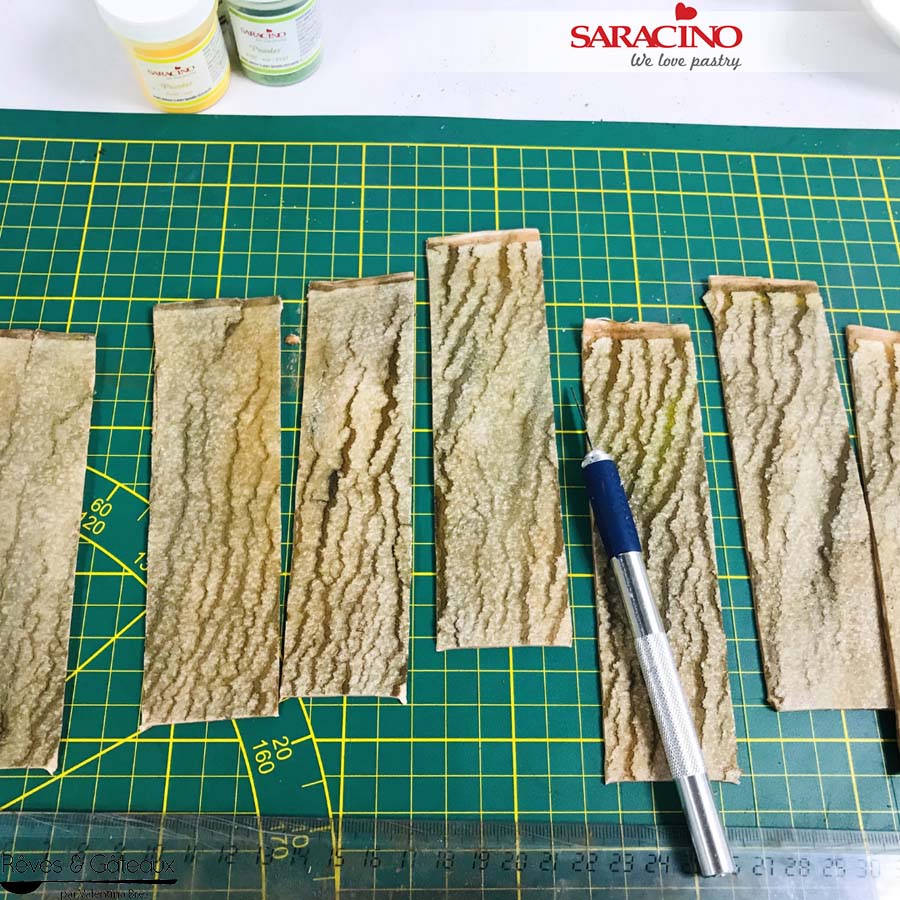
Step 16
Cut into strips approximately 4cm wide.
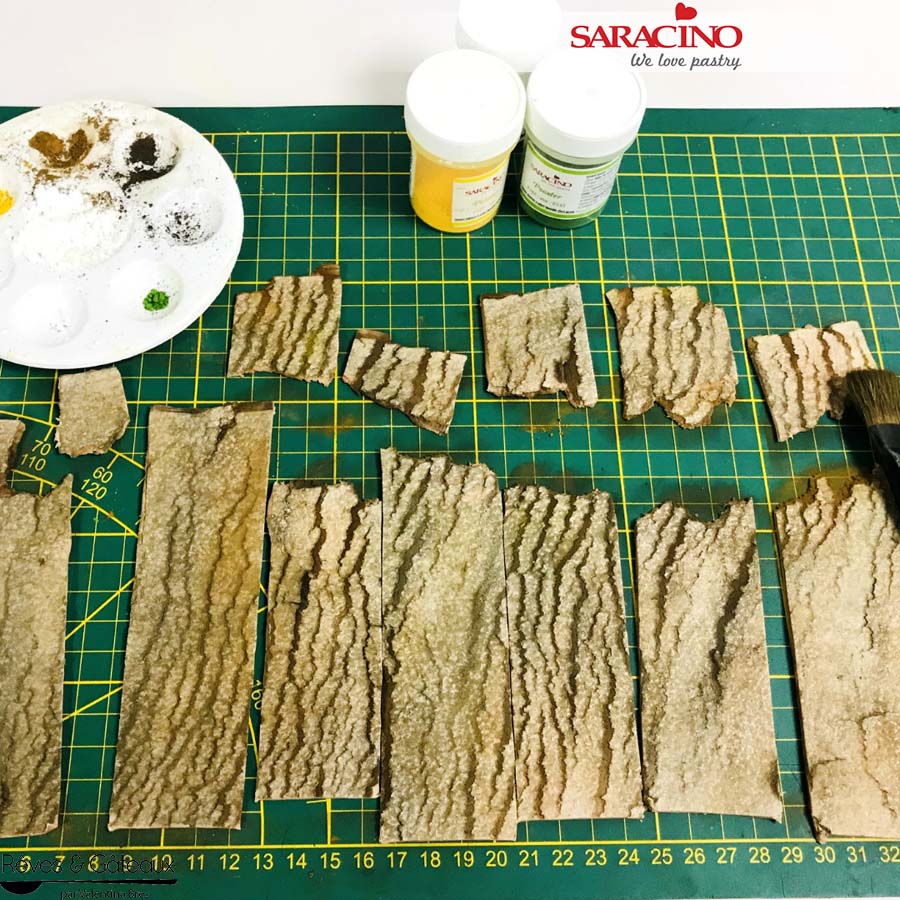
Step 17
Roughly tear the top of the strips to a length of 2 – 3cm.
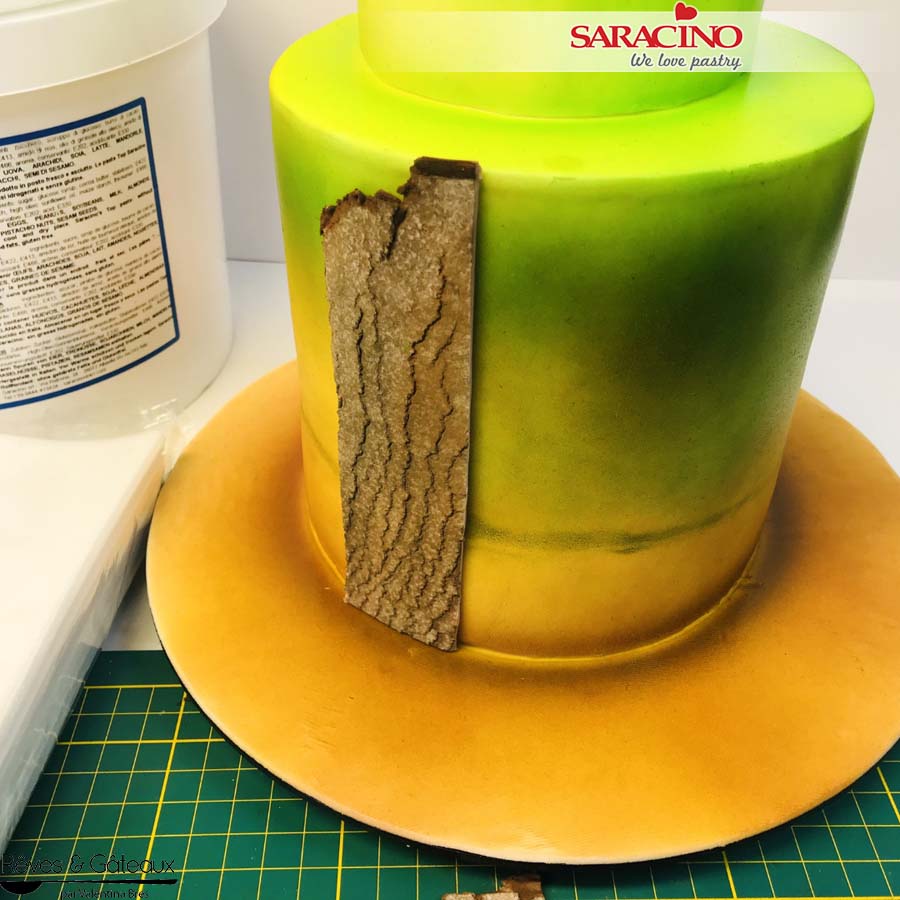
Step 18
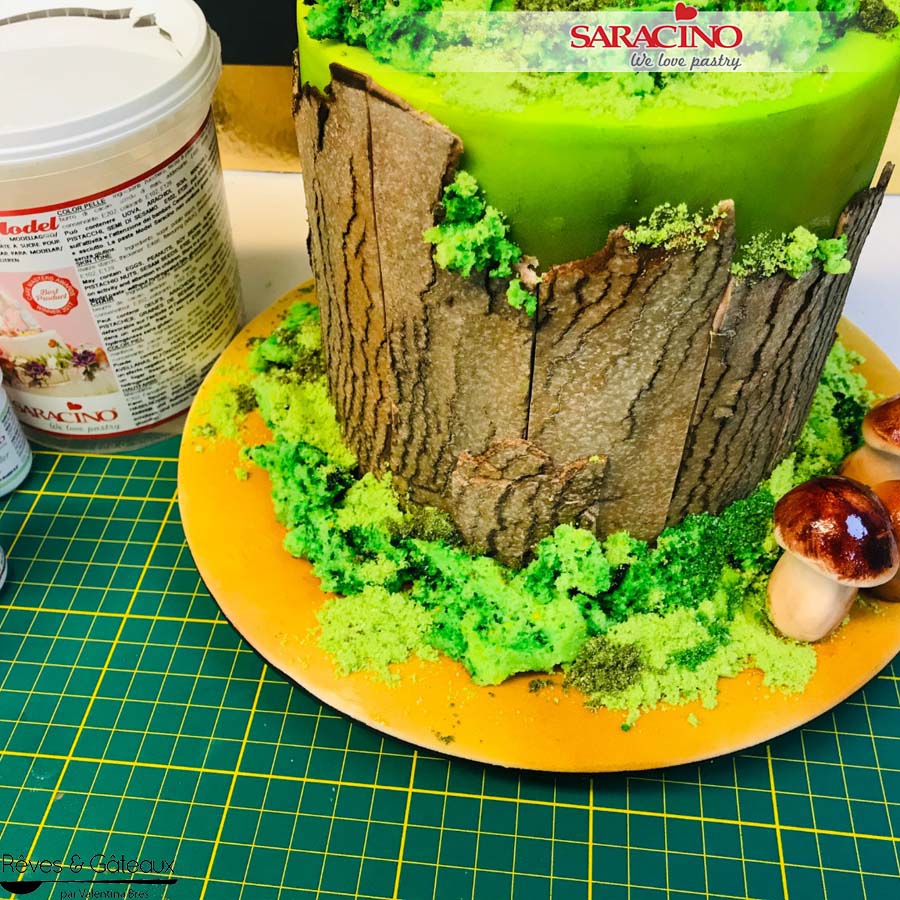
Using dark brown powdercolour, dust the edges of the strips. Glue the strips to the cake using Cake Gel.
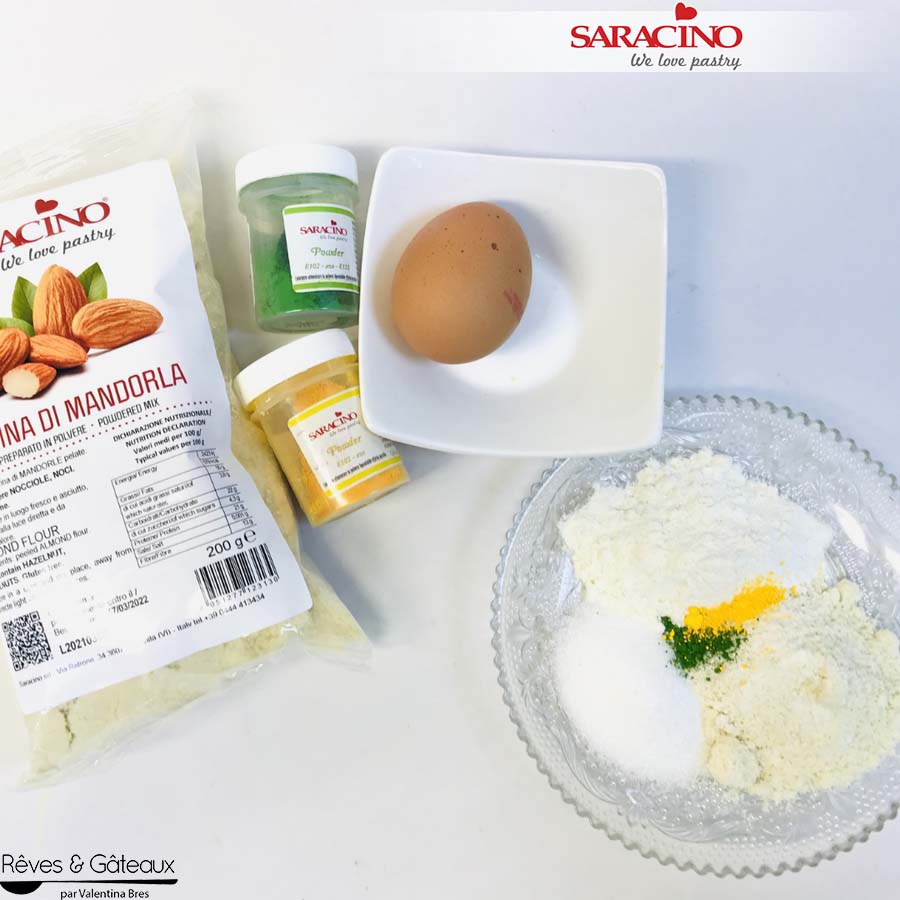
Step 19
Prepare a small sponge cake with: 15g Saracino almond flour, 15g white flour, 15g sugar, 50g egg white and a little yellow and green powder colours.
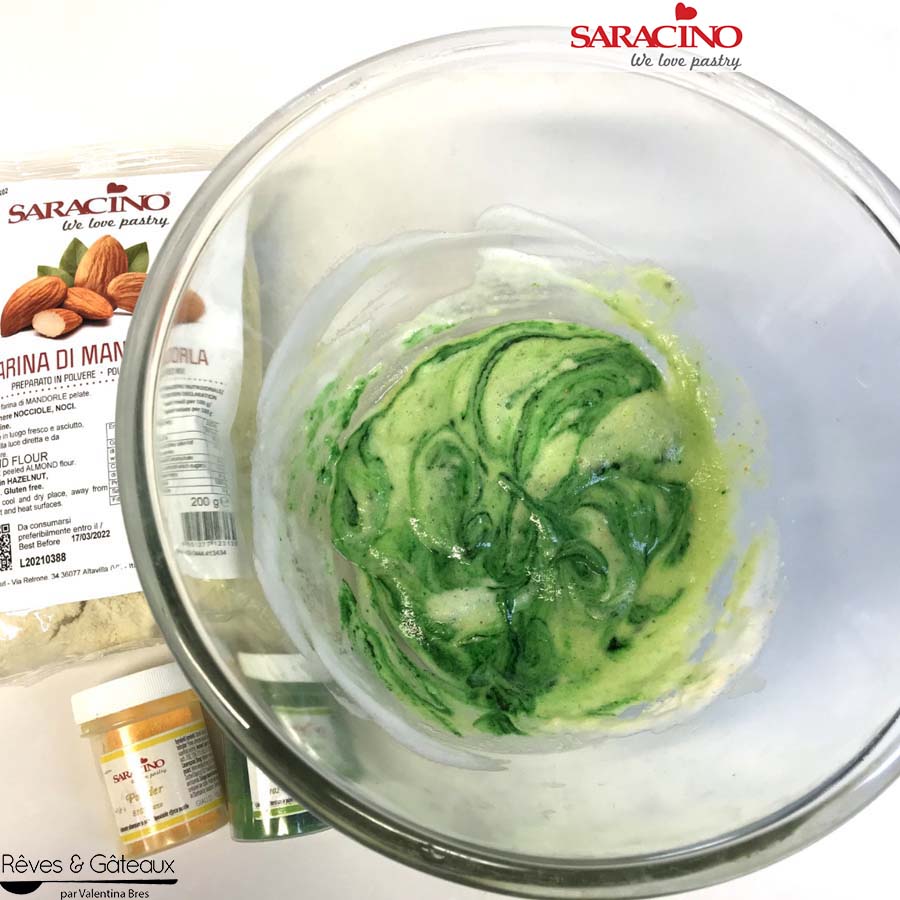
Step 20
Whisk the egg whites. Mix them to the rest of the ingredients. Microwave for approximatelty 3 – 5 minutes.
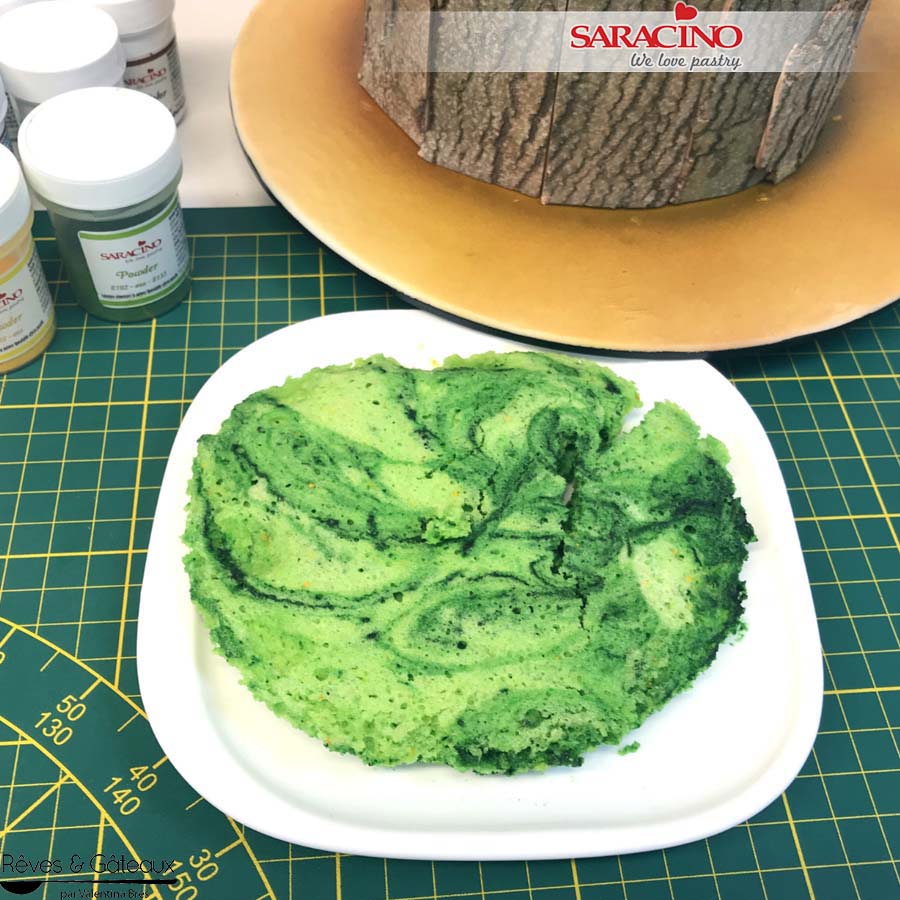
Step 21
Allow the sponge to cool.
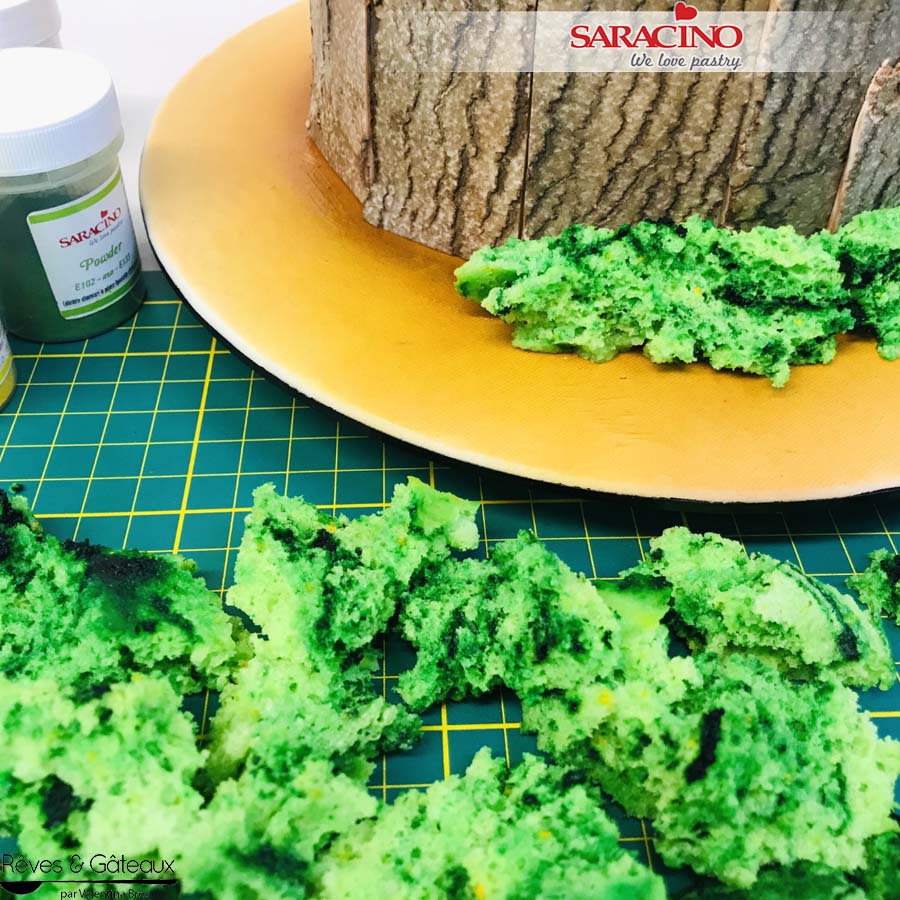
Step 22
Crumble the sponge cake.
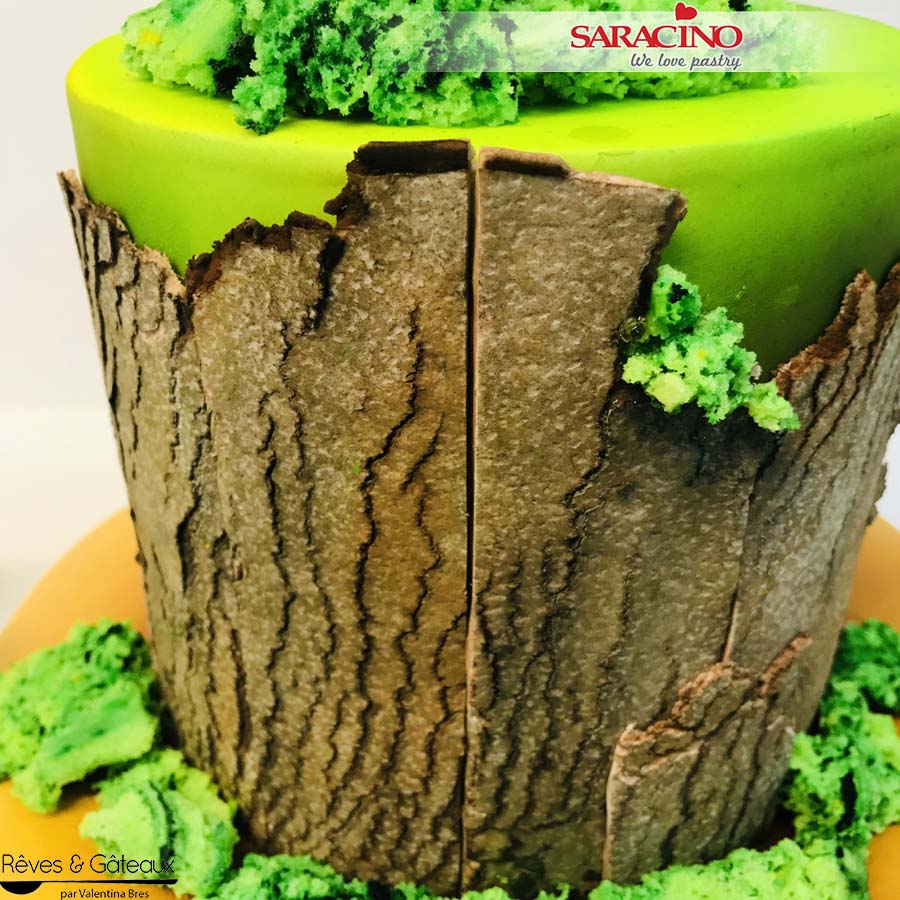
Step 23
Fix the cake pieces onto the main cake using Cake Gel.
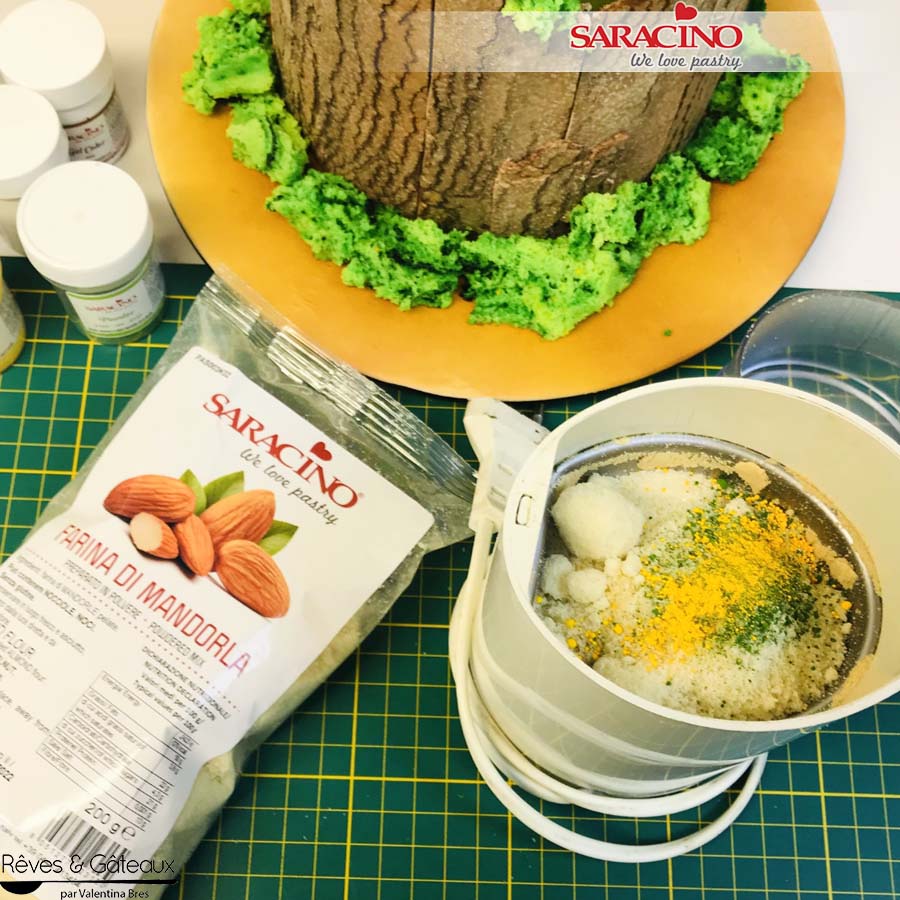
Step 24
For the grass effect. Use a coffee grinder or blender to mix some Saracino almond flour with yellow and green powder colours.
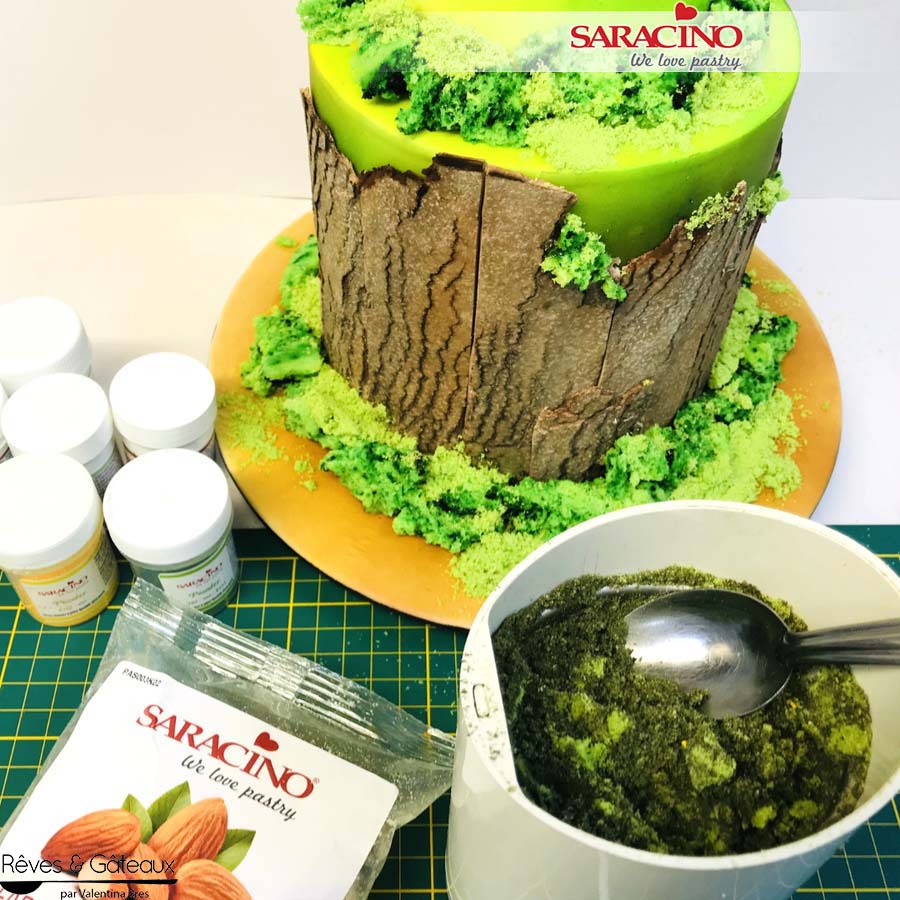
Step 25
Use this mixture to complete the “grass” look on the cake. Fix using a thin layer of Cake Gel.
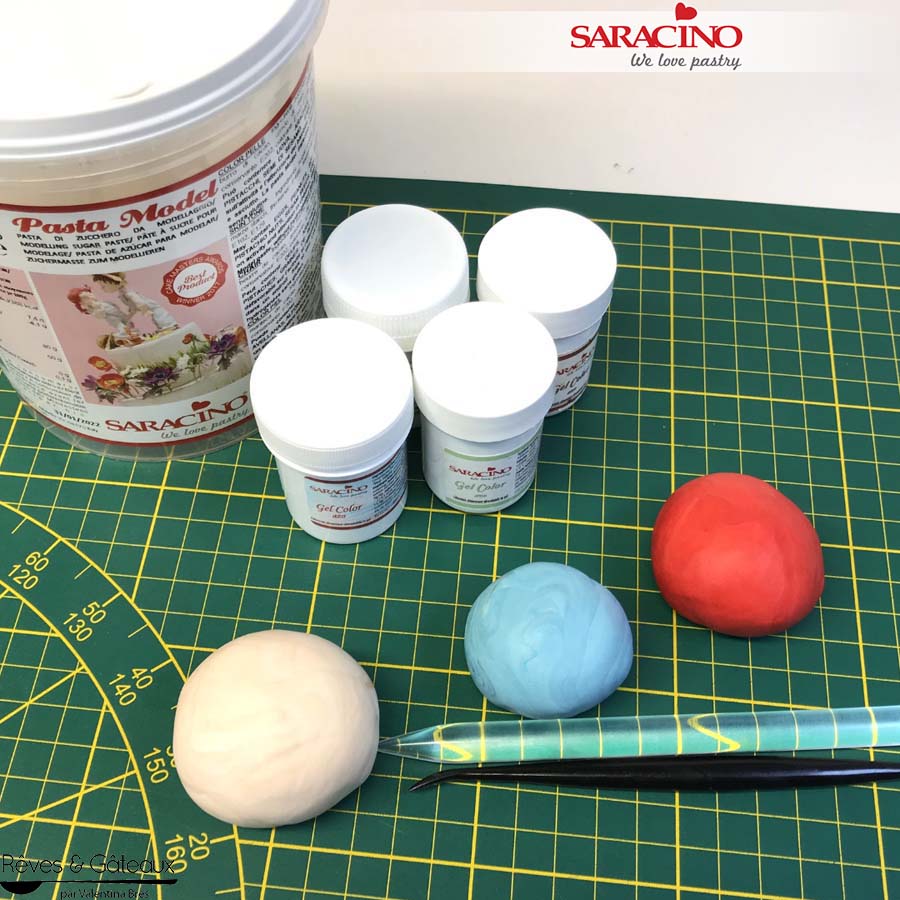
Step 26
For the mushrooms colour small amounts of Pasta Model with light brown, blue and red gel.
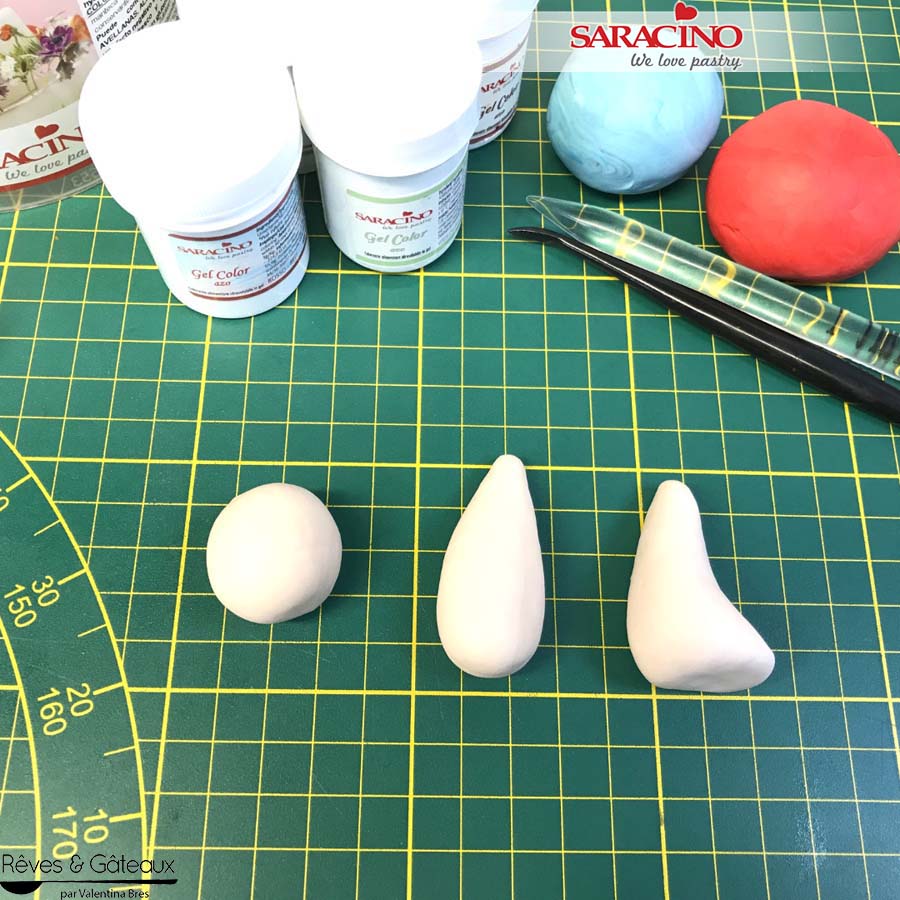
Step 27
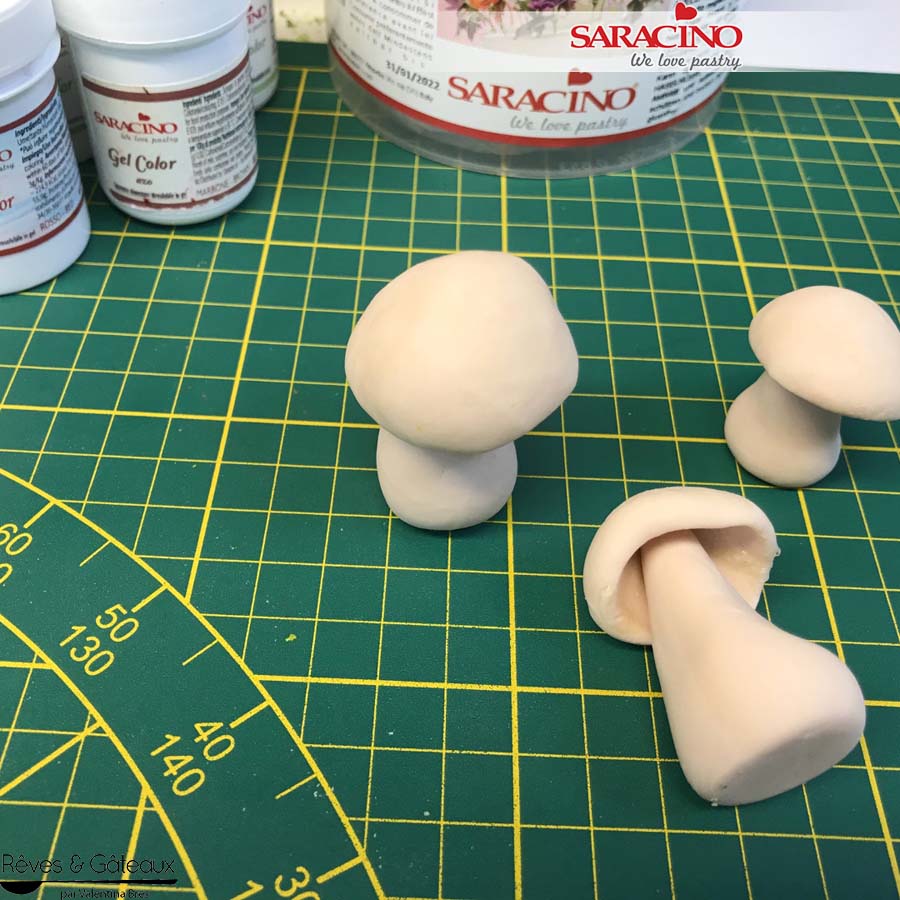
For the mushroom stems use the light brown coloured paste. First roll a ball and use your fingers to roll into a tear drop shape.
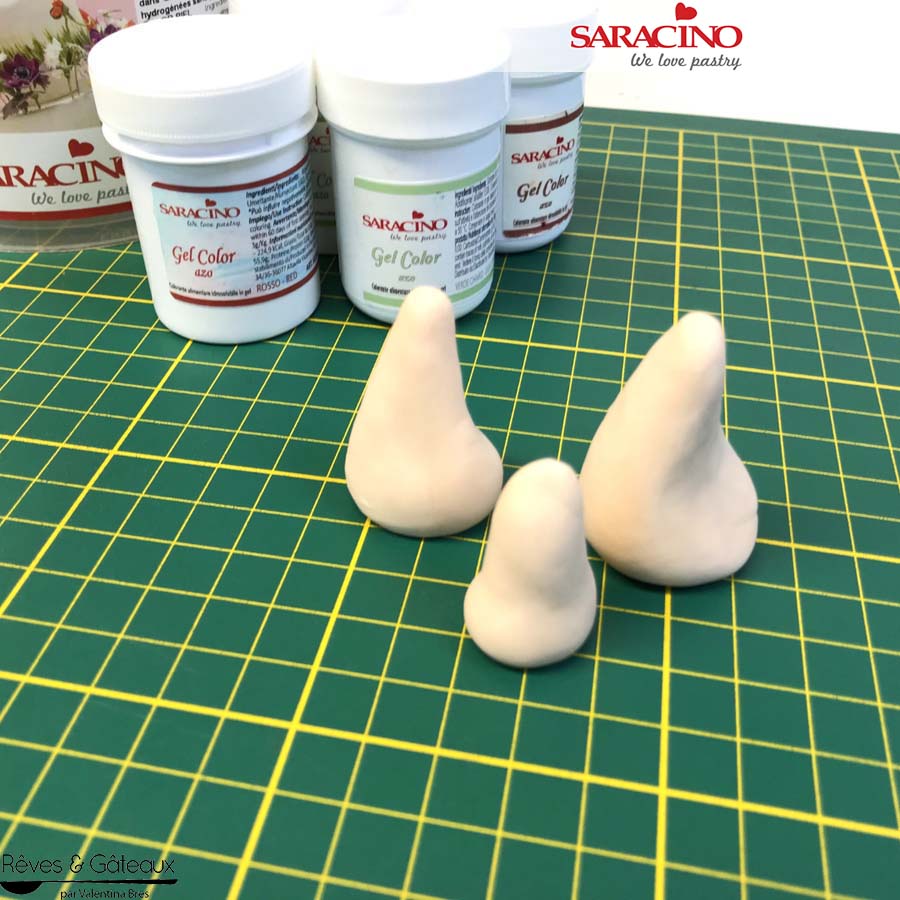
Step 28
We will need three stems like this one. Make each of them slightly different size and shape.
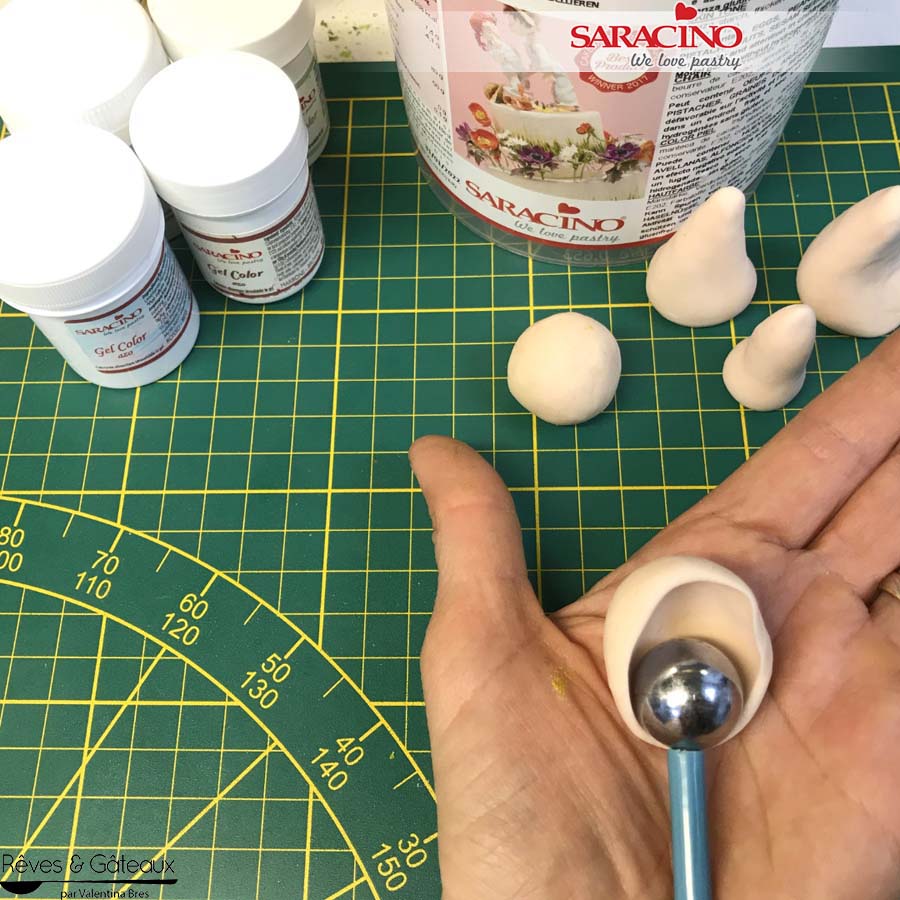
Step 29
Take a ball of the light brown Pasta Model. Use a ball tool to hollow out and form a mushroom cap.
Step 30
Repeat for the three mushrooms. Fix the caps to the stems using a little glue. Allow to dry.
Step 31
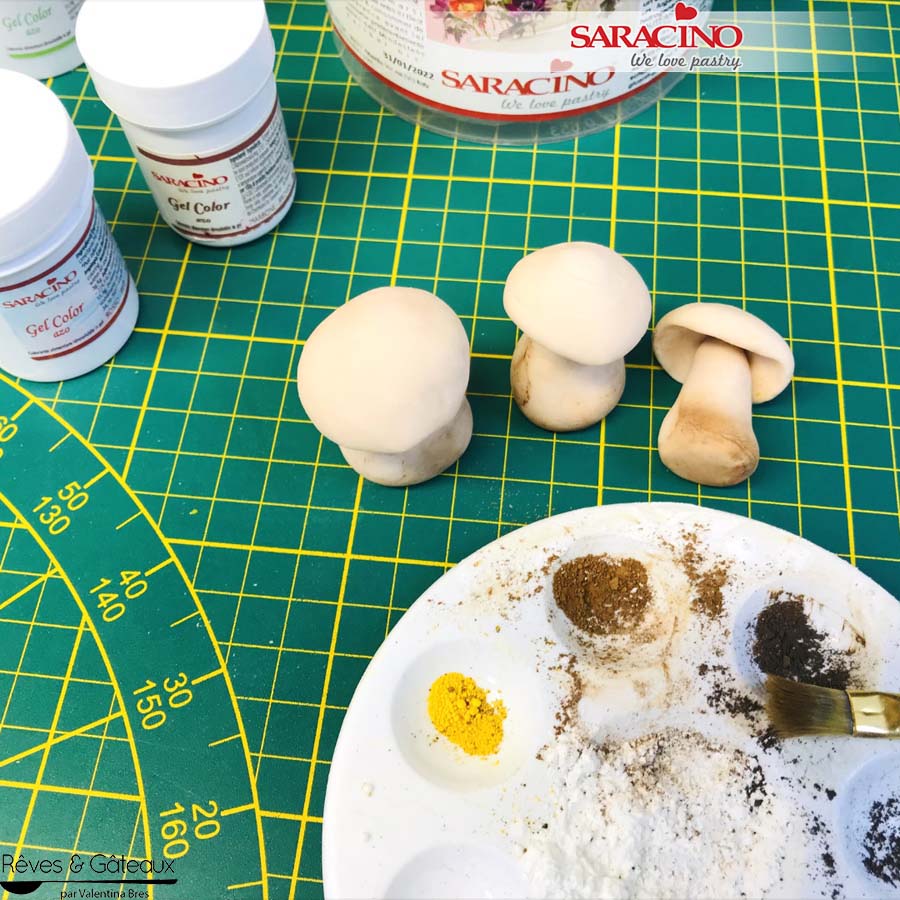
Use a soft bristle brush and brown powder colouring to dust shadows on the stems.
Step 32
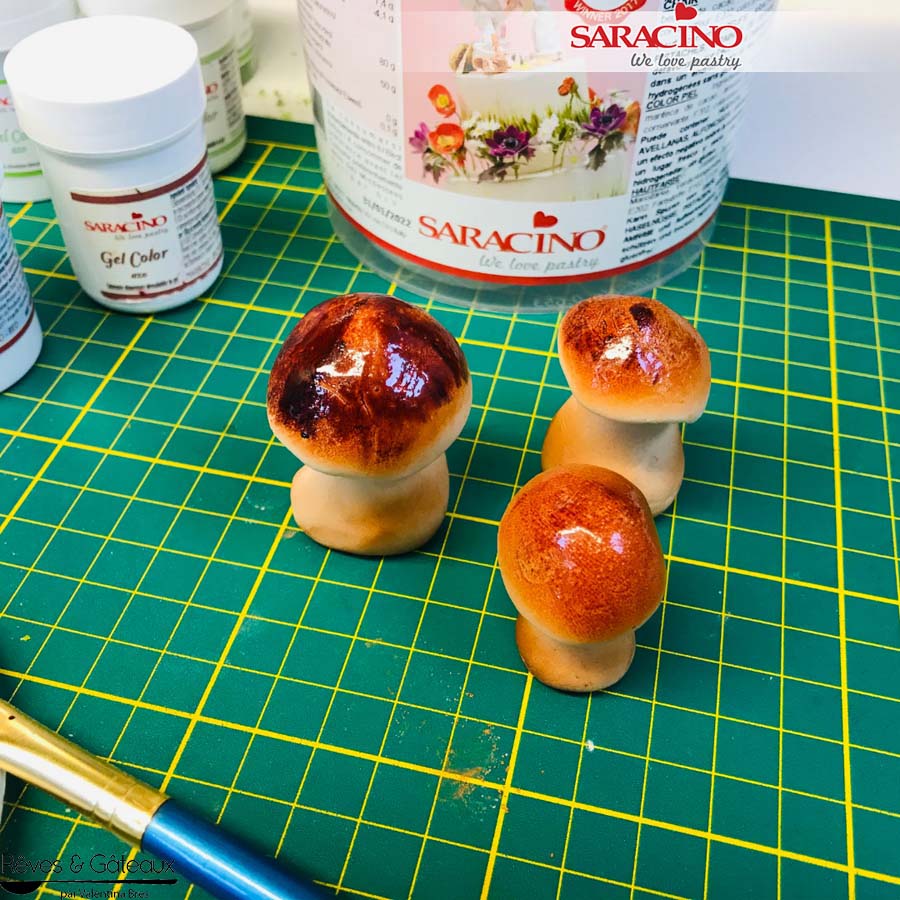
With brown gel colour diluted with clear alcohol paint the caps. Add layers of varying colour to give a velvet effect.
Step 33
Allow to dry and fix the three mushrooms to the cake. For the shiny cap effect you can use Saracino Liquid Shiny.
Step 34
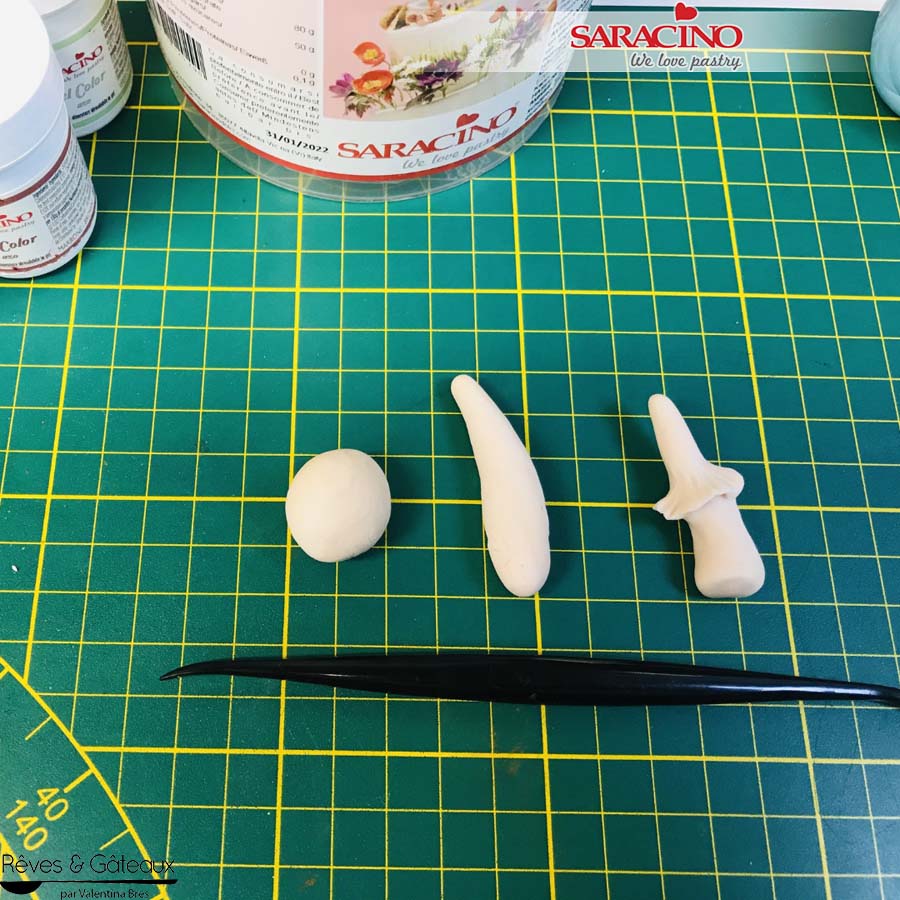
For the coloured mushrooms: Use the coloured Pasta Model to create the mushroom stems. I find a Dresden tool helps at this stage.
Step 35
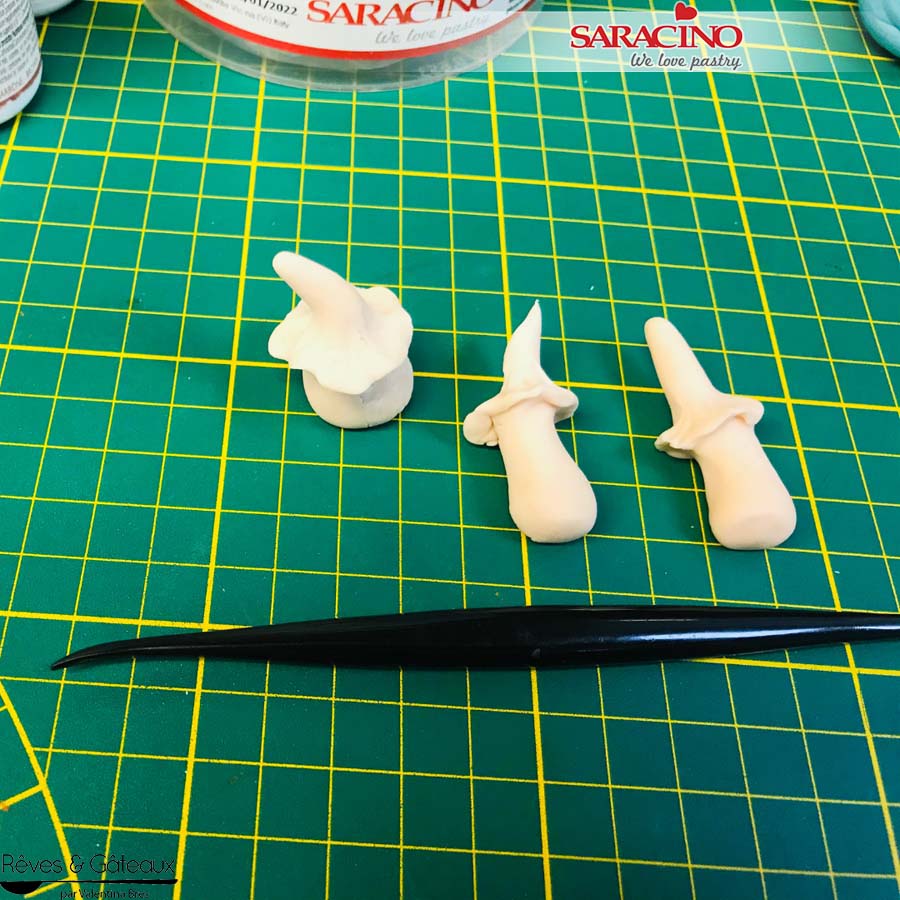
You will need to make three or four stems depending on how many mushrooms you want on your cake.
Step 36
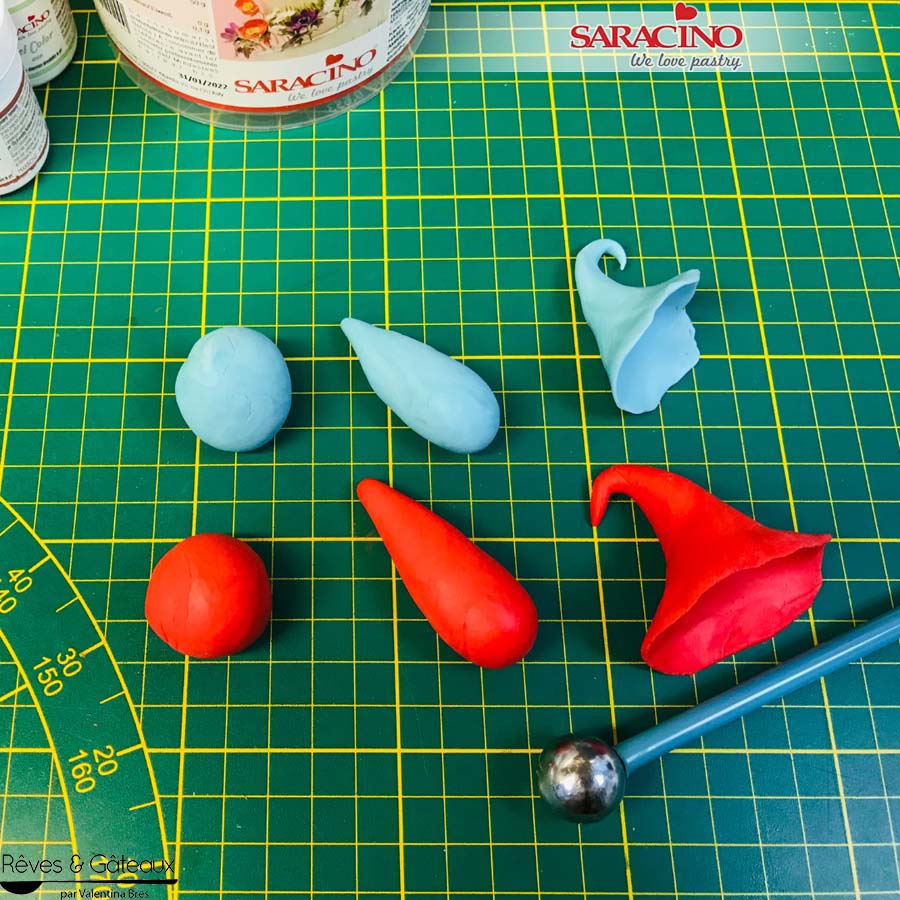
As shown previously using a ball tool model the mushrooms caps using the red and blue Pasta Model.
Step 37
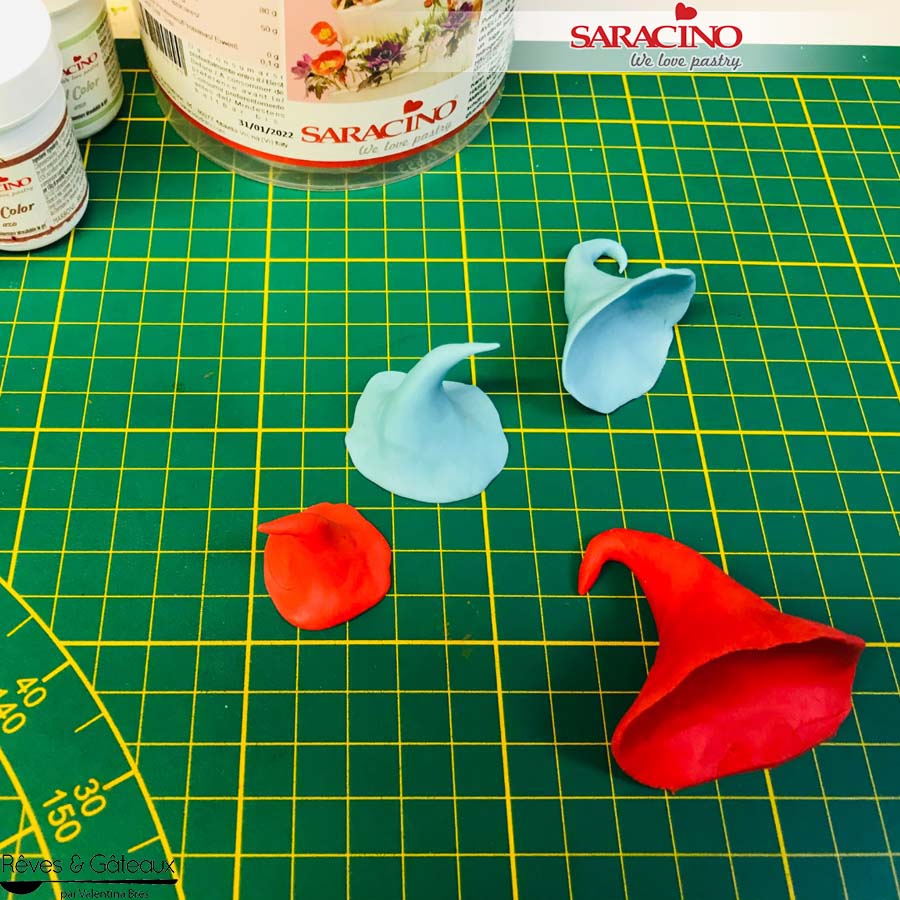
Make in different shapes and sizes.
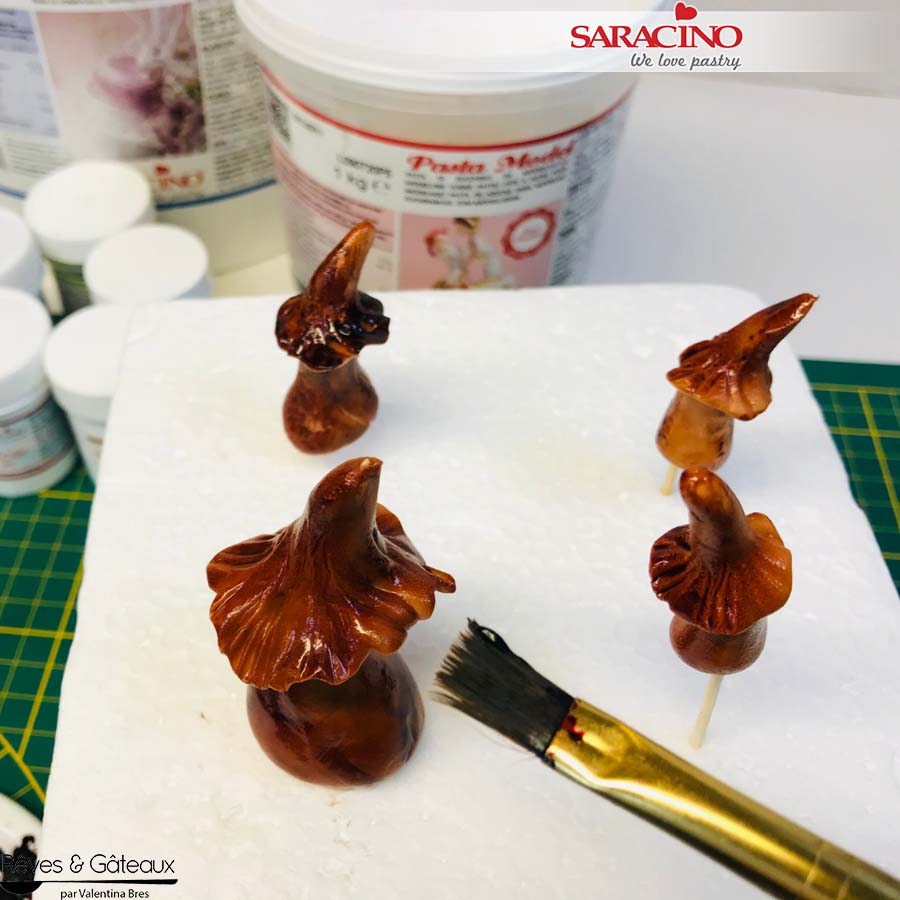
Step 38
Paint the stems brown using Saracino brown colour gel diluted in clear alcohol.
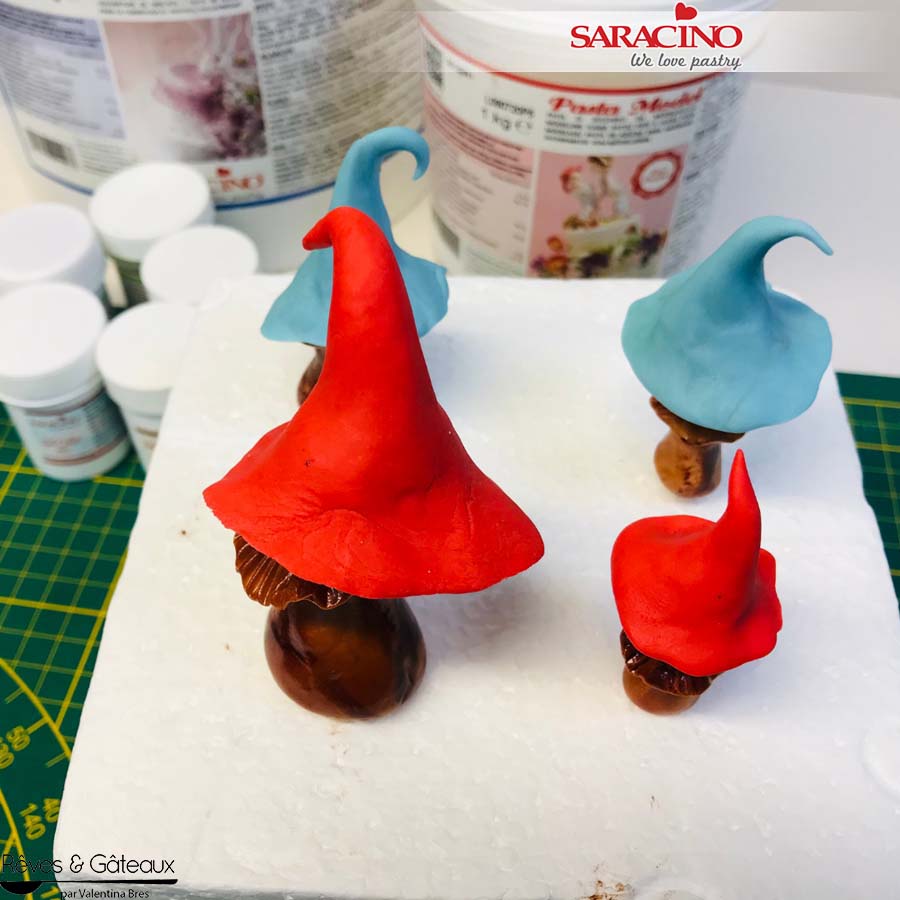
Step 39
Fix the caps to the stems with a little Cake Gel.
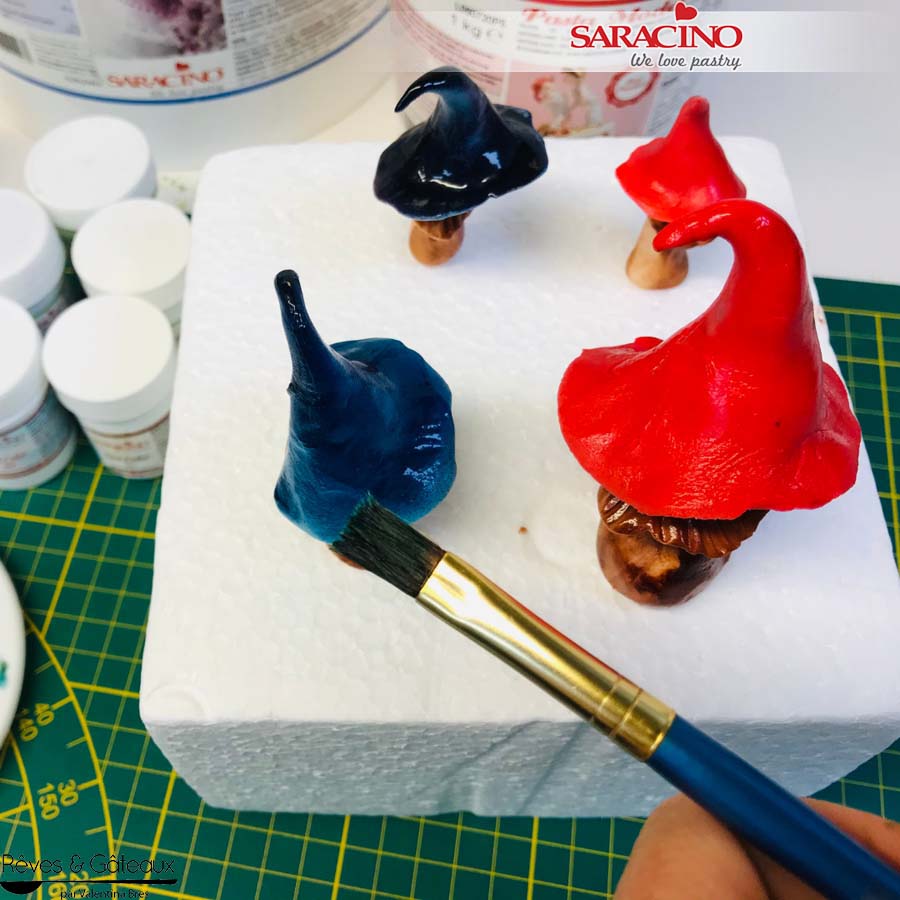
Step 40
Paint the caps with blue and red gel colour.
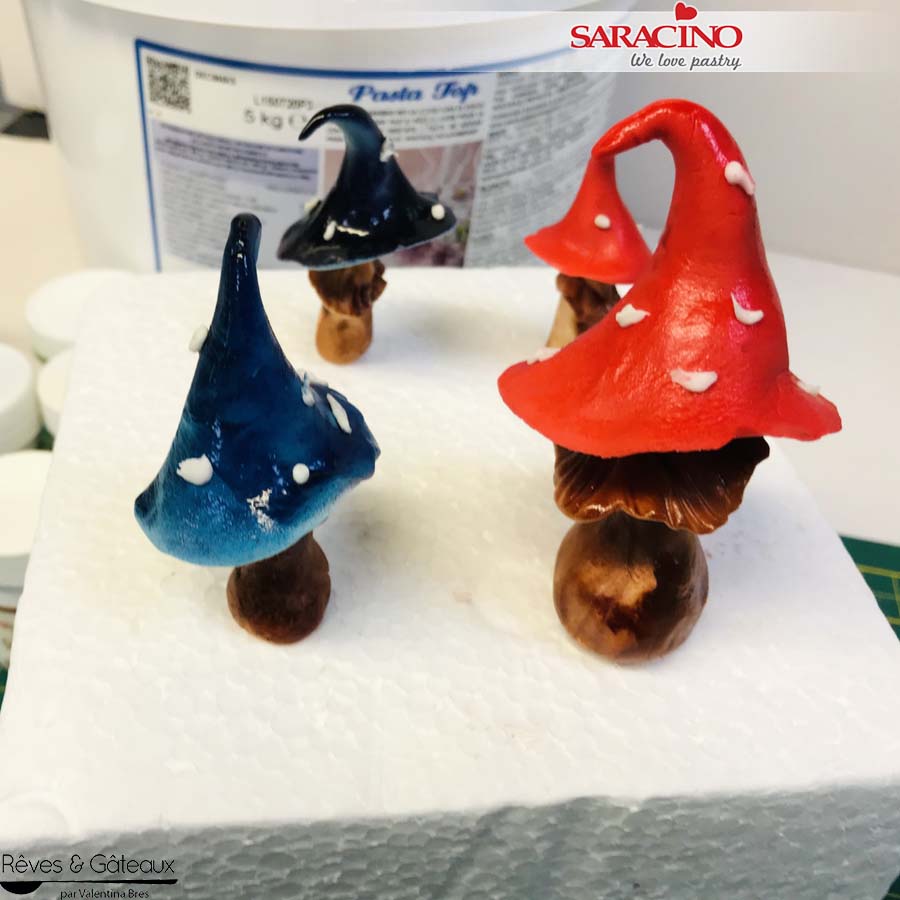
Step 41
Make small pieces of sugar paste for the mushroom “spots”. They should not be circular and need to be irregular. Allow to dry.
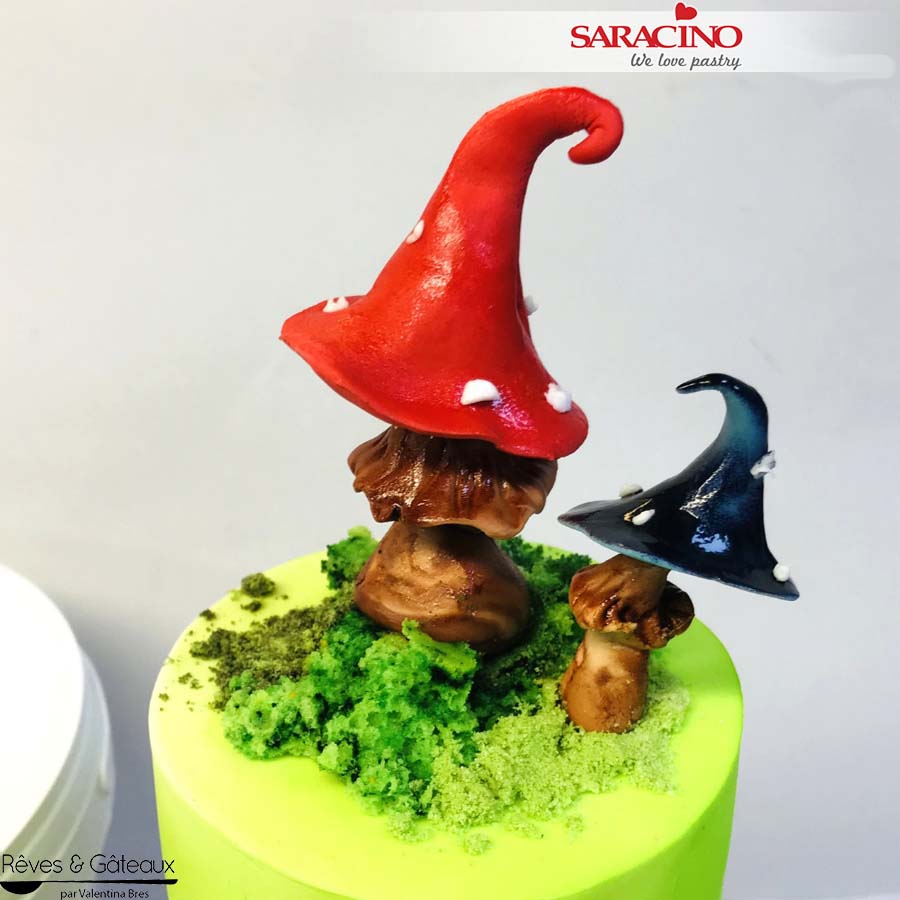
Step 42
Insert a cocktail stick into the stem of the mushrooms. Fix to the top of the cake.
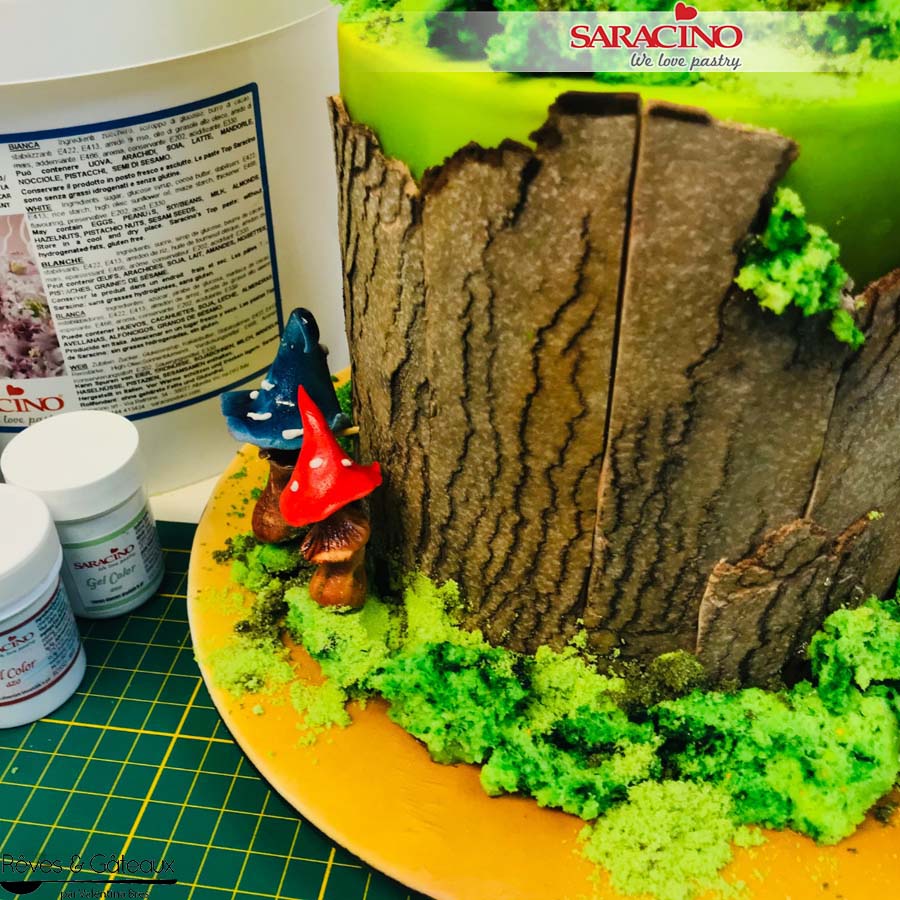
Step 43
Add the mushrooms wherever you would like them to be.
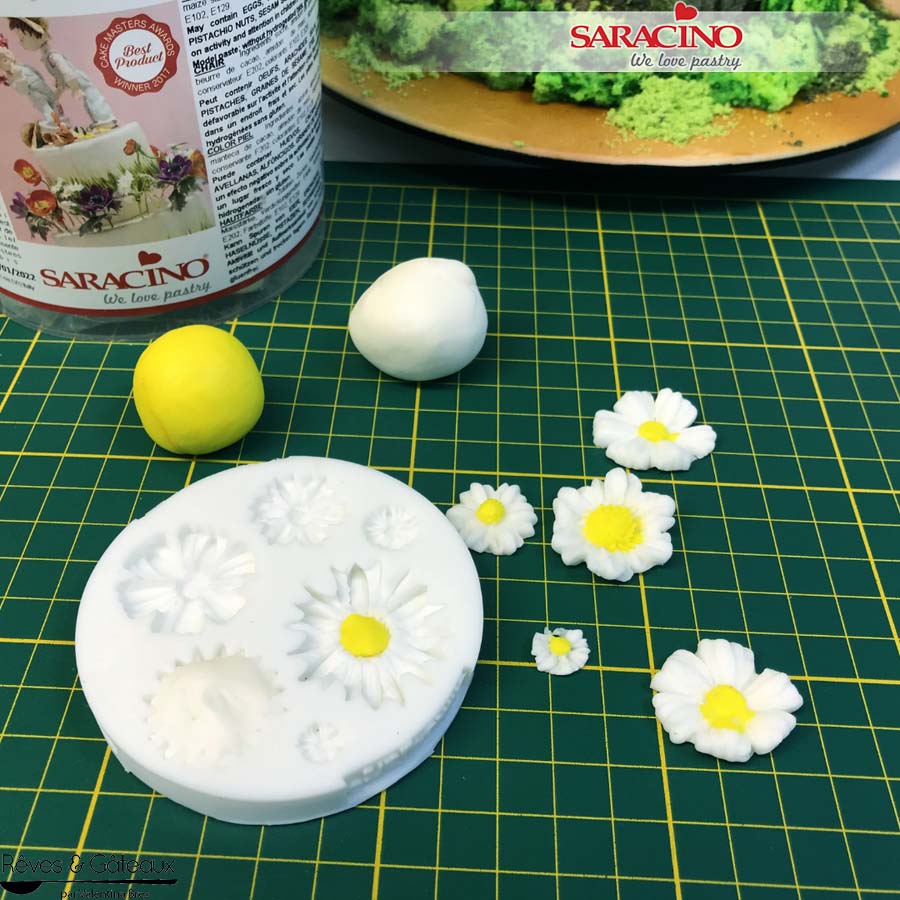
Step 44
Make little daisies or other flowers with a little white and yellow Pasta Top. I used a silicone mould, but a cutter will suffice.
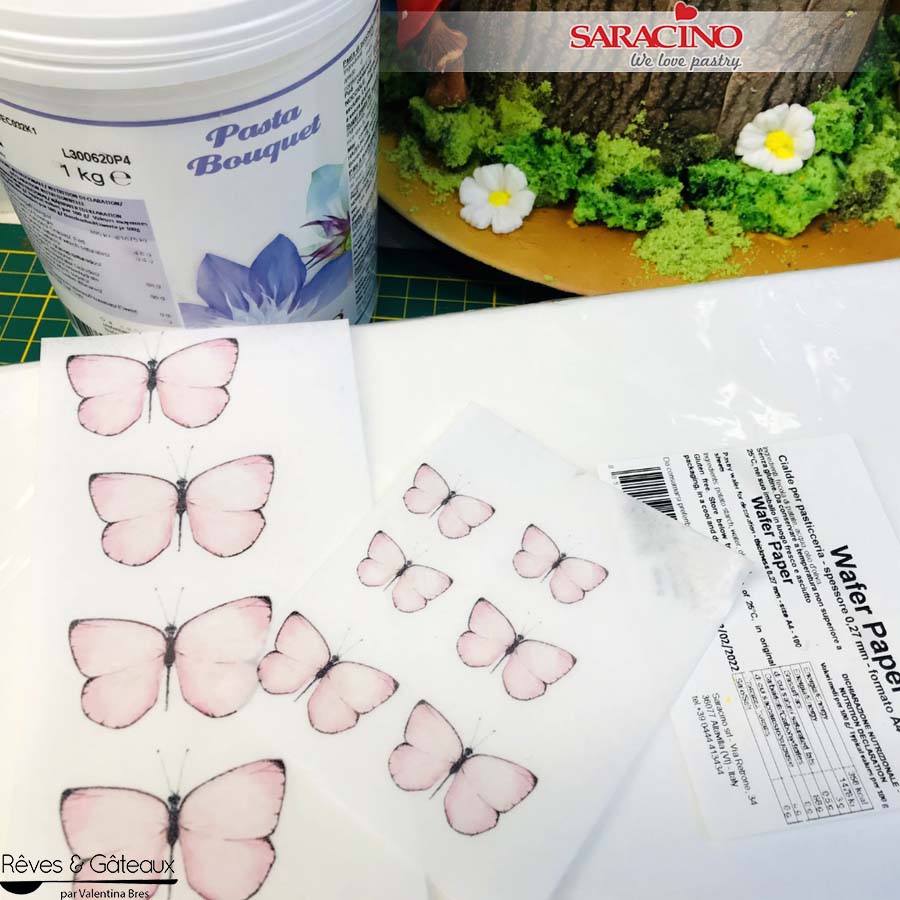
Step 45
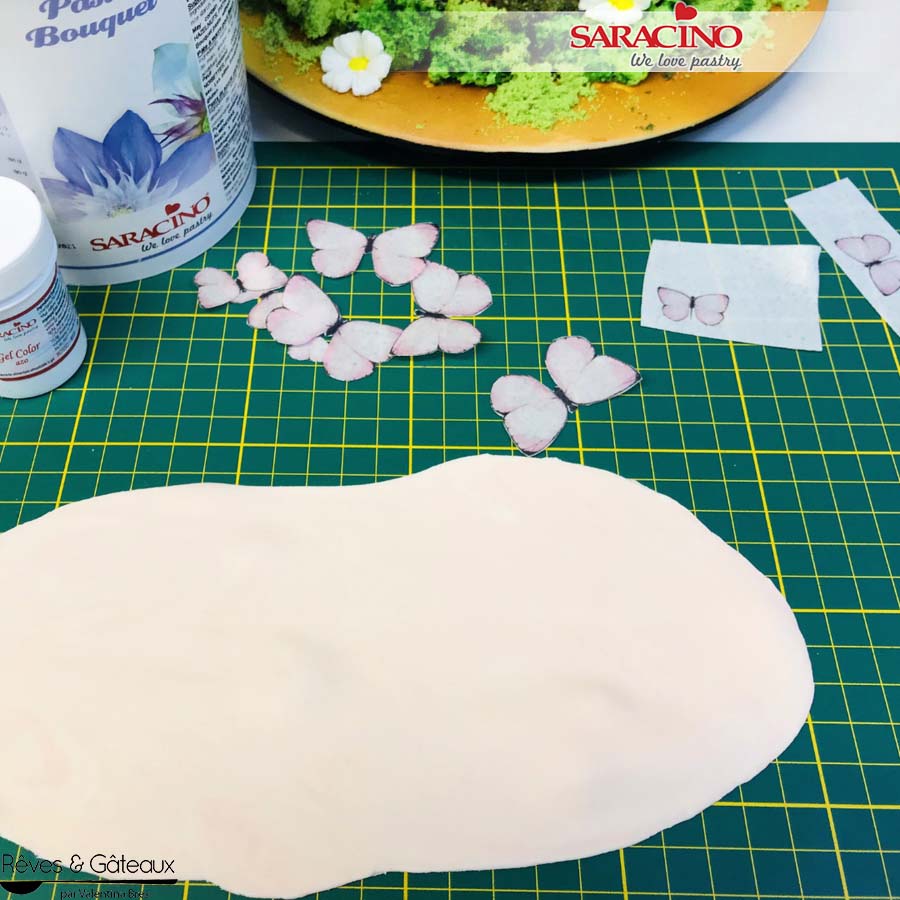
Print or paint butterflies on Saracino Wafer paper.
Step 46
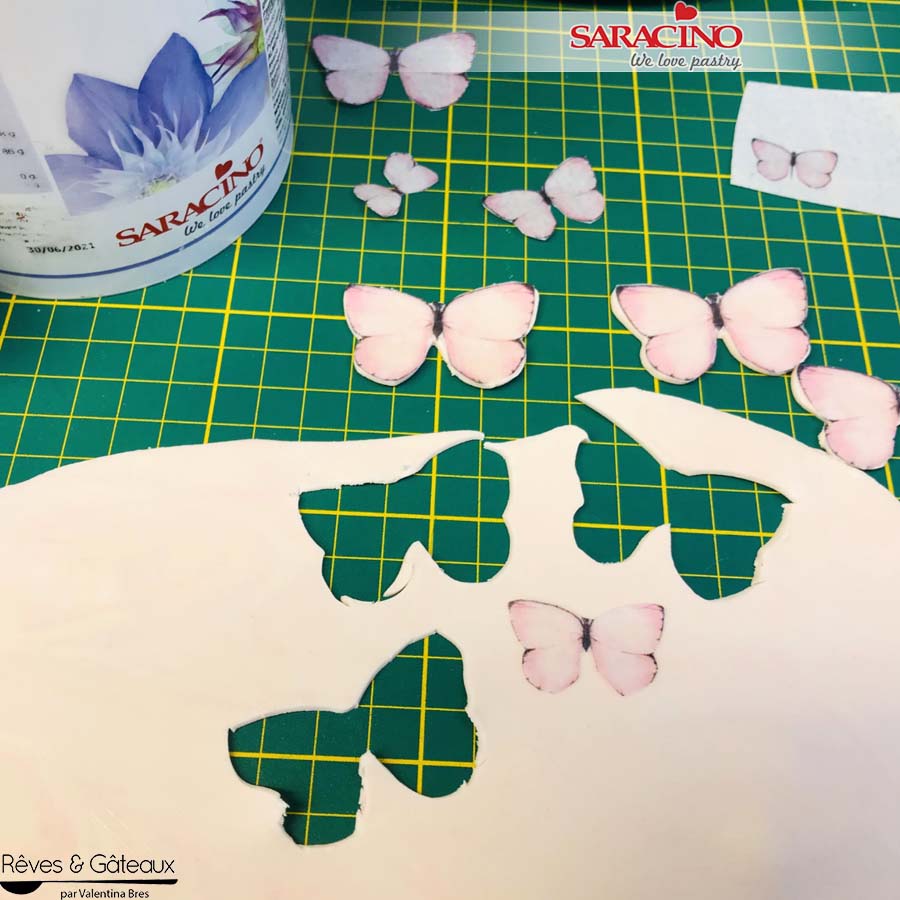
Cut out the butterflies and glue them to a thin layer of Pasta Bouquet coloured with pale pink.
Step 47
Using a sharp knife cut out the butterflies.

Step 48
Smooth the edges to remove any rough cuts. Bend the butterflies at the centre and position to dry.

Step 49
For the moisture drops add Saracino isomalt to a silicone mould.

Step 50
Melt in a microwave and drip onto a silicone mat. Allow to harden.

Step 51
Glue the butterflies to the cake. Add the dew drop isomalt pearls.

Step 52
Your cake is ready.

