You will need:
INGREDIENTS:
- 130g Pasta Model light skin
- 20g Pasta Model white
- 30g Pasta Model green
- 5g Pasta Model black
- 20g Pasta Model red
- 20g Pasta Model yellow
- 10g Pasta Model blue
- 10g Pasta Model brown
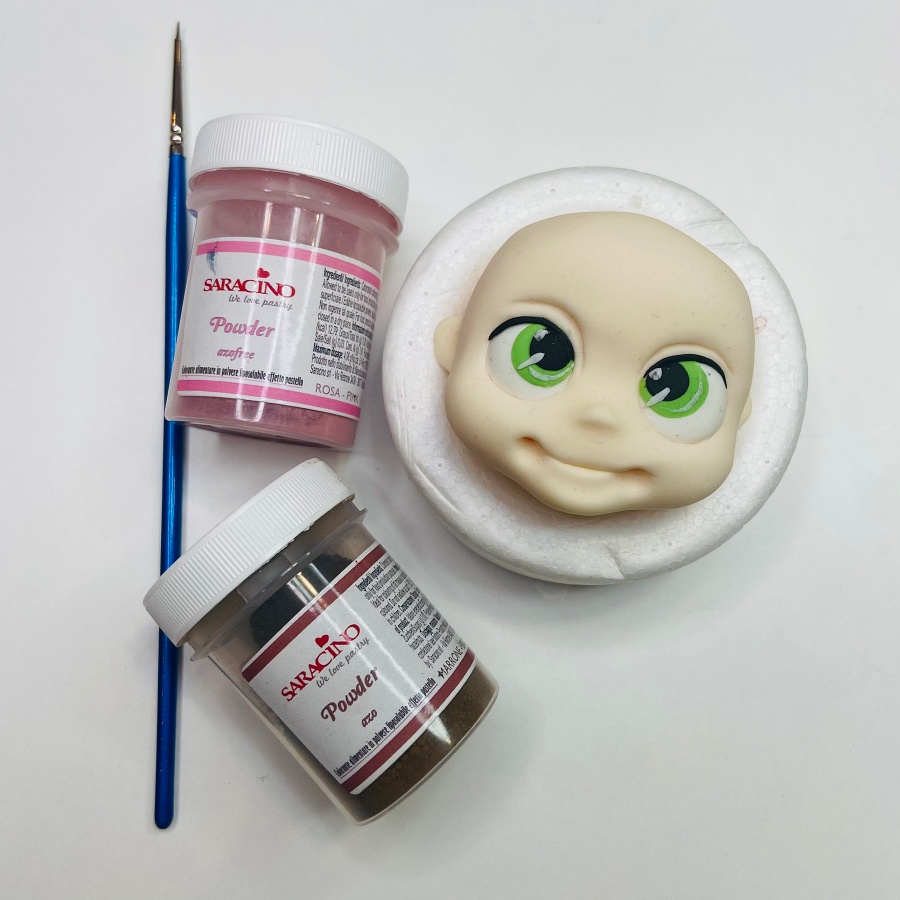
- Powder colour pink and brown
- Liquid Shiny
EQUIPMENT:
- Dresden modelling tool
- Fine brush and blush brush
- Small rolling pin
- Small and large ball tools
- A cutter or scalpel
- Circle cutter 2.5/1.3/1/0.6cm
- Wood skewer
- 4cm polystyrene ball

Step 1
Head: Weigh 65g of light skin modelling paste and prepare a polystyrene ball 4cm in diameter.

Step 2
Roll the light skin paste into a ball. Push the polystyrene ball into the paste and fully cover. Smooth any joints. Using your finger or a small rolling pin make a dent across the eye line.

Step 3
Push with your finger to create the tip of the nose.

Step 4
With the Dresden tool form the curve of the nose.

Step 5
With a ball tool, mark the corners of the lips.

Step 6
Connect the two dots with the Dresden tool forming a smile.

Step 7
With a ball tool, hollow out the underside of the lip to form the chin.

Step 8
Using a circular cutter 1.3cm diameter mark the eyes.

Step 9
With a ball tool, press to form eye sockets.

Step 10
Cut out two thick circles of white Pasta Model using a 1.3cm diameter circle cutter.

Step 11
Place the white circles to the eye sockets and press them in with the Dresden tool.

Step 12
Use the Dresden tool to shape the eyelid.

Step 13
Roll the green Pasta Model thinly and cut out 2 circles with a 1cm diameter cutter.

Step 14
Place the green circles to create the iris of the eyes. Cut the excess with a sharp knife.

Step 15
Roll black Pasta Model thinly and cut two circles with a 0.6cm diameter cutter.

Step 16
Add the black circles to the eyes. Using black Pasta Model roll a very fine sausage shape for the eyeliner on the edge of the eye lid.

Step 17
Fix the eye liner. Using white Pasta Model roll two very small balls to create the light points of the eyes.
Step 18
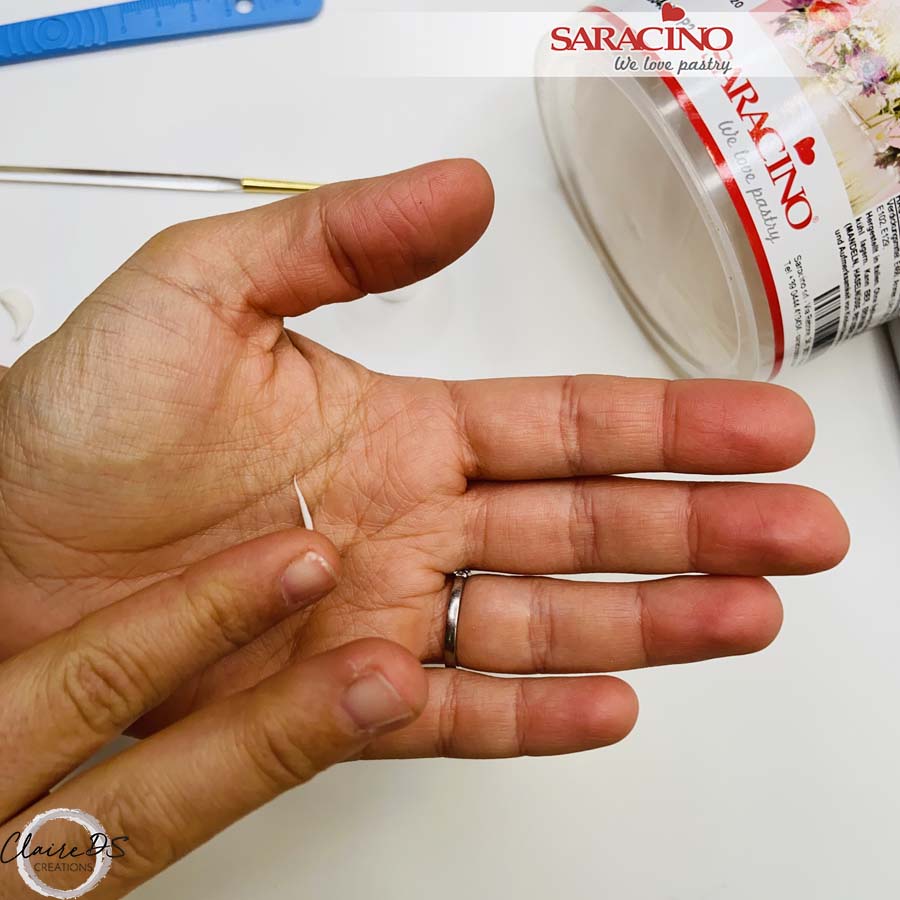
Using white Pasta Model roll a very thin sausage shape.

Step 19
Add the thin white line to the eye for highlight. With a sharp knife make small notches for more realism and dimension.

Step 20
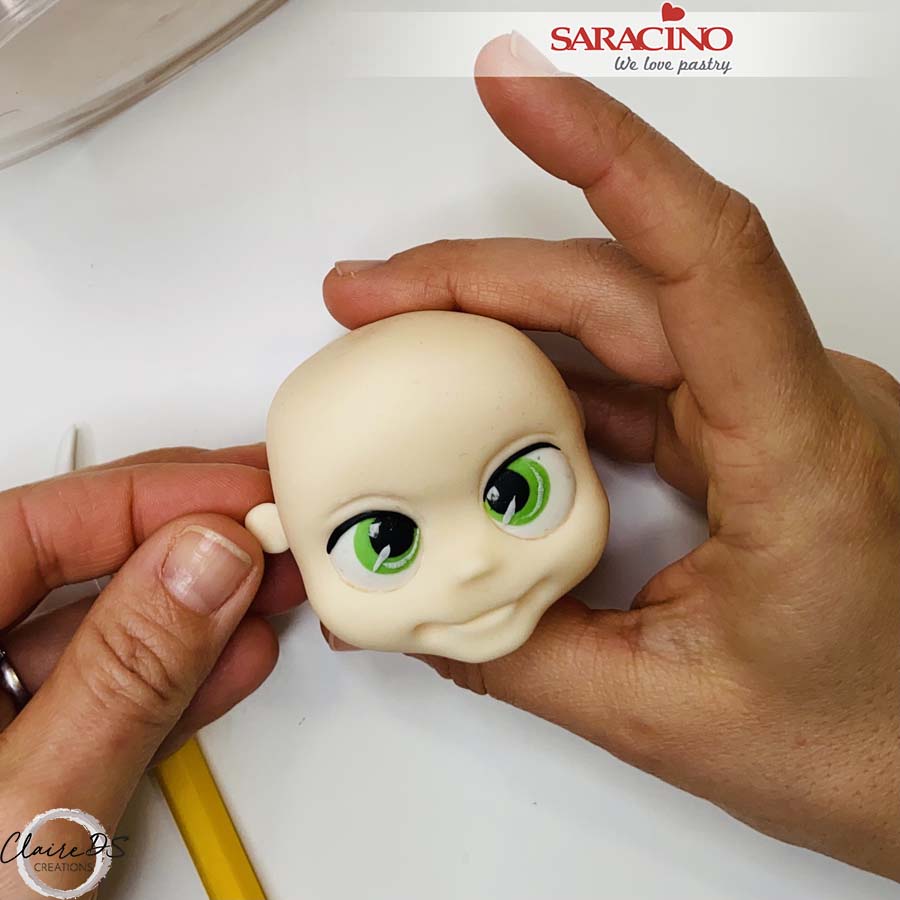
For the ears take a few grams of light skin Pasta Model. Roll a small ball and cut in half to create each ear.
Step 21
Use a little glue to fix the ears each side of the face in the same alignment as the nose.
Step 22
Prepare a fine brush with the pink and brown powder colours and a clear alcohol for diluting.
Step 23
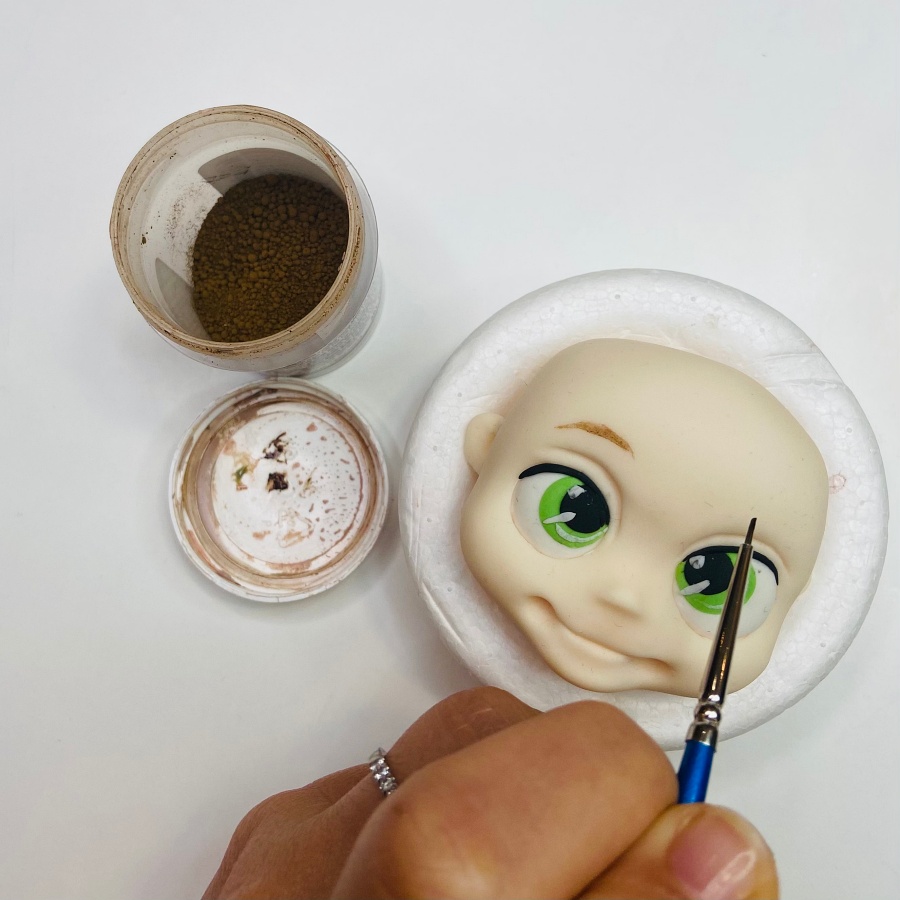
Dilute brown powder colour in a little clear alcohol (I use the lid). Paint two thin lines for the eyebrows.
Step 24
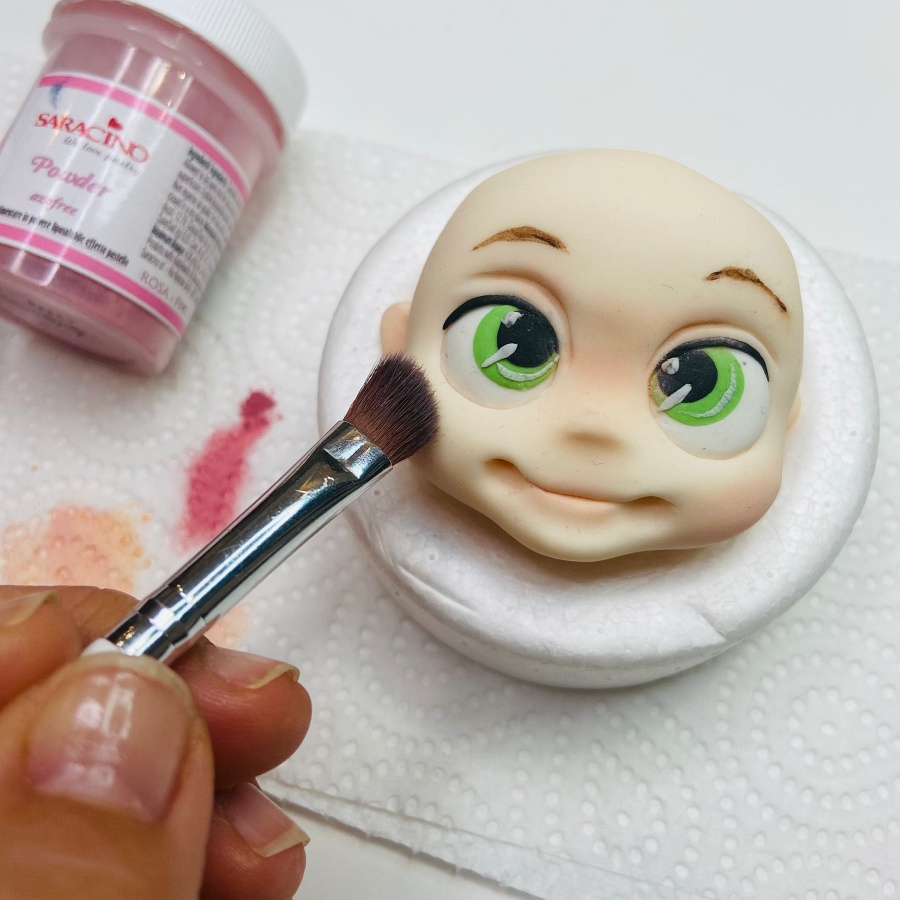
Use a soft brush and pink powder colour to dust the cheeks, nose and lips.
Step 25
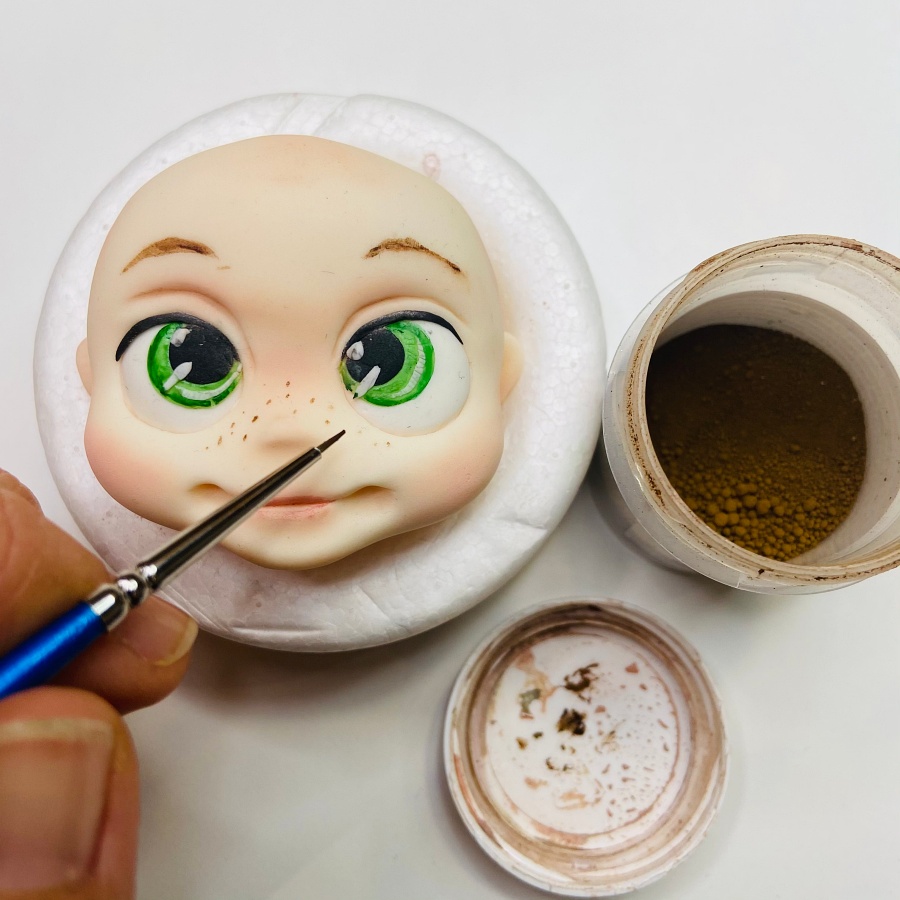
Using the fine brush paint small brown dots for freckles.
Step 26
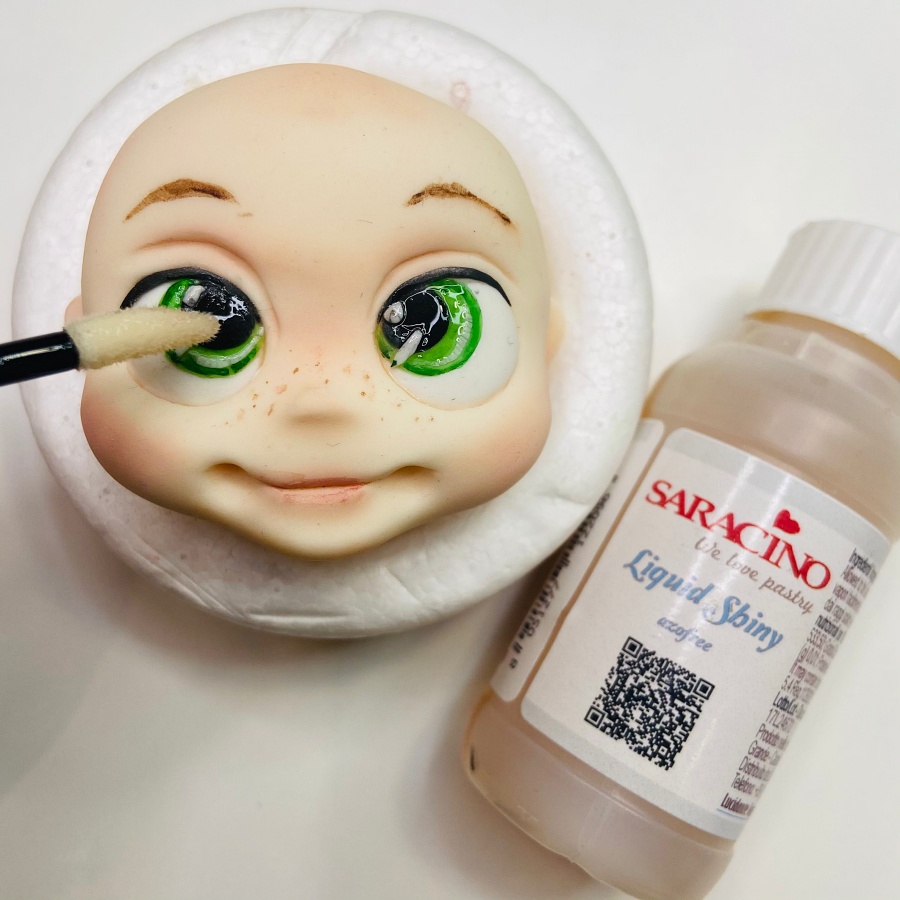
Paint the eyes with liquid shiny to make them shine.
Step 27
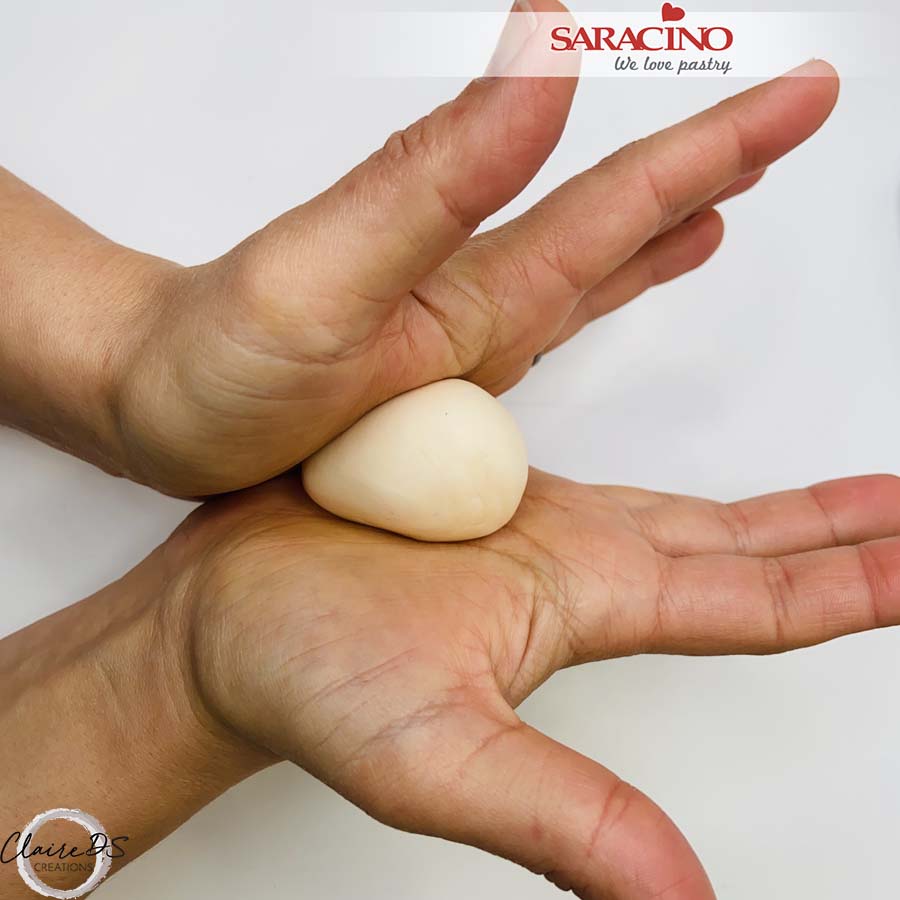
BODY: Take 35g of light skin Pasts Model and roll a pear shape with your hands.
Step 28
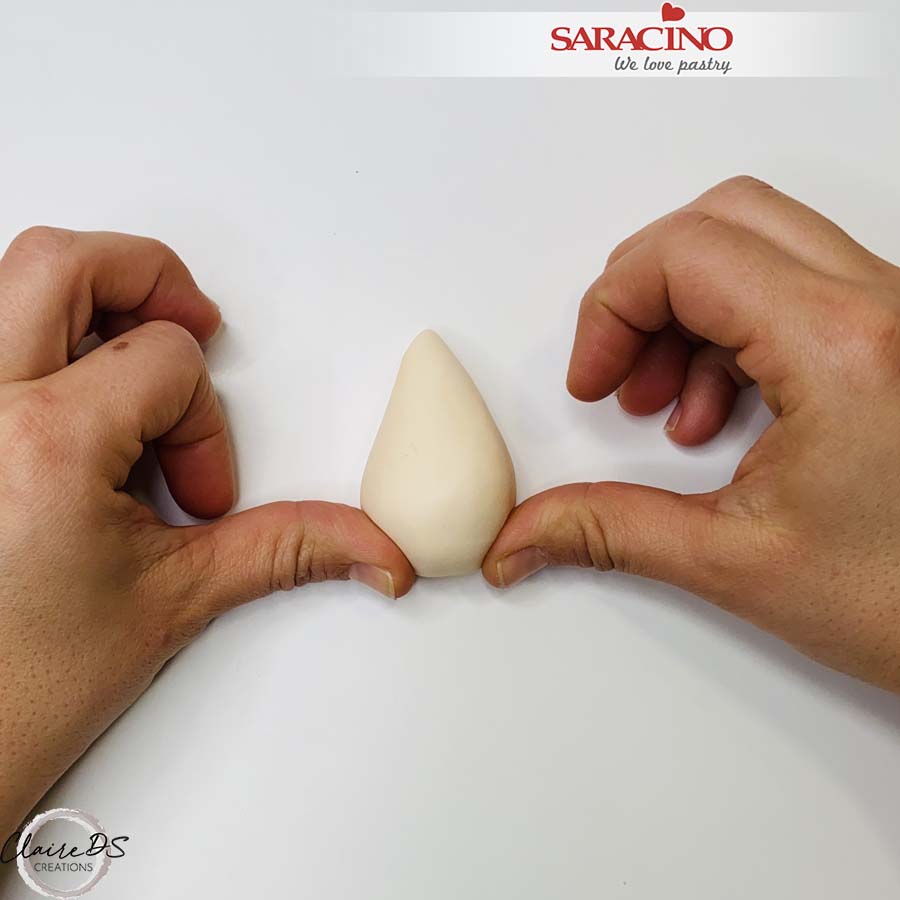
Use your thumbs or fingers to press the sides of the wide part of the pear for the leg locations.
Step 29
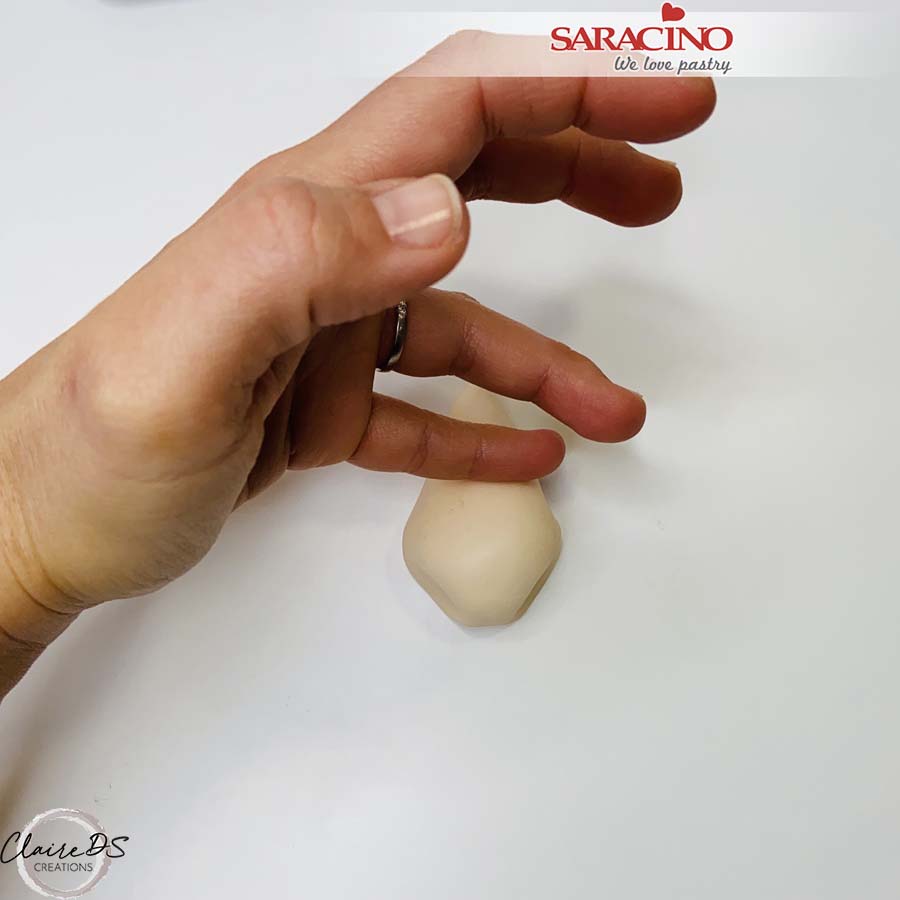
Model and shape the top of the pear gently with your fingers to form the baby’s body. Insert a wooden skewer through the centre. Cut flush at the bottom and leave 2cm at the neck to fix the head.
Step 30
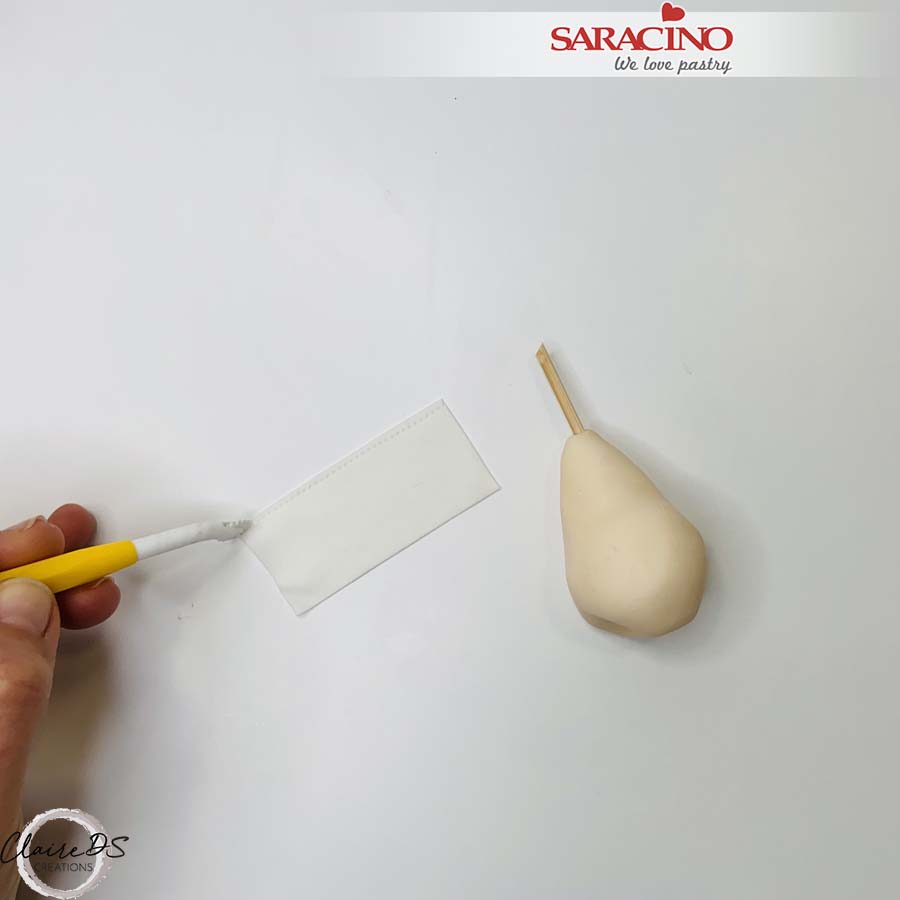
For the nappy roll white Pasta Model thinly to approximately 2cm x 5cm. Use the stitching tool to mark around the nappy.
Step 31
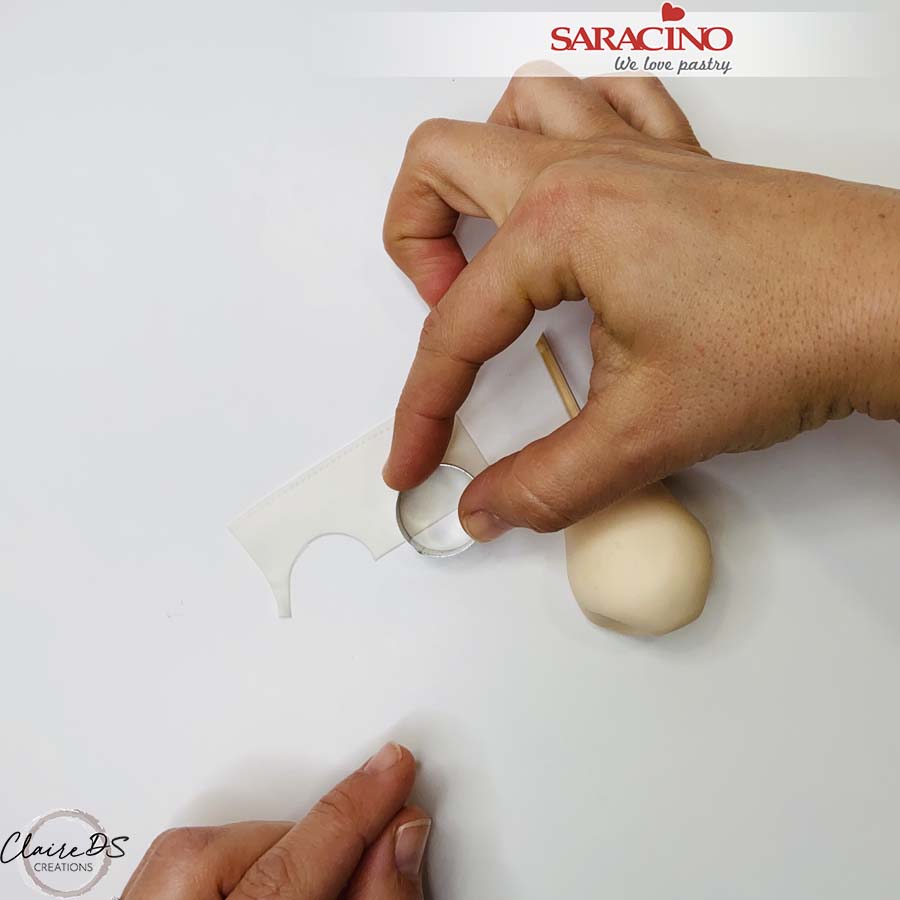
Use a 2.5cm diameter circle cutter to cut two half circles from the nappy.
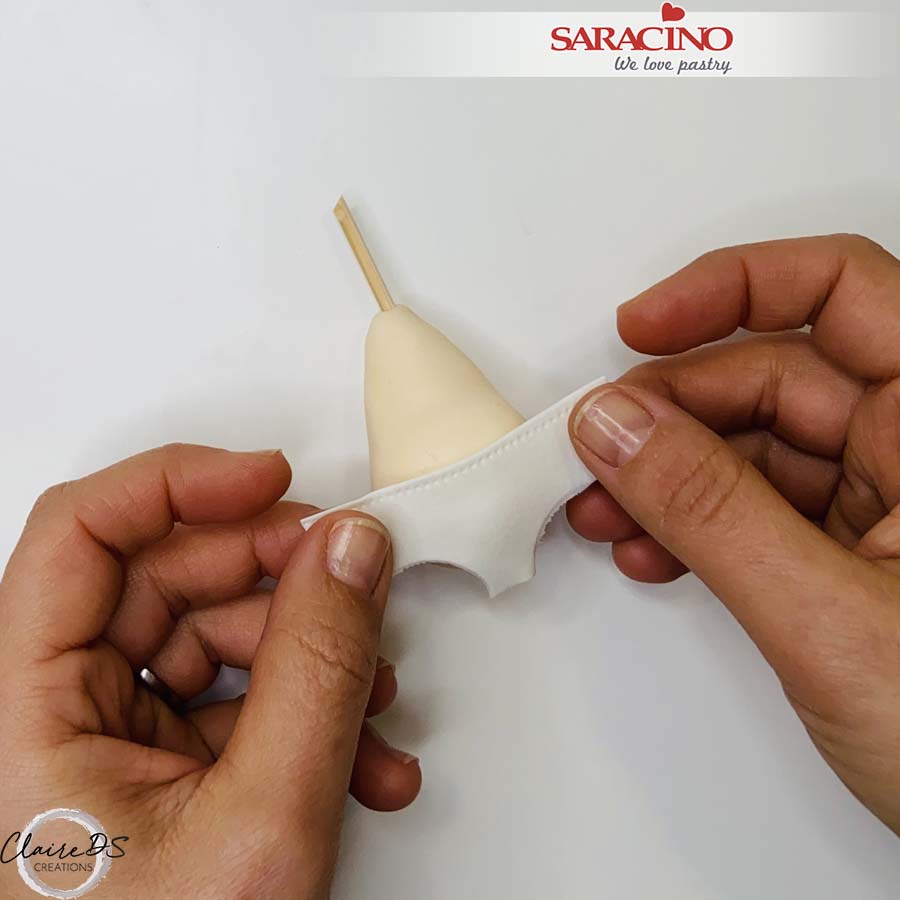
Step 32
Step 33
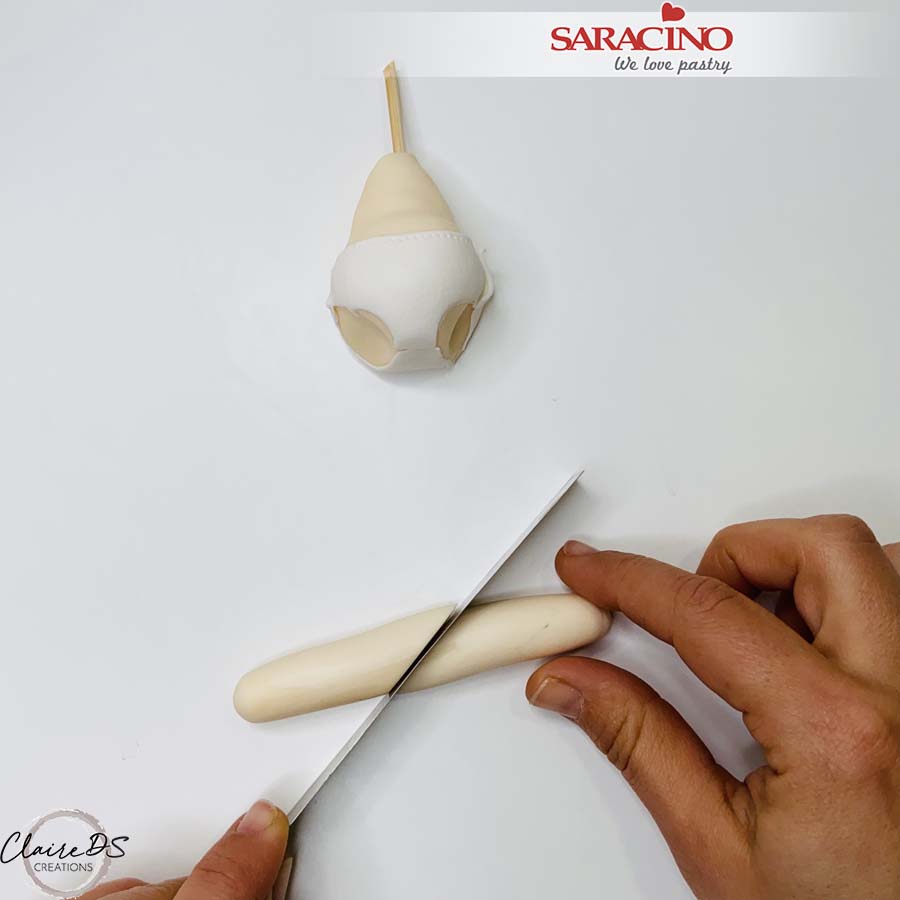
For the legs roll a sausage shape using 20g of light skin Pasta Model. Cut at an angle in the middle to create two legs.
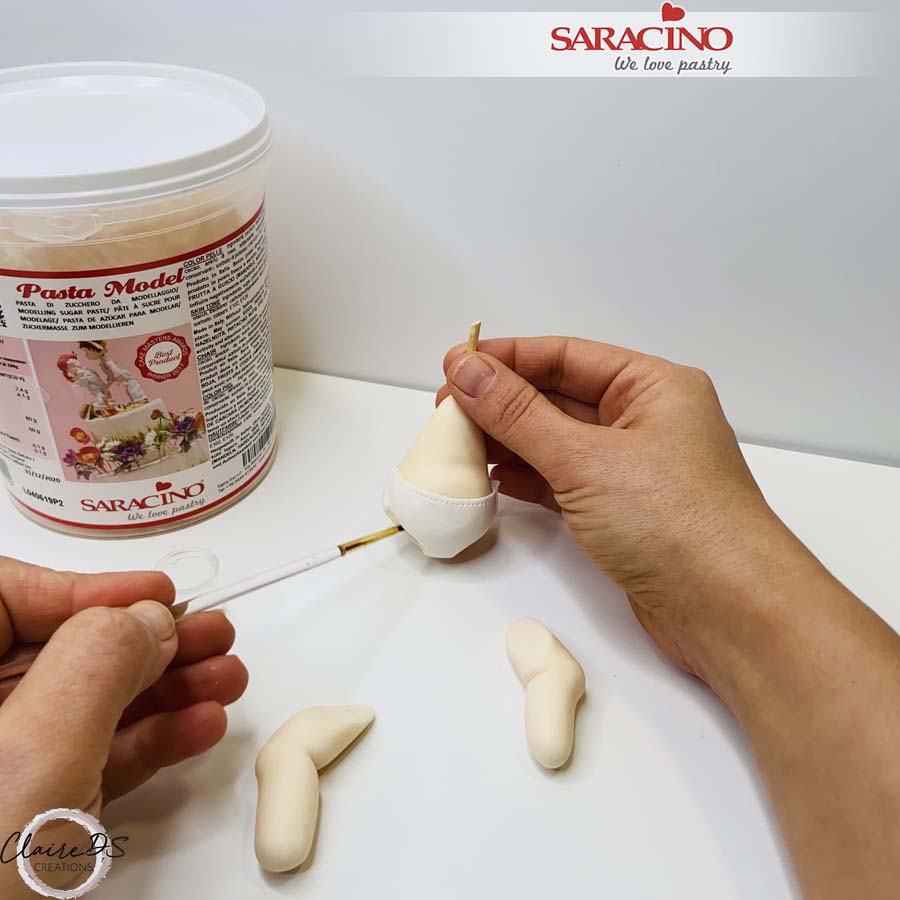
Step 34
Use the Dresden tool to bend the leg and shape the knee area. Fix the legs to the body using a little water if required.
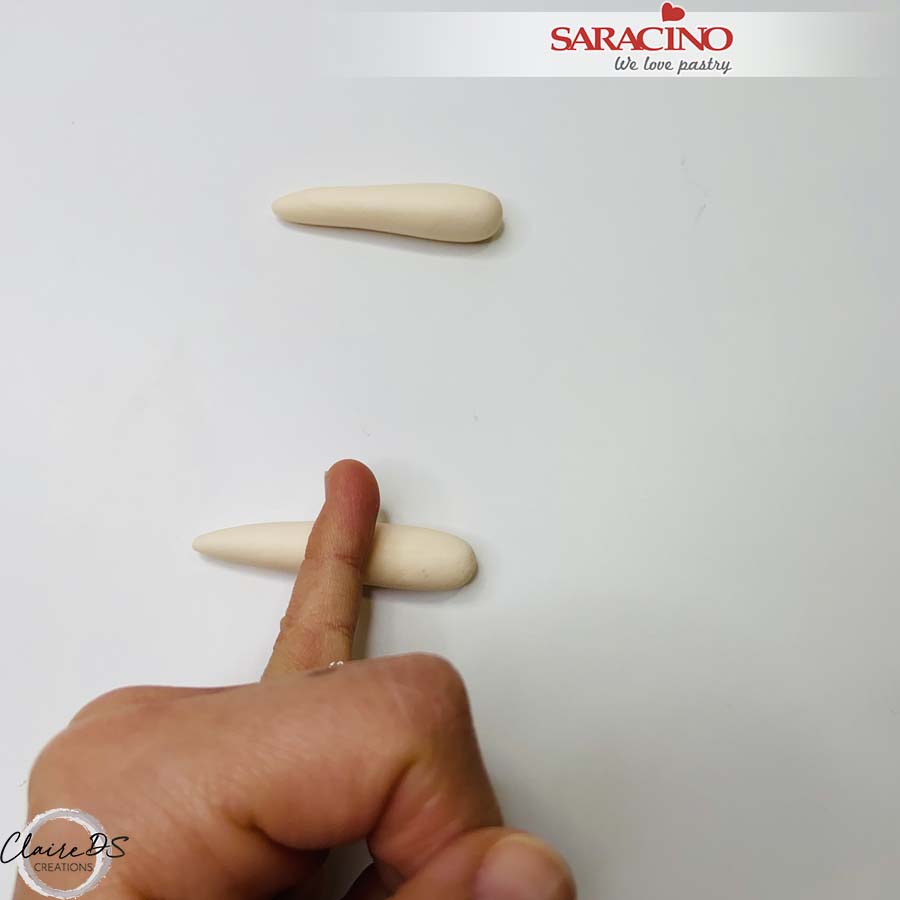
Step 35
For the arms use 6g of light skin Pasta Model to roll two sausages. Use your finger in the middle of each sausage to create the bend of the elbow area.
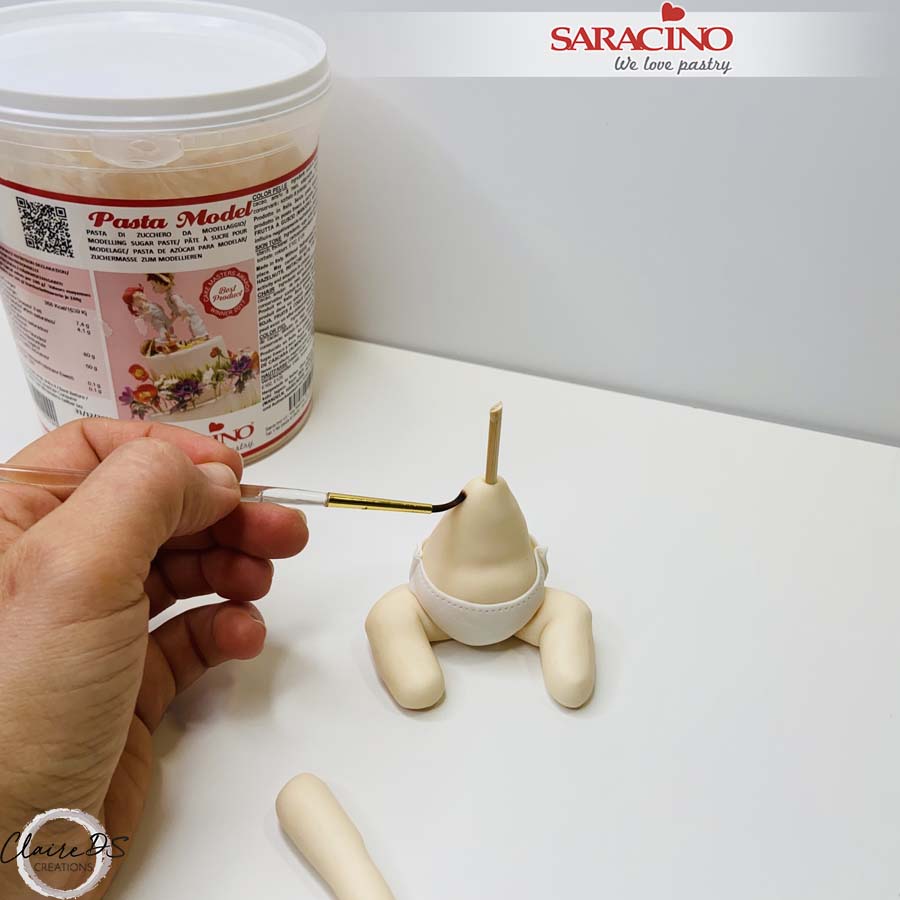
Step 36
Apply a little water to the shoulder area.
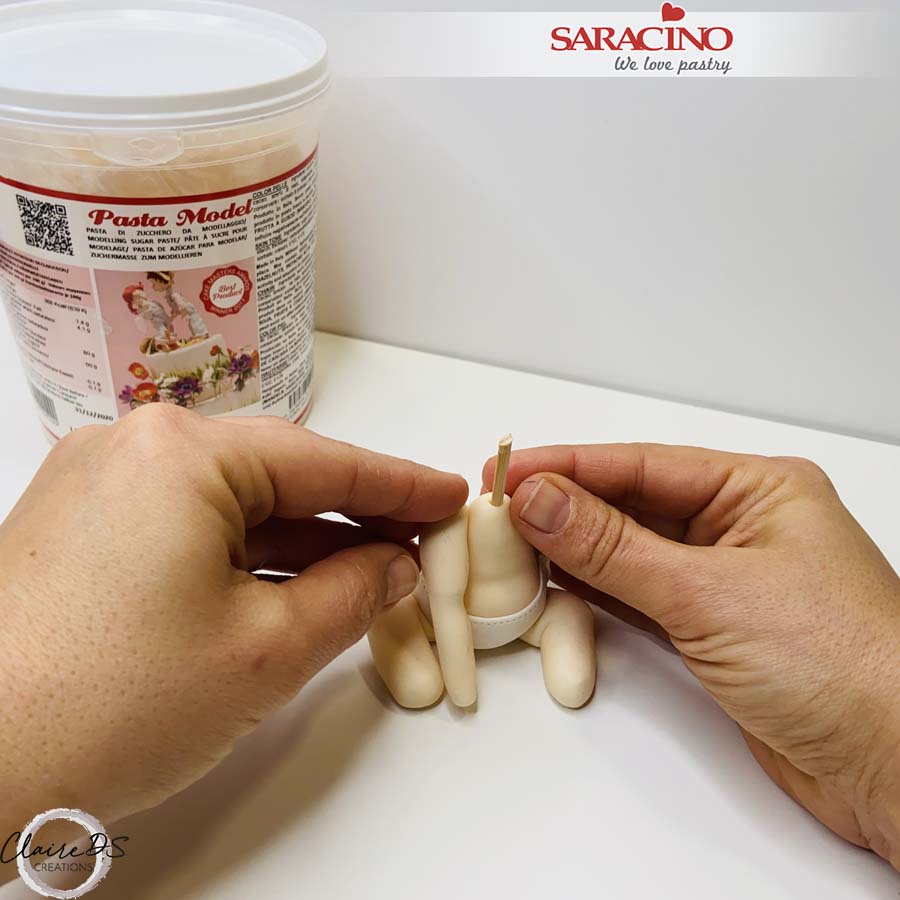
Step 37
Attach the two arms.
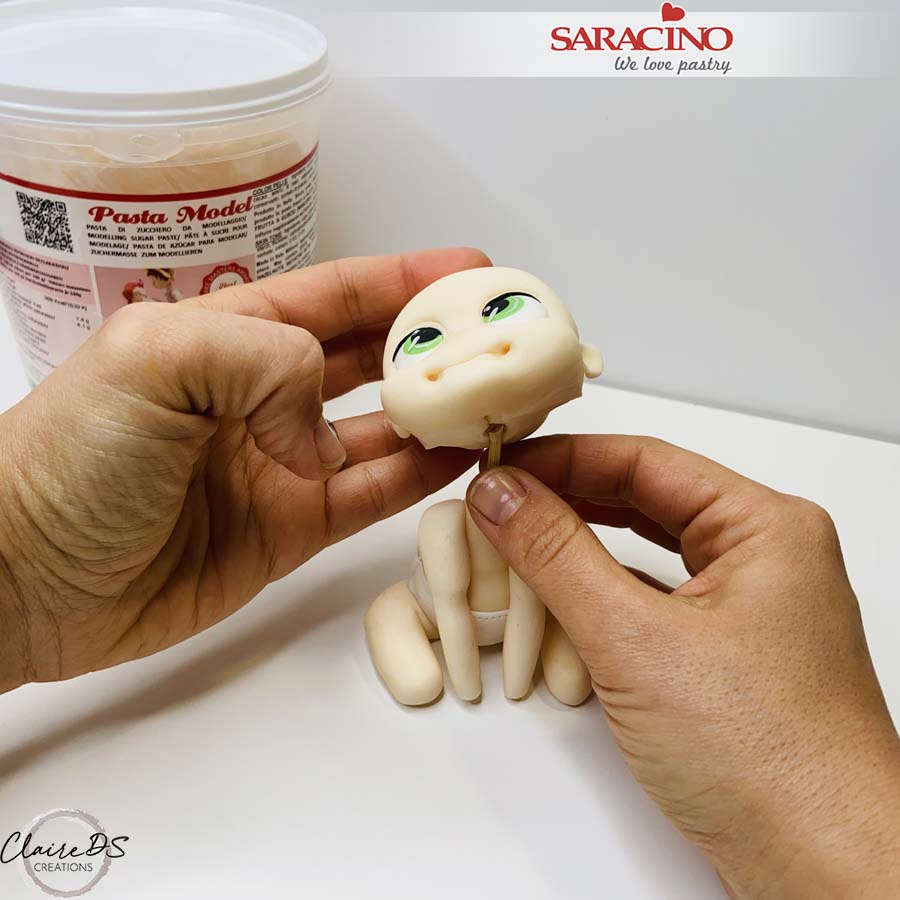
Step 38
Create a hole in the head but don’t fix it yet.
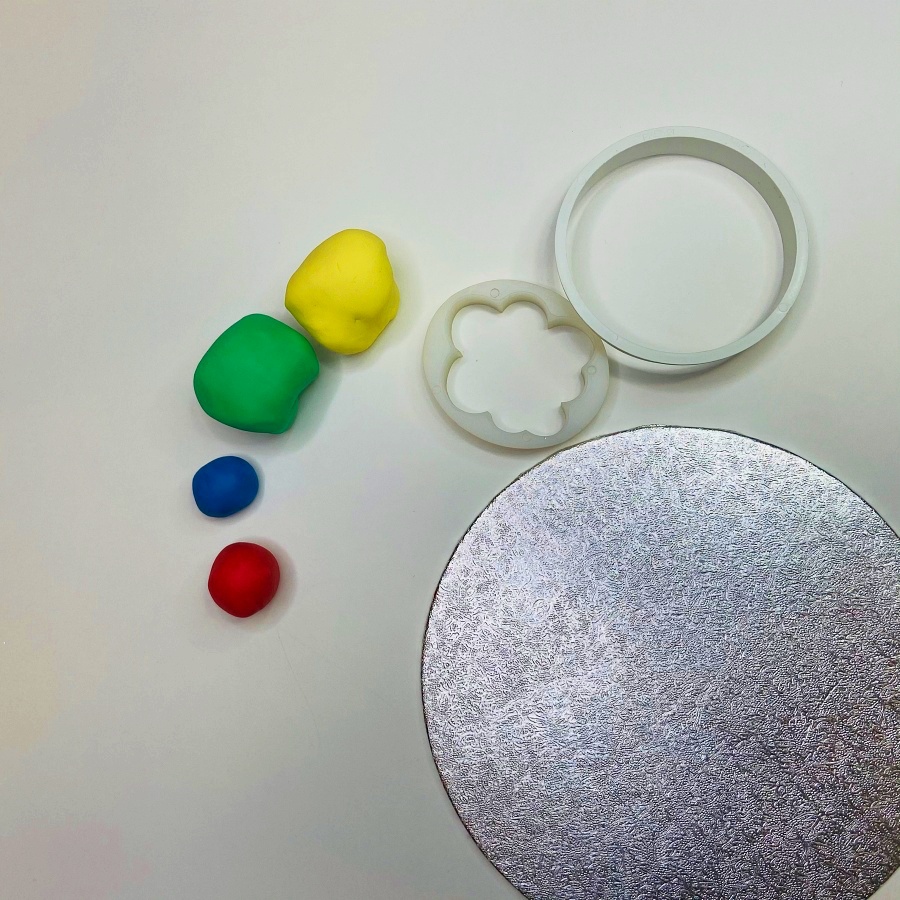
Step 39
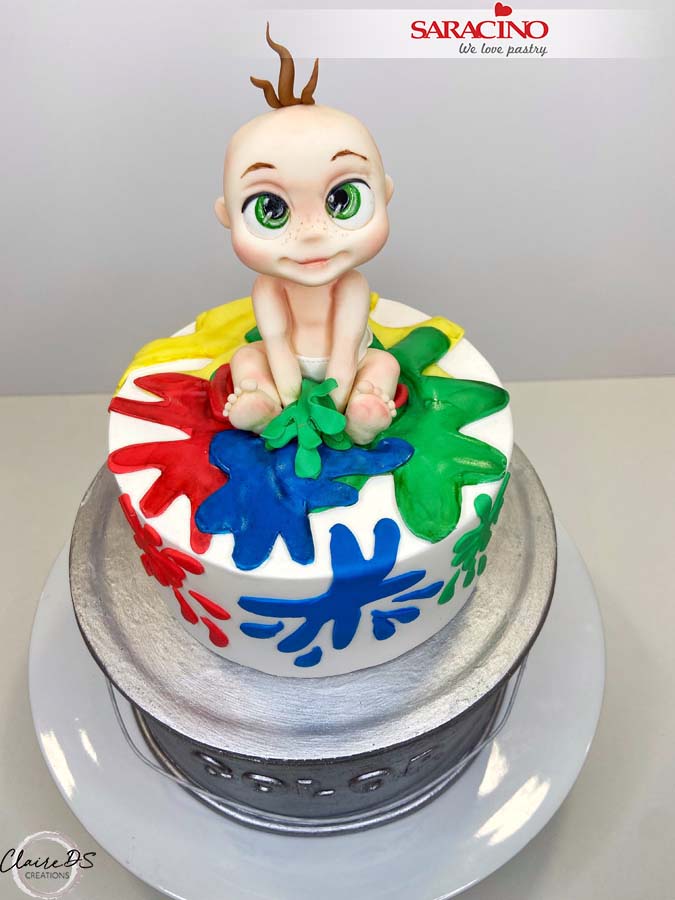
Prepare the yellow, green, blue and red Pasta Model.
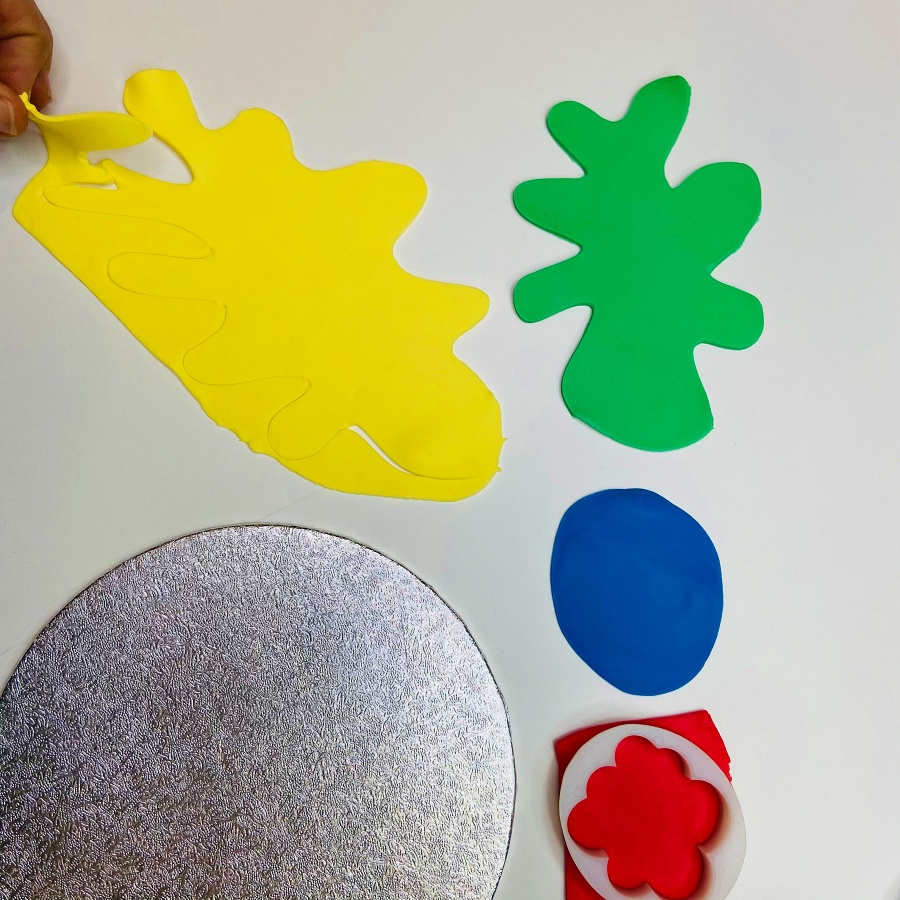
Step 40
Roll the paste and use a craft knife to cut out ink spots. Alternatively use a cloud-shaped cookie cutter.
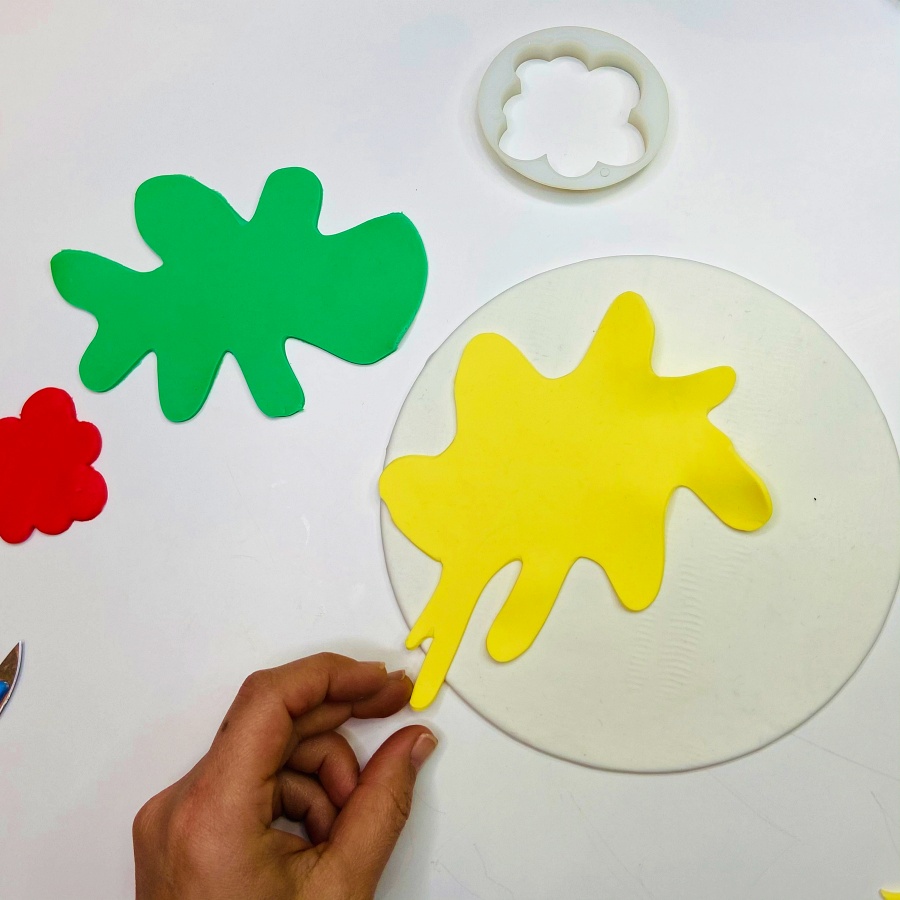
Step 41
Use white Pasta Top to cover the board. Place the coloured spots onto the board.
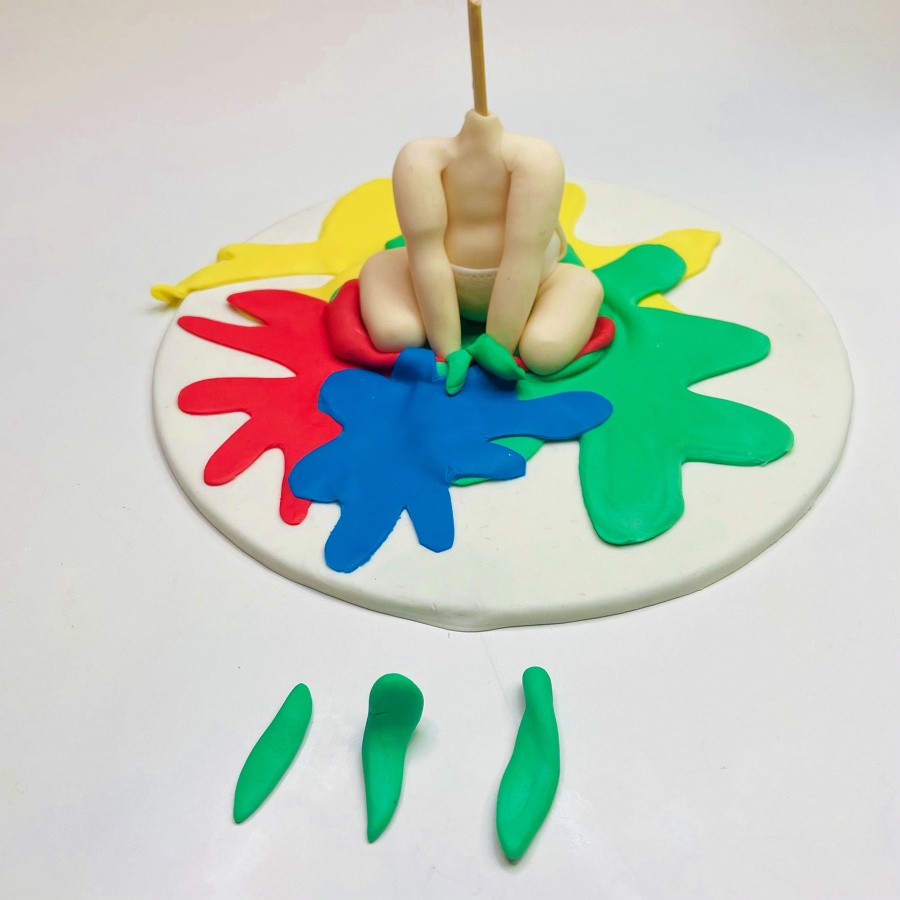
Step 42
Form a hollow in the centre with your fingers or a ball tool and place the baby’s body. Roll small sausage shapes of green paste to create splashes.
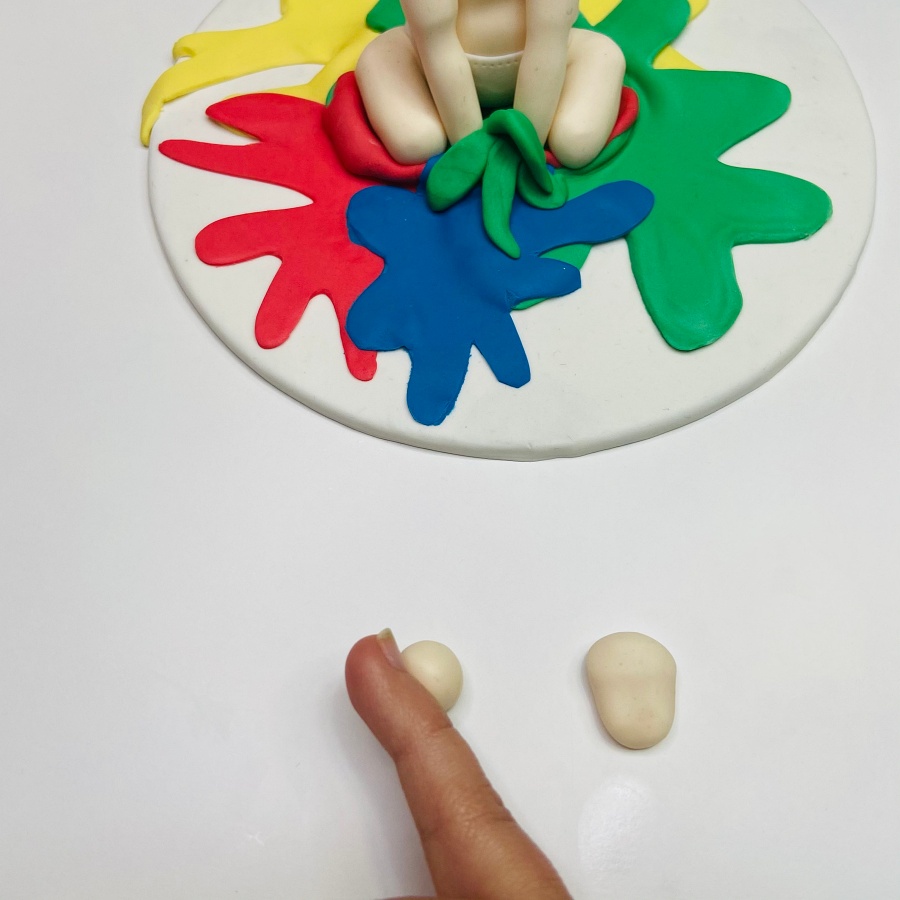
Step 43
Fix the green spalshes. With a few grams of light skin Pasta Model roll a small pear shapes. Flatten slightly to create the baby’s little feet.

Step 44
Fix the feet to the legs using a little glue if required.

Step 45
Using light skin modelling paste roll 10 balls for the toes. Each ball should be slightly smaller than the one next to it for each foot.

Step 46
Fix the 10 toes using a little glue.

Step 47
Using pink and light skin powder colour mix with a soft brush and dust the baby’s body.

Step 48
Place the baby’s head on the wooden skewer using a little glue. Roll a few strands of brown Pasta Model for the hair.
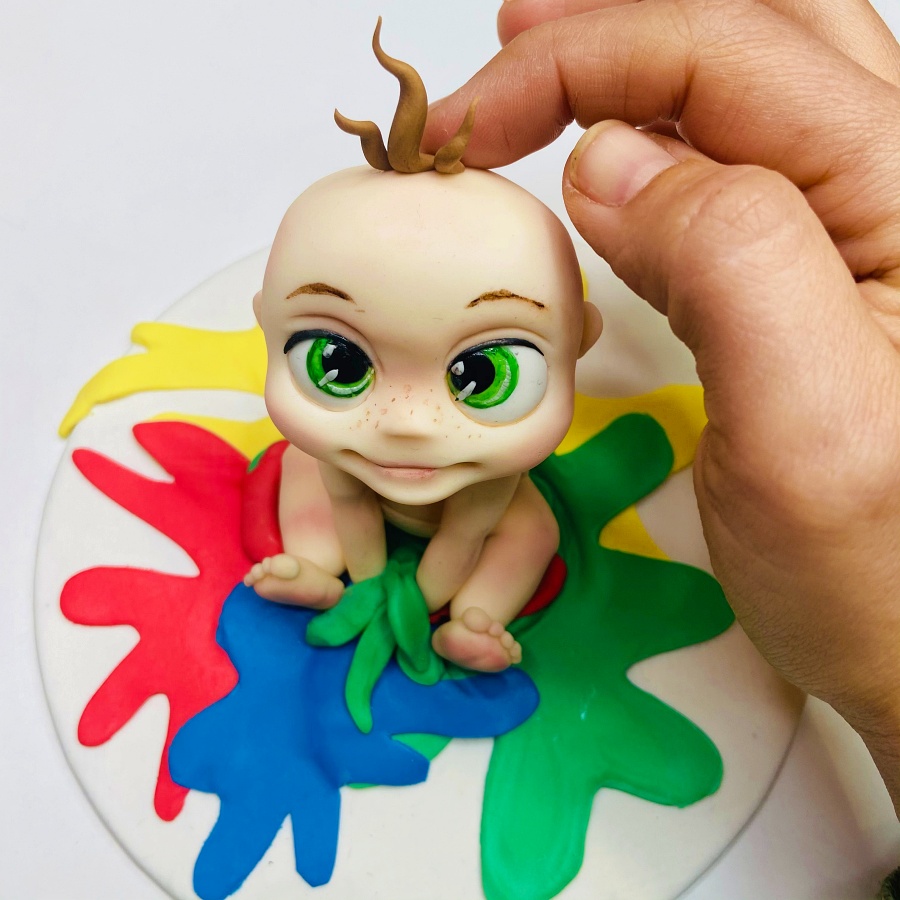
Step 49
Apply a little water to the top of the head and fix the strands of the baby’s hair.

Step 50
Prepare green, red, blue and yellow powder colours on a piece of kitchen paper.

Step 51
Dust the paint splashes to give more dimension.

Step 52
Paint the splashes with the Liquid Shiny. Your model is now ready to place on the cake.


