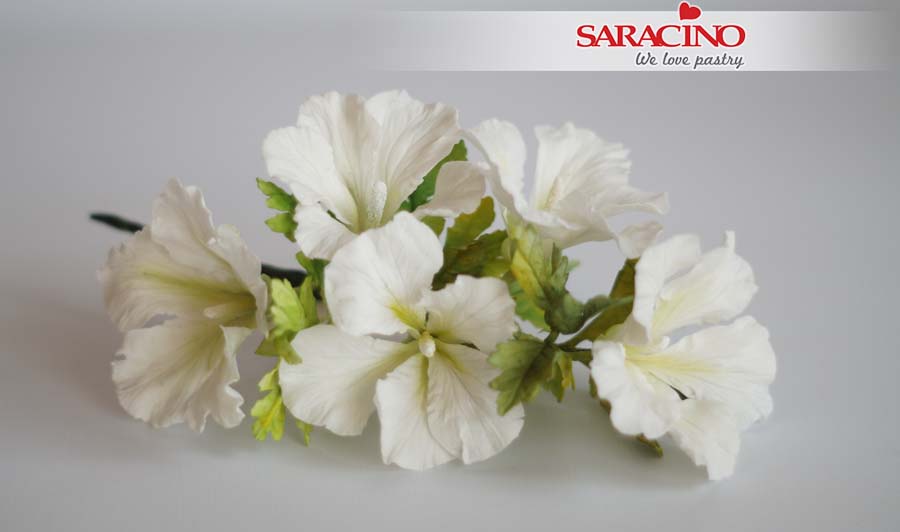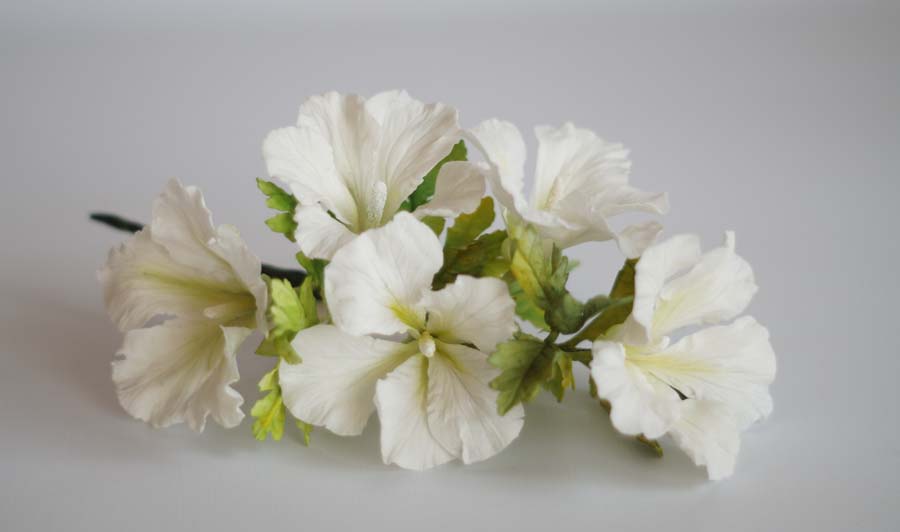
Author: Katarzyna Koczorowska
Skill level: BEGINNERS
TIP:
You may find the flower paste a bit sticky. Use corn flour to prevent this.
You will need:
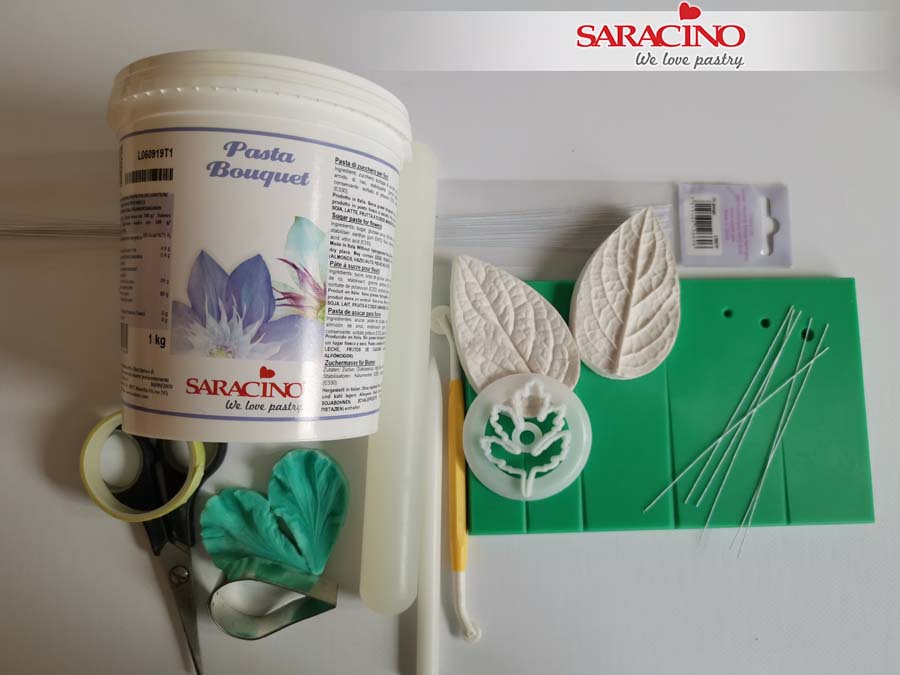
- Flower paste Saracino – Pasta Bouquet
- Non stick board with grooves for petals / leaves
- Florist wires white gauge 26
- Florist tape – green
- Saracino colour dust – green, yellow and white
- Non- stick rolling pin
- Cutter & veiner for hibiscus flower
- Cutter & veiner for leaves
- Small 3cm star cutter
- Foam pad
- Paint brushes
- Ball tool small
- Kitchen paper
Step 1
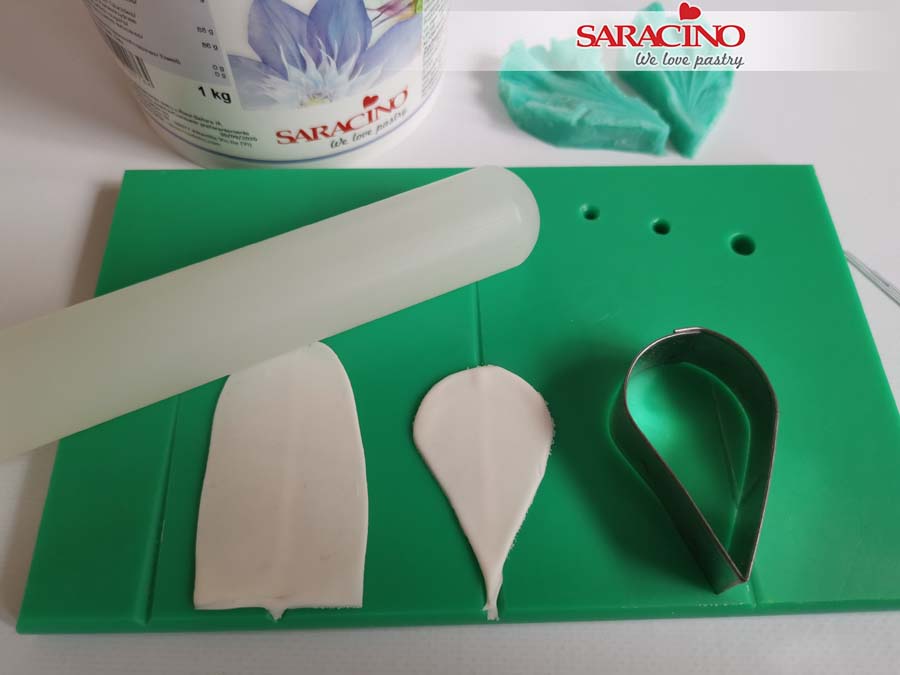
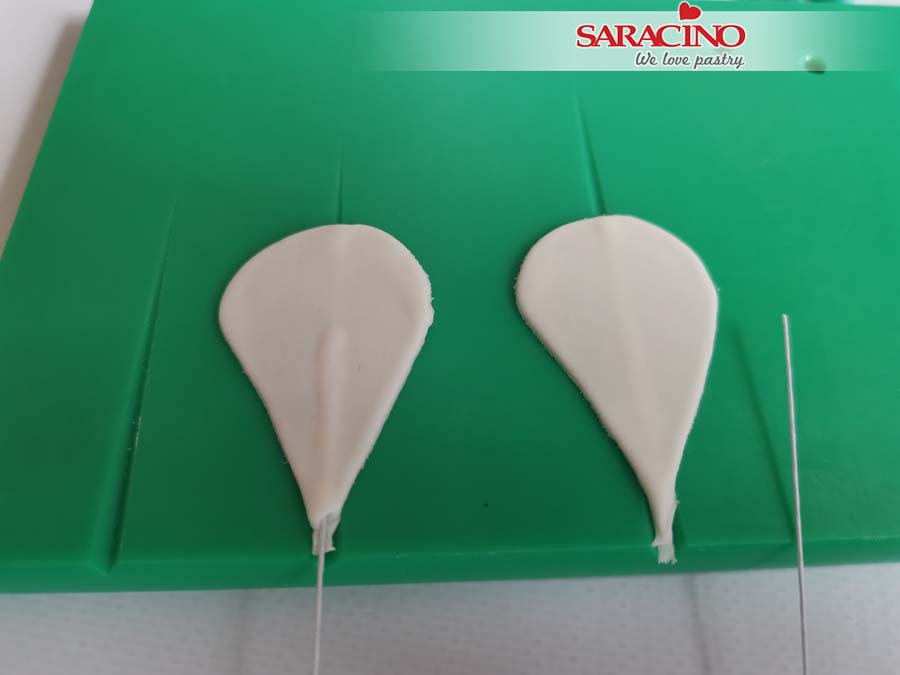
Thinly roll out white Pasta Bouquet over the grooves on your rolling board. Cut out petals with the cutter. Make sure the groove is in the middle.
Step 2
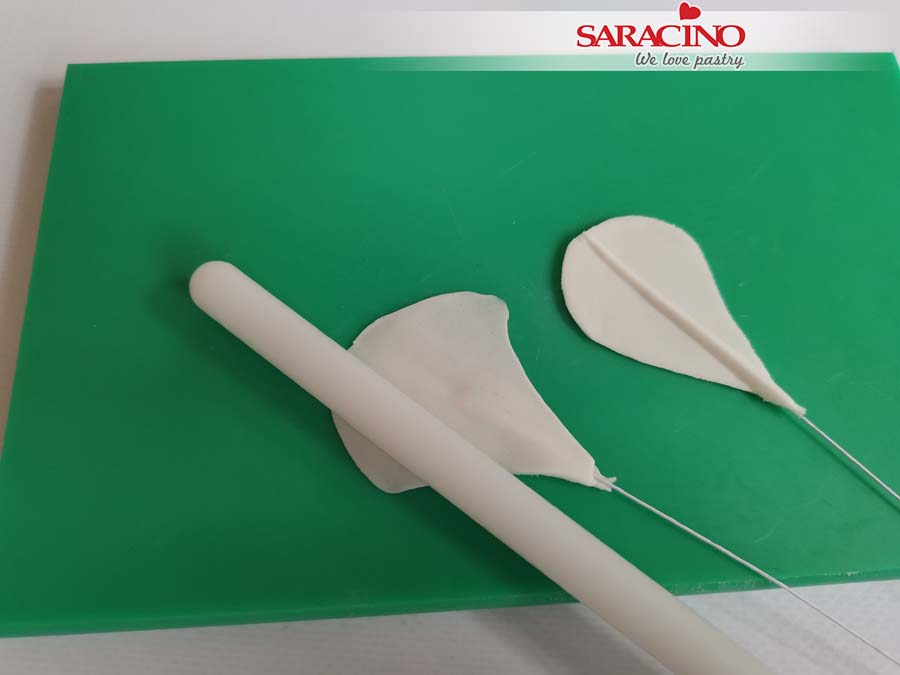
Insert a white florist wire into the groove half way into the petal.
Step 3
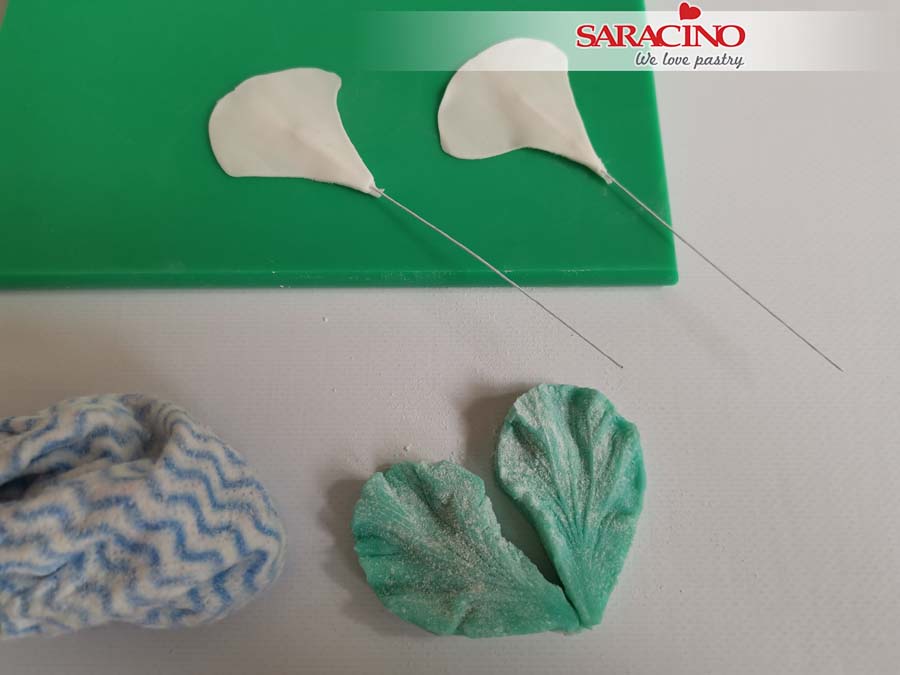
Move the petals to a foam mat. Thin the edges of the petal using your small rolling pin.
Step 4
Make sure the veiner is very well dusted with icing sugar or cornstarch.
Step 5
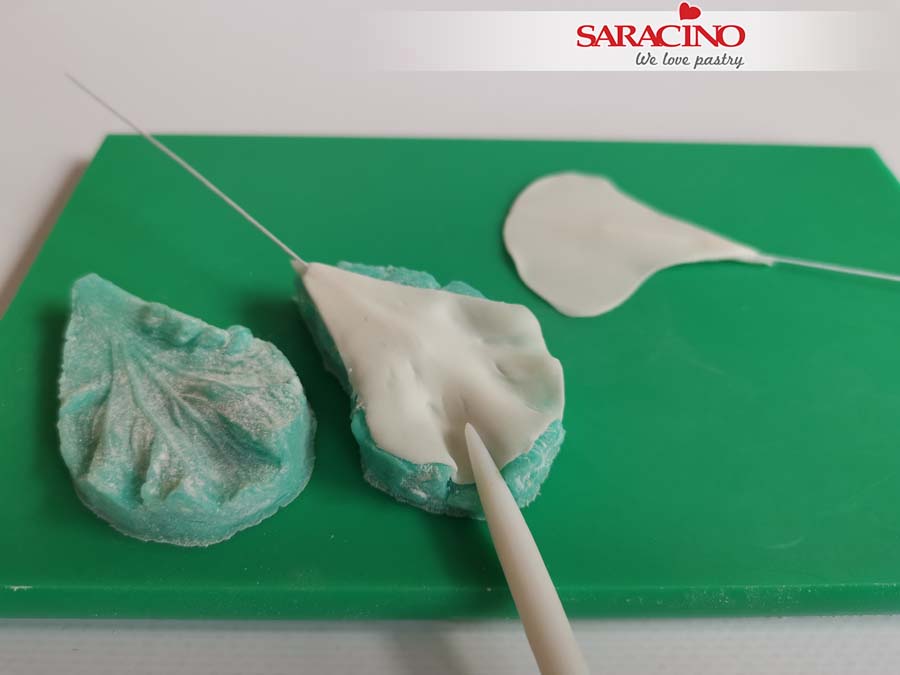
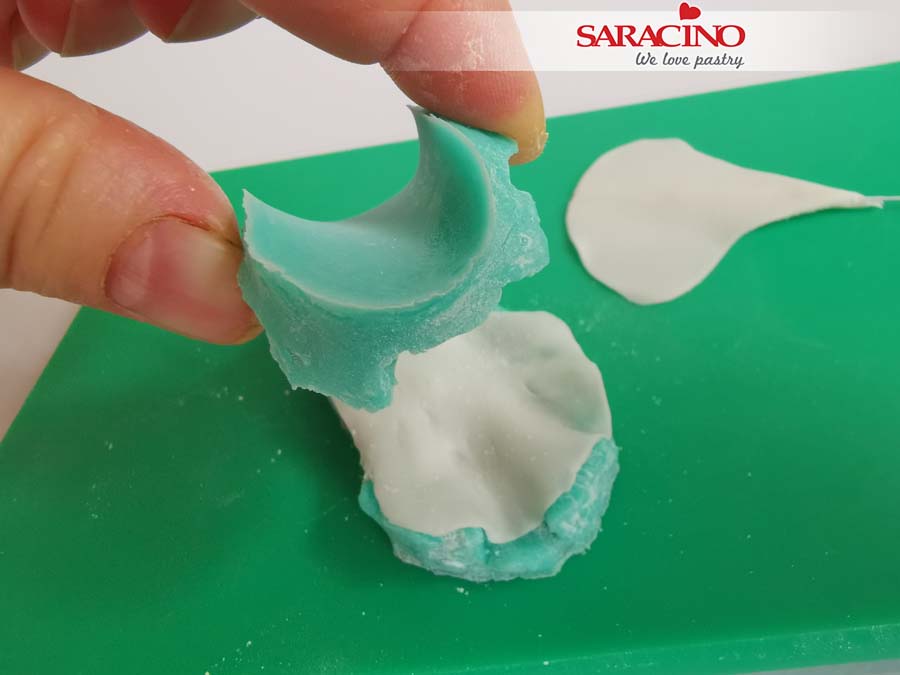
Place a petal on the veiner and make sure the petal is pressed well into all grooves.
Step 6
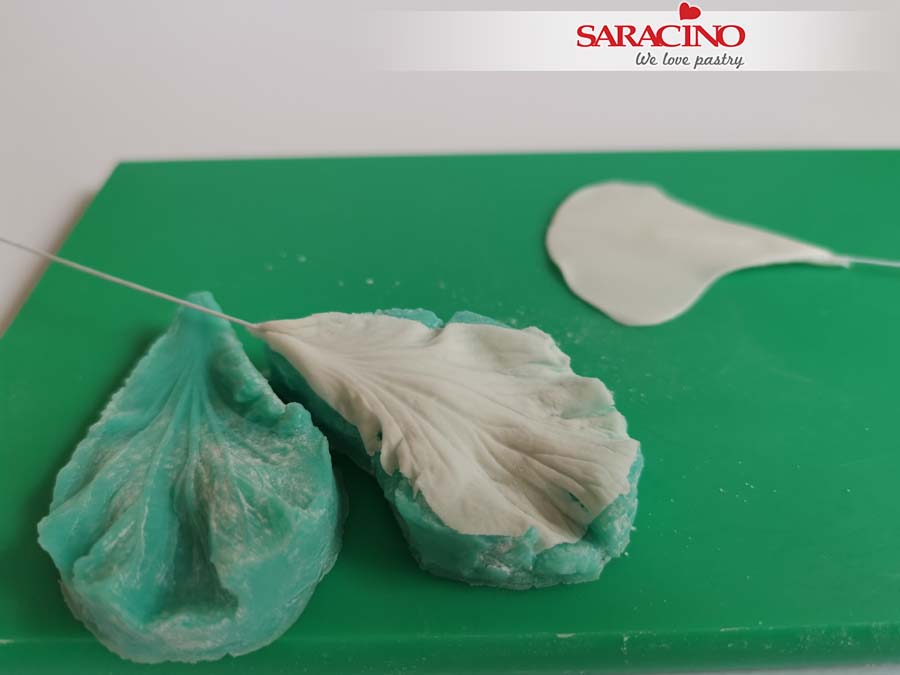
Place the other half of the veiner on top of the leaf. Bend it to make it easier.
Step 7
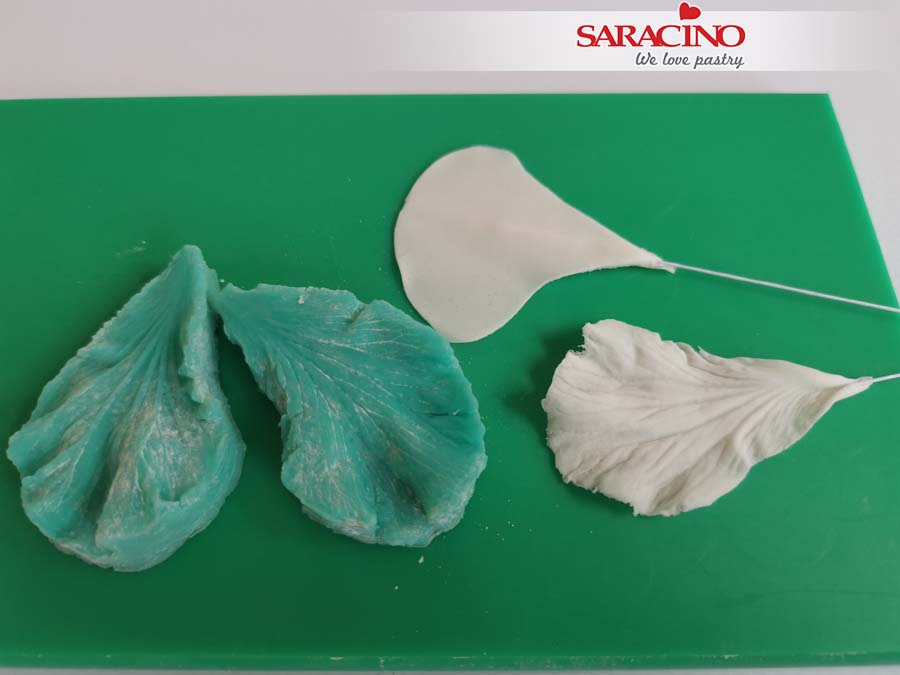
Press together. Bend it again to remove.
Step 8
Step 9
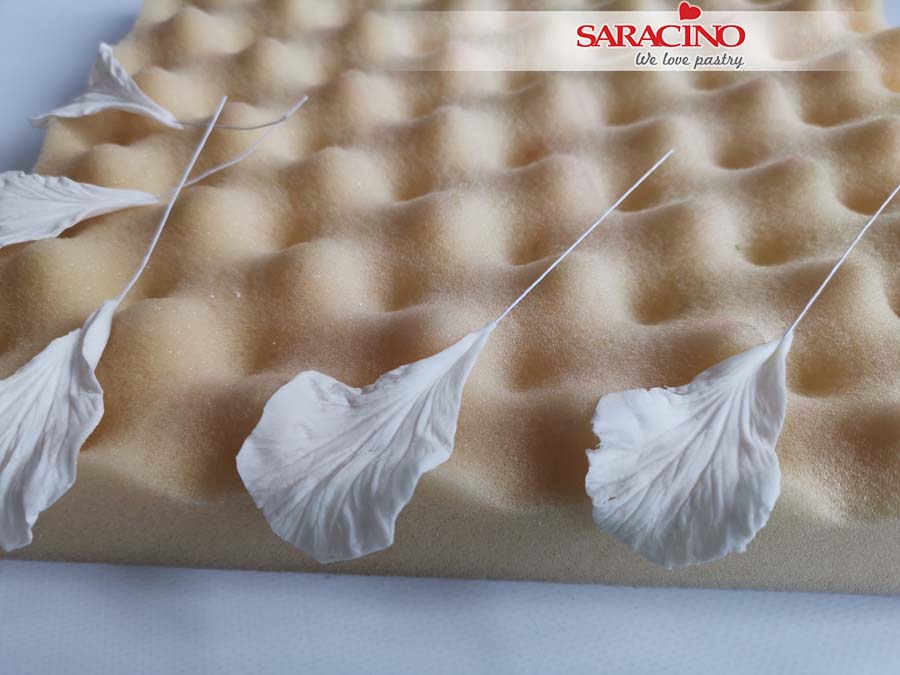
Place your petals on a contoured foam mat making sure the edges are rounded.
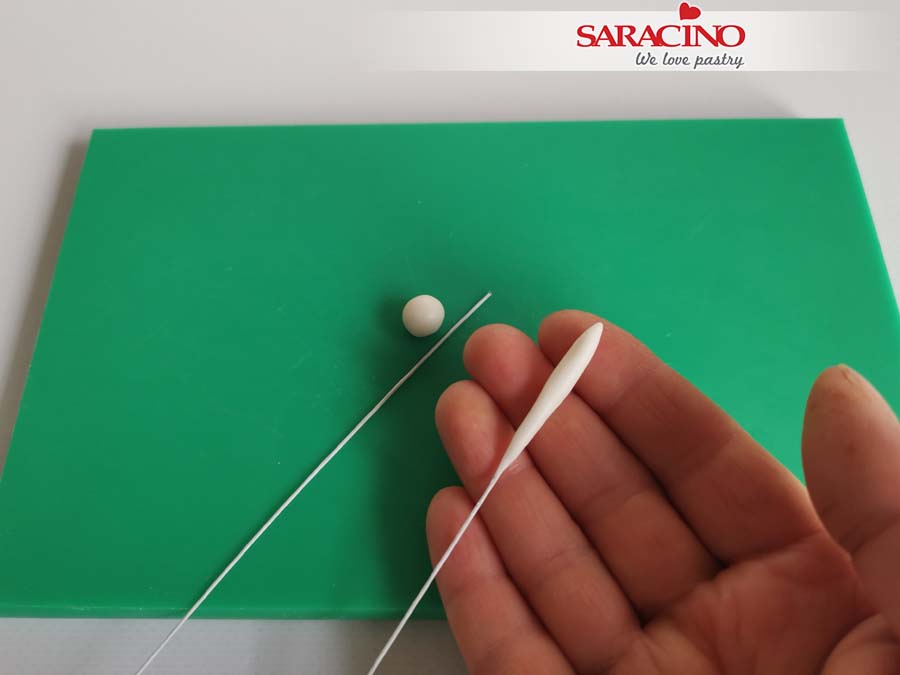
Step 10
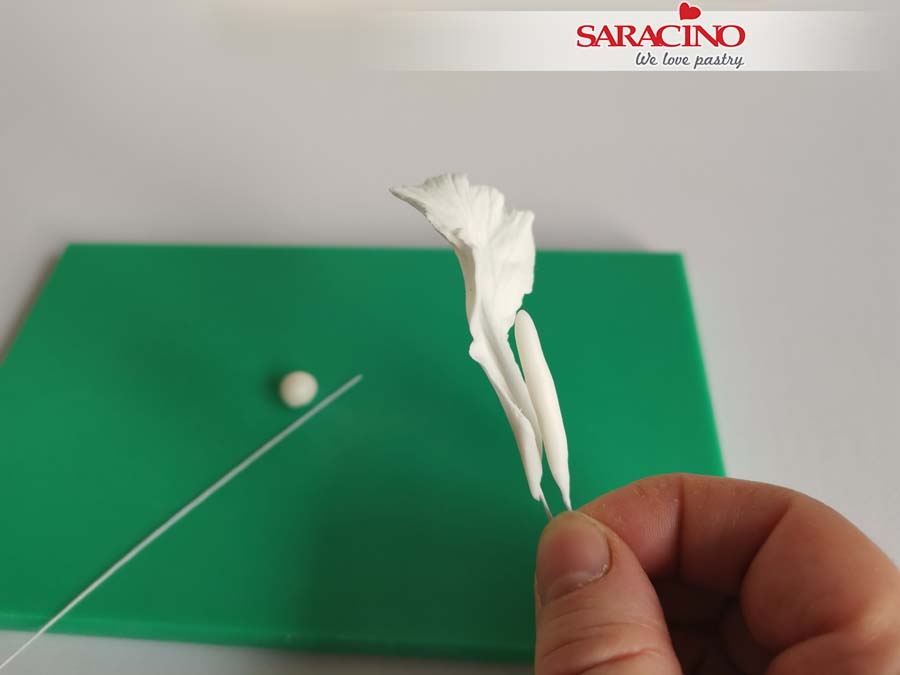
Step 11
Your rolled centre piece should be approximately half the length of the petal as shown in the picture.
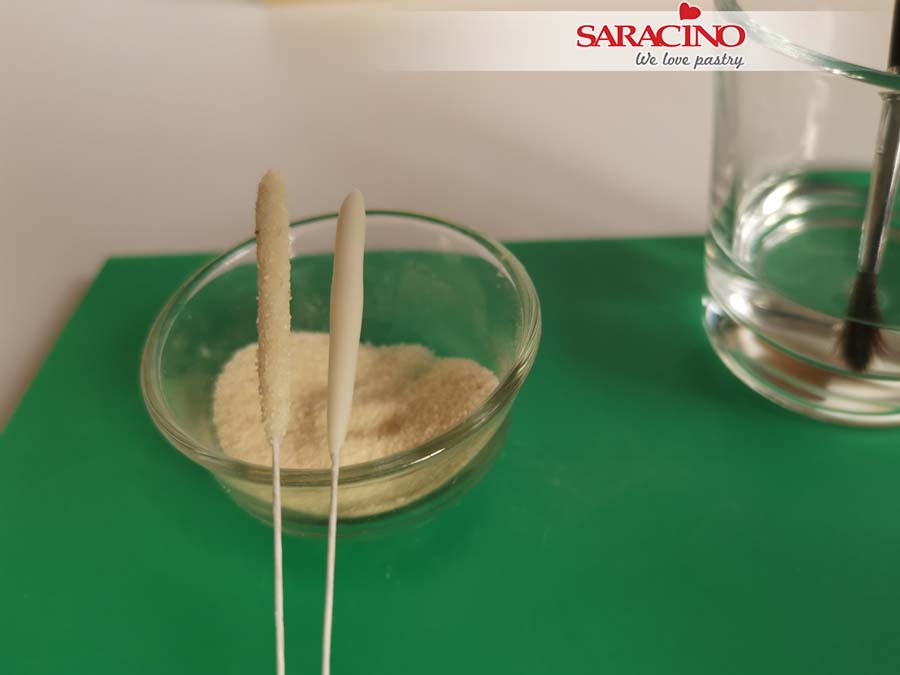
Step 12
Use a little water to dampen the paste. Dip into semolina flour to give texture.
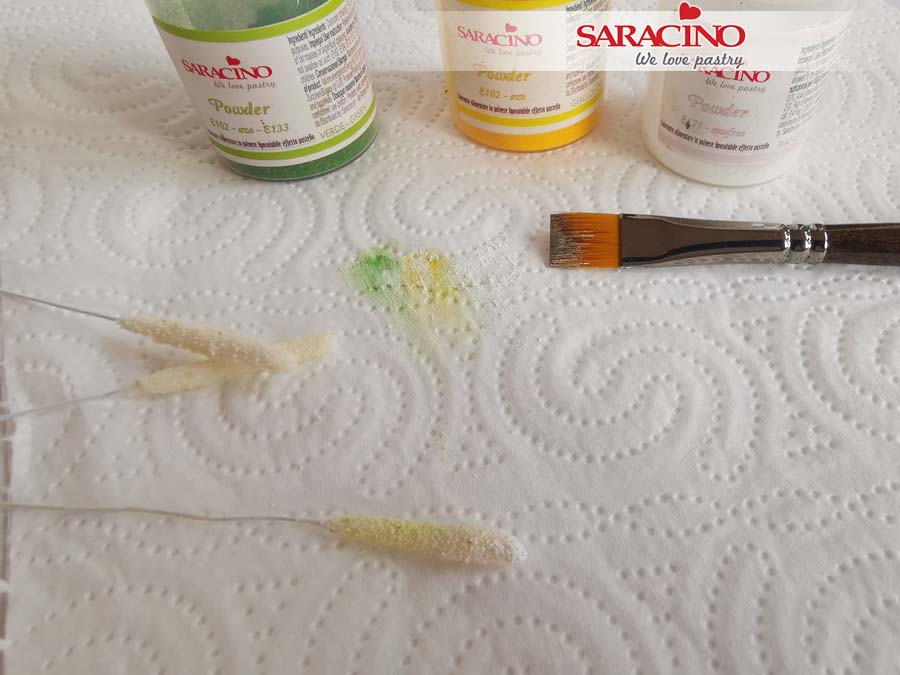
Step 13
When dried dust using white powder colour. Using yellow mixed with a little green lightly dust the lower three quarters of the centre.
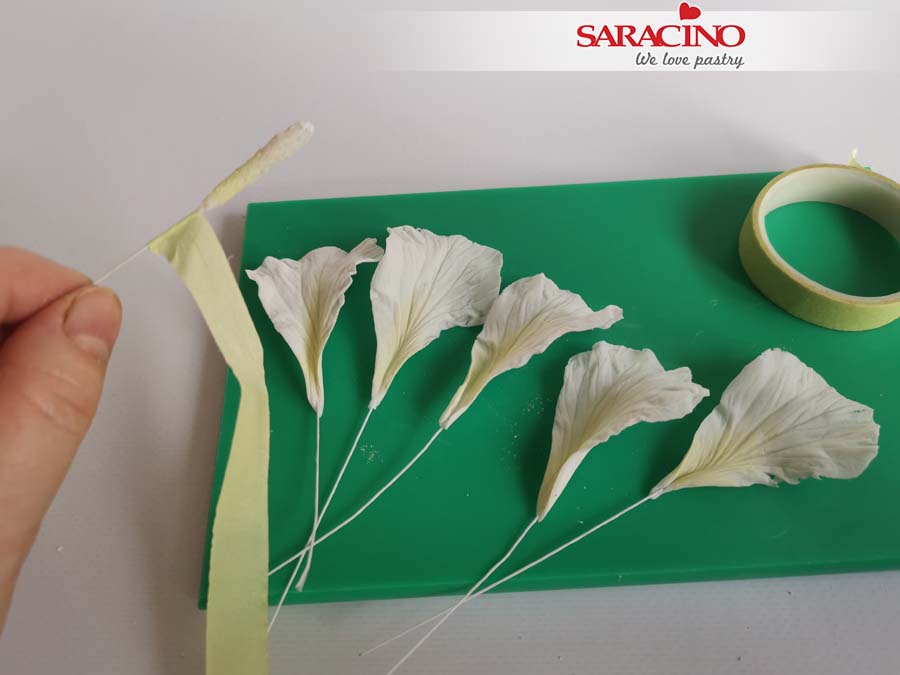
Step 14
Using the same yellow and green dust mixture lightly dust the centre spine of the petals fading the colour as you dust outwards.
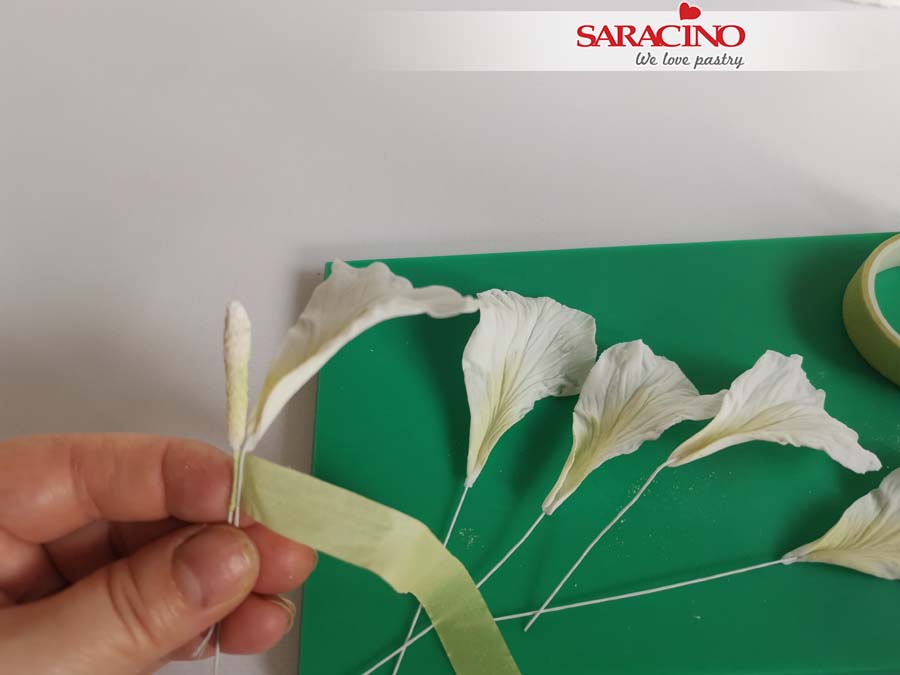
Step 15
Using the green florist tape start wrapping around the wire of the centre. Add a petal and tape together.
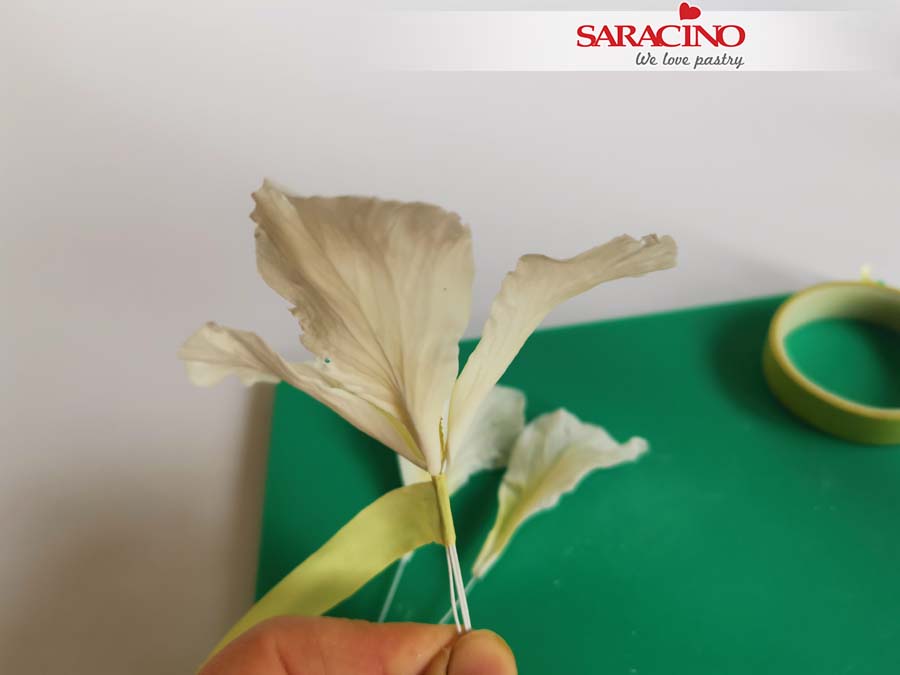
Step 16
Add petals. All are to be at the same level and each flower will need five petals.
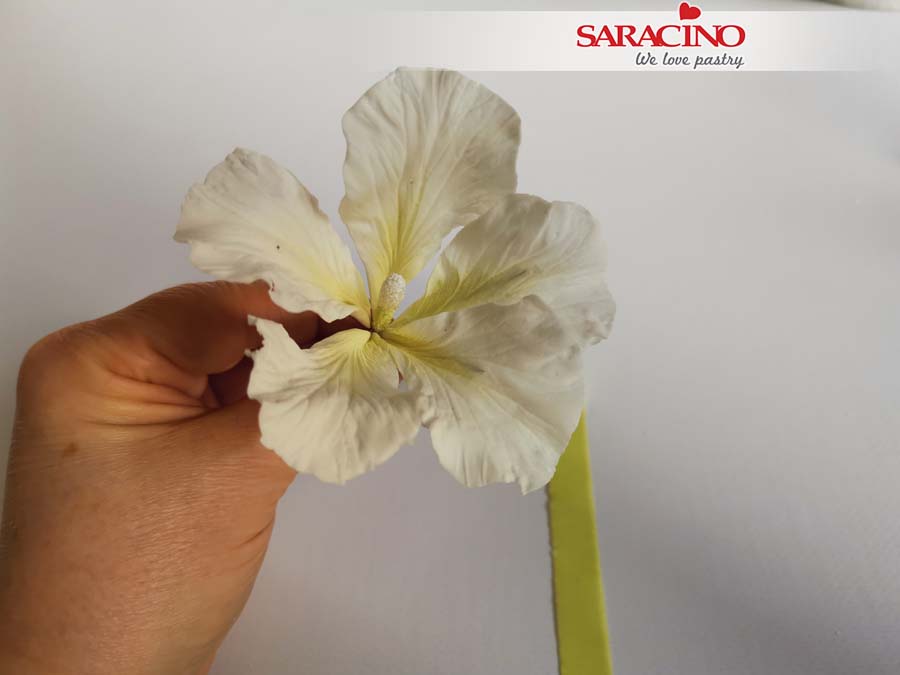
Step 17
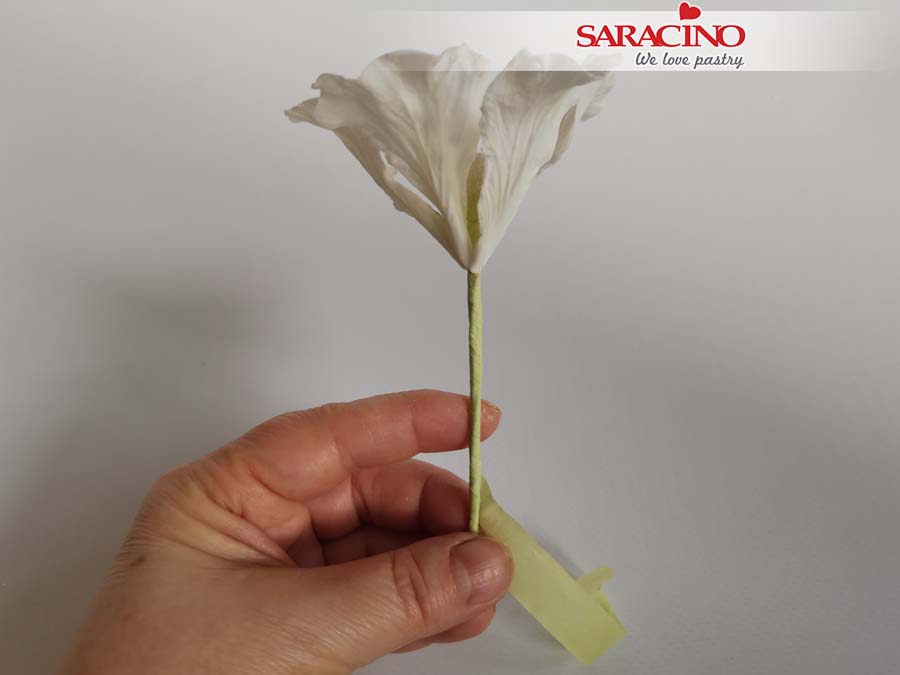
This is how your flower will look with the five petals all taped together.
Step 18
Wrap the tape to the end of the stem.
Step 19
Step 20
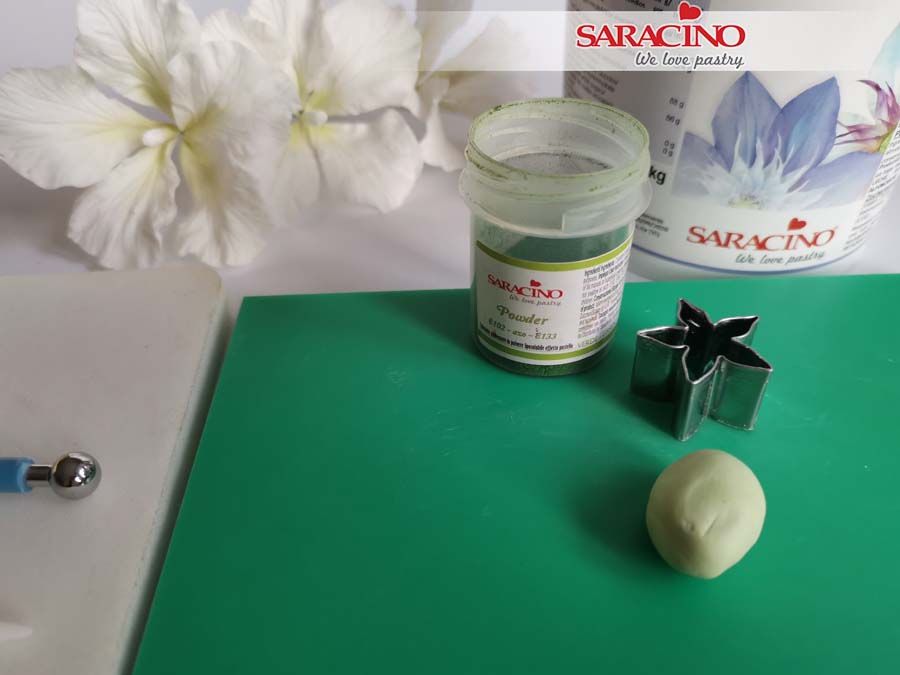
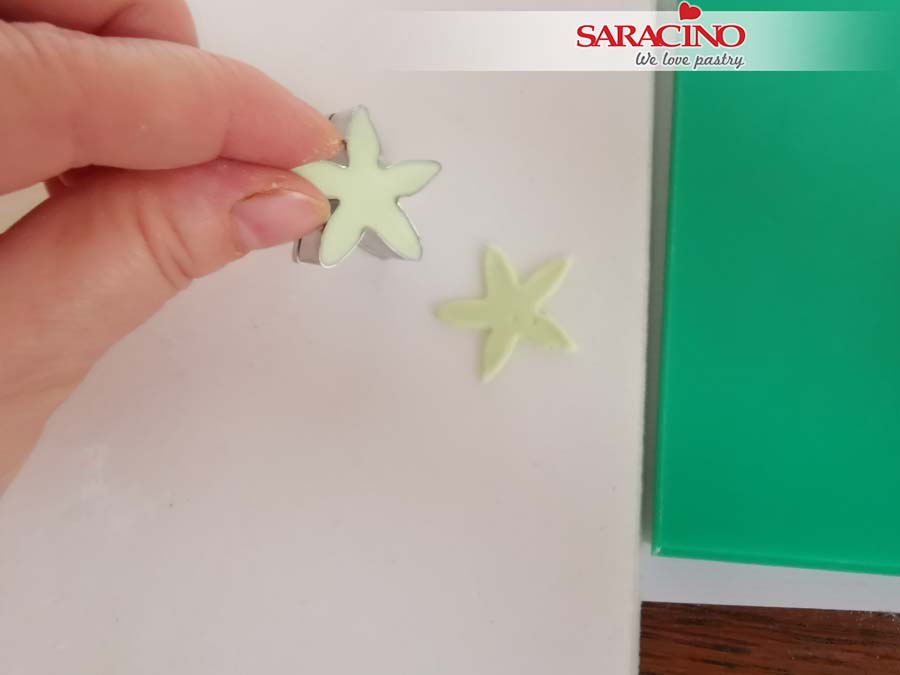
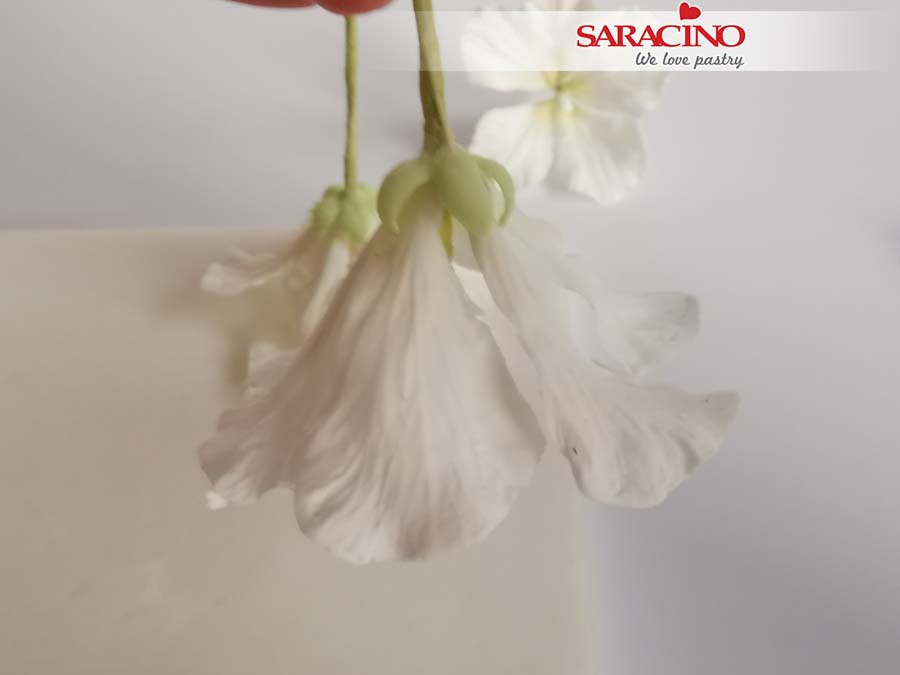
Roll thinly on a board and cut out using a calyx or petal cutter.
Step 21
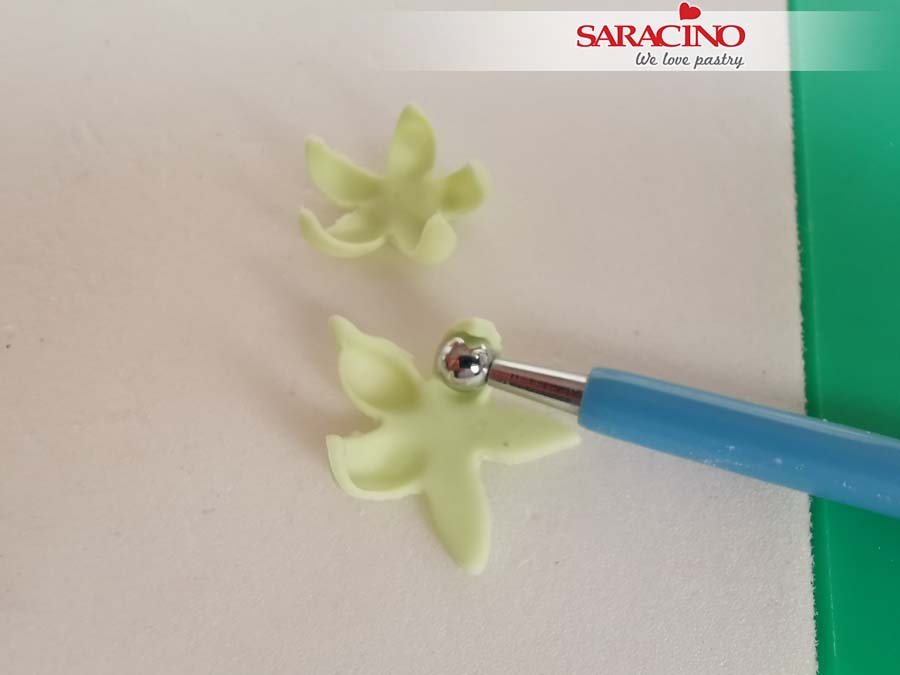
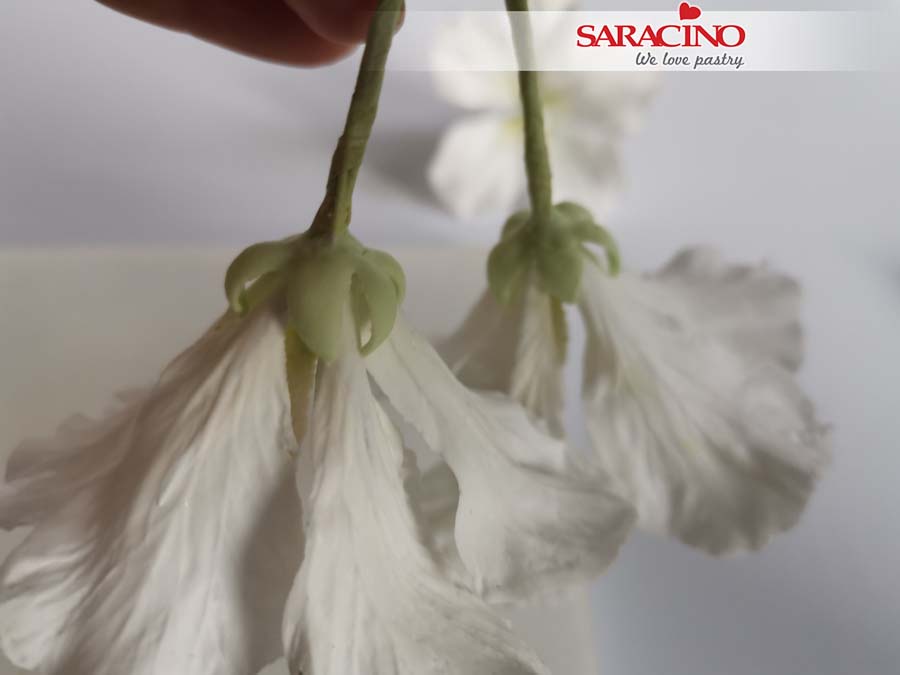
Use your ball tool on a foam mat to press and roll the calyx into shape.
Step 22
Step 23
Hang upside down and allow to dry.
Step 24
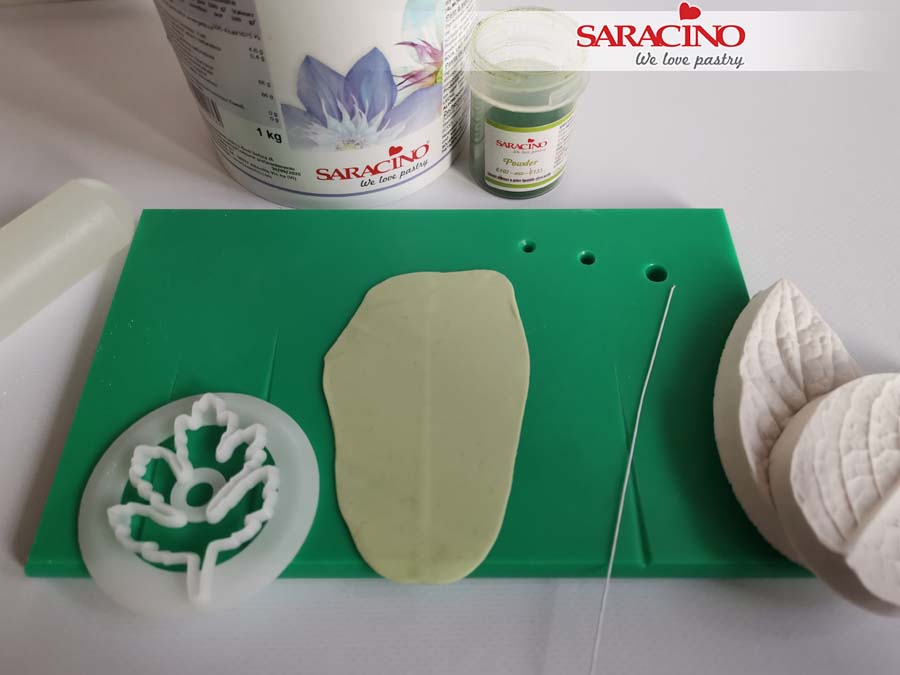
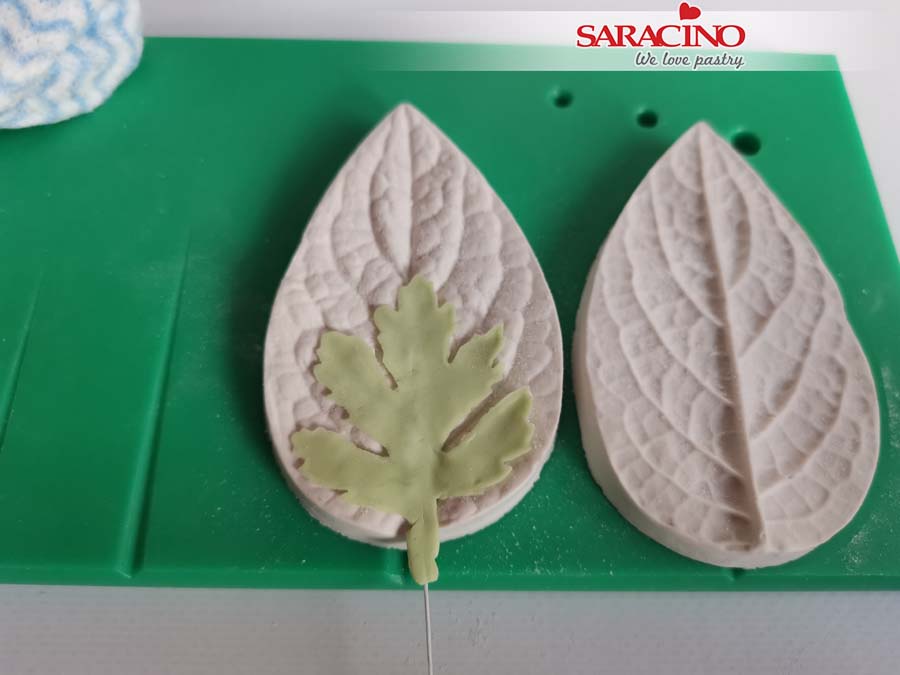
For the leaves roll some of the green Pasta Bouquet on your grooved board. The paste needs to be rolled over a groove.
Step 25
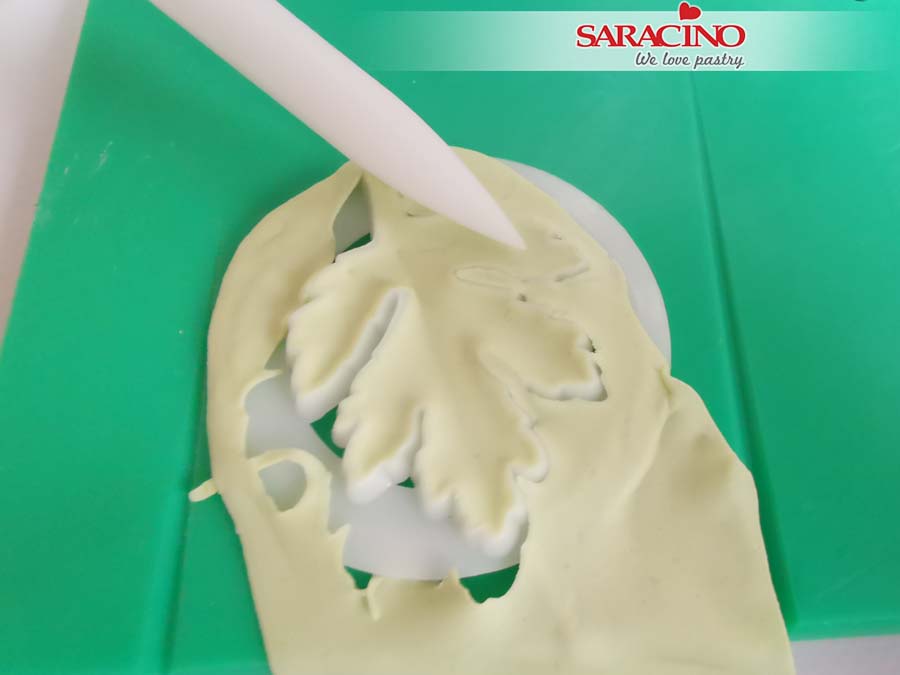
Cut out the leves and use a modelling tool to remove any rough edges.
Step 26
Step 27
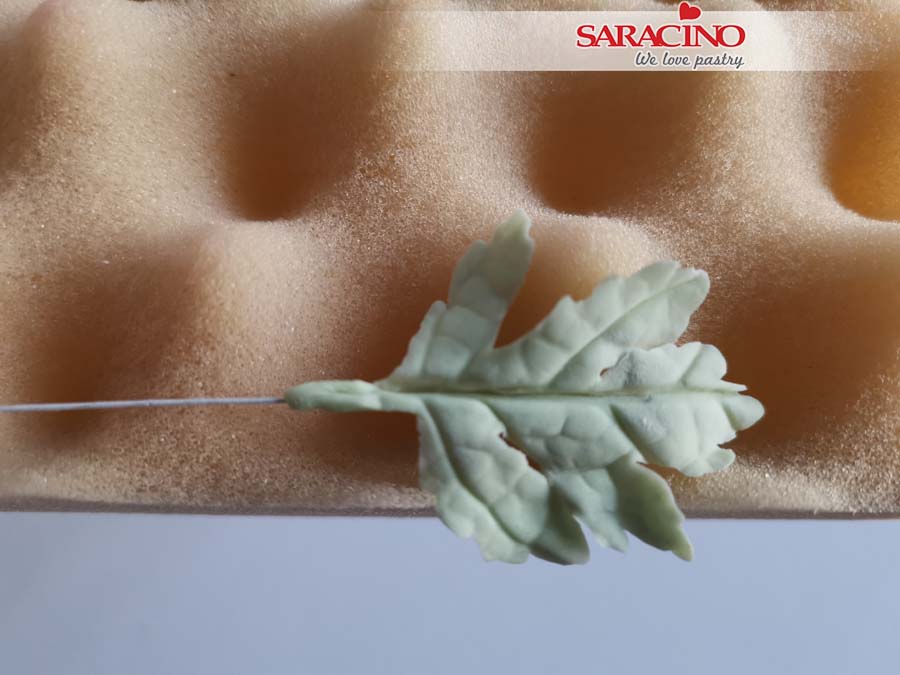
Press the top veiner onto the leaf. Remove from the veiner and lay onto a contoured foam mat to give shape.
Step 28
Step 29
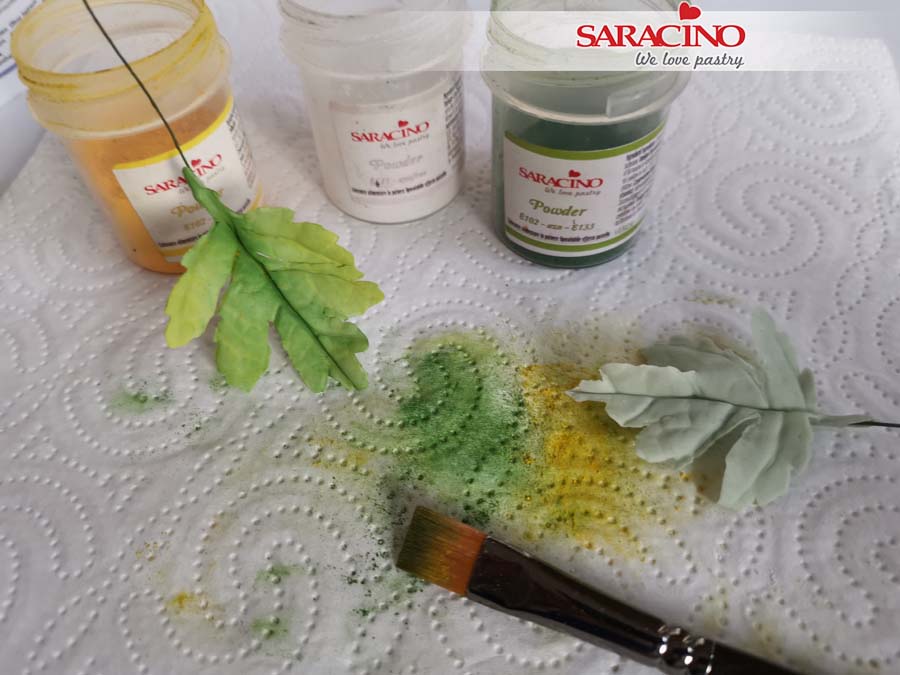
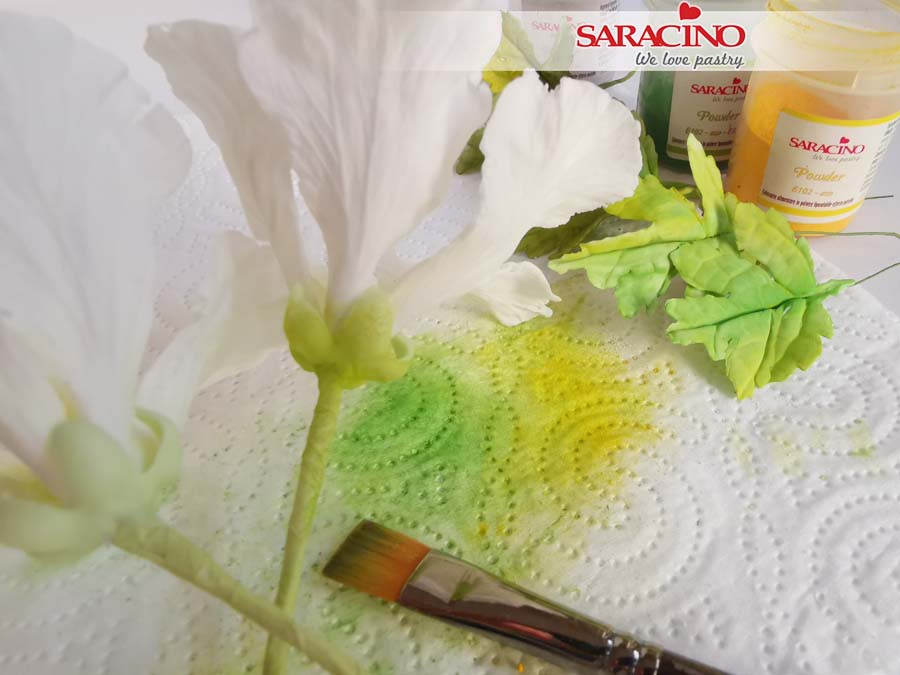
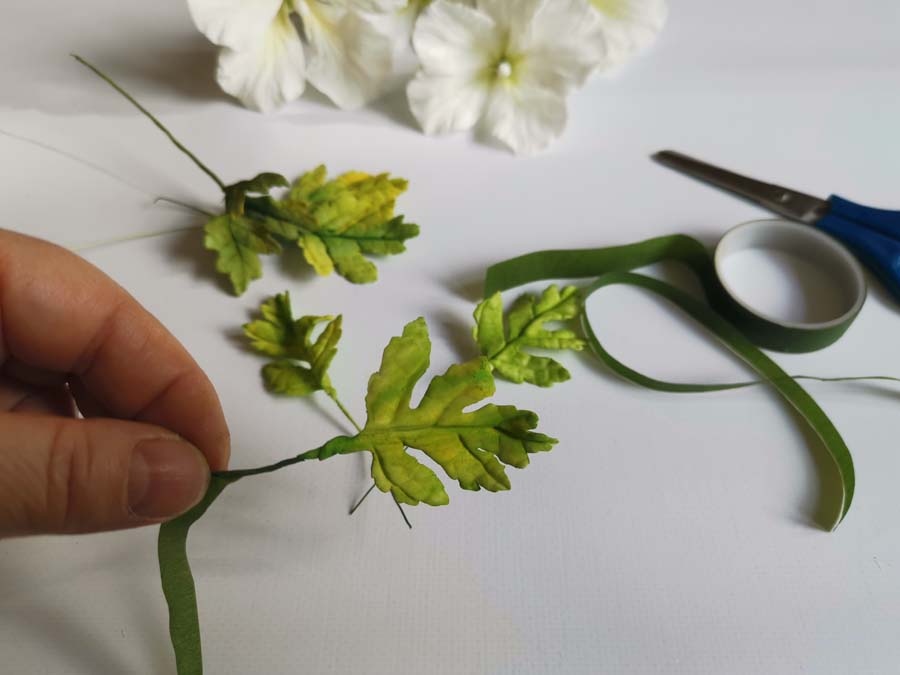
Using the green and yellow powder colour dust the calyx and the stem.
Step 30
Step 31
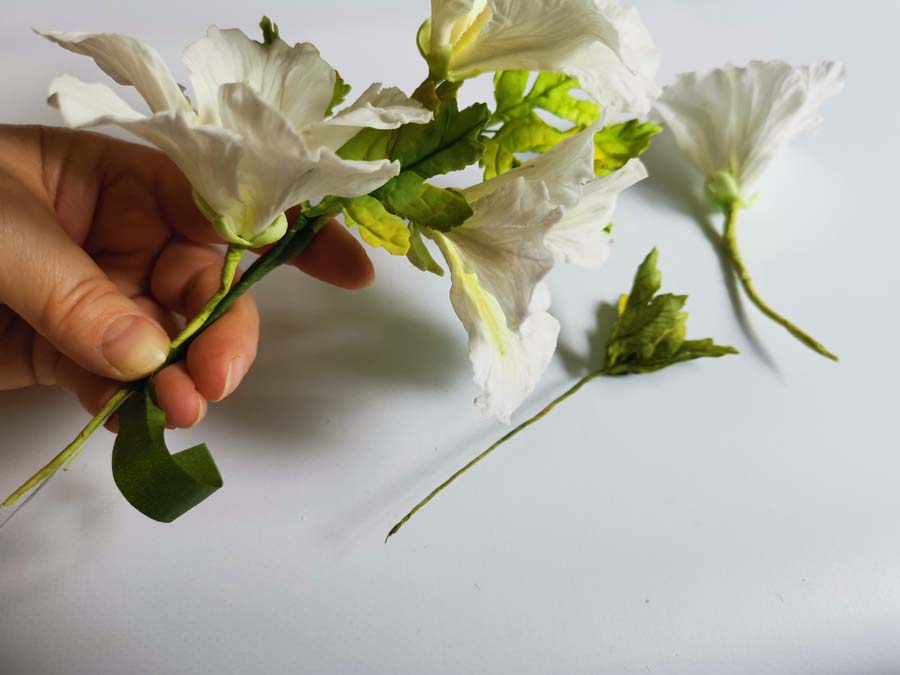
Start fixing together by placing a flower at the top. Then fix three leaves. Continue to form the stem of flowers and leaves.
