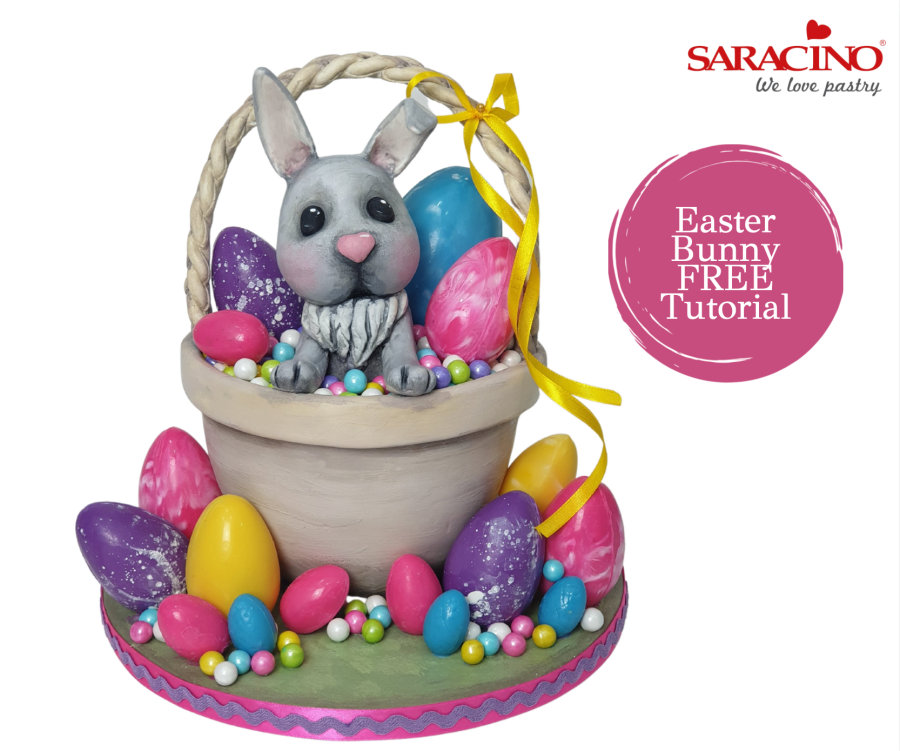
You will need:
- Cake drum
- Cake with 14cm diameter and 10/12cm high
- Chocolate mousse or another filling
- Chocolate ganache (3:1 ratio chocolate/cream)
- Serrated knife
- Spatula
- Smoothers
- 1kg white Pasta Top
- 250gr white Pasta Model
- Modelling tools
- 3 x 18 gauge floral wire
- Floral tape
- Cake pop sticks
- Small dowel for the bunny support
- Cocoa butter
- Dust colours: white, brown, skin, pink, black, green and yellow
- Soft brushes
- Optional colourful chocolate eggs and sprinkles to decorate
Step 1
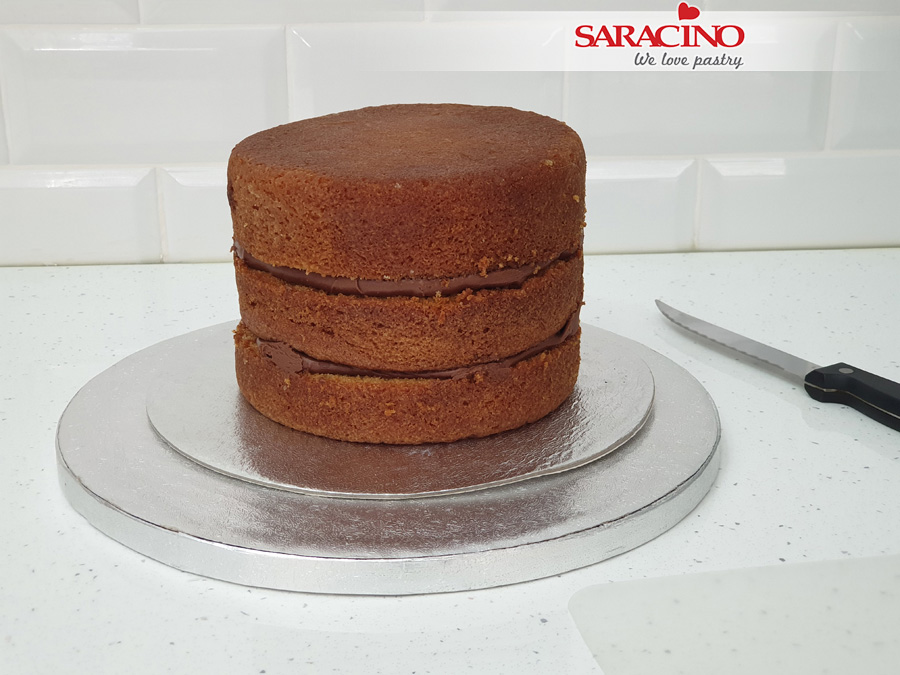
Using your filling layer your cake.
Step 2
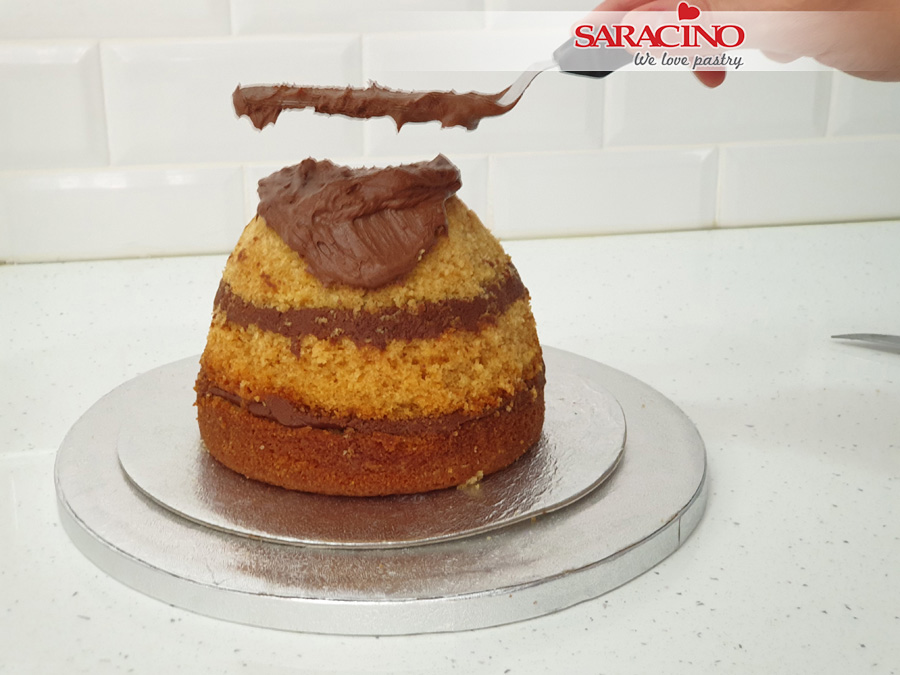
Using your serrated knife carve the cake to a dome shape. This will be the basket when we turn it over. Cover the outside with the ganache.
Step 3
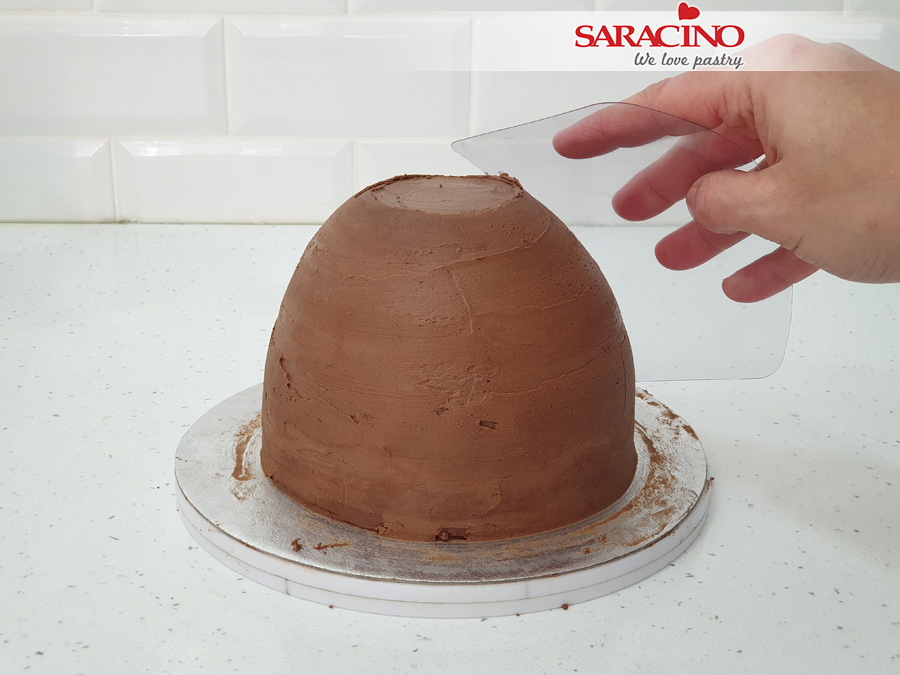
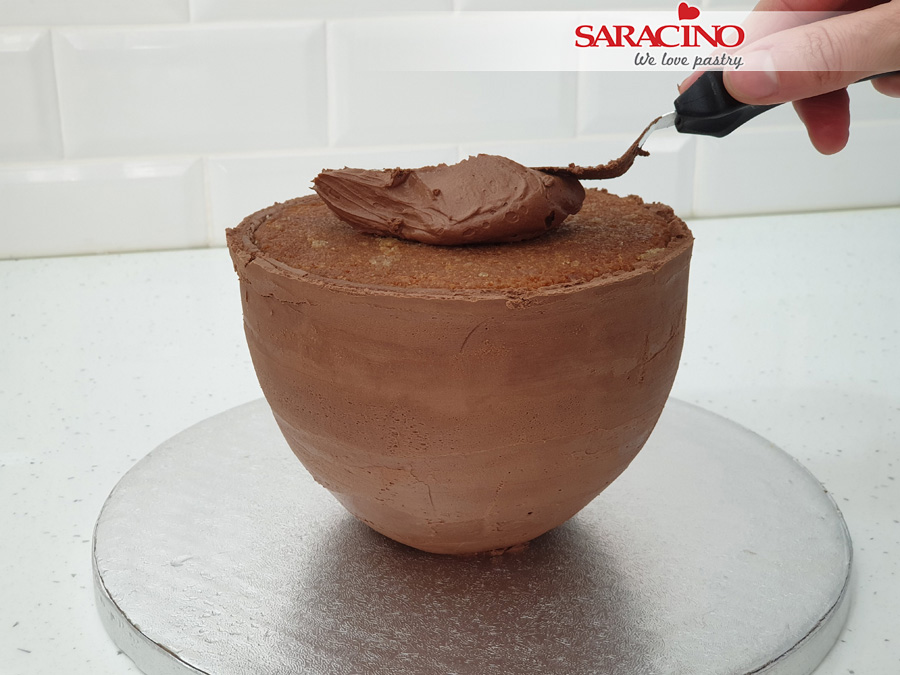
Use a smoother to give the ganache a smooth finish.
Step 4
Turn the cake over and place on your drum. Cover the top with ganache.
Step 5
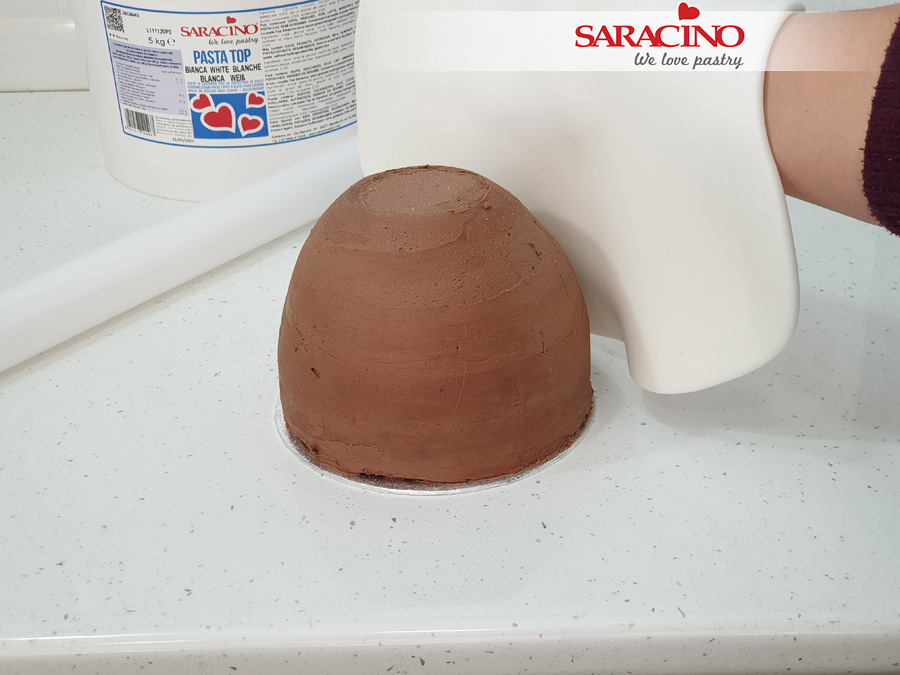
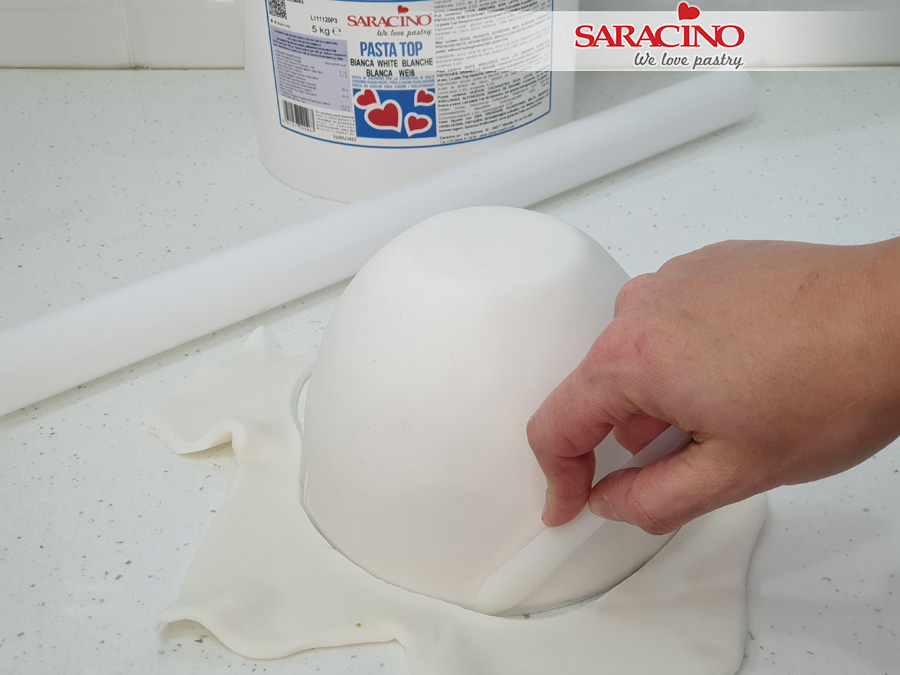
Using a thin cake board turn the cake back over. Roll out your white Pasta Top and cover the cake.
Step 6
Use a knife to trim away the excess paste.
Step 7
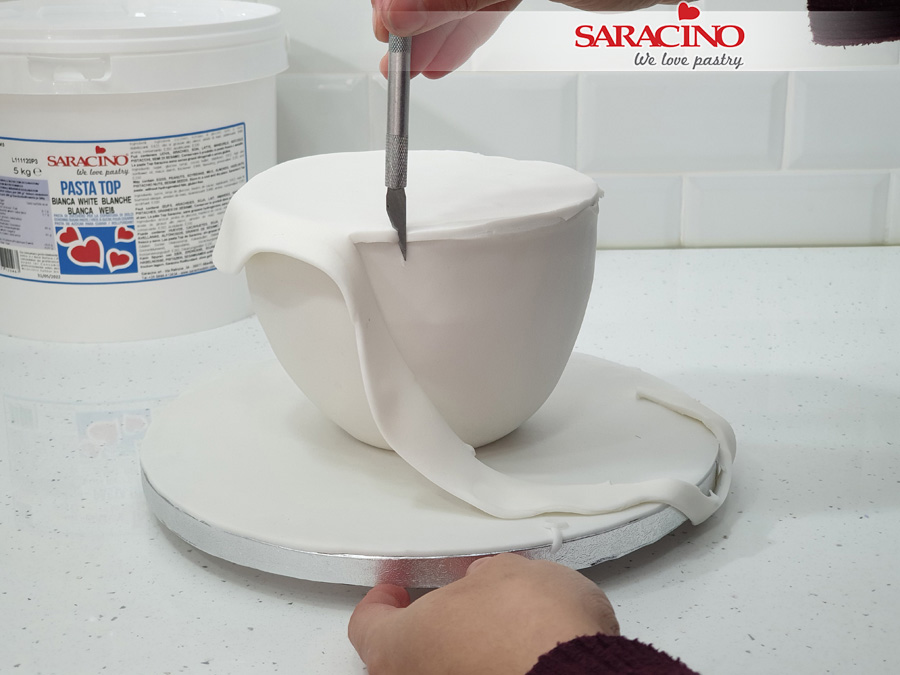
Cover the cake drum. Turn the cake back over and place on the drum. Cover the top and trim off any excess.
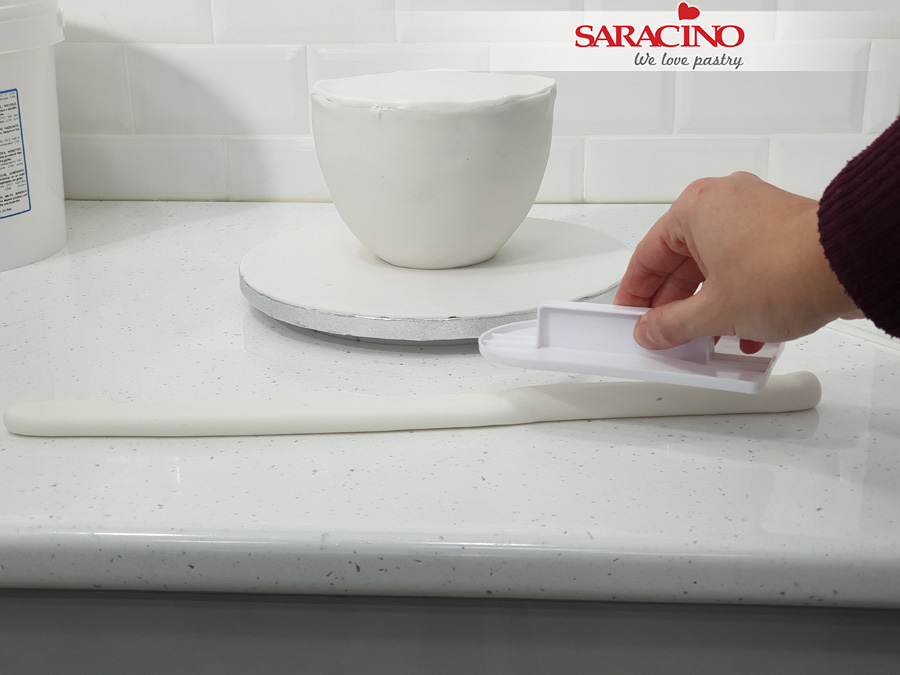
Step 8
For the band around the top of the basket roll out white Pasta Top to a long sausage shape. Flatten using a side smoother.
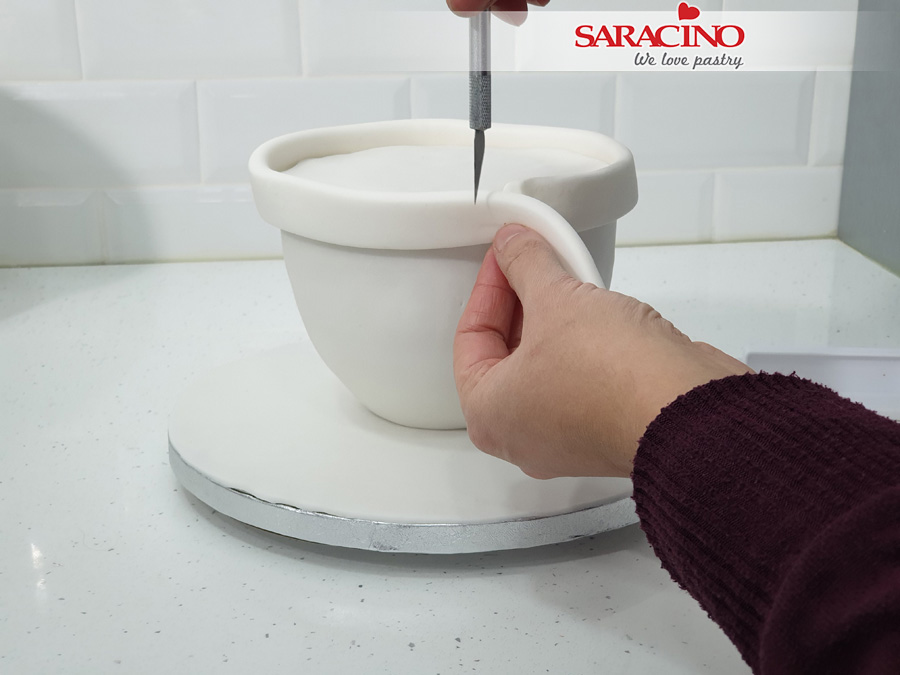
Step 9
Fix the band around the top of the basket. Trim off any excess length.
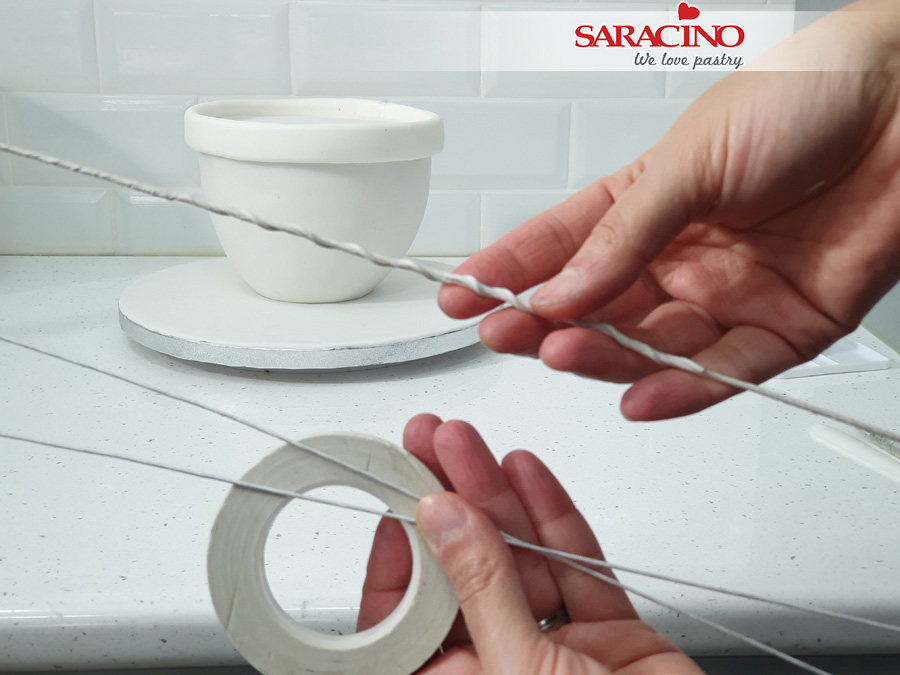
Step 10
Using your flower wires wrap them together using the florists tape.
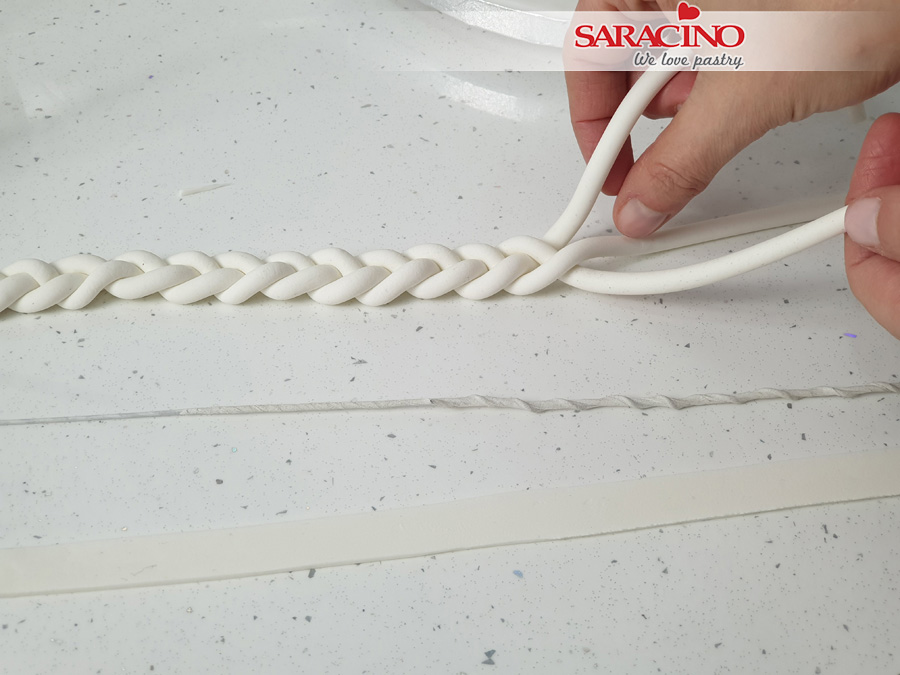
Step 11
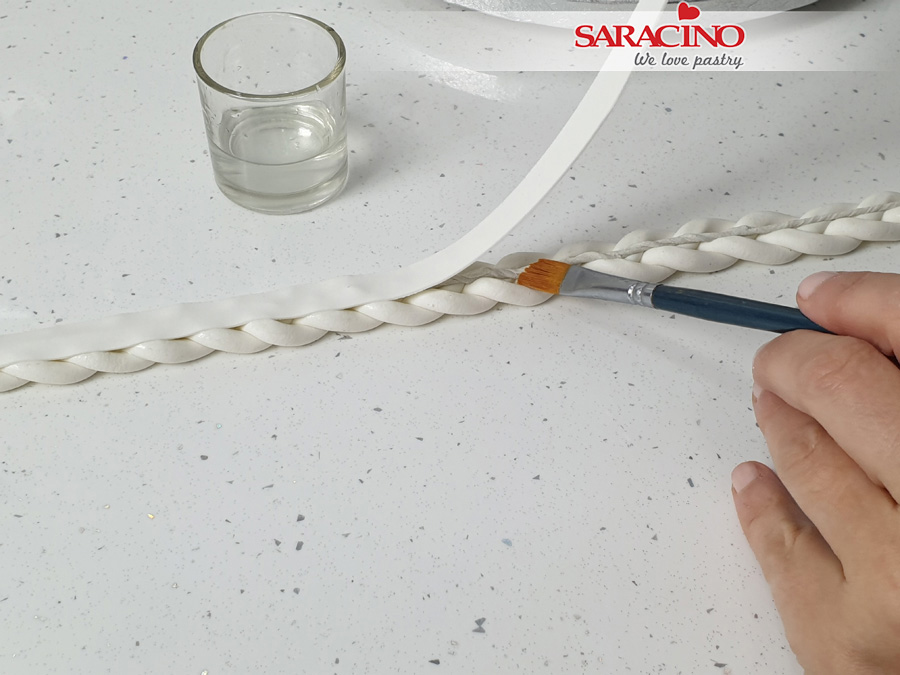
Using an extruder form three long lenghts of white Pasta Model. Plait as shown. Roll a thin band of Pasta Model to the same length as the plait.
Step 12
Place the wrapped flower wires over the plait. Moisten with a little water and cover the wire with the thin band of paste. You will need to leave a small length of wire protruding from each end ready for mixing into the cake.
Step 13
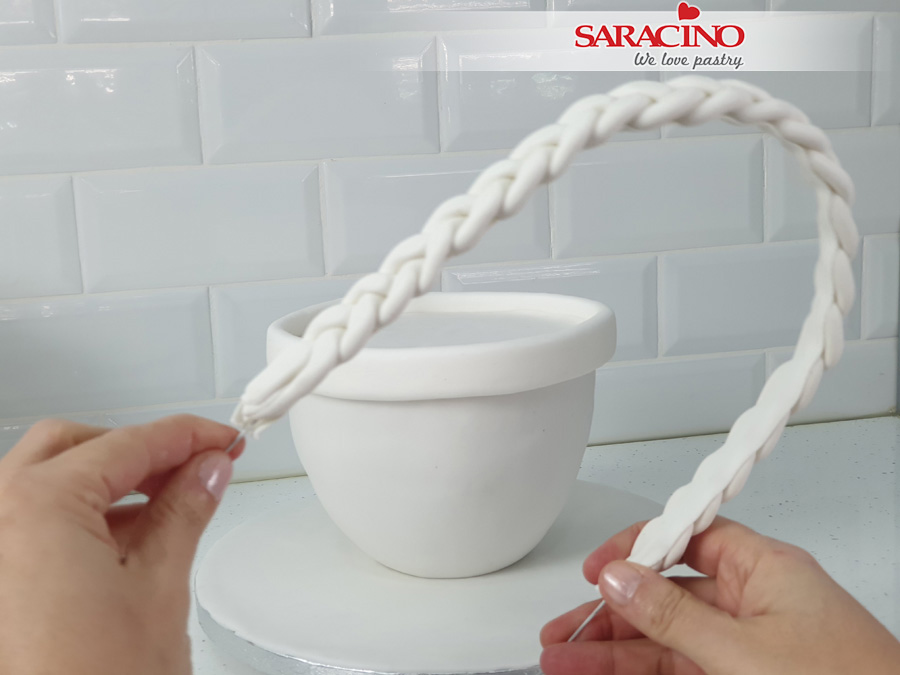
Bend as shown to the width of your basket.
Step 14
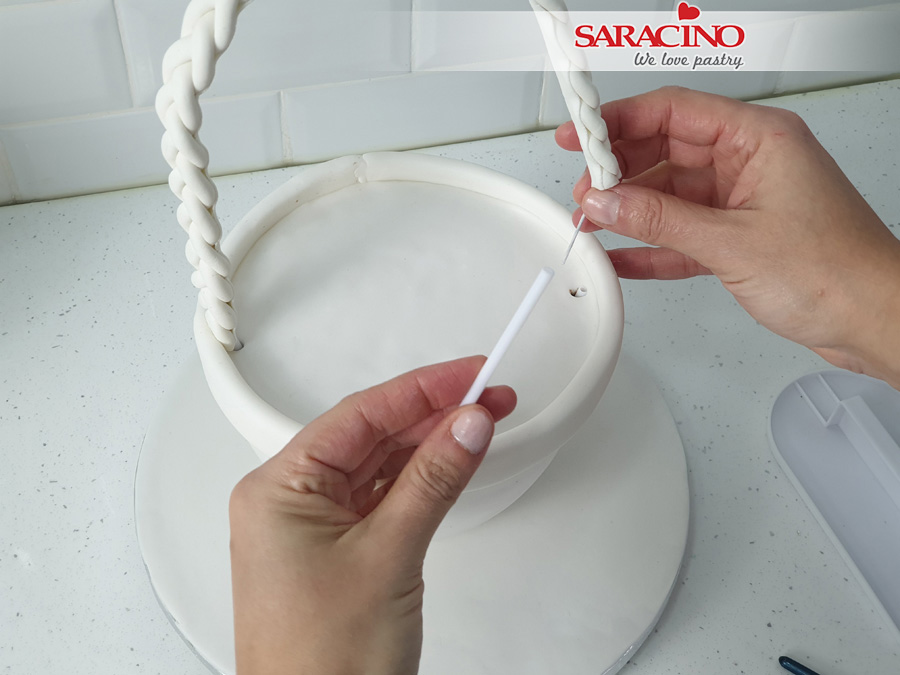
Insert two plastic straws into the top of the cake and slide the wires into each.
Step 15
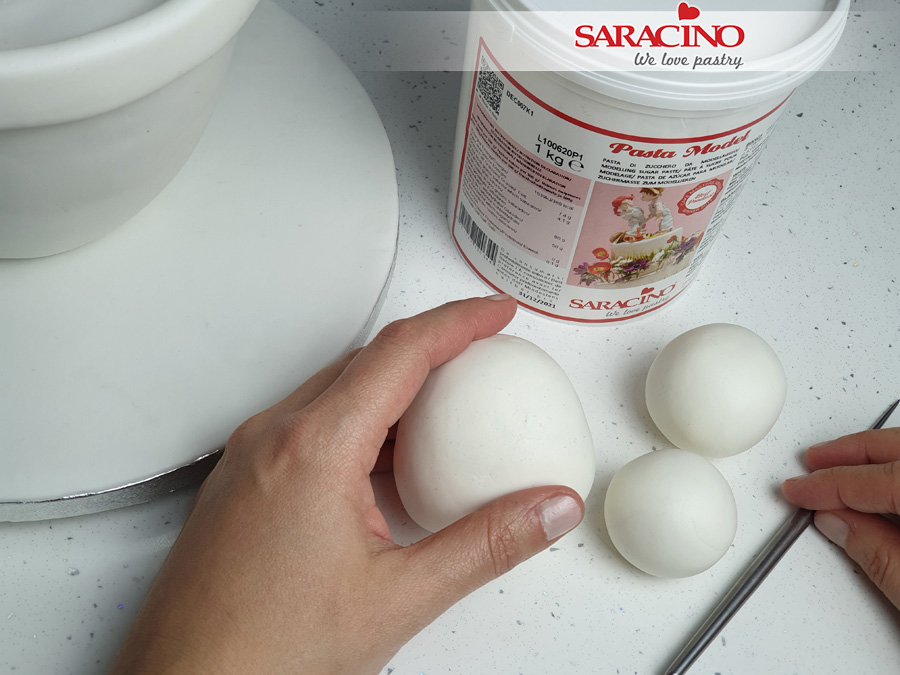
Using your Pasta Model roll a pear shape for the rabbit’s head.
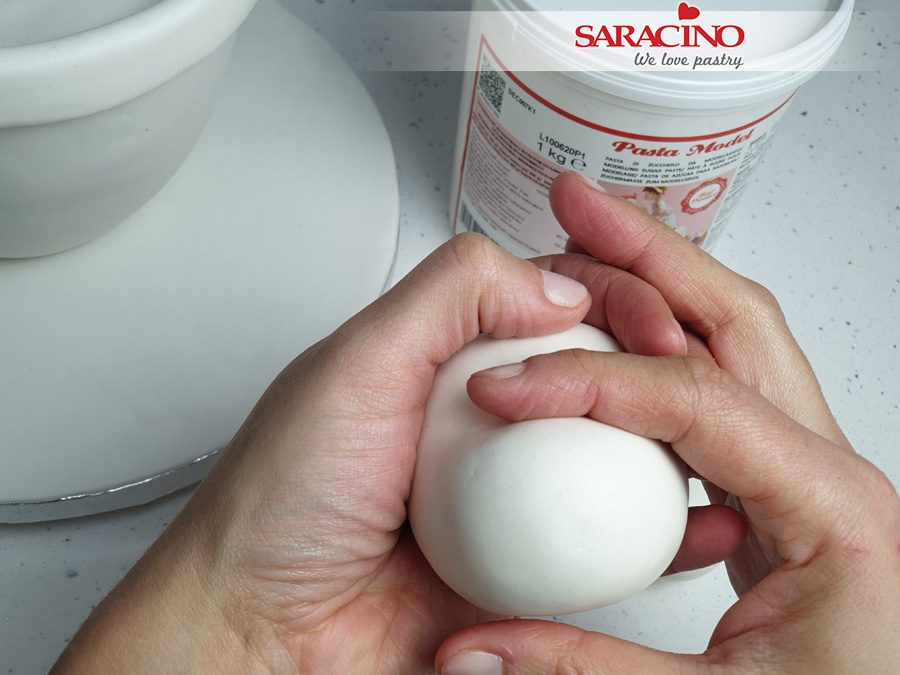
Step 16
Using your finger press a dent into the top of the face to form the eye area.
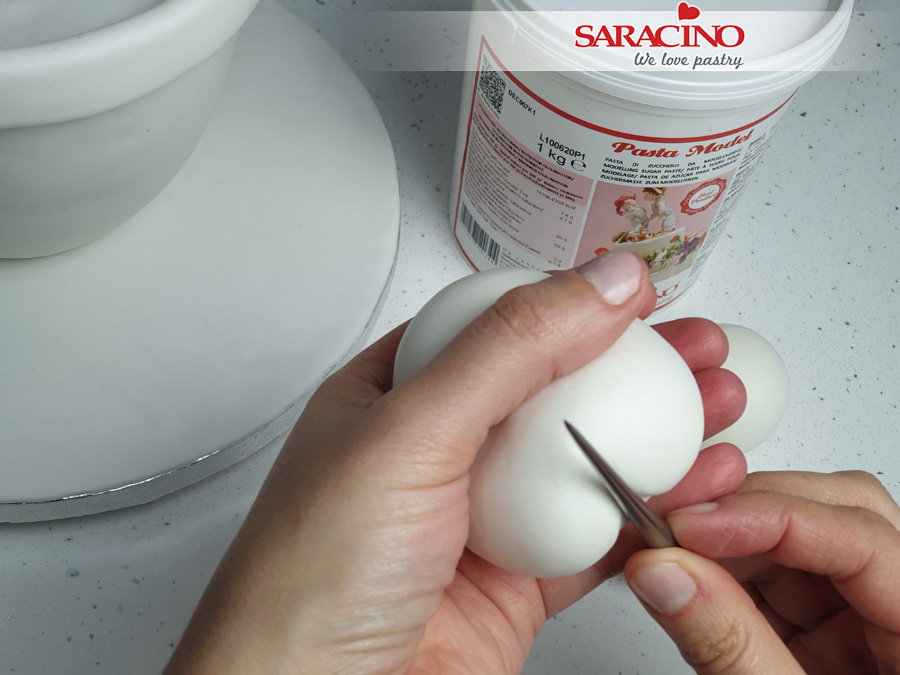
Step 17
Using a modelling tool form a groove for the chin.
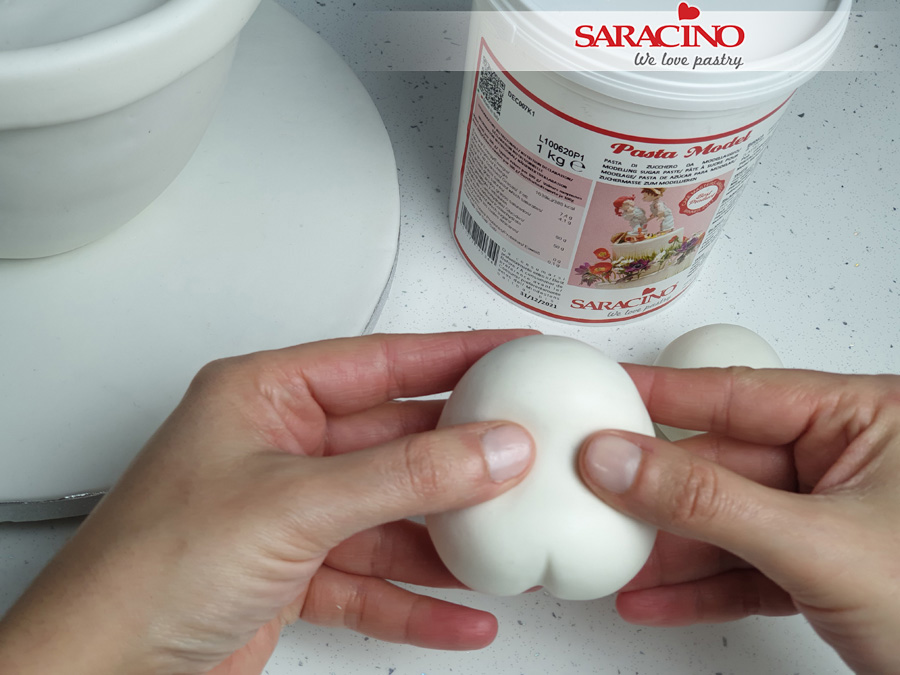
Step 18
Use your thumbs to press gently to form the eye sockets.
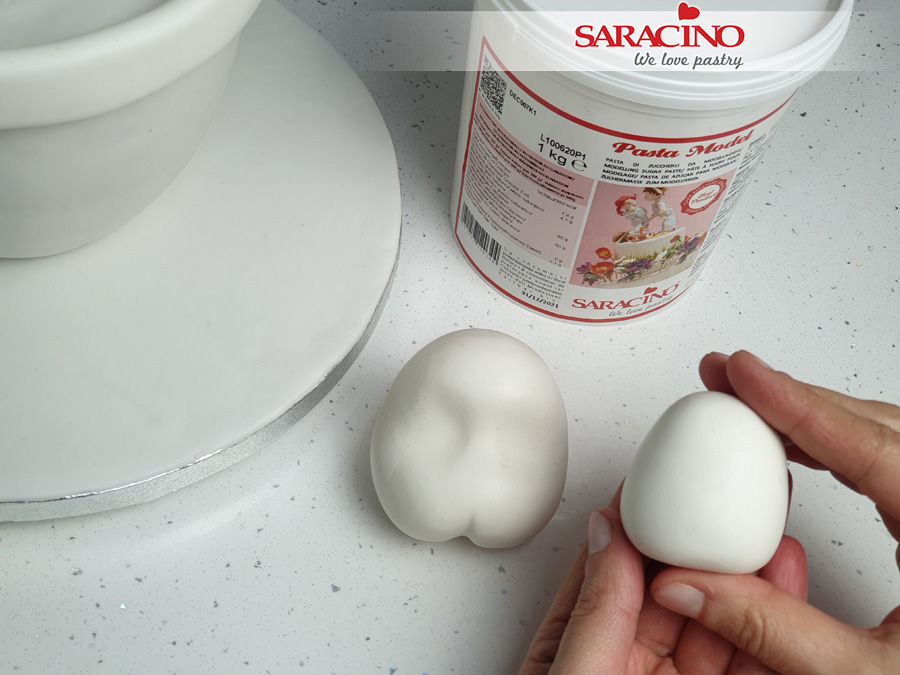
Step 19
For the body roll a smaller pear shape and flatten the bottom larger end.
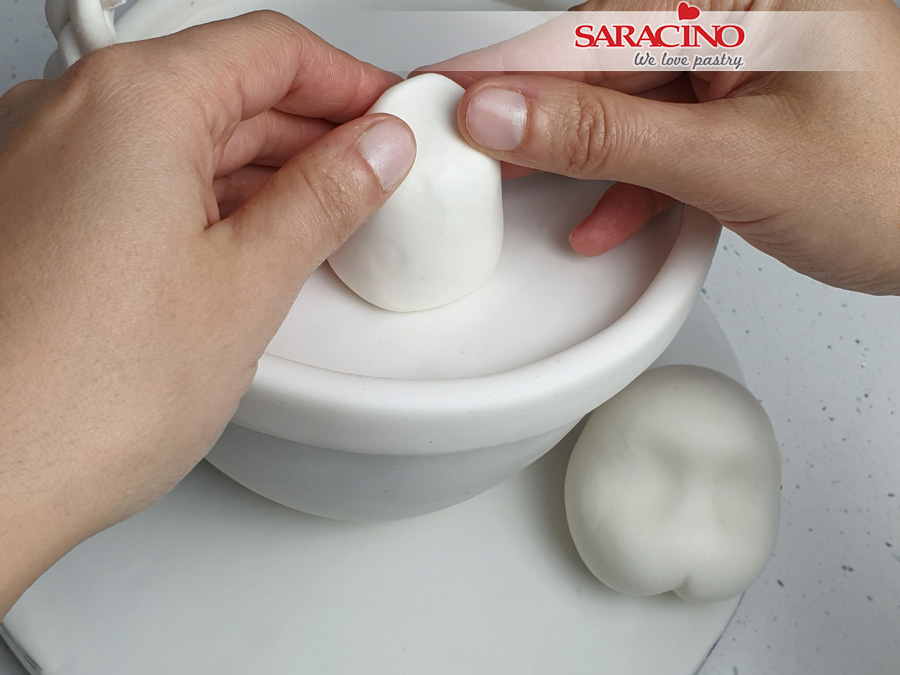
Step 20
Fix onto the top of the basket.
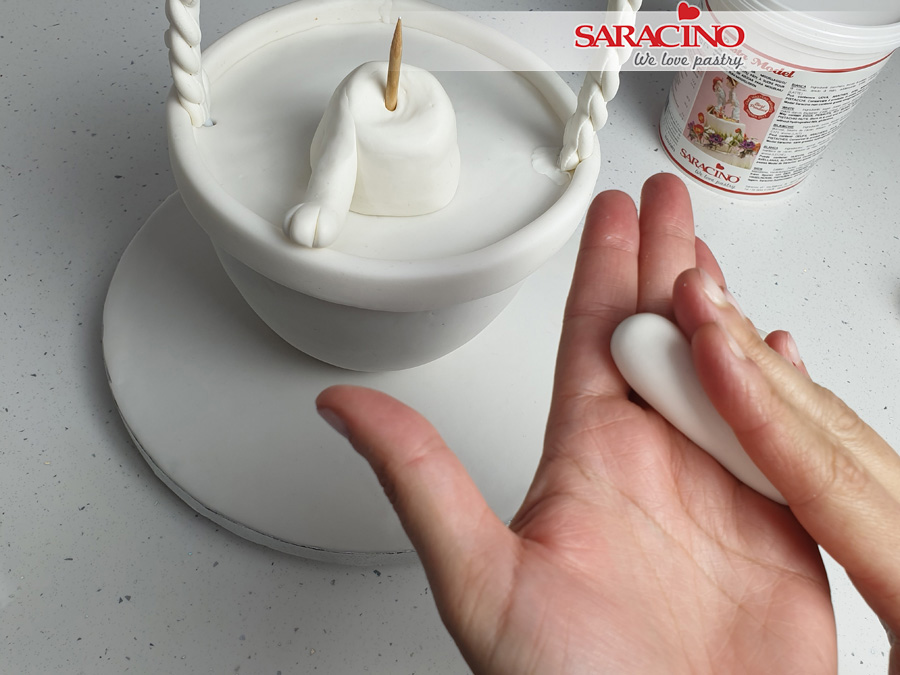
Step 21
Use your fingers to form a dent in the top of the body ready for the head. Insert a wooden skewer through the body leaving the top exposed to fix the head. Roll out two equal pieces of Pasta Model to form sausage shapes for the arms.
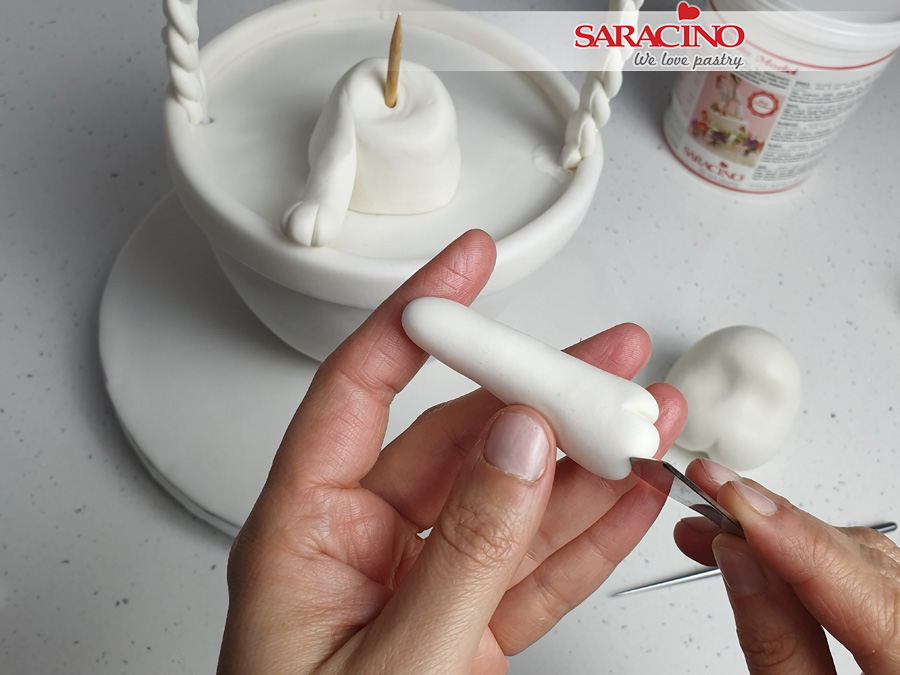
Step 22
Use a sharp knife to form the paws.
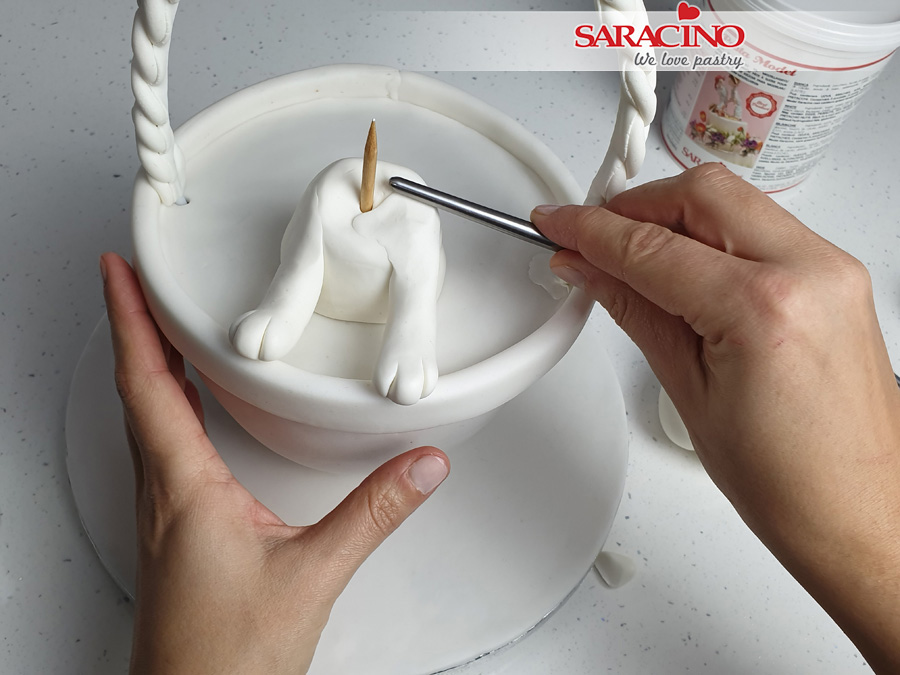
Step 23
Fix each arm to the body as shown. Blend to smooth out the joints.
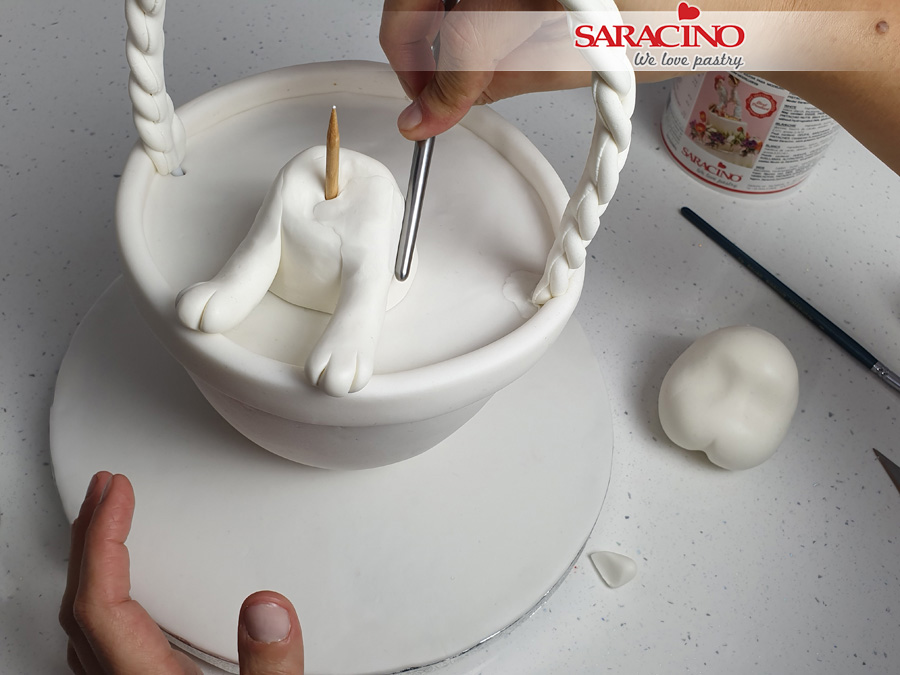
Step 24
Blend the back of the arms also.
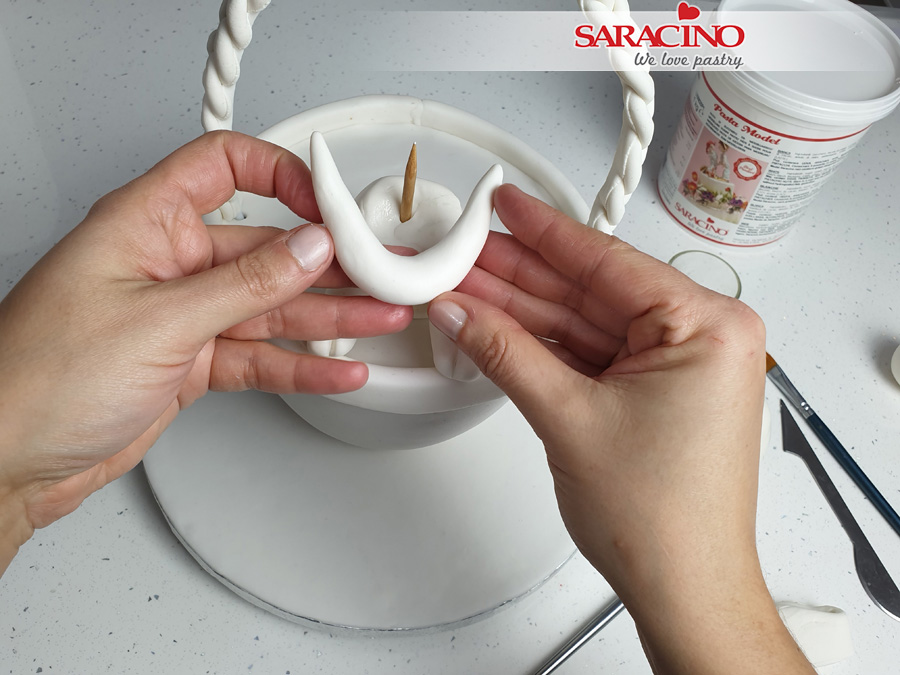
Step 25
For the fluffy chest roll a sausage shape of Pasta Model and roll each end to a point.
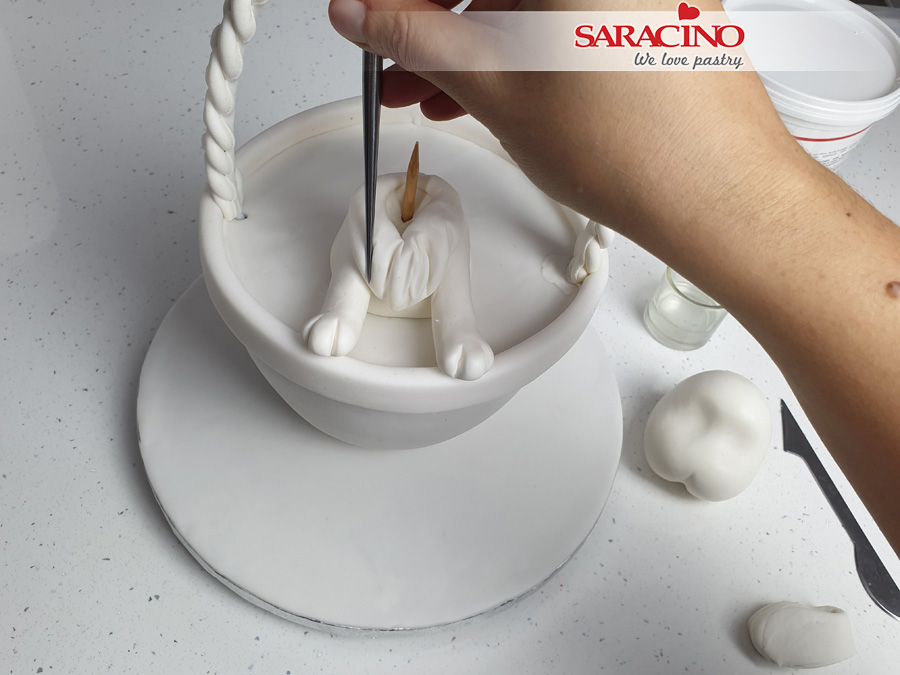
Step 26
Fix to the chest area. Using a modelling tool add texture to give the hair appearance.
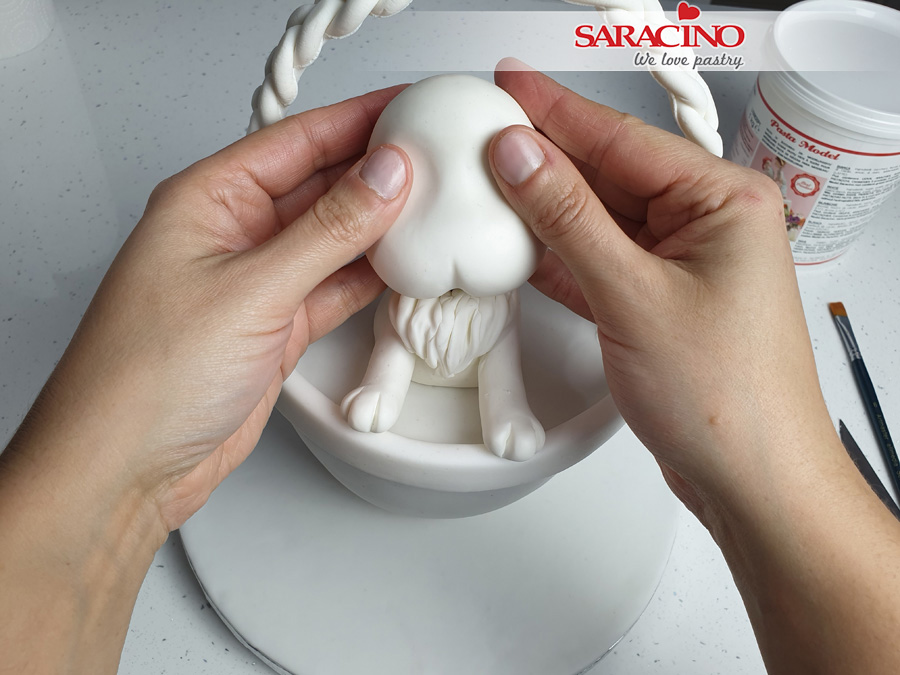
Step 27
Fix the head onto the skewer in the body.
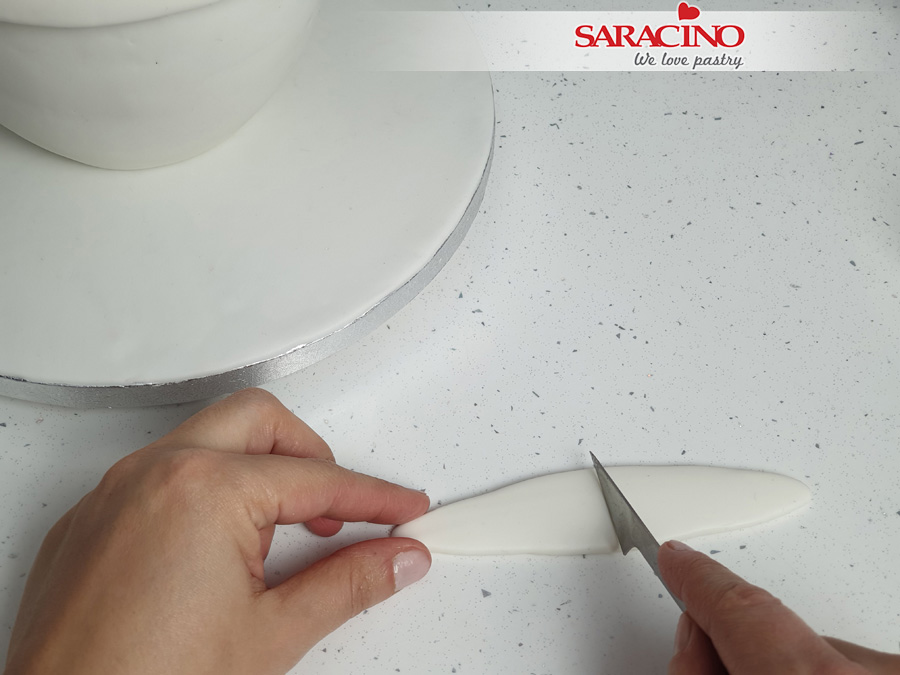
Step 28
For the ears roll a long sausage shape of Pasta Model and flatten. Cut in half.
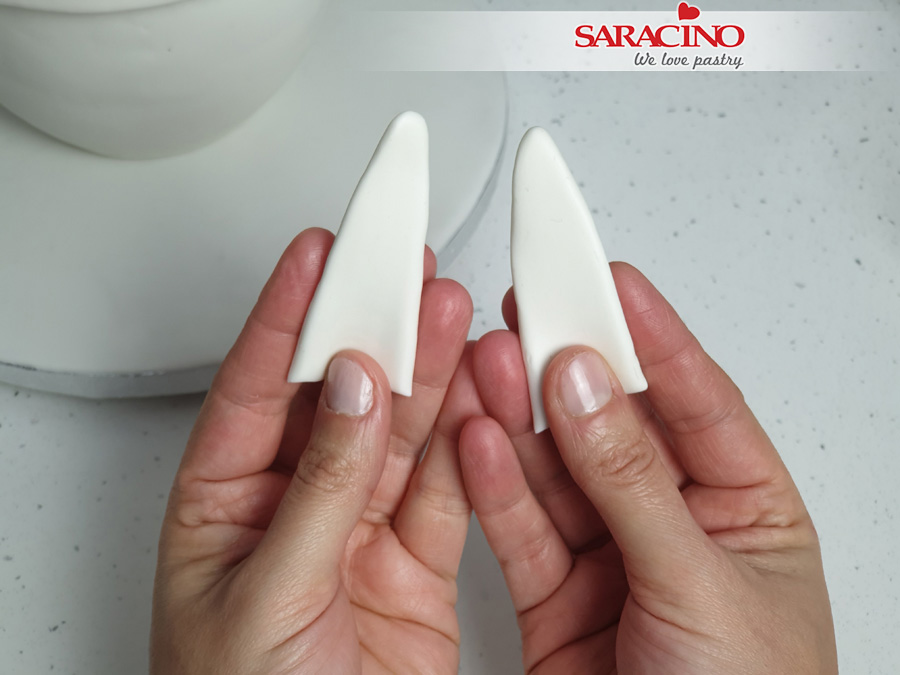
Step 29
Pinch with your thumbs to give shape.
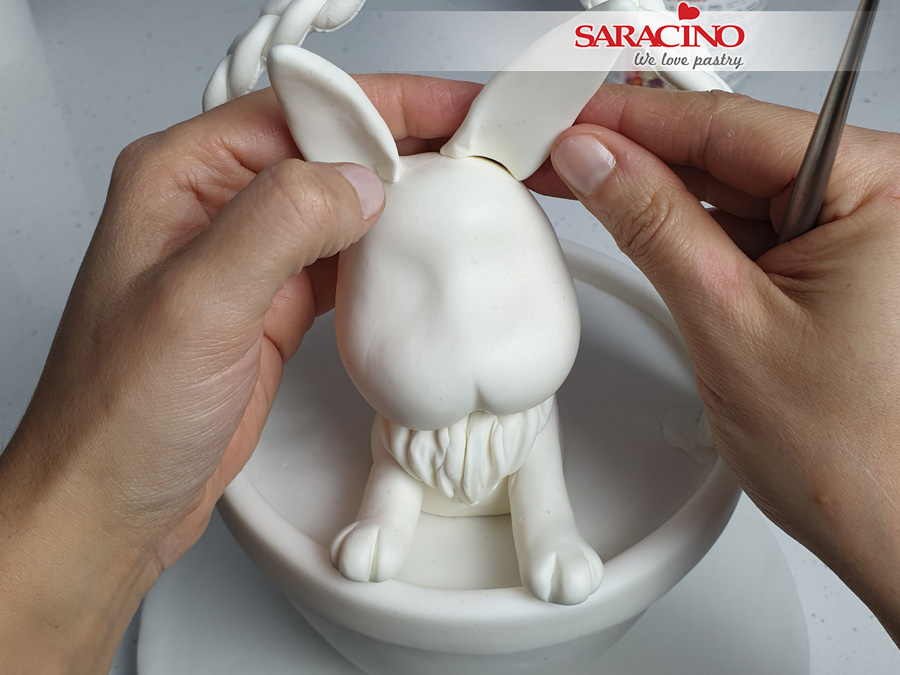
Step 30
Fix the ears to the top of the head using a little water if required.
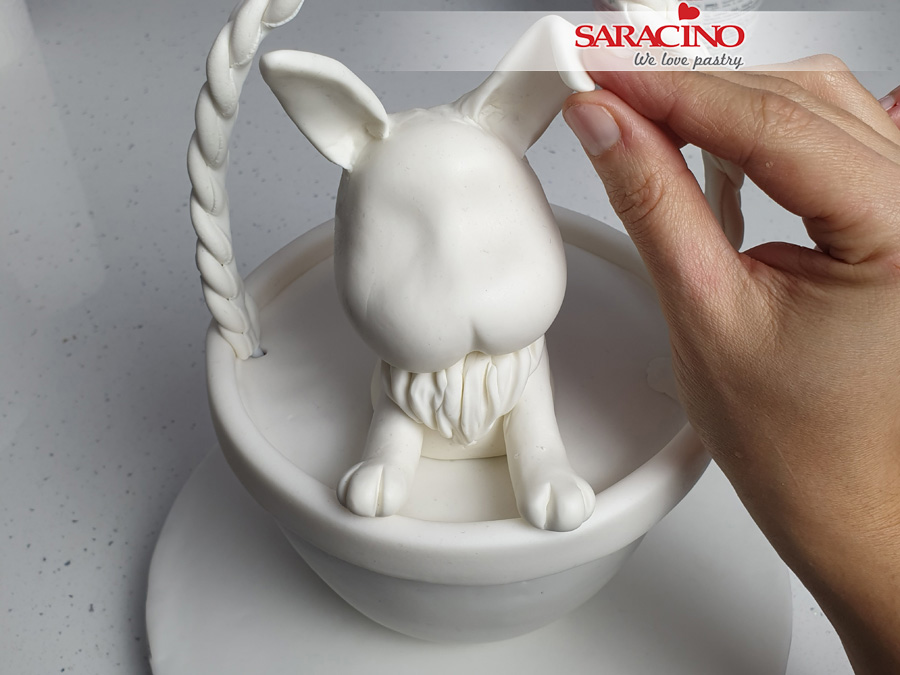
Step 31
Add a little character to the rabbit by bending an ear.
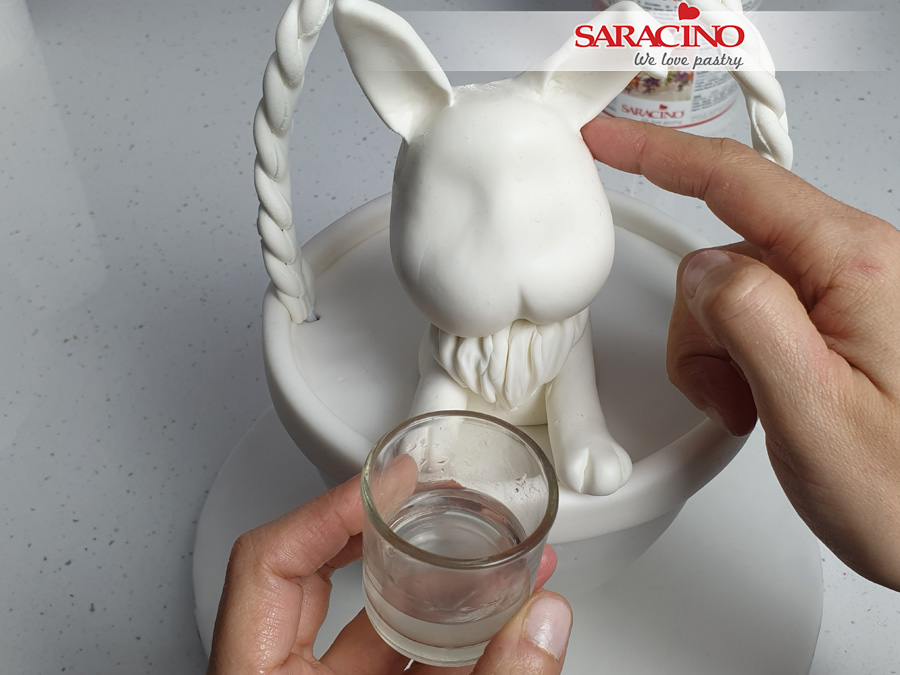
Step 32
Using a little water blend the ears to the head.
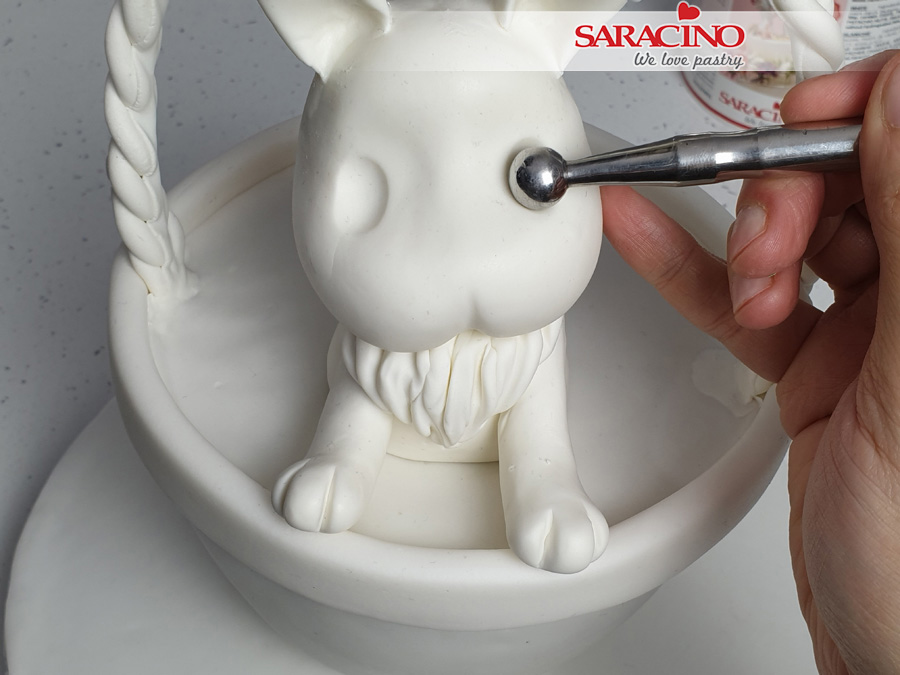
Step 33
Use a ball tool to form eye sockets.
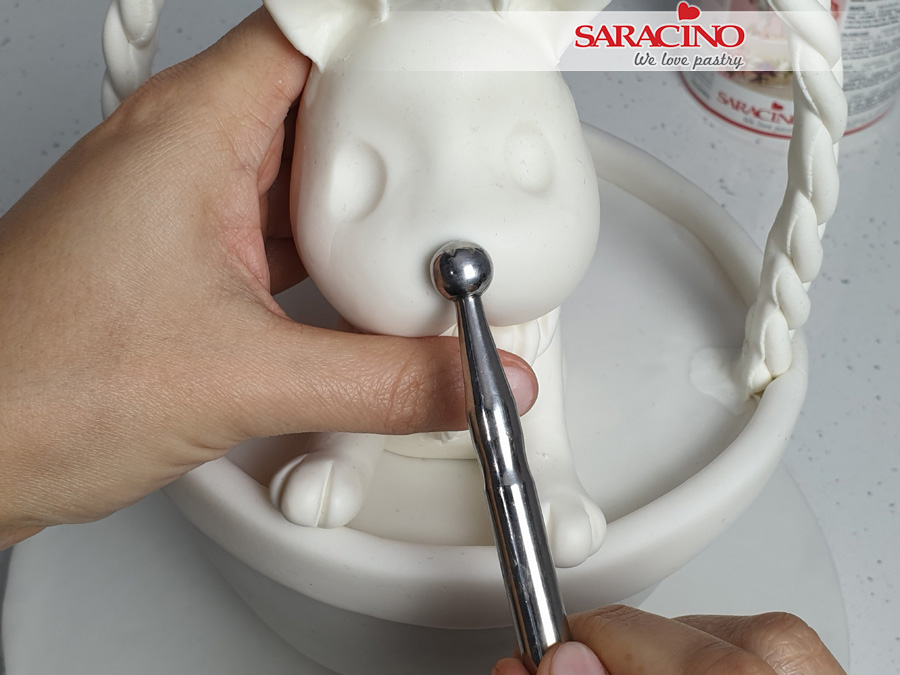
Step 34
Using a ball tool form a dent for the nose.
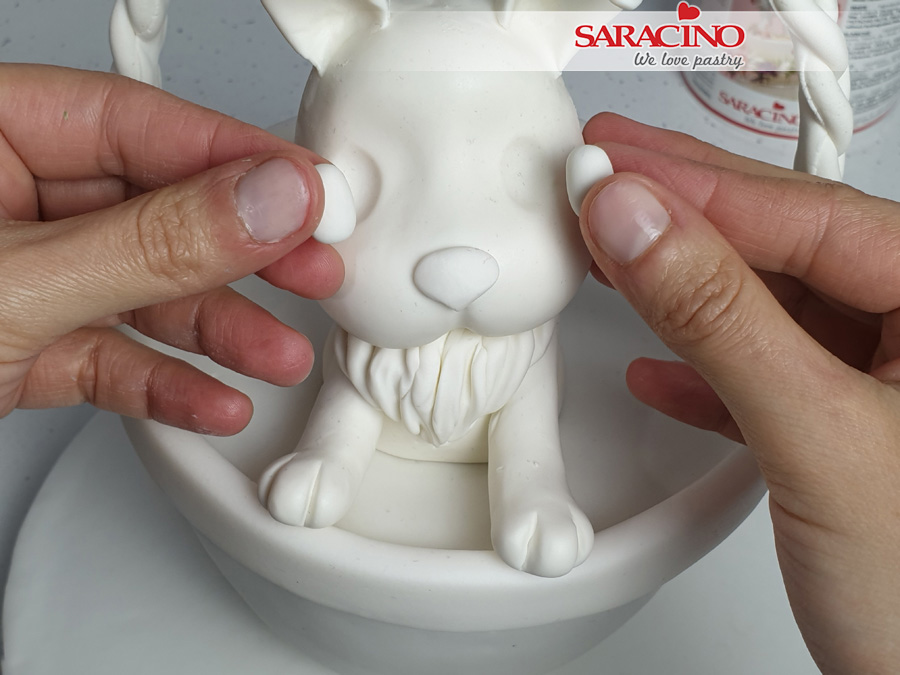
Step 35
Roll three balls of Pasta Model. Two round for the eyes. Fix the eyes into the sockets. Shape the third to form the nose.
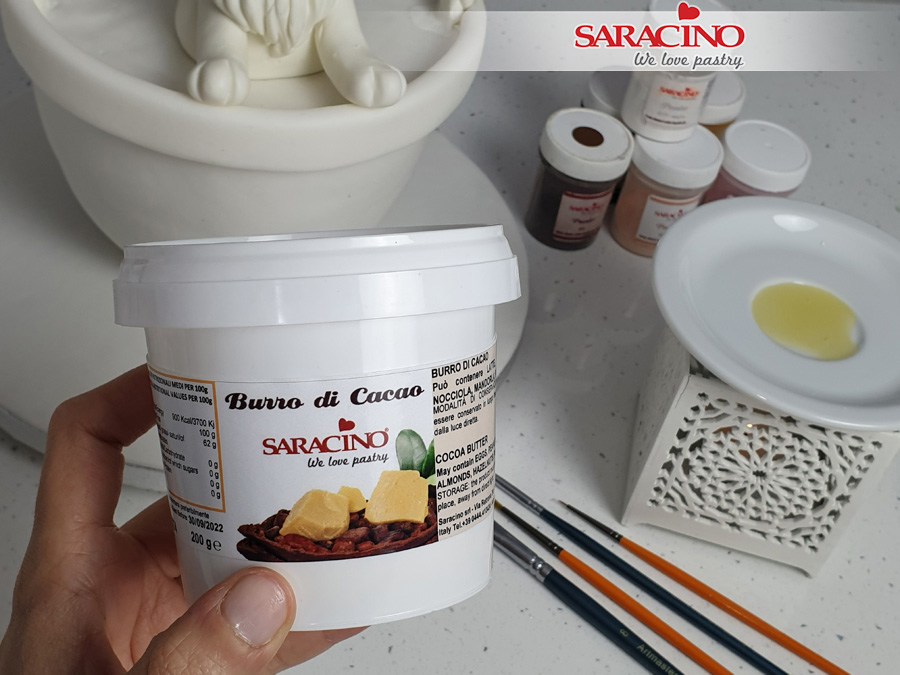
Step 36
On a plate over a candle melt a little of your cocoa butter.
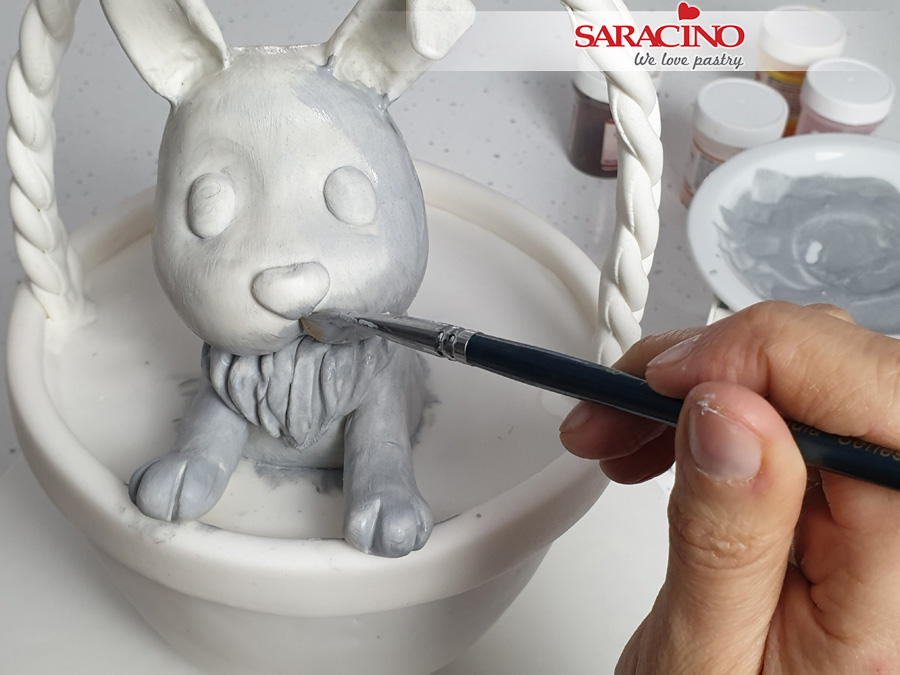
Step 37
Add a little black powder to the cocoa butter and mix to make the paint. You can add a little white powder if your shade is too dark.
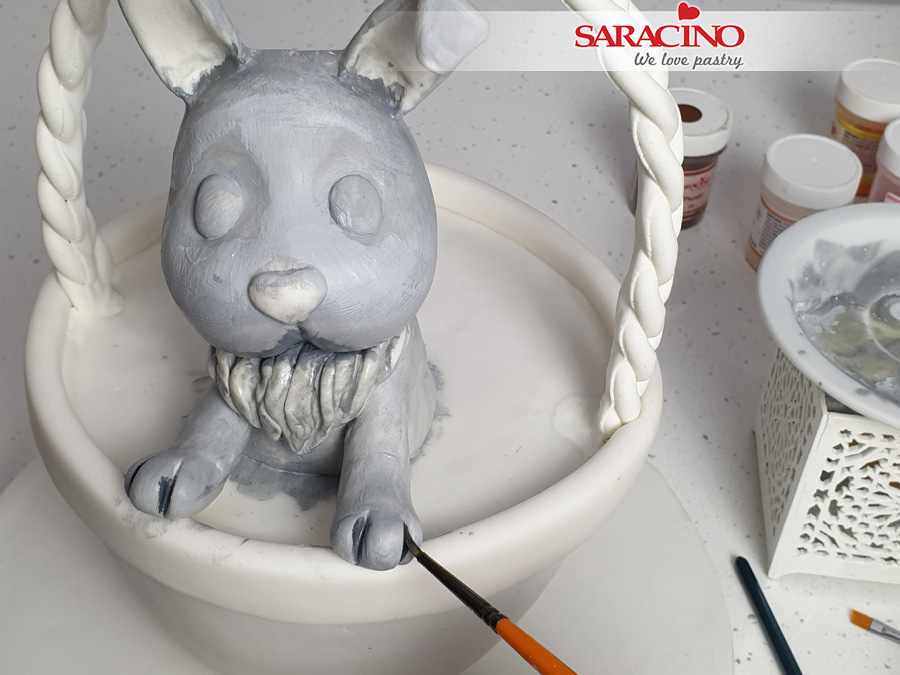
Step 38
Paint the rabbit grey as shown. Leave the insides of the ears white. Using a fine brush paint between the paws with a darker grey paint.
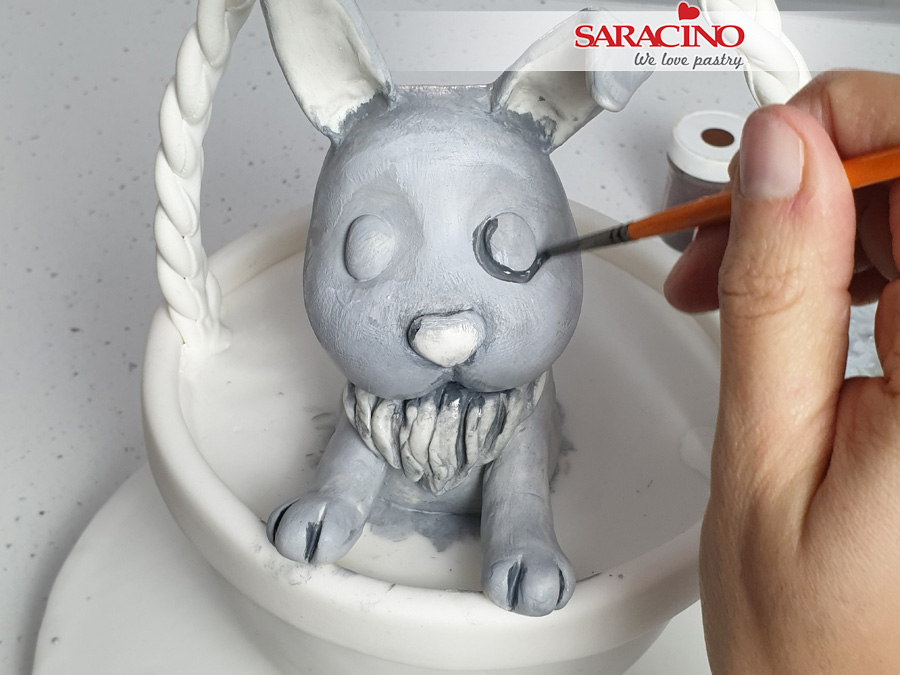
Step 39
Paint the darker grey around each eye to give shading.
Step 40
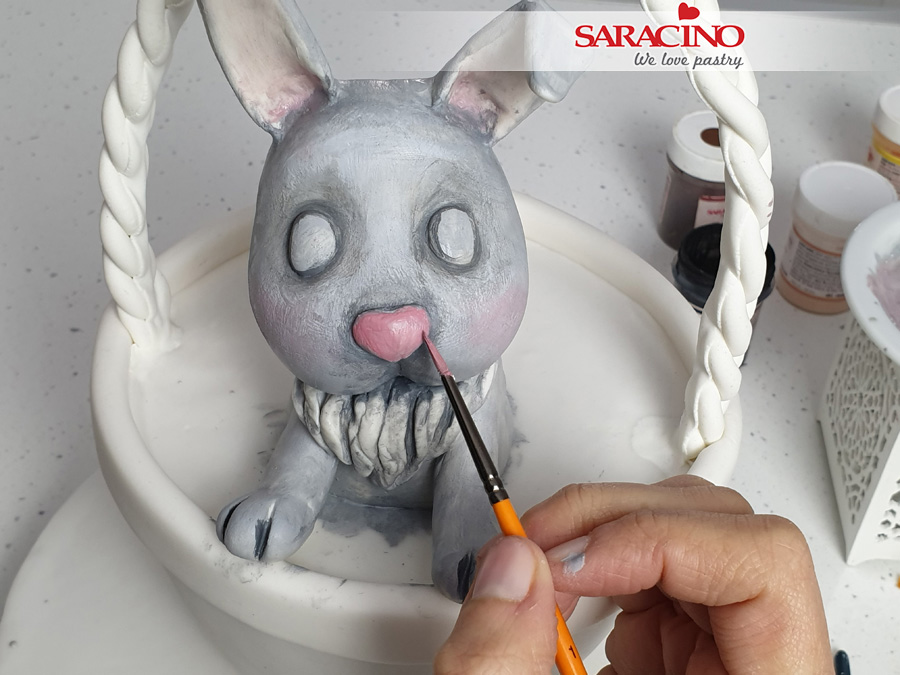
Paint the nose with your pink powder colour mixed with cocoa butter. Using pink dust and a soft brush lightly dust the cheeks and inside the ears.
Step 41
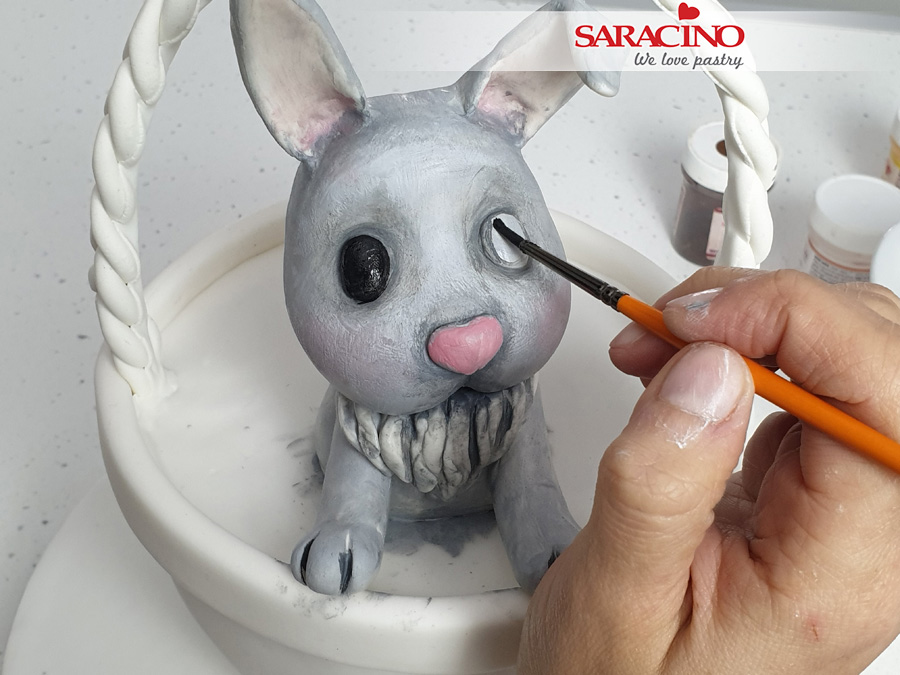
Mix black powder with cocoa butter and paint the eyes.
Step 42
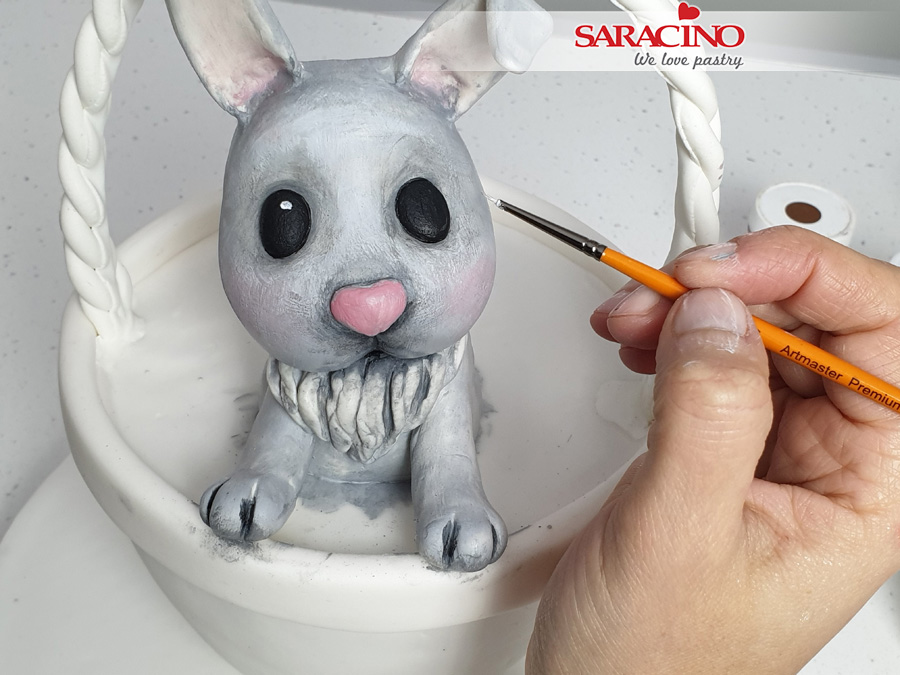
Use a little white paint to add a small dot to each eye.
Step 43
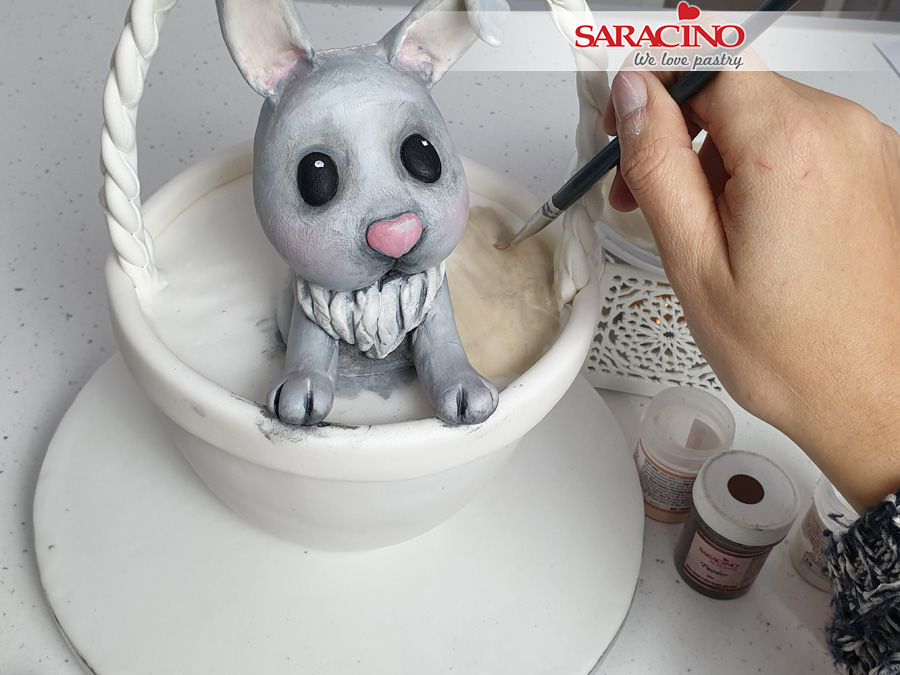
Using your brown and skin tone powder mix with the cocoa butter and paint the basket as shown.
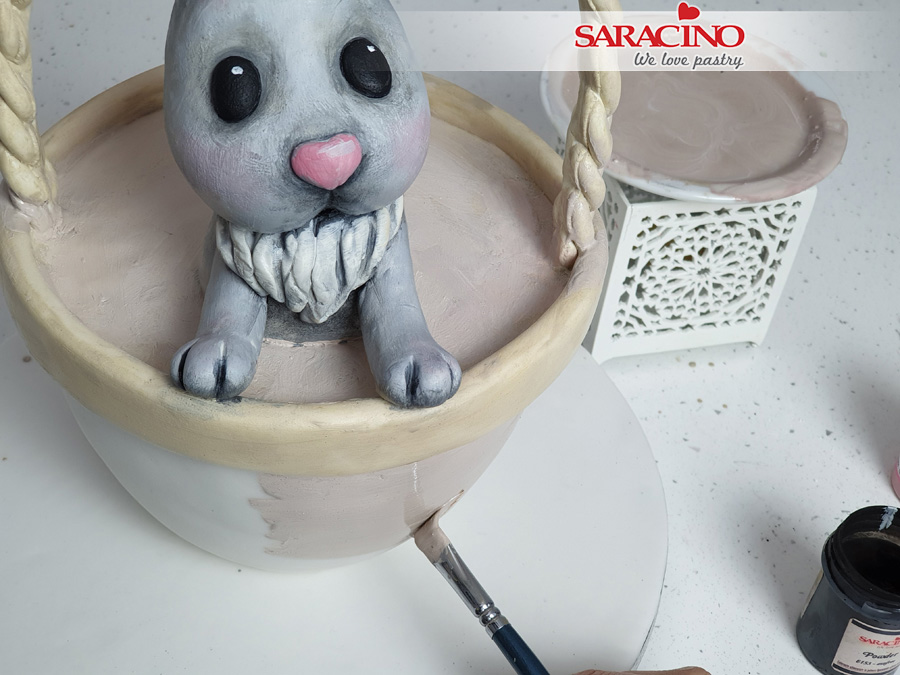
Step 44
Continue painting around the outside of the basket.
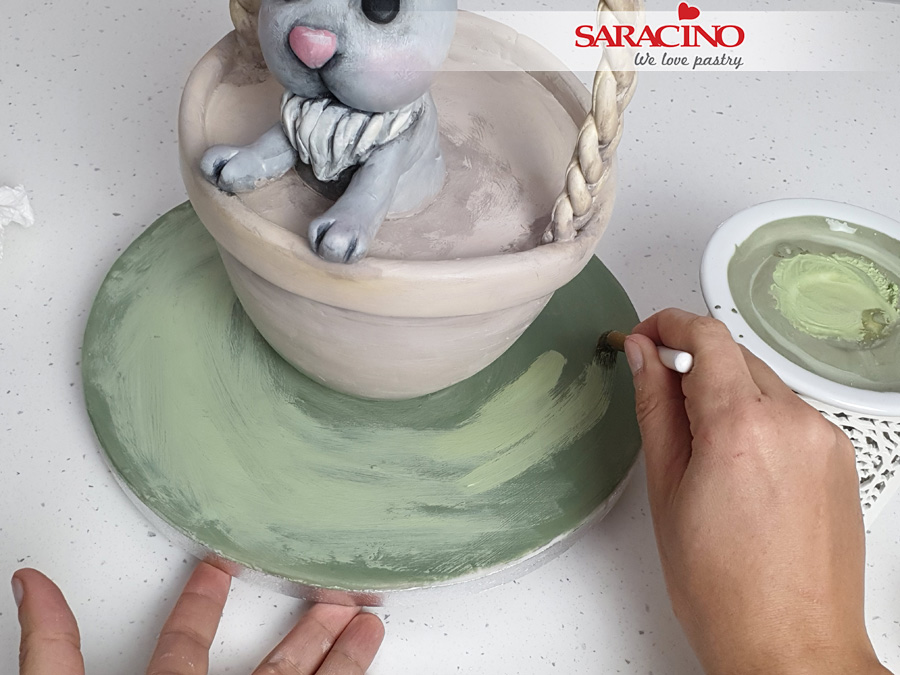
Step 45
Using green and yellow powder mix with cocoa butter and apply to the base.
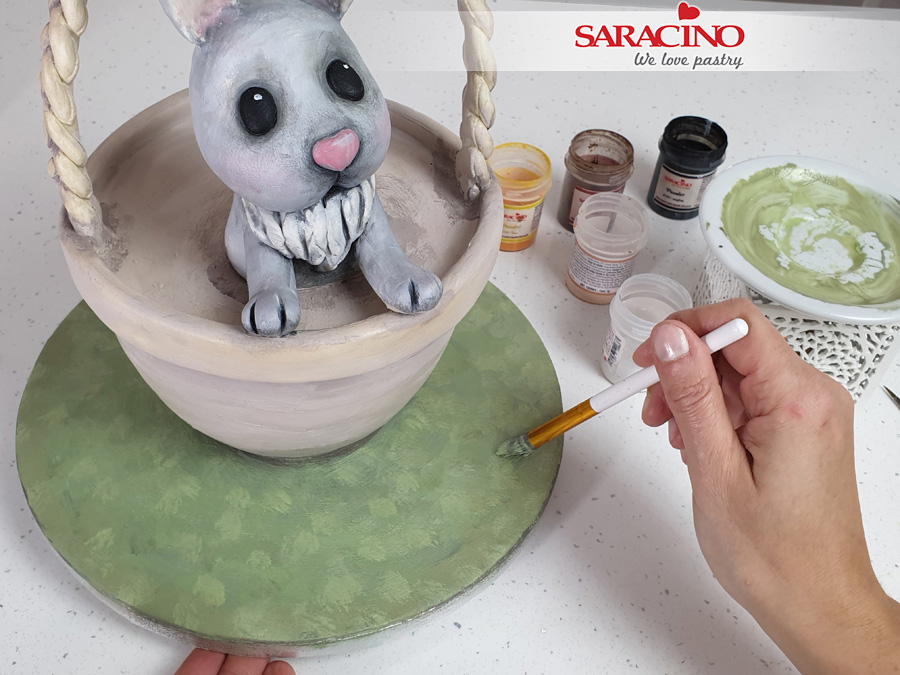
Step 46
Dab using a wide brush to blend and give the textured appearance.
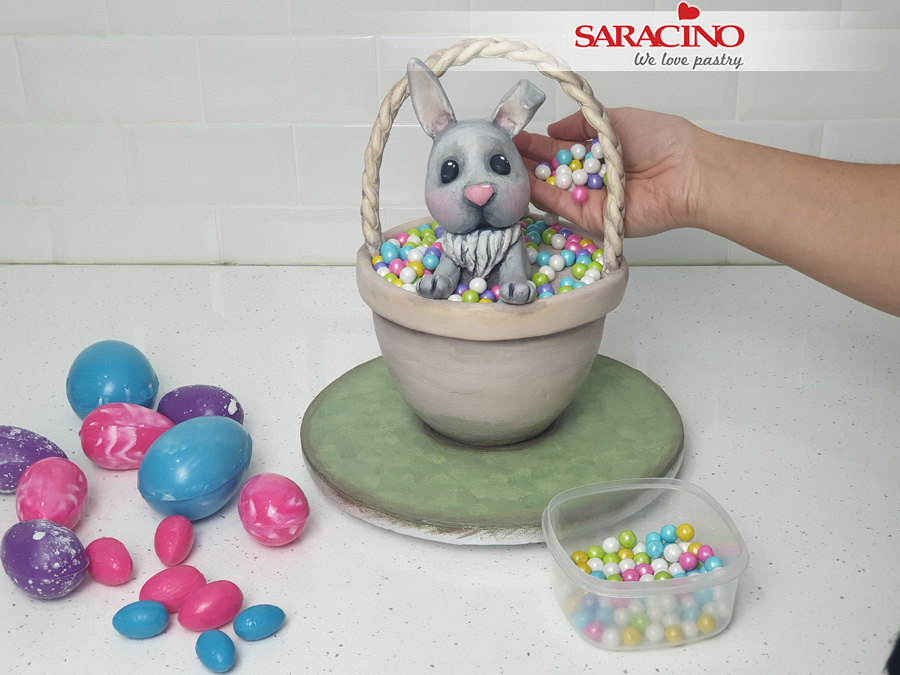
Step 47
Using brightly coloured chocolate balls or eggs fill the basket.
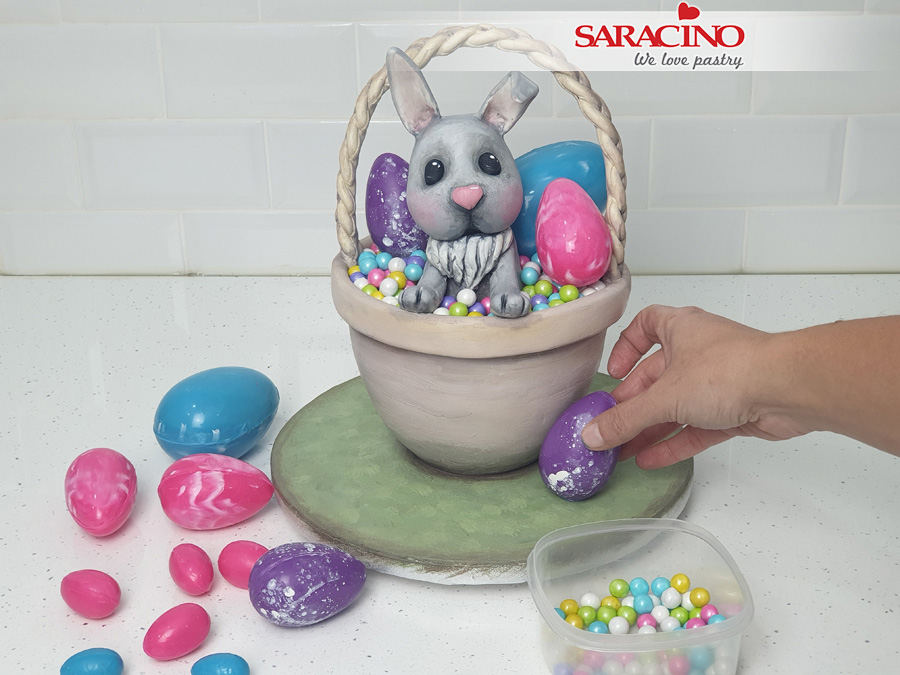
Step 48
Decorate the board as you would like.


