You will need:
- Saracino almond flour
- Icing sugar
- Caster sugar
- Eggs
- Buttercream
- Saracino raspberry flavouring
- Saracino coffee flavouring
- Saracino gel colours – Pink
- Pinch of salt or cream of tartar
Optional ingredients:
- Jam
- Titanium dioxide
- Other Saracino food gel colours
Equipment:
- Oven
- Mixer with whisk attachment
- Silicone Spatula
- Glass or metal bowl
- Sieve
- Piping bags and nozzles no. 10/12
- Baking tray – flat
- Silicone/ Teflon mat or baking paper

Step 1
Clean all your equipment with vinegar to take away any possible oil residue.
Separate the egg whites. Weigh all the ingredients. Combine almond flour with icing sugar. Add a pinch of titanium dioxide to the egg white (not essential but i like it for more of a pastel look).

Step 2
Add a pinch of salt or cream of tartar to your egg whites and start whipping, meanwhile sift your almond flour and icing sugar.

Step 3
Once your egg whites start looking frothy start adding caster sugar 1⁄3 at a time leaving around a minute in between adding each 1/3.

Step 4
Keep whipping on medium until we achieve soft peak consistancy.

Step 5
Add the colouring and increase the speed to a higher number for the last minute or two.

Step 6
Carefully watch your meringue mixing in the bowl. When it balls in your whisk stop and check. You want to achieve stiff peaks.

Step 7
Add 1⁄2 of the almond and icing sugar mix to your meringue and gently fold it in (fold dont mix you don’t want to deflate it at this stage).

Step 8
Add the second half of the almond and icing sugar mixture and now you fold and slide your spatula through the middle of your mixture pressing against the bowl as you want to deflate some of that air but not all of it. Your mix should be getting more shiny and runnier.

Step 9
Your mix should be flowing nice and gently from the spatula.
TIP: You can do a figure of 8 test – take some mix onto your spatula. Draw a number 8 slowly with the mix into the bowl. Flowing off the spatula (we dont want it to all fall off at once). If you manage to draw the whole number 8 then it is ready.

Step 10
Prepare your piping bag and Wilton size 12 round piping nozzle. If you don’t have anyone to hold your piping bag open place it into a tall glass or similar for support. If you are experienced in piping you can go for a larger nozzle. I like this one as it gives you more accuracy when piping the circles.

Step 11
Add the mixture to the piping bag and start piping. Keep your bag vertical to the mat. Gently squeeze to the middle of the circle and don’t move the bag around as the batter will spread itself. When it reaches the circle line on the mat stop squeezing. Flick the nozzle tip or do a quick small rotation. Do not pull directly upwards as this will leave a little bump in the middle.

Step 12
Your silicon mat is to be on your baking tray. Tap your tray on the counter several times to pop any air bubbles.

Step 13
The surface should be pretty smooth after step 12 but it will get even smoother after resting. Preheat the oven to 150c and leave your tray for about 30 to 45 min (depending on the humidity this maybe longer). We want the macarons to form a skin. Check after 30 minutes and add time as necessary. To check if they are ready to bake gently touch the top of the macaron, if it’s not sticky to the touch it is ready to go into the oven. Add for 20 minutes turning the tray halfway through the baking process.

Step 14
Before removing them from the oven gently nudge one of the macarons to check if it’s ready to come out. If it still wiggles, give it another minute or two. Remove from the oven and let them cool completely before removing the mat. Remember to peel the mat from the macaron not the other way round.

Step 15
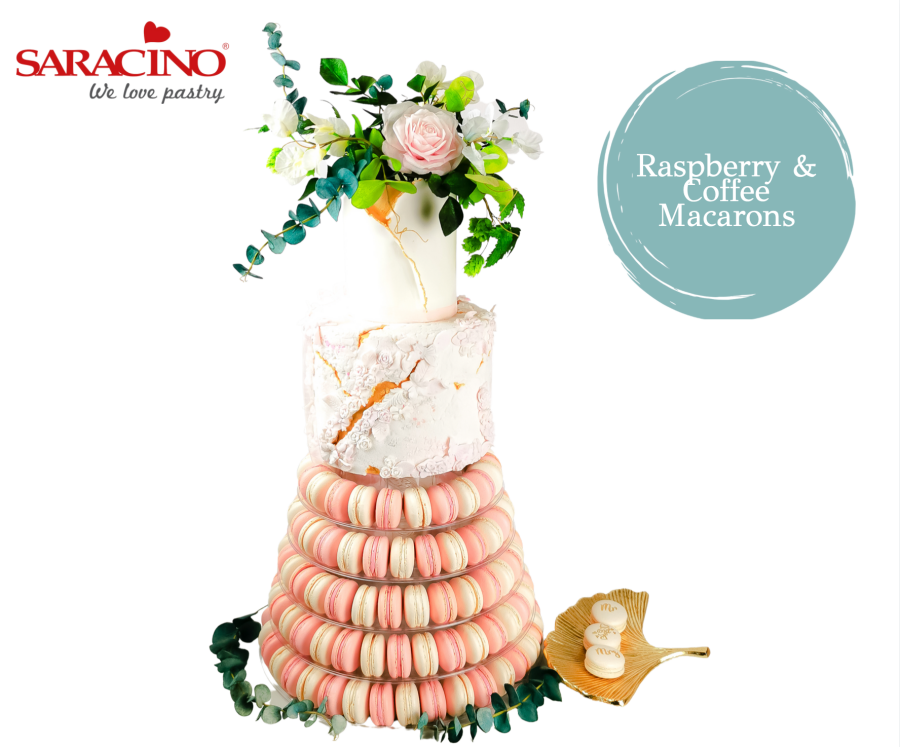
Now the macarons are ready, it’s time to fill them up with a flavour of your choice. You will need your favourite buttercream mix and Saracino natural food flavouring. For this tower I have used a raspberry buttercream and a coffee buttercream. I find it easier to pair the circles before piping with one facing up and one facing down.

Step 16
For this tower I used 250g buttercream and 50g of Saracino raspberry flavouring. I find the coffee flavouring stronger so to another 250g of buttercream I only use 30g of the flavouring (this is to personal taste). Mix together and transfer to a piping bag with nozzle no. 10/12 (it is not necessary to pipe but this does give a cleaner and more professional look). I like to add something to the centre so I have raspberry jam in another piping bag.

Step 17
If you adding the jam in the centre, pipe a circle of buttercream a millimeter or two from the edge and add the jam in the middle. If you are not using the jam just pipe the buttercream in the centre of your macaron.

Step 18
Repeat step 17 for all of your colours and flavours if you have a different ones. This one is caffe latte – vanilla buttercream with coffee buttercream centre.

Step 19
Sandwich the halves of your macarons together Place them let them in the fridge for 24h. You are then ready to arrange and enjoy.

Step 20
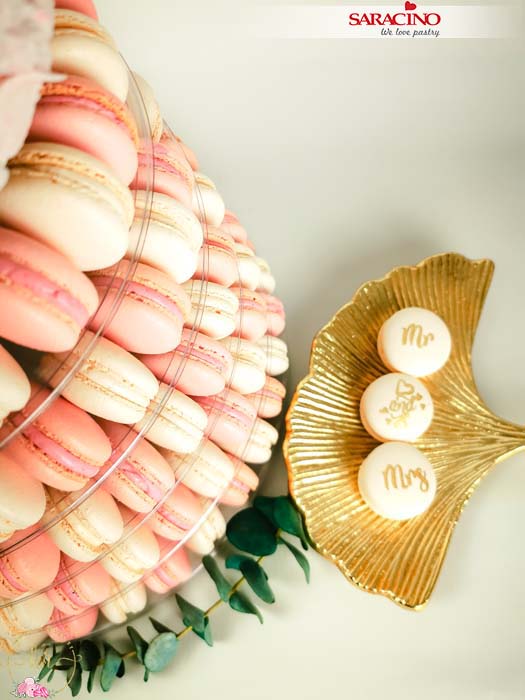
Stack them on a macaron tower if required. Let your imagination go wild on how to display them.


