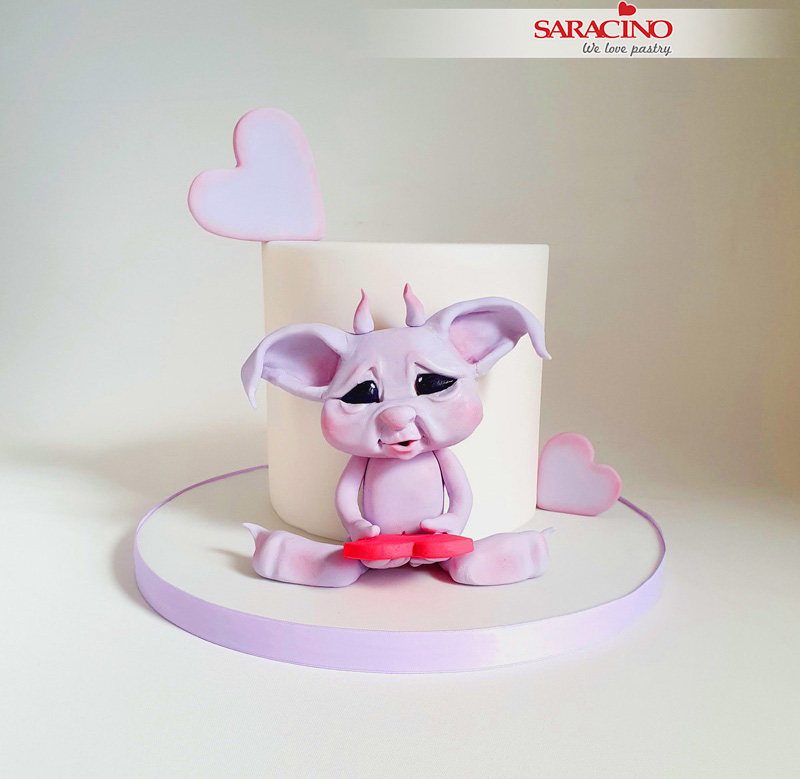
You will need:
INGREDIENTS:
- Purple Saracino modelling paste mixed with white paste to make a pastel colour
- Red Saracino modelling paste
- White and pink powder colour
- Black Saracino modelling paste
EQUIPMENT:
- Cake and board covered with white Saracino Pasta Top sugar paste
- Rolling pin
- Modelling tools including Dresden tool
- Heart cookie cutters
- Brushes for edible dust colours

Step 1
Roll a 35g ball of the pastel purple Saracino modelling paste for the body of the goblin.

Step 2
Roll the ball into a longer shape like shown in the picture (around 5cm long).

Step 3
Press it down with the palm of your hand to flatten it so you can easily attach it to the surface of the cake.

Step 4
Hold the shape with one hand and press from both sides at the bottom of the shape making space for attaching legs. Put aside to dry.

Step 5
For the legs we will need 2 x 18g balls of the same colour Saracino modelling paste.

Step 6
Roll one ball into a longer sausage shape.

Step 7
Roll one end of sausage shape to make it thinner.

Step 8
Bend the thicker part for the foot.

Step 9
Shape it with your fingers like in the picture for a natural look for the foot.

Step 10
Make a deep indent under the foot with your Dresden tool.

Step 11
Using your fingers roll the tip of the foot to make it sharp and bend it a bit.

Step 12
Attach the body and legs with water or edible glue to the cake.

Step 13
For the arms you will need 2 x18g balls of purple modelling paste.

Step 14
Roll two sausage shapes the same length.

Step 15
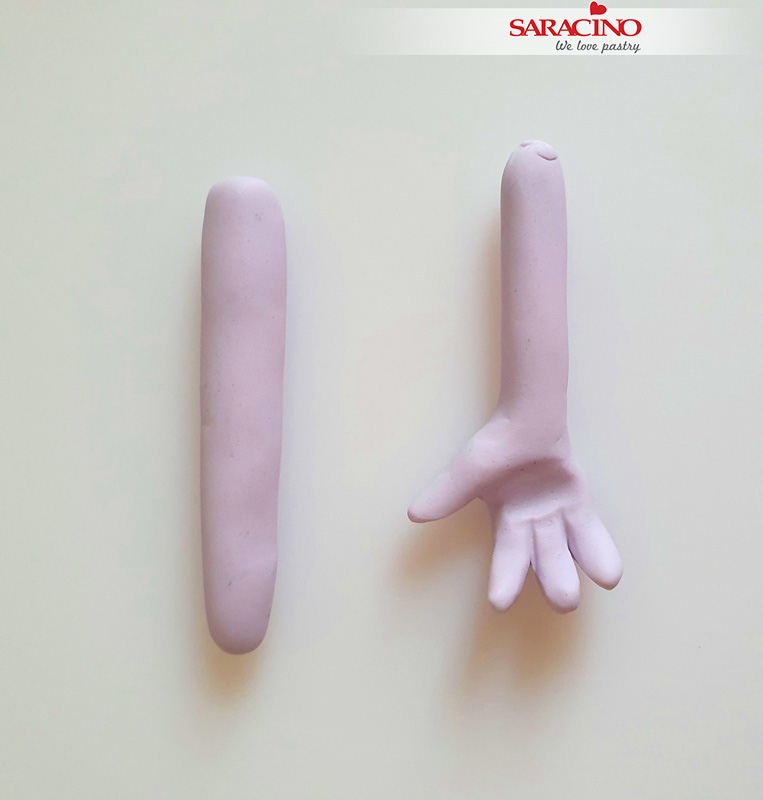
Roll one end of the sausage thinner leaving thicker part for palm of the hand

Step 16
Flatten the thicker part so you can cut and shape fingers.

Step 17
For the thumb cut a piece as shown in the picture.
Step 18
Cut to make 3 fingers. Shape fingers and palm of the hand using Dresden tool and your fingers. Repeat the same steps for the other hand.
Step 19
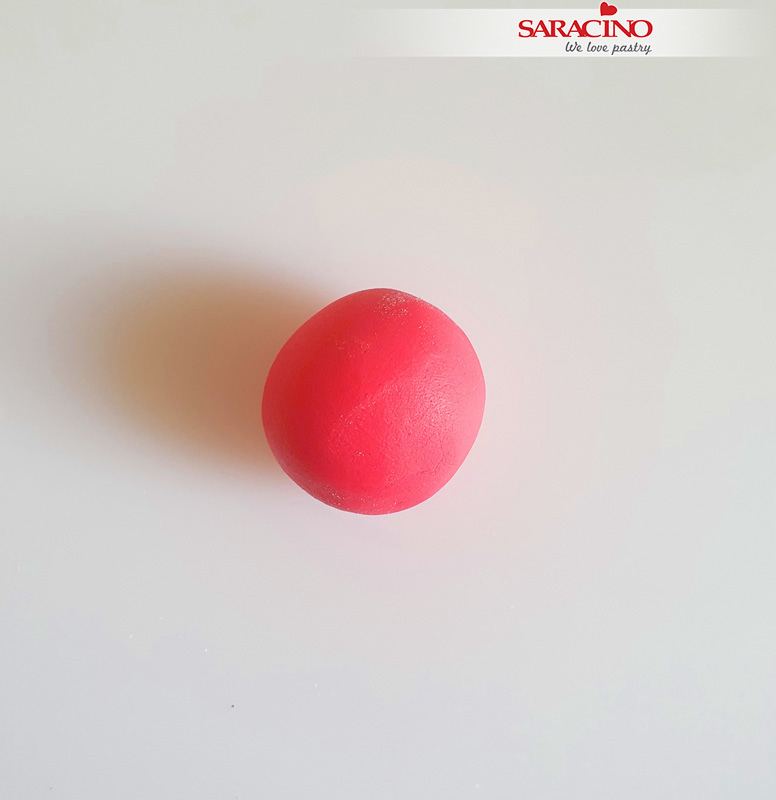
For the heart roll a ball of 20g red Saracino modelling paste.
Step 20
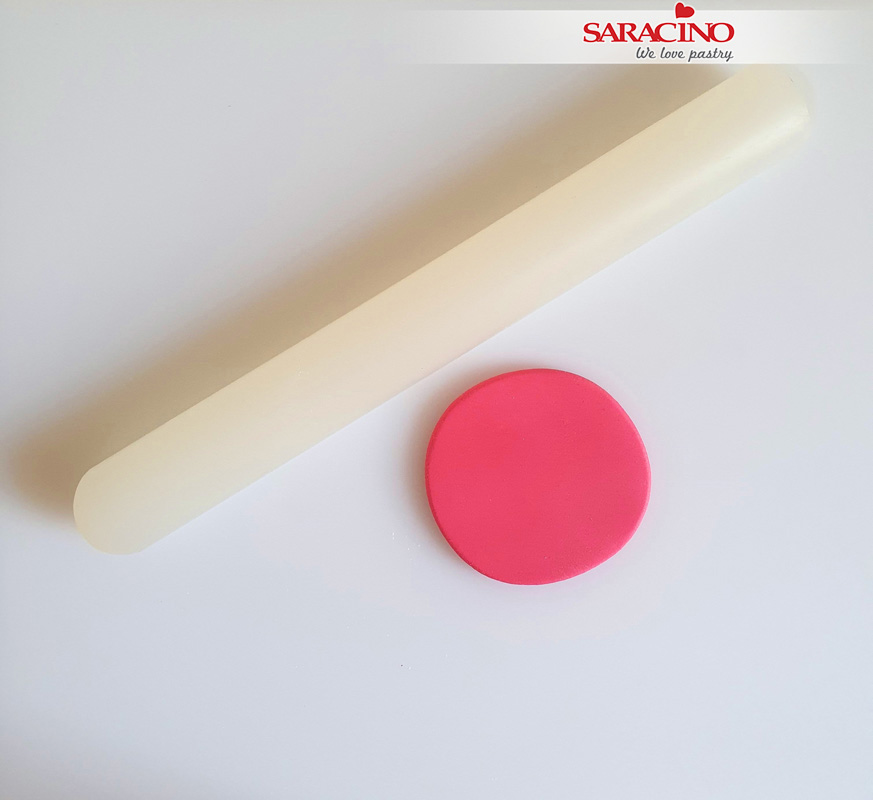
Roll the ball with a small rolling pin to approximately 0.4cm thick.
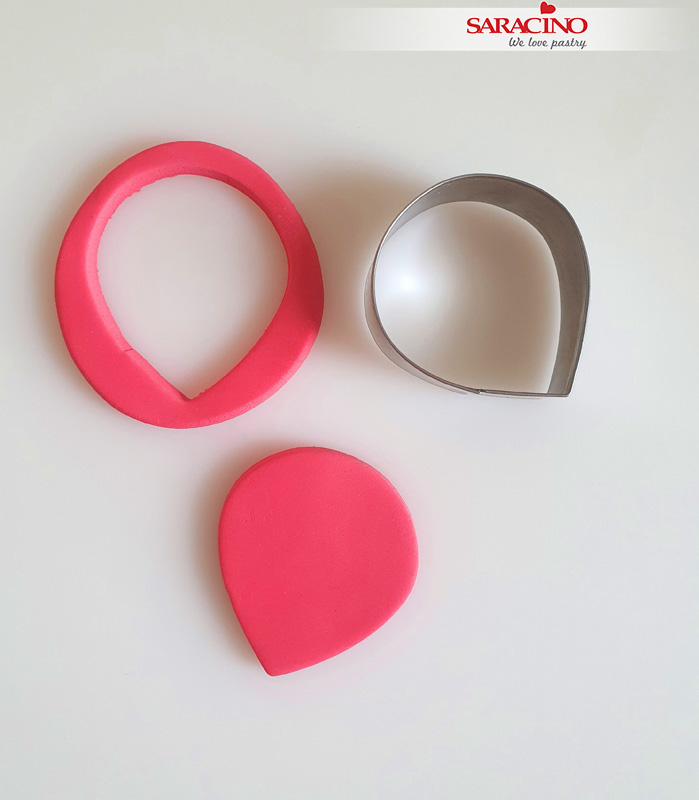
Step 21
Cut a petal shape, you can use a heart cutter if you have the right size, for this I needed a special size so I used a petal cutter instead.
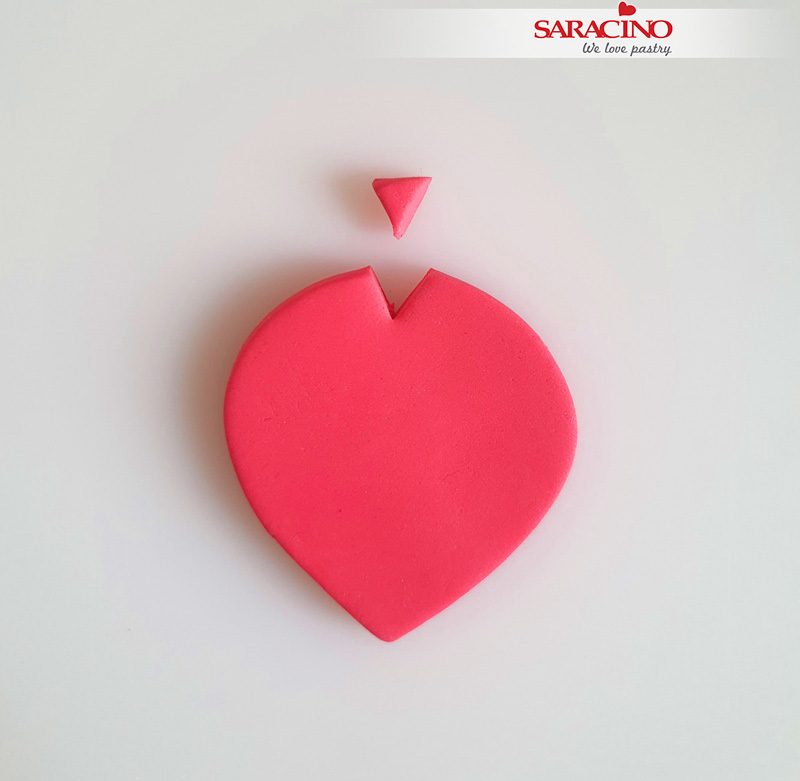
Step 22
Cut a little triangle on top of the shape.
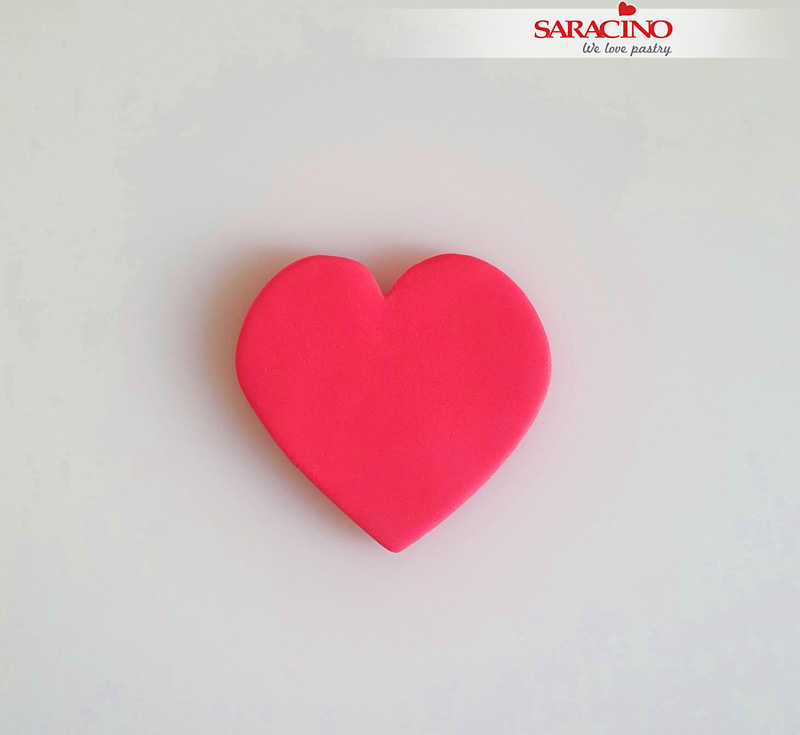
Step 23
Blend the edges and shape it to look like a heart.
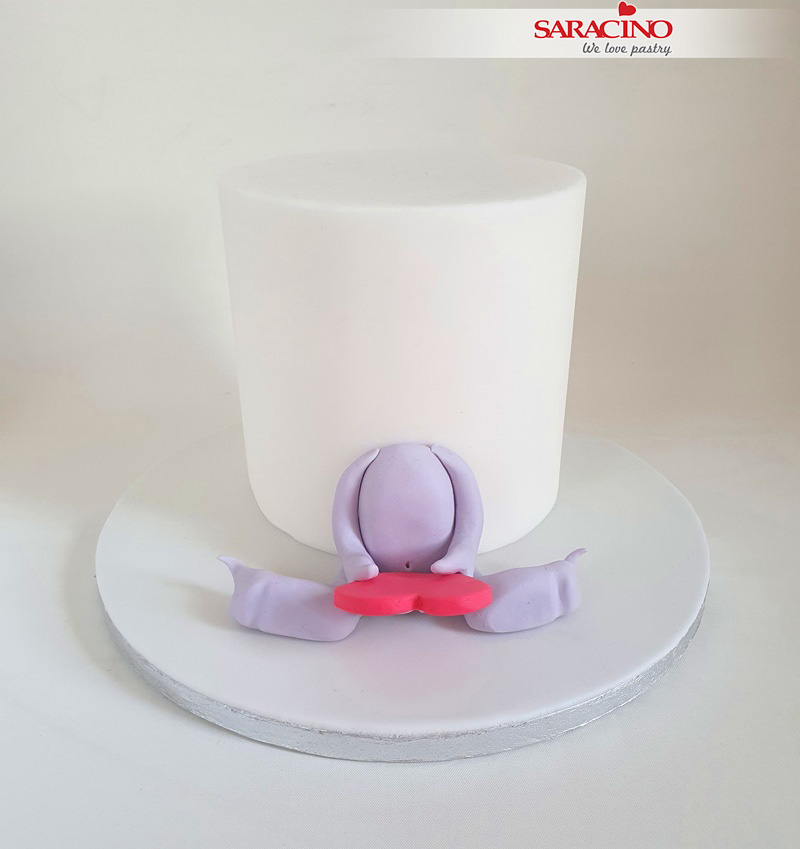
Step 24
Attach the arms to the body holding the heart. Use a sharp tool to form a belly button.
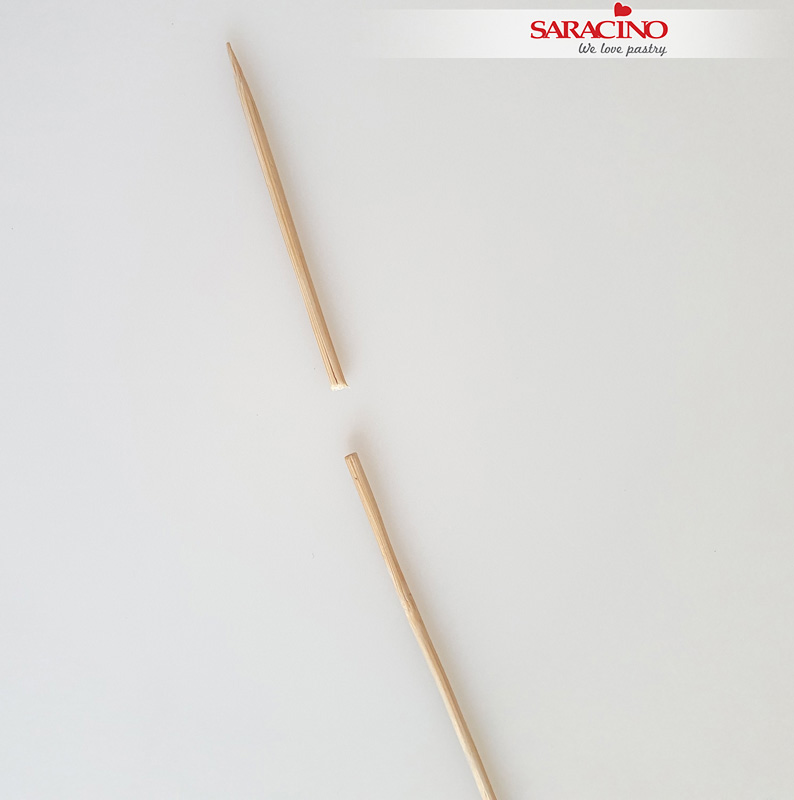
Step 25
For attaching the head to the cake cut a short piece of wooden skewer and insert it into the cake where the head will be attached.
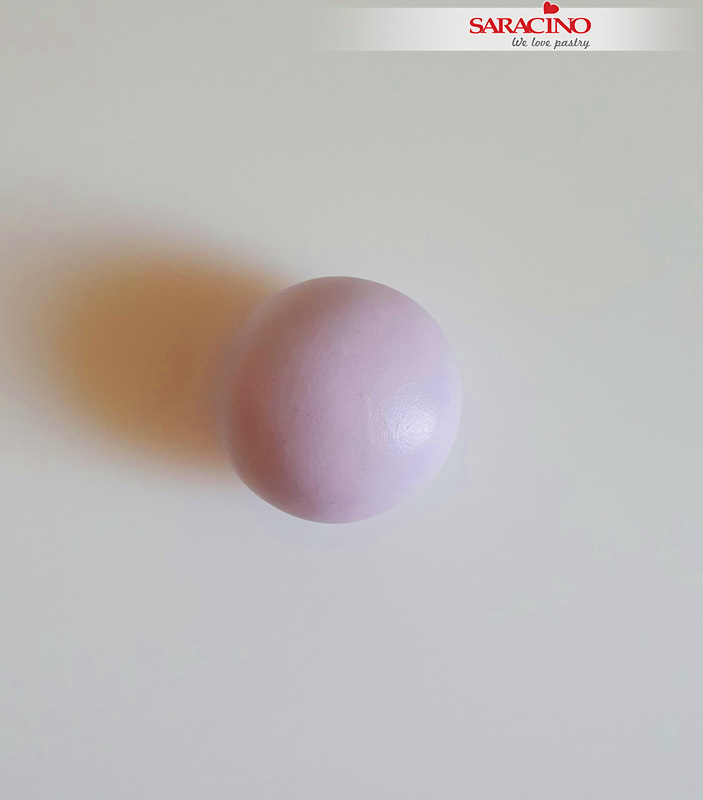
Step 26
For the head roll a ball of 70g Saracino purple modelling paste.
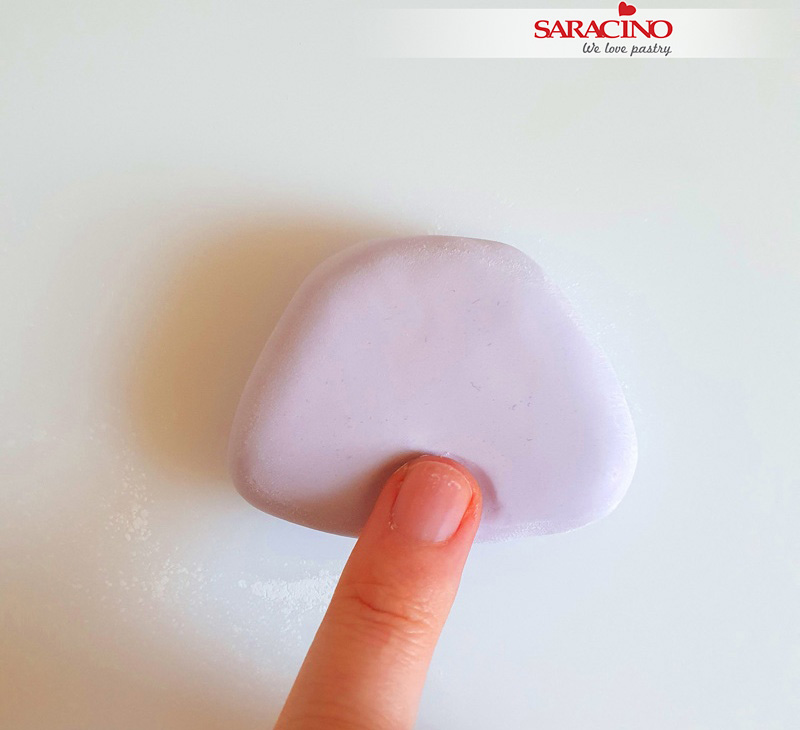
Step 27
Shape the head to 5cm height with 6.5cm width at the bottom and 3cm width at the top. For the mouth and chin press an indent with your finger approximately 2cm wide.
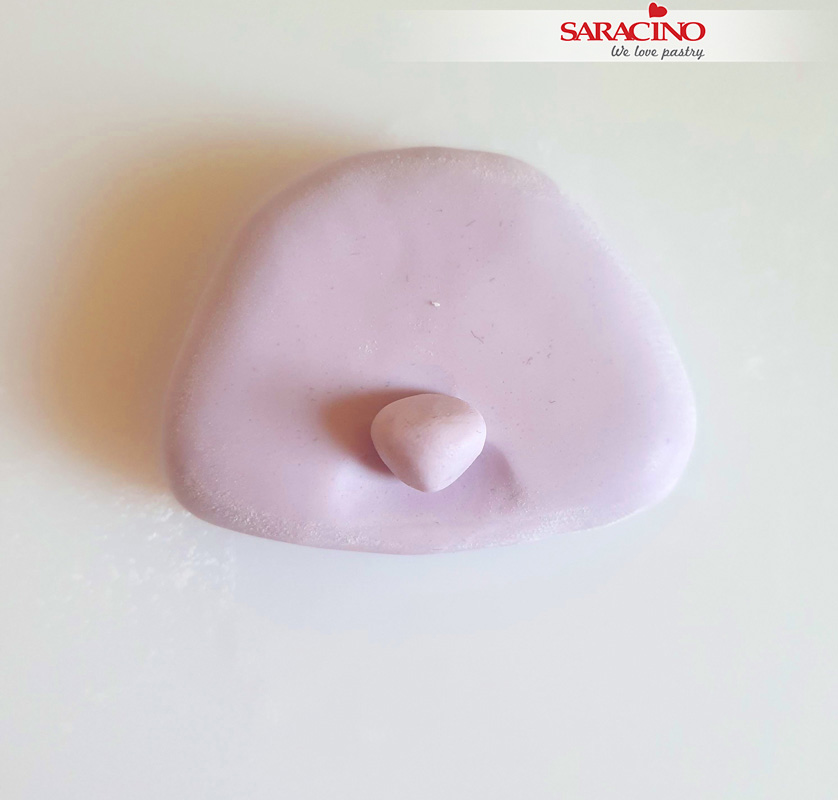
Step 28
Roll a 1cm size ball for the nose, shape and attach to the face.
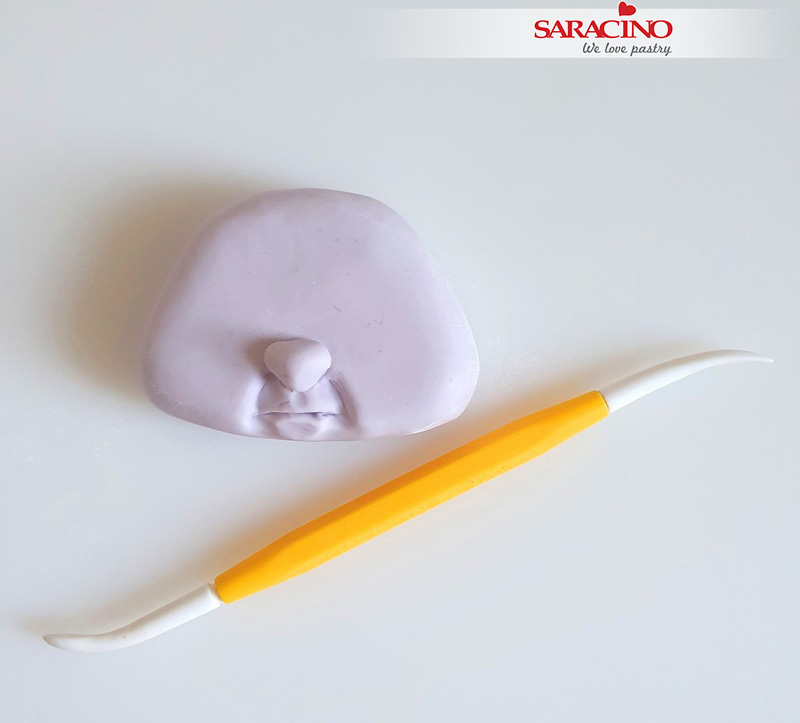
Step 29
Start shaping the lips and nose using your Dresden tool.
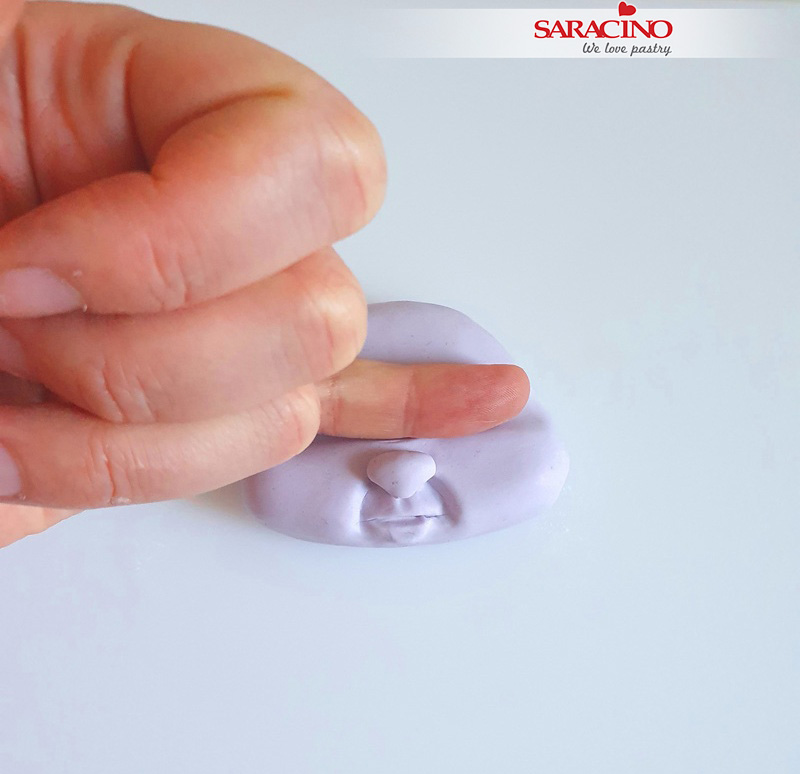
Step 30
Using the back of your finger press across the face where the eyes will be to form the forehead shape.
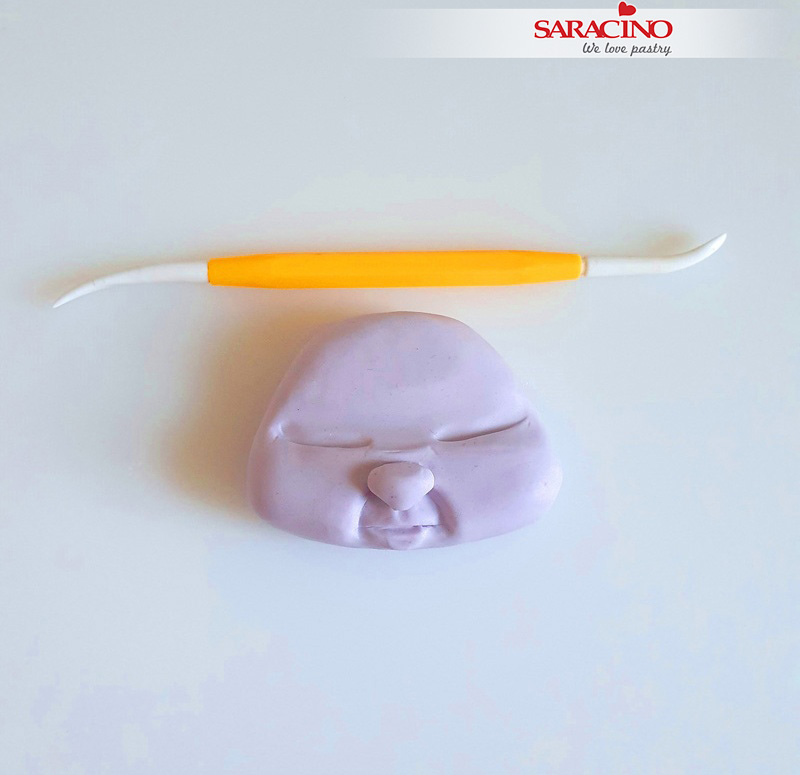
Step 31
With your Dresden tool make incisions where the eyes start and finish.
Each eye is approximately 2cm wide with a 1.5cm gap between them. We want each eye 1cm tall at it’s tallest part.
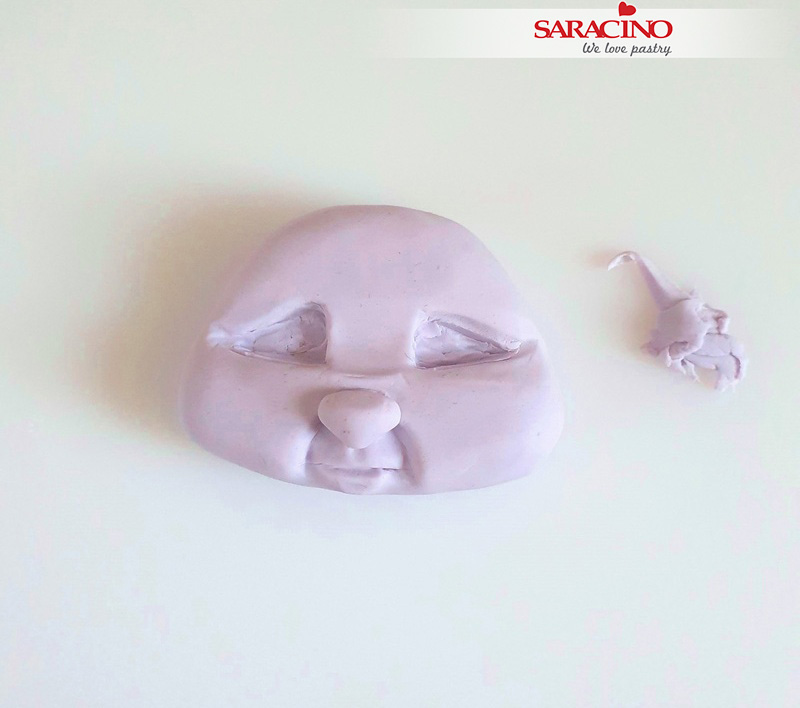
Step 32
Once you have shaped the eyes cut out the residue from inside of them. Smooth the surface inside the eyes with your Dresden tool.
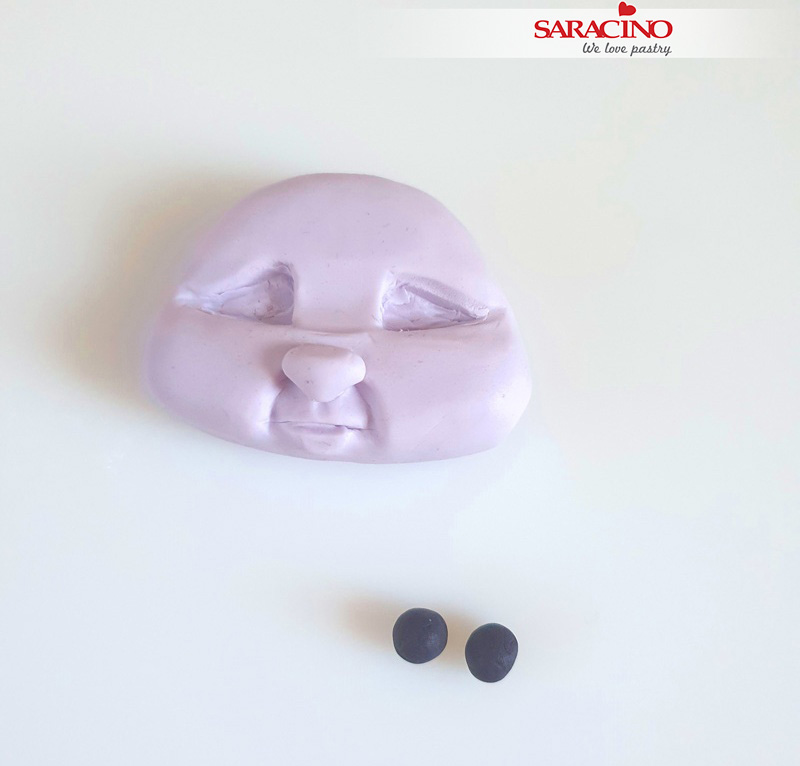
Step 33
For the eyes you will need to roll two balls of the same size using the black Saracino paste.
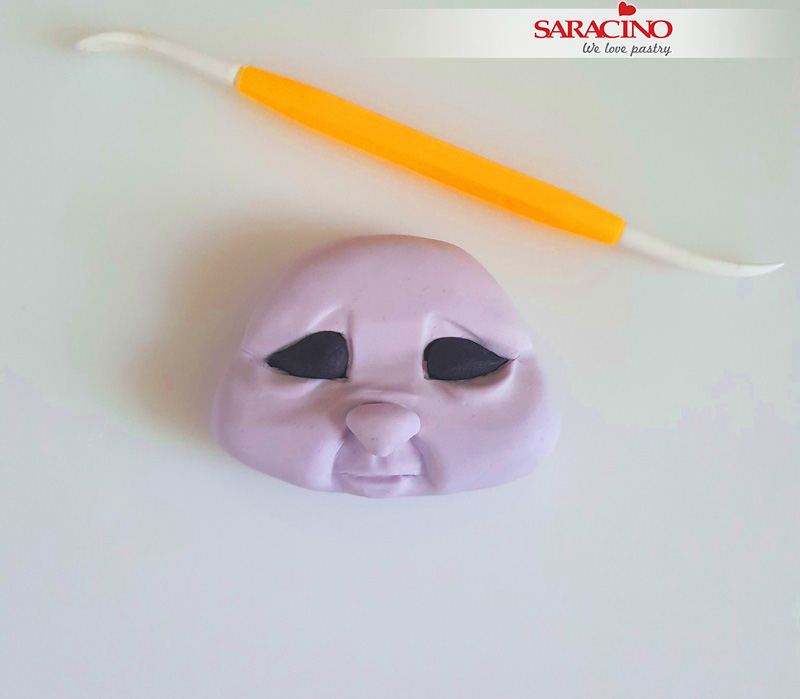
Step 34
Roll the balls into teardrop shapes. Using your Dresden tool shape them into the eye sockets. Form the wrinkles around the eyes with your Dresden tool. Shape the lower eye lids.
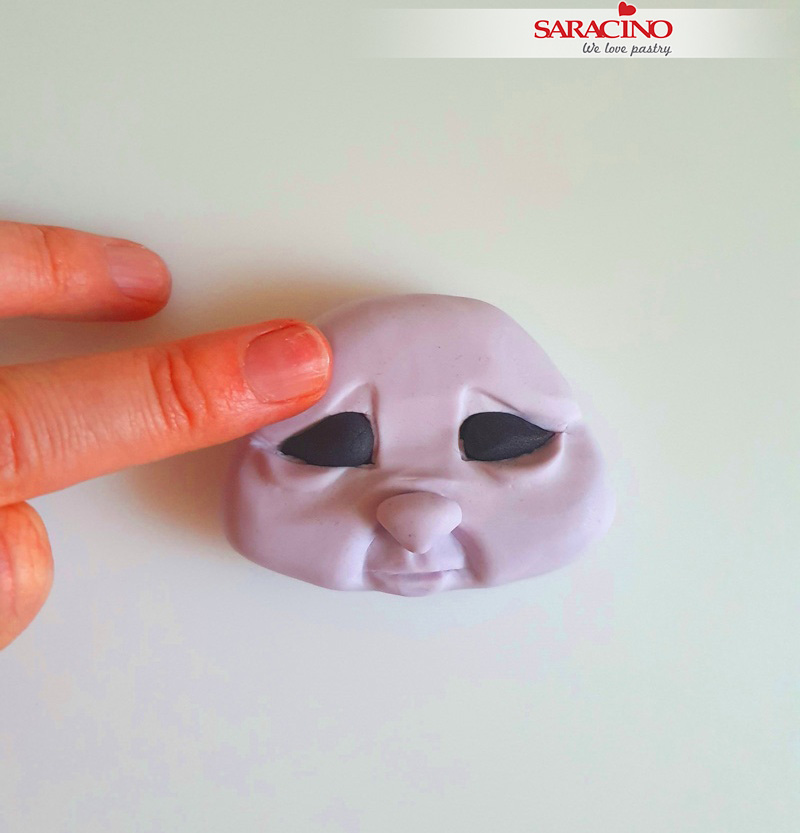
Step 35
To give expression use your finger to press down the top of the eye as shown in the picture. We want to achieve a sad expression.
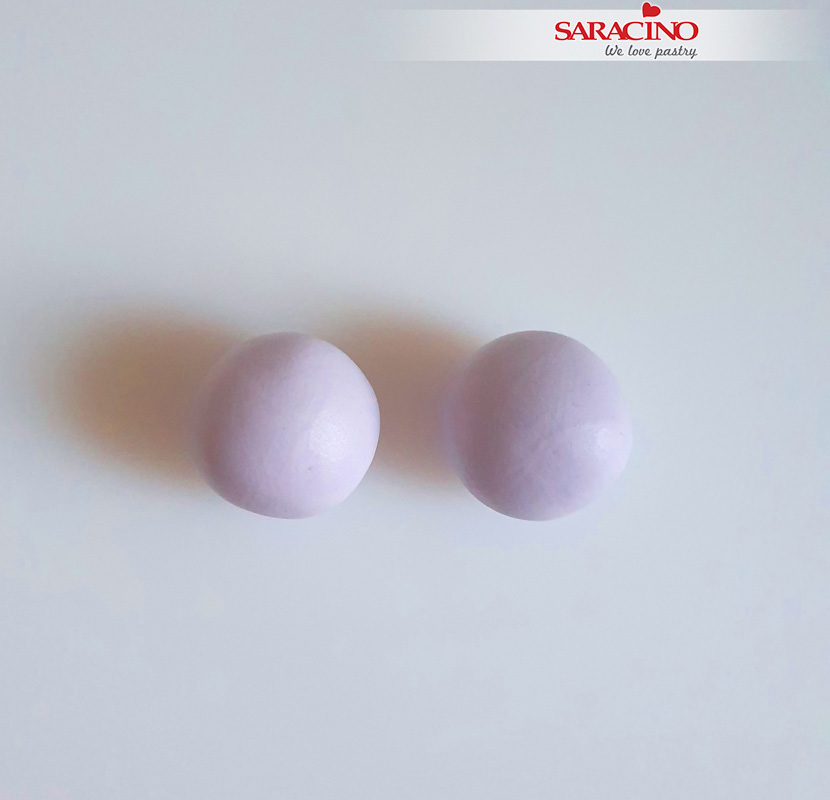
Step 36
For the ears you will need 2 x 15g balls of purple Saracino modelling paste.
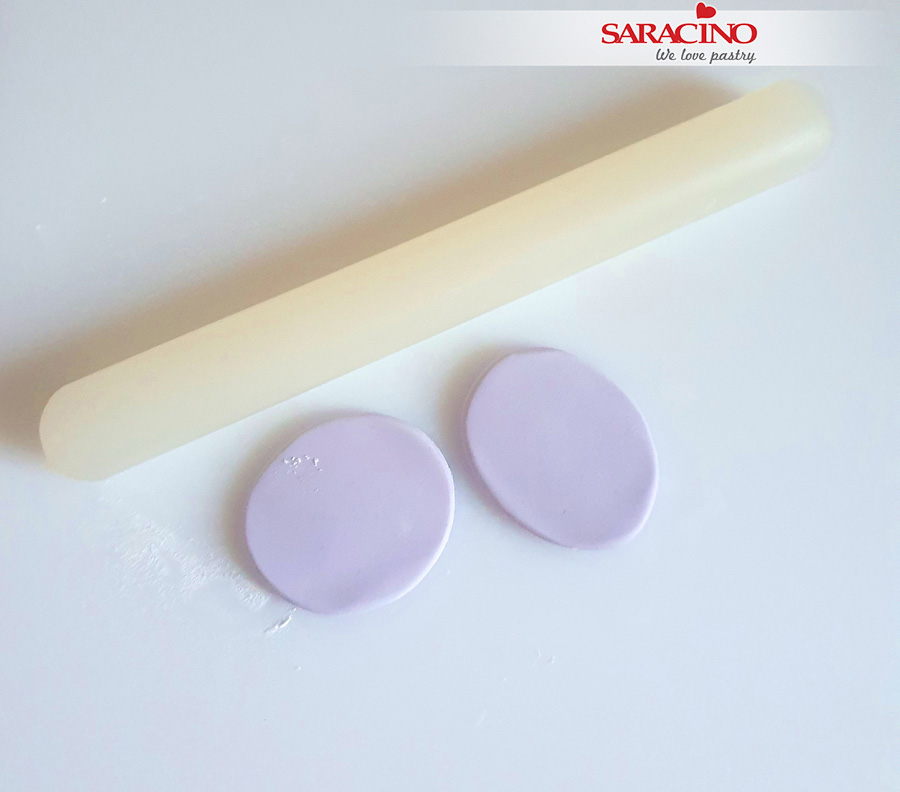
Step 37
Roll the balls with a rolling pin to make two flat oval shapes.
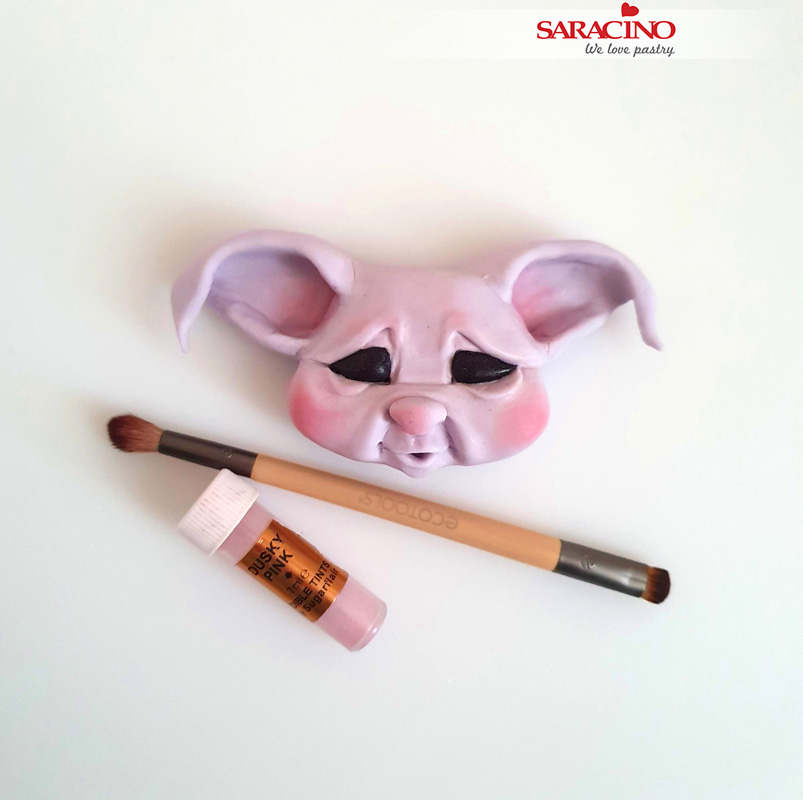
Step 38
Using your Dresden tool model the ears and attach them to the head. Dust the face using pink edible dust colour and a soft brush as you can see in picture. Use your Dresden tool to give the face more feature and character.
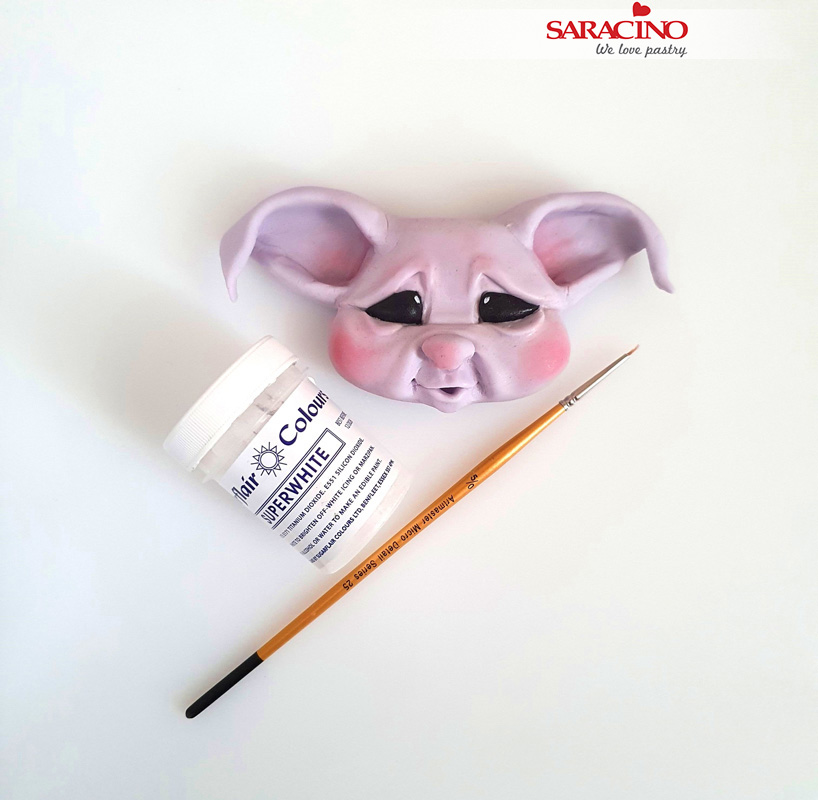
Step 39
Mix a small amount of the white powder colour with water. Using a very fine brush paint highlights to the eyes.
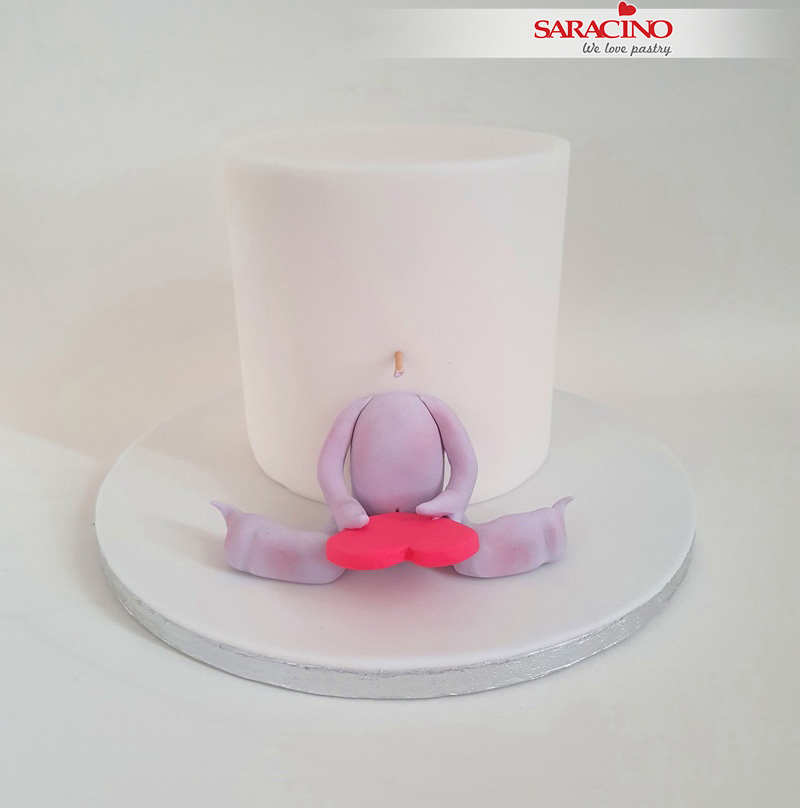
Step 40
Dust the body with the same pink edible dust as we used in step 38.
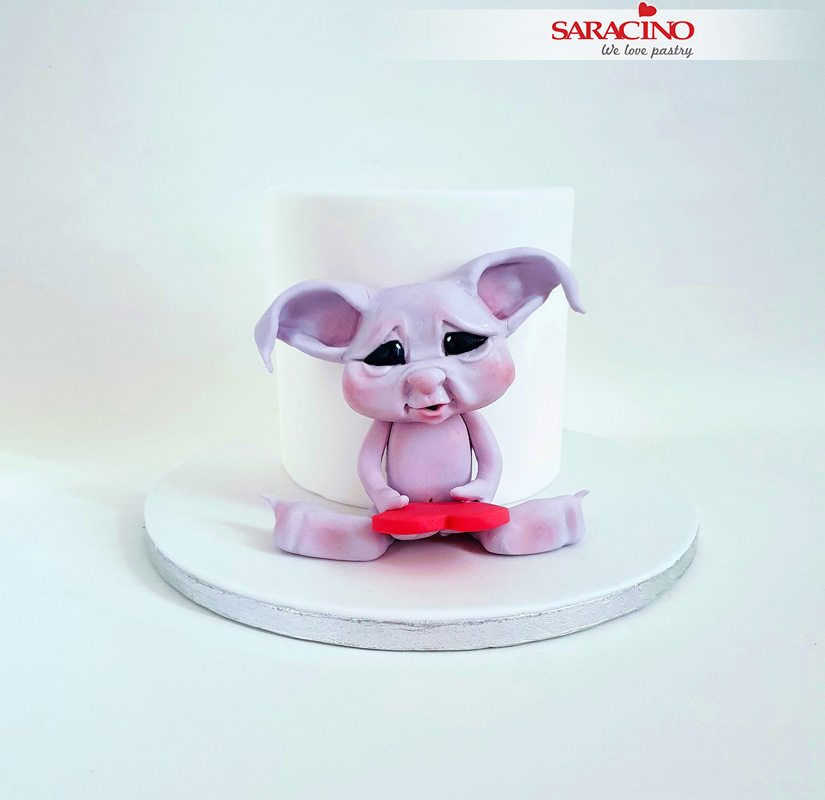
Step 41
Attach the head to the body and the cake.
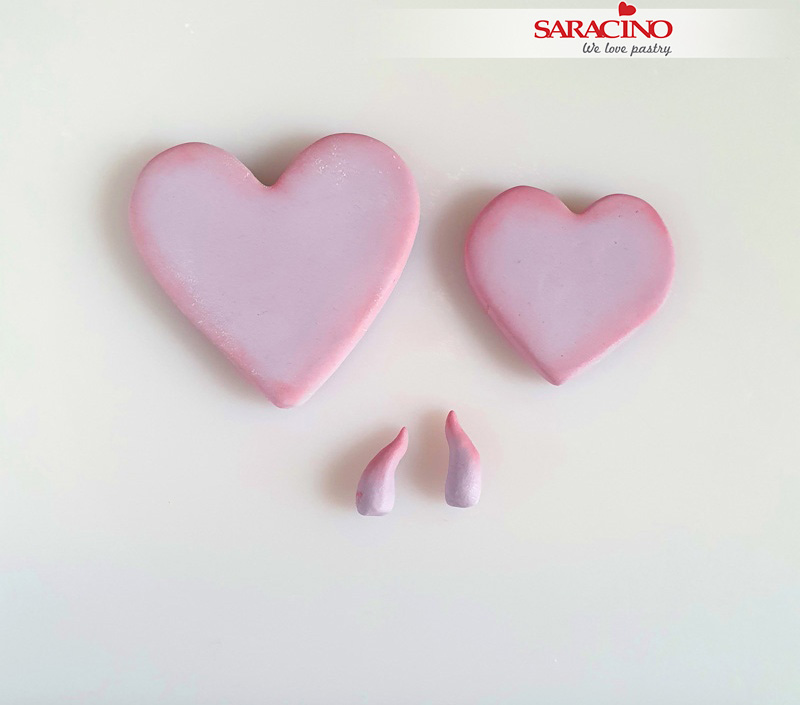
Step 42
Roll and cut out two different sizes of hearts as desired for the cake and dust them with the edible dust colour. Set aside to dry. Now roll two small pieces for the tiny horns that will go on his head.
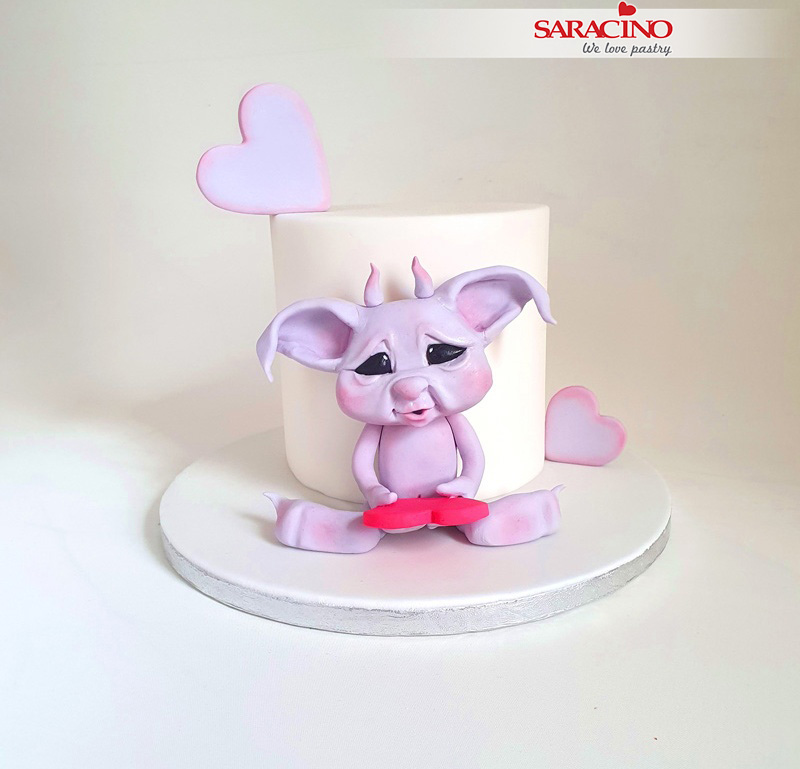
Step 43
Attach the hearts on the cake as shown. Attach the horns with a little glue or water on to the top of his head.
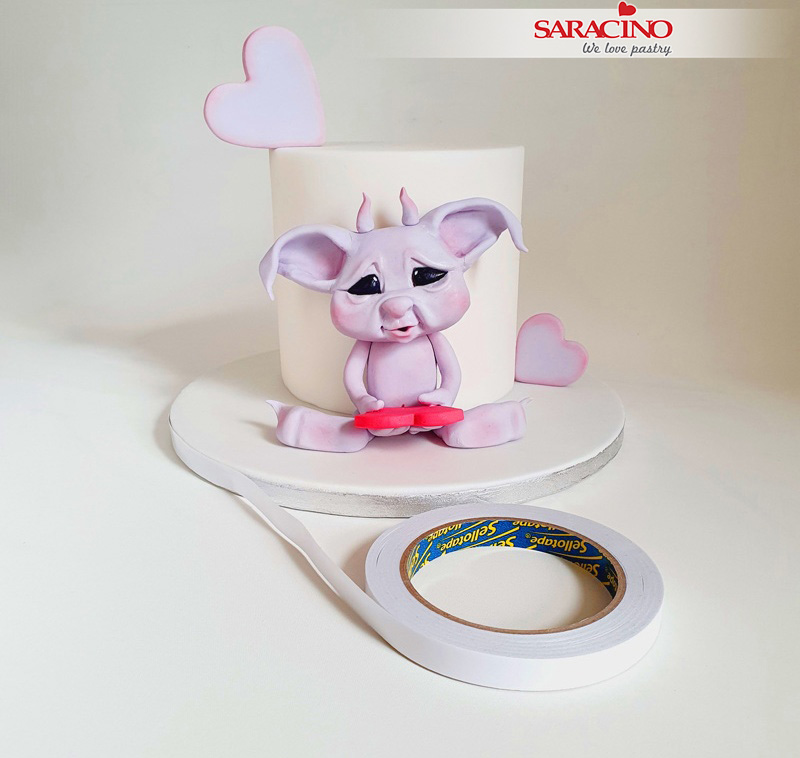
Step 44
Stick the double sided tape around the edge of the board.

Step 45
Stick pastel purple colour satin ribbon around the cake board. All done!
Happy Valentines day!


