Author: Carmen Montero
FB: De un bocado
Skill level: INTERMEDIATE
TIP – You can cover your two tiers with Saracino Pasta Top. To learn how to cover your cakes and create sharp edges follow the link
HERE – for picture tutorial
HERE – for video tutorial
You will need:
-
2 dummies of 15 and 20cm or 2 cakes (you can make a cake decorated with cookies or simply present the cookies in a more original way, on the dummies instead of on a classic tray)
-
Cake drum
-
Saracino fondant Pasta top to cover dummies or cakes
-
Saracino Royal Icing Mix
-
Sieve
-
Corn starch
-
Rolling pin
-
Baking paper
-
Piping bag
-
Number 1 piping nozzle
-
Scissors
-
Pencil
-
Micro-perforated mat
-
Snowflake cutters


Step 1
Sprinkle the work surface with corn starch to roll the fondant and keep it from sticking.

Step 2
Place the layer of fondant on a cake drum that has a small amount of water so that it sticks.

Step 3
Trim excess edge.

Step 4
Roll out more Saracino Pasta Top and cover the dummies or cakes. Remember to always sprinkle the work surface before rolling the fondant so that it does not stick. Remember to also moisten the dummies or cake so that the fondant sticks. No need to over wet it, just moisten it lightly.

Step 5
Smooth and apply the fondant to the surface of the dummy or cake using cake smoothers. Trim off the excess from around the bottom.

Step 6
Don’t worry if the surface isn’t perfect. The imperfections will be covered for the most part by the decoration that we will make with the cookies.

Step 7
Place one tier on top of the other. If you have used dummies, just stick them together with a little corn syrup (you can include a cocktail stick or dowel to fix it better). If you are using real cakes, remember to place a cake board beneath the top tier and use dowels for support.

Step 8
Draw little houses on the baking paper. Bear in mind the height of your tiers and decide on the sizes you would like.

Step 9
You can make as many shapes and sizes as you want but remember that you can repeat patterns (otherwise you will spend a lot of time cutting out shapes). You must bear in mind that you should not make them excessively wide so that they adapt better to the curvature of the cake.

Step 10
Cut out the little houses that you have drawn

Step 11
Roll out the cookie dough to an even thickness (5mm thick). Place the shapes you have cut out on the cookie dough. You can use the classic shortbread dough, gingerbread cookie dough, honey cookie dough … But don’t forget that the dough must always be very cold to handle.

Step 12
Cut the houses using a sharp blade.

Step 13
Place the cut cookies on a cookie sheet with a micro-perforated mat and put them in the freezer for 5-10 minutes. This will prevent them from losing their shape during baking. Meanwhile, preheat the oven to 180ºC (356 ° F).

Step 14
Also cut some snowflakes and do the same, put them in the freezer for a few minutes.

Step 15
Don’t throw out the dough scraps! Knead them again (not too much so that the gluten does not develop and the cookies are puffed in the oven) and roll them again. Remember to cool the dough very well before using it.

Step 16
Bake the cookies at 180ºC (356 F). Baking time depends on the size of the cookies. It usually ranges between 10 and 15 min. It depends on how dark and crisp you like them. When you take them out of the oven, flatten them with a smoother. You must do it as soon as you remove them, before they harden completely.

Step 17
Transfer the cookies to a cooling rack and wait until they are completely cool before decorating.

Step 18
Make the royal icing. Follow the instructions on the package (we must make a rather firm royal icing so that it does not flow when piped). It is not necessary to add flavors as it is delicious as is.

Step 19
Beat with the paddle at low speed so that it does not air too much and check that it is well uniform, white and shiny.

Step 20
Place the nozzle in the piping bag and fill with the royal icing. Start decorating the cookies. Make a large snowflake to place on top. Let yourself go with imagination! Make the shapes and decorations that you like the most on the cookie.

Step 21
You can make lines, dots … but for that shape to be maintained remember that it is important to have a good piping consistency with your royal icing. We dont want it too runny so it runs.

Step 22
Make other sizes of snowflakes, some smaller to fit in the spaces between houses

Step 23
Decorate the houses. Outline the area of the roof to later fill and simulate snow.

Step 24
Fill in the roof and make windows and a door

Step 25
Put some royal icing on the windows, it will give more winter and Christmas feeling.

Step 26
Do the same with the other houses. Make up different decorations!

Step 27
You can also add royal icing to the base of the cookie, it will look like the ground is snowy when you place them on the cake.

Step 28
Let the royal icing dry well before placing the cookies on the cake.

Step 29
As the large snowflake will be placed on top of the cake, we must fix a wooden skewer to the back of the cookie. We will stick it with icing. We put a little on the back of the cookie.

Step 30
Then we will place the top of the skewer onto the cookie and finish covering it with more royal icing. Let it dry very well before using it so that it does not come off.

Step 31
To stick the cookies to the cake, we will put a little royal icing on the back of each one. It will be enough to keep it glued but remember that you must let it dry so that it does not fall off.

Step 32
Place the first cookie and press lightly to set it.

Step 33
Continue placing the other houses, as well as the snowflakes. Keep the flakes pressed for a few seconds since they are not supported on the base of each tier, they could slip.

Step 34
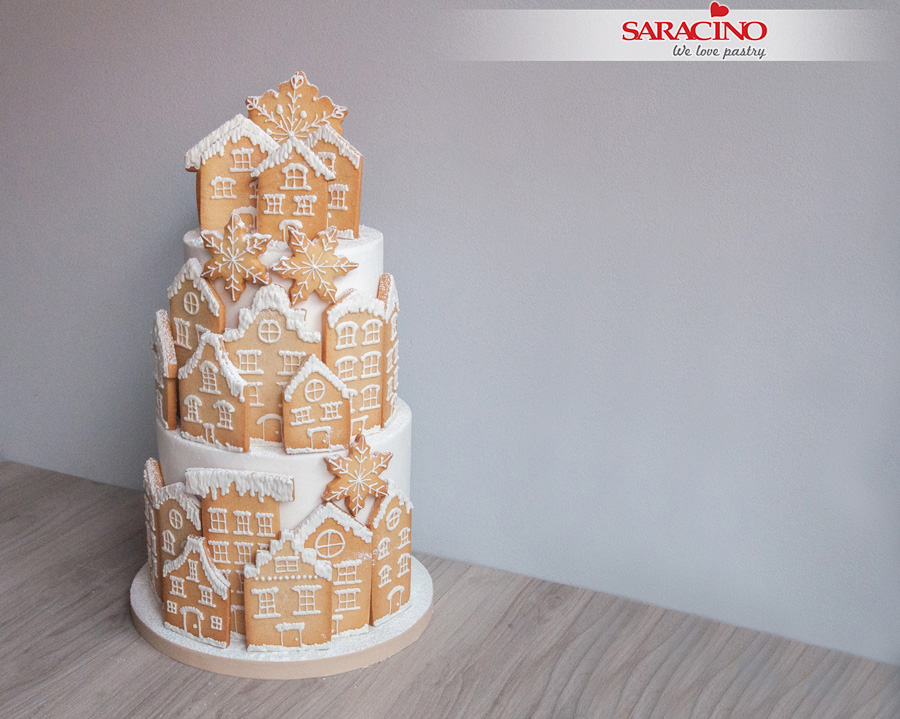
To give a volume effect, place some lower houses in front of the tall ones.

Step 35
Let dry so that they do not fall when moving the whole set.

Step 36
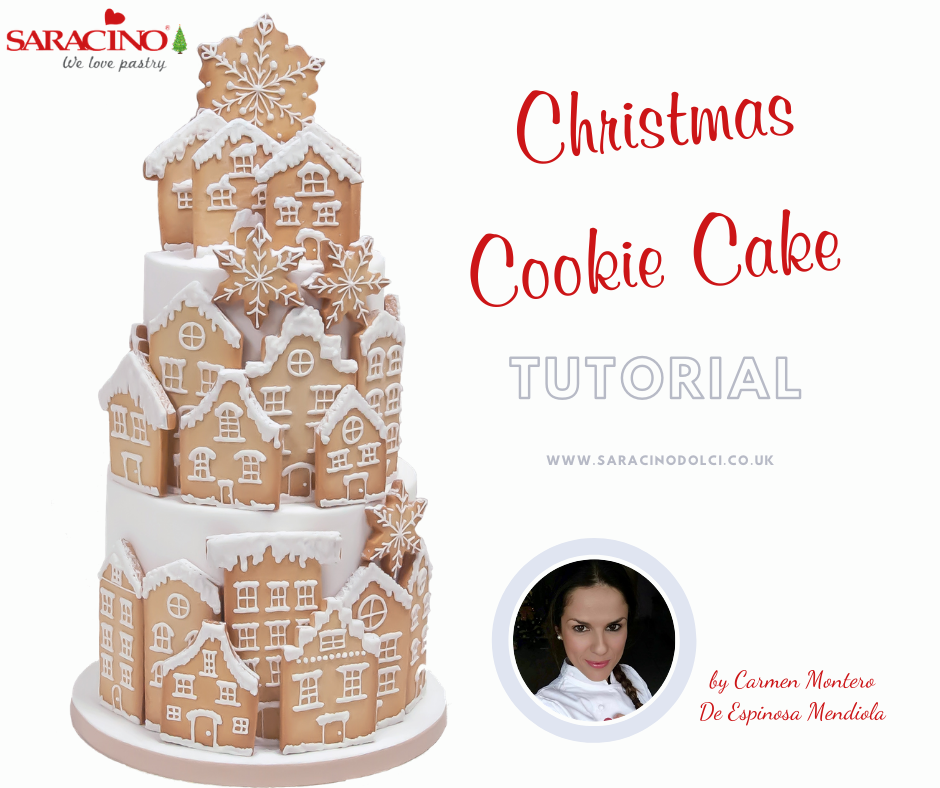
Insert the large snowflake and place the houses on the top. You can put skewers on the back of the houses in the same way you did with the large snowflake. This will make it easier for you to keep them standing.

Step 37
Put some royal icing on a sieve

Step 38
Do your Christmas magic! Sprinkle on the cake and contemplate the beautiful effect you get!

Step 39
Your cake is ready to be served. Enjoy and Merry Christmas!


