
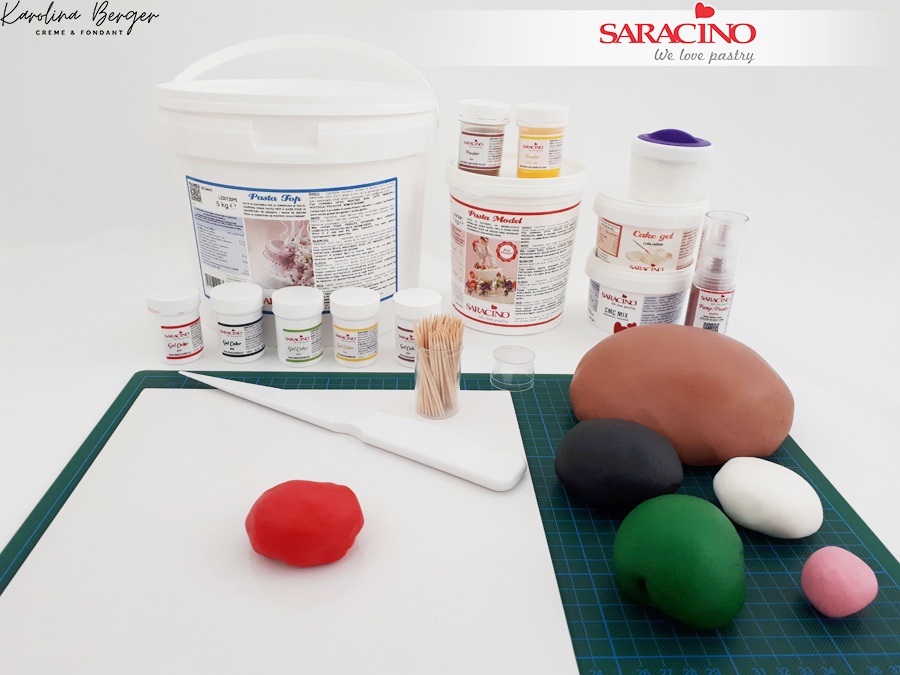
You will need:
Saracino Raspberry Supreme Concentrated Food Flavouring
Saracino Pistacchio Supreme Concentrated Food Flavouring
Saracino Vanilla Bourbon Supreme Food Flavouring
Saracino Chocolate Drops WHITE
Saracino Cake Gel Glue
Saracino CMC Powder
Saracino Pasta Top White
Saracino Concentrated Gel Colour Green, Red, Brown, Yellow and Black
Saracino Push Pump Glitter Dust Red
Saracino Powder Food Colouring Brown, Pink and Yellow
Modelling tools
Set of round cutters
Cocktail sticks or uncooked spaghetti
Soft brushes
Fondant knife
Smoother
Steel spatula
Ruler
Raspberry cake – Pistachio cake and vanilla cake (your favourite cake recipe)
Buttercream
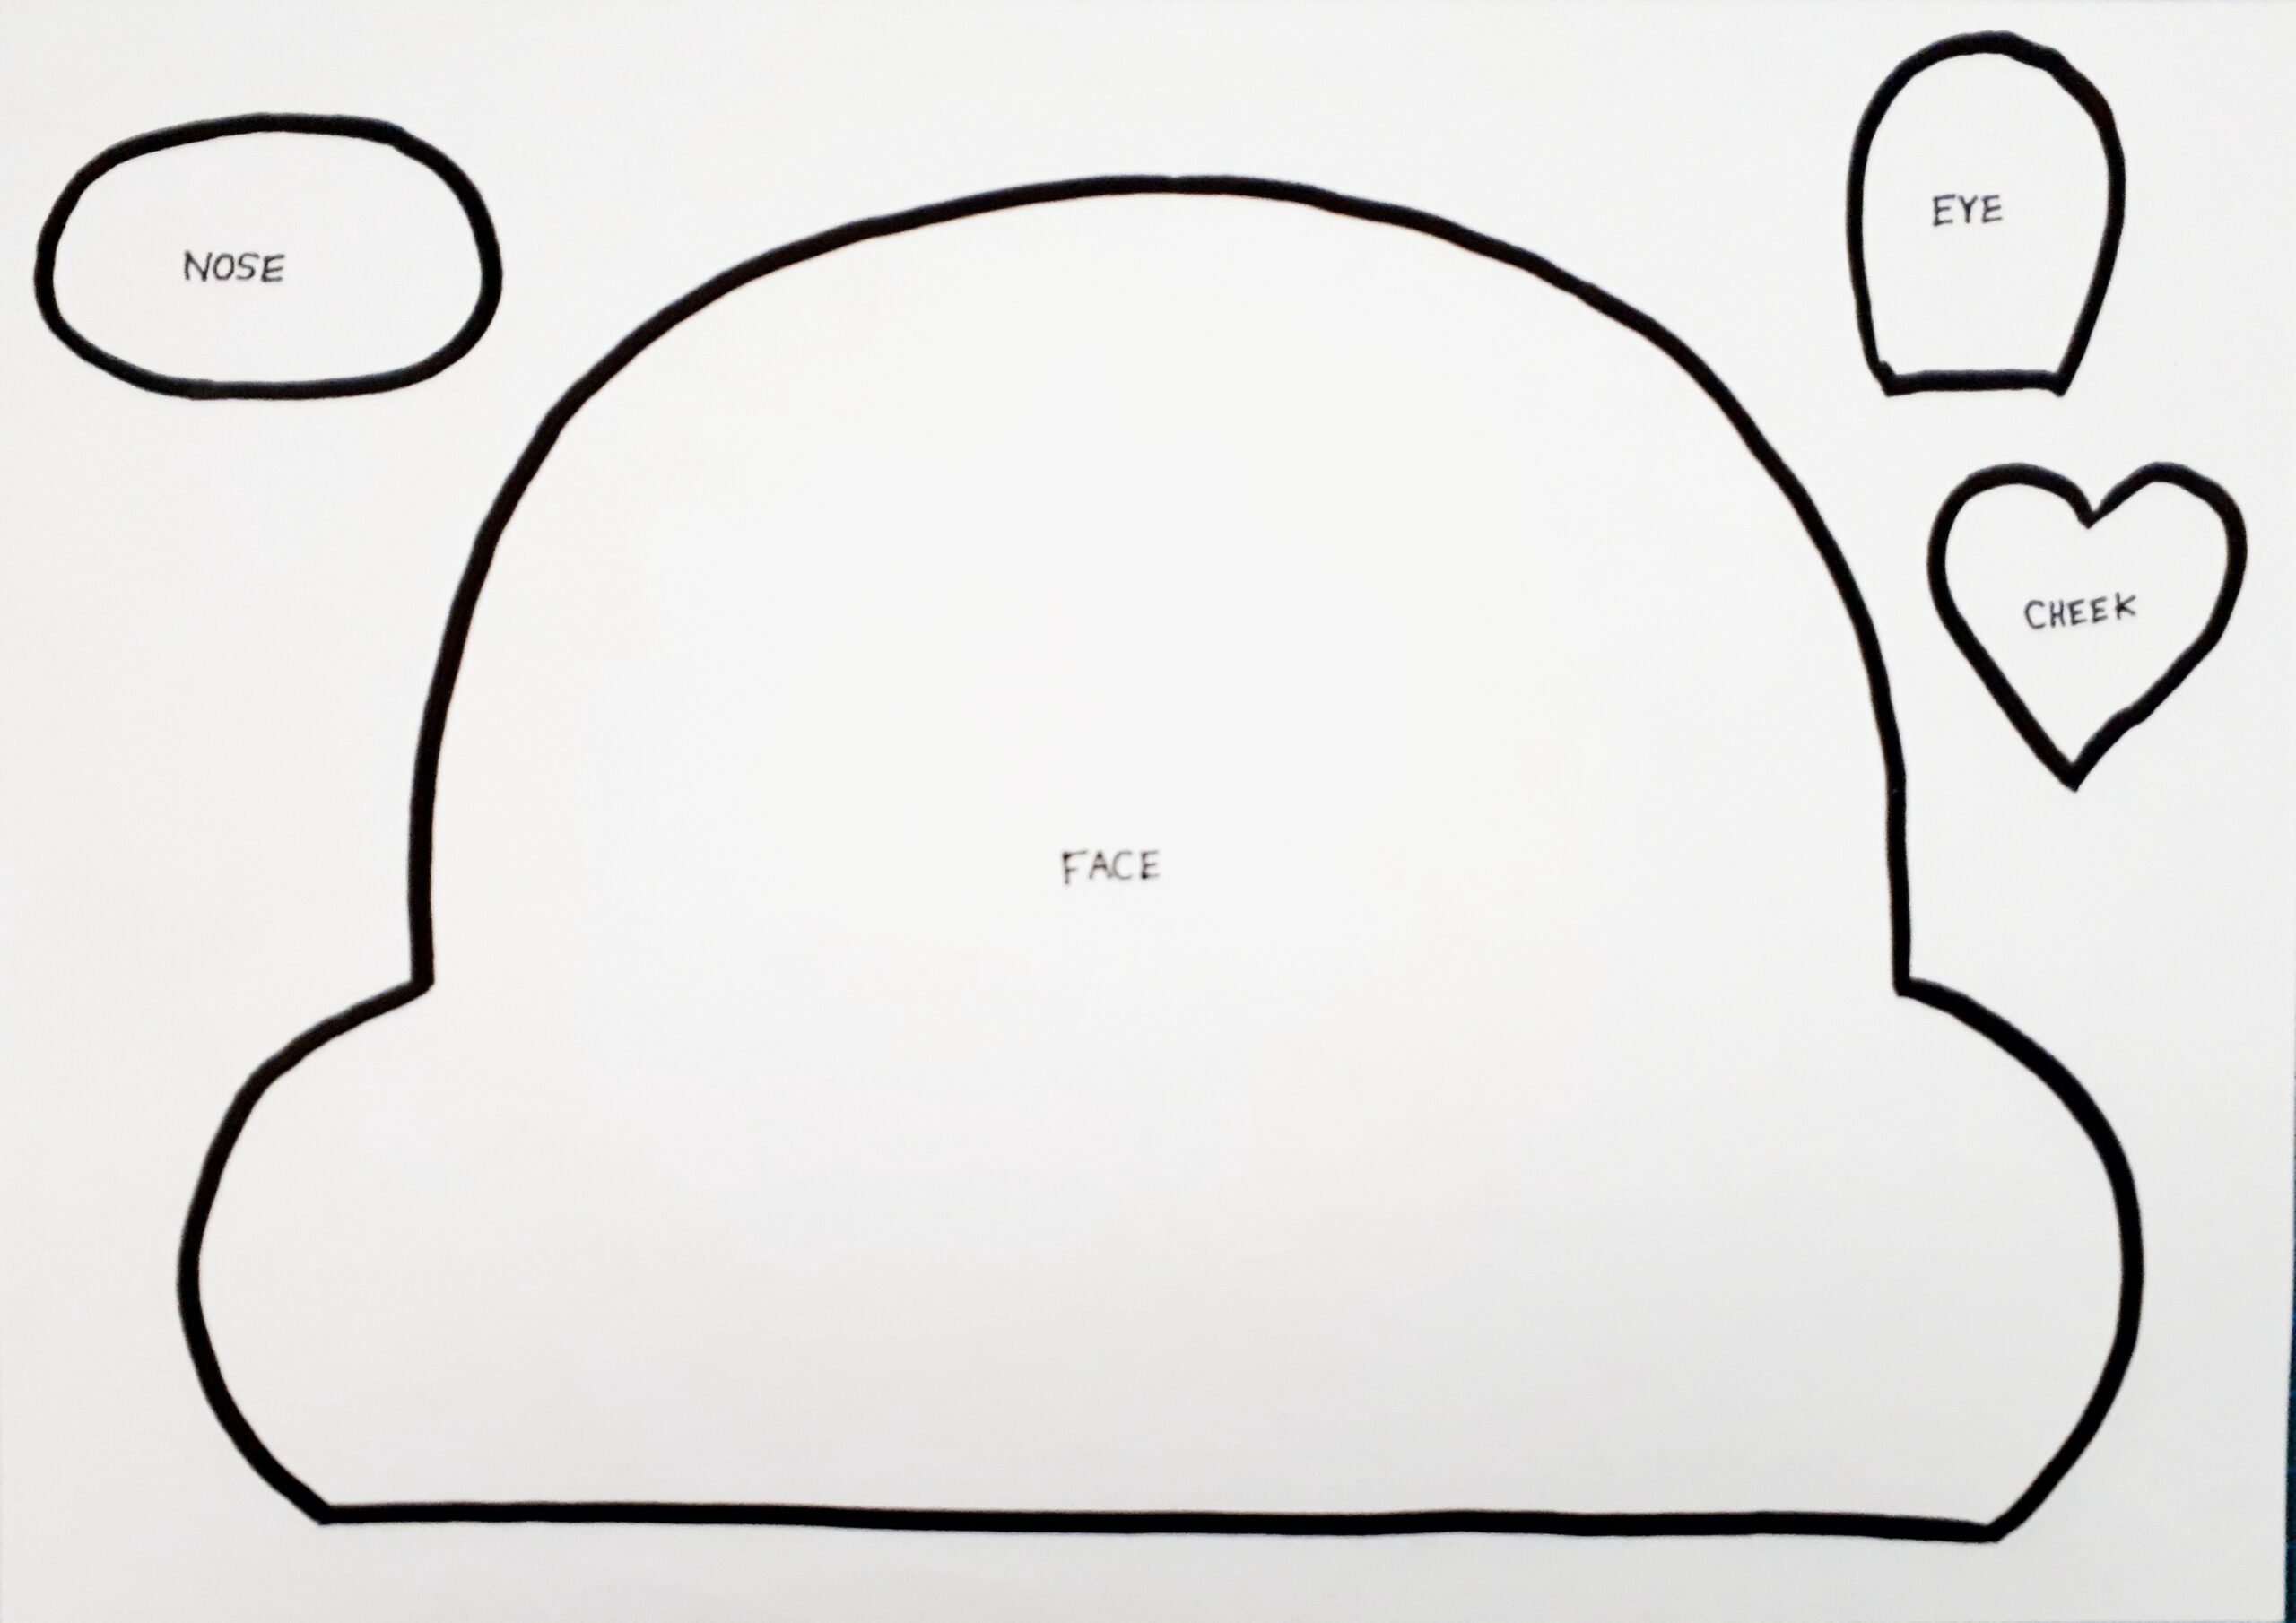
- Template for the face, nose, eyes and cheeks. To download simply click on the picture
Step 1
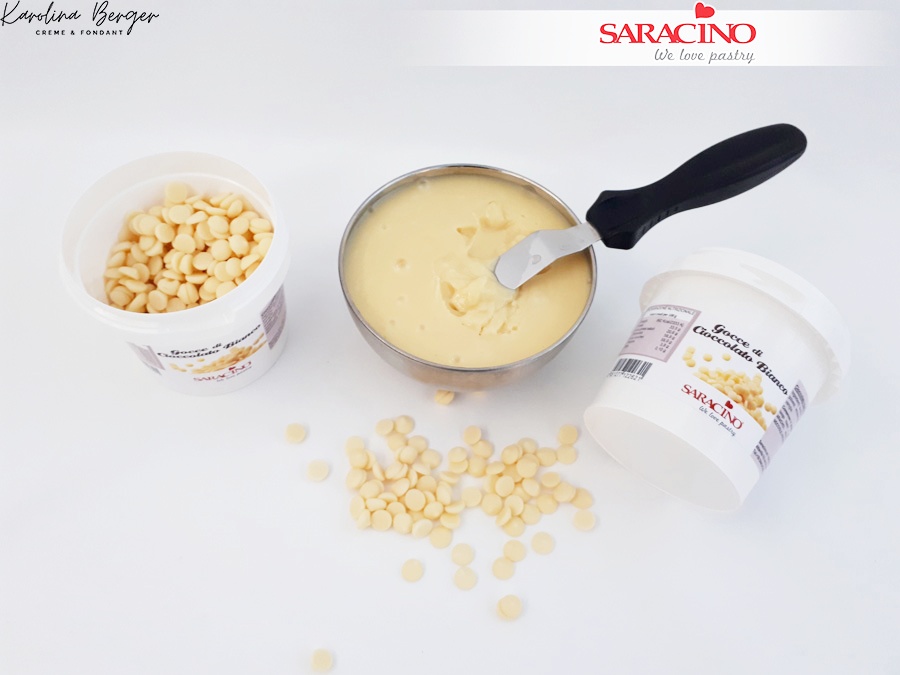
Create a ganache by melting your white chocolate drops
Step 2
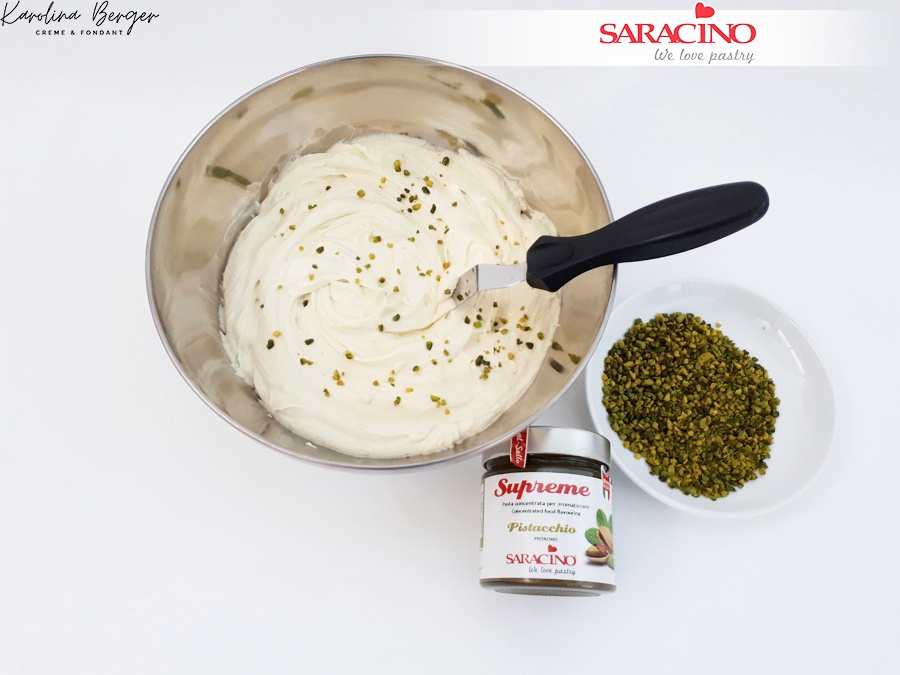
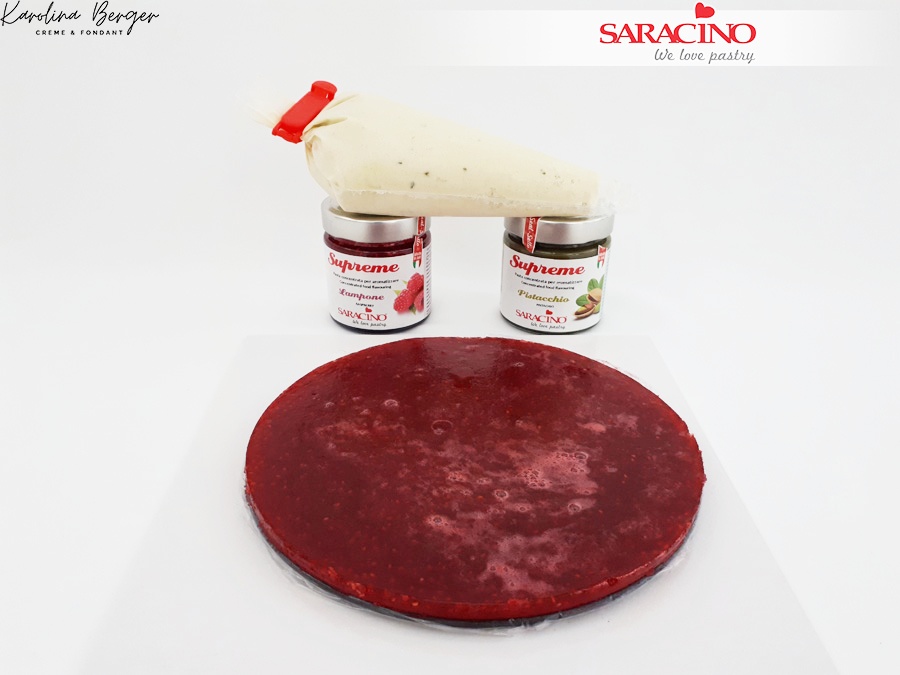
Make buttercream and flavour with Pistachio flavouring and add pieces of chopped up Pistachio
Step 3
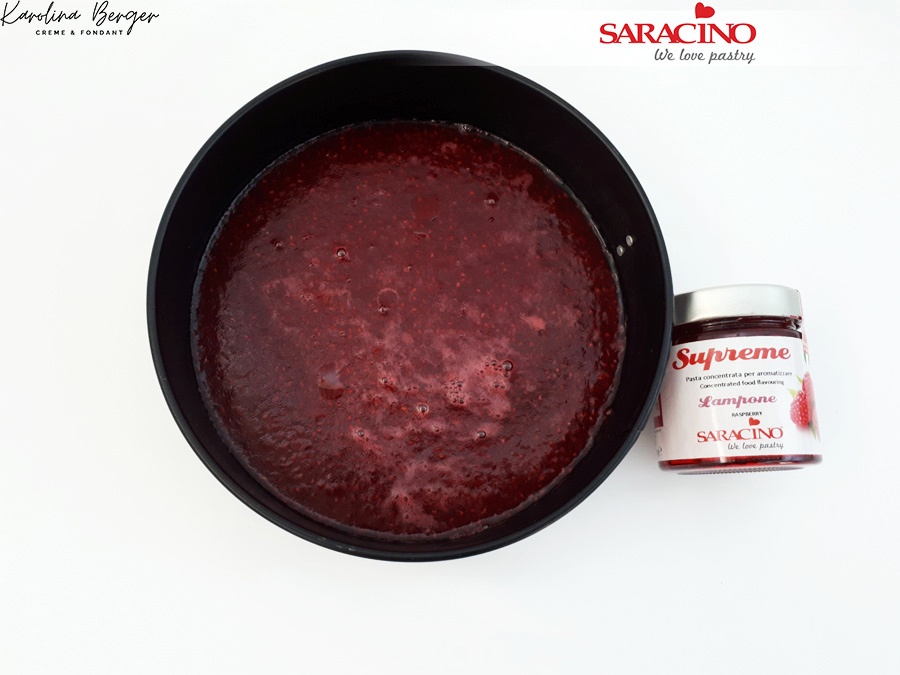
Make raspberry jelly and flavour with Raspberry food flavouring. We mix with unflavoured gelatine to set. Allow to set in a cake tin the same size as your sponges.
Step 4
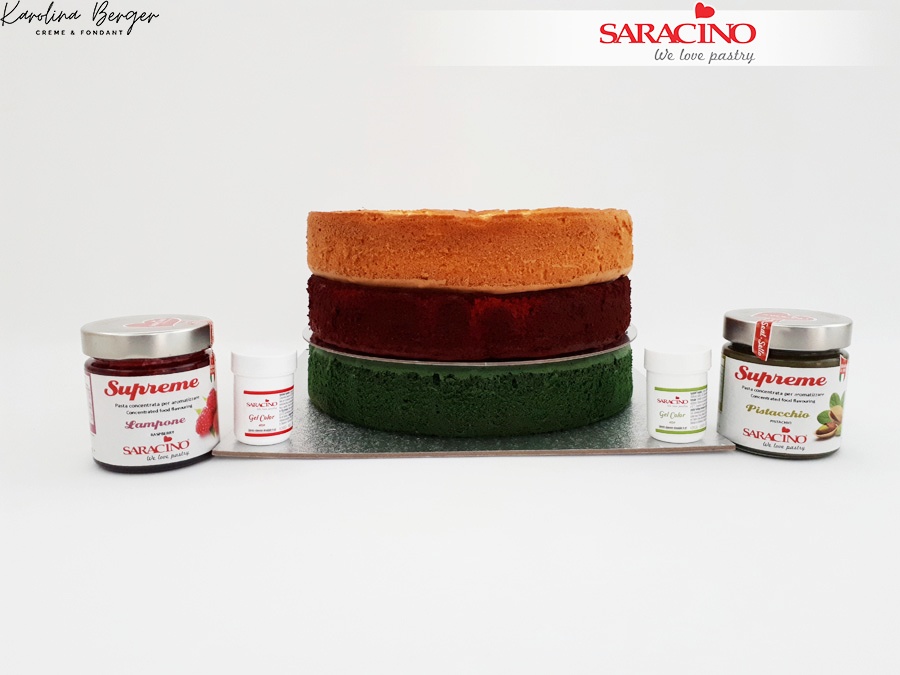
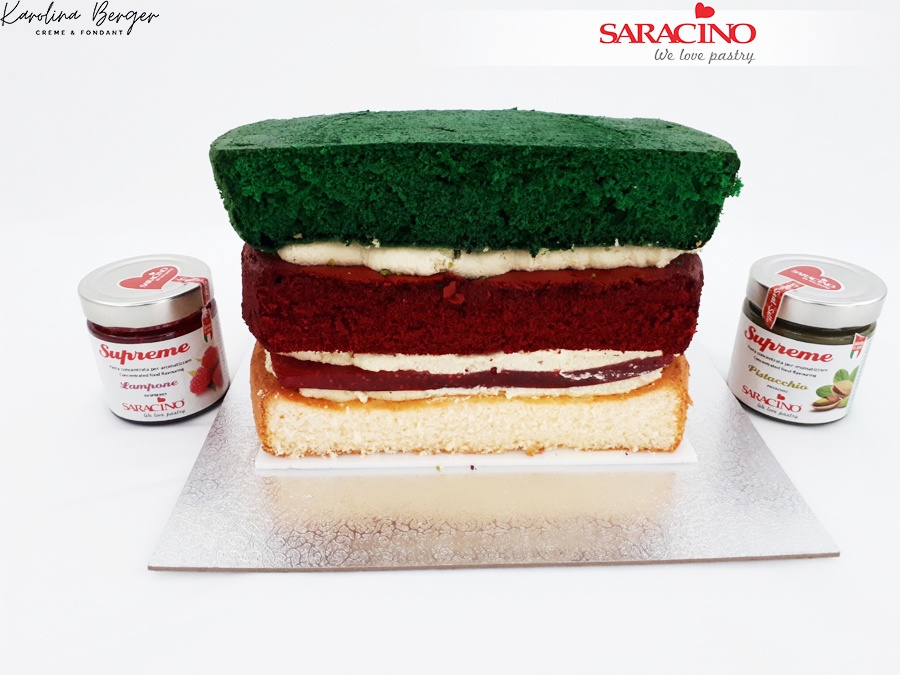
Bake 3 cakes. Raspberry, pistacchio and vanilla using Saracino colorings and flavorings
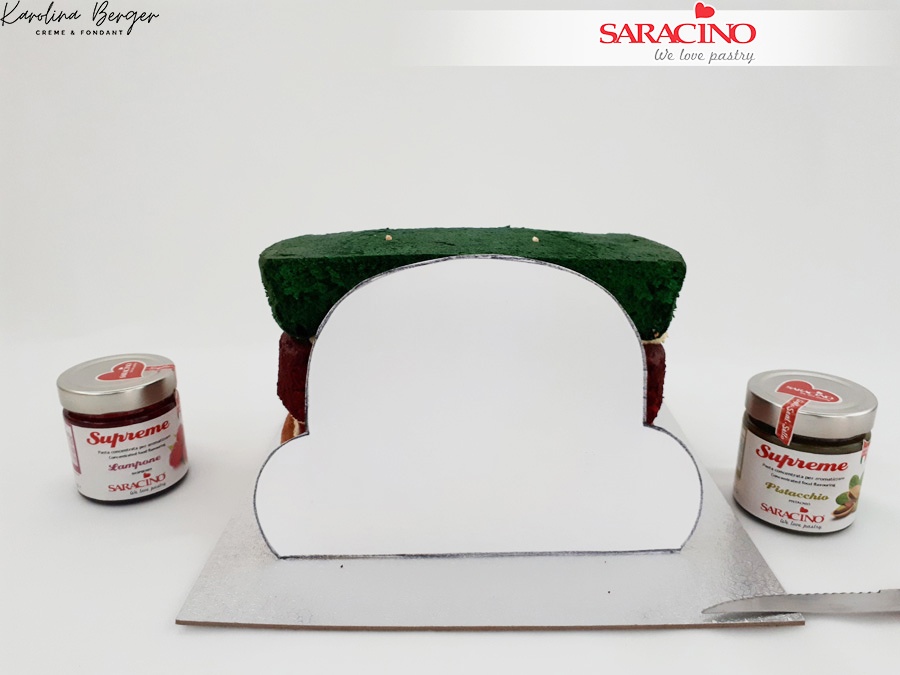
Step 5
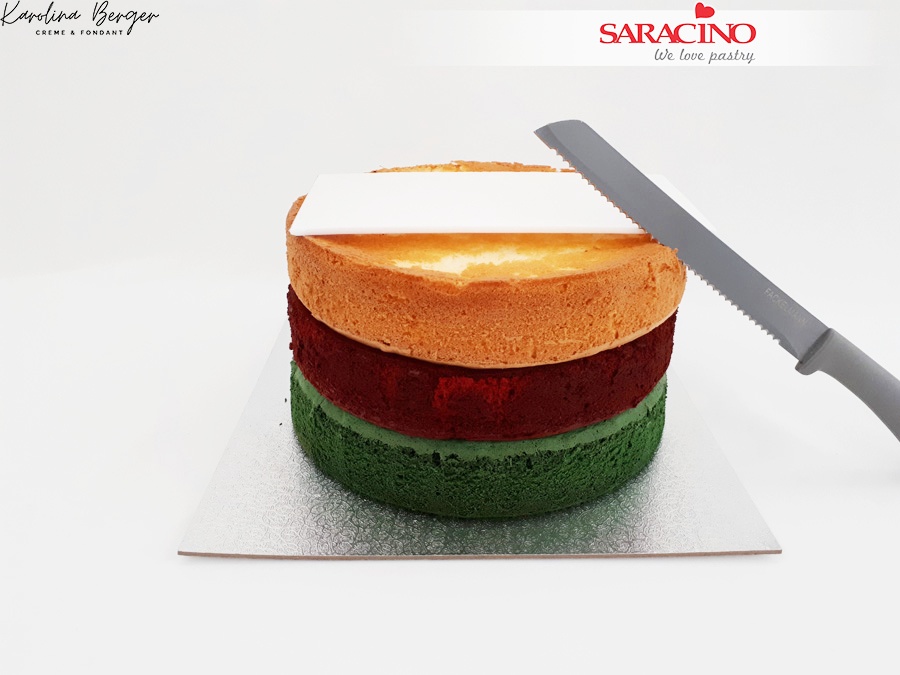
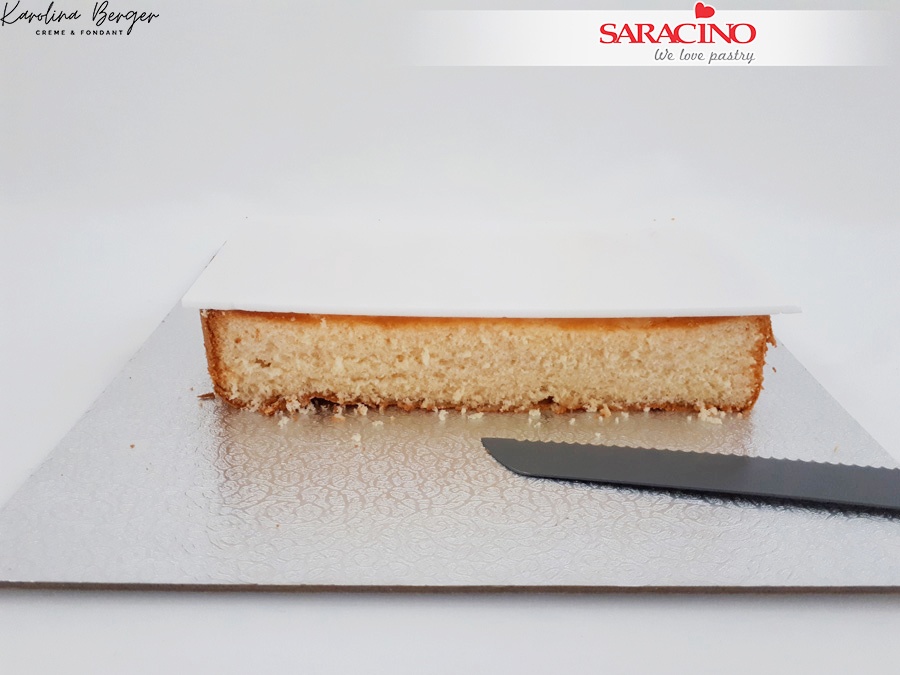
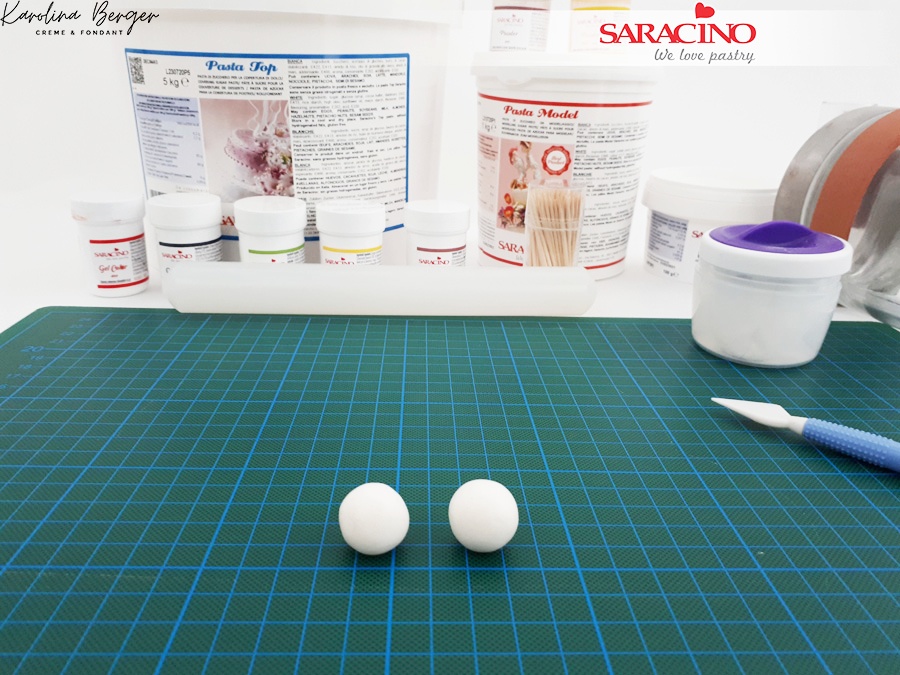
You will need to cut the three sponges with a flat back and front. We will use a template. See the next picture.
Step 6
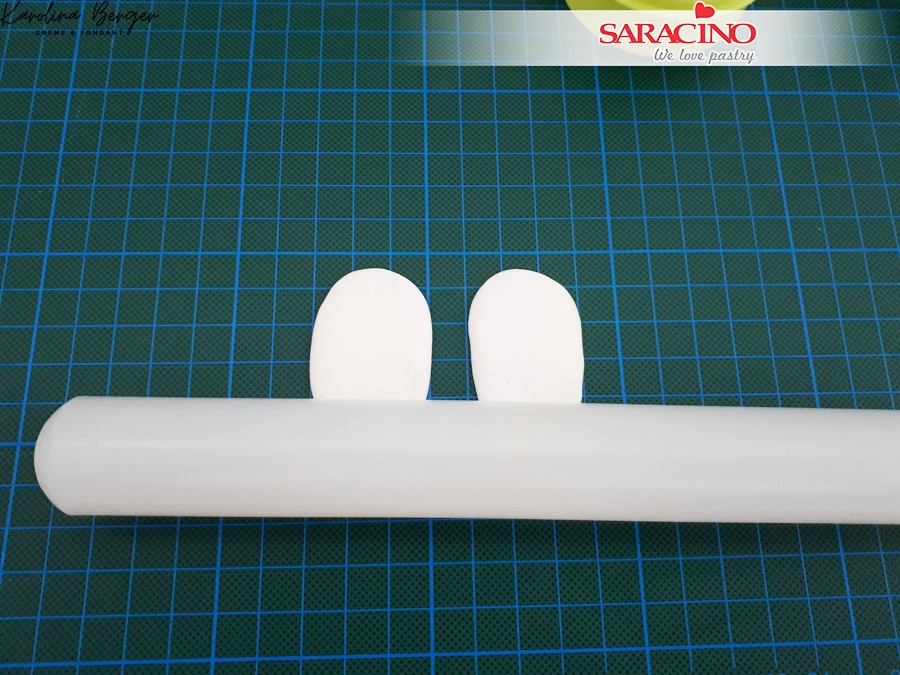
You can use a piece of cardboard or a cut cake board as a template. You will need a template approximately 11 x 24cm. Cut each sponge to size.
Step 7
Put pistachio cream in a piping bag and remove the set raspberry jelly from the cake tin
Step 8
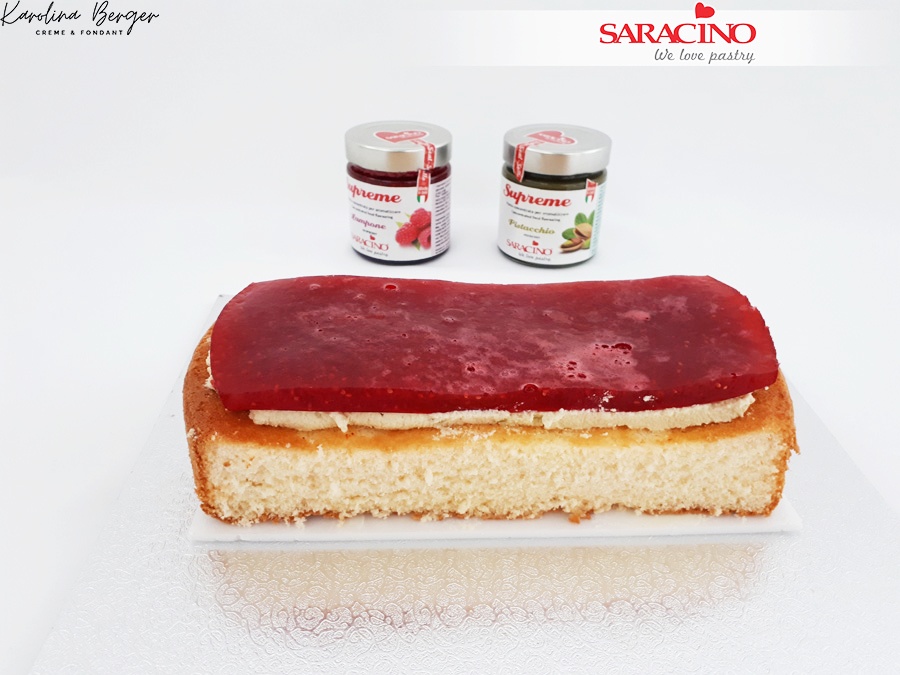
Pipe the Pistachio cream onto the top of the bottom sponge. Then add the jelly. Trim to the size of the sponge below.
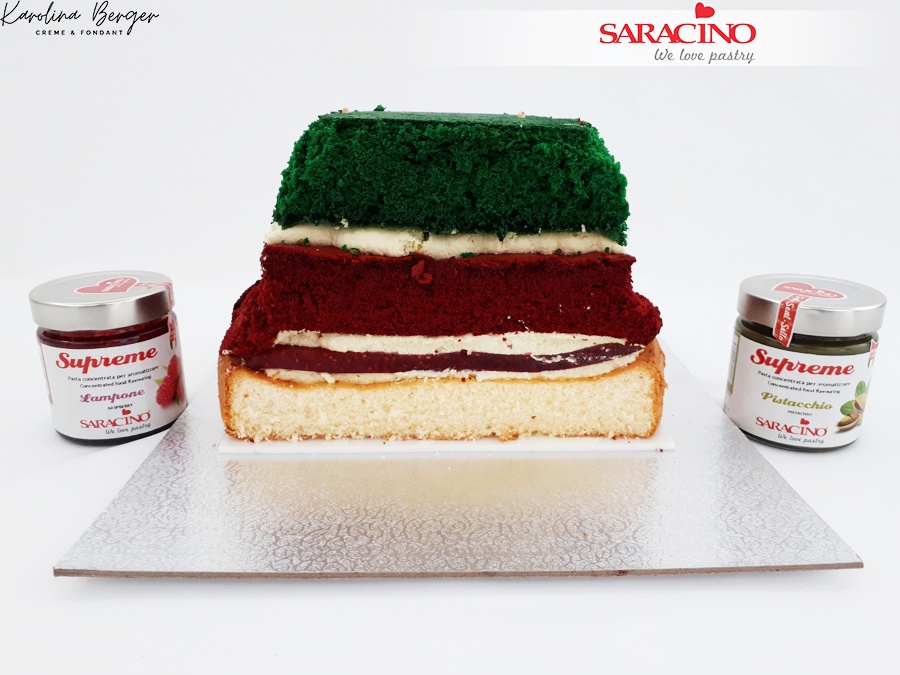
Step 9
The jelly is only in the bottom layer. Fill the other layer with buttercream. Your three sponges should be layered as shown.
Step 10
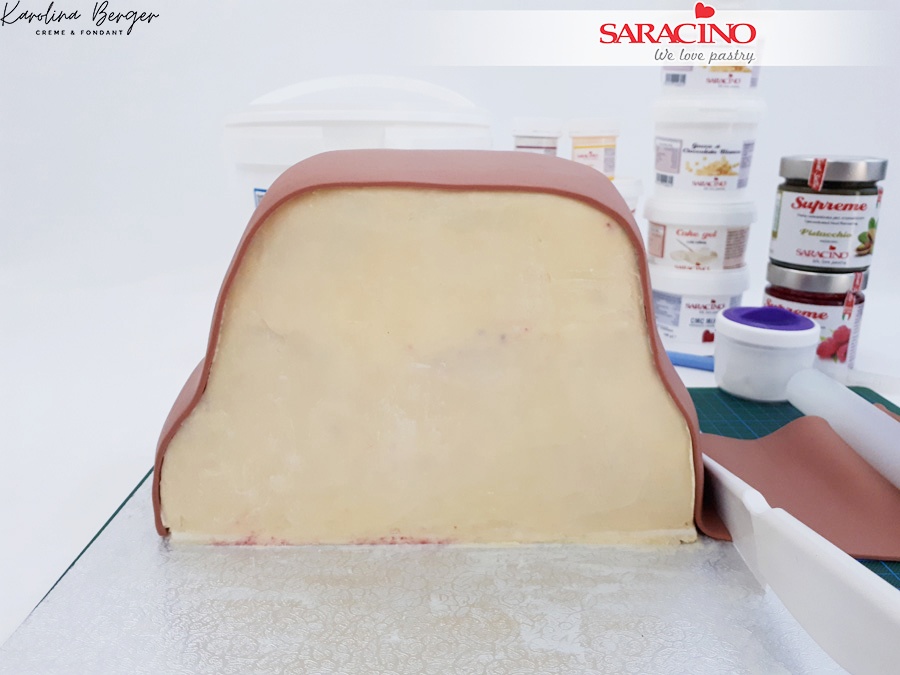
To stop the layered sponges from moving when carving, insert two wooden skewers through to the base. Place the bag template against the front of the cake and carve the sides of the bag. You can download the bag shape template HERE
Step 11
Trim and remove any excess sponge to achieve the right design
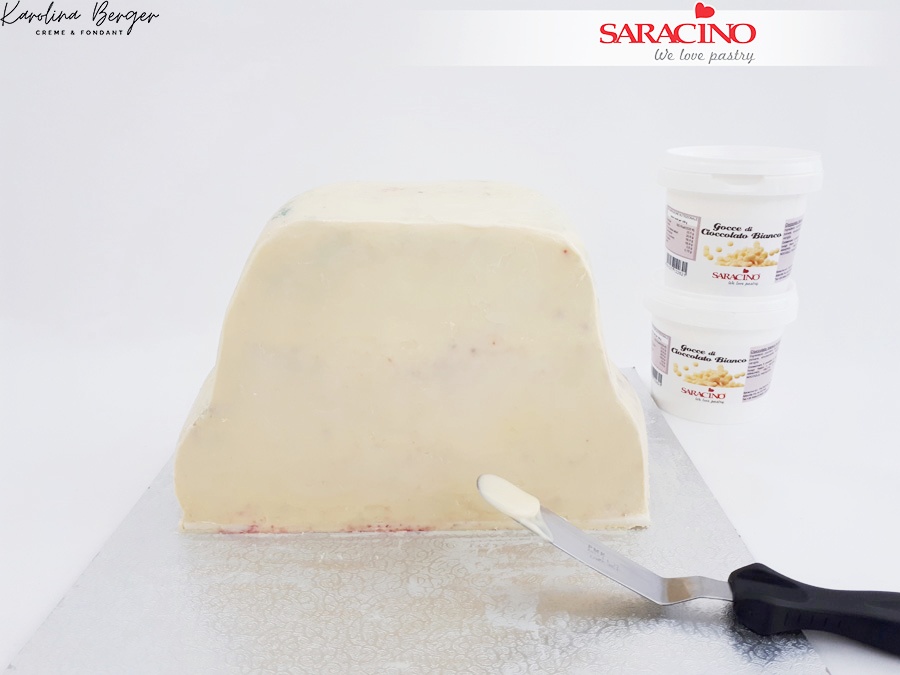
Step 12
Ganache the cake using the Saracino melted white chocolate drops
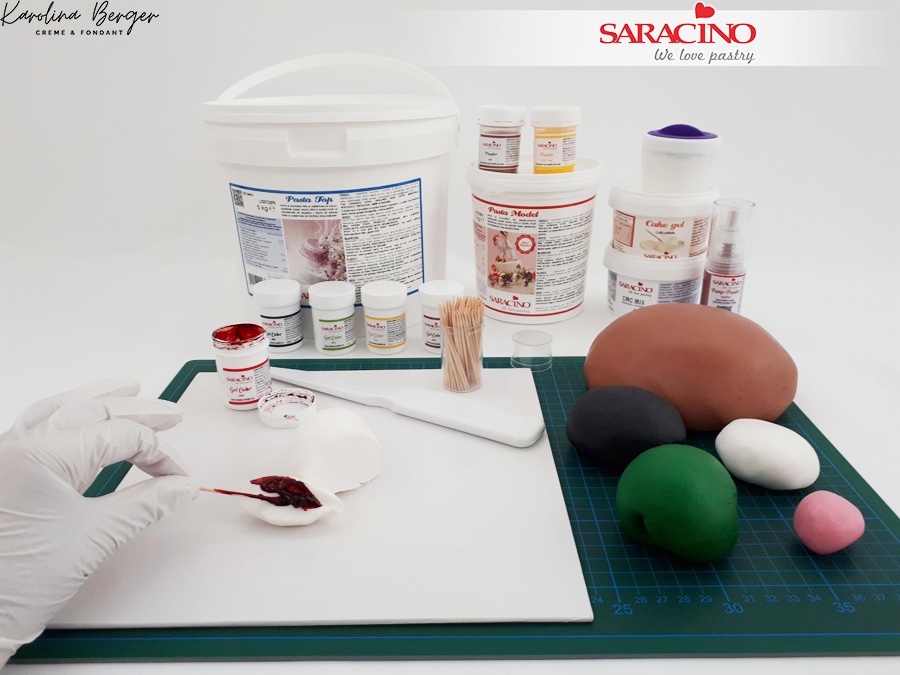
Step 13
Colour the fondant brown, black, red, pink and green. You will need enough brown to cover the cake, red for the nose and green for a bow, pink for cheeks and black and white for the eyes.
Step 14
To achieve a chestnut brown colour mix a little yellow colouring into the brown.
Step 15
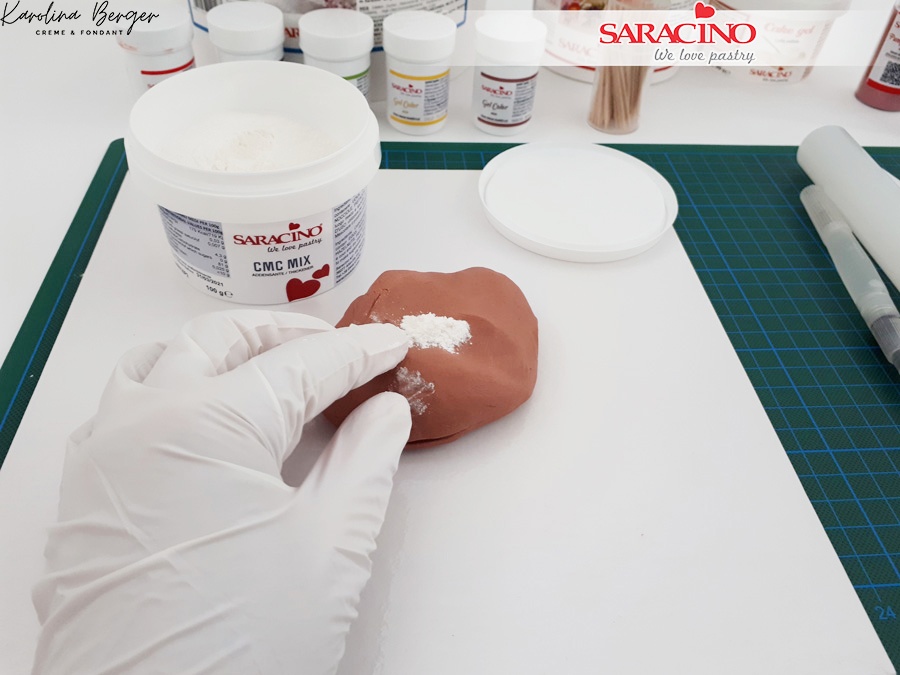
To make a handle mix a little bit of brown fondant with CMC

Step 16
Roll out the fondant to make the handle
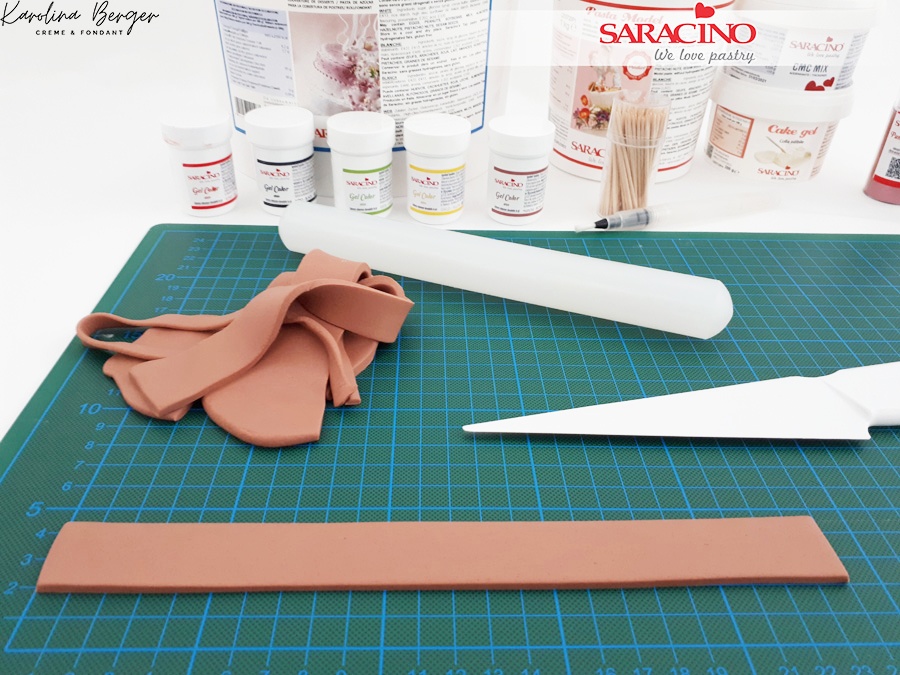
Step 17
Cut a strip 2.5 x 25cm long
Step 18
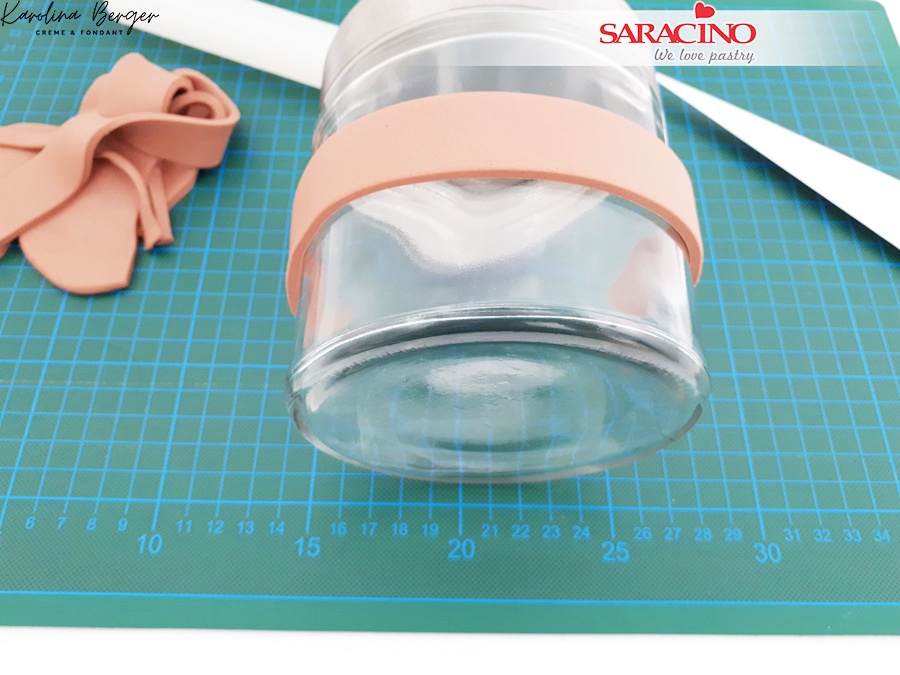
Allow to dry on a curved surface
Step 19
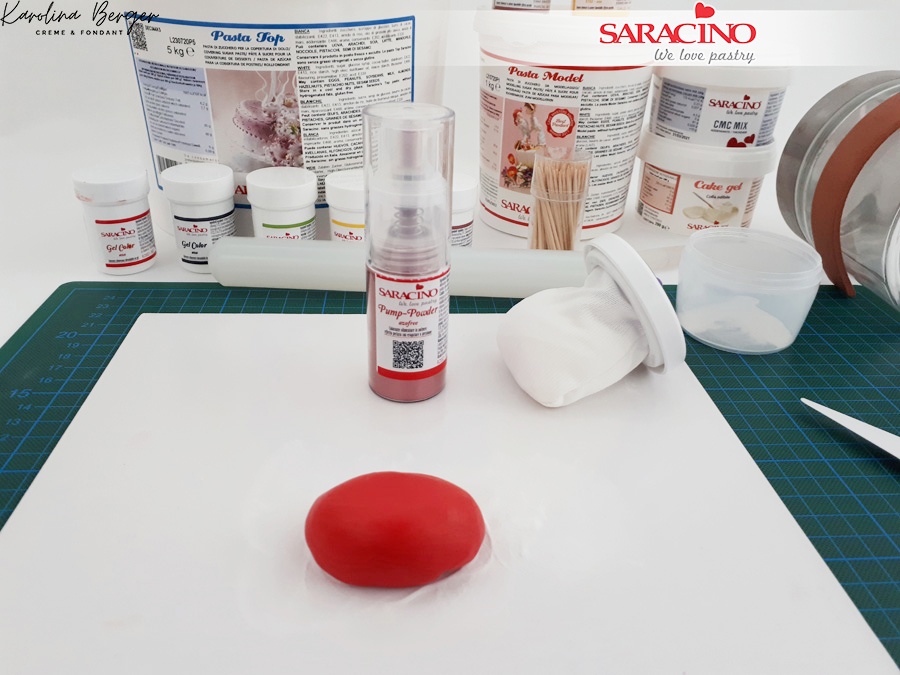
Make an oval shaped nose using red fondant
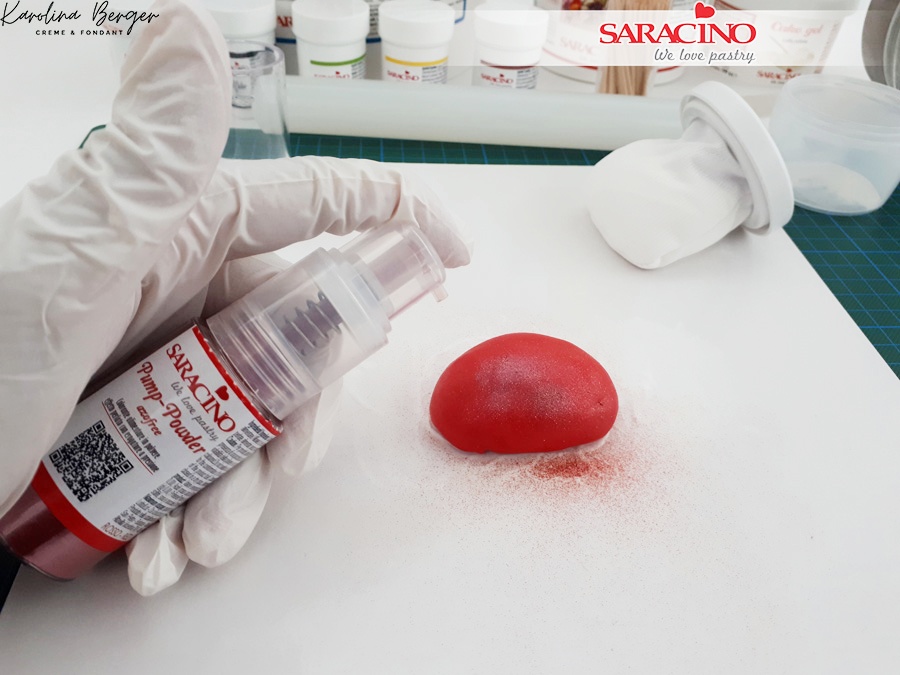
Step 20
Spray the nose with red Push pump glitter and let it dry
Step 21
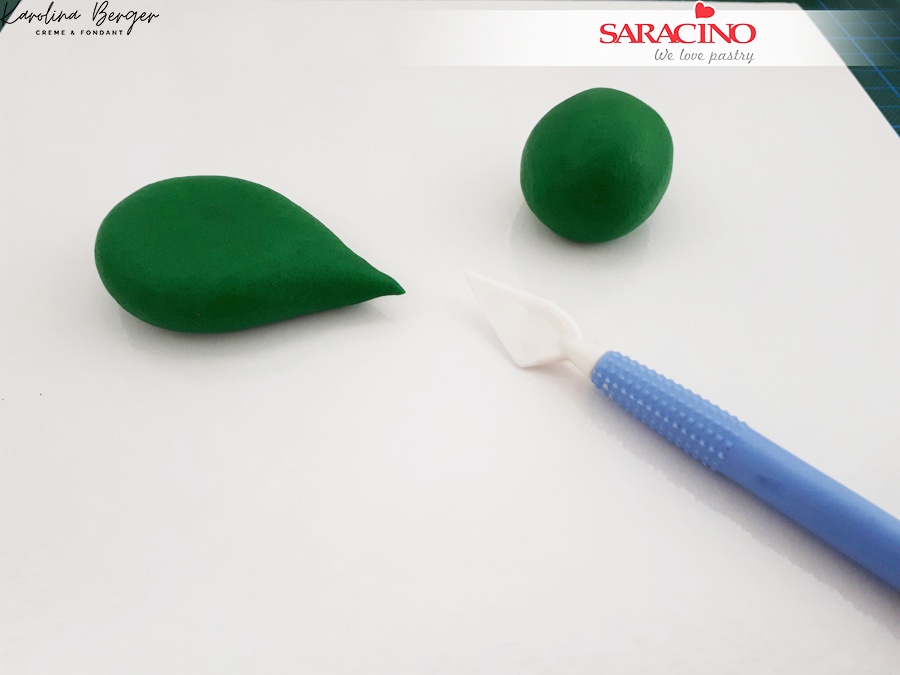
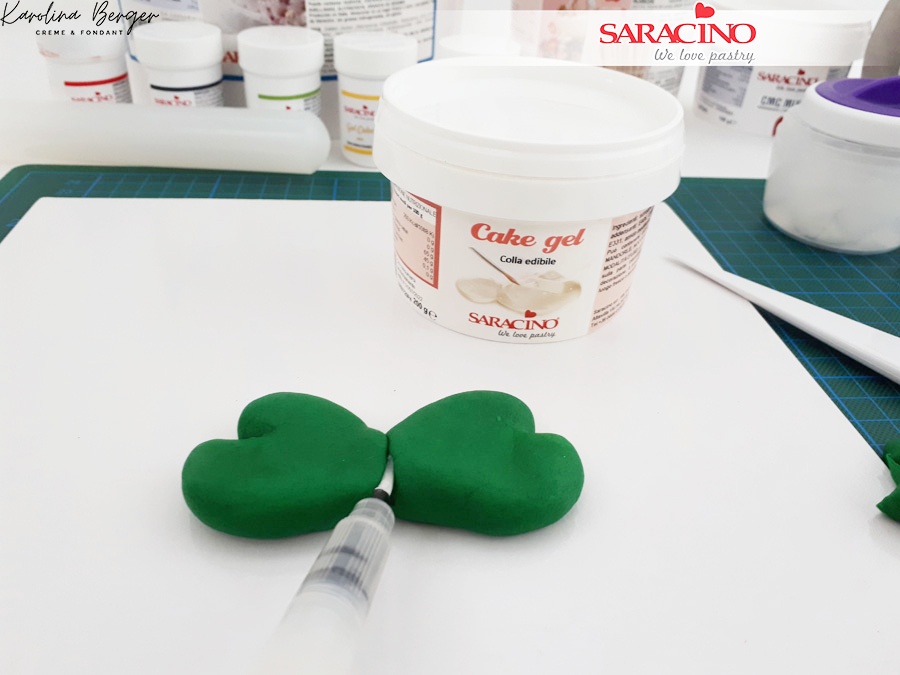
Divide 50 grams of green fondant and make two tear drop shapes for the bow.
Step 22
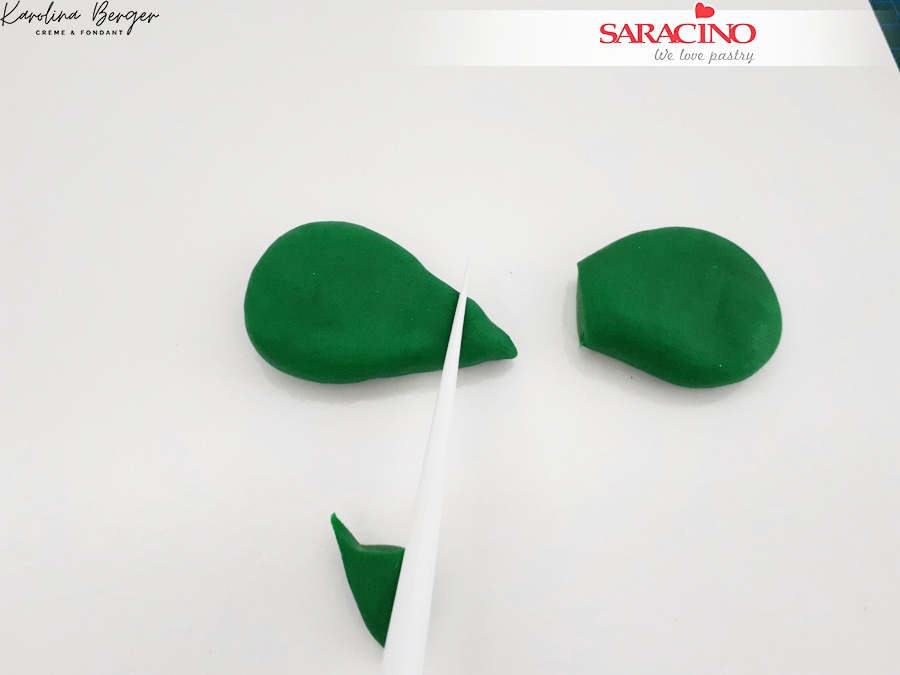
Cut ends
Step 23
Make each tear drop into a heart shape by cutting out a groove at the wide end of each one. Smooth the edges. Connect the pieces using a little glue or water
Step 24
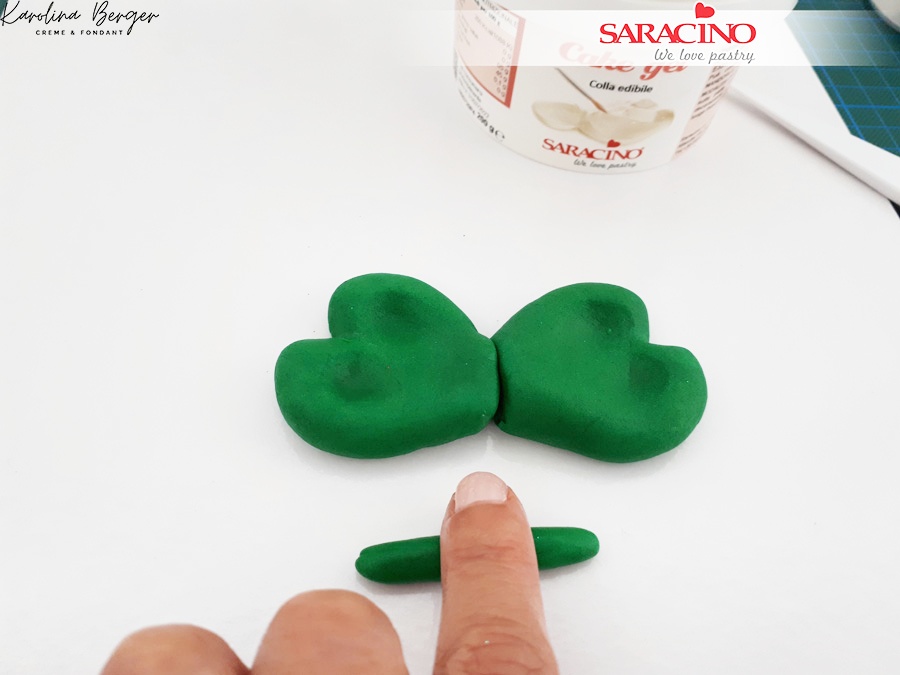
Using green paste roll a small sausage shape. Cover the joint.
Step 25
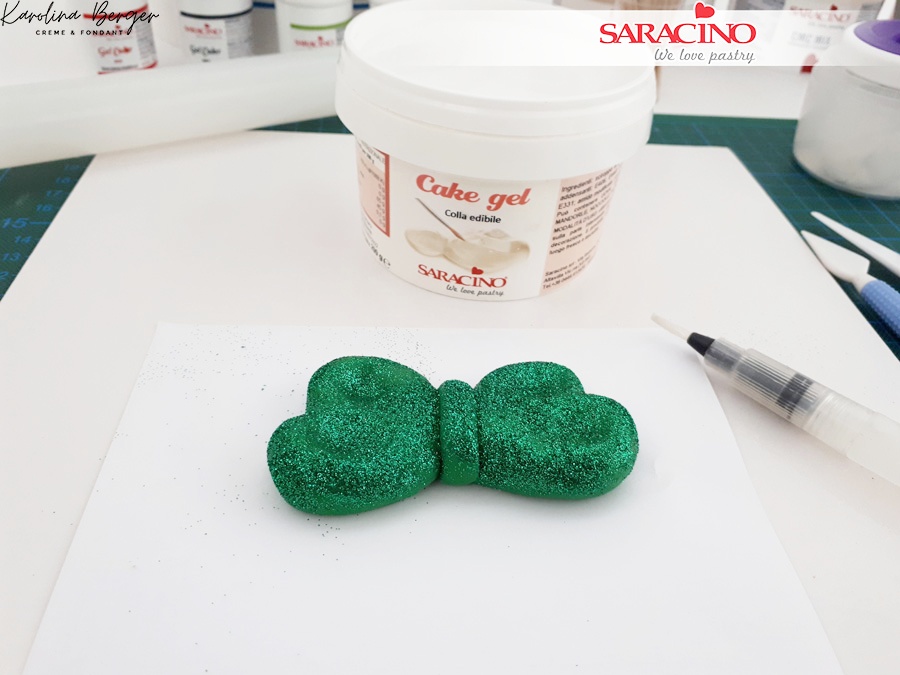
Attach it to the bow. Paint the bow with green edible glitter
Step 26
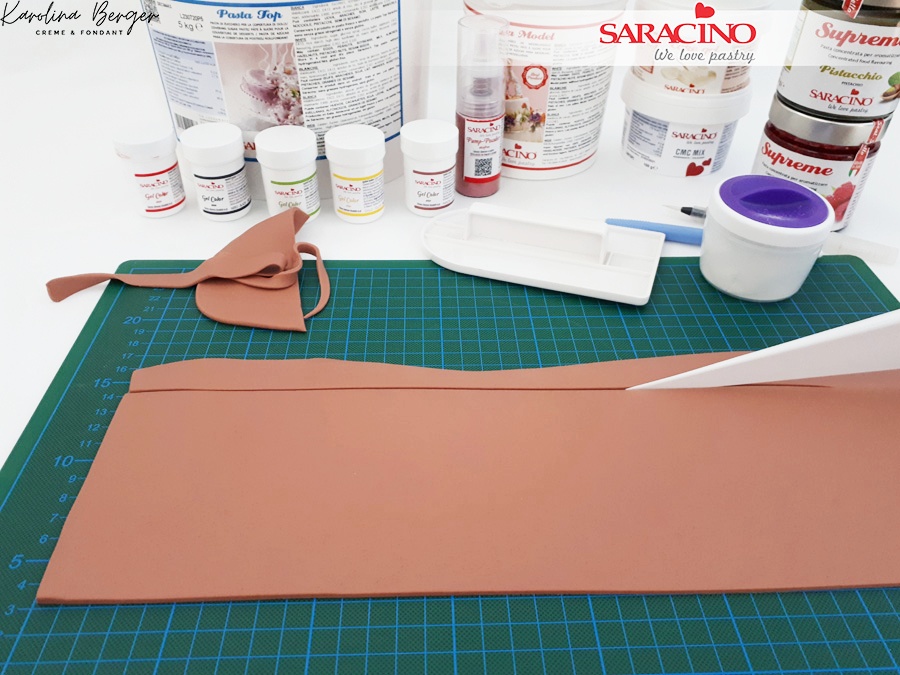
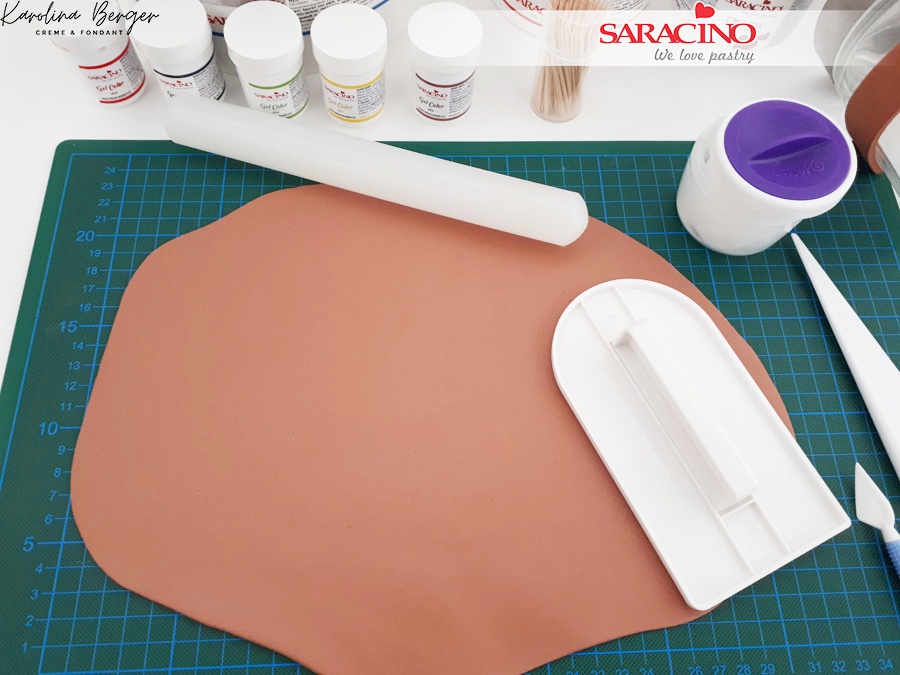
To cover the top and sides of the cake cut out a long rectangle of the brown paste (width must be the same as your cake or slightly larger)
Step 27
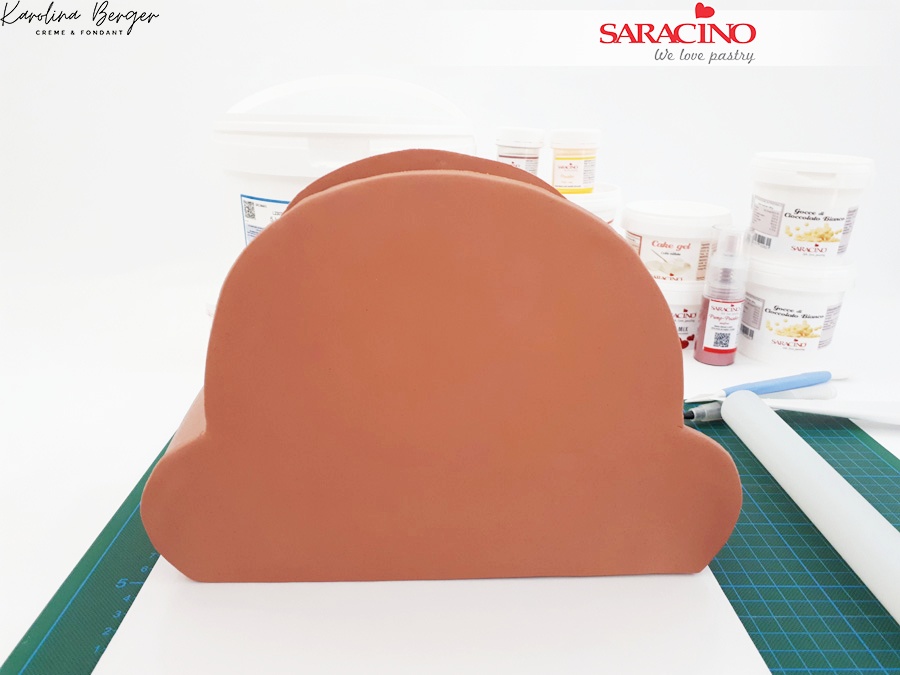
Cover the top of the cake and trim the excess
Step 28
Roll out more brown paste.
Step 29
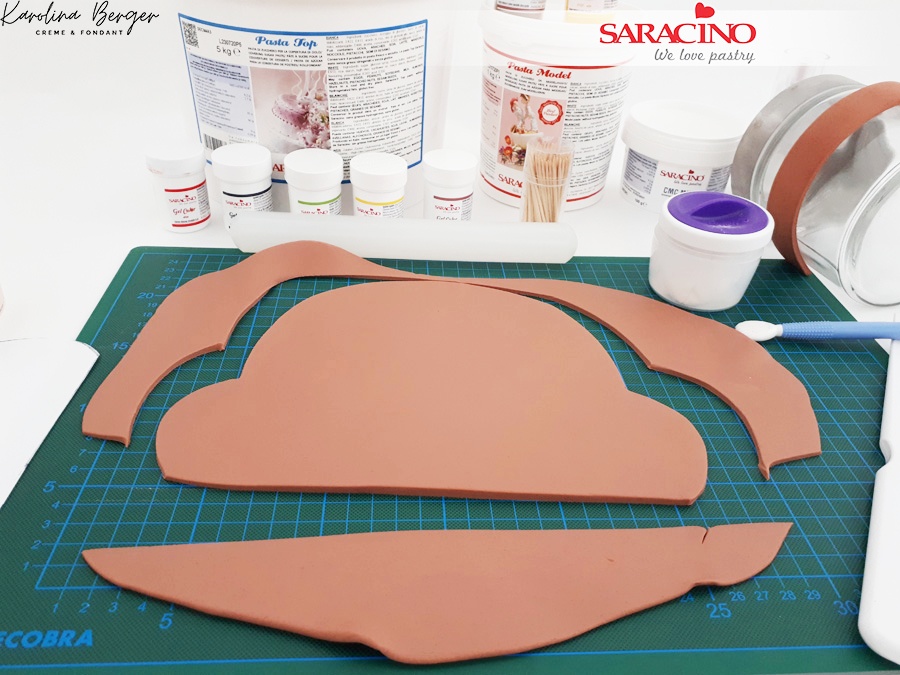
Using your template cut out the front of the bag. You will need two of these shapes to cover the back and the front
Step 30
Attach to the front and the back of the cake. They should be slightly larger than the cake itself
Step 31
For eyes roll out two equal balls
Step 32
Roll them flat.
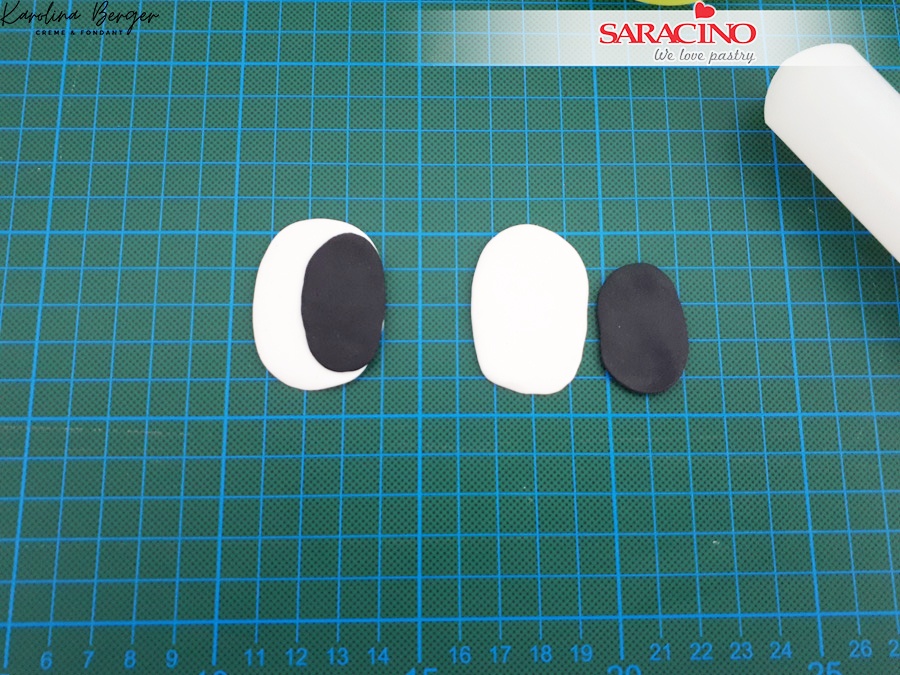
Step 33
Roll out two balls of black modelling paste (smaller than white) and fix to the white paste
Step 34
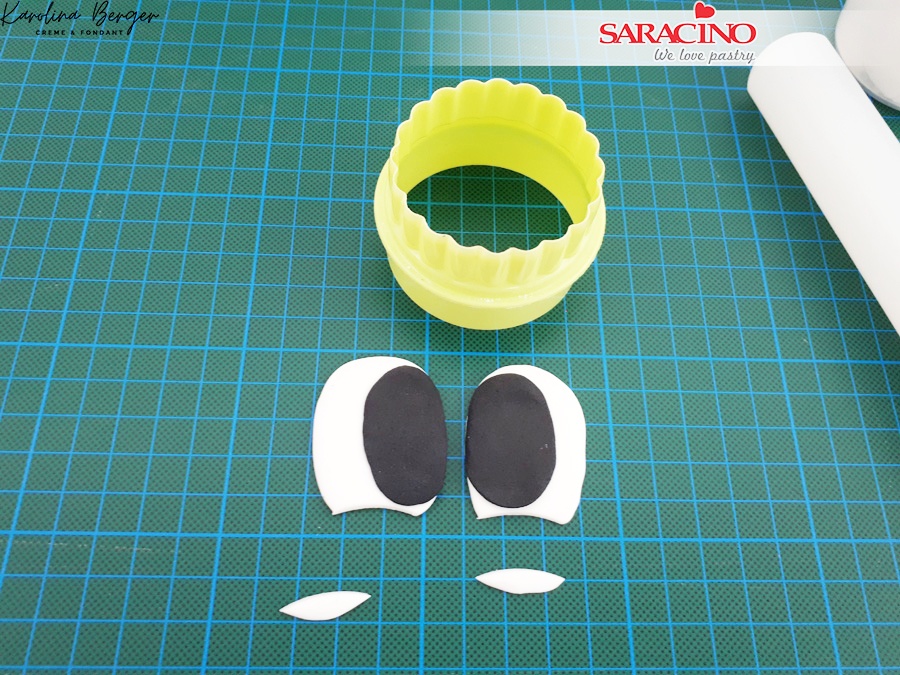
Using round cutter cut off the ends of both eyes
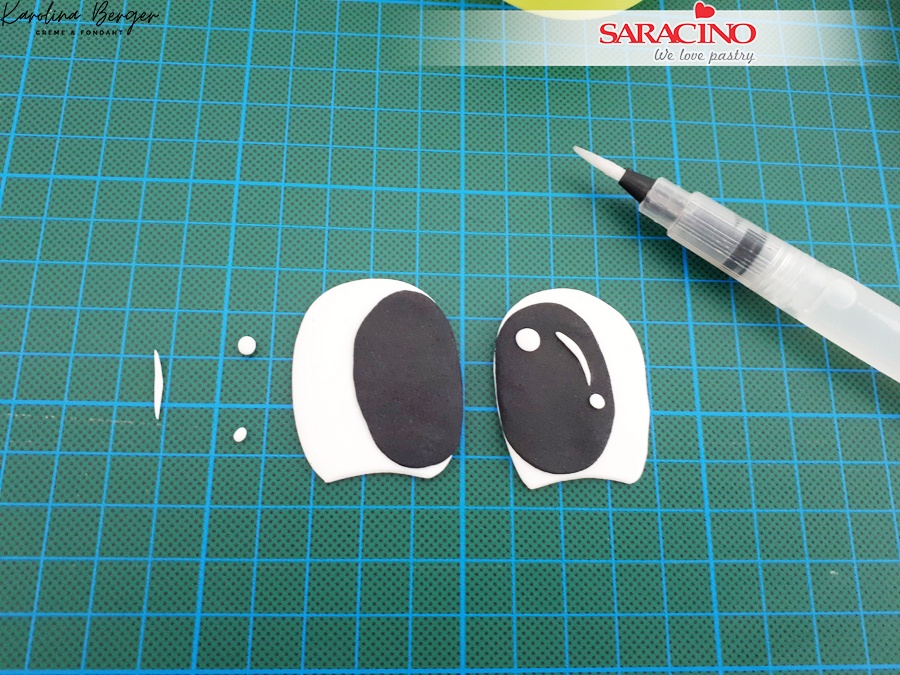
Step 35
Add some white dots and lines to give it nice effect and a bit of expression

Step 36
So they look like this or similar.
Step 37
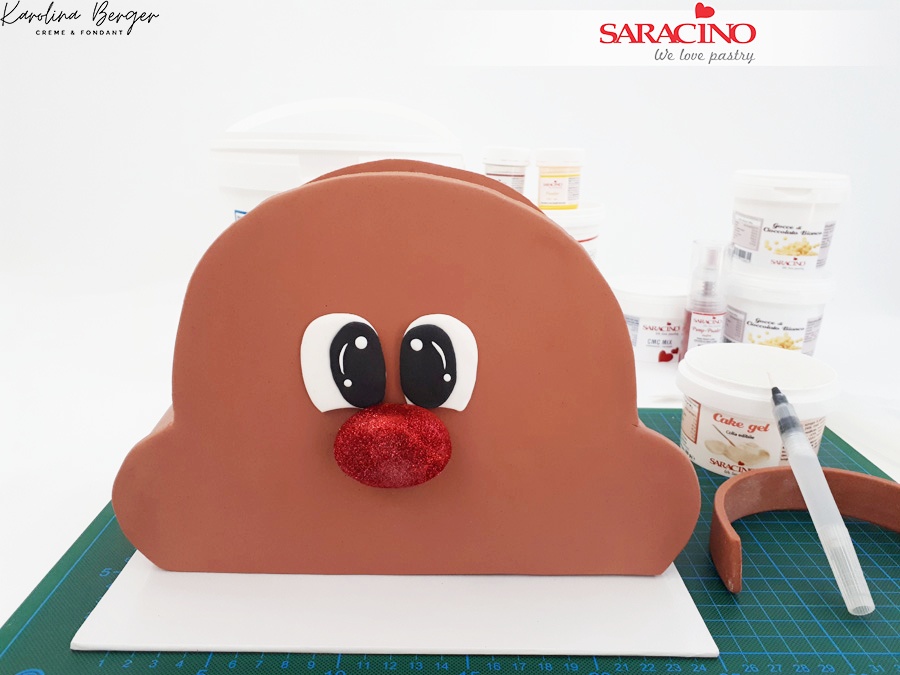
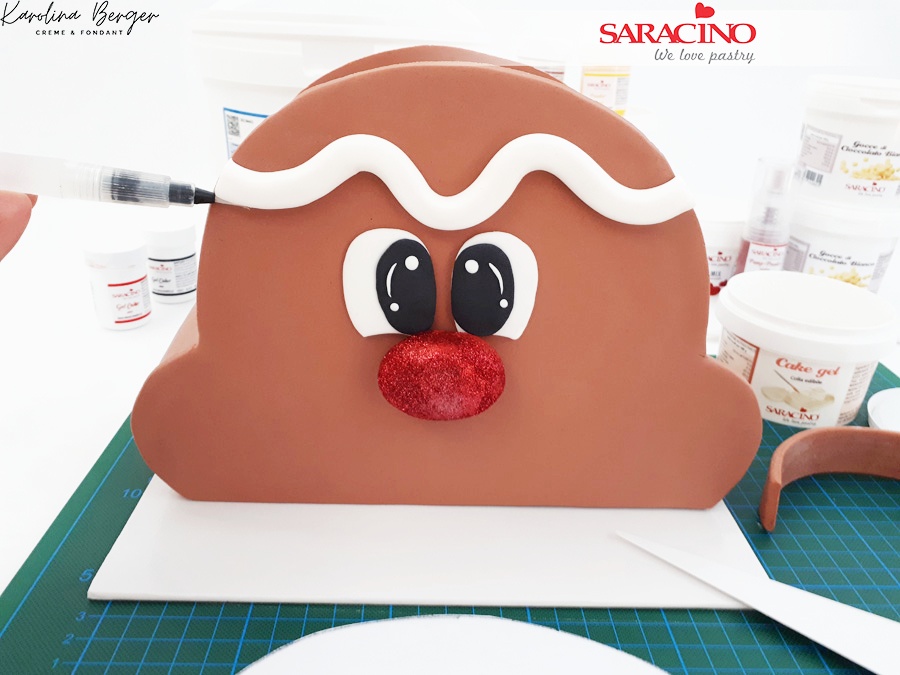
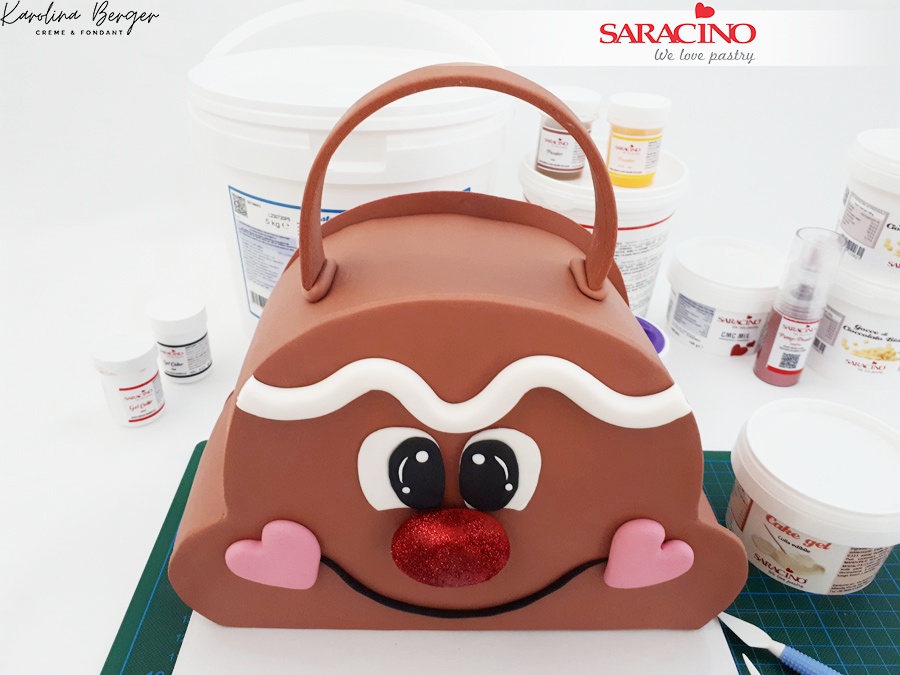
Fix the red nose to the middle of the cake and attach both eyes. Using a little glue.
Step 38
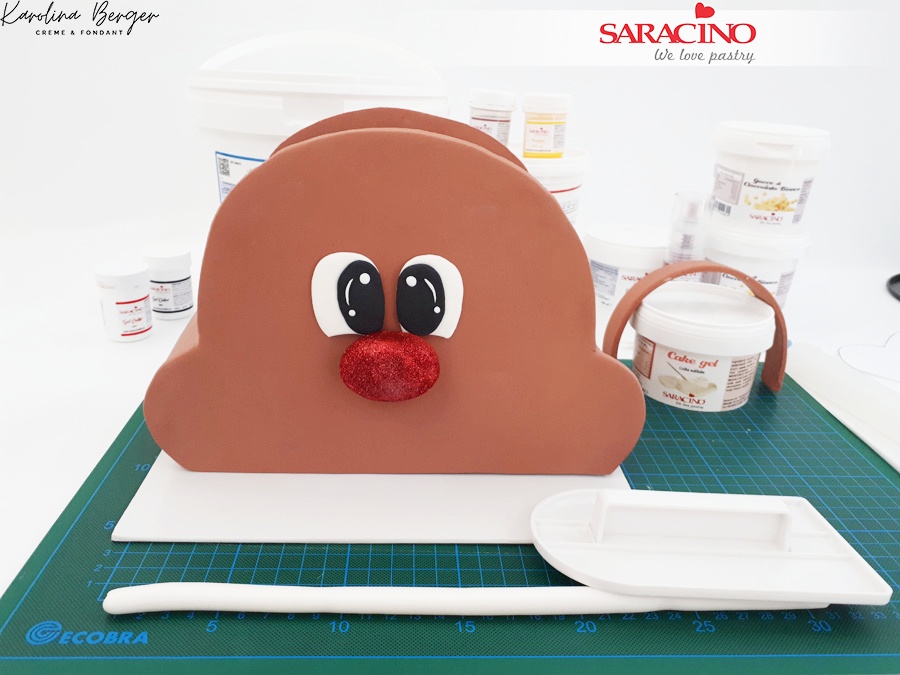
Using white fondant roll out a long sausage
Step 39
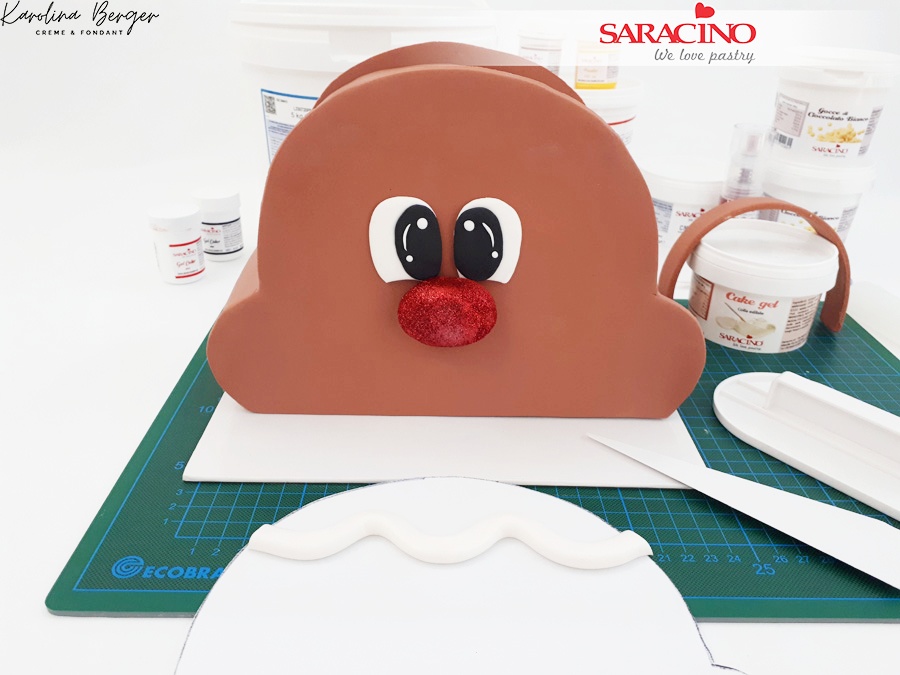
This is to create a snow effect. You may wish to practise the design on your template before fixing to the cake.
Step 40
Attach to the cake using a small amount of cake gel
Step 41
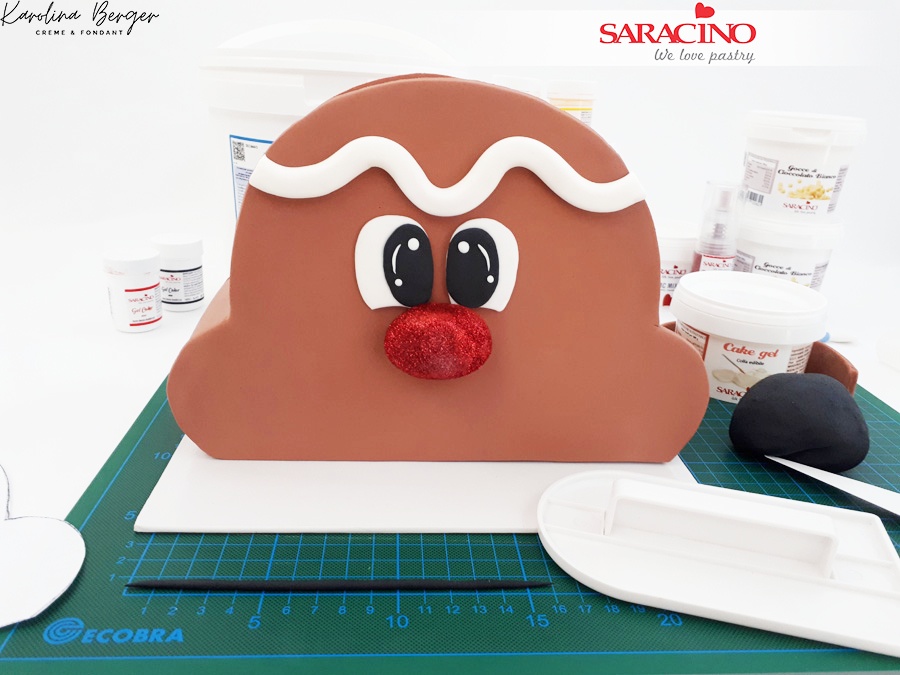
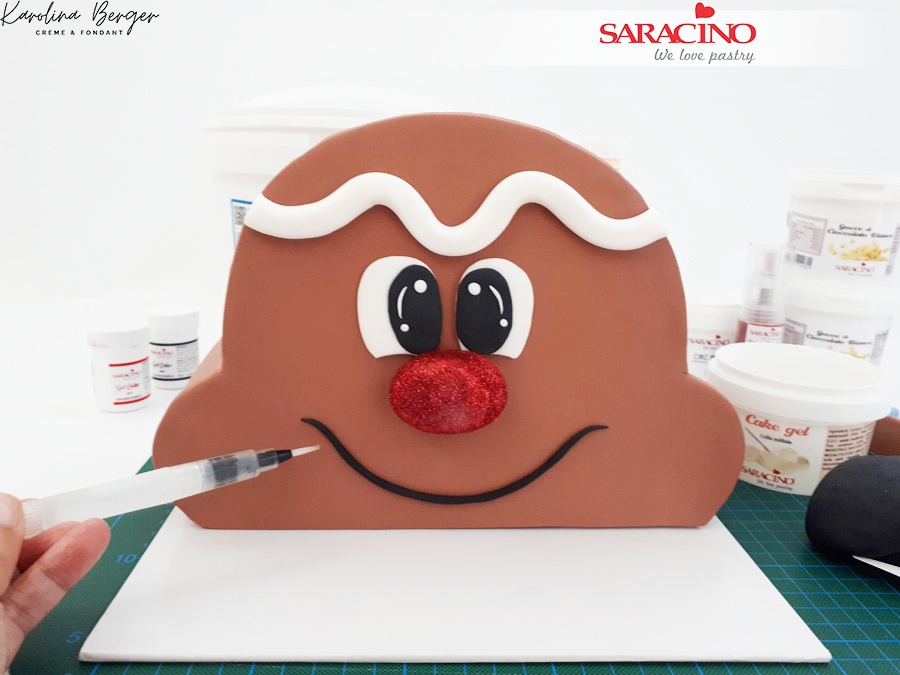
For lips roll out a long and thin sausage using black fondant
Step 42
Fix to the cake to give the bag a nice smile
Step 43
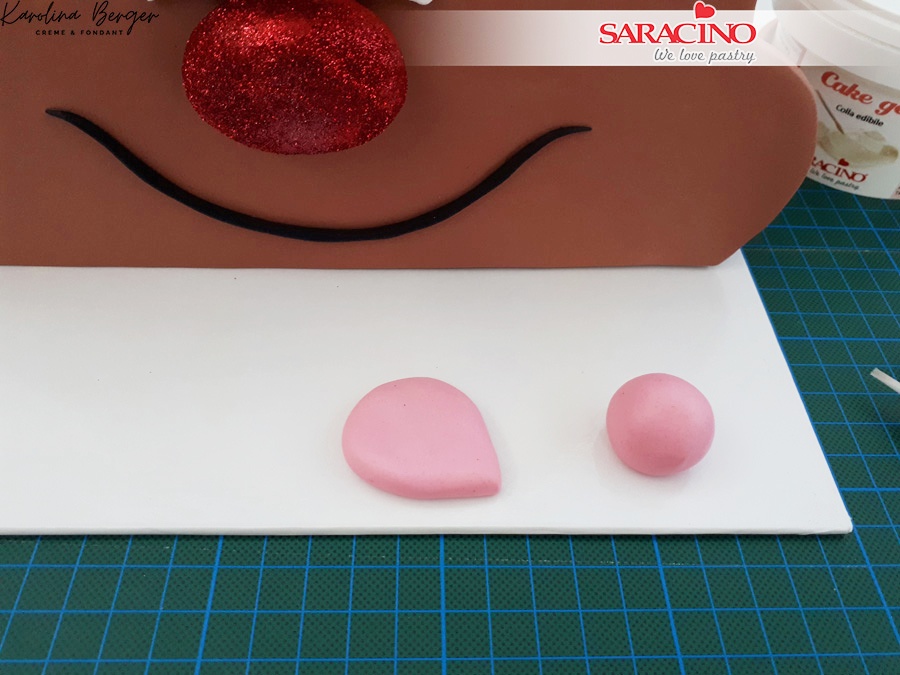
For cheeks, roll out two balls using pink fondant. Form them into a teardrop shape
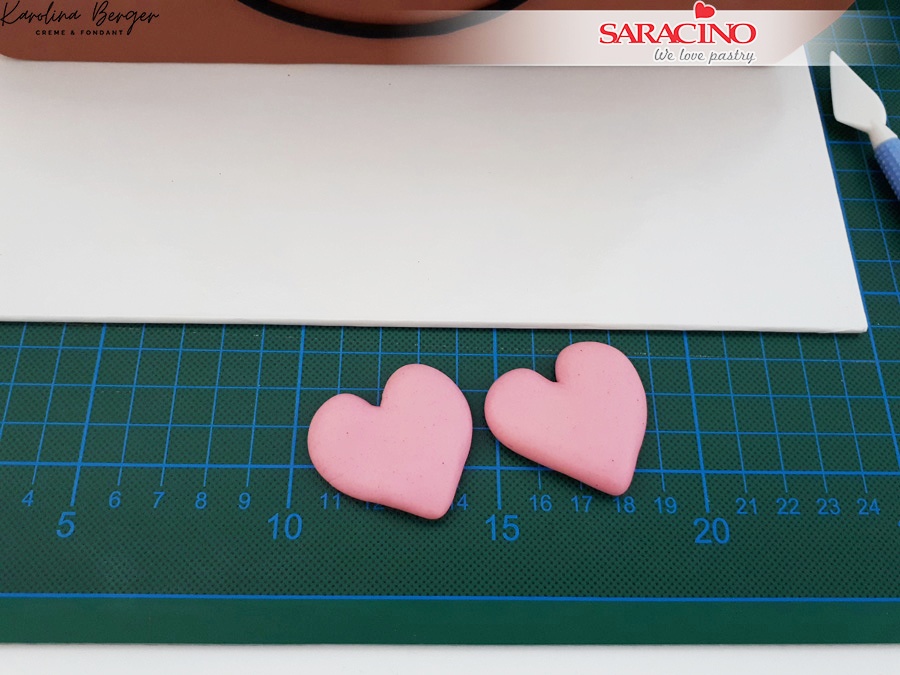
Step 44
Form into a heart shape.
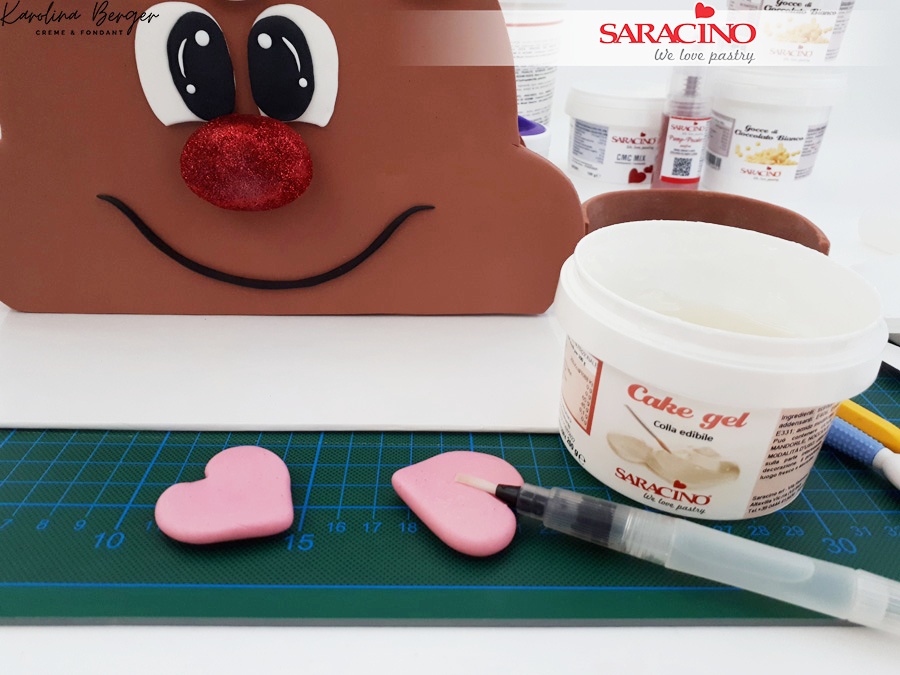
Step 45
Using cake Gel fix to the cake at both ends of the mouth as shown on the next picture
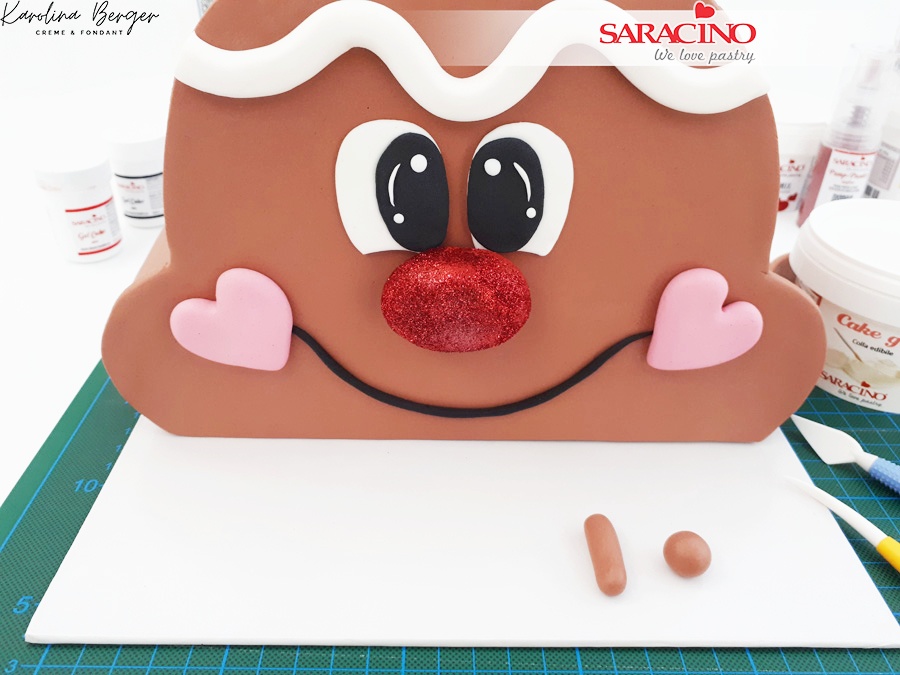
Step 46
For the handle roll two balls out of brown fondant and roll to small sausages
Step 47
Measure the width of the handle you prepared earlier and attach two sausages to the top of the cake keeping the same width as the handle.
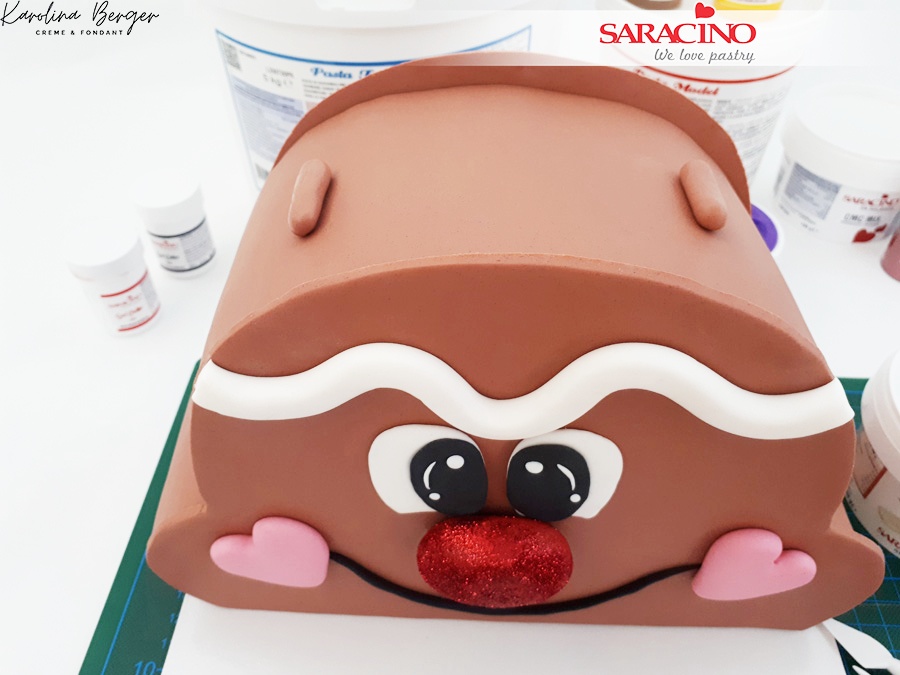
Step 48
Fix the handle to the cake
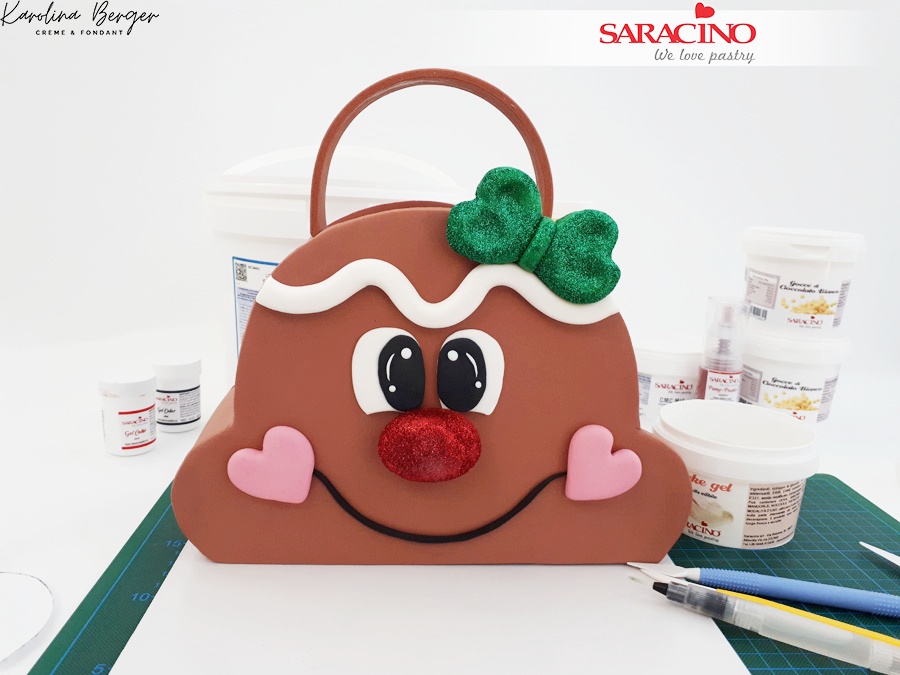
Step 49
Attach the bow.
Step 50
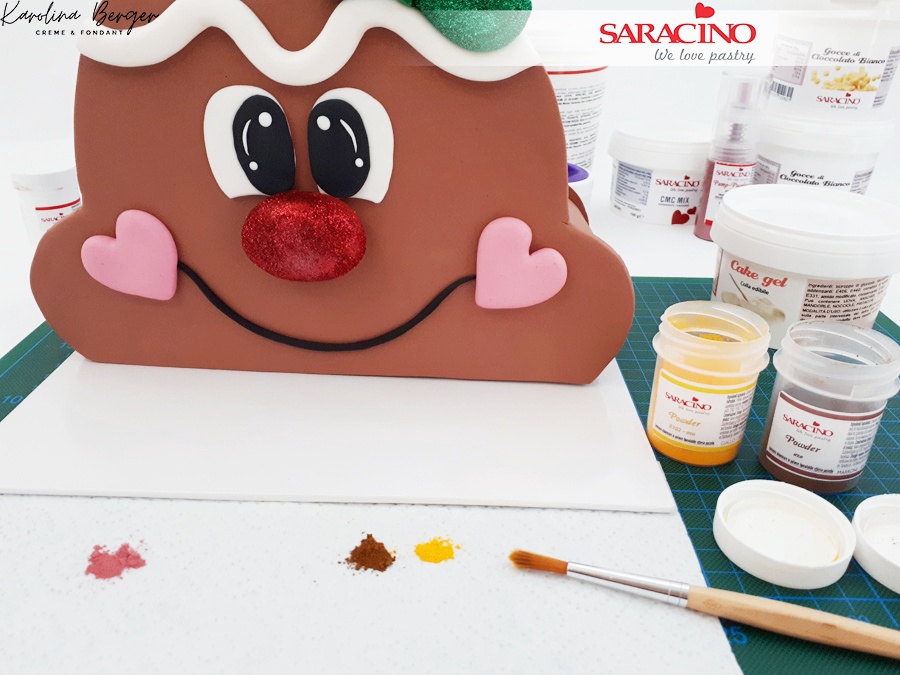
Prepare pink dust. Mix brown and yellow dust.
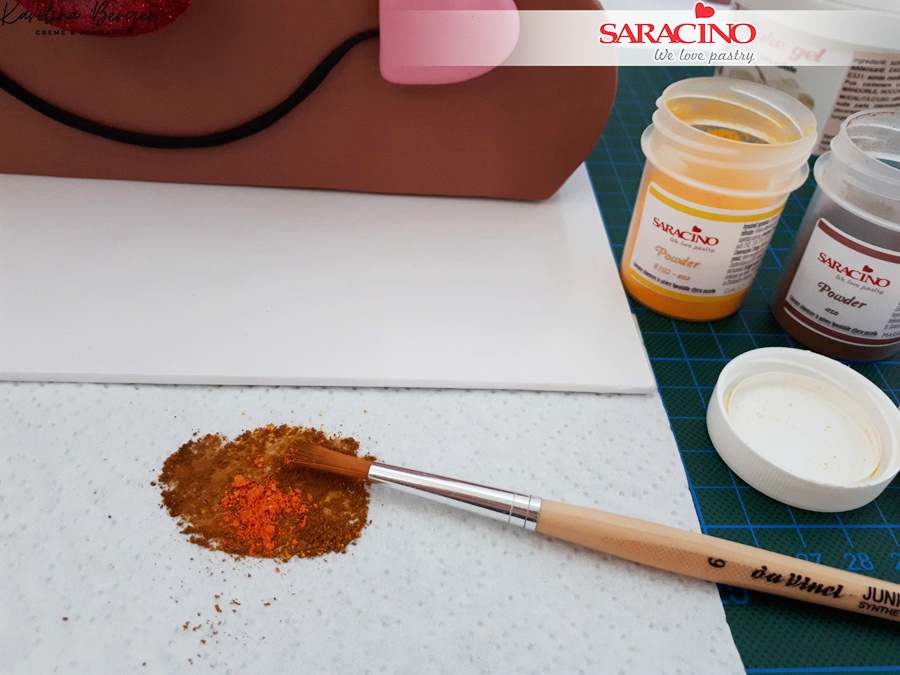
Step 51
Add a small amount of orange powder to the brown and yellow.
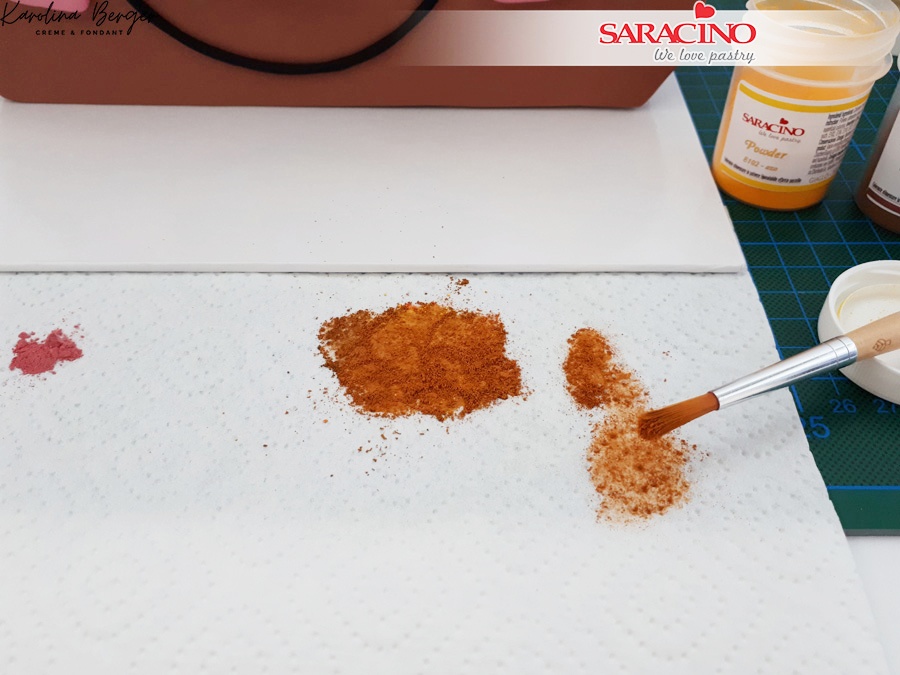
Step 52
Your powder colour is ready to dust the cake using a soft brush. Always make sure you remove excess powder from your brush on a piece of kitchen paper prior to dusting the cake.
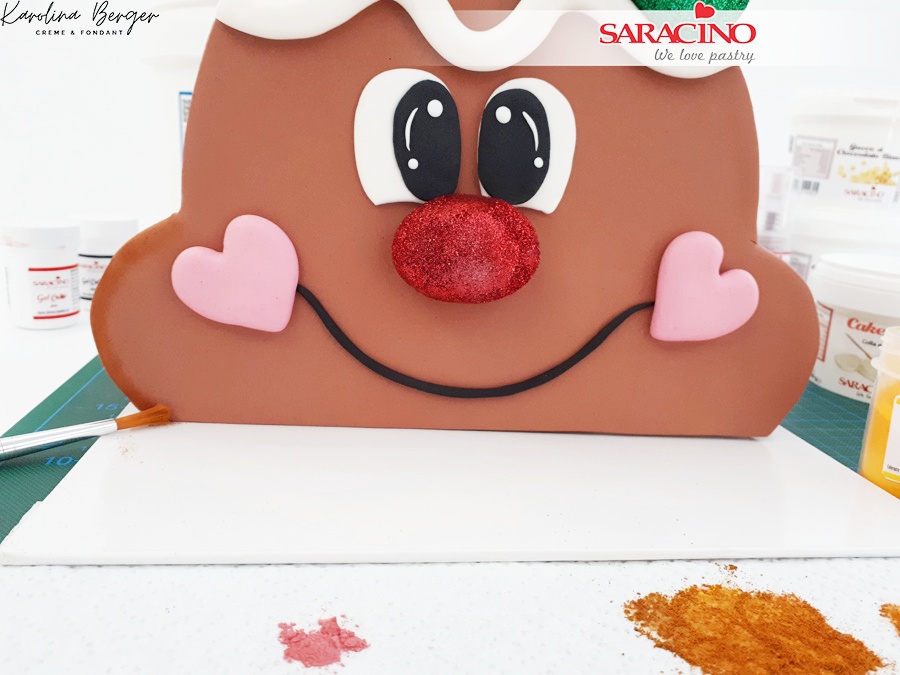
Step 53
Dust the edges of the cake

Step 54
Using pink powder, dust the cheeks
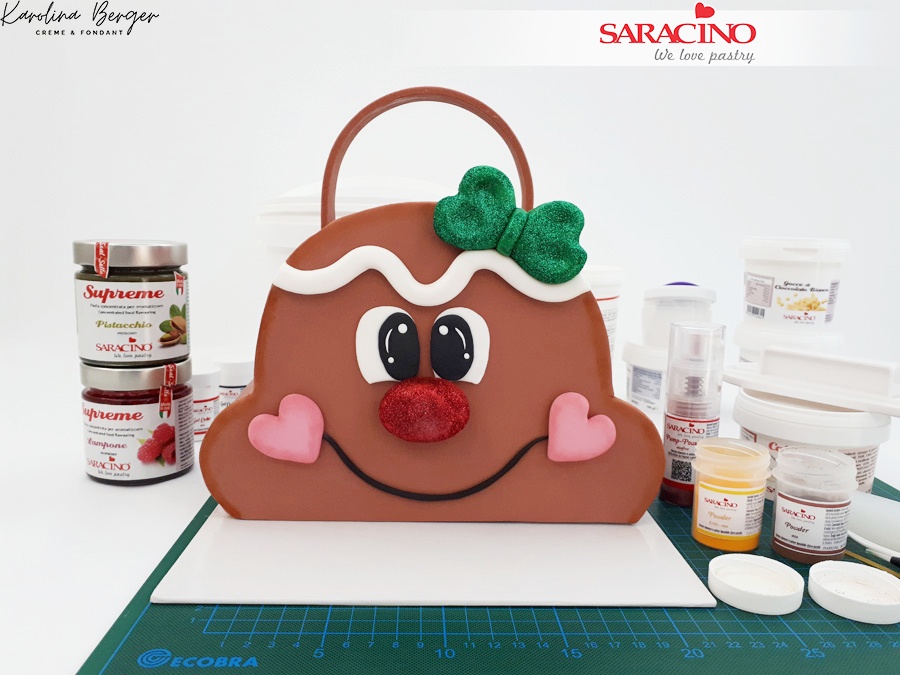
Step 55
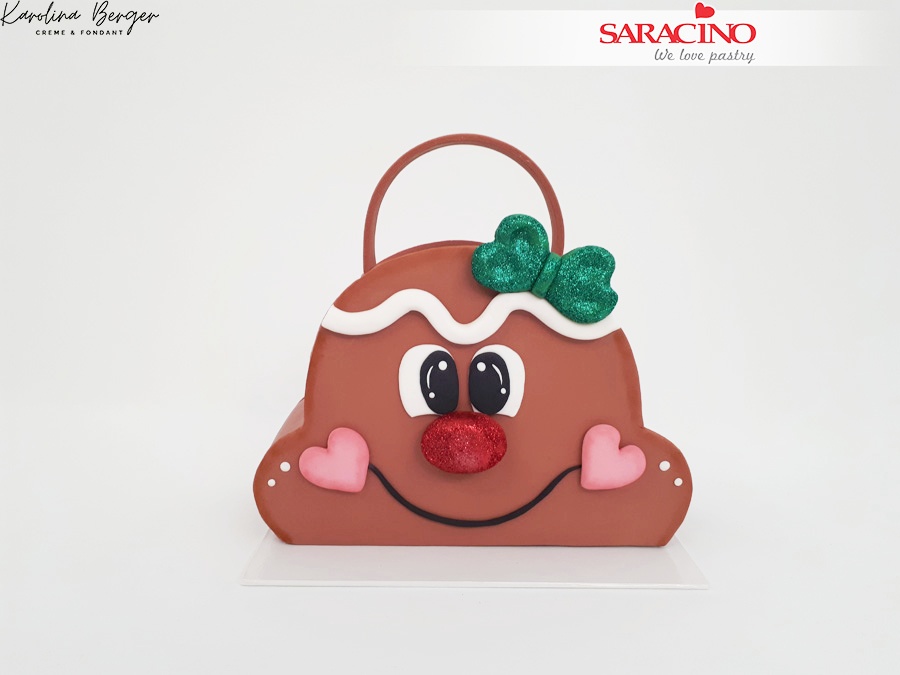
Using white fondant add two little dots on both sides. Your cute gingerbread bag is ready to be served!
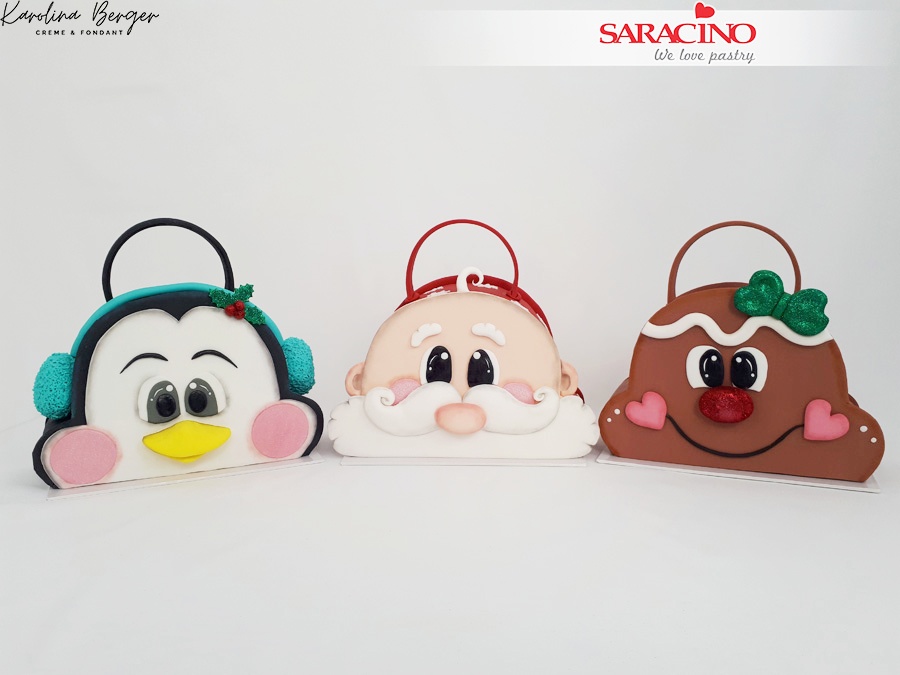
Step 56
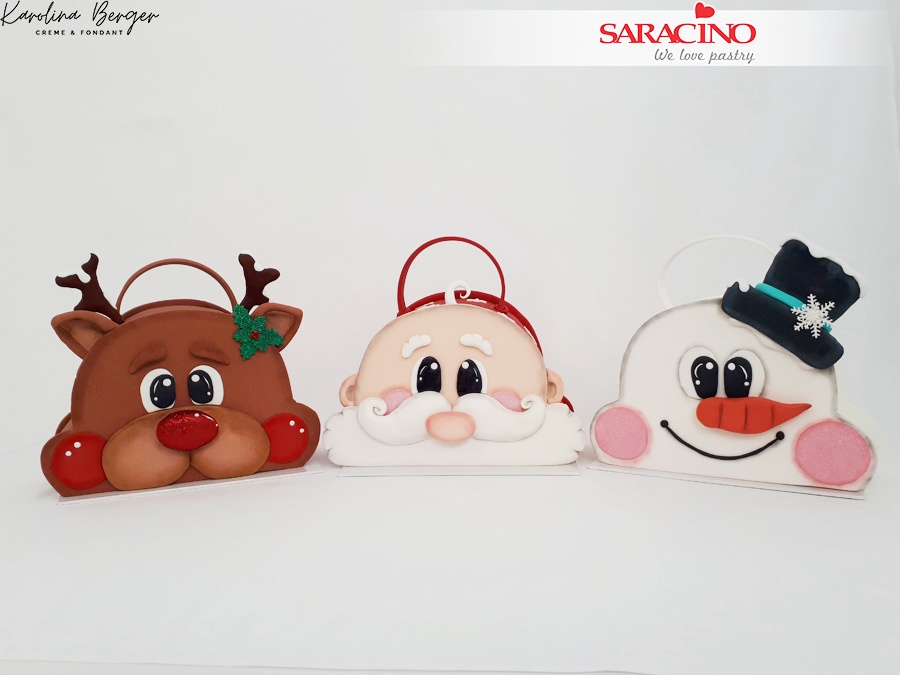
You can go wild with your imagination and create all sort of Christmas bags!
Step 57
Merry Christmas!
