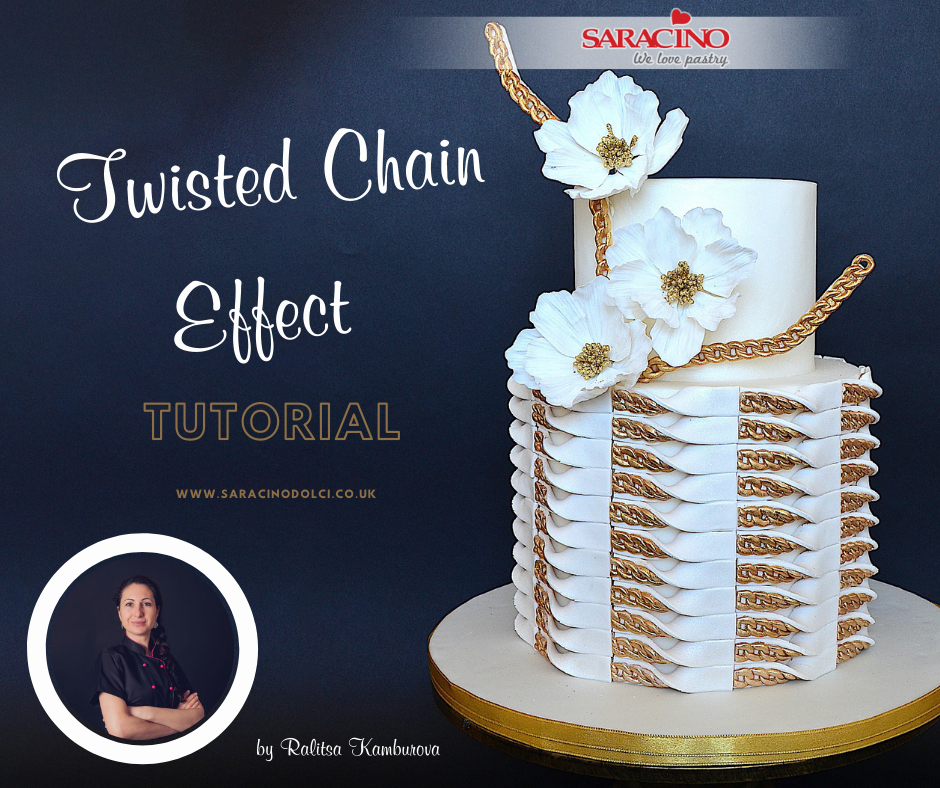
You will need:
- Saracino white sugarpaste – Pasta Top
- Saracino white flower paste – Pasta Bouquet
- Saracino gold spray powder
- Saracino Airbrush mother of pearl liquid colour
- Edible glue
- Lemon extract or few drops of clear alcohol
- Chain mould
- Cutting wheel
- Ruler
- Tailor’s measuring tape or piece of ribbon
- Rolling pin with spacers
- Exacto knife
- Clean brushes
- Fondant smoother
- 18 gauge wire
- Airbrush
Step 1
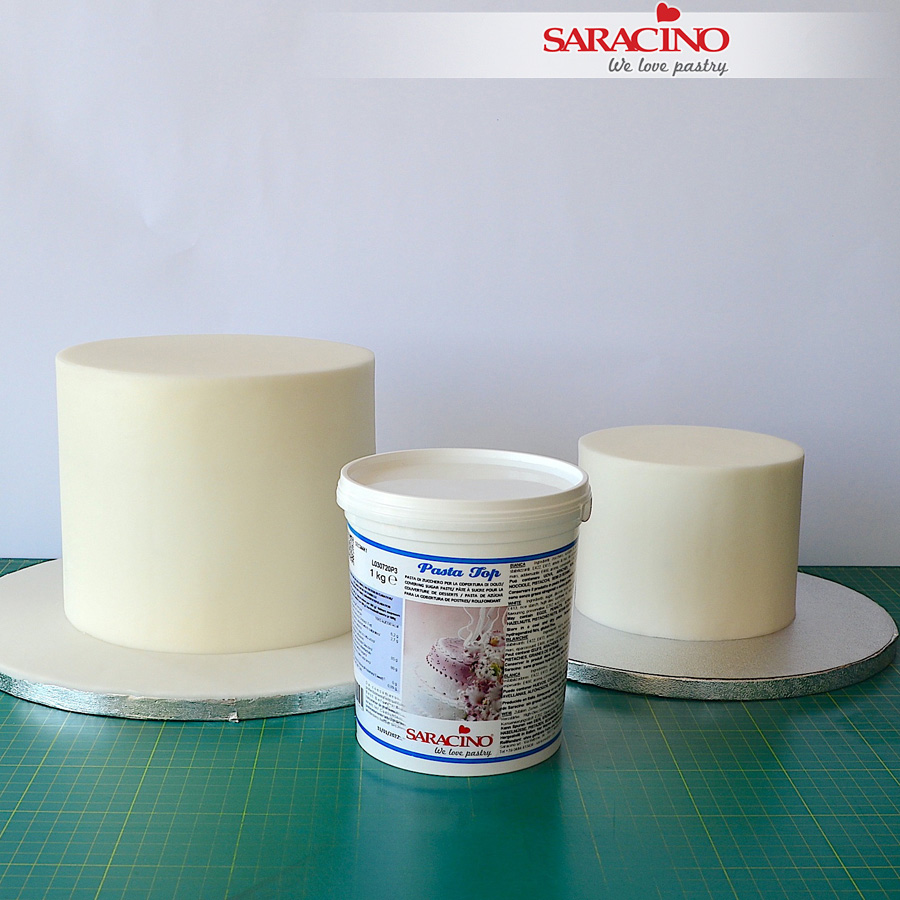
Cover your cakes using the white Pasta Top.
Tip : Pasta Top is Vegan, Gluten free and has NO hydrogenated fats. It’s very stretchy and can be rolled very thin.
Step 2
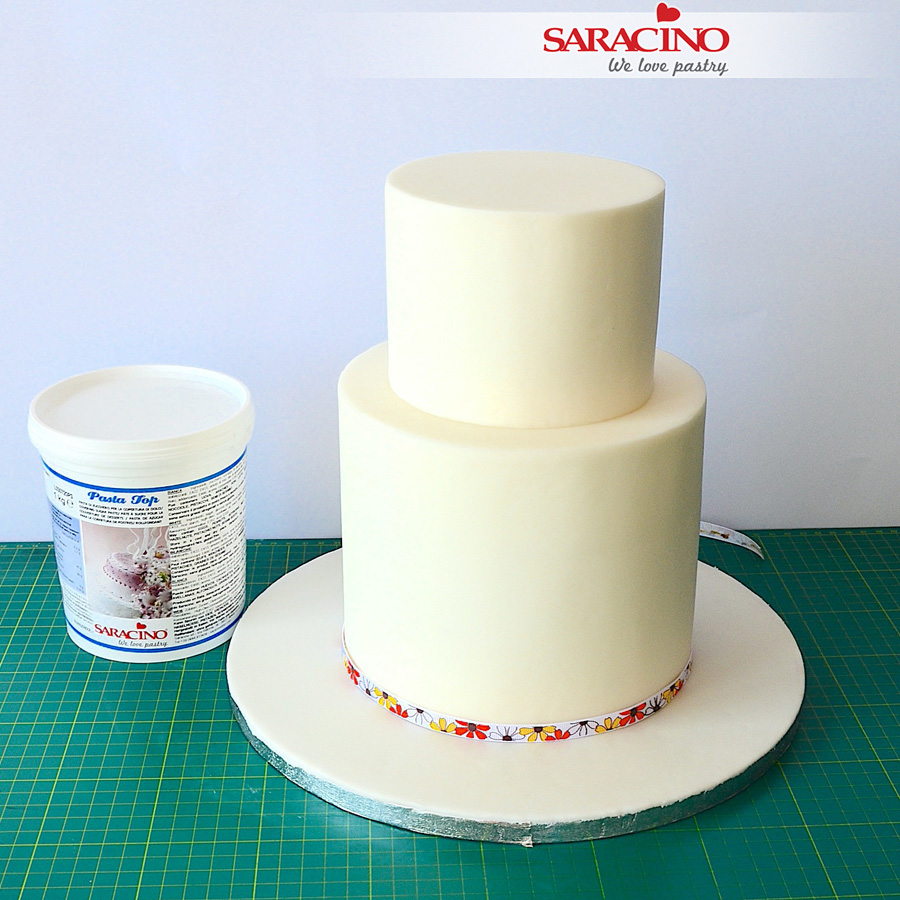
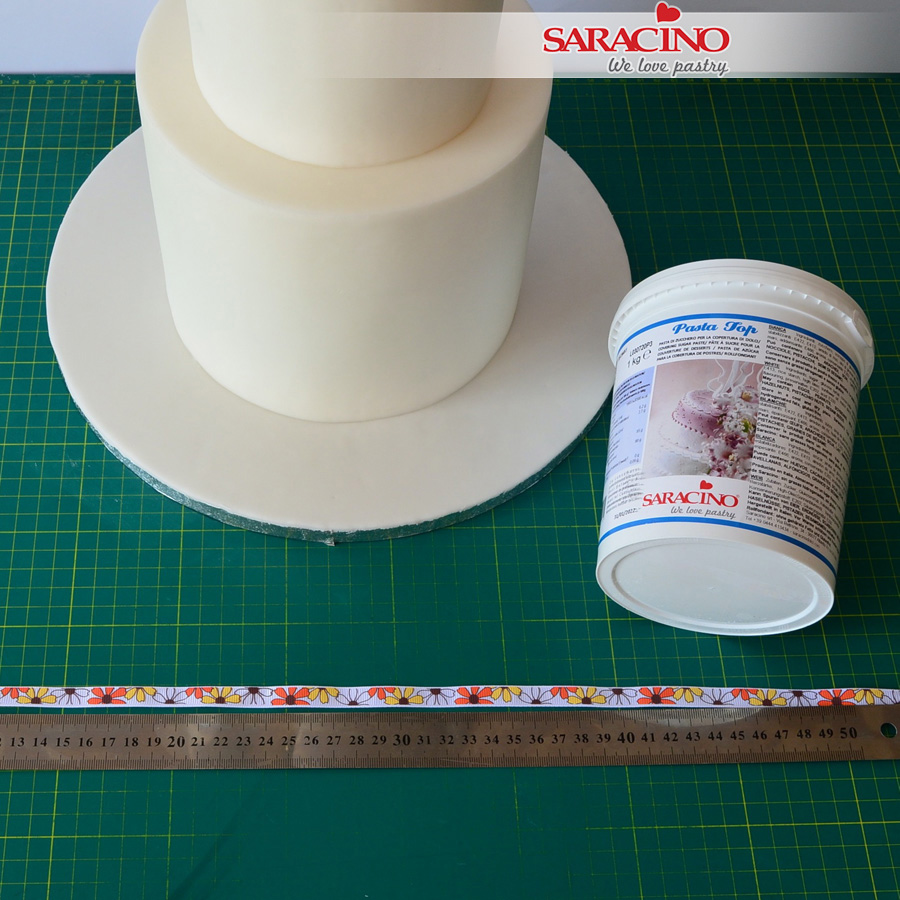
Stack the cake and measure the diameter of your bottom tier with a piece of ribbon or tailor’s measure.
Step 3
Now you can calculate how long each piece will be in order to finish the design seamless. For example: If the circumference of the cake is 60cm, one section will be 6cm and you will have 10 sections.
Step 4
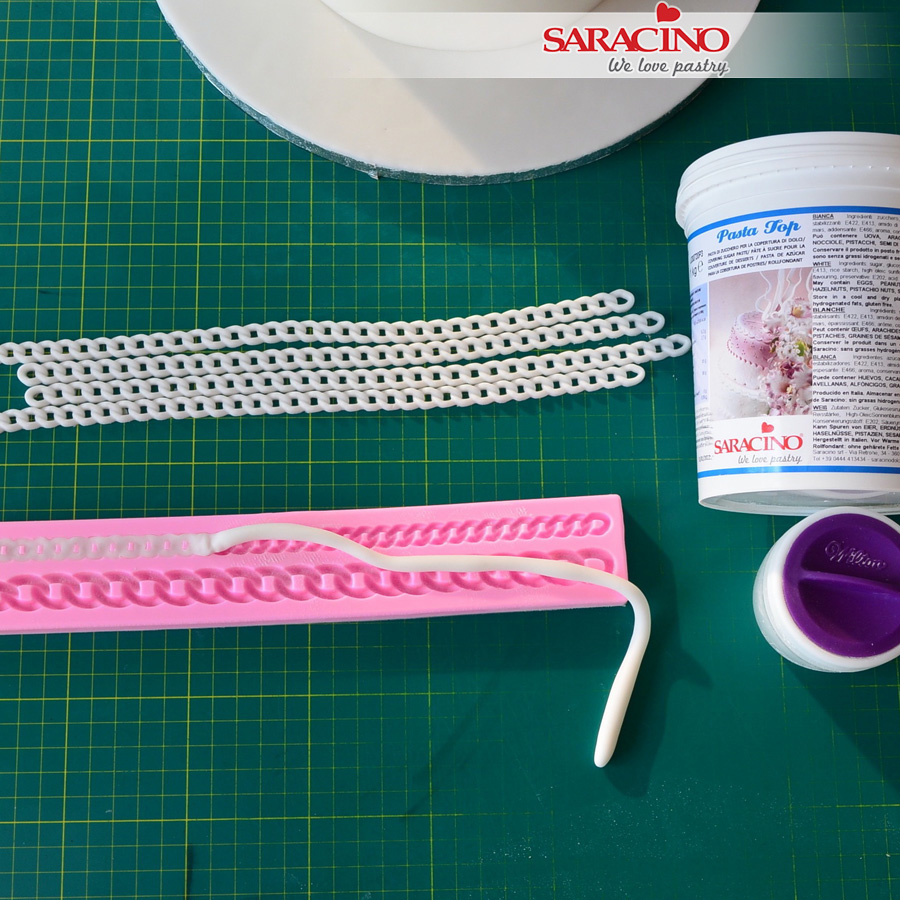
Using a chain mould make a few lengths of chain. Bear in mind you cannot finish the design all at once because the pieces of fondant will dry out too much and it is possible they could break or tear. You can make 25-30 pieces each time, place them on the cake and repeat until the design is finished.
Step 5
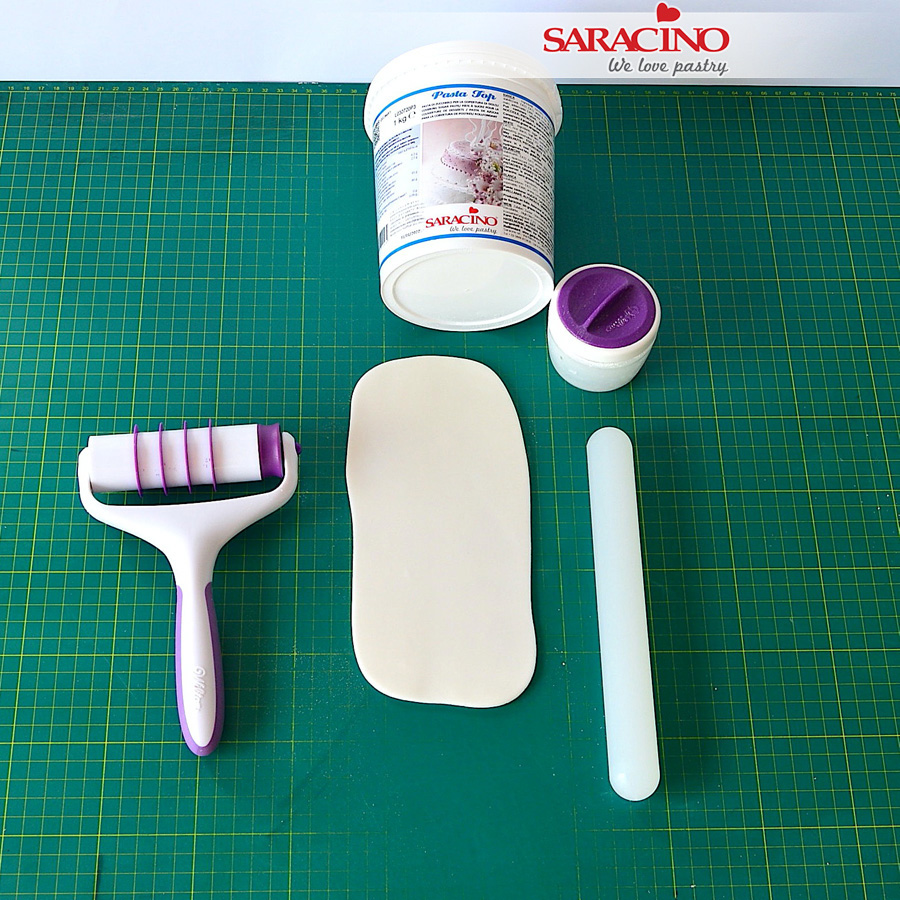
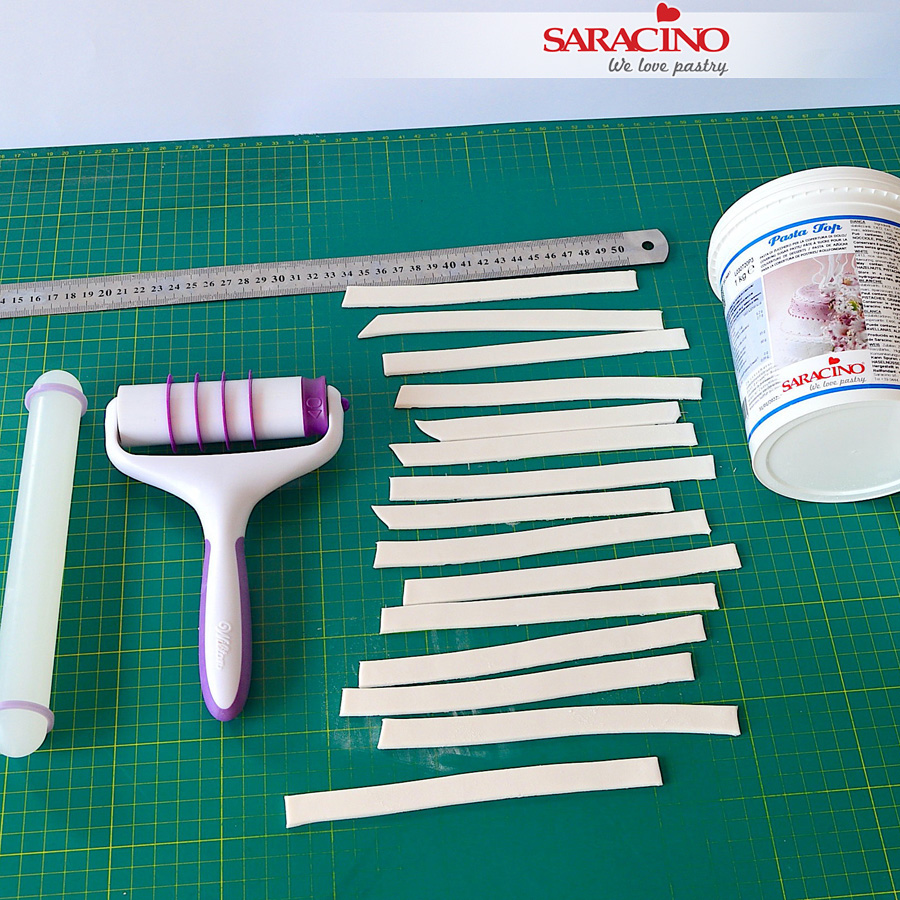
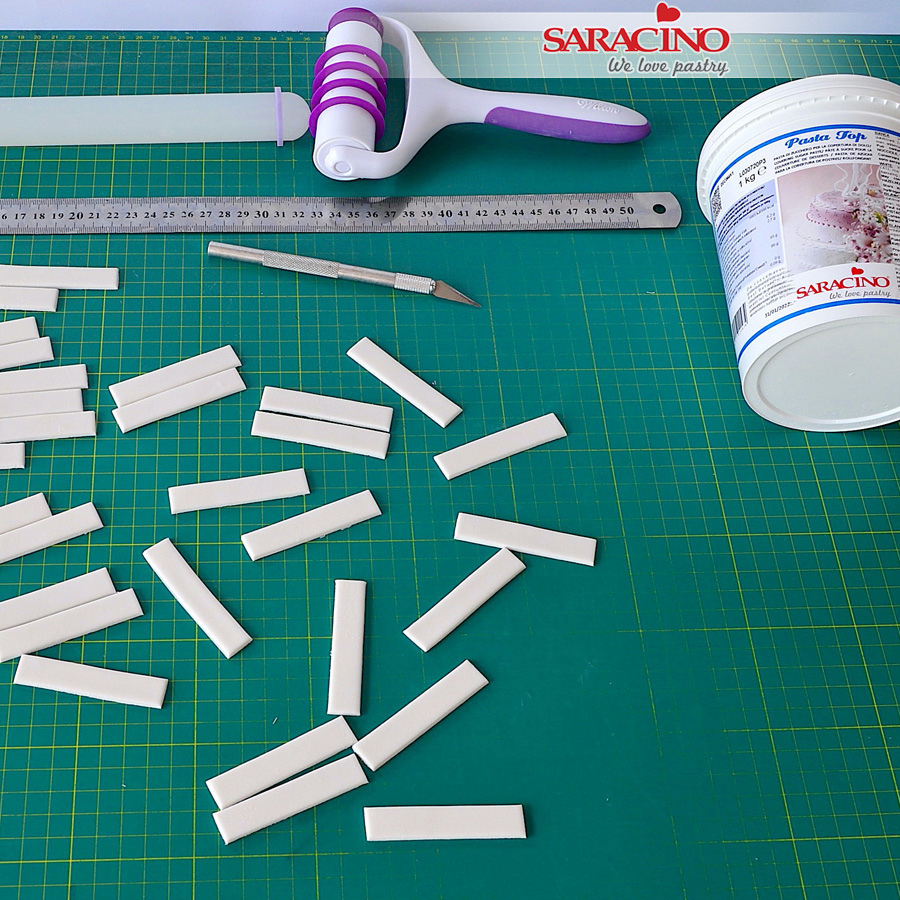
Roll some Saracino pasta top and cut some strips.
Step 6
Leave them for about 30 min to dry a little bit.
Step 7
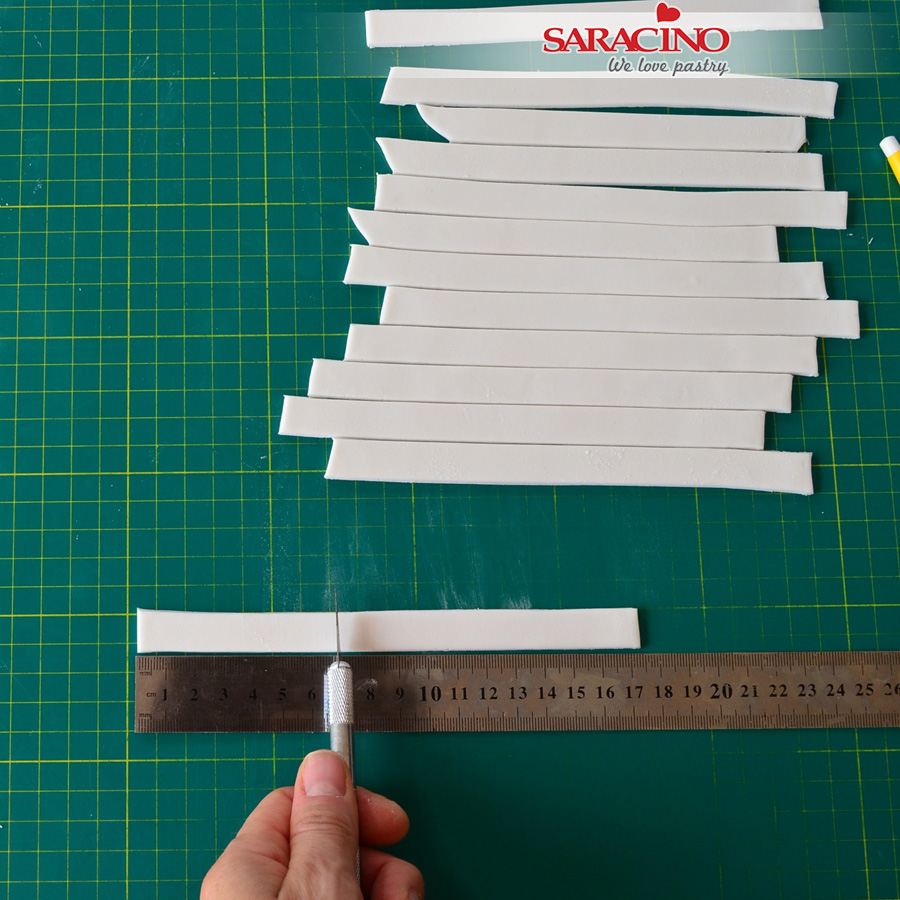
For this cake we need to cut the strips to 6cm length. We already have calculated that one section of our design will be 6cm long. You should cut your strips to the length you require.
Step 8
Leave your strips of fondant aside while you paint the chains in gold.
Step 9
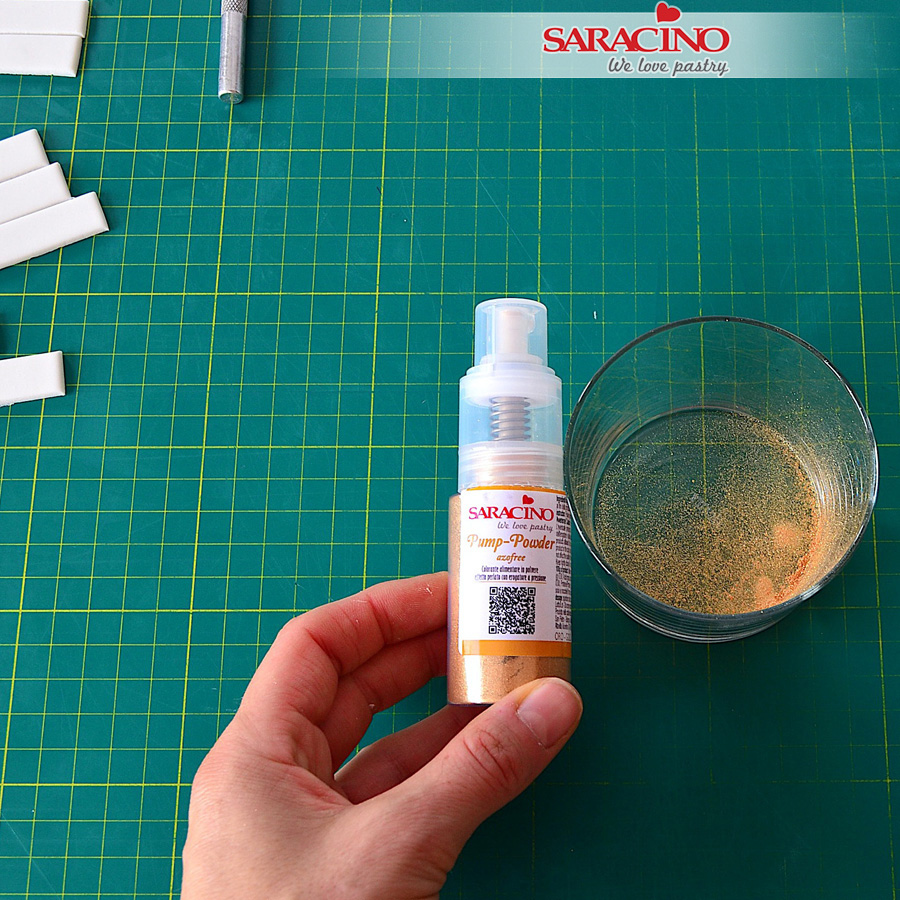
Use Saracino pump powder gold dust and mix it with some lemon extract or a few drops of vodka.
Step 10
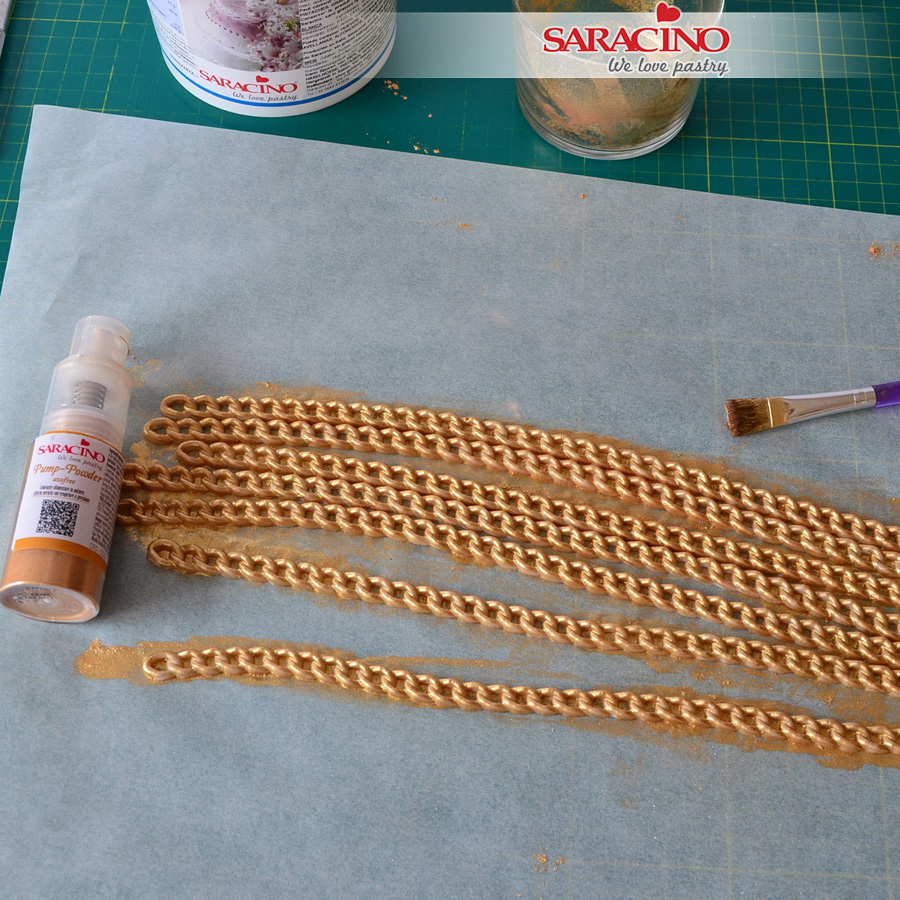
Paint the chains with the mixture. For a more metallic colour, paint again after the alcohol evaporates. This time you can use the pump powder gold directly onto the chains.
Step 11
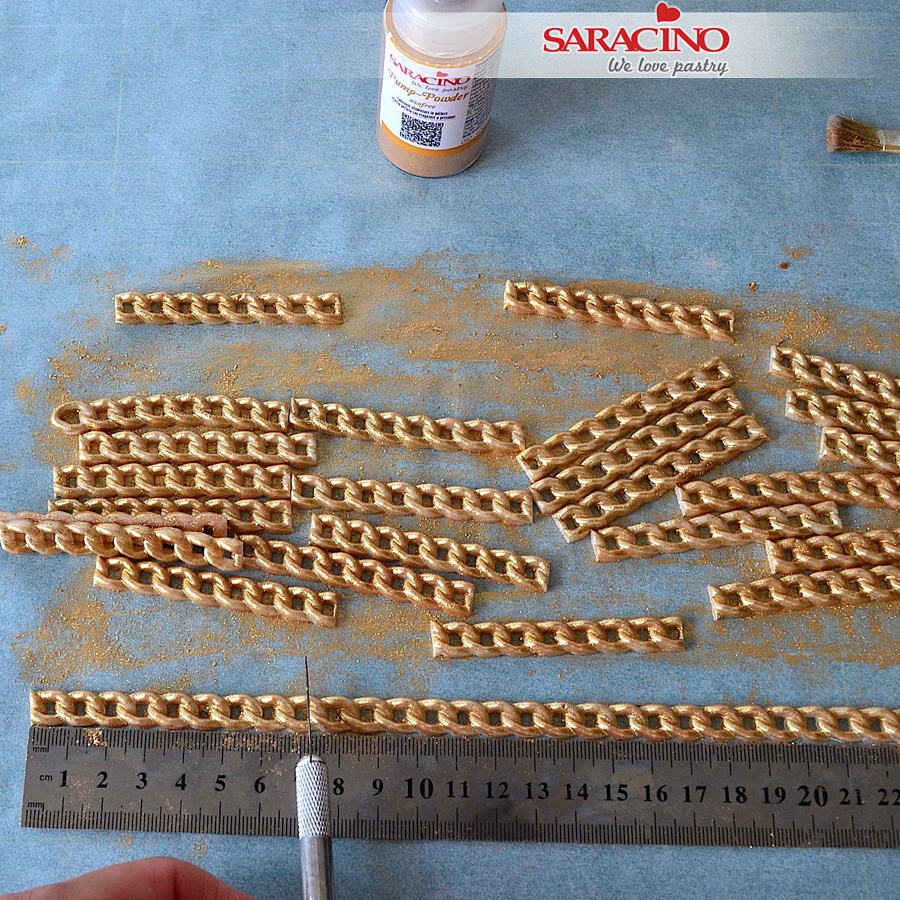
We cut the gold chains to 6cm long pieces. You cut them to your required length.
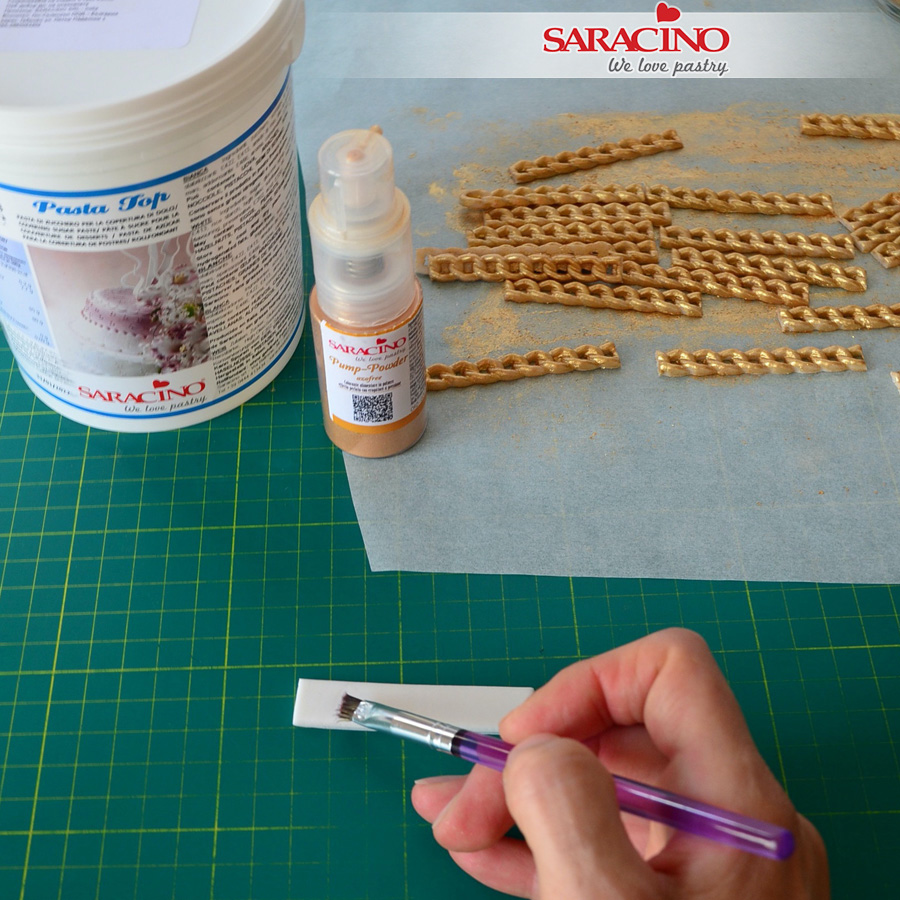
Step 12
Brush a little bit of edible glue on the white fondant strips and place the fondant chain in the middle of the strip.
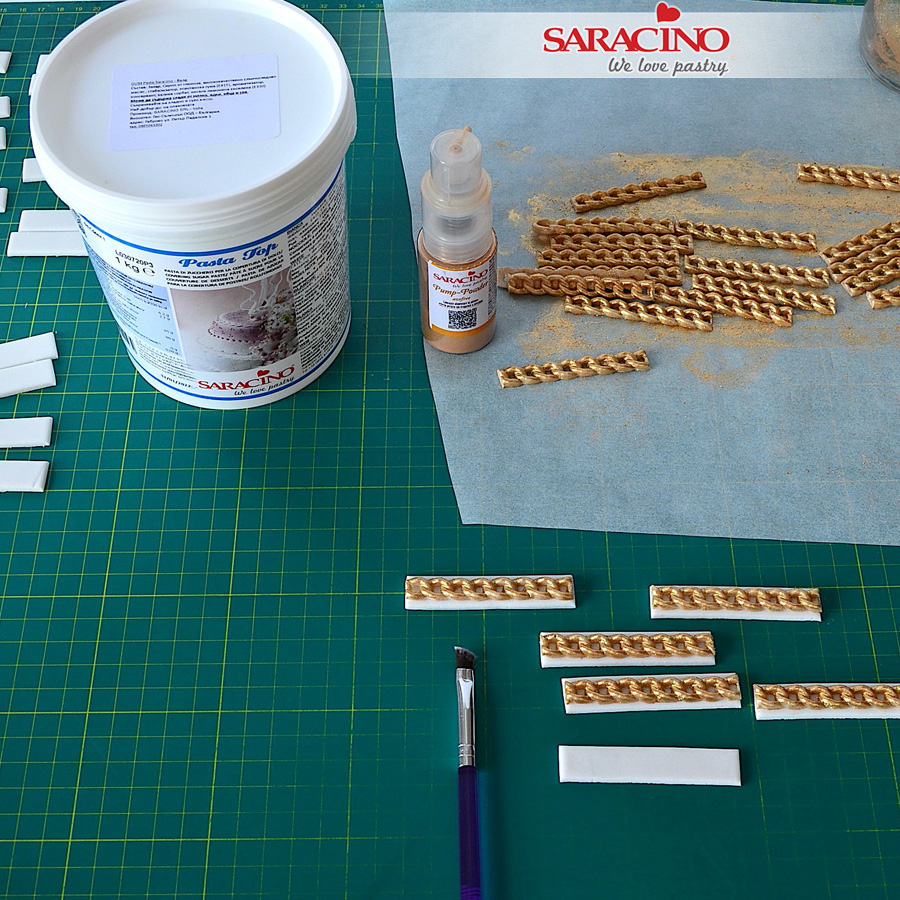
Step 13
Finish all the pieces you have prepared. If you have some longer parts of chain, trim the excess.
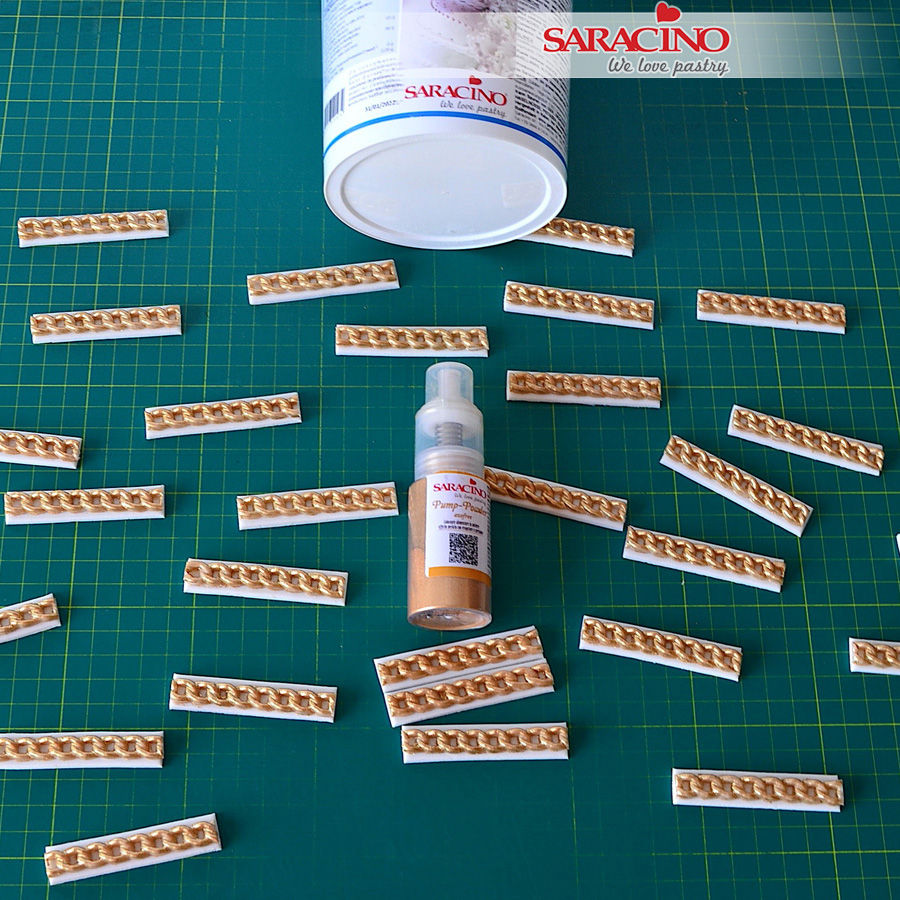
Step 14
Chain must be exactly the length of the fondant strip.
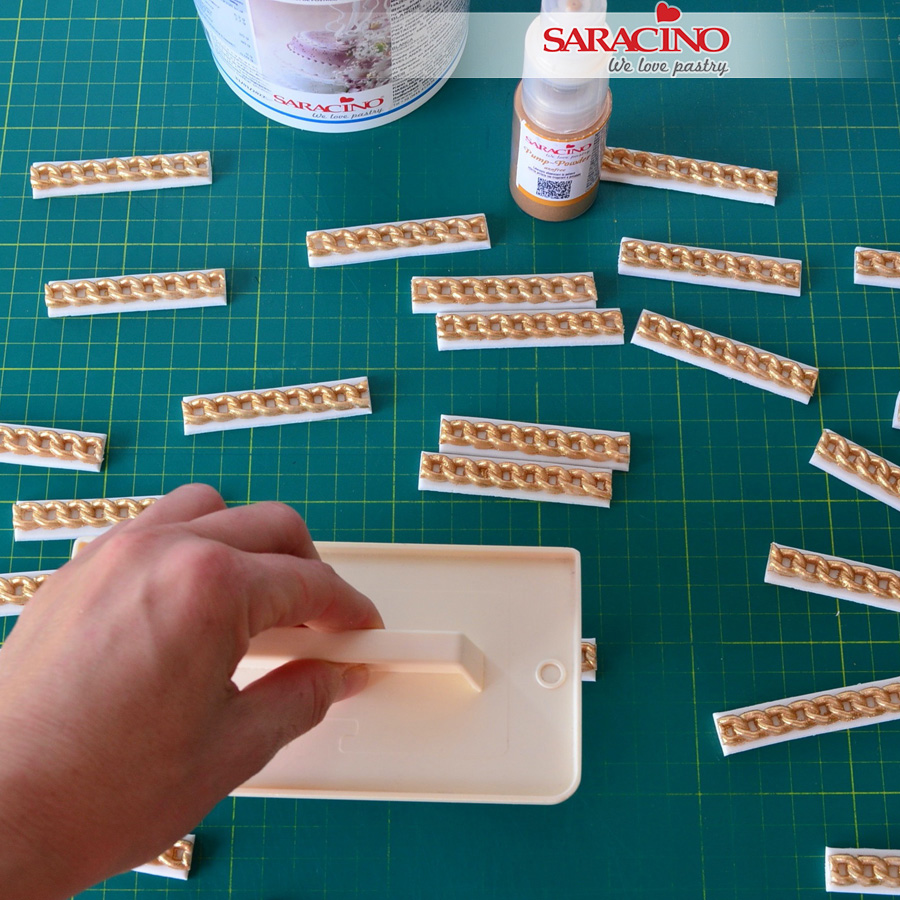
Step 15
Use a fondant smoother and press each piece slightly over the chain.
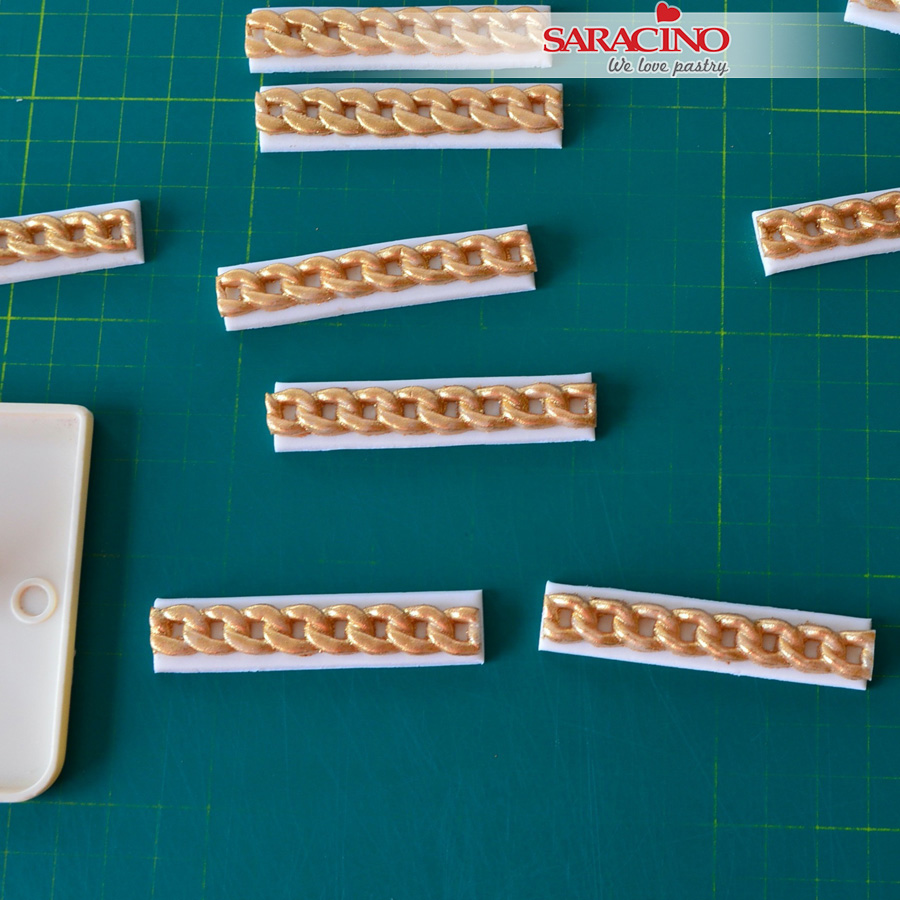
Step 16
Now you have flattened your strips for easier twisting.
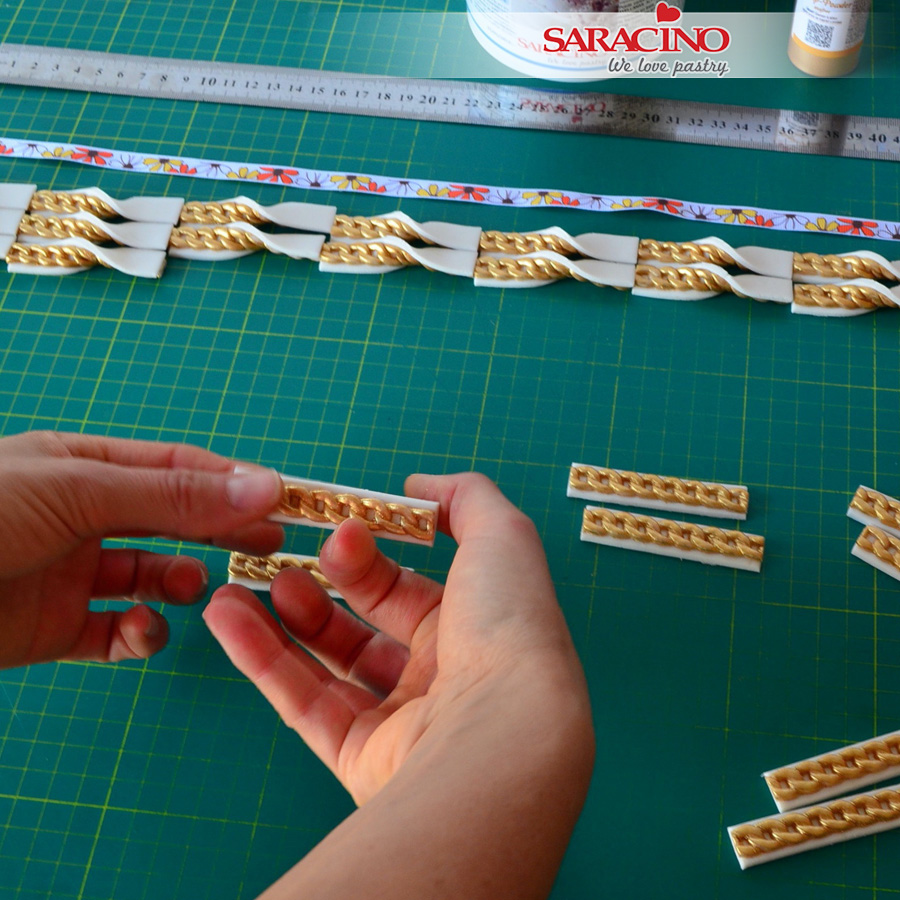
Step 17
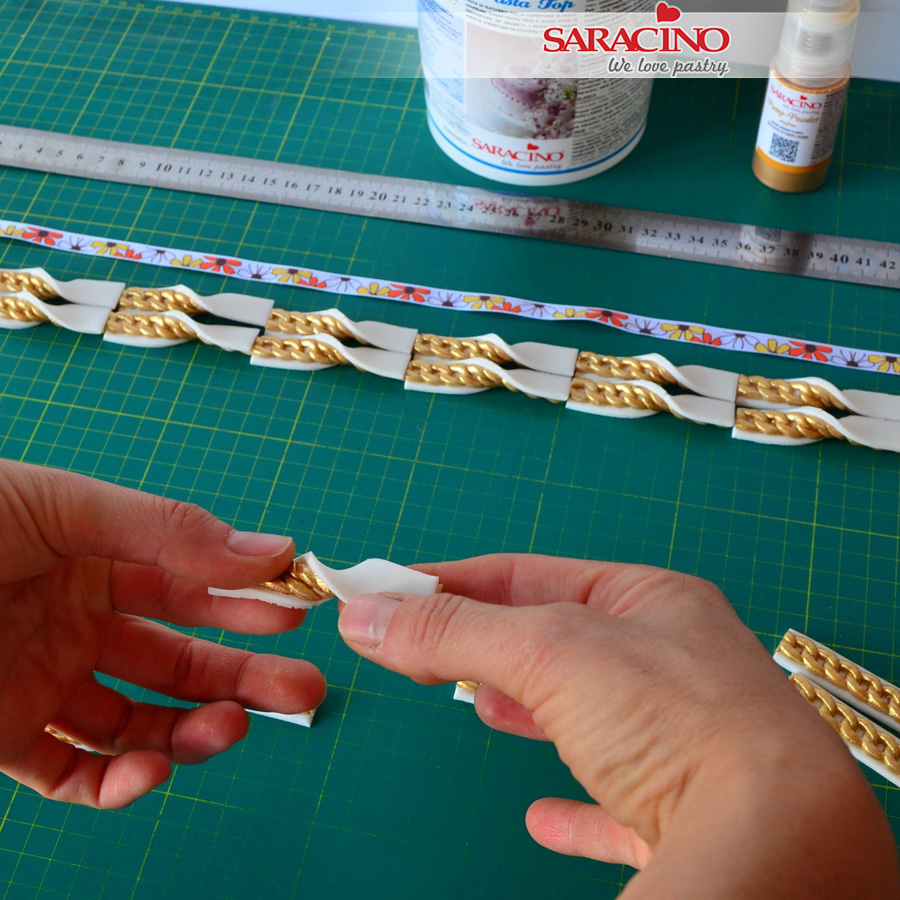
Take one piece, approximately find the middle and put your left thumb on top (forefinger at the back) and right forefinger on top (thumb at the back).
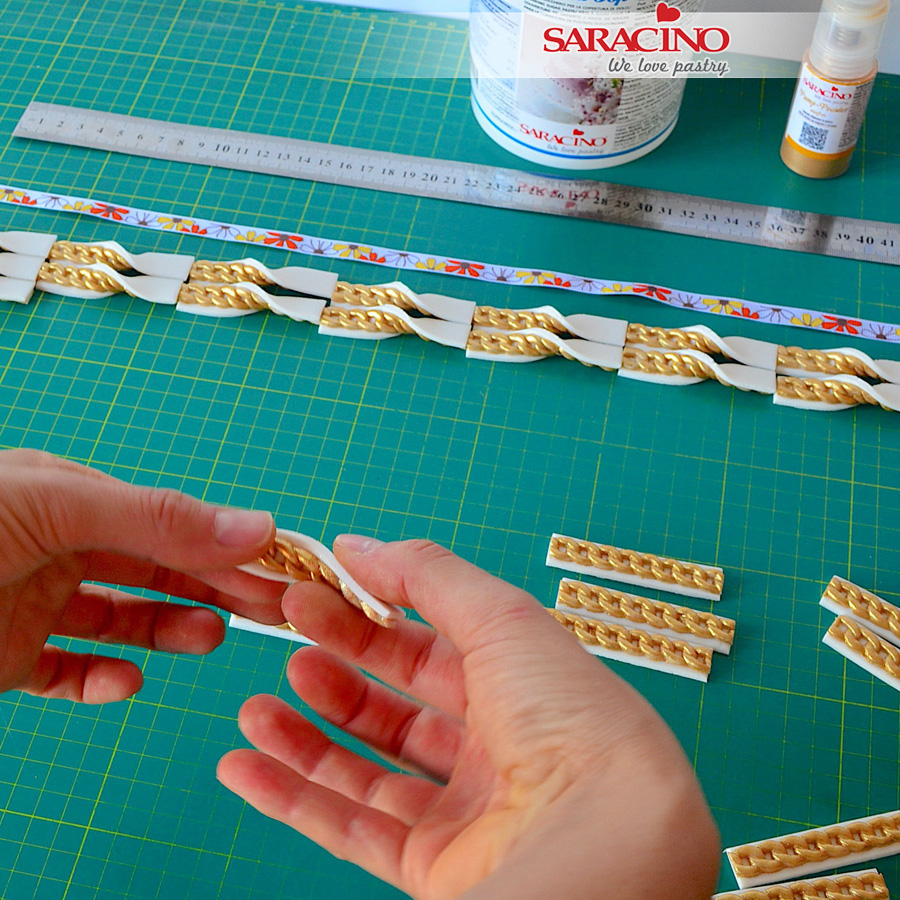
Step 18
Twist in opposite directions until your strip is half chain, half plain.
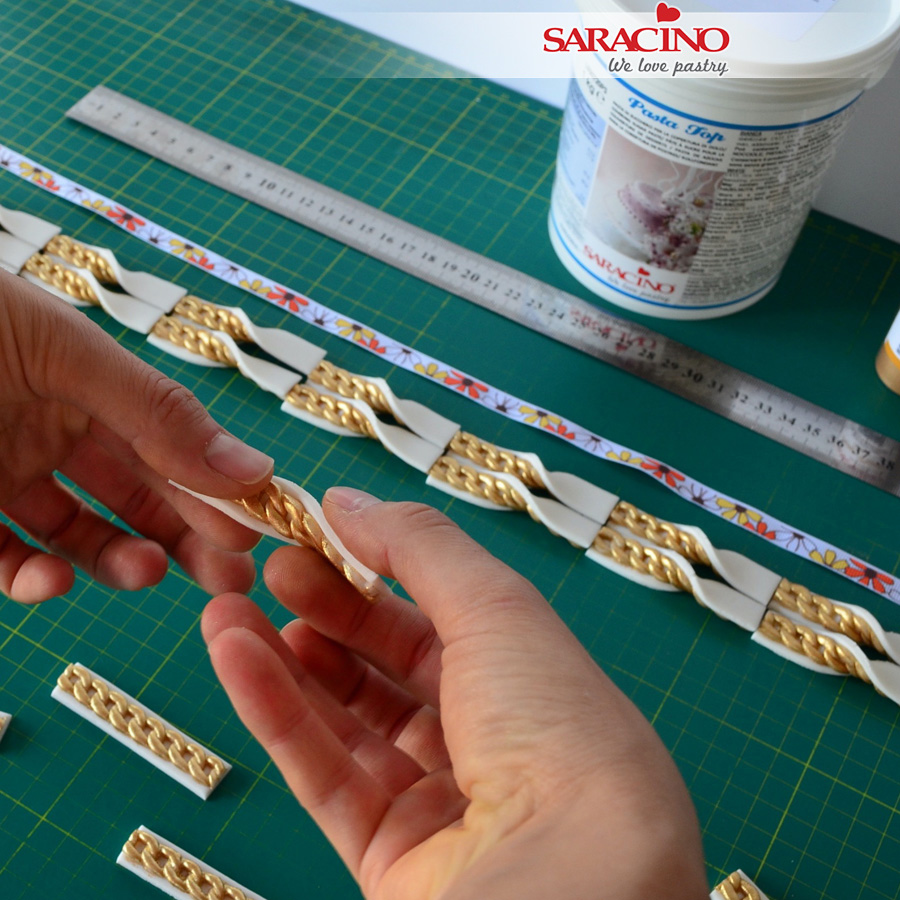
Step 19
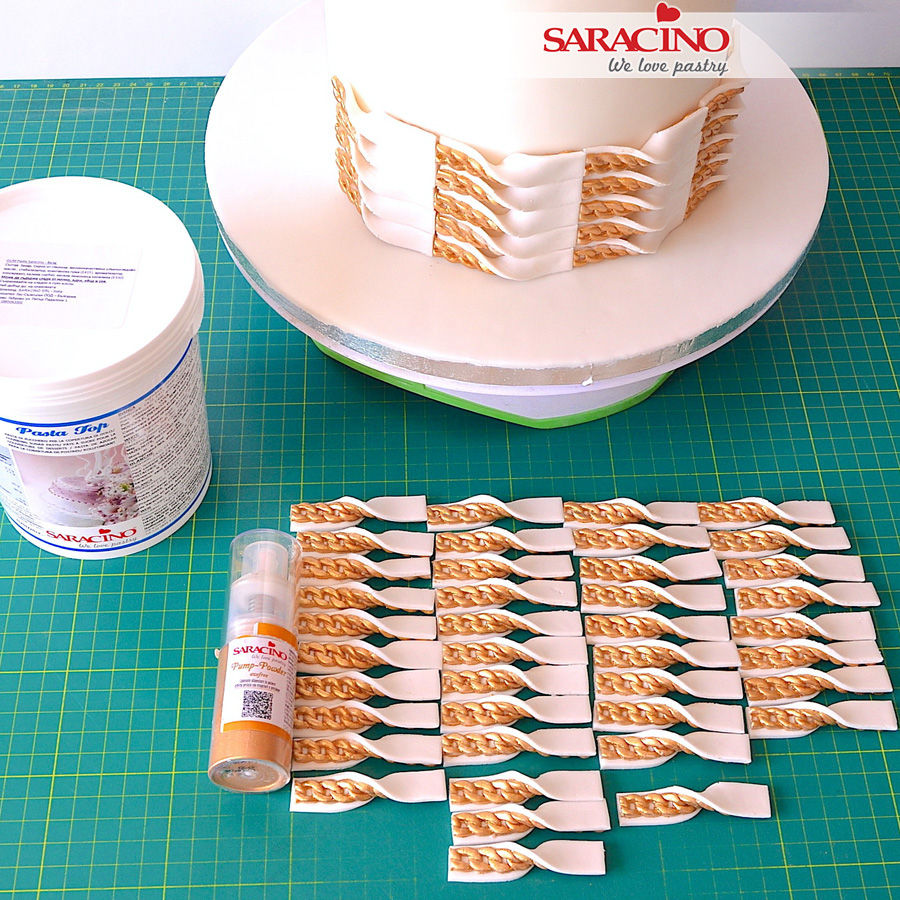
Each piece should look like this
Step 20
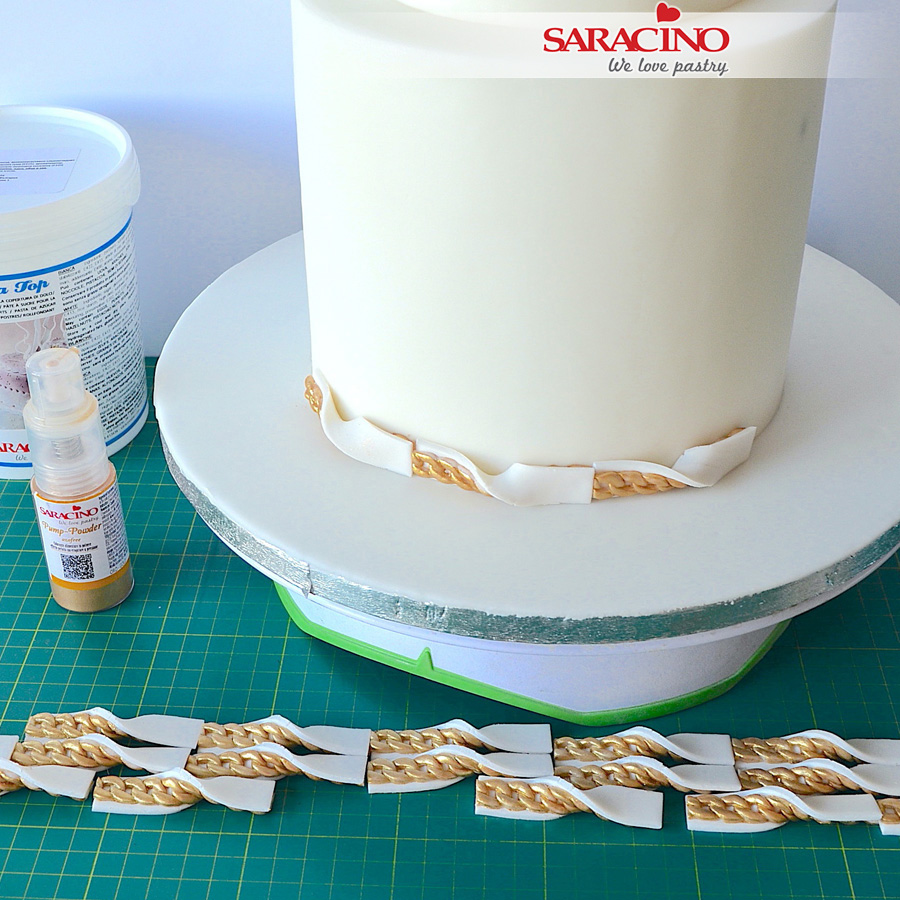
Continue to twist until you finish all parts you have cut. Remember you may need to prepare more later as we don’t want to make too many just in case they dry out.
Step 21
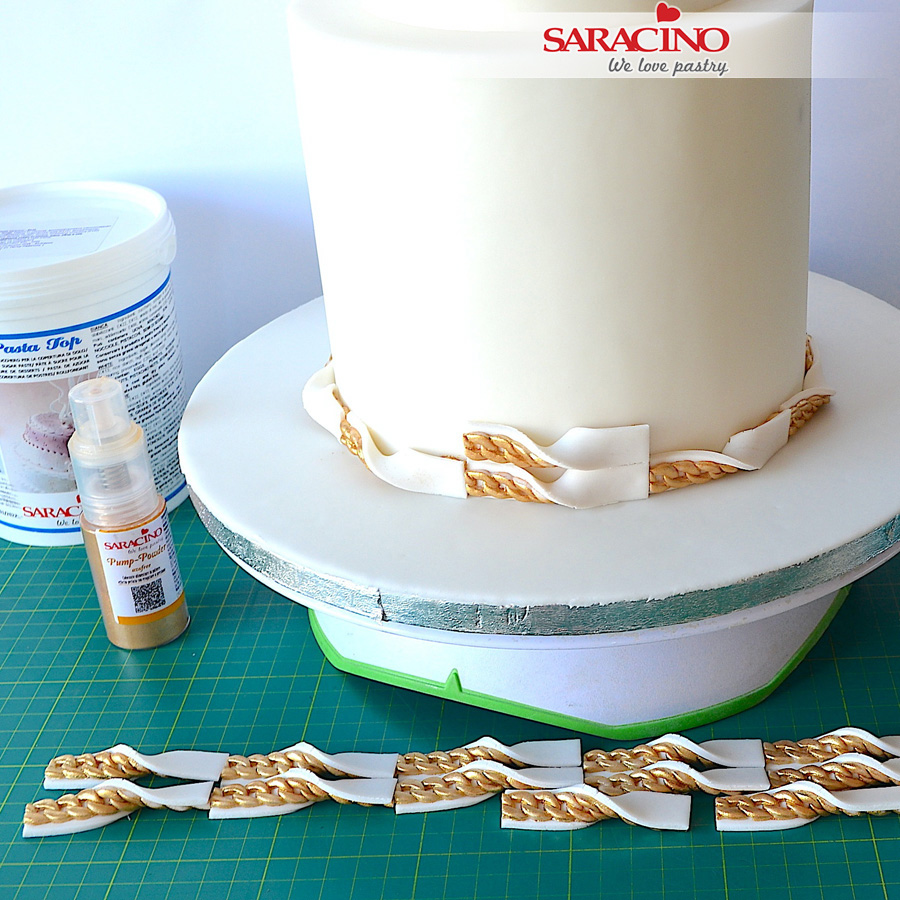
Start attaching the pieces to the cake. Take one piece and brush the back with edible glue (half plain, half chain) and attach to the cake. Repeat until you finish the first row.
Step 22
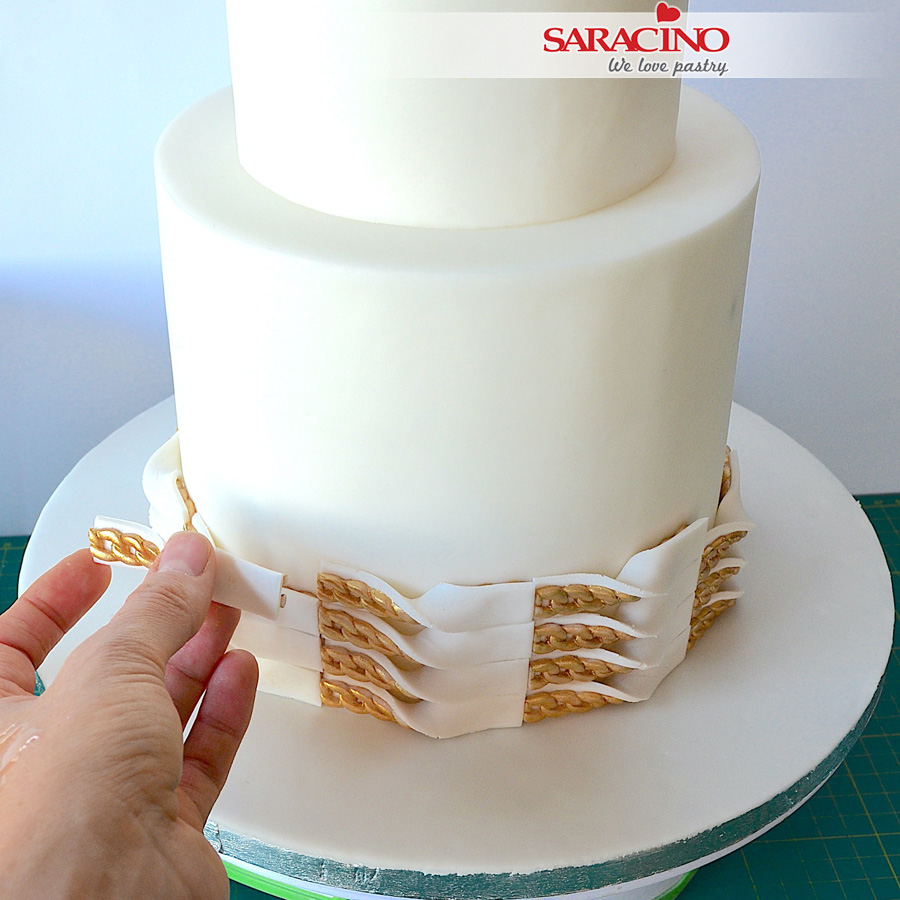
Then start the second row by adding another piece making sure the chains line up from the row below.
Step 23
Continue until all pieces are placed on the cake.
Step 24
When you finish all the pieces you have prepared, repeat steps 5 to 20 until you finish the design.
Step 25
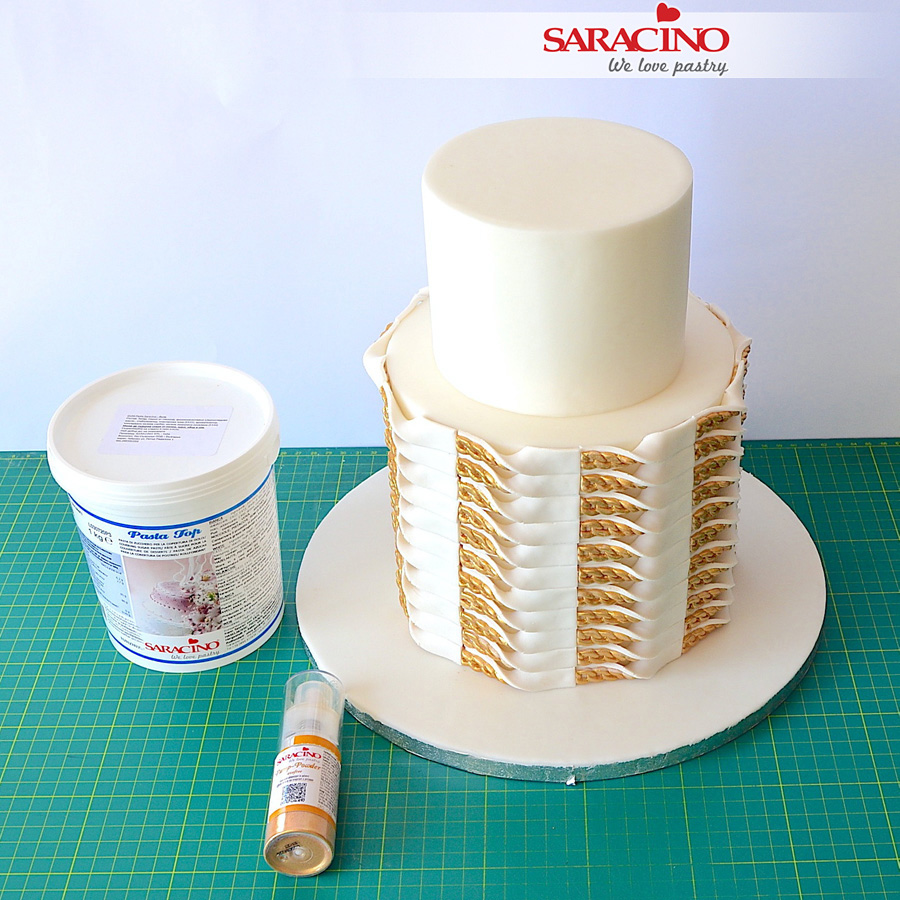
Your finished bottom tier should look like this.
Step 26
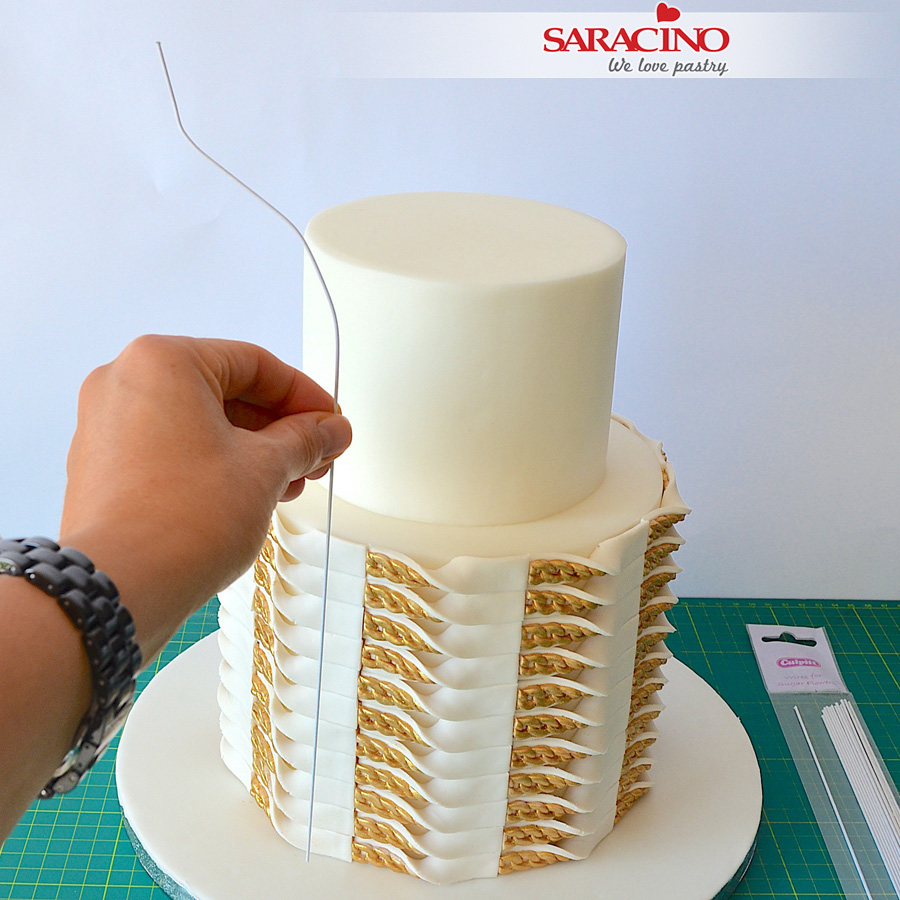
Bend 18-gauge wire to create the chain branches.
Step 27
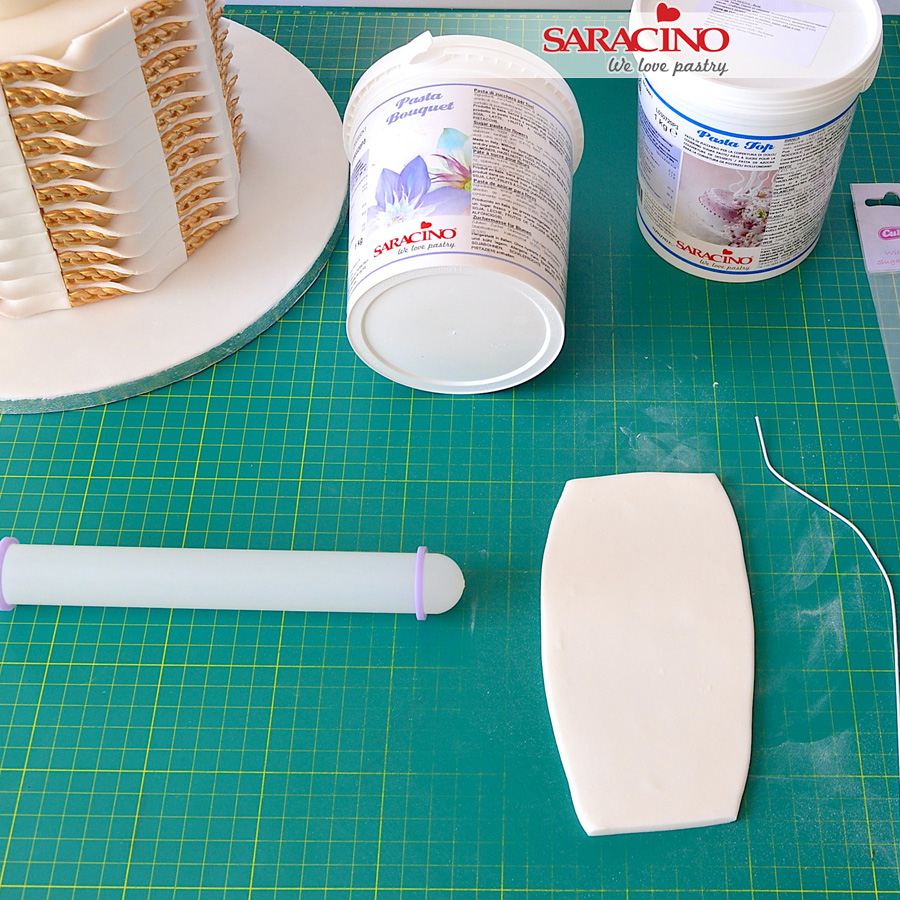
Roll some 50:50 mixture of Pasta bouquet and Pasta top or just Pasta top mixed with a little bit of tylo powder.
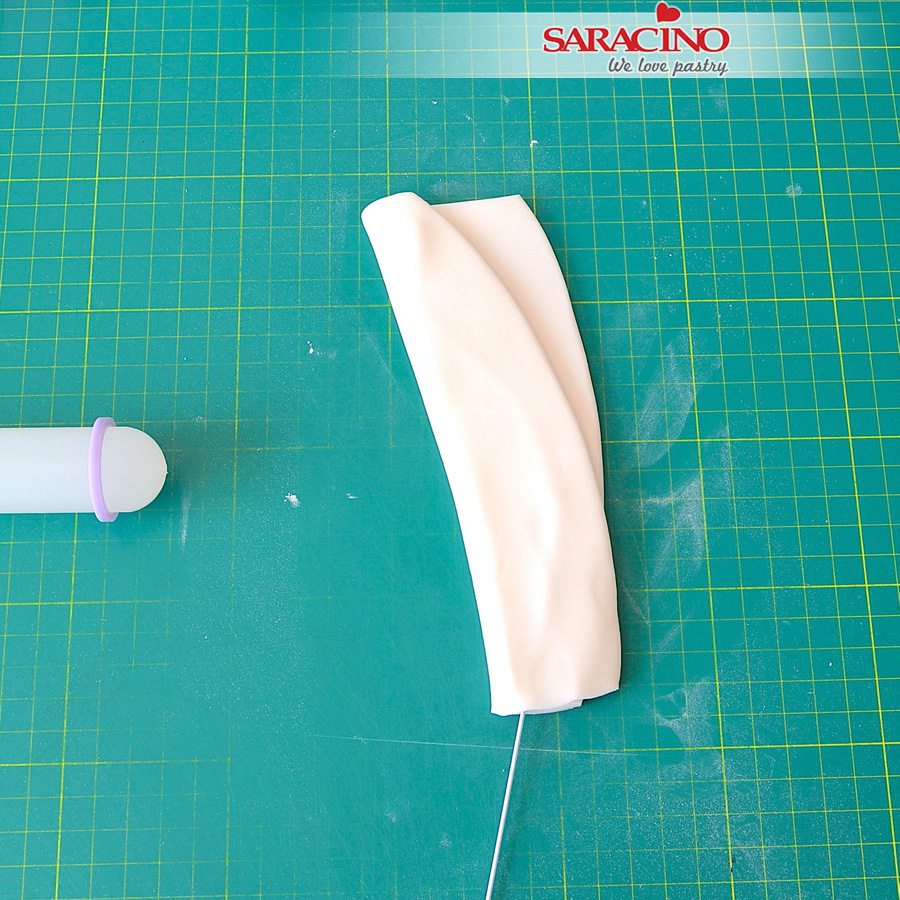
Step 28
Brush the wire with some water or edible glue and place it onto the rolled fondant. Fold the fondant over the wire as shown.
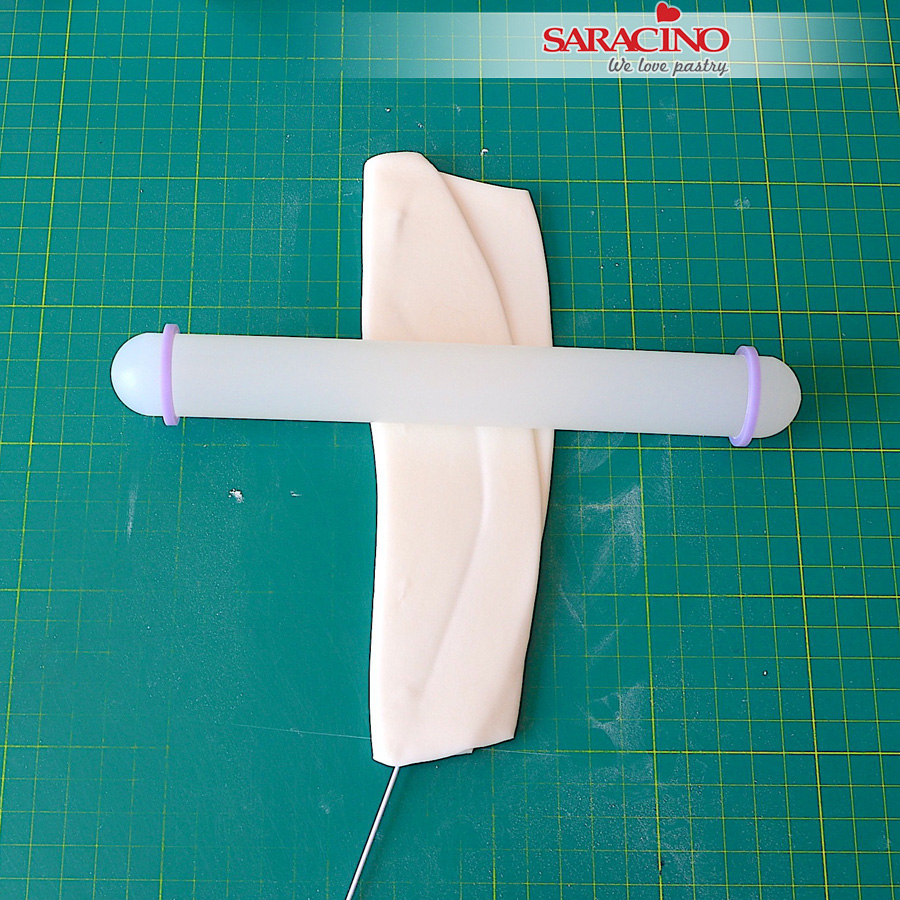
Step 29
Roll over with the rolling pin.
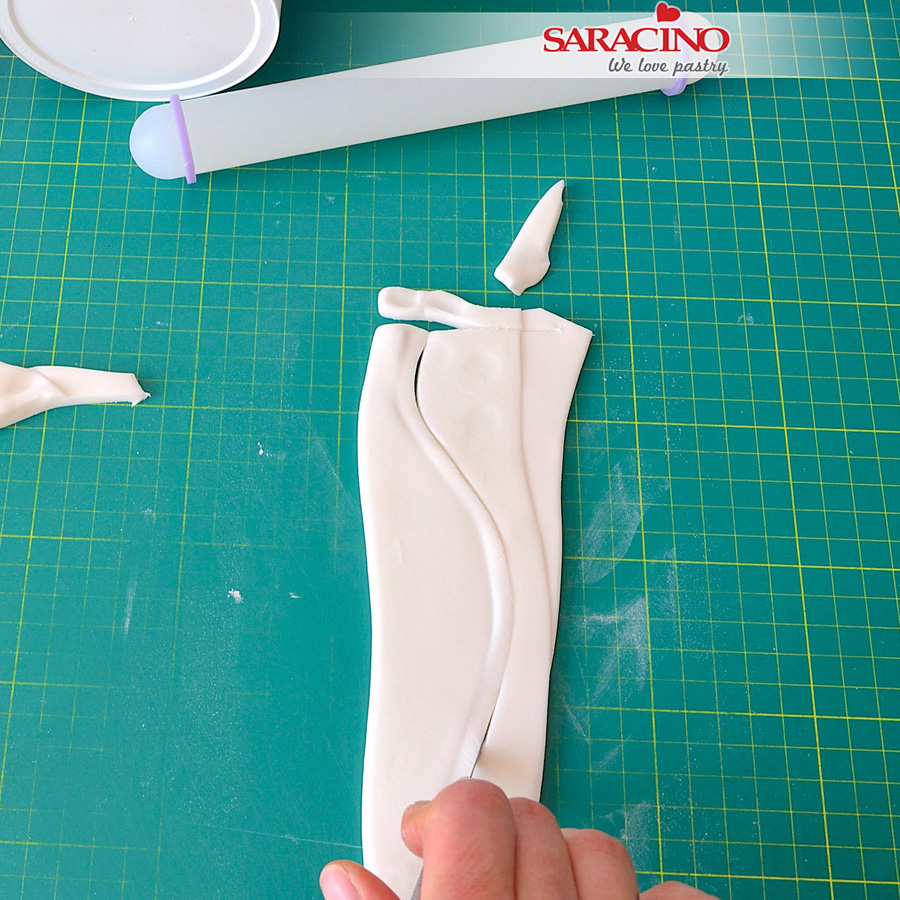
Step 30
Use your exacto knife and cut along the length of the wire to a width of 1cm.
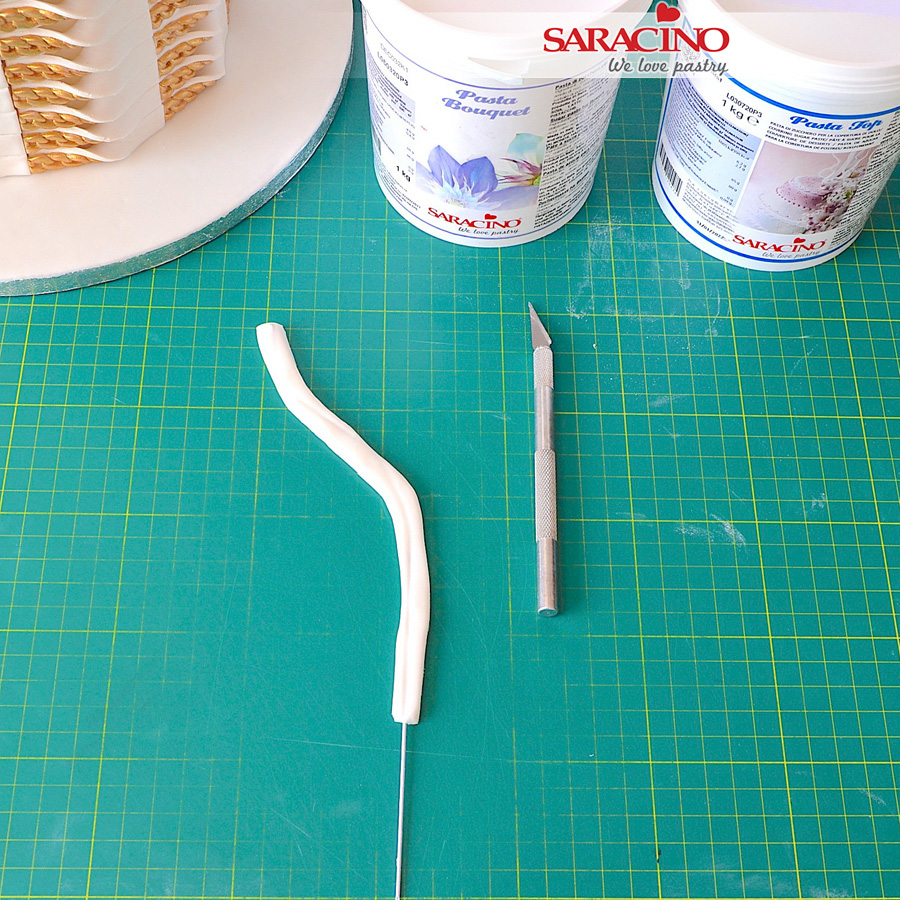
Step 31
Now we have one branch.
Step 32
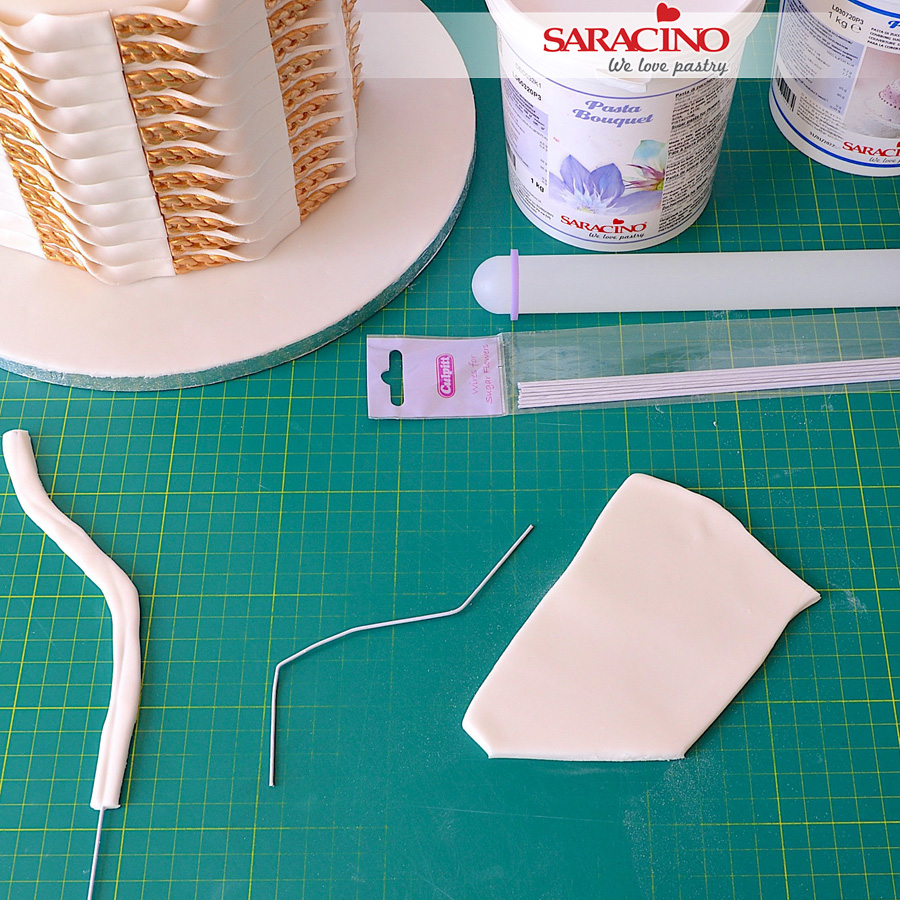
For the second branch using 18 gauge flower wire bend to the shape shown, this part will be shorter than the previous branch. Roll a mixture of pasta top and pasta bouquet or just pasta top mixed with tylo powder.
Step 33
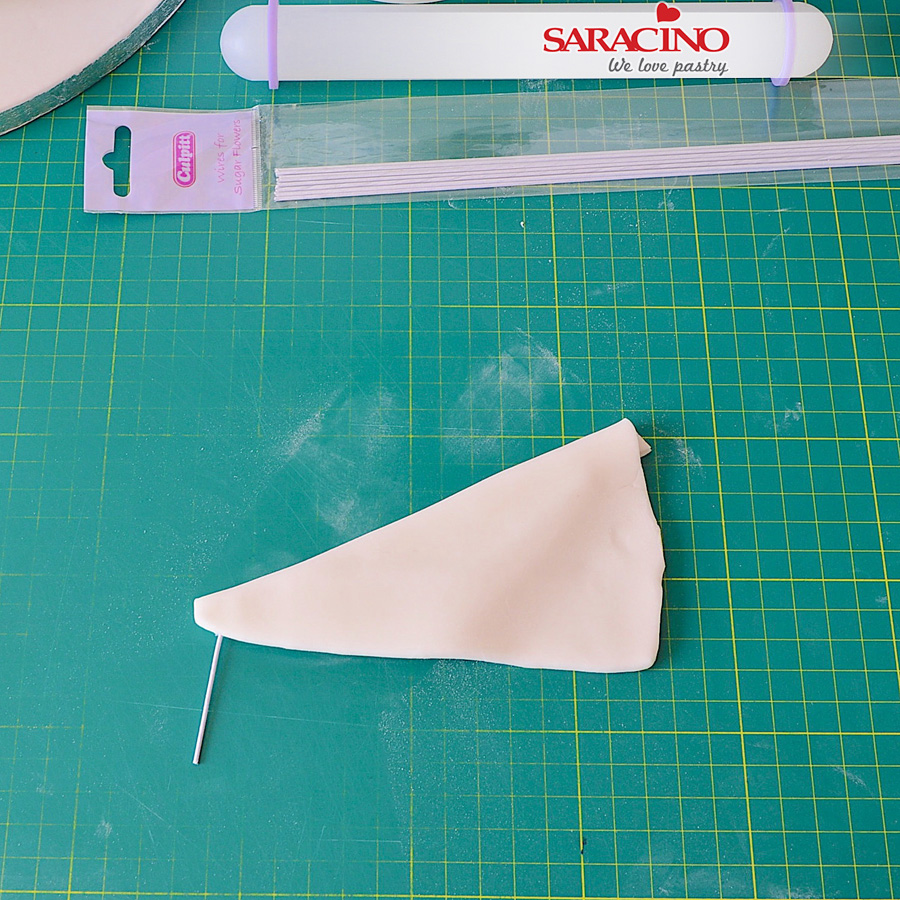
Brush the wire with some edible glue or water and place it onto the fondant. Fold the fondant over the wire.
Step 34
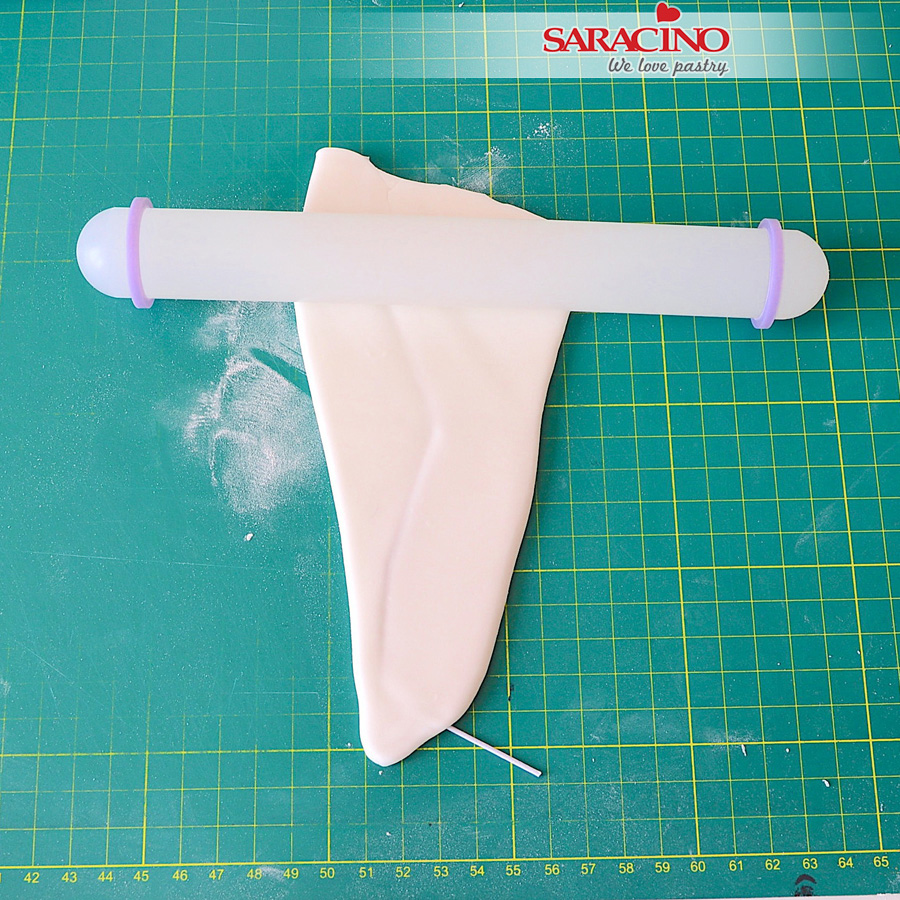
Roll over the fondant with the rolling pin.
Step 35
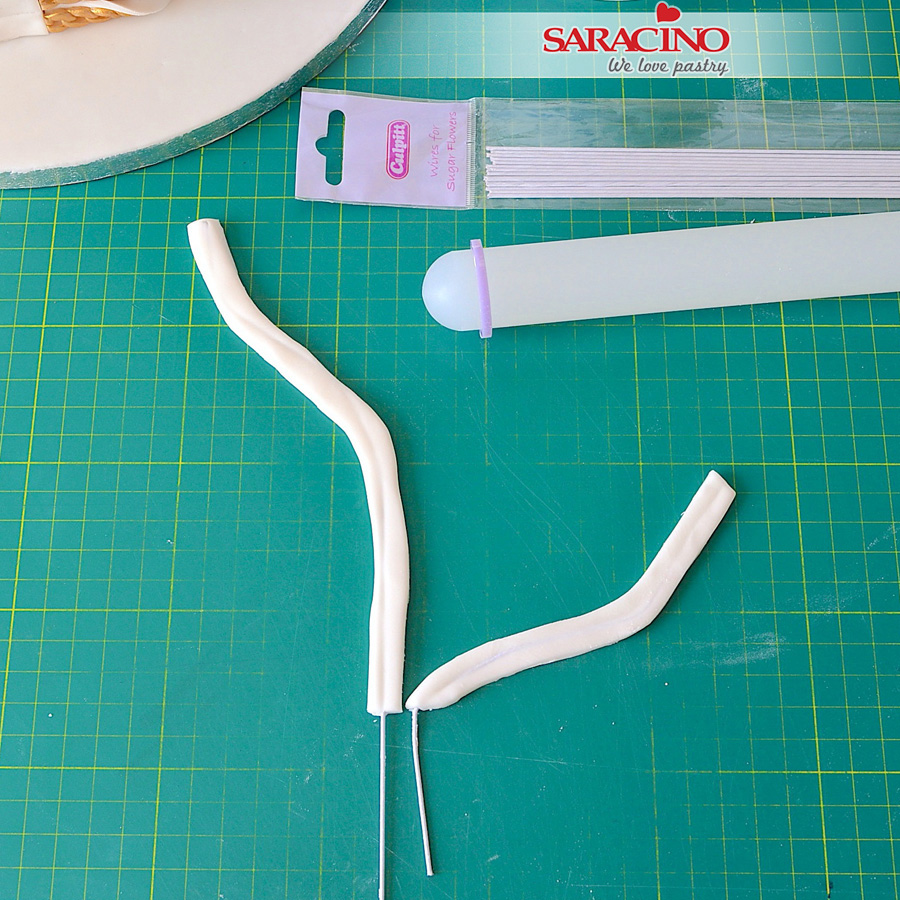
Using your exacto knife cut along the length of the wire again to give yourself a 1cm strip. Now we have the back for our branches.
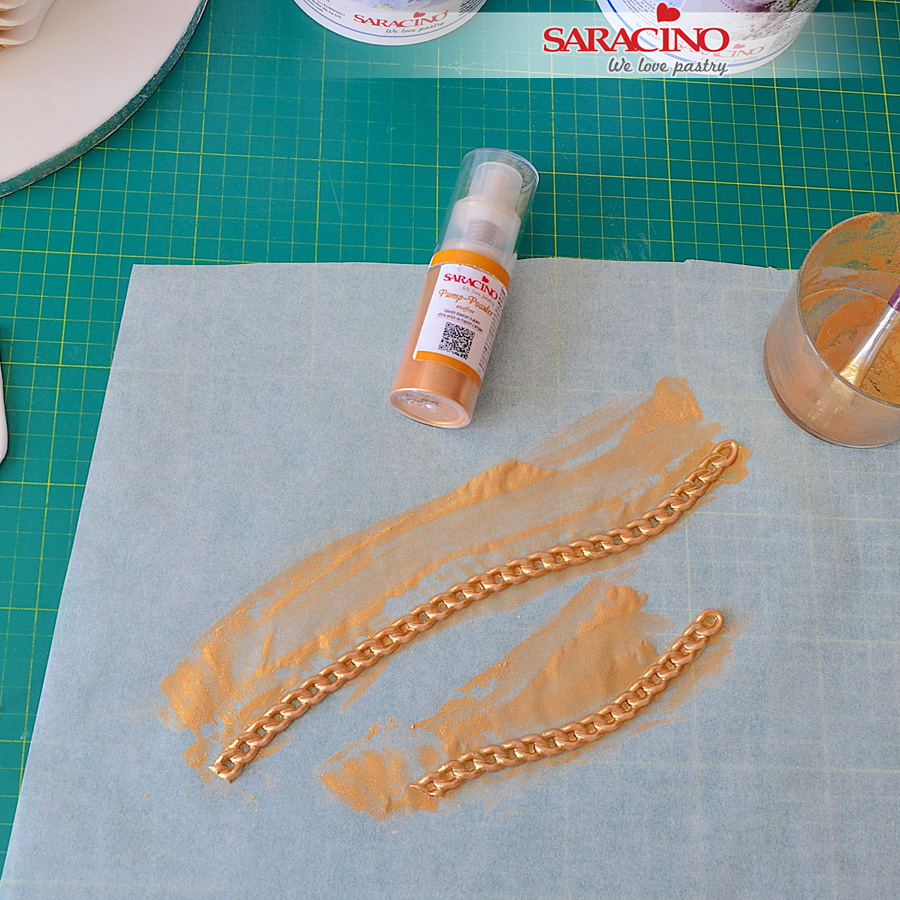
Step 36
Again, using the chain mould and the Gold pump powder paint two pieces of chain in gold.
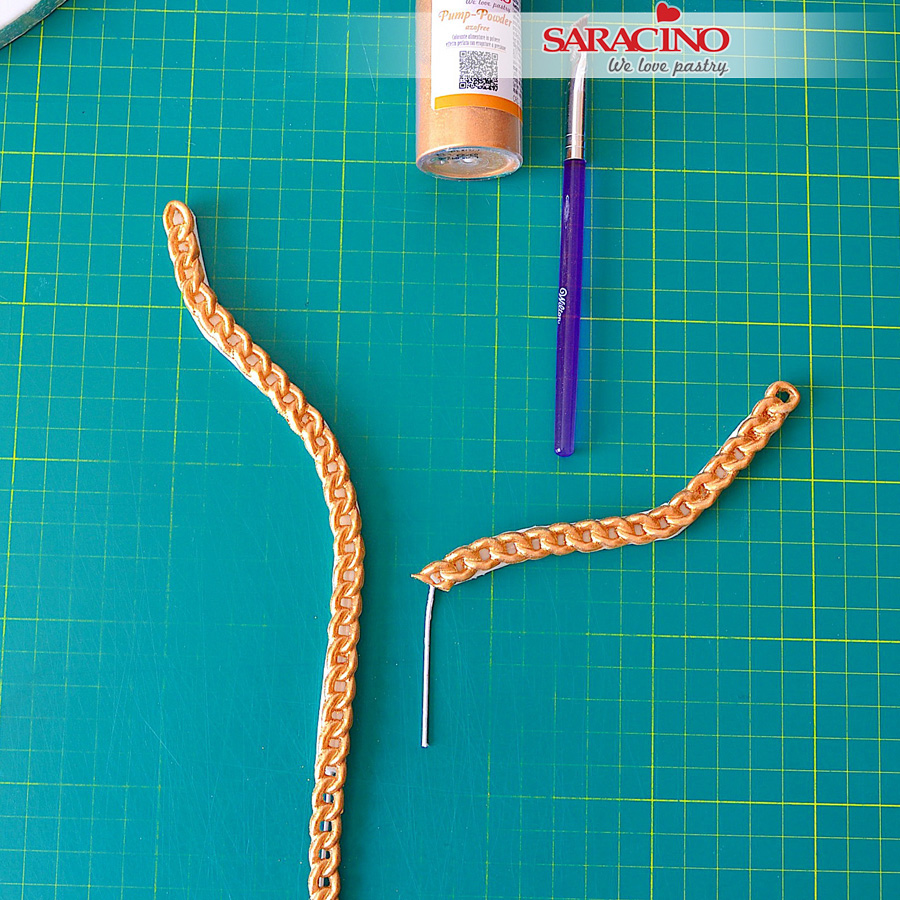
Step 37
Brush the branches with some edible glue and place the chain over the wired strip of fondant. Leave to dry overnight.
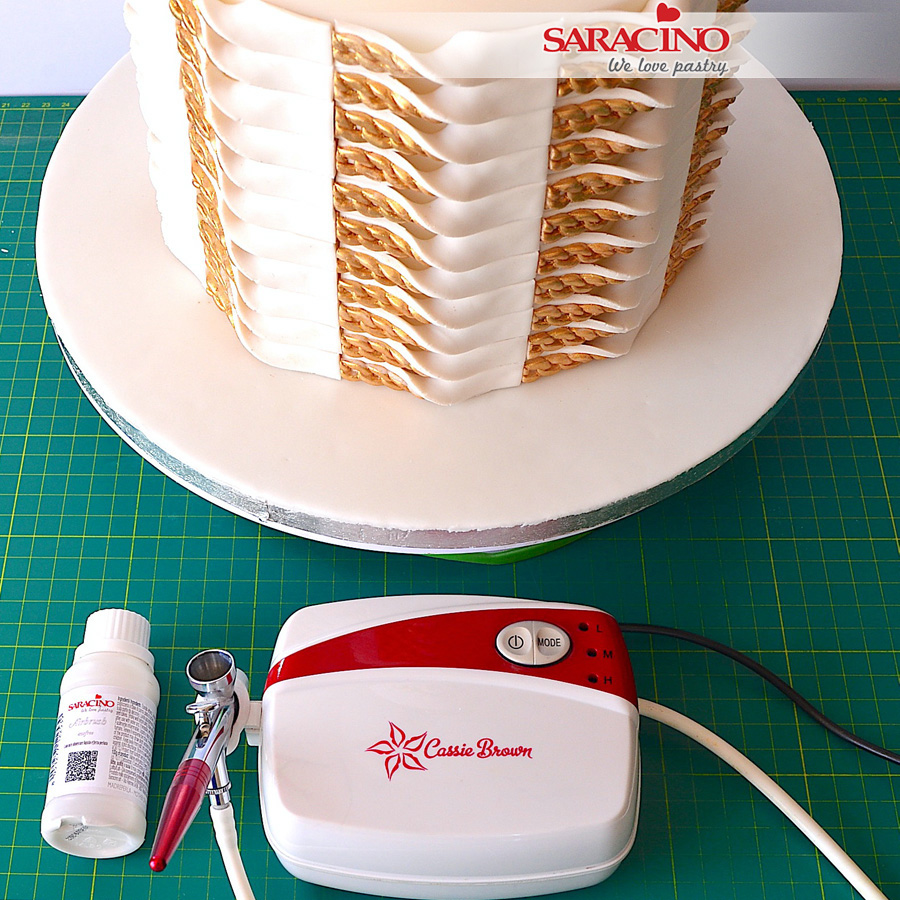
Step 38
Prepare your airbrush and Saracino liquid airbrush mother of pearl food colour to add some shimmer to your cake.
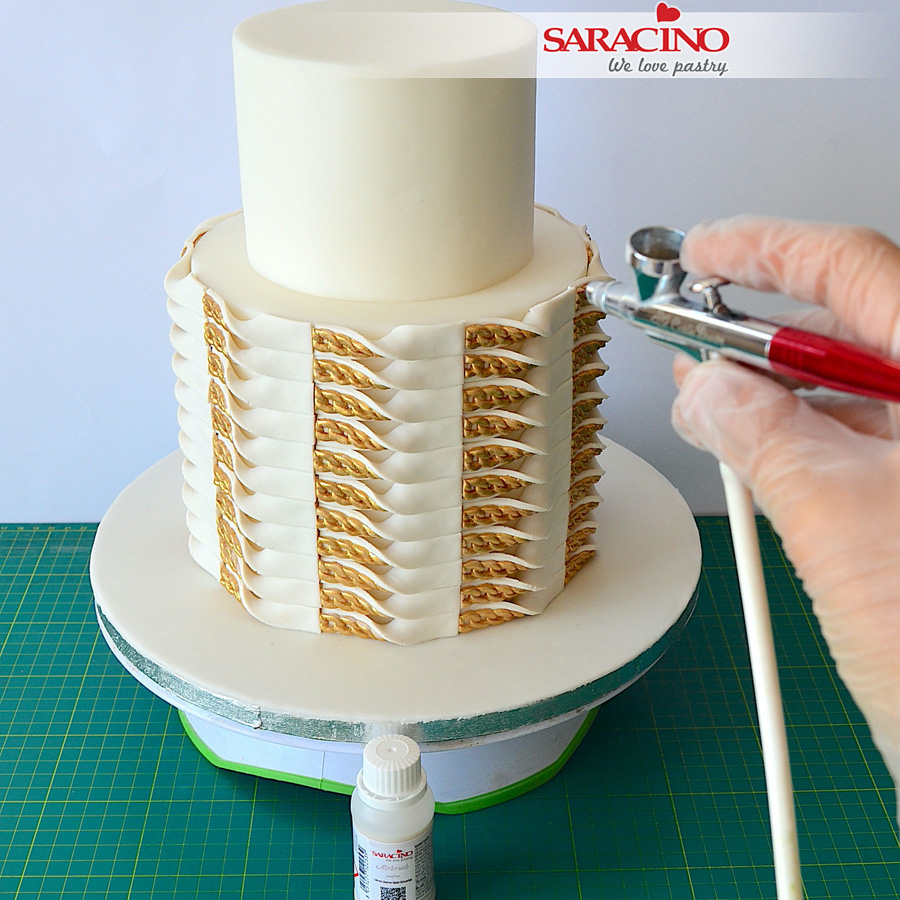
Step 39
Try to avoid overspray onto the gold chain as the gold colour may change.
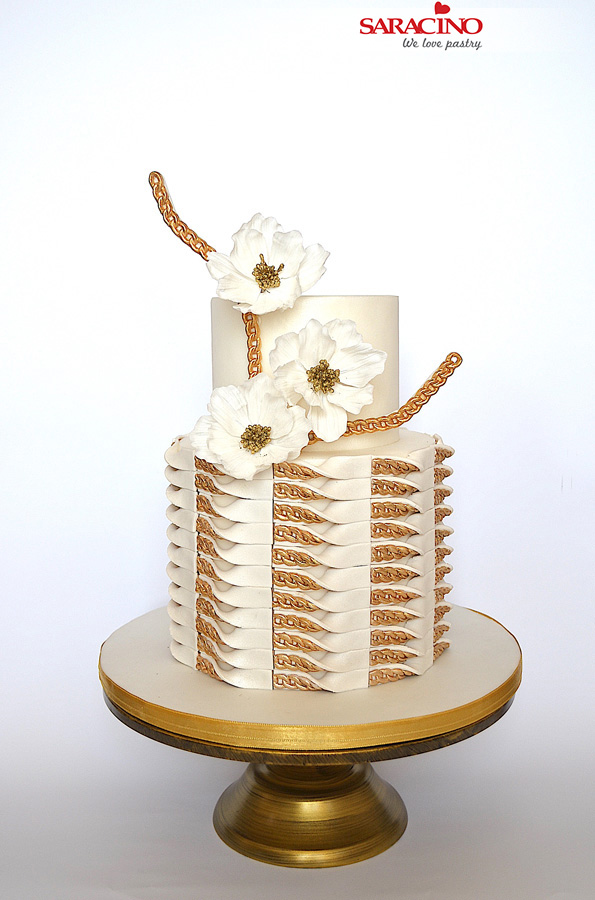
Step 40
Place the chain branches and arrange some flowers of your choice.
TIP – If you are inserting flower wires into your cake you should always use a flower pick or something similar.


