


You will need:
- Saracino Light gold pearl powder
- CMC
- Clear alcohol
- Water
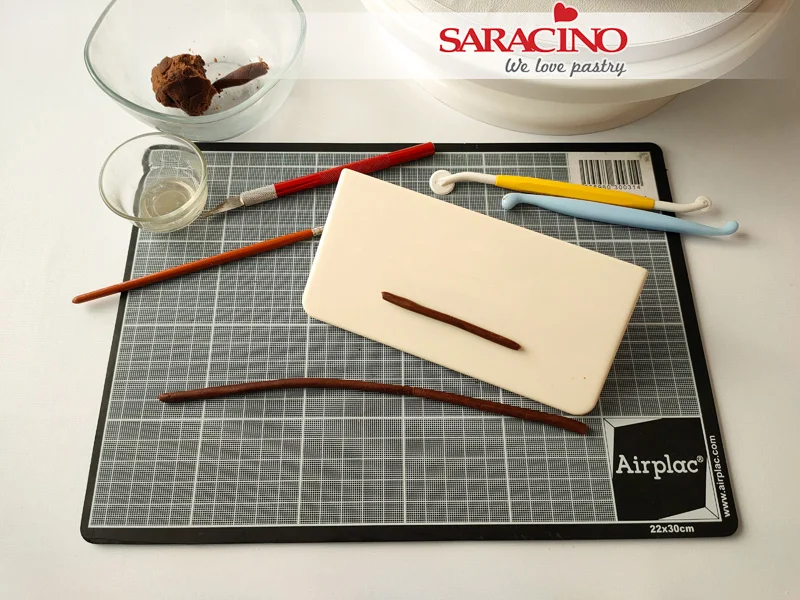
- Non stick mat
- Rolling Pin – large and small one
- Knife
- Craft knife
- Smoother
- Brush
- Tulip petals cutter
- Veiner

Step 1
Modelling chocolate is firm to use so you need to heat it up first to make it possible for rolling. In warm weather your hands should be enough, but if required it can be put in the microwave for a few seconds to soften.

Step 2
Roll the chocolate to about 2mm thickness and cut out two sizes of petals

Step 3
Squeeze the petal into the mould. Pattern well with the veiner section of the mould.

Step 4
Make two sizes of petals for variety. Make as many as you want for your cake.

Step 5
Roll an egg shape for the center of the tulips.

Step 6
Match the petals you have made with the centre oval shape.

Step 7
Use two sizes of petals for variety around your tulip.

Step 8

Step 9
Glue the flowers on at different heights
Step 10

Step 11
Glue stalks to the sides of the cake below each flower and cut off the excess chocolate

Step 12
Roll more of your chocolate and cut out leaves of different sizes.

Step 13
Apply the watered down CMC glue

Step 14
Stick one or two leaves to each stalk.

Step 15
Bend the leaves to achieve more natural look
Step 16
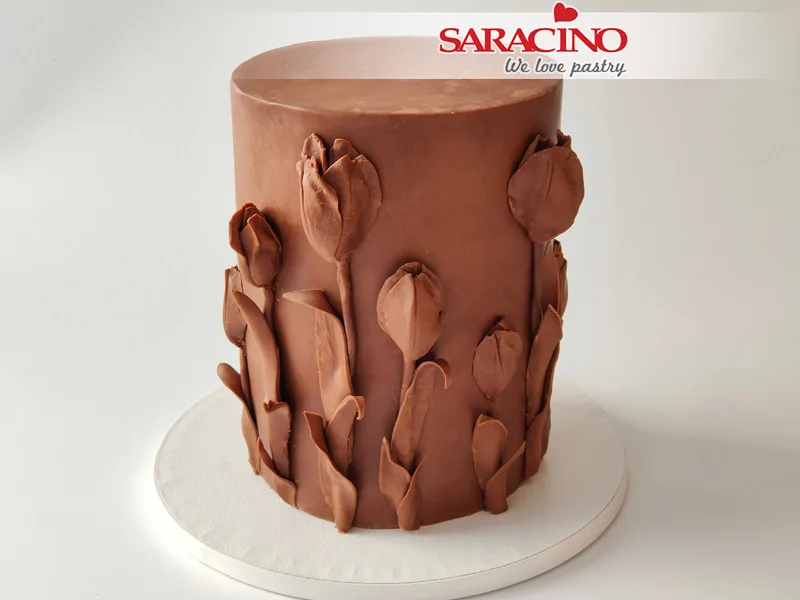
Tulips glued on at different heights to achieve the look you would like.

Step 17

Step 18
Your cake is ready
