
You will need:
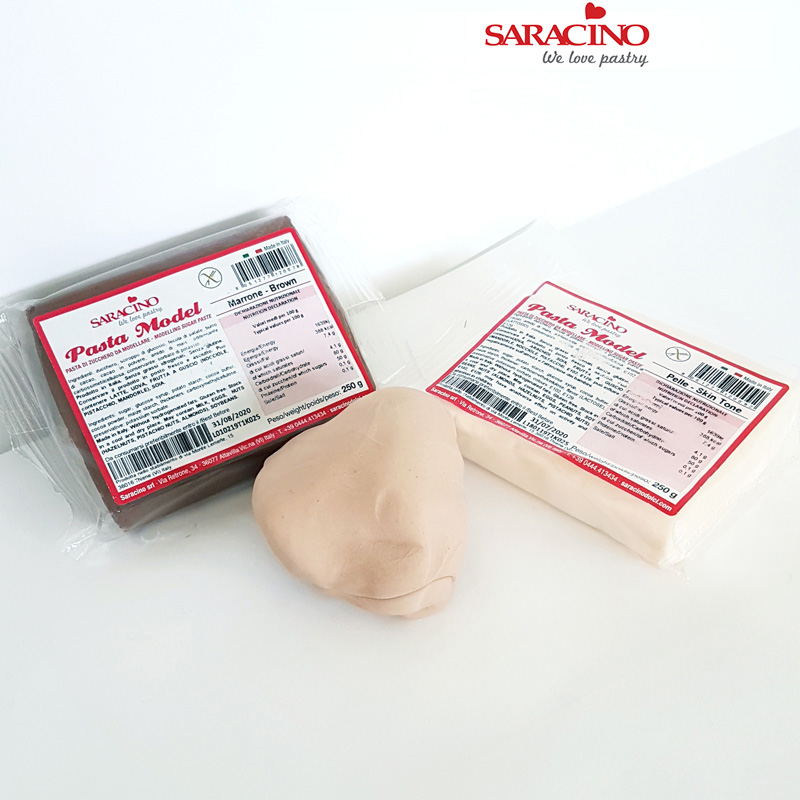
- Skin tone modelling paste
- White modelling paste
- Brown modelling paste
- Orange modelling paste
- Blue cover paste – Pasta Top
- Green modelling paste
- Brown colour gel
- Extra white colour gel
- Green colour gel
- Pink colour powder
- Blue colour powder
- Dresden tool
- Craft knife
- Knife
- Ball tools (different sizes)
- Brushes (different sizes)
- 6inch cake board
- Cocktail stick
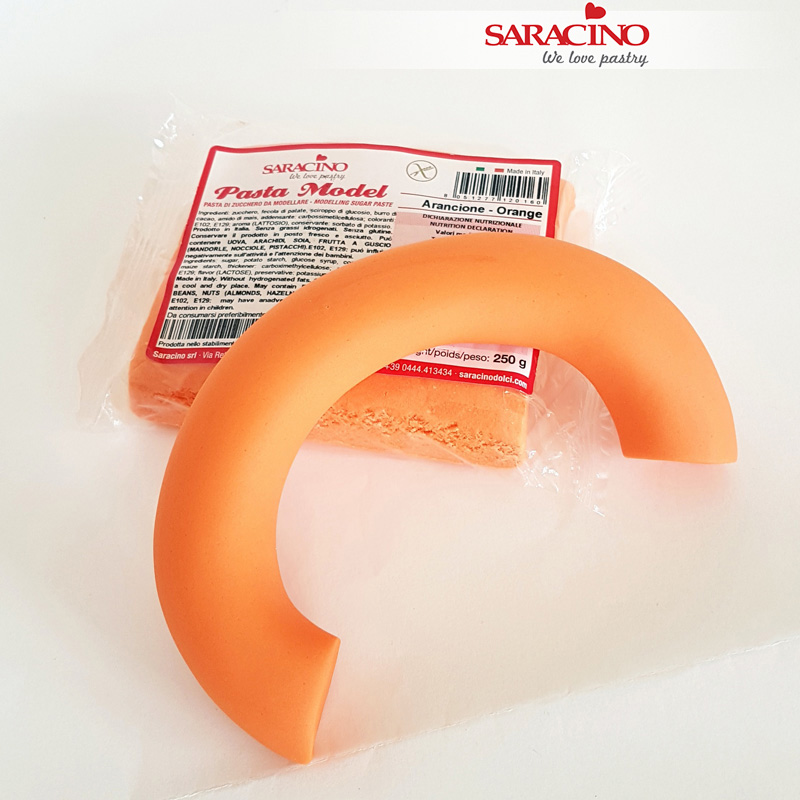
Step 1
Roll a large thick cylinder out of orange modelling paste (110gr)
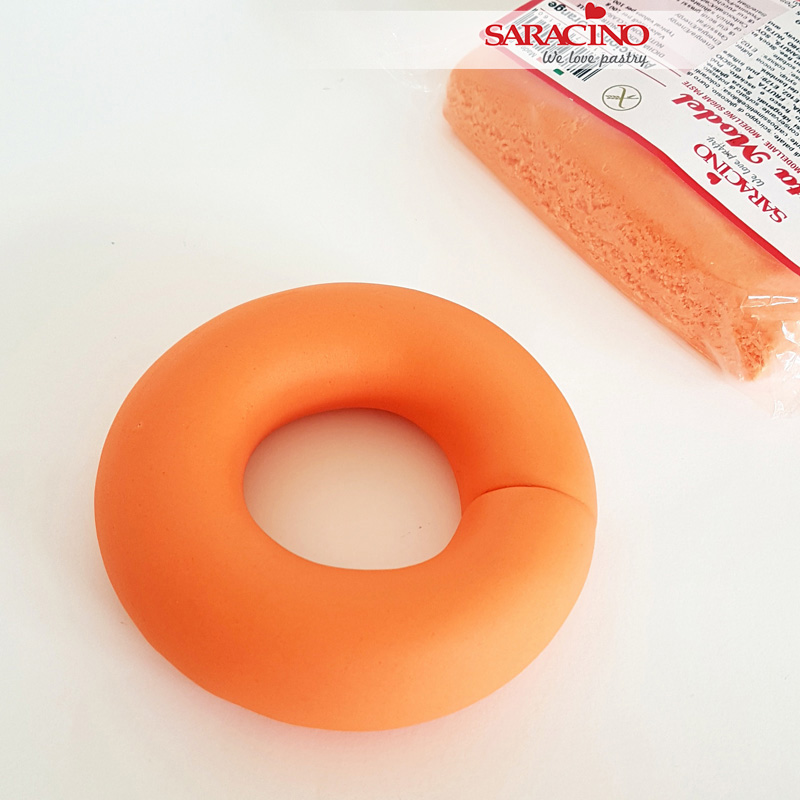
Step 2
Glue 2 ends of the cylinder together to create floating ring
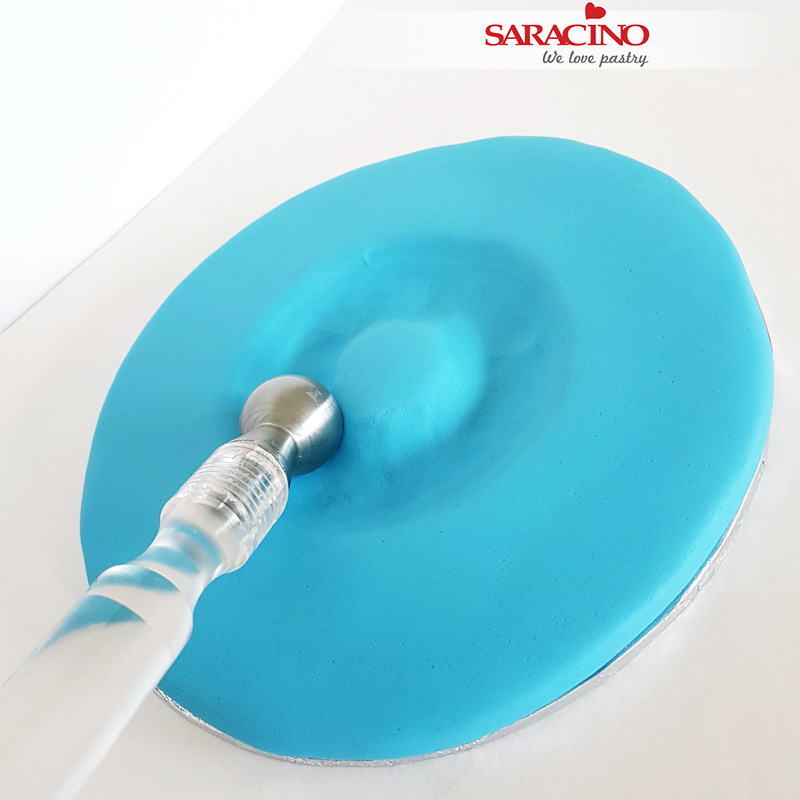
Step 3
Cover the cake board with 300g of blue covering paste and with a large ball tool create a circle in the middle the same diameter as the floating ring you just made.
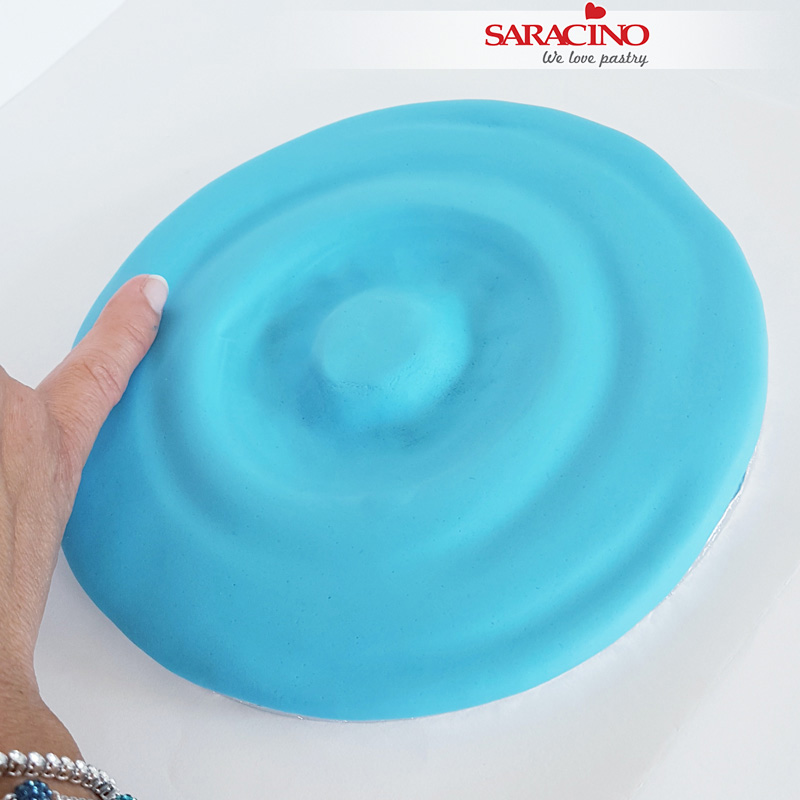
Step 4
With your finger create semi circles (waves) around the main centre circle
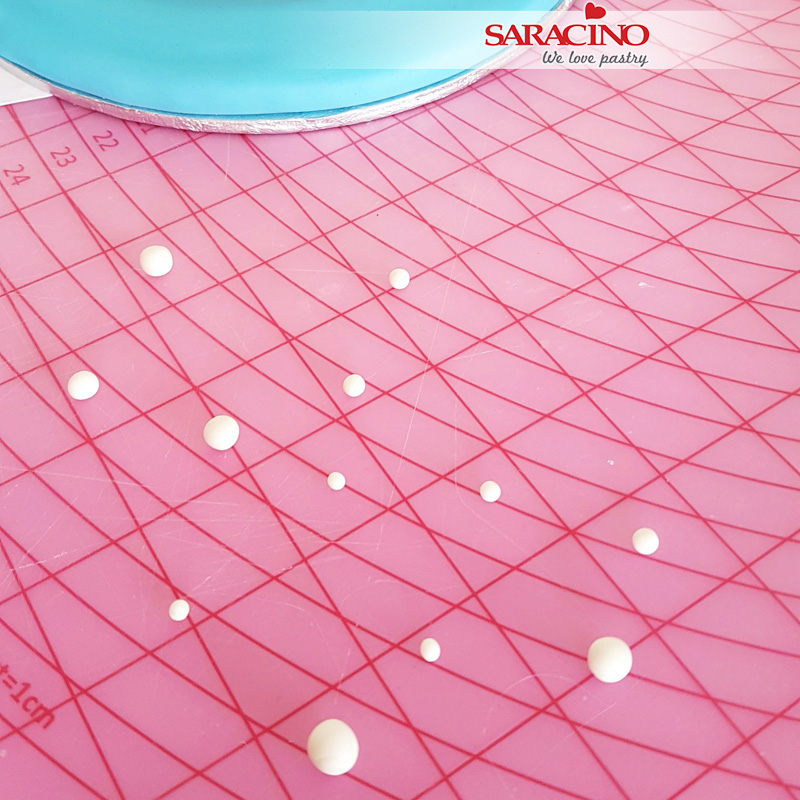
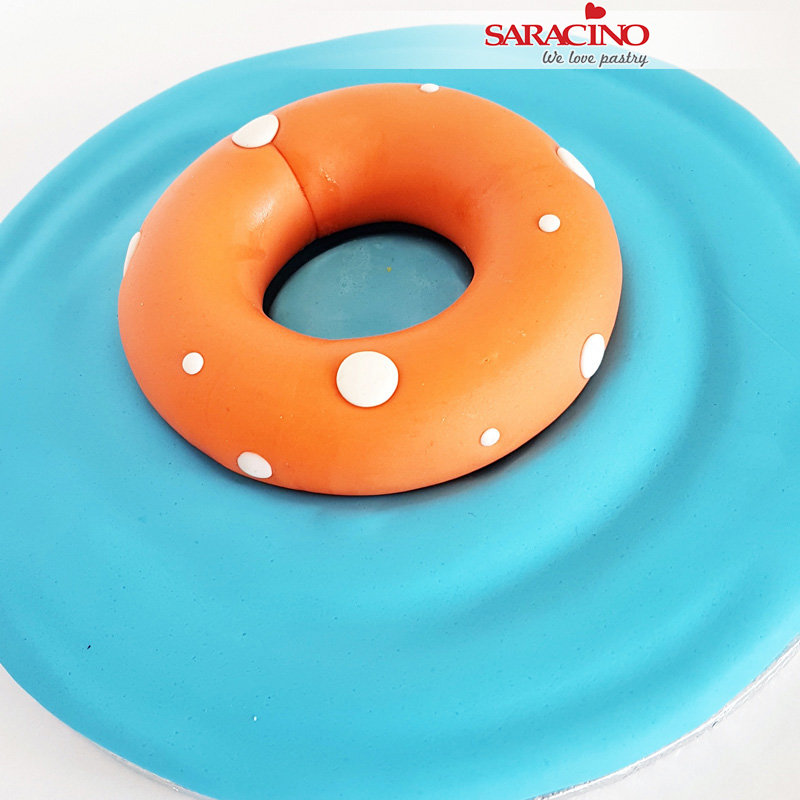
Step 5
Place the floating ring in the middle of the board and roll some small, medium and large balls out of white modelling paste
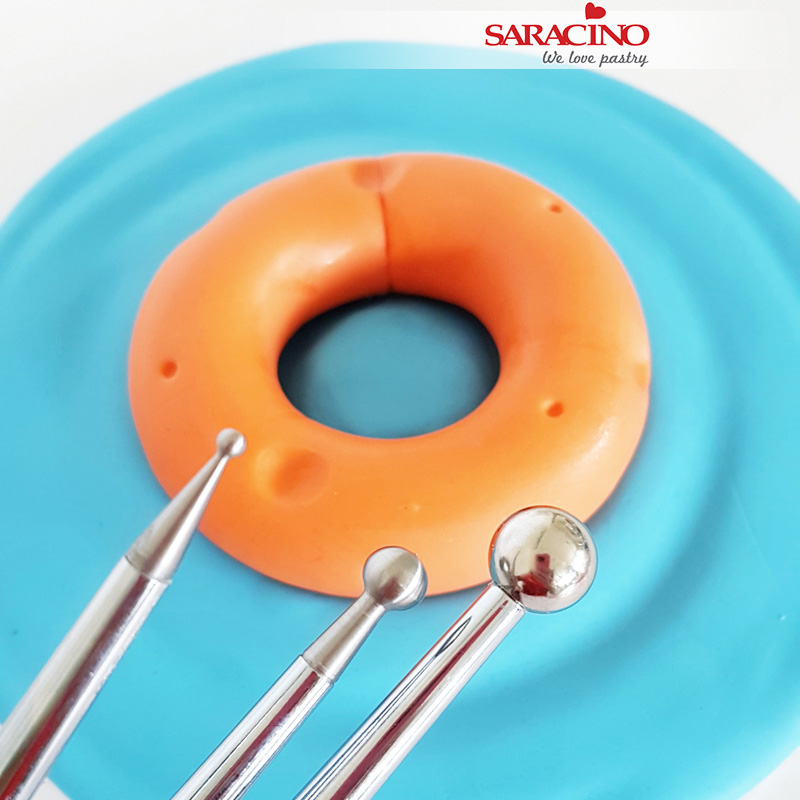
Step 6
Press 3 sizes of ball tools into the ring (all the way around)
Step 7
Step 8
Step 9
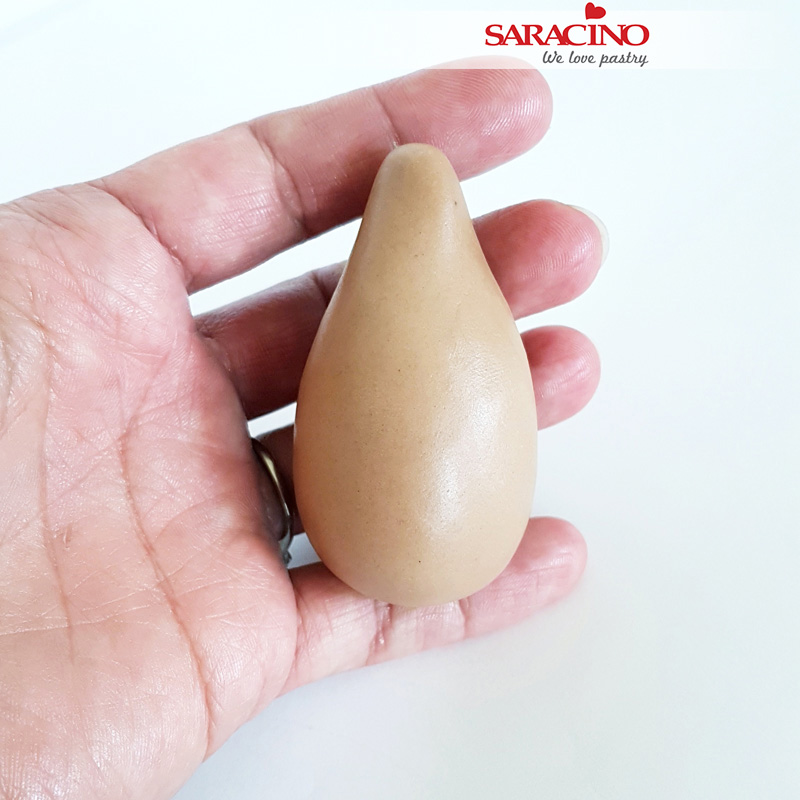
Make a cone shape out of the darker skin tone paste for the body (45gr)
Step 10
Roll with your finger on the top of the cone to create a neck
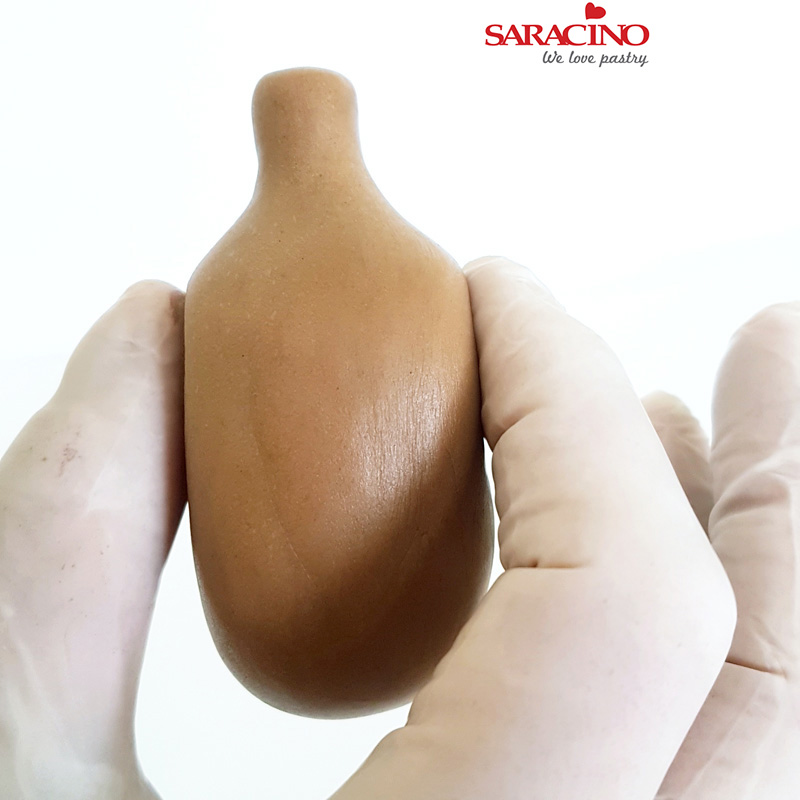
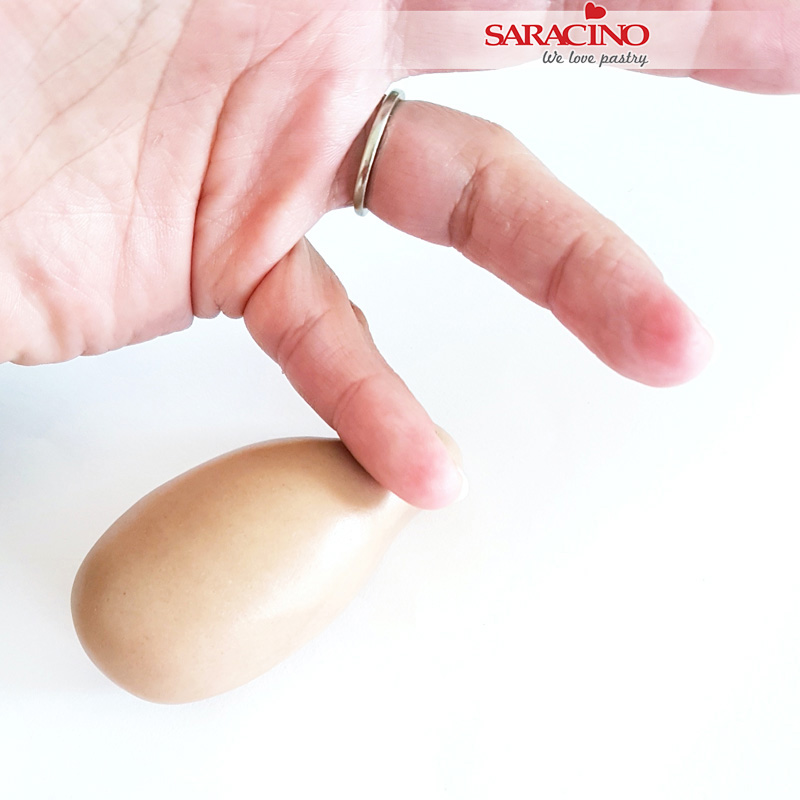
Step 11
Press with 2 fingers on the side of the body to get the shoulders
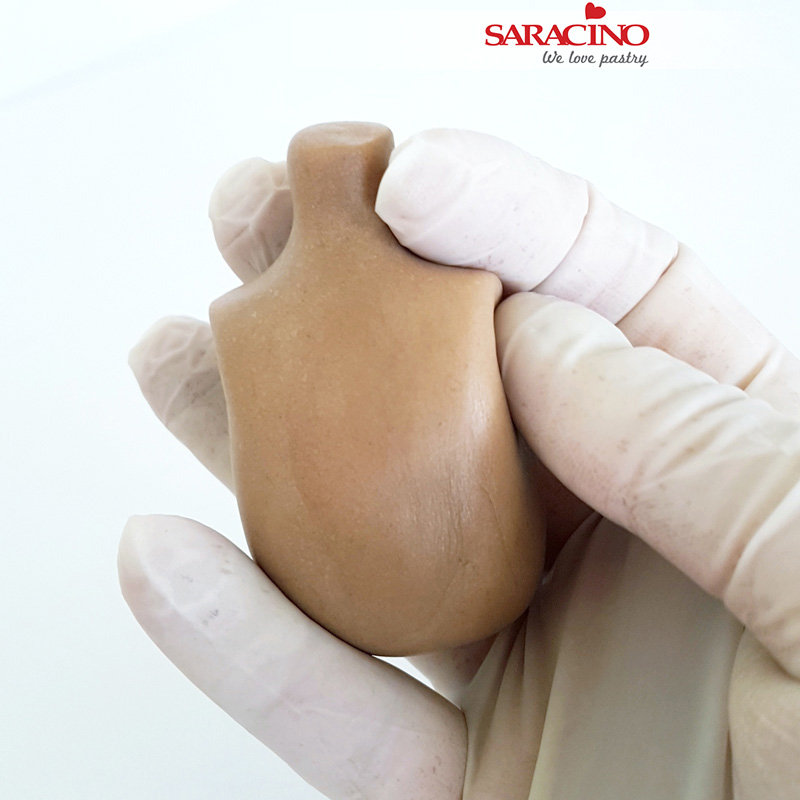
Step 12
Pinch gently with your fingers the sides of the shoulders to give the shoulder sockets
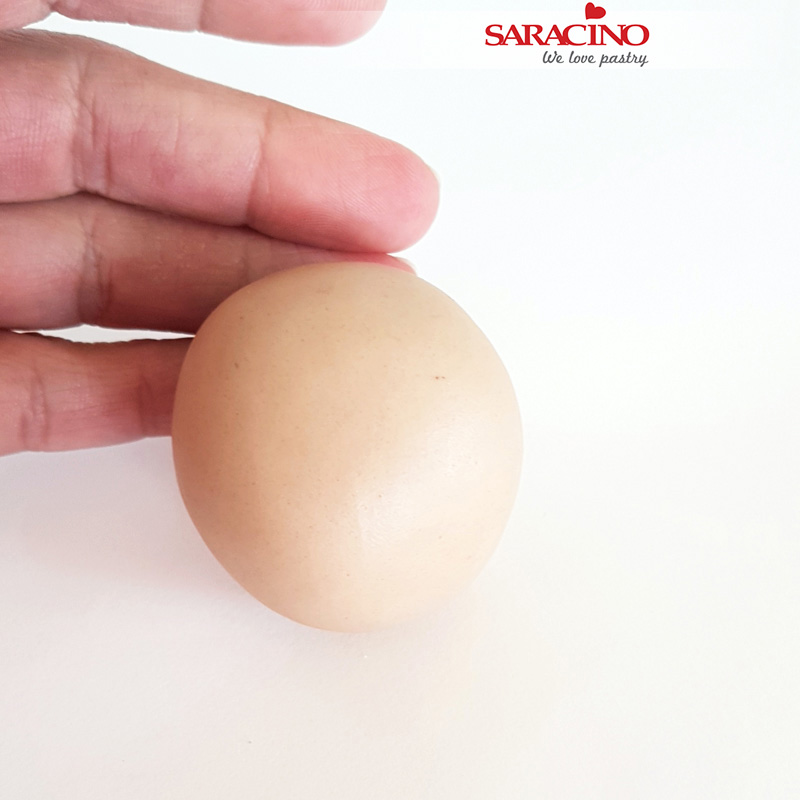
Step 13
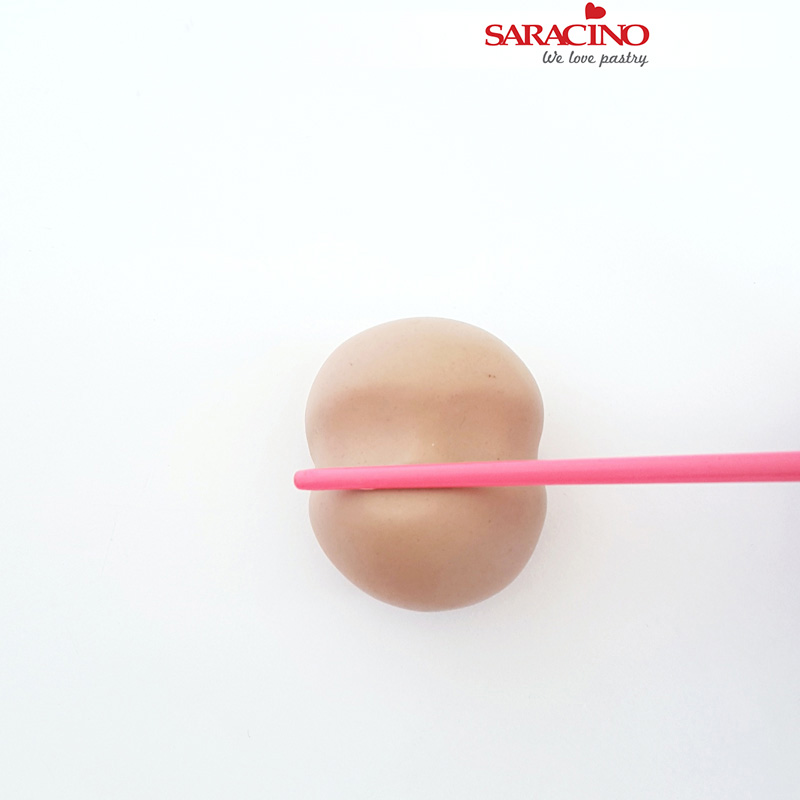
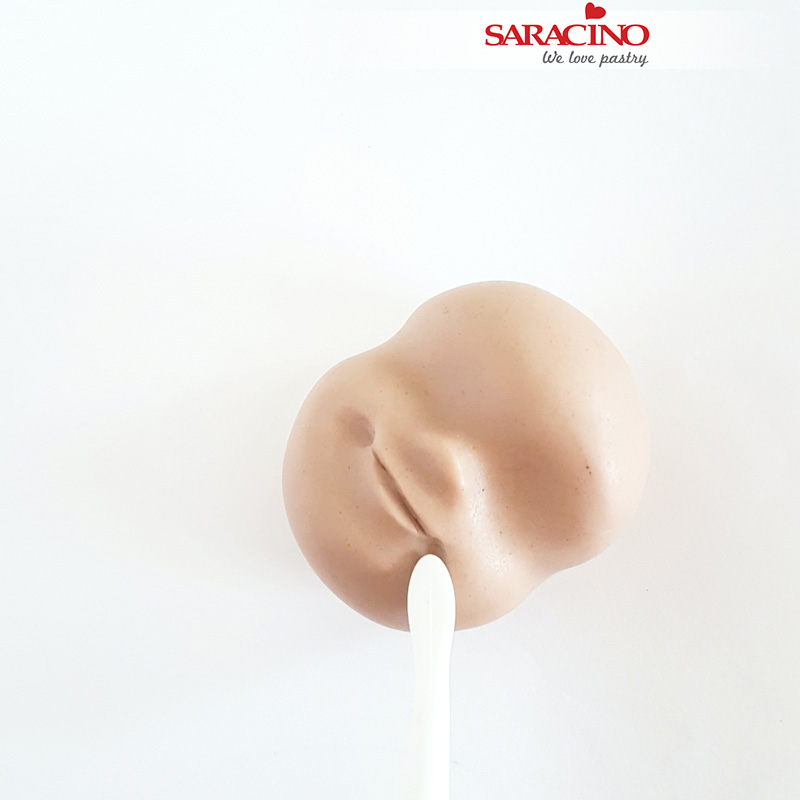
Make a ball shape out of the darker skin tone paste (50gr)
Step 14
Start to roll your finger gently in the middle of the ball to create a little dent between the nose and the forehead
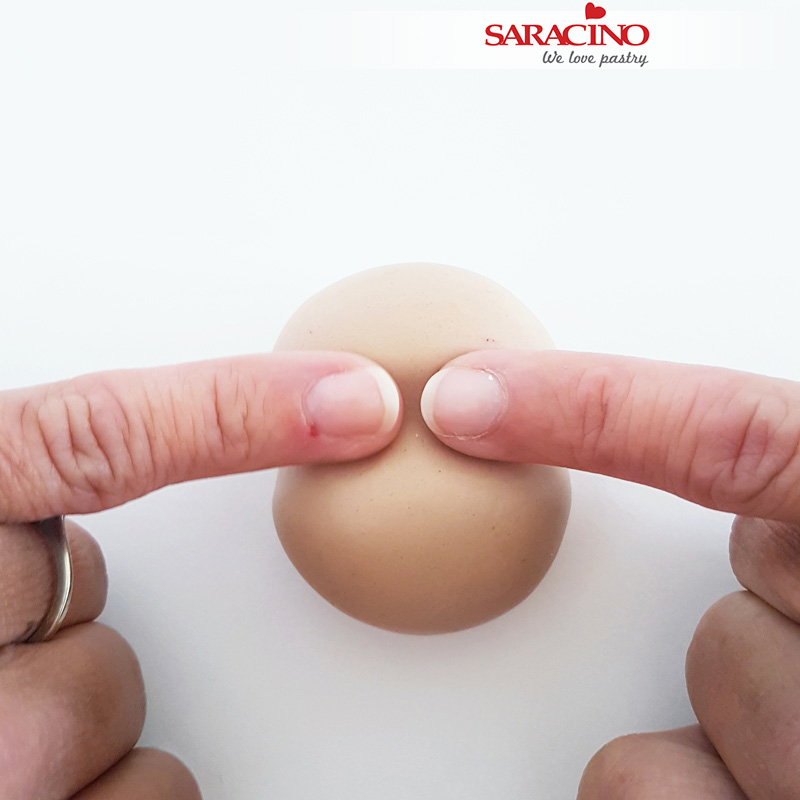
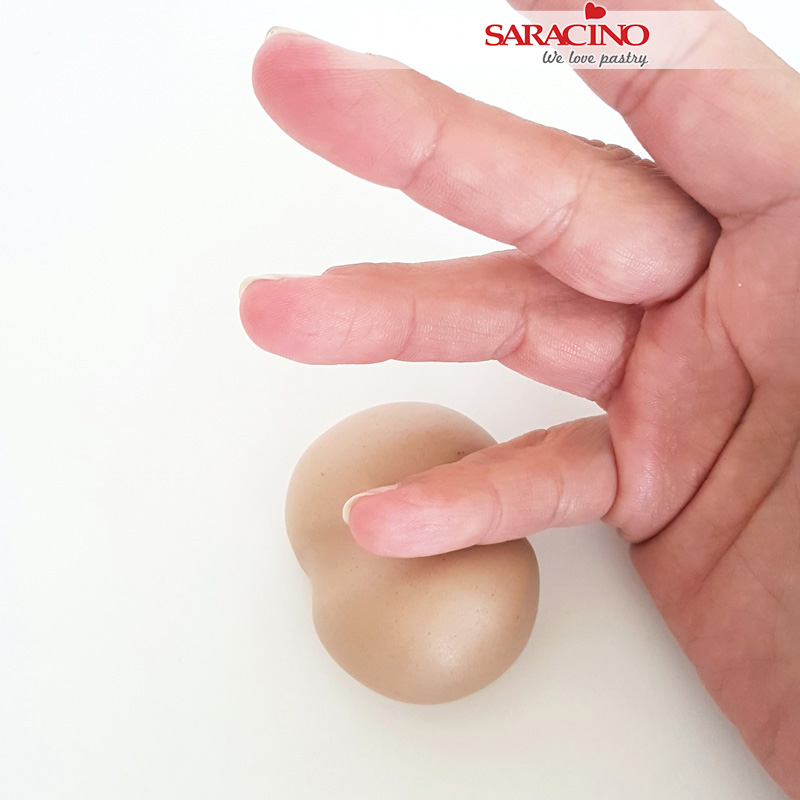
Step 15
Indent the eye area with your fingers
Step 16
With any round tool rock gently side to side to start to create the nose
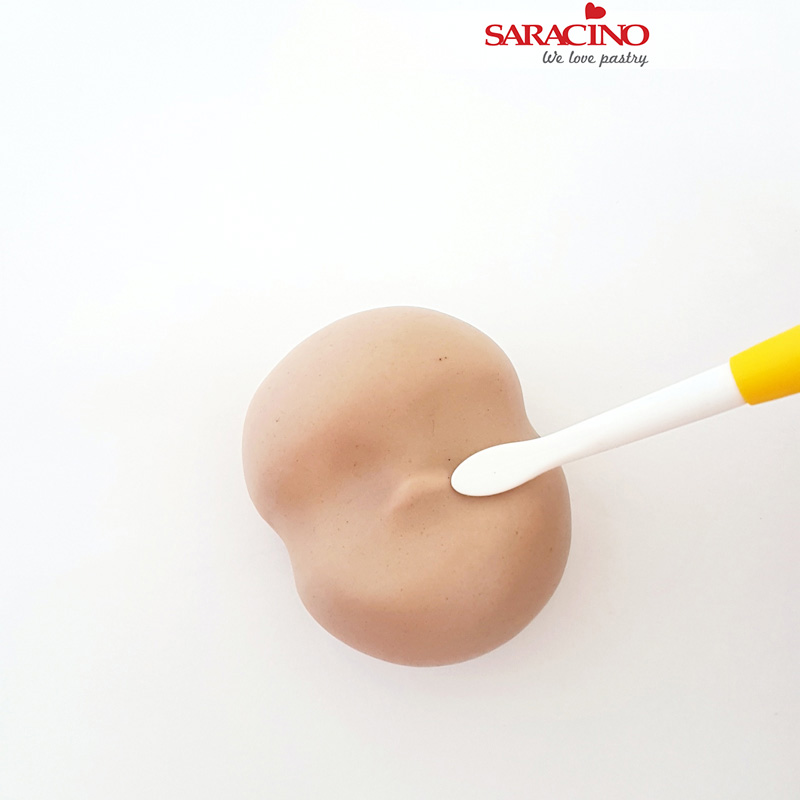
Step 17
Use the Dresden tool to shape the nose and cheeks
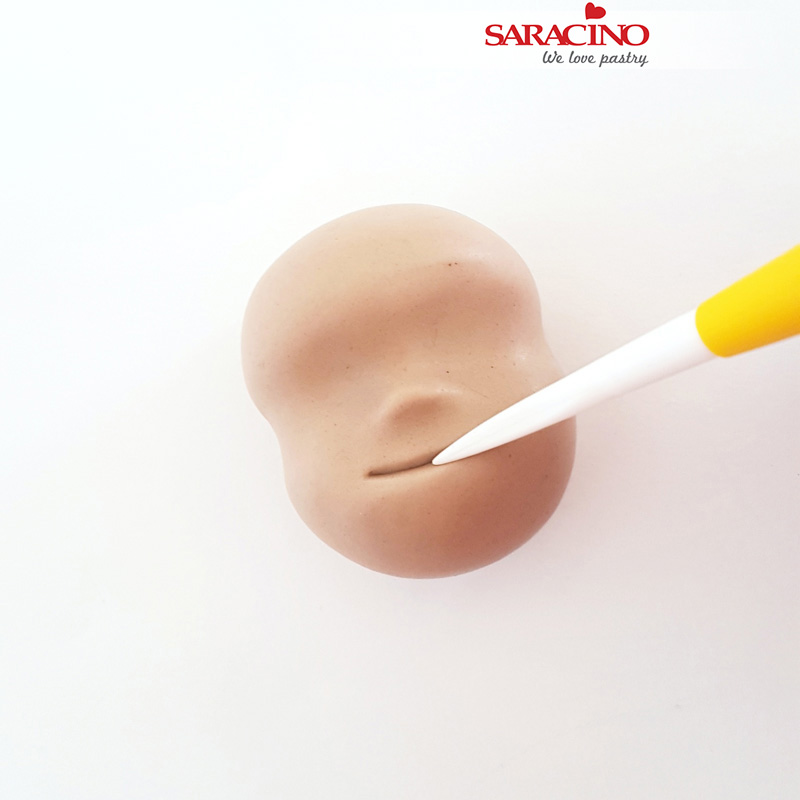
Step 18
Make a line with the sharp side of a Dresden tool to make the mouth
Step 19
Define the edges of the lips using the Dresden tool
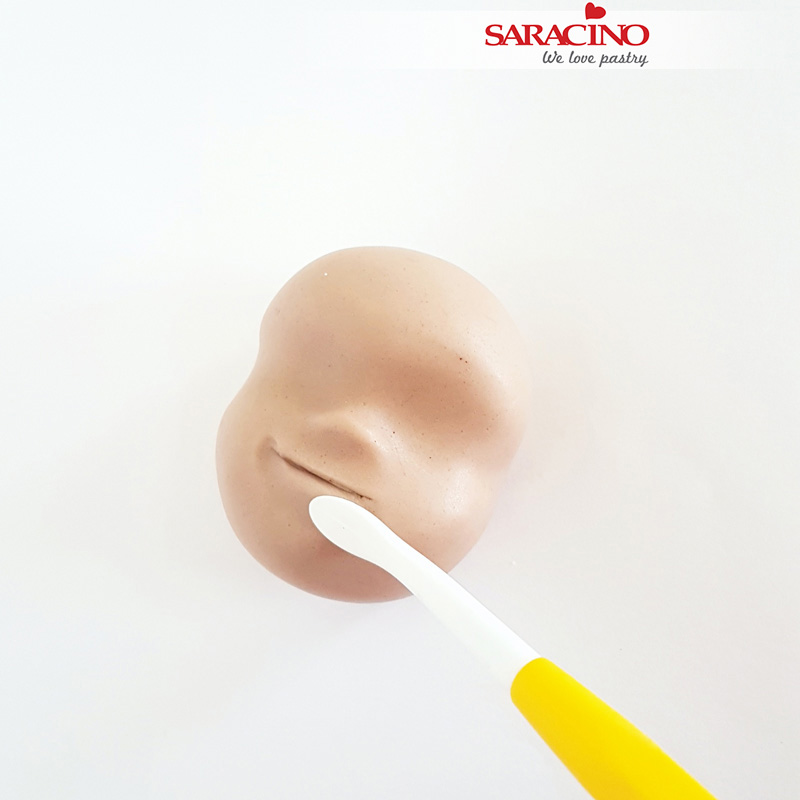
Step 20
With the help of a Dresden tool make the dimples
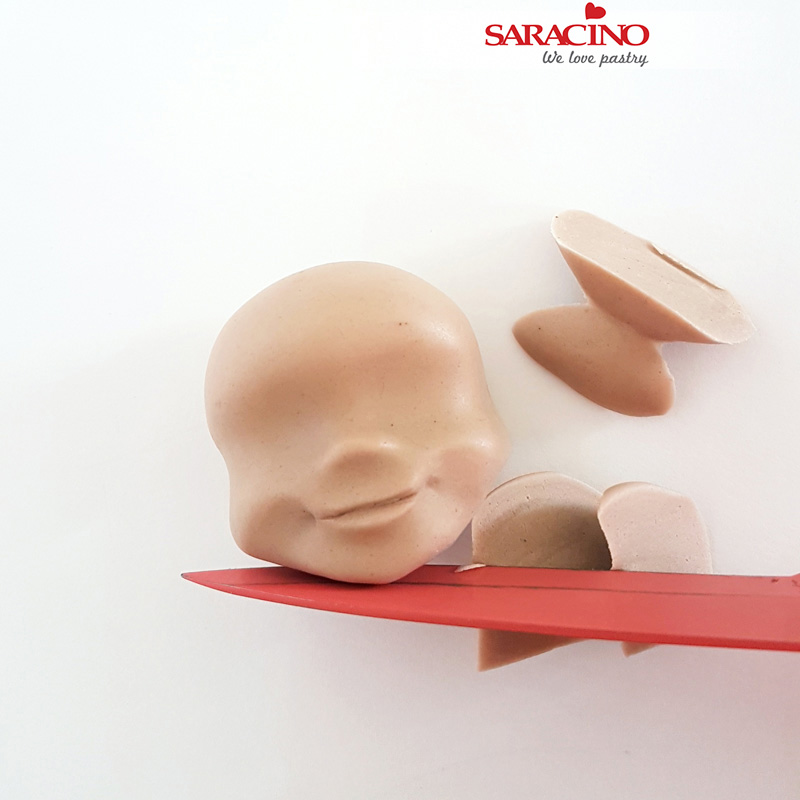
Step 21
With the knife cut the excess of the paste from the bottom and the sides of the face
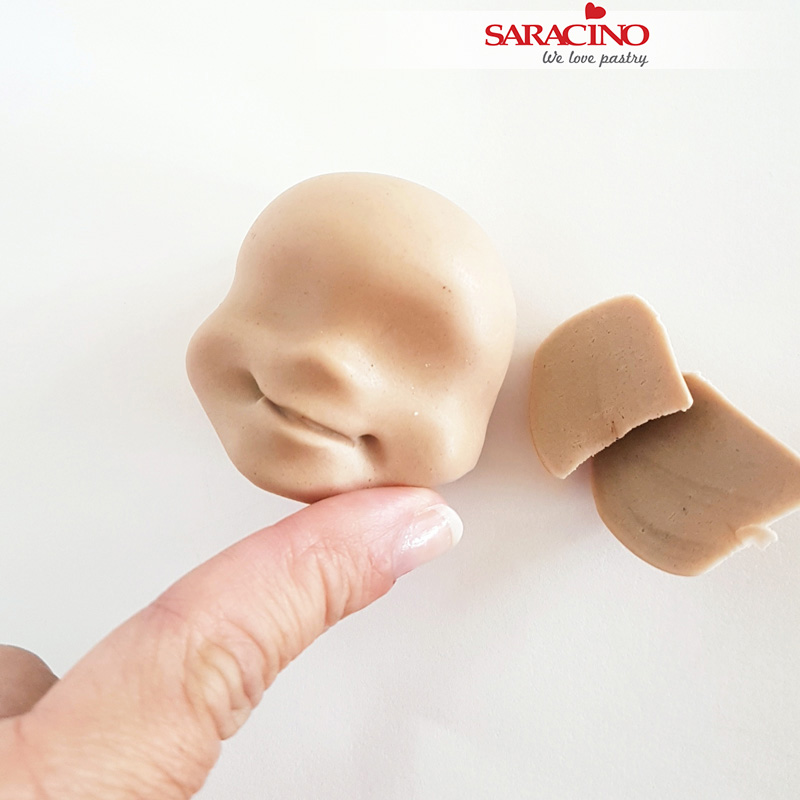
Step 22
Smooth the edges of the face with your fingers

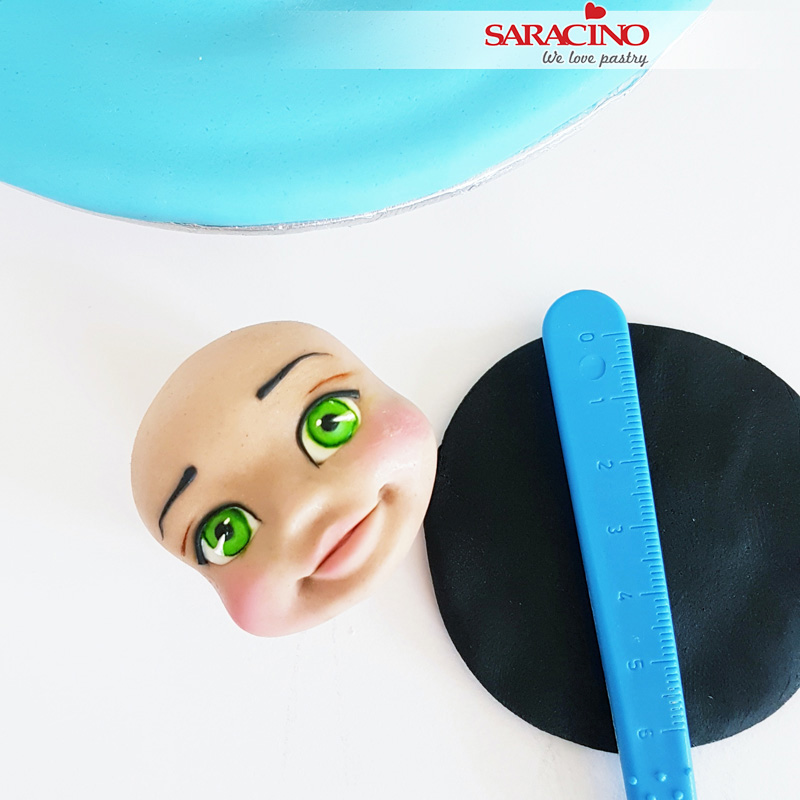
Step 23
Using your Dresden tool shape the bottom and top lips. Create the eye sockets with the Dresden tool

Step 24
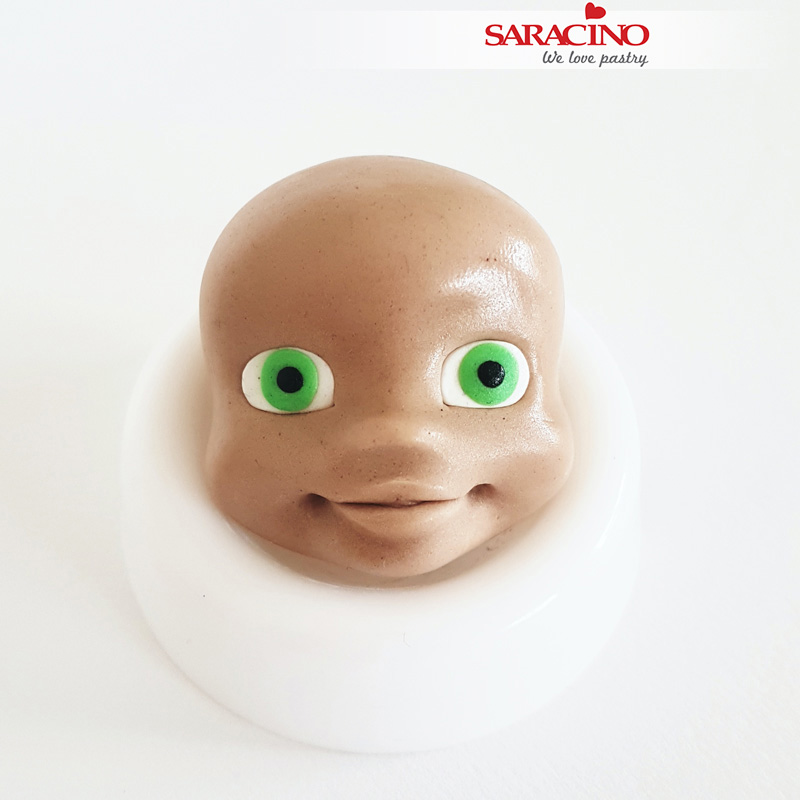
Prepare 2 identical teardrops out of white modelling paste and push them gently into the sockets
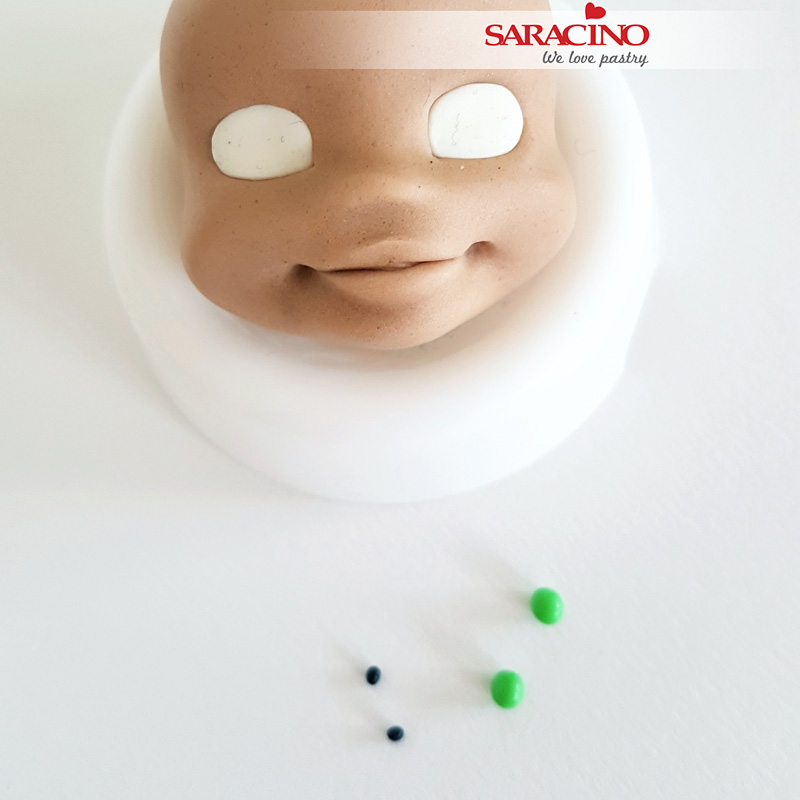
Step 25
Roll 2 same sized balls of the green modelling paste and 2 tiny ones out of black modelling paste
Step 26
Attach green balls on the eyes and black balls in the centre of the green
Step 27
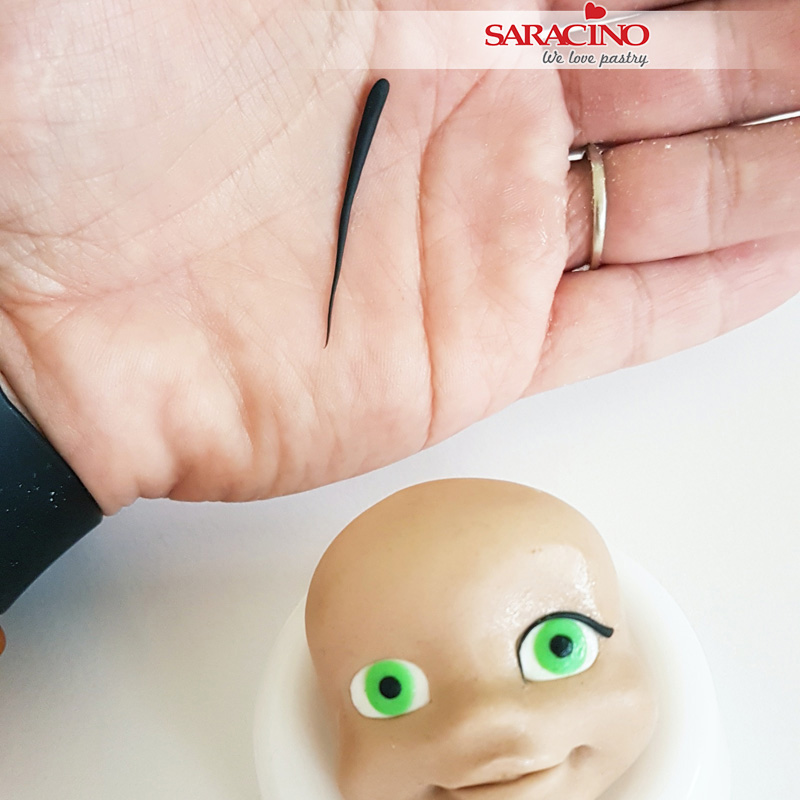
Roll 2 thin cones out of black paste for the lashes and attach them on the top of the eyes.
Step 28
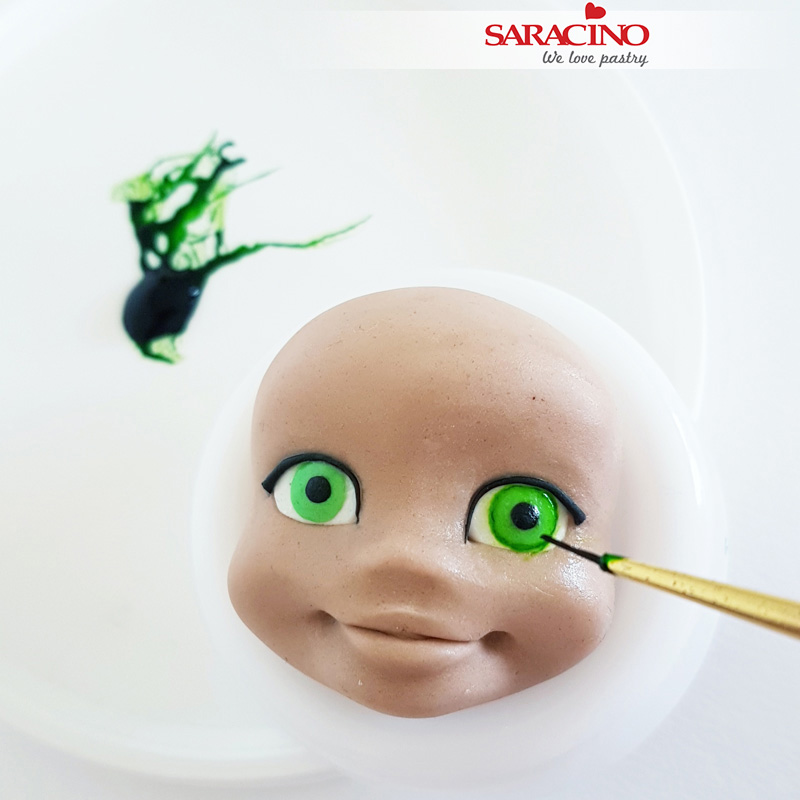
Outline the iris with a darker green shade of colour gel using a very fine brush

Step 29
Create 2 tiny triangles and add them into the eyes
Step 30
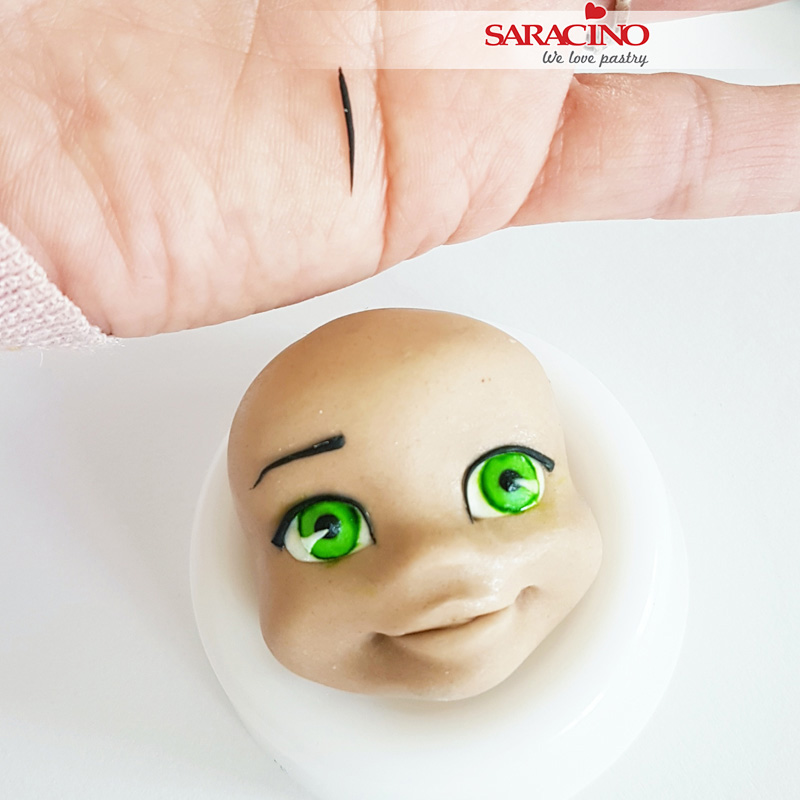
Roll 2 small cones of the black modelling paste to make eyebrows and fix in the required position
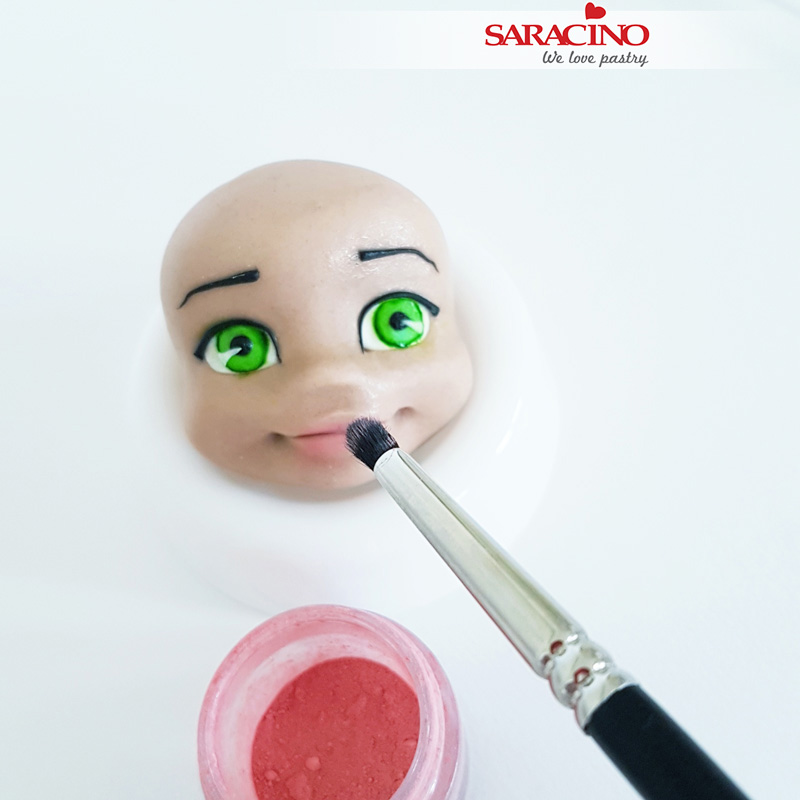
Step 31
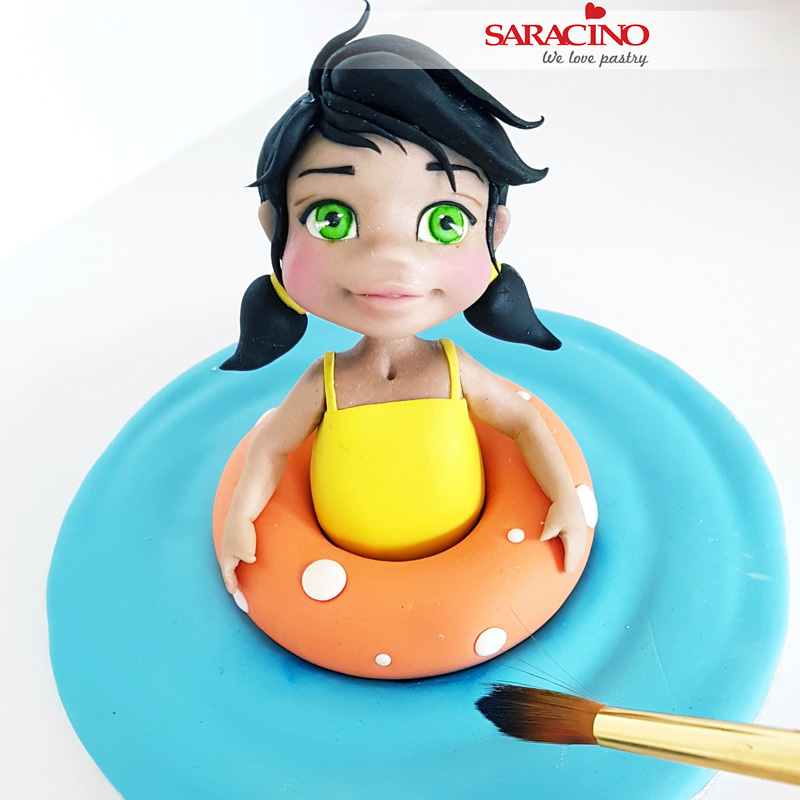
Dust the lips with a pink colour powder with small brush
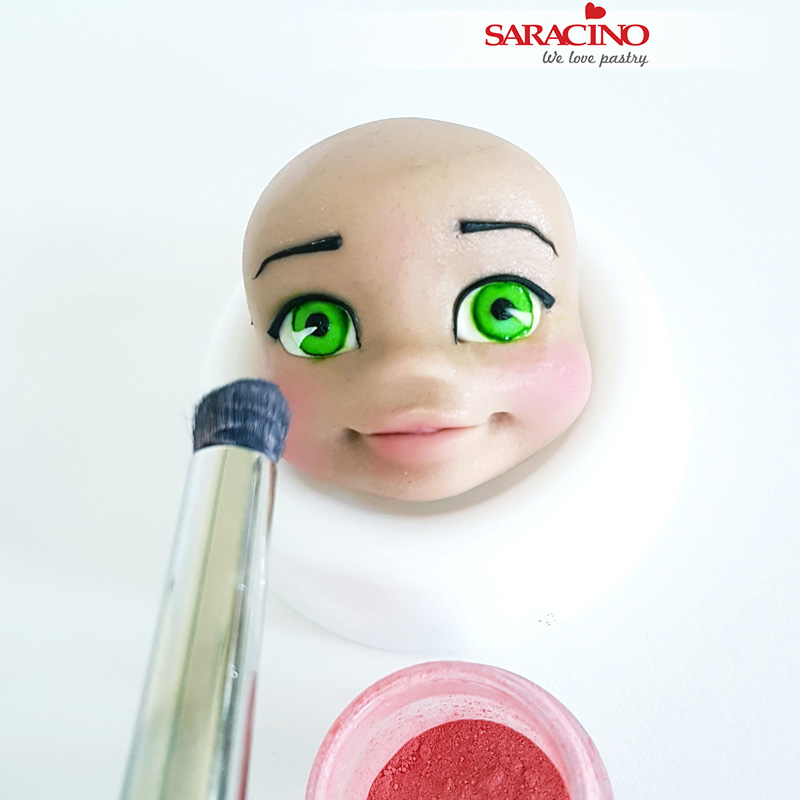
Step 32
Dust the cheeks with a pink colour powder using a large brush
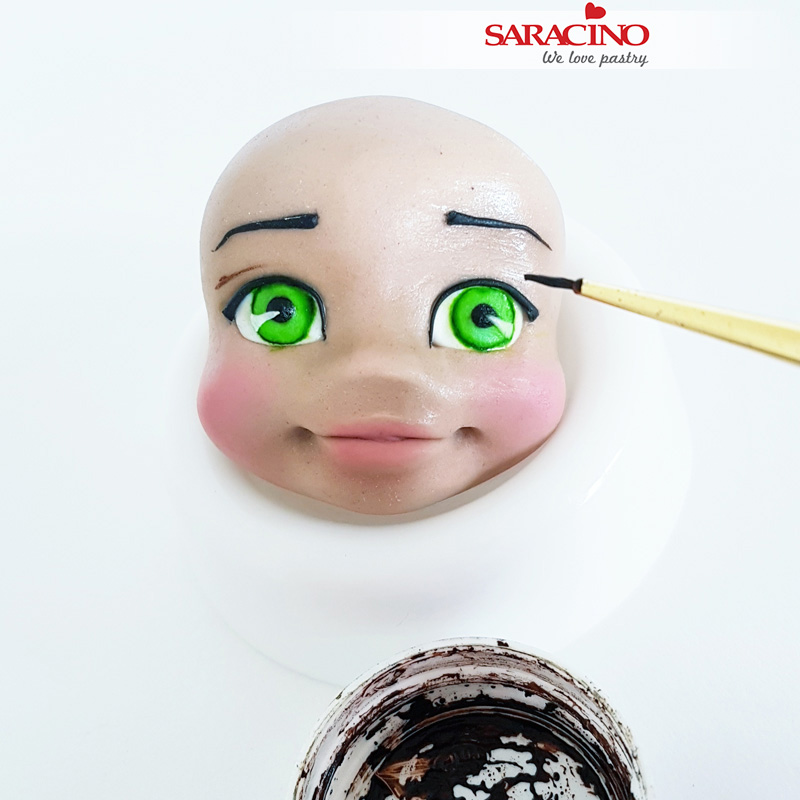
Step 33
Add a fine eyelid crease to each eye using brown gel colour
Step 34
Attach a darker skin tone ball at the back of the head
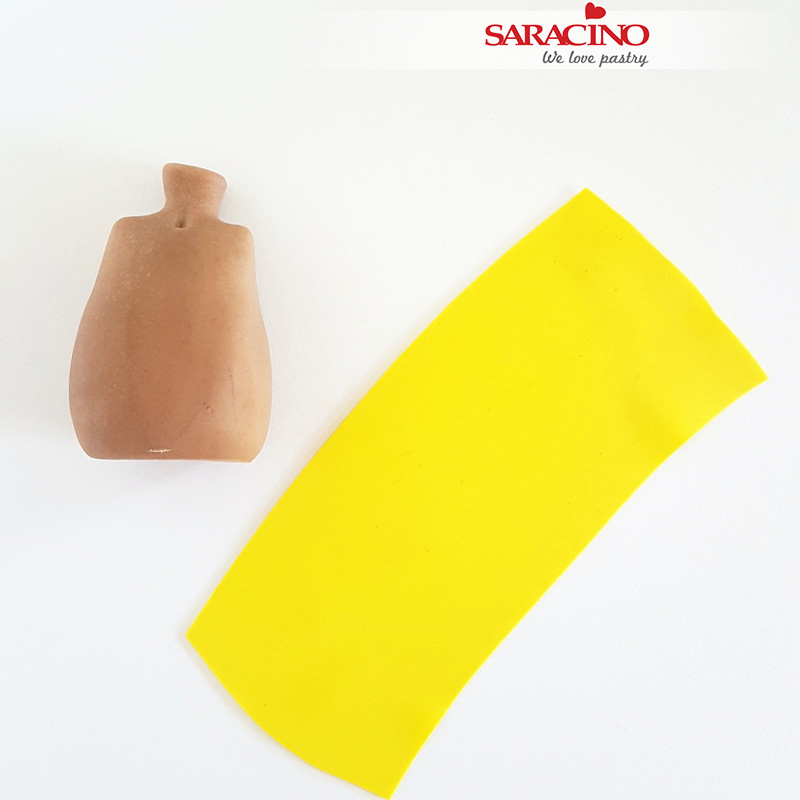
Step 35
Roll a small rectangle out of yellow modelling paste to make a swimming costume. Use your Dresden tool to form a small dent in the base of the throat.
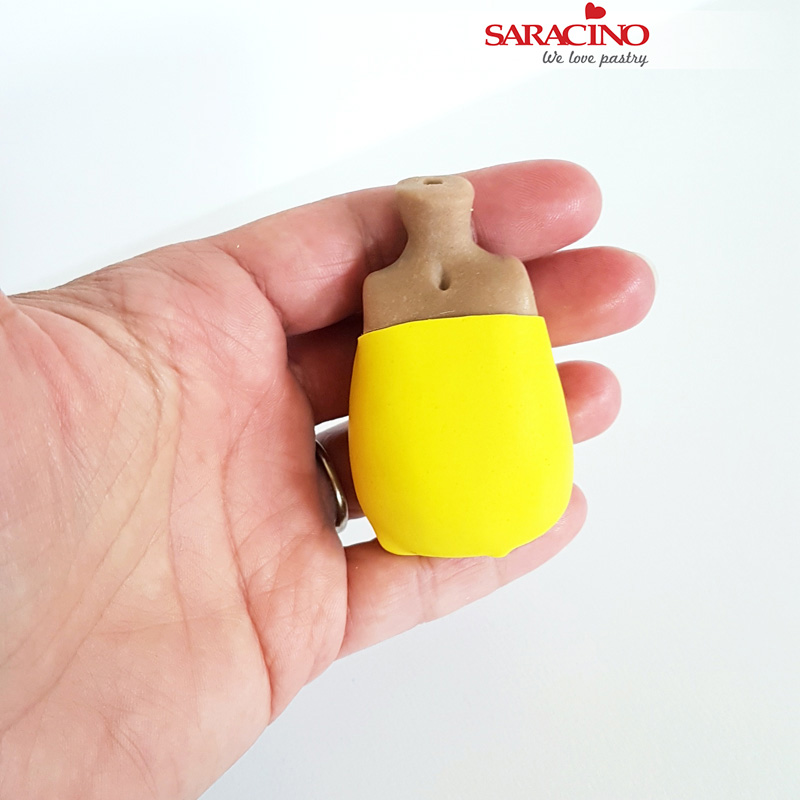
Step 36
Attach a rectangle all around the body
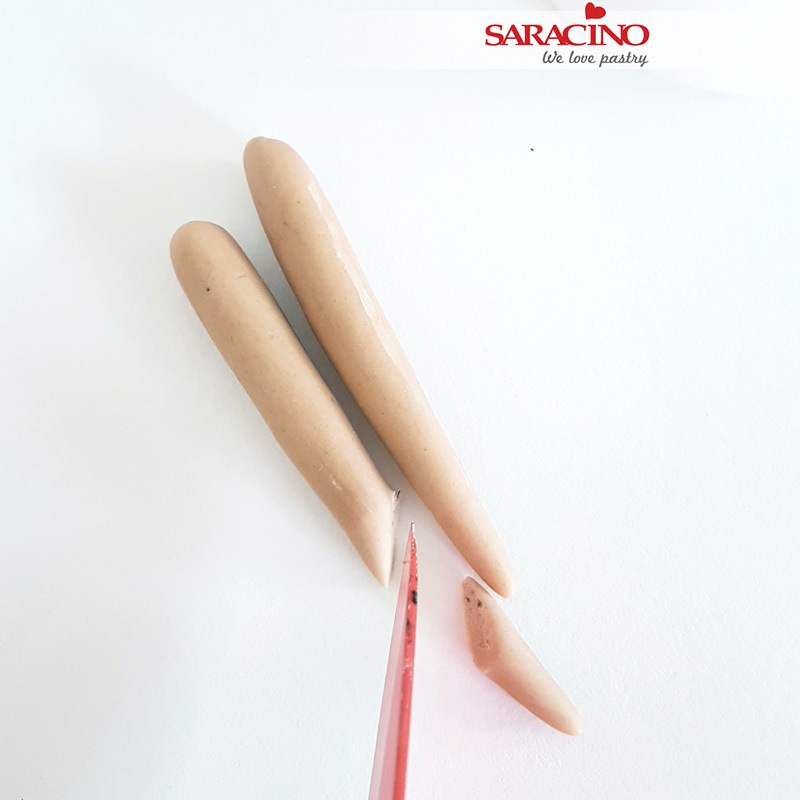
Step 37
Roll out two small cones from darker skin tone modelling paste (3.5g each). Cut them diagonally to form the basic shape of the arms
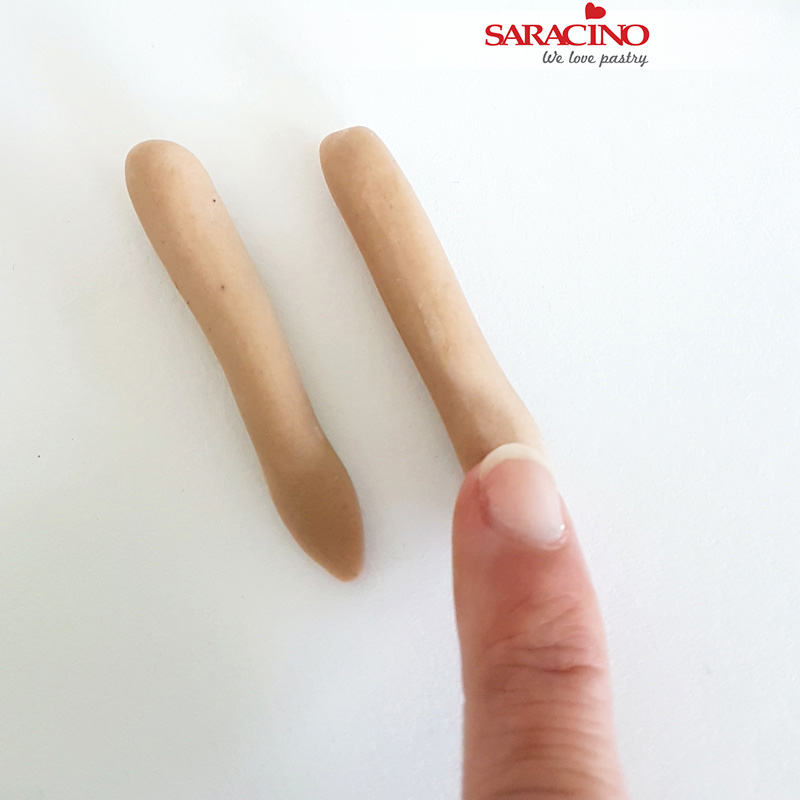
Step 38
Flatten the hand with your finger
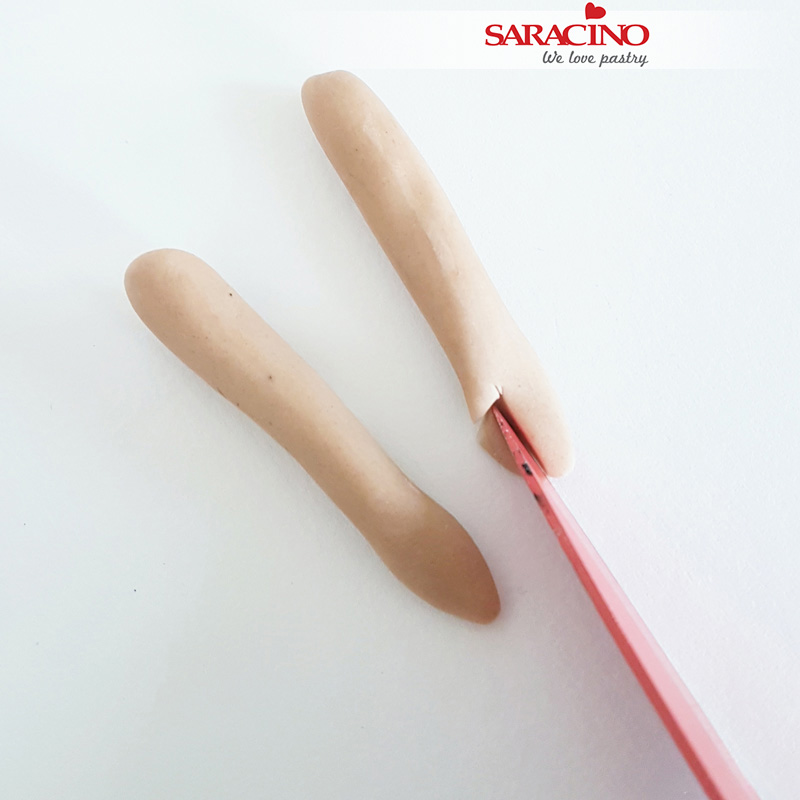
Step 39
Cut a small triangle to form the thumb
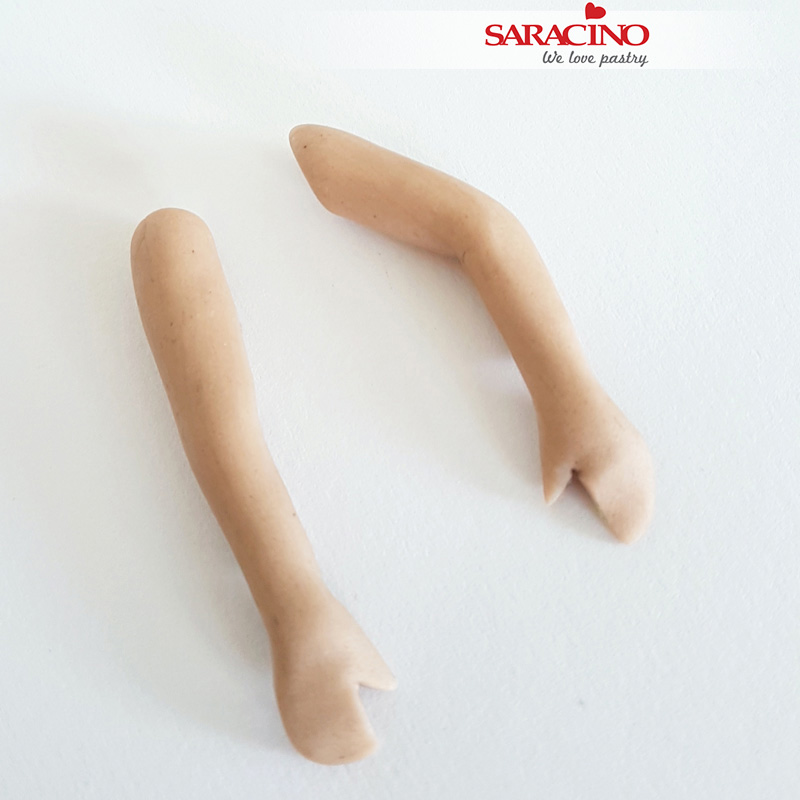
Step 40
Bend the arms in the middle
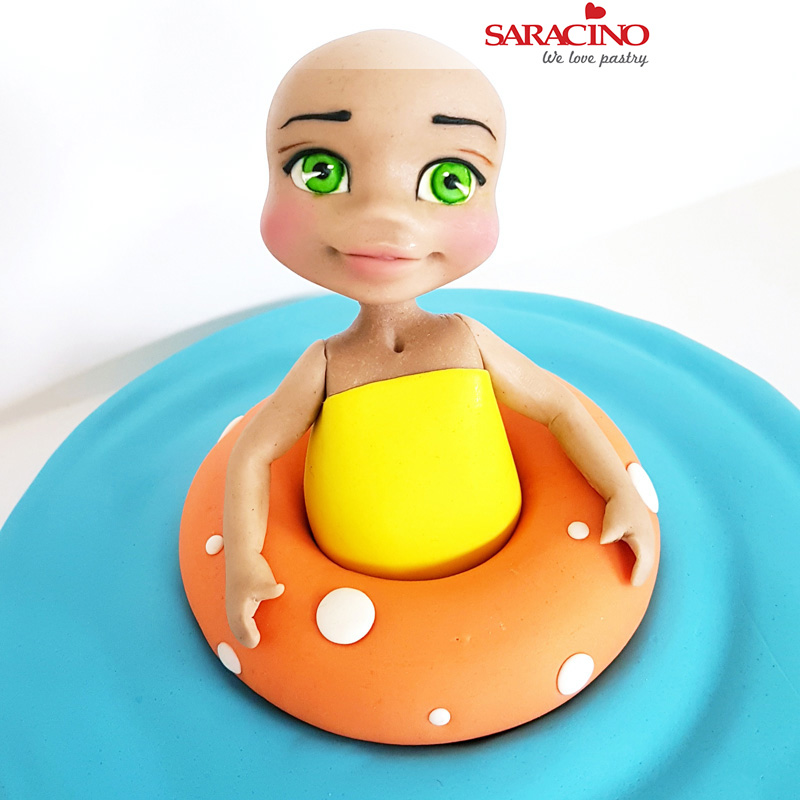
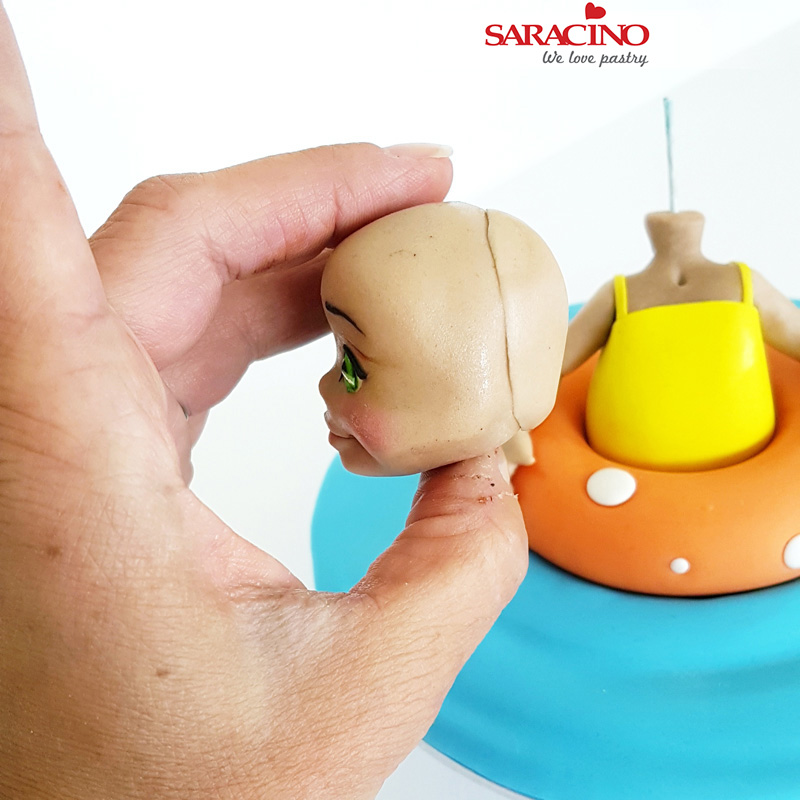
Step 41
Place the body on the middle of the floating ring and insert a cocktail stick then place the head on top. Attach the arms
Step 42
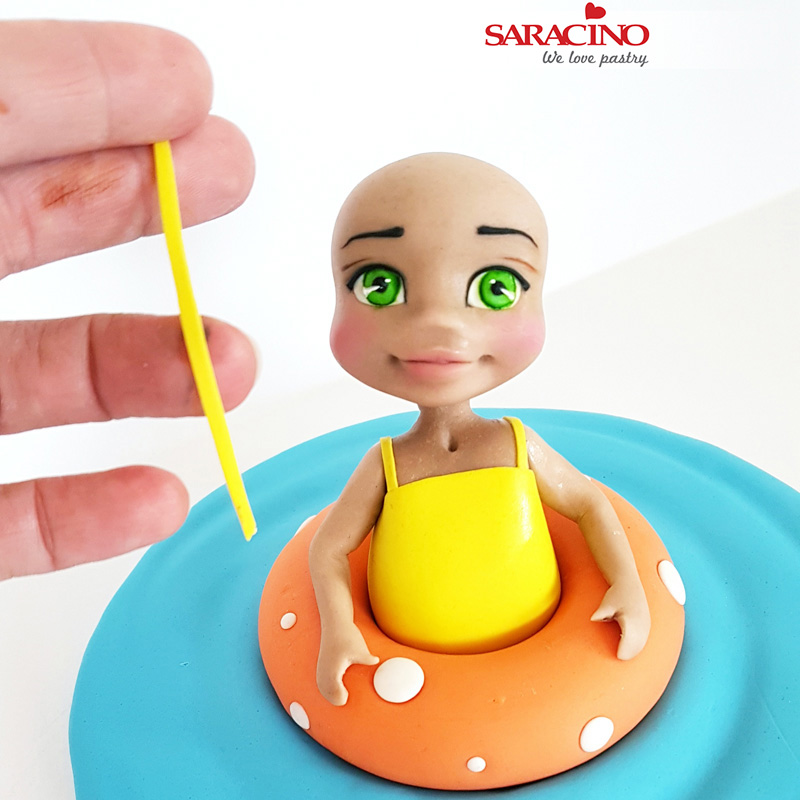
For the straps roll 2 thin strips out of yellow paste and stick them on the swimming costume over the shoulders
Step 43
To make the hair on the head roll a circle out of black paste (6.5cm – 17g)
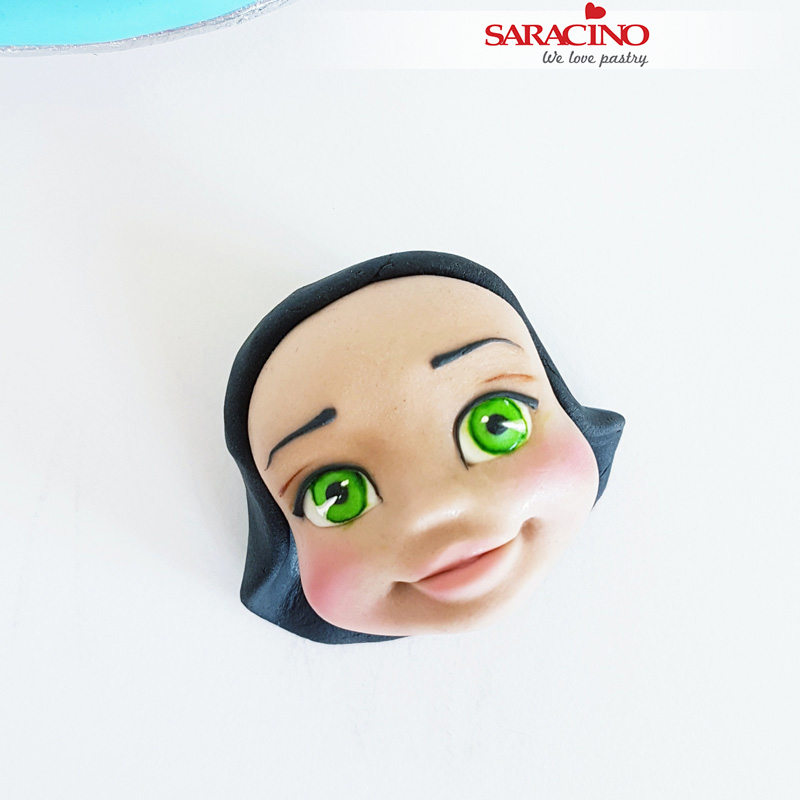
Step 44
Attach the circle at the back of the head
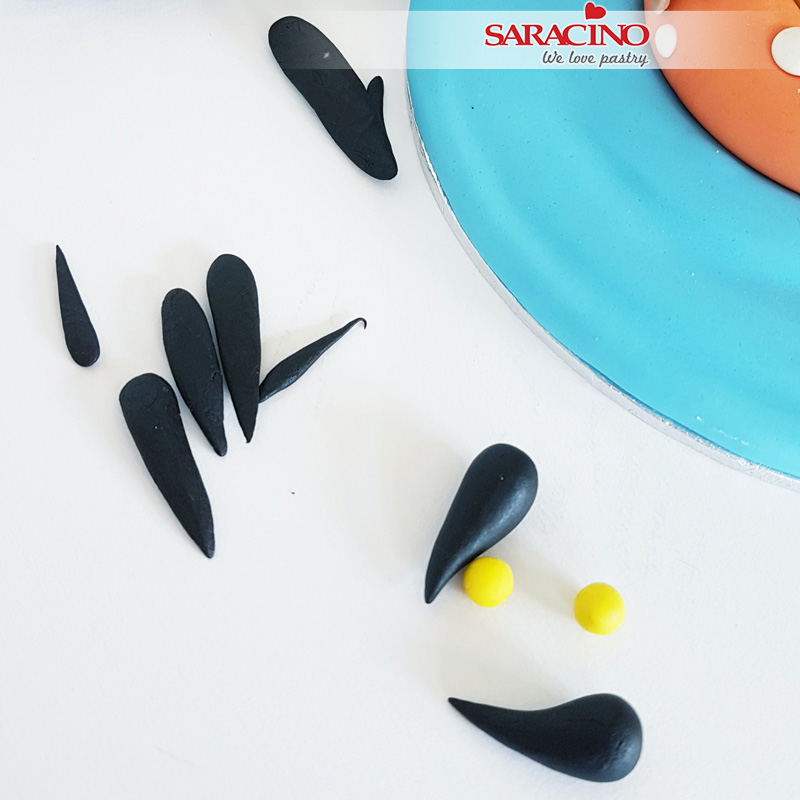
Step 45
Roll some small, medium and larger cones out of black paste and flat them to create the hair. Also make 2 small cones and 2 yellow balls (for elastic bands) for ponytails
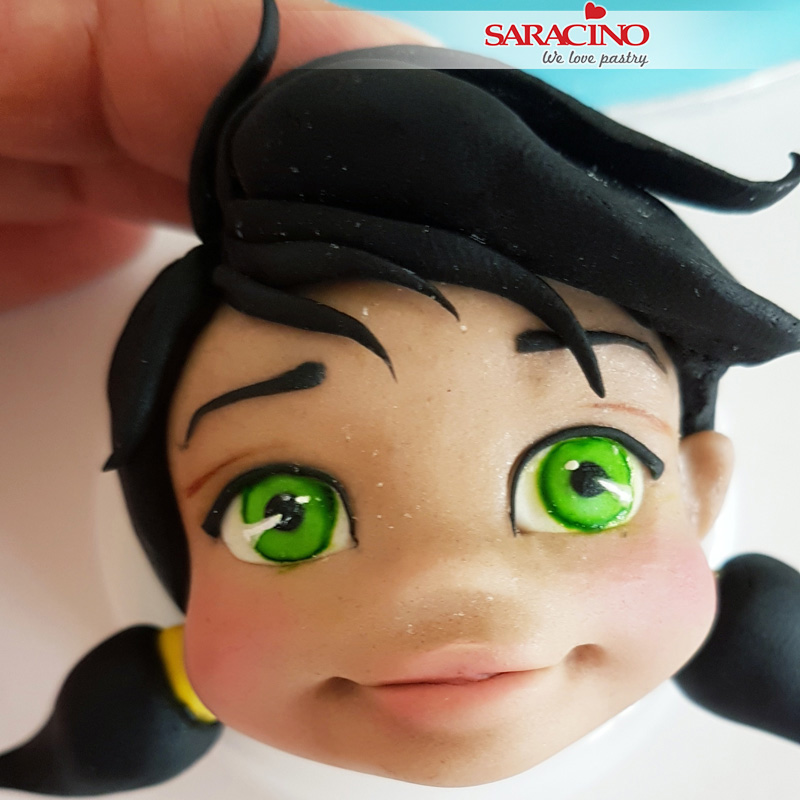
Step 46
Attach all cones on the top of the head and ponytails on the sides. Make 2 small teardrops out of darker skin tone for the ears and attach them on the sides of the head
Step 47
Add some shades to the water with a dark blue colour powder using a large brush
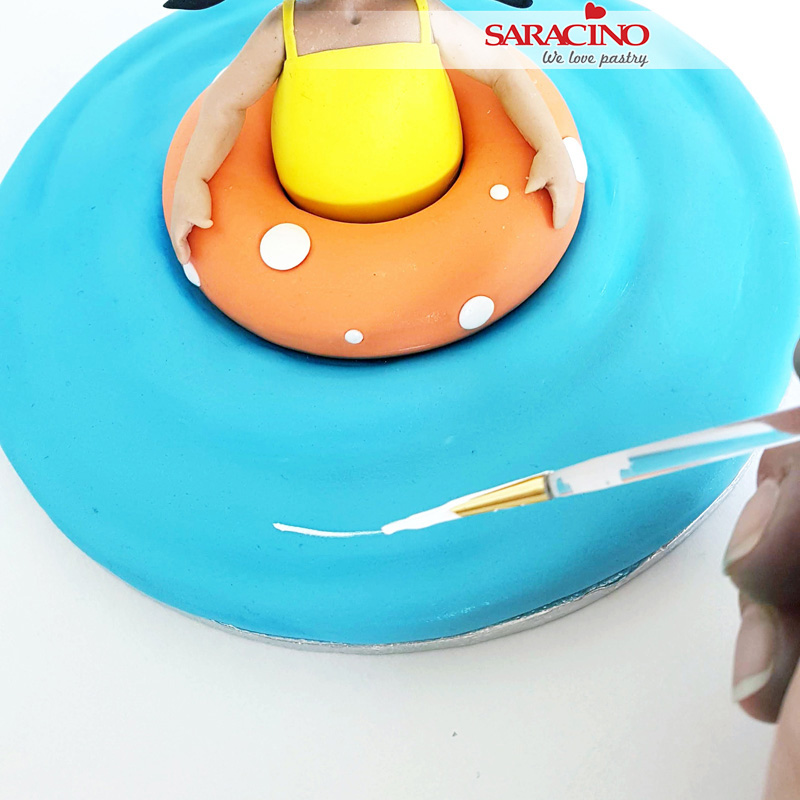
Step 48
With white colour gel paint some fine lines on the water
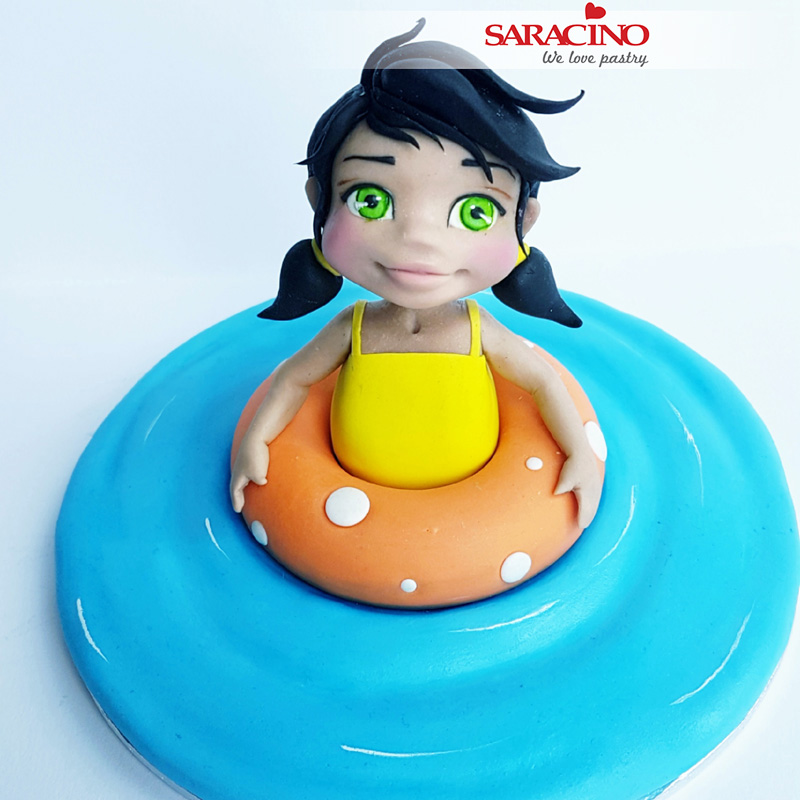
Step 49
Your cake topper is ready
