
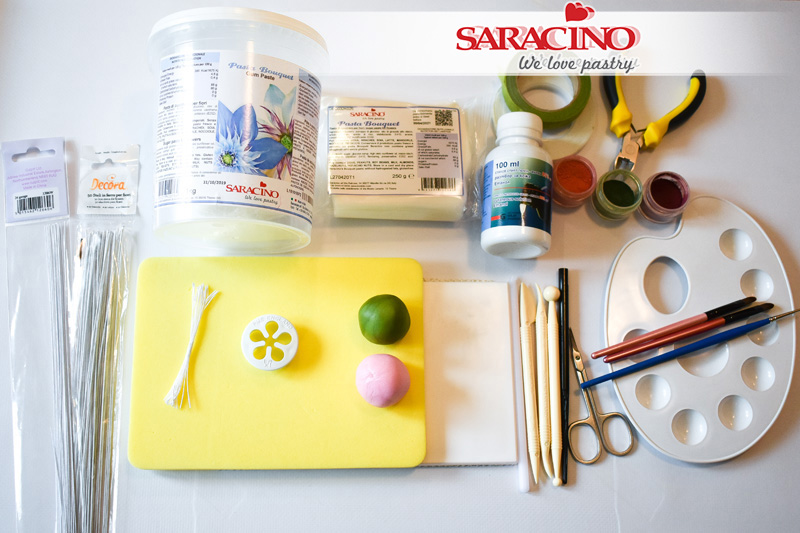
You will need:
- Saracino flower paste (Pasta Bouquet) – coloured pink and leaf green
- Veining board
- Foam flower pad
- Small rolling pin
- Dusting brushes
- Thin painting brush
- Clear alcohol
- Wire – 26 gauge, 20 gauge
- White thin stamens
- Dust colours – strawberry, moss green and plum
- Ball tool
- Knife scriber tool
- Veining tool
- Small scissors
- Light green and white floral tape
- Small five petal rose cutter
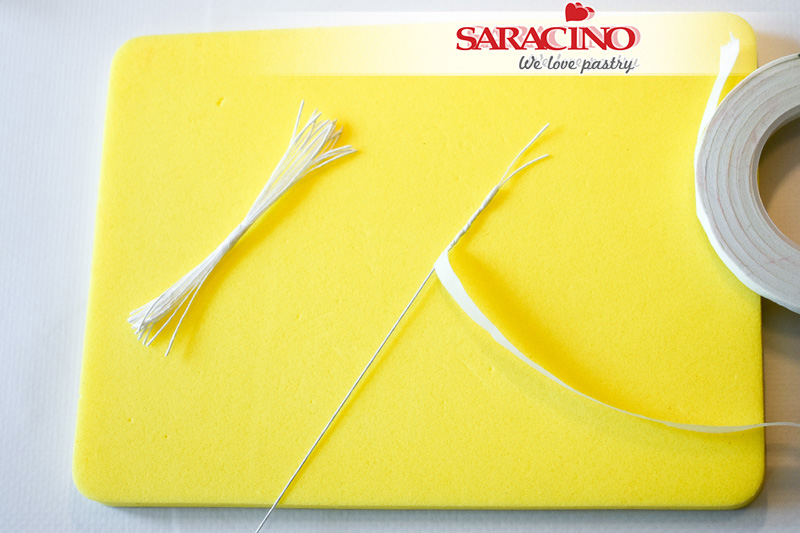
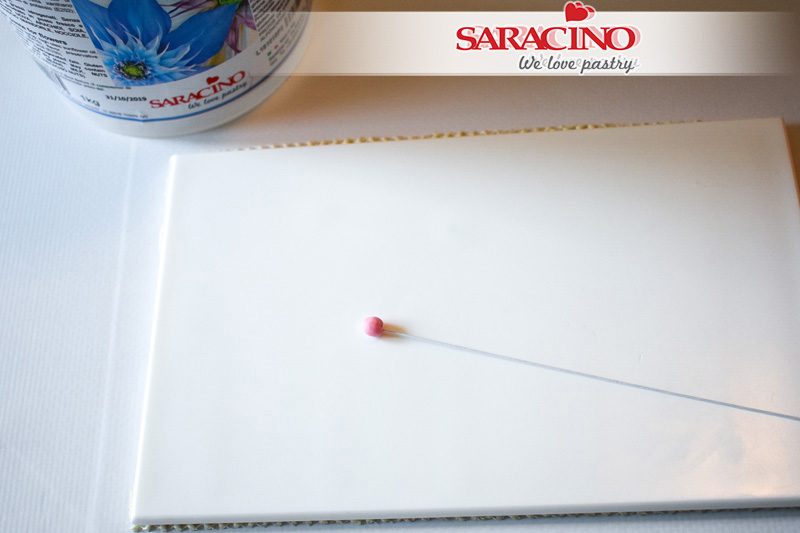
Step 1
Cut a white stamen in two and then attach to the end of 26-gauge white wire using white florist tape.
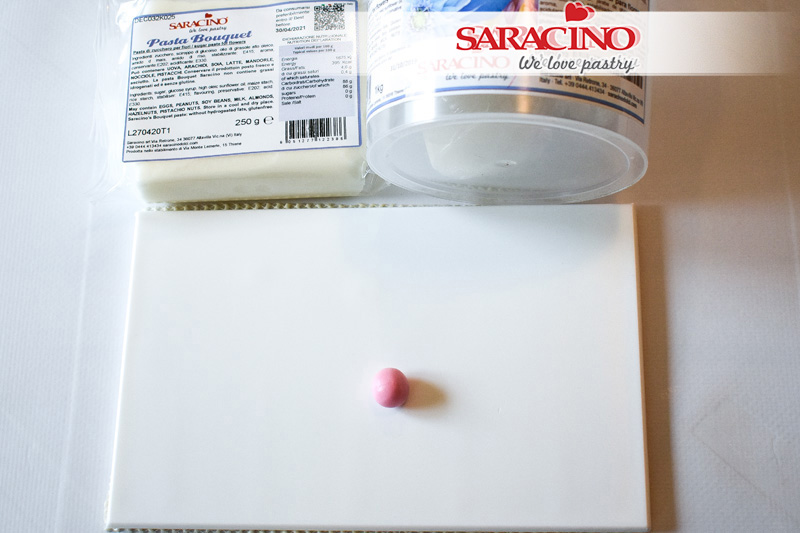
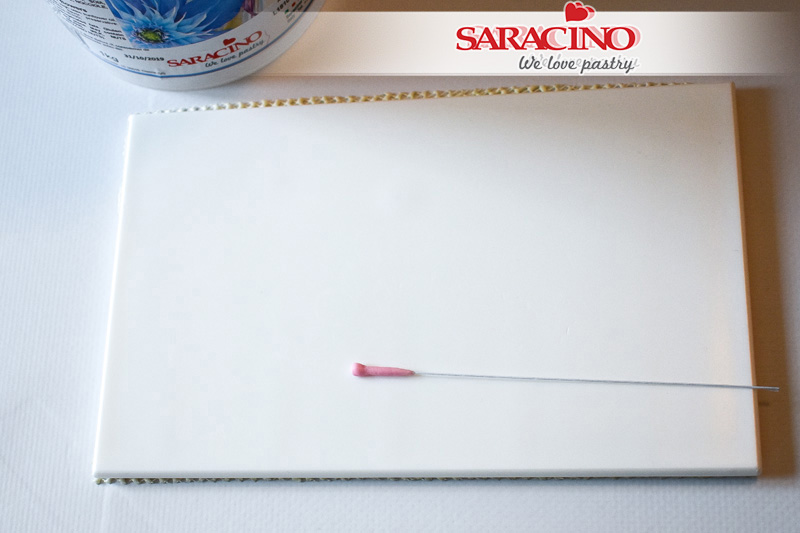
Step 2
Form a ball of pink Saracino flower paste.
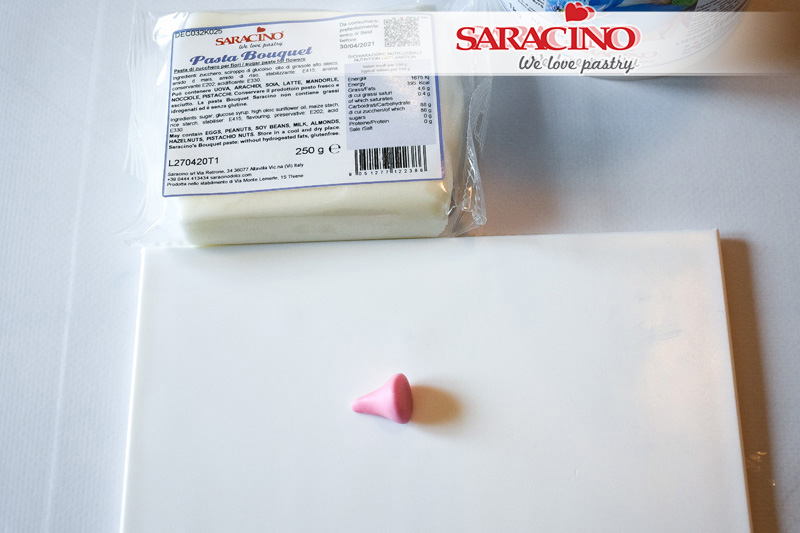
Step 3
Make a cone from the ball.
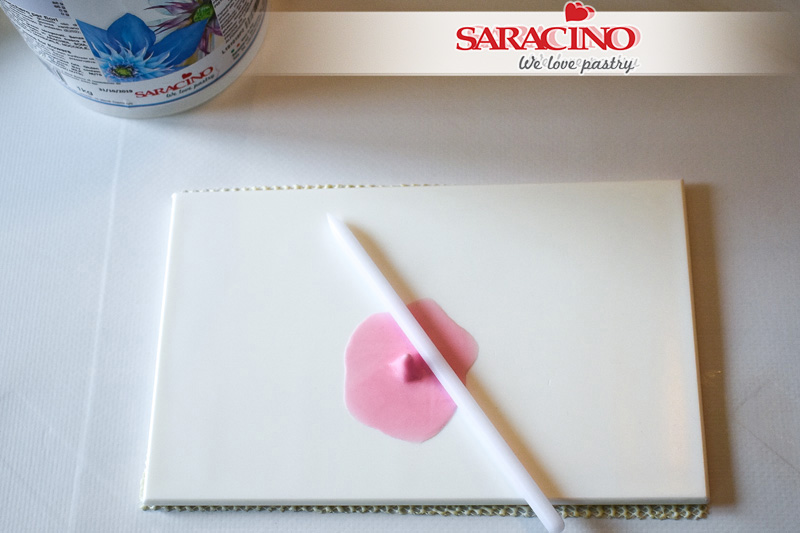
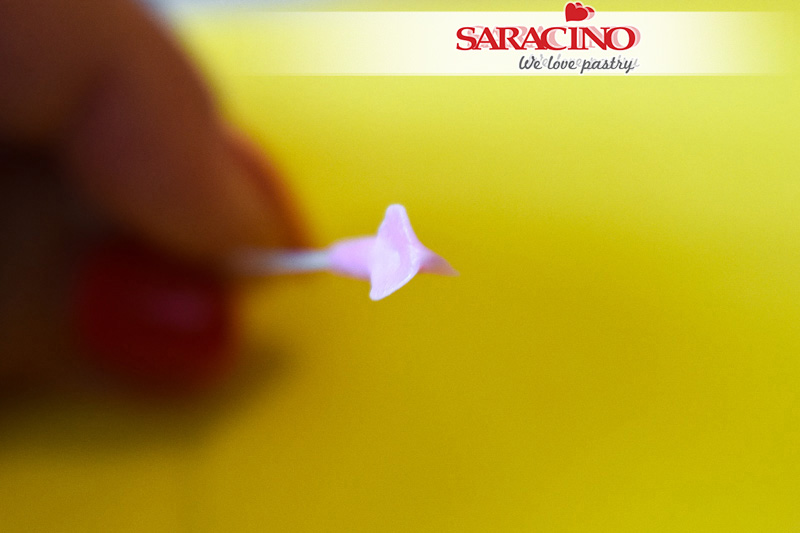
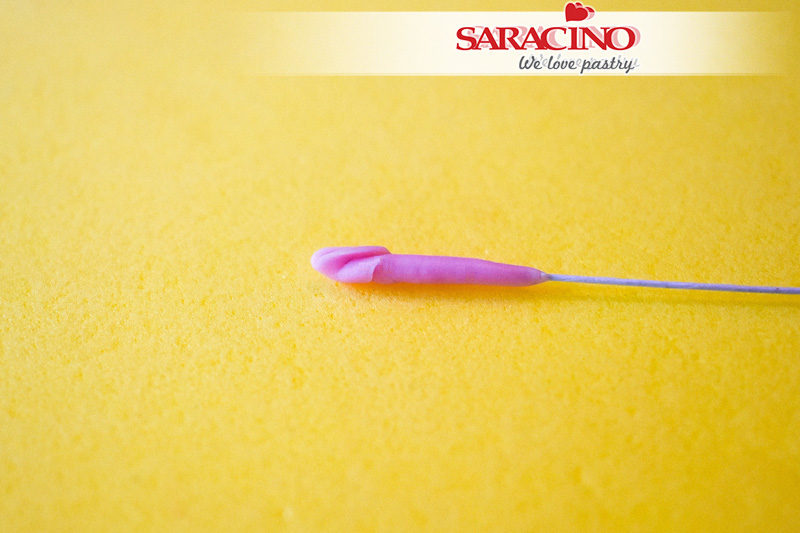
Step 4
Press the wide end of the cone onto the pad and roll around to form a ‘witches hat’ appearance.
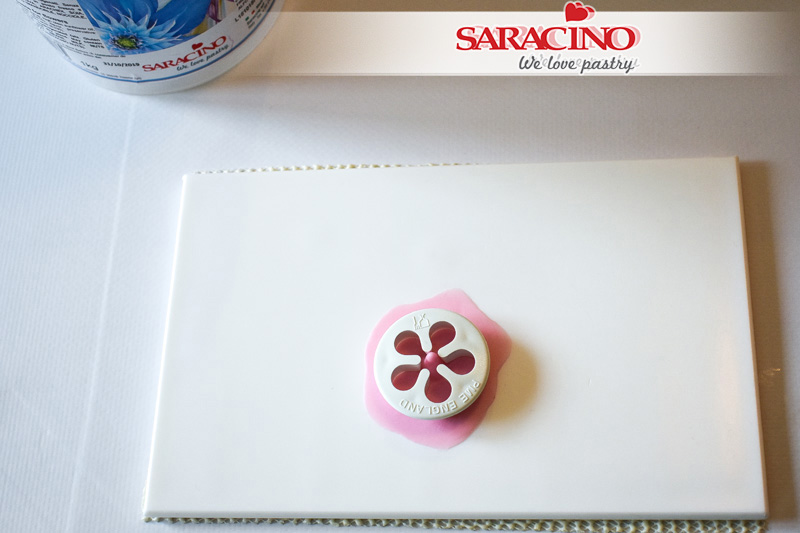
Step 5
Place the rose cutter and cut the flower.
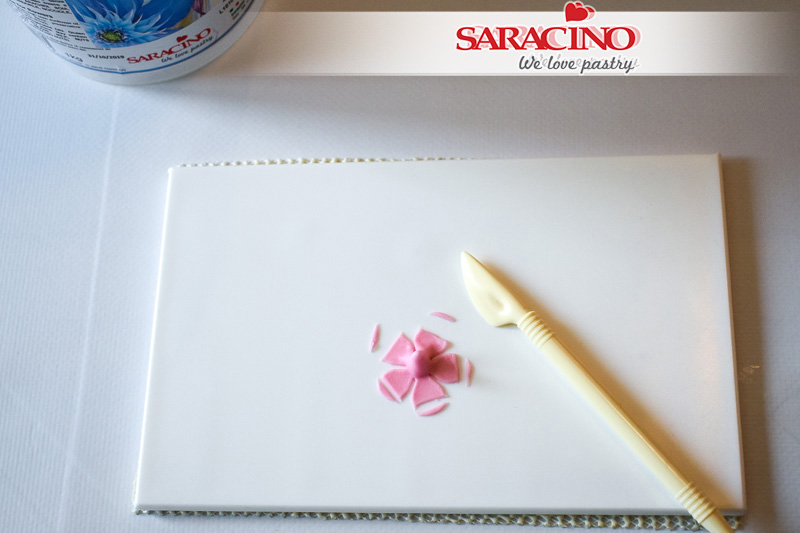
Step 6
Cut the rounded edges off the flower.
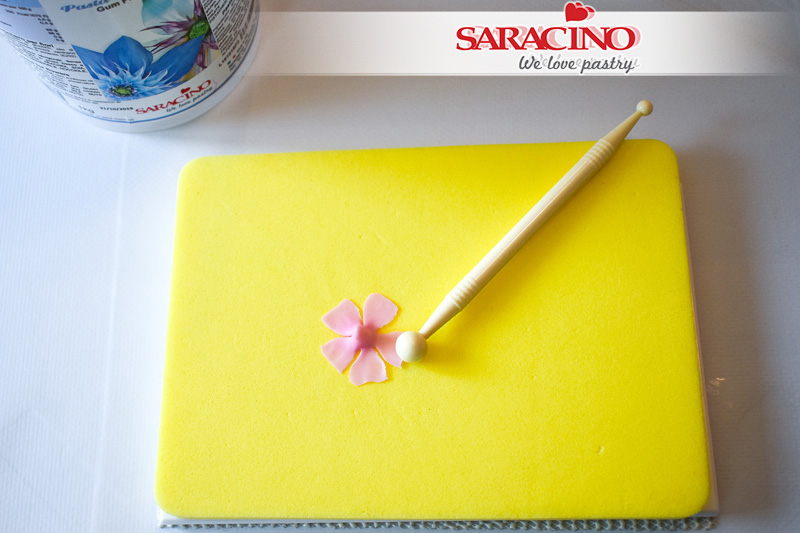
Step 7
On your foam mat use the ball tool to lengthen and thin each petal.
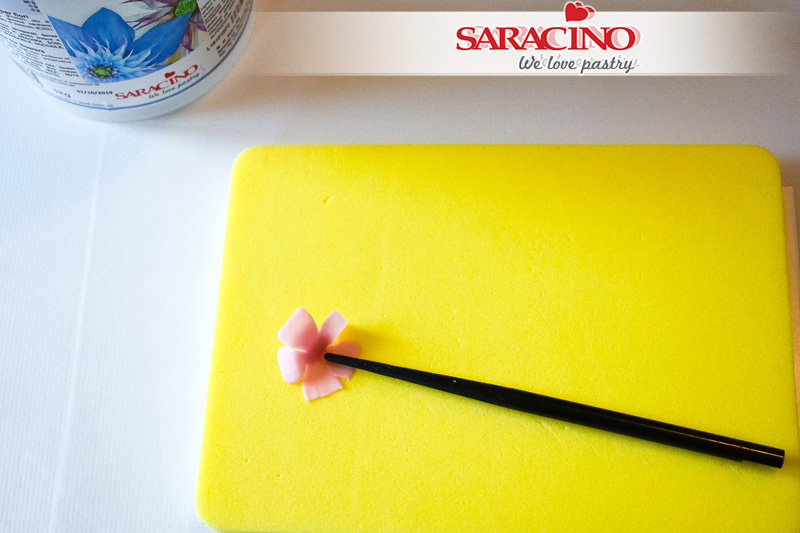
Step 8
Give texture to each petal by rolling with your veining tool.
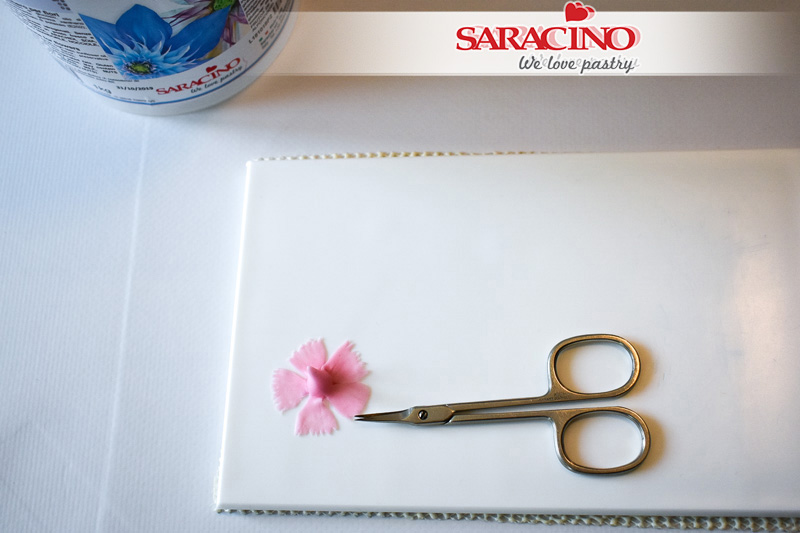
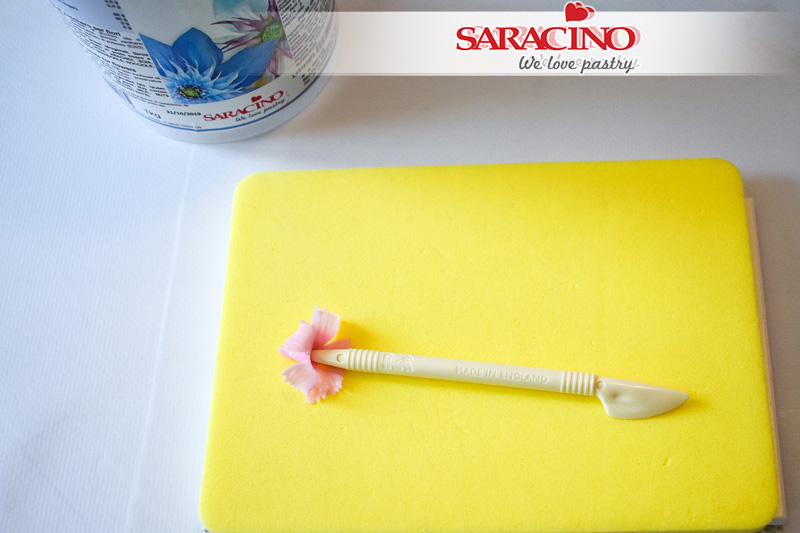
Step 9
Use small scissors to create jagged edges to the petals.
Step 10
Use a pointed tool to press into the centre to open up the middle.
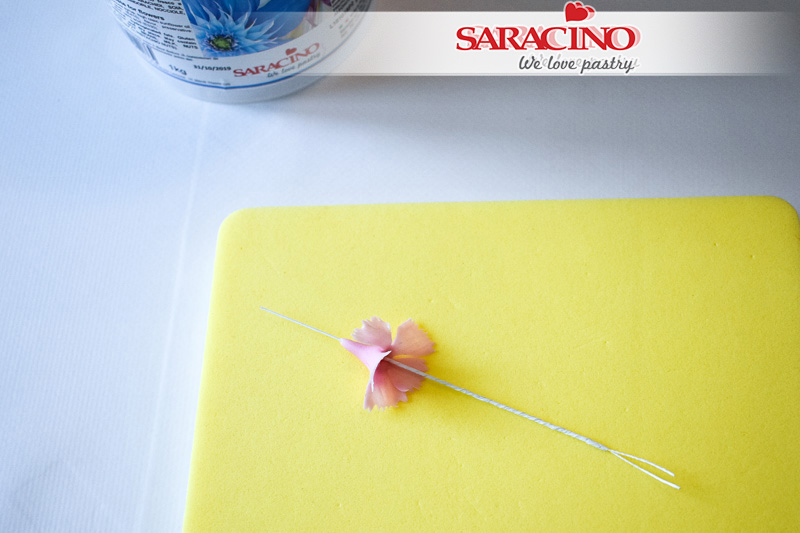
Step 11
Take the wire with the stamens and pass it through the center of the flower.
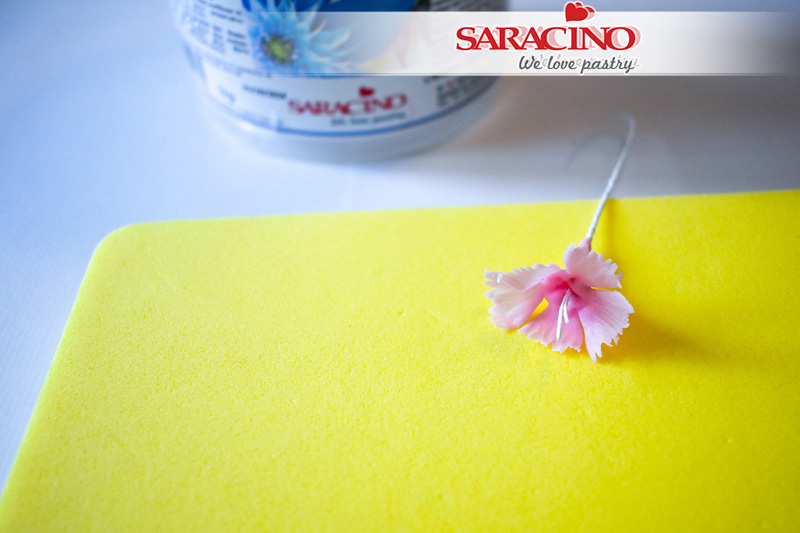
Step 12
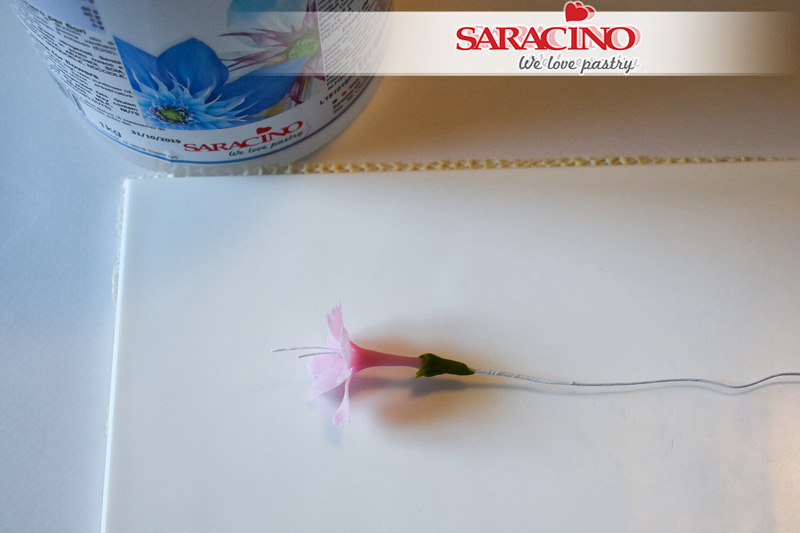
Work the back of the flower between your fingers to thin it down into a slender neck.
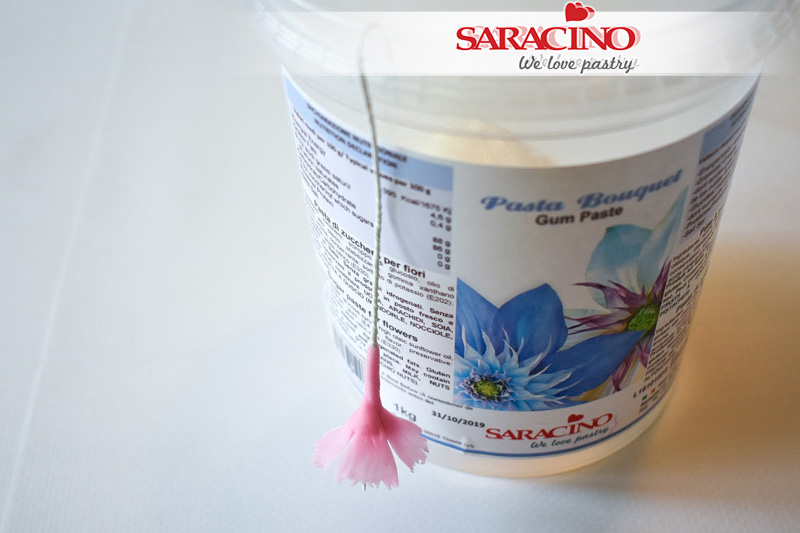
Step 13
Allow the flower to dry upside down.
Step 14
Form a small ball of pink Saracino flower paste.
Step 15
Roll the ball onto your flower wire and form it to a tapered bud shape.
Step 16
Pinch three petals from the tip of the bud.
Step 17
Twist petals back onto themselves to create a spiralled bud.
Step 18
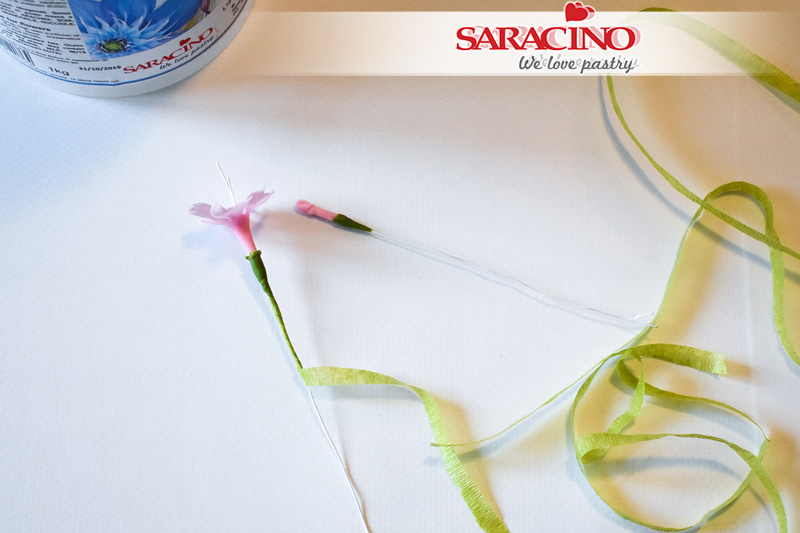
When your flower is dry roll a little green paste into a cone shape. Feed it onto the wire at the back of the flower. Give the green paste texture.
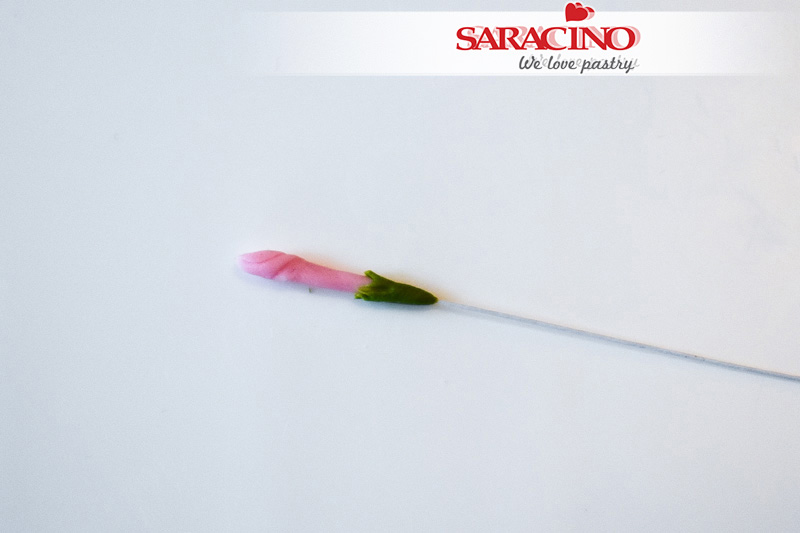
Step 19
Repeat this with the buds.
Step 20
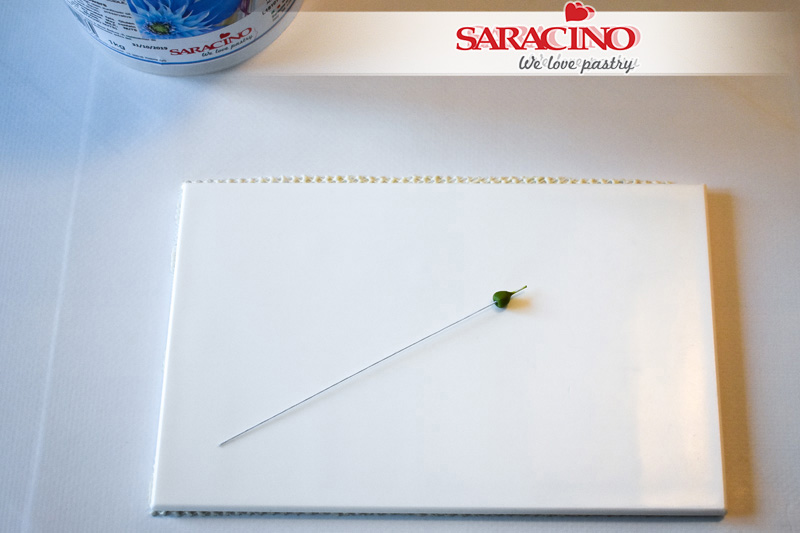
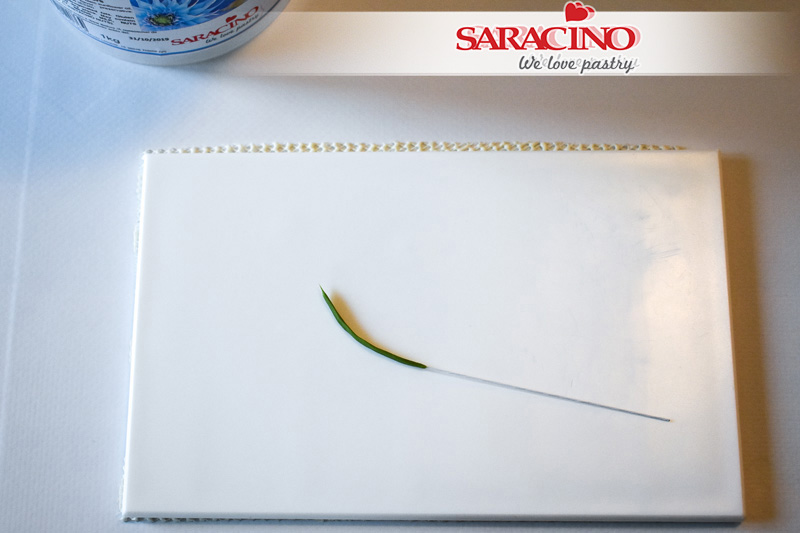
For the leaves attach a small ball of green Saracino flower paste onto the end of 26 gauge white wire.
Step 21
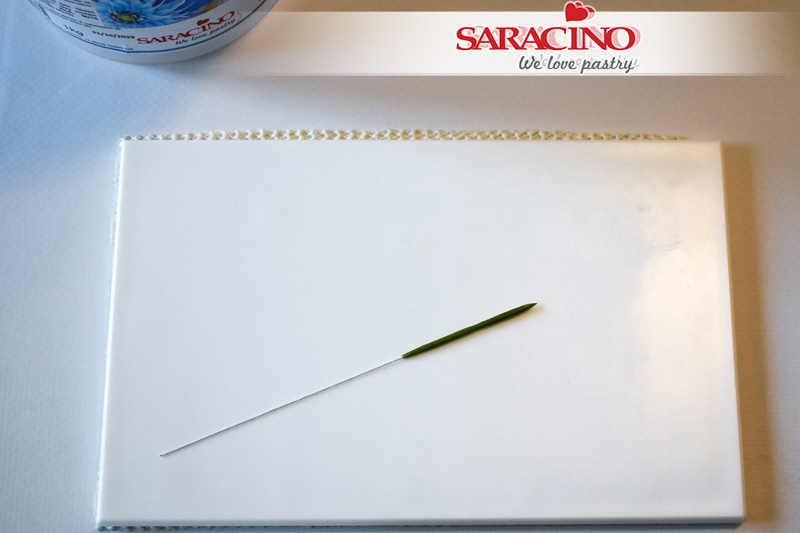
With your fingers roll and blend the flower paste onto the wire to create a fine, slender leaf shape.

Step 22
Flatten the leaf with the small rolling pin.
Step 23
Bend the leaf to give a natural shape. You will need at least six leaves like this.
Step 24
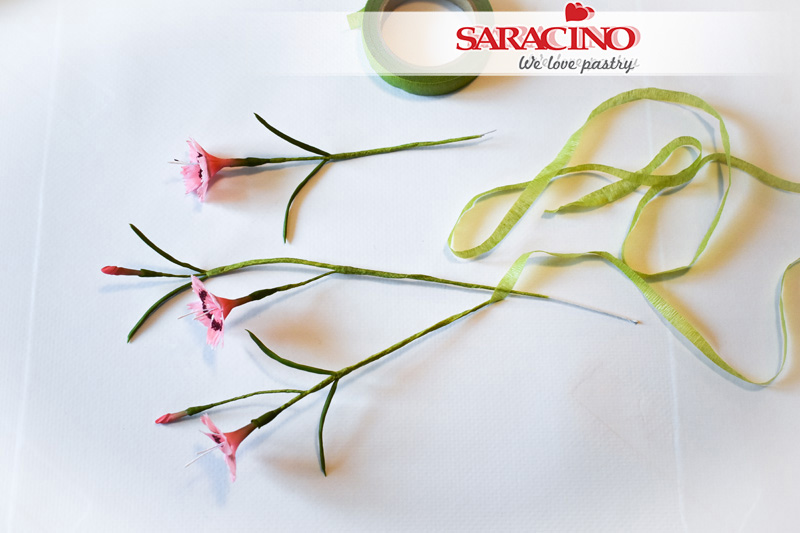
Tape the wire of the flowers with light green floral tape.
Step 25
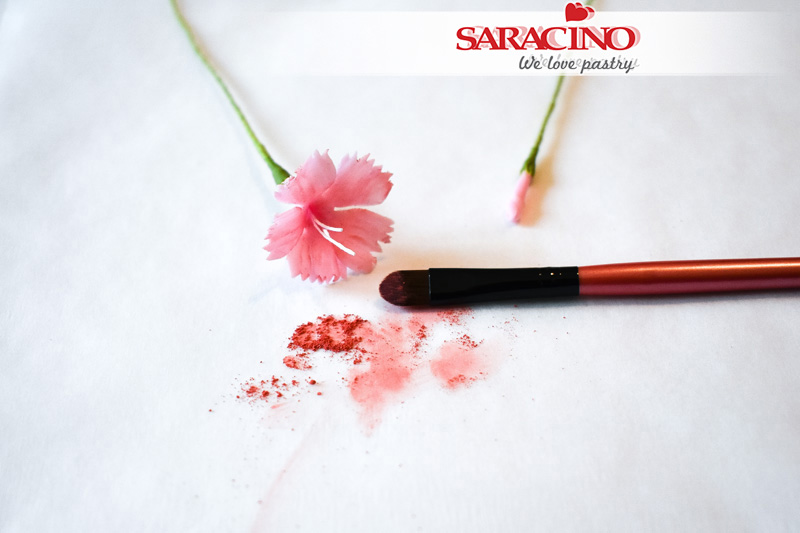
Dust the flower with Strawberry dust colour.
Step 26
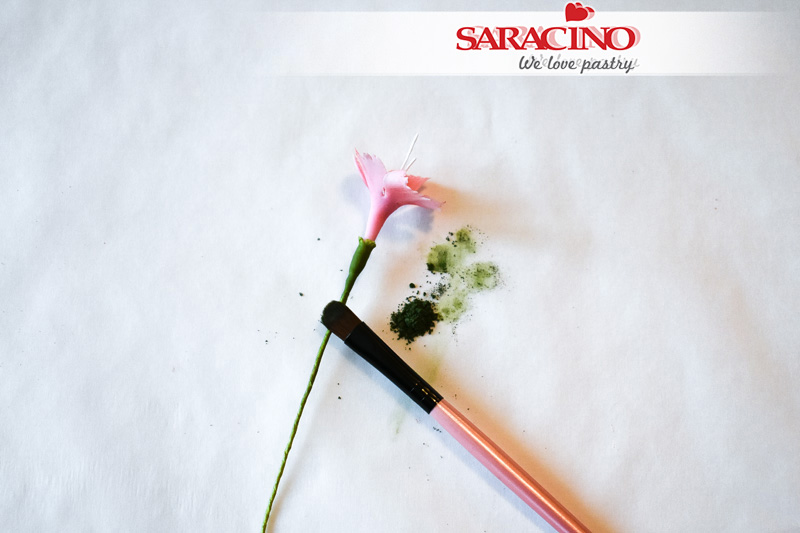
Dust the calyx and the end of the flower with leaf green dust colour.
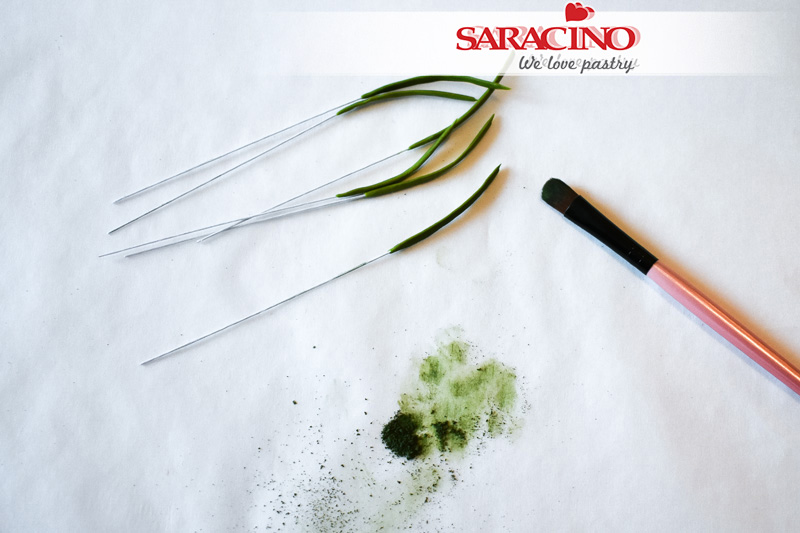
Step 27
Dust the leaves with leaf green dust colour.
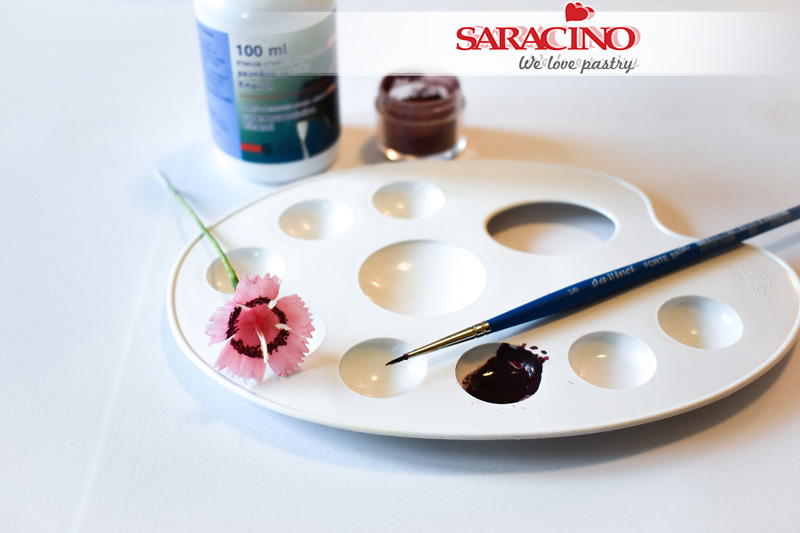
Step 28
Using a fine brush, paint the small dots using plum petal dust mixed together with a little clear alcohol.
Step 29
Tape the leaves in pairs onto the flowers or buds. Arrange your flowers. Dust the stems with green dust colour.
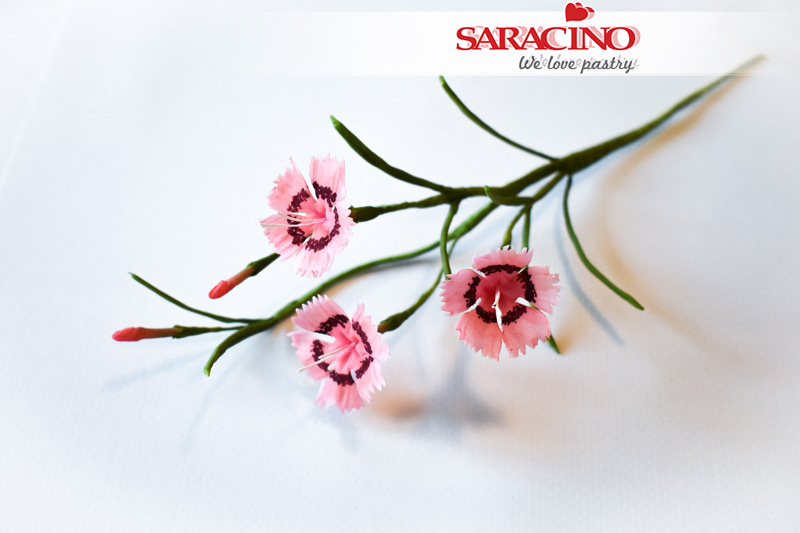
Step 30
TA DA It’s finished
