Author: Silvia Mancini
Skill level: BEGINNERS
TIP:
To achieve the light pink colour I add a drop of pink gel colour (actually half drop because it needs a really small quantity) to the skin tone modelling paste.
To achieve the brick colour I add a bit of white sugar paste to the brown, then I put a drop of red gel colour and a drop of orange (the proportion depends if you want a colour tending to the red or to the orange)
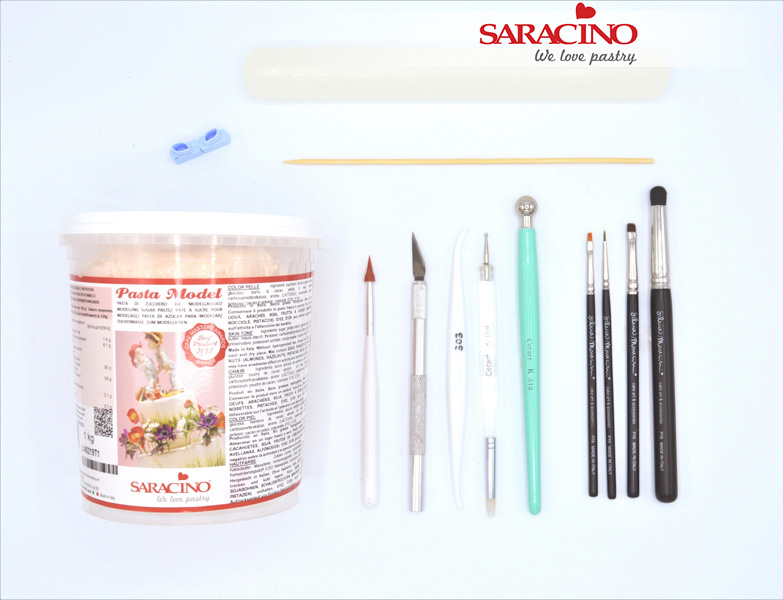
You will need:
Rolling pin
Scalpel or sharp knife
Dresden tool
Small ball tool
Large ball tool
Pointed silicone tool
Number 5 Piping Tip
Wood skewer
Straw
Soft brushes (large and small)
Small paintbrushes (flat and pointed)
Easy Eyes – princess set
82/85g light pink Saracino modelling paste
35g skin tone Saracino modelling paste
20g red Saracino modelling paste
small amount of white, light blue and black Saracino modelling paste
Water or edible glue
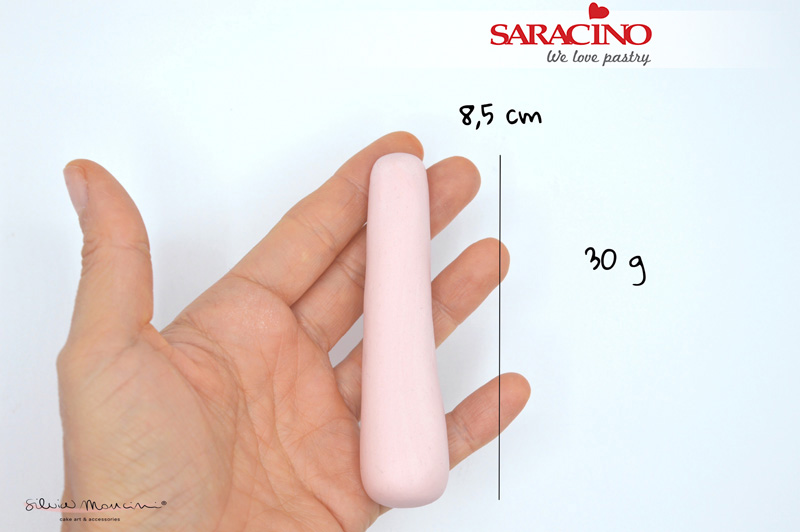
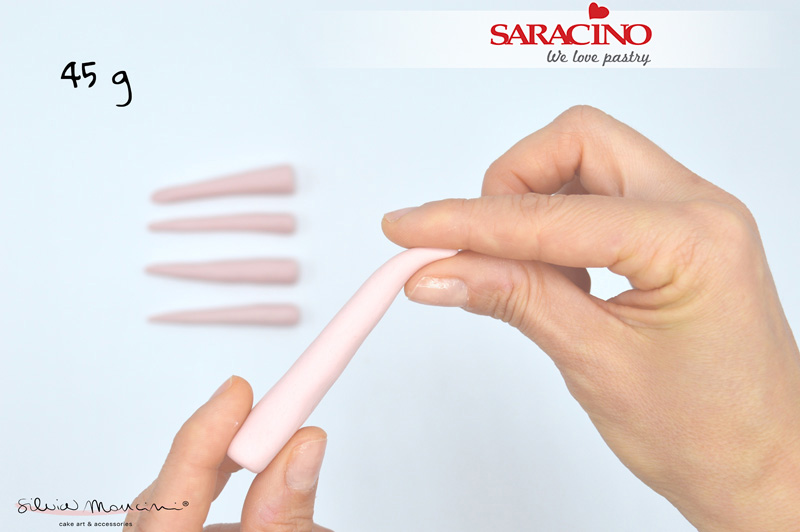
Step 1
For the body roll 30g of pink paste into a shape with one end narrower than the other
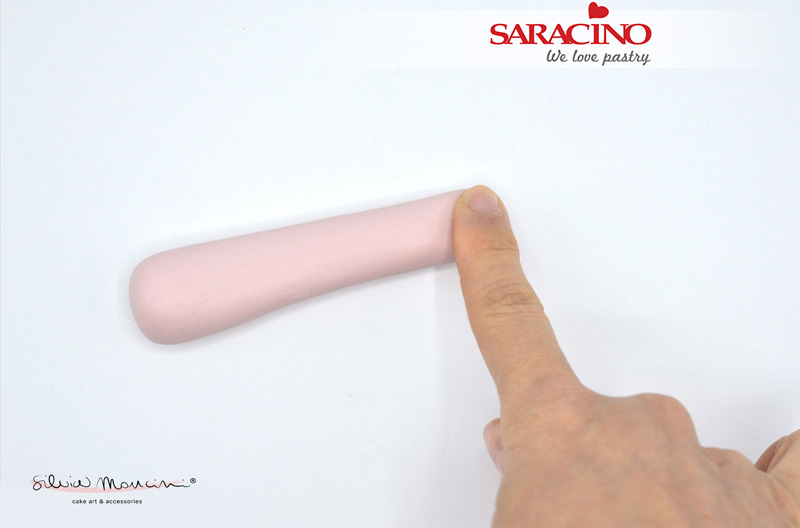
Step 2
Flatten the smaller side
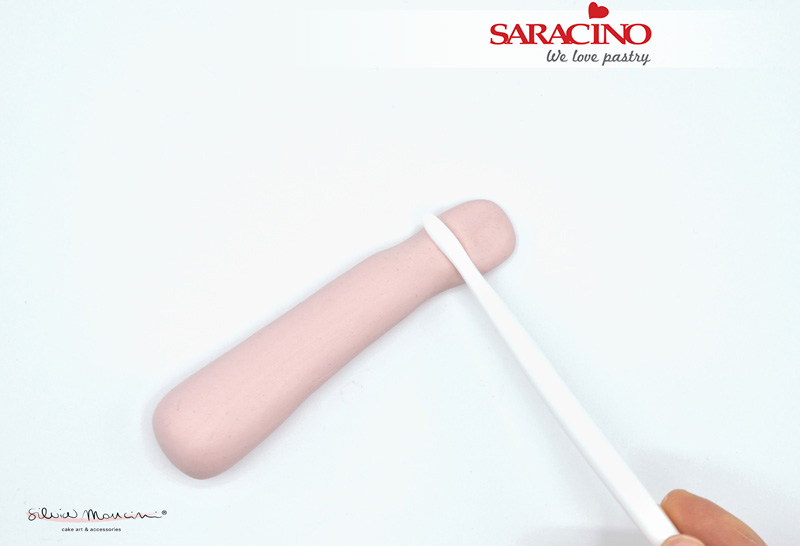
Step 3
To form the chest area make a groove using the Dresden tool

Step 4
Tapering the waist and the knee
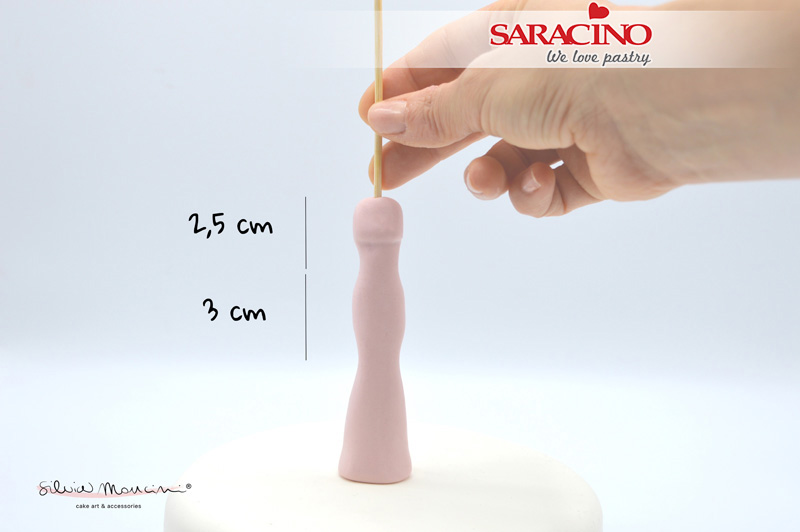
Step 5
Thread the wooden skewer through the body into the dummy below and leave a length projecting from the top.
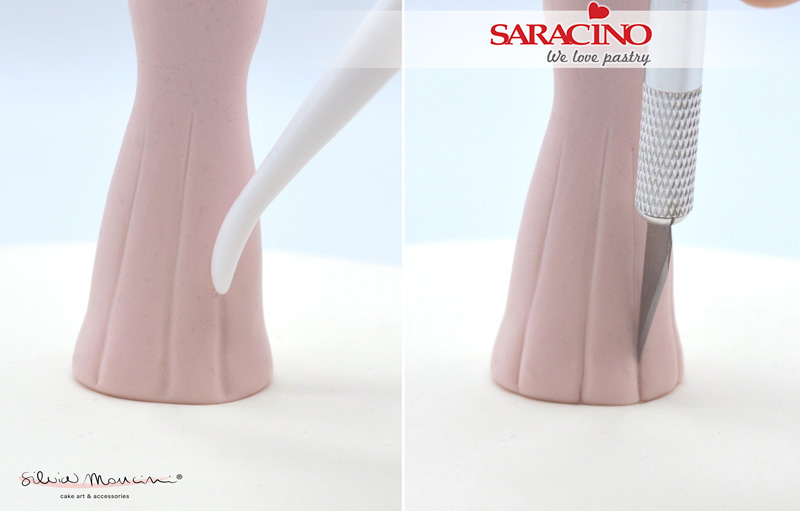
Step 6
Make some straight marks on the bottom of the dress first using the Dresden tool then the back of the scalpel
Step 7
For more pleats on the dress roll 5 long cones (using about 9g of pink paste for each one) and bend them on the pointed side
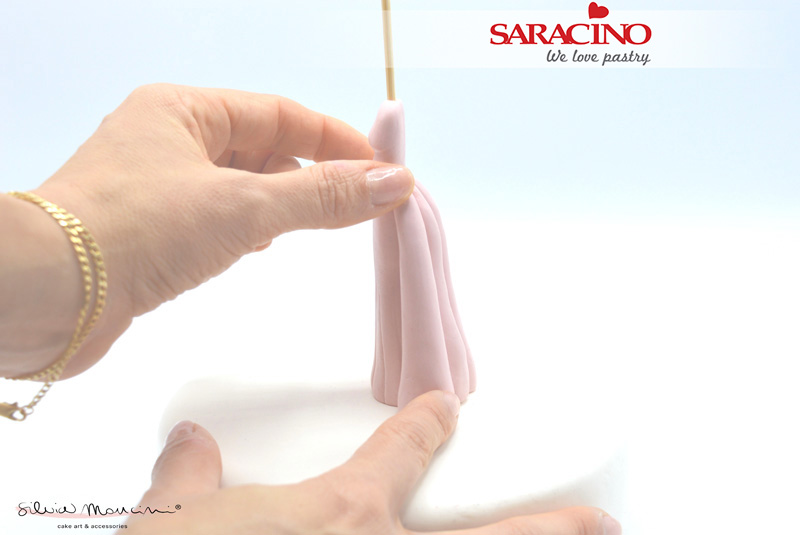
Step 8
Stick all of them starting from the hips and finishing at the back
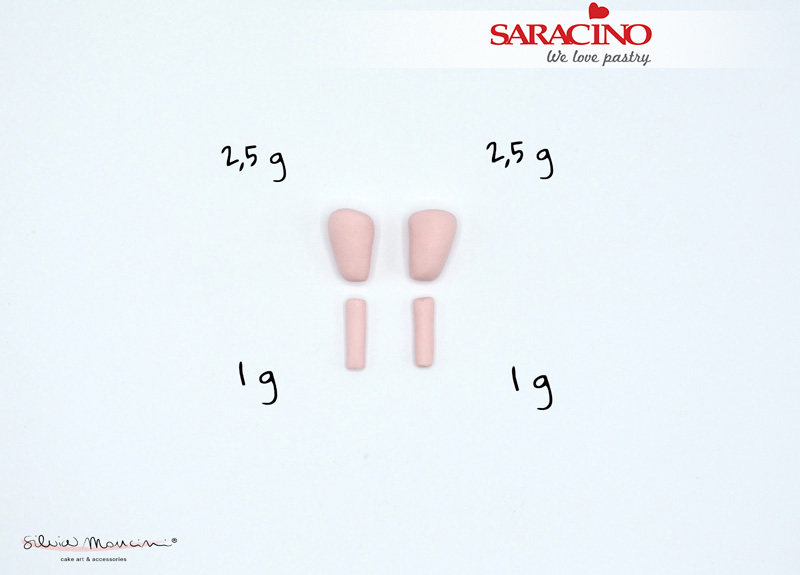
Step 9
Create both puffs and arm sleeves using 7g of pink paste in total
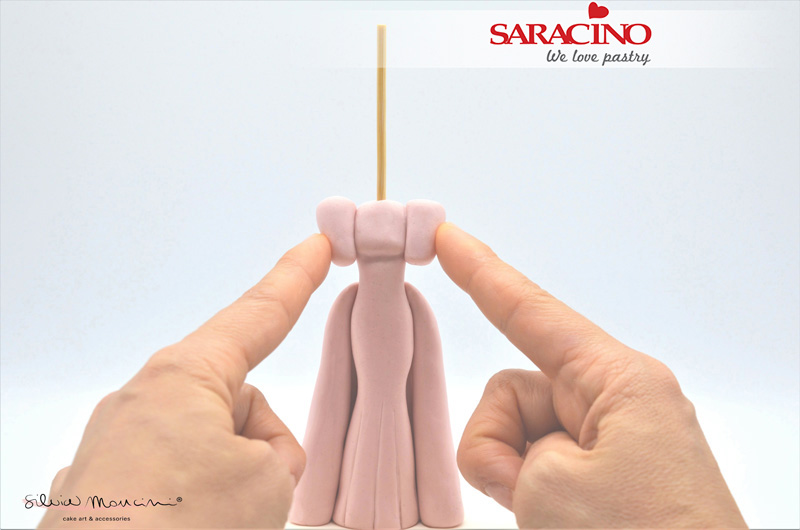
Step 10
Stick first the upper sleeves
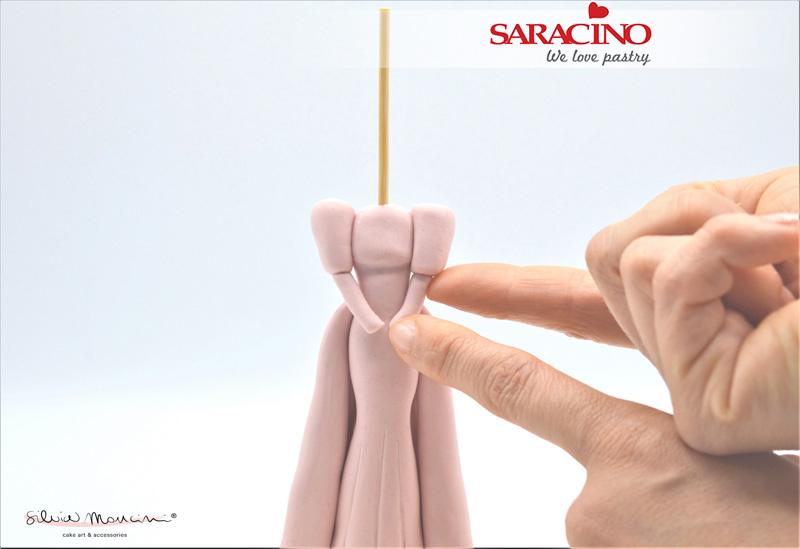
Step 11
Then place the arms on the dress
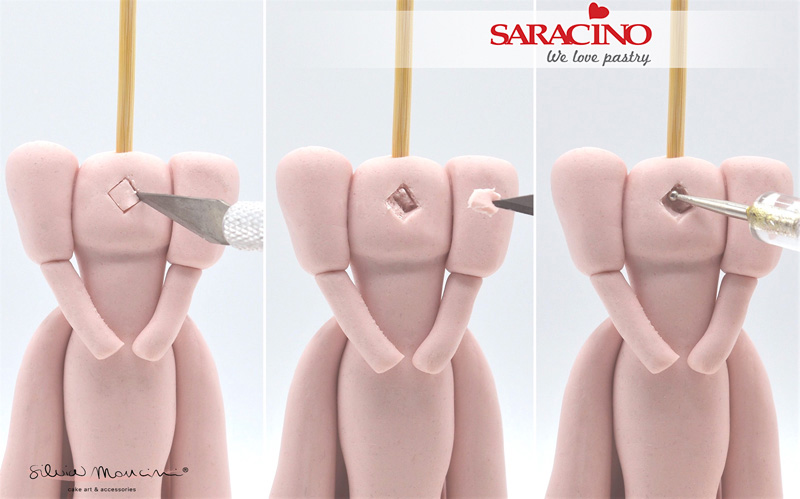
Step 12
Cut out a diamond shape on the centre of the chest, remove the paste inside and flatten the inside using a small ball tool
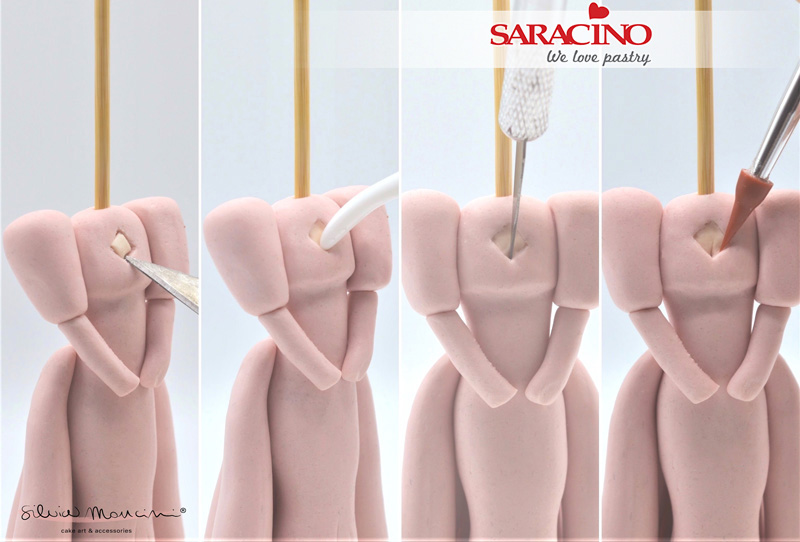
Step 13
Place a piece of skin tone paste inside the hole, flatten it and mark a small cleavage. Smooth the edges to form a nice shape.

Step 14
To create a neck fix a small piece of skin tone paste around the wooden skewer
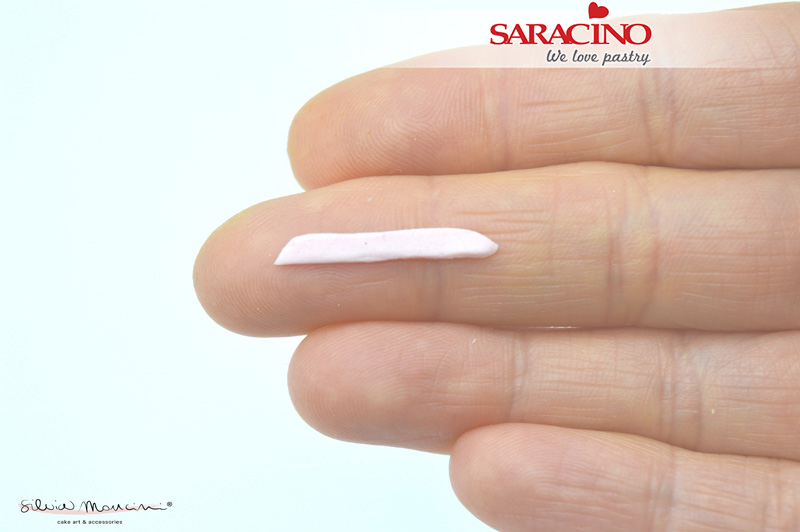
Step 15
Cut out a small strip for a collar and taper each end.
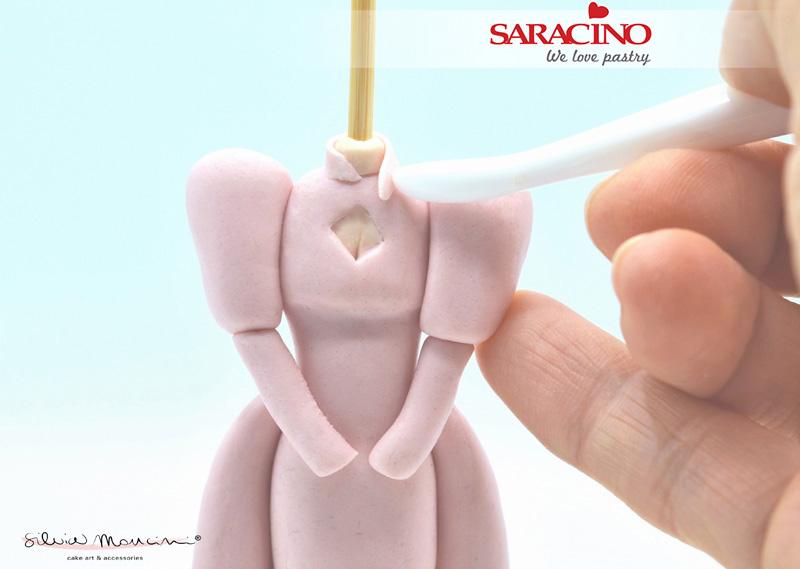
Step 16
Attack it around the neck
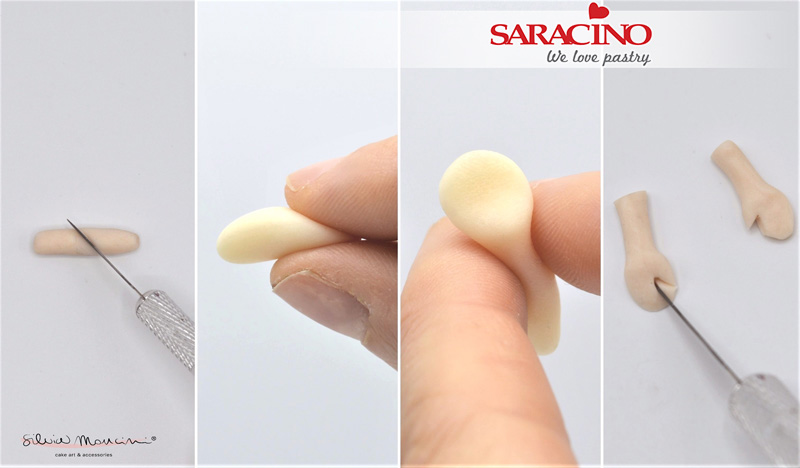
Step 17
For the hands roll a very small piece of skin tone paste into a sausage shape (0.5mm diameter). Cut in half diagonally, flatten the palm area, create the wrist by rolling gently, cut to form the thumbs
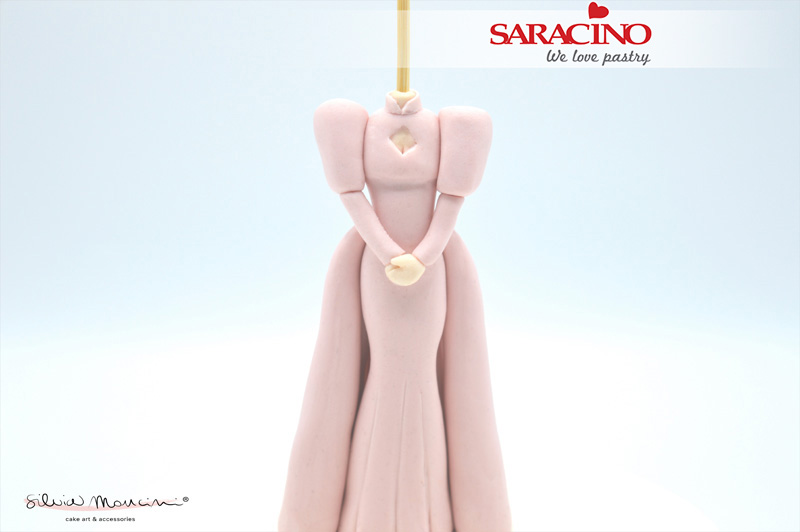
Step 18
Place the hands to the arms on top of each other

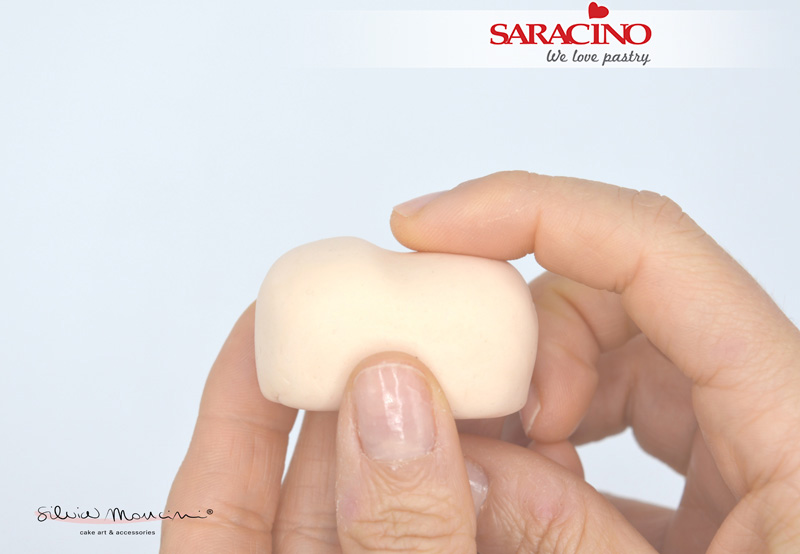
Step 19
Roll an oval shape as smooth as possible using 35g of skin tone paste. Roll the little finger (or the handle of a tool if your fingers are too large) in the middle of the oval, from side to side
Step 20
Round-off the corner of the upper side to model the forehead
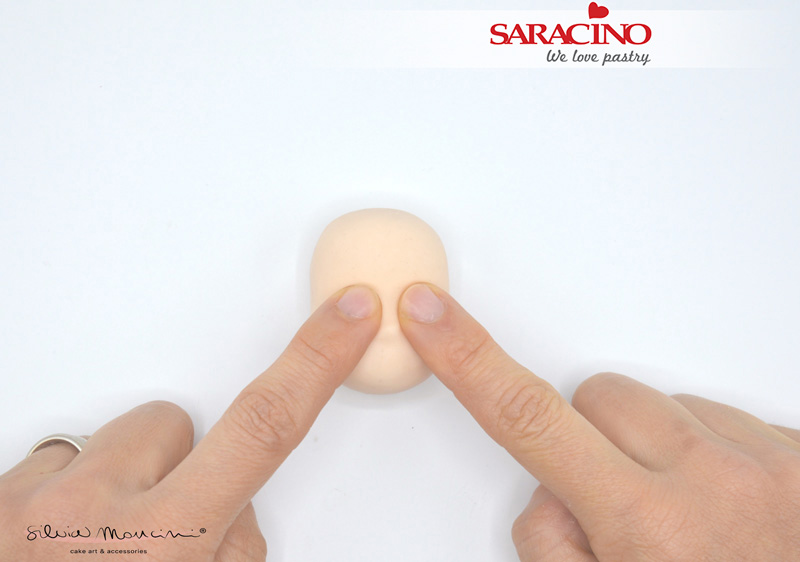
Step 21
Push your fingers either side of the nose area to form the nose.
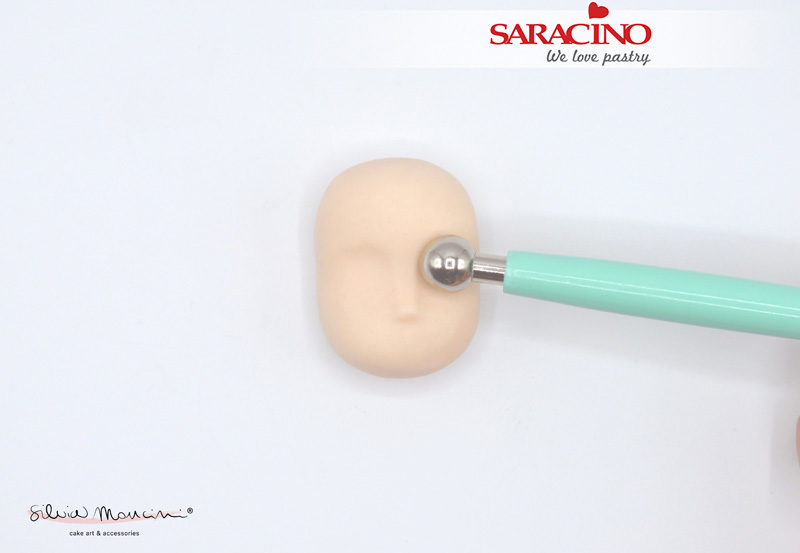
Step 22
Use a big ball tool to define the eye socket.
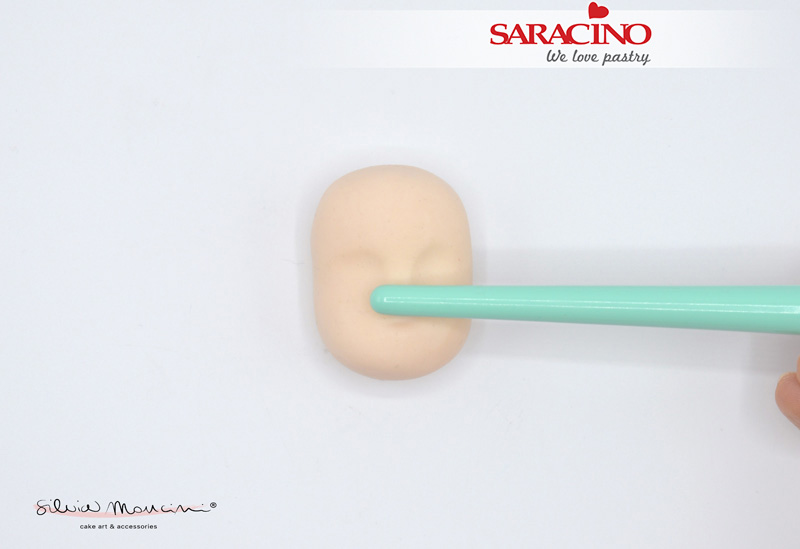
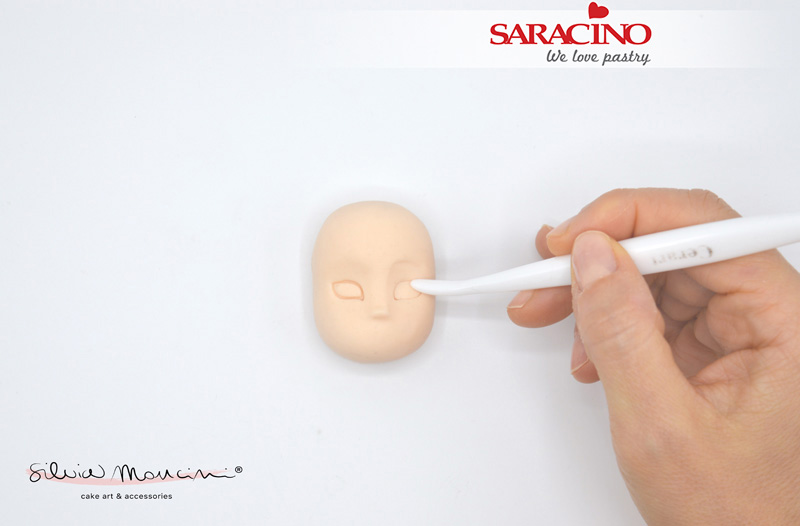
Step 23
Go on shaping the point of the nose using the handle of a tool or the Dresden .
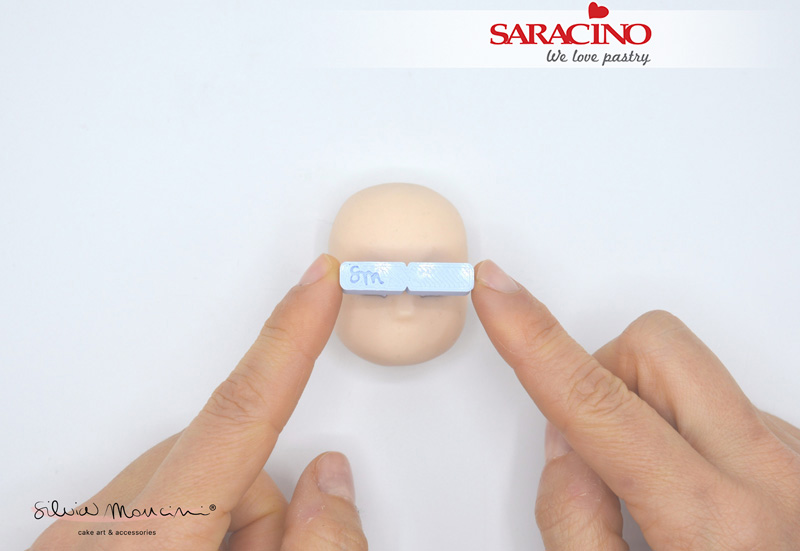
Step 24
Put the Easy Eyes tool right in the middle of the nose.
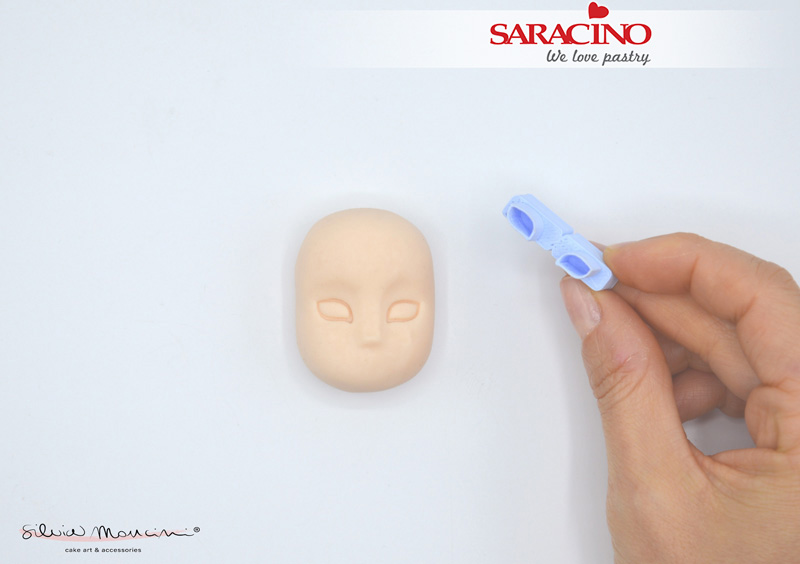
Step 25
Push it gently.
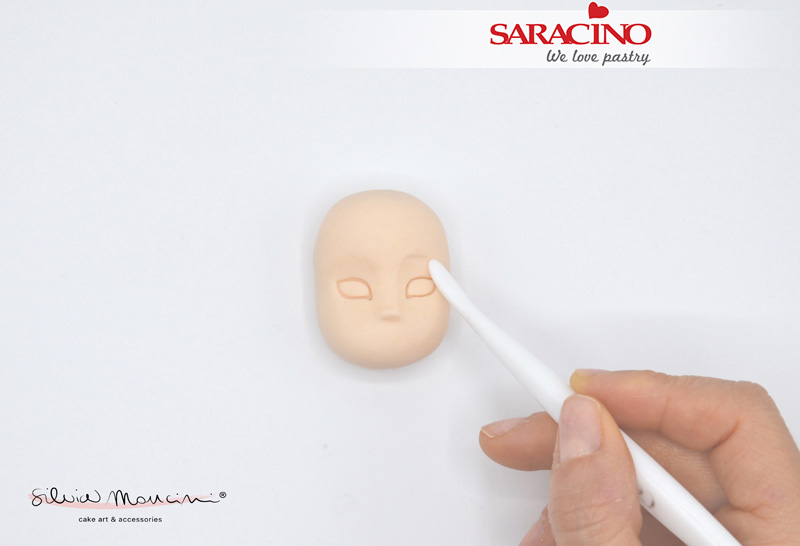
Step 26
Define the eyebrows using the Dresden tool
Step 27
Adjust all the borders
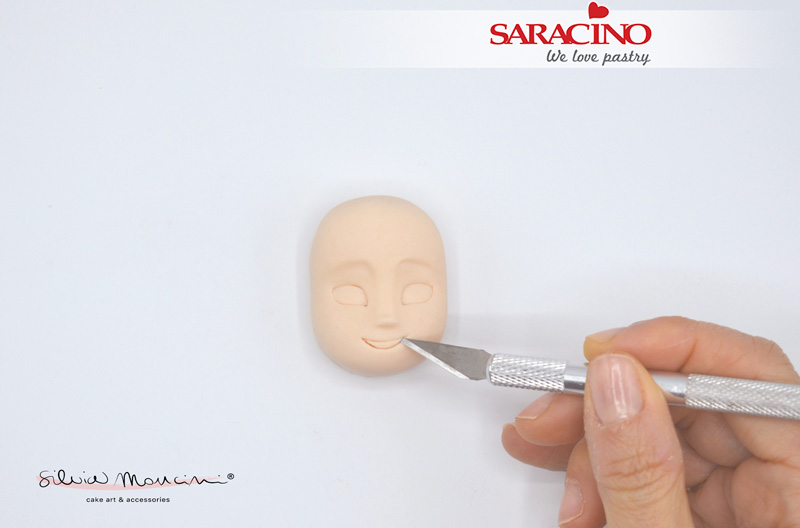
Step 28
Cut a smile
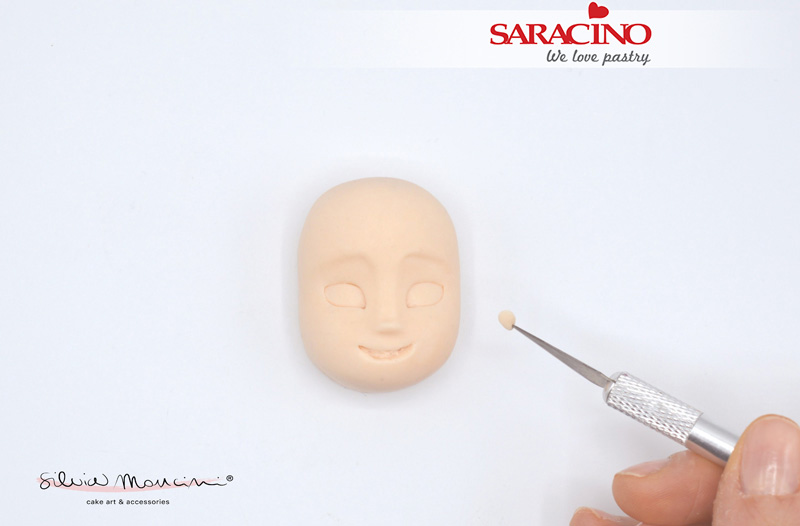
Step 29
Remove the paste from inside the mouth

Step 30
Replace with a small quantity of white paste
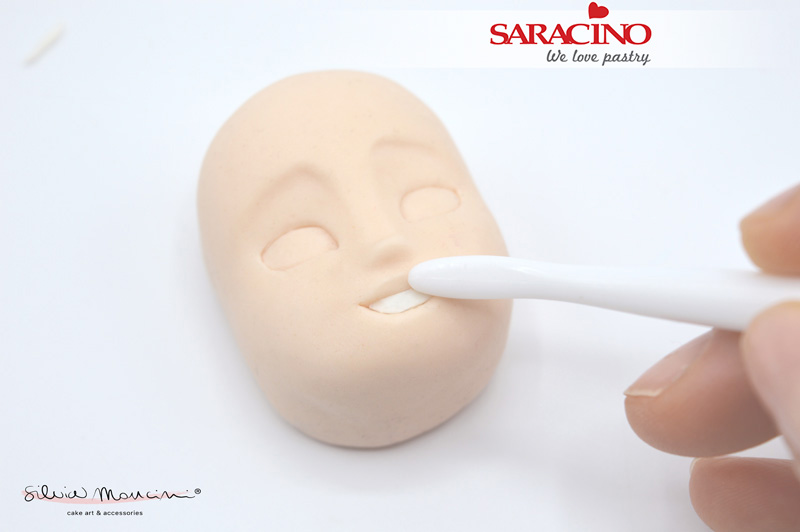
Step 31
Smooth the upper lip
Step 32
Define the lower lip
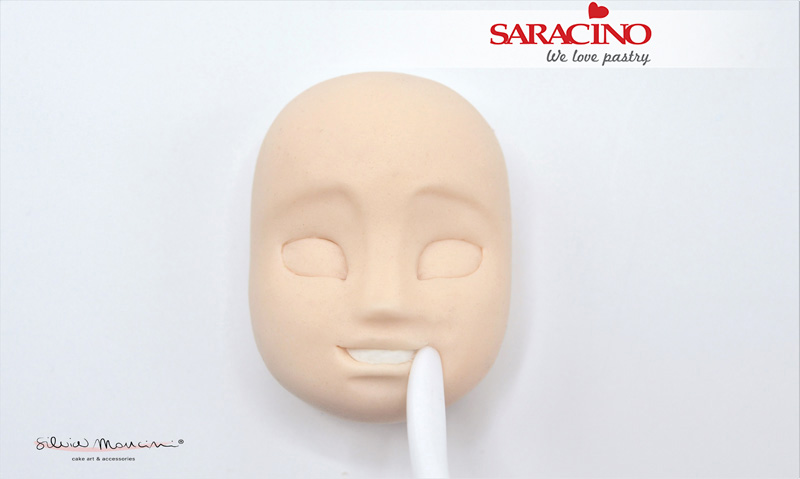
Step 33
Mark edges of the mouth
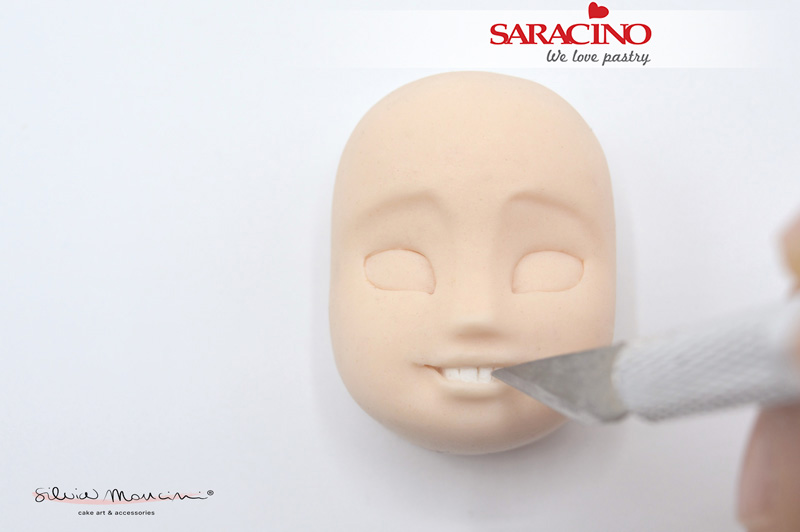
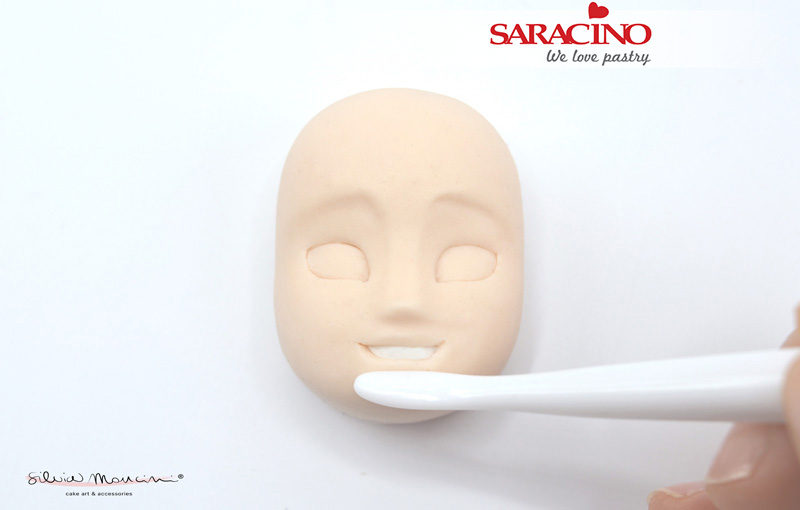
Step 34
Form the teeth with a sharp knife
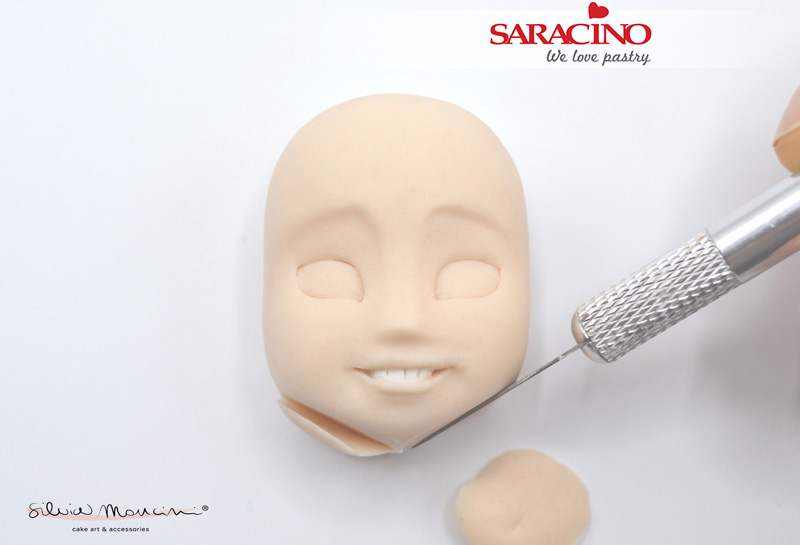
Step 35
Cut the excess paste from the chin
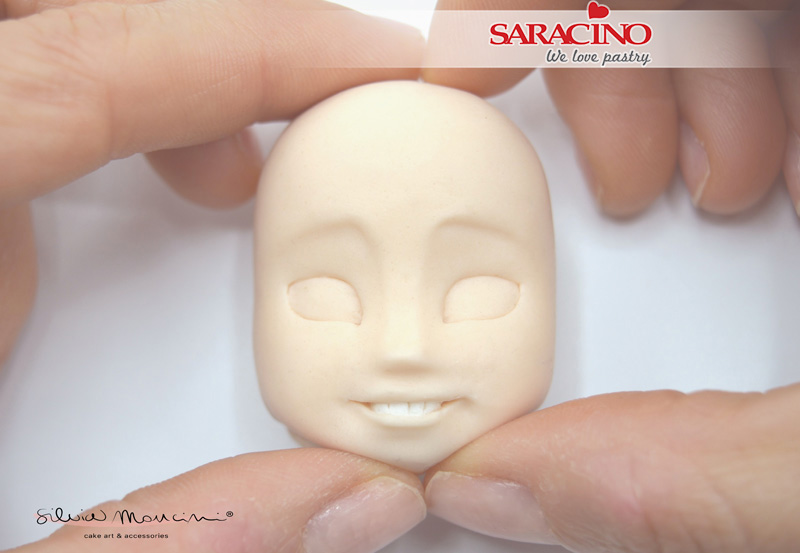
Step 36
Shape the head with the fingers. Pay attention to round off and smooth all the straight sides and edges
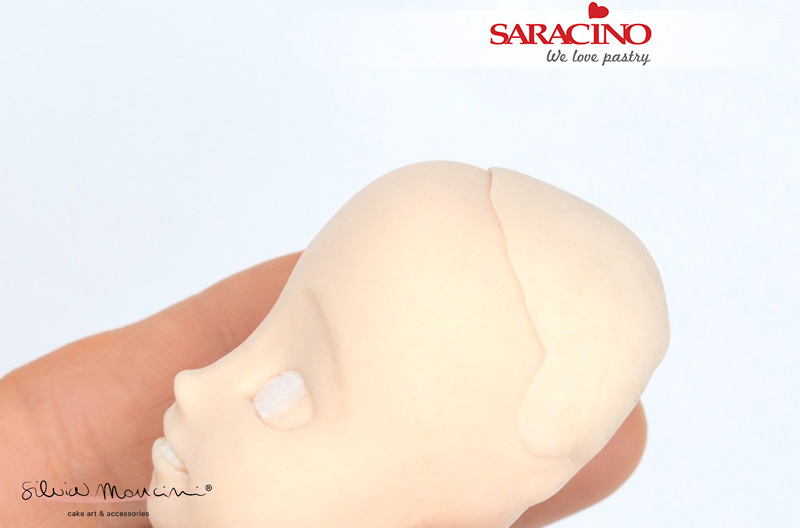
Step 37
Put a piece of paste on the top of the head
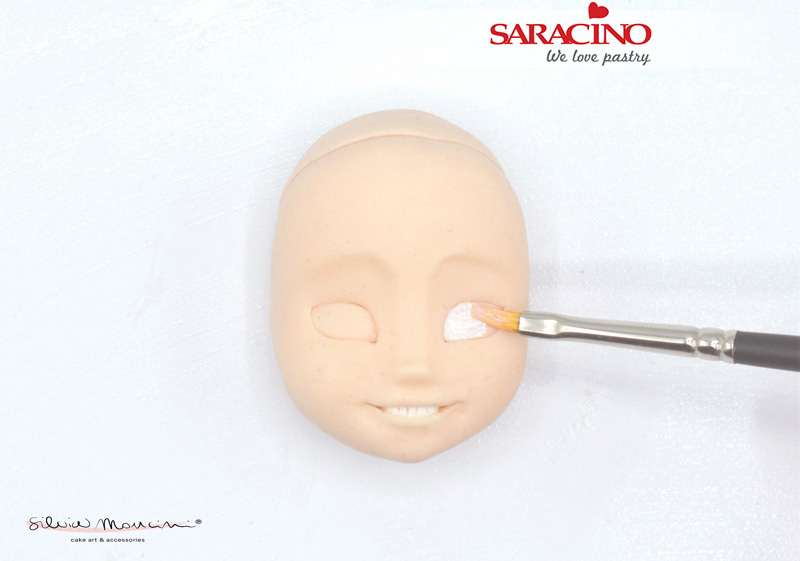
Step 38
Paint the eyes first using the white gel color
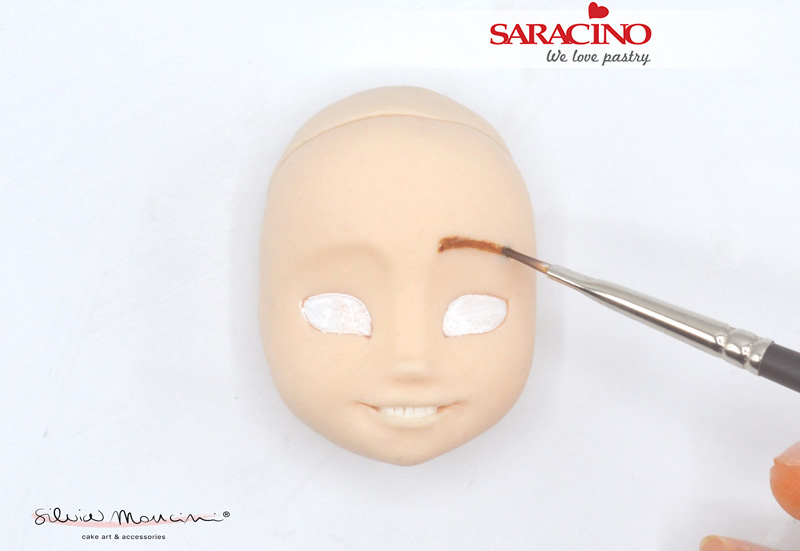
Step 39
Paint the eyebrows
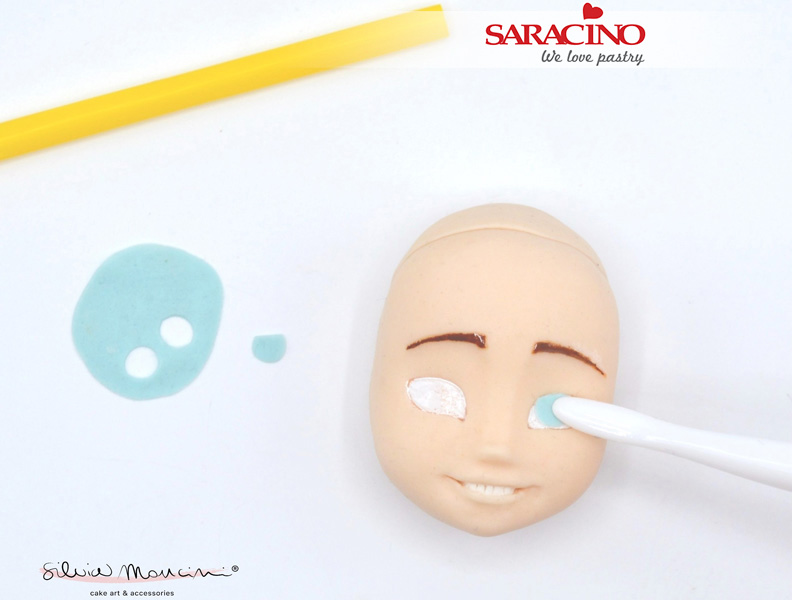
Step 40
Cut out two small light blue circles using a straw and stick them on the eyes
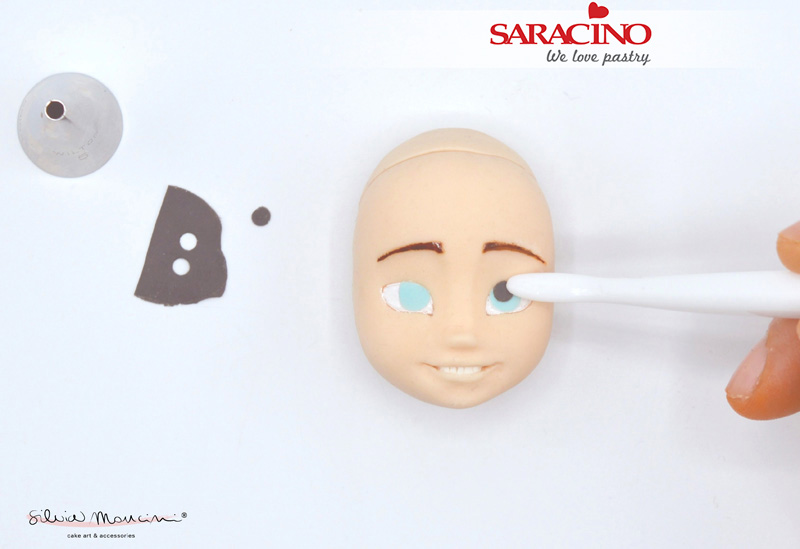
Step 41
Cut out two black pupils using a no. 5 piping nozzle
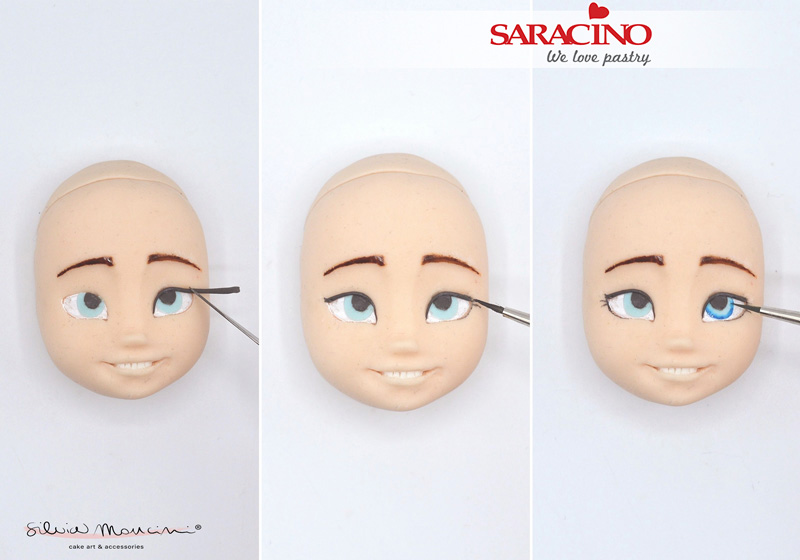
Step 42
Create the eyelashes using a very small roll of black paste, paint some more eyelashes just on the outside of the eyes. Paint with a light blue gel colour the outline of the iris
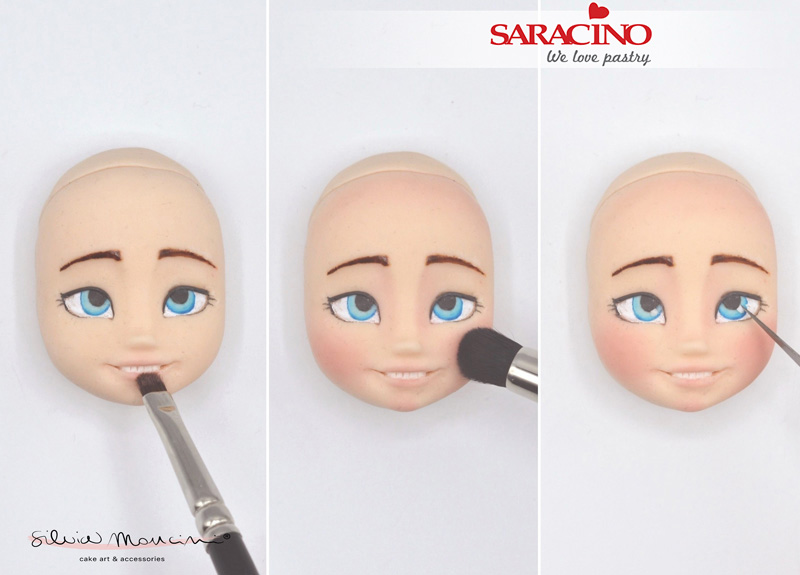
Step 43
Dust the lips and the face using a pink powder colour and a soft brush. Add definition / highlights
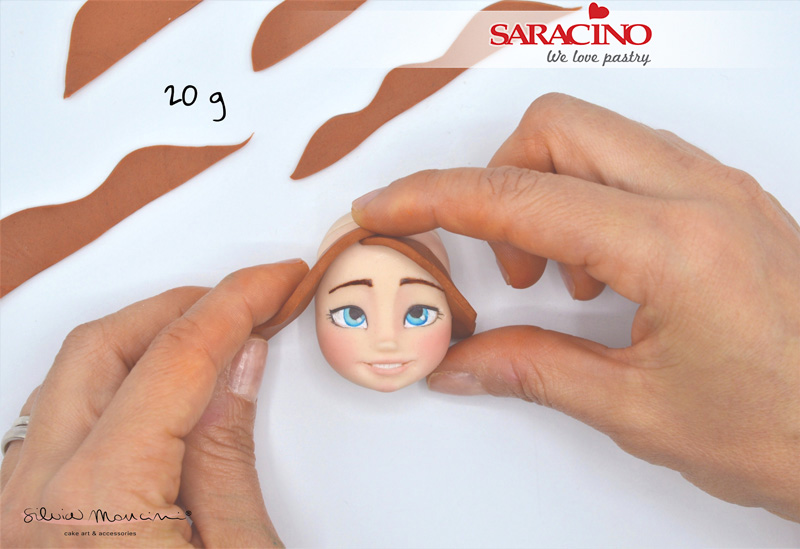
Step 44
Cut out several strips of different sizes, wavy on one edge and straight on the other.
Step 45
Cut the timber skewer to the correct length and push the head gently to the body. Stick the hair starting from the front to the back
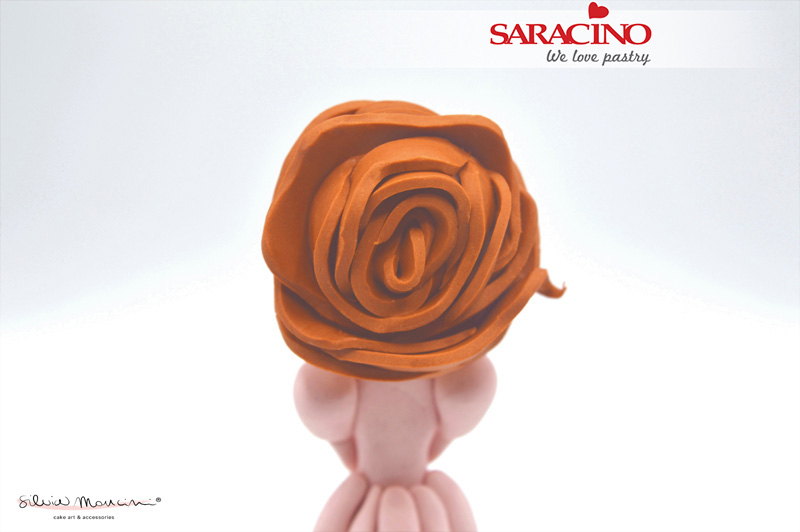
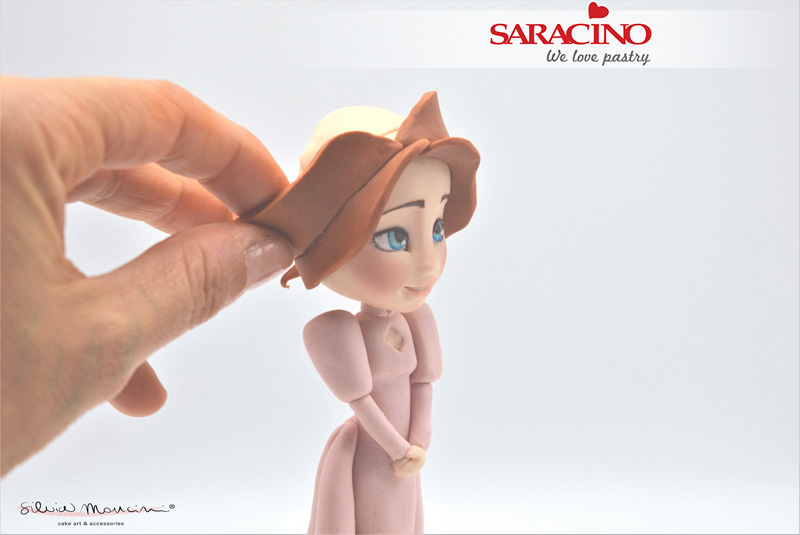
Step 46
The aim is to form the hair so it looks like a rose on the back of her head.
Your bride is now ready
