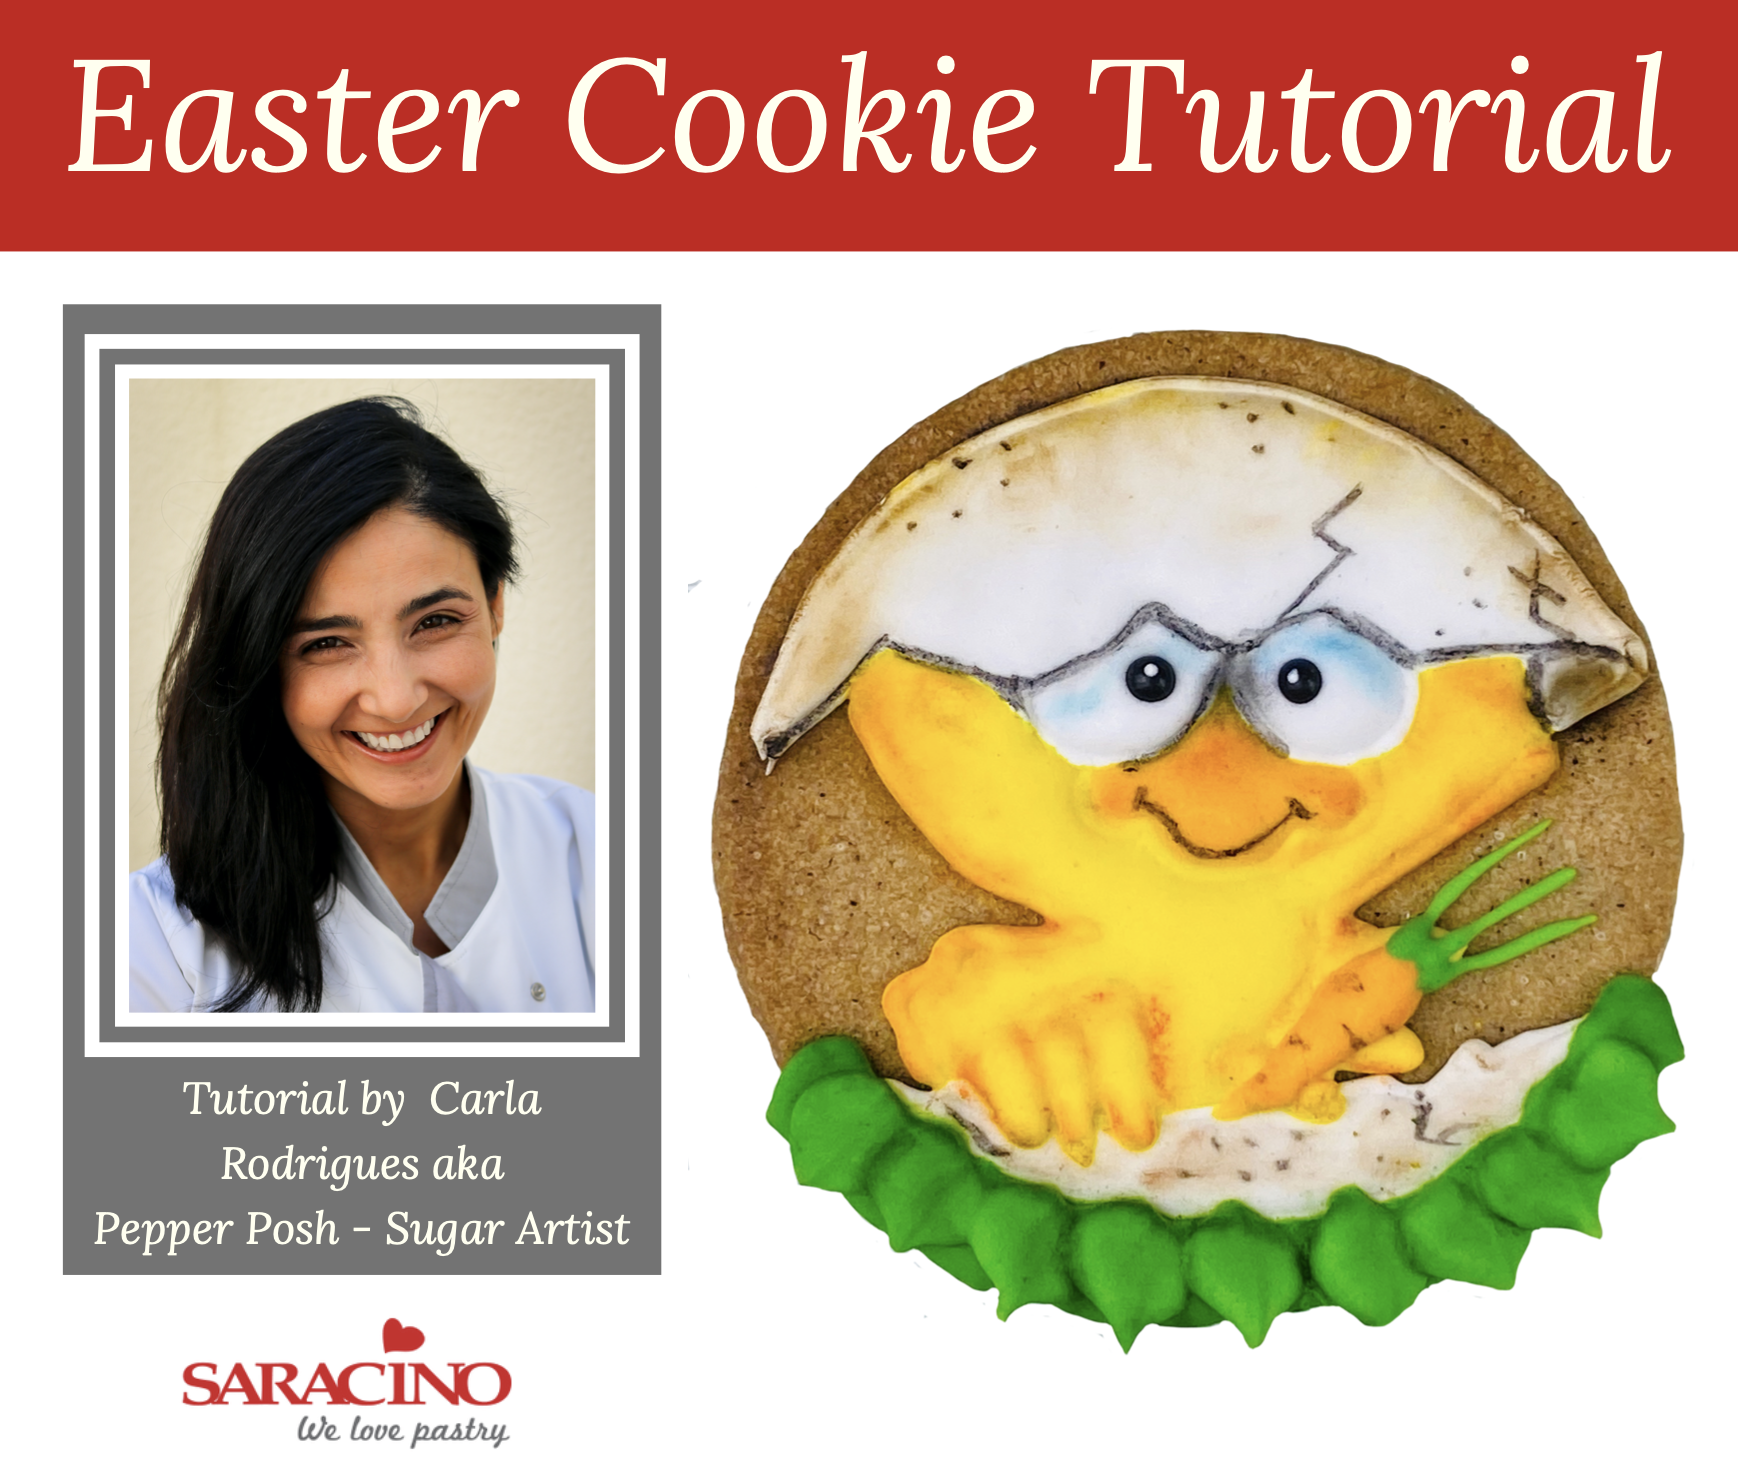
Author: Carla Rodrigues
Skill level: BEGINNERS
Royal Icing Consistencies:
- Stiff: for contour and volumes
- Medium: to fill
You will need:
- Saracino Royal Icing – Stiff: for outline and volumes
- Saracino Royal Icing – Medium: For run-outs / filling.
- Saracino Gel Colours: yellow, orange and green
- Saracino Powder Colours: blue, black, yellow, orange, brown and green
- Black edible pearls
- Brushes: 20/0, 4 and 8
- Needle tool
- Piping nozzles: 1, 2, 3 and leaf
- Piping bags
- Pencil
- Parchment paper
- Clear alcohol
- Round cookie

Step 1
Transfer your template to a piece of parchment paper using a pencil (lead free).

Step 2
Transfer the template to your cookie by placing the parchment paper over the cookie and outline the drawing with the pencil.

Step 3
Using the previously mixed stiff royal icing fill your piping bag and using a No. 2 piping nozzle outline the top eggshell and the eyes.

Step 4
Repeat the process on the bottom eggshell.

Step 5
Fill the inner of both eggshells using ‘let down’ royal giving a flowing consistency. Piping nozzle No. 3 should be used here.
Tip: To achieve the perfect run-out consistency the Royal icing should be ‘let down’ to give a flowing consistency. When you mix and lift your spatula the Royal should level and flow into itself in a count of 10 seconds. It can be let down with a small amount of water or pre-mixed diluted Albumen.

Step 6
Sometimes when we pipe air bubbles form. If this happens they can be popped using a needle tool. Allow to dry.
Tip: You can use a cocktail stick instead of the needle tool.

Step 7
Allow the shells to dry slightly and form a ‘crust’. Repeat the same process for both eyes and place one black pearl on each eye before the royal icing dries.

Step 8
Carefully, using piping nozzle No. 1 (or even the end of a cocktail stick) make one small dot of white royal icing on each black pearl.
Using the Yellow Gel, colour some of the White Royal Icing and put in a piping bag with nozzle No. 2. Outline the body

Step 9
Pressure pipe the feathers for the wings using the ‘Stiff’ Royal mix. Apply even pressure when piping so you achieve a smooth finish. The feathers should have definition between each one.

Step 10
Run-out the inner of the chick body using flowing consistency Royal Icing and piping nozzle No. 3.

Step 11
Pop any air bubbles using the needle tool and allow it to dry.

Step 12
Using the Orange Gel, colour some Royal Icing and let-down to give a run out consistency. Run-out the beak using piping nozzle No 3.

Step 13
Pressure pipe the carrot with orange royal icing (stiff consistency), using piping nozzle No. 2, apply even pressure and drag from top to bottom of the right wing to give the tapered carrot shape.

Step 14
Using the Green Gel, colour a small amount of the Royal Icing. Using piping nozzle No 1, pipe the leaves to the top of the carrot.

Step 15
Using the stiff green Royal Icing and a leaf piping nozzle, pipe a line of leaves under the bottom eggshell and allow them to dry.

Step 16
Make a second layer of leaves on top of the first layer. The second layer is to be staggered from the ones below. Allow the icing to dry completely before the next stage.

Step 17
Colour the top of the eyes using the Blue dust and a soft brush.

Step 18
Dust between the eyes and the bottom of the top eggshell with black.

Step 19
Dilute some of the black powder colour with clear alcohol. Using a fine paint brush outline the broken egg shells.
Tip: You can use any clear alcohol for this.

Step 20
Using the black paint and the fine paintbrush paint lines of cracking and dots on both eggshells.

Step 21
Paint a smile on the beak with the black paint and the fine paintbrush.

Step 22
Paint some fine lines on the carrot.

Step 23
Using the Yellow Powder colour and a fine brush dust the top of the top egg shell.

Step 24
Using a flat soft brush shade the entire outline of the body and feathers with orange dust to add highlight and definition.

Step 25
Dust the corners of the beak with orange.

Step 26
Dust both shells with brown, from outside to the inside.

Step 27
Using the soft brush shade the outline of each leaf with green dust to add depth.


