
Author: ANJALI TAMBDE

Skill level: BEGINNERS
TIPS:
Tip 1: You can make a snow man and his family using the same tutorial with a few little tweaks like instead of flippers and feet add some twigs made with wires and modelling chocolate
Tip 2: If you have some left over white Saracino that wasn’t used for a while and is a bit hard then how about crushing it in food processor and using it as snow?
You will need:
- Saracino Fuschia sugar paste mixed with white to form light pink
- Saracino Azure modelling paste
- Saracino Light Blue modelling paste
- Saracino Green modelling paste
- Saracino Yellow modelling paste
- Saracino Red modelling paste
- Saracino Black modelling paste
- Saracino White modelling paste
- Rolling pin
- Cutting wheel
- Heart shape cutter
- Dresden tool
- Scallop tool
- Shell tool
- Knit impression mat

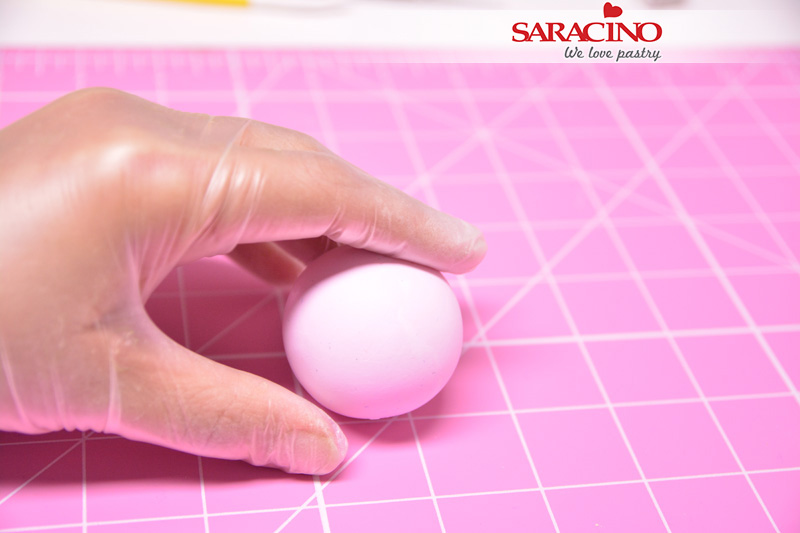
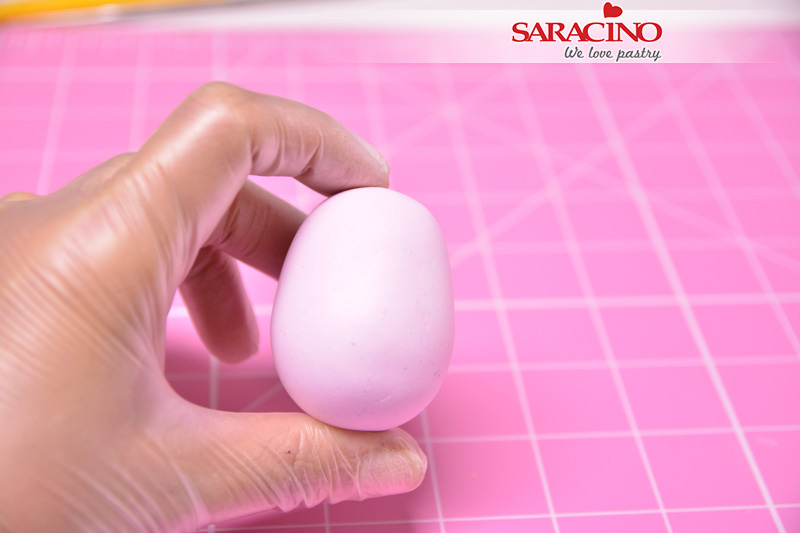
Step 1
Roll pink Saracino modelling paste into a round ball, roughly 2 inches in diameter.
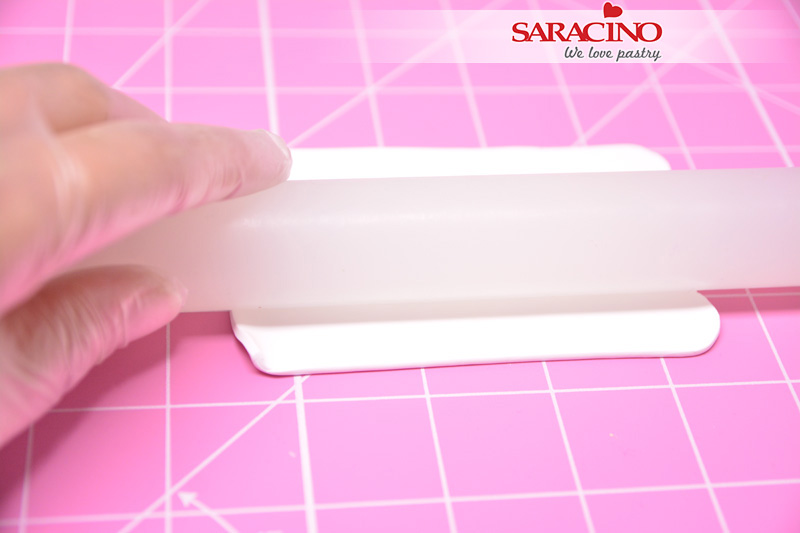
Step 2
Roll a small amount of white modelling paste into a thin sheet
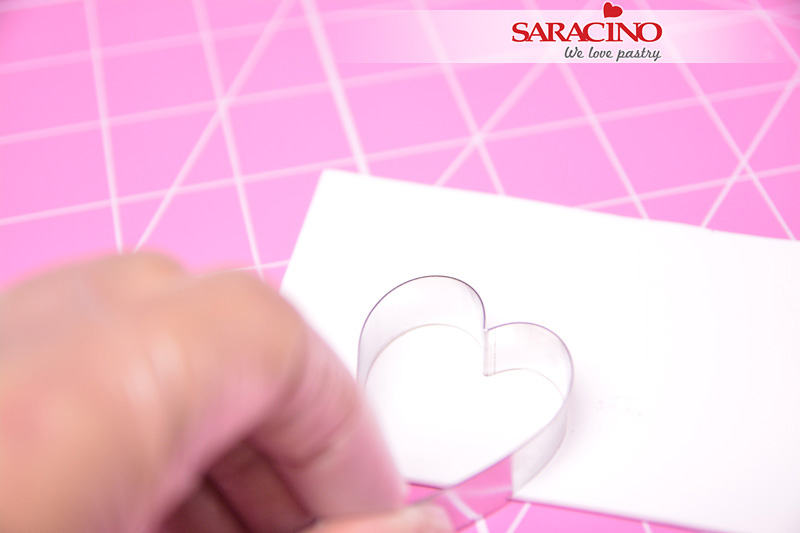
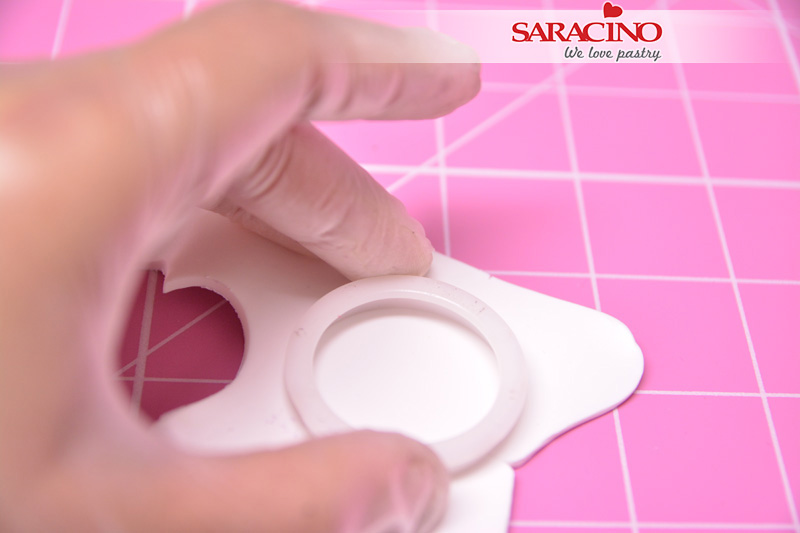
Step 3
Using a metal heart shape cutter cut a heart shape on the bottom of the sheet to have a flat base instead of a pointy one
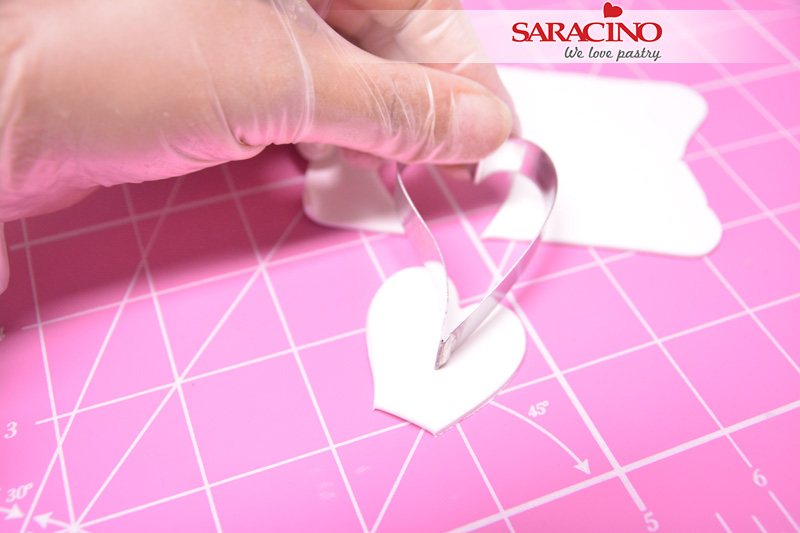
Step 4
Now give a deeper “V” cut to the heart using the cutter as shown in the picture
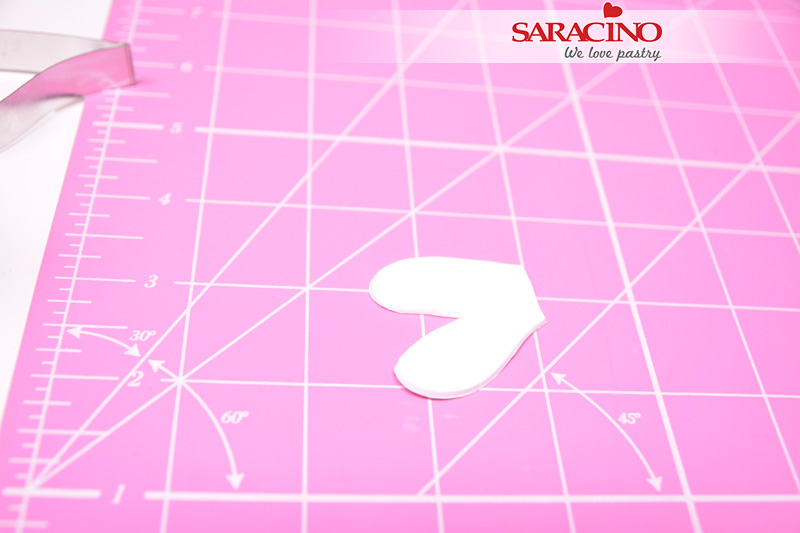
Step 5
It should look like the photo above
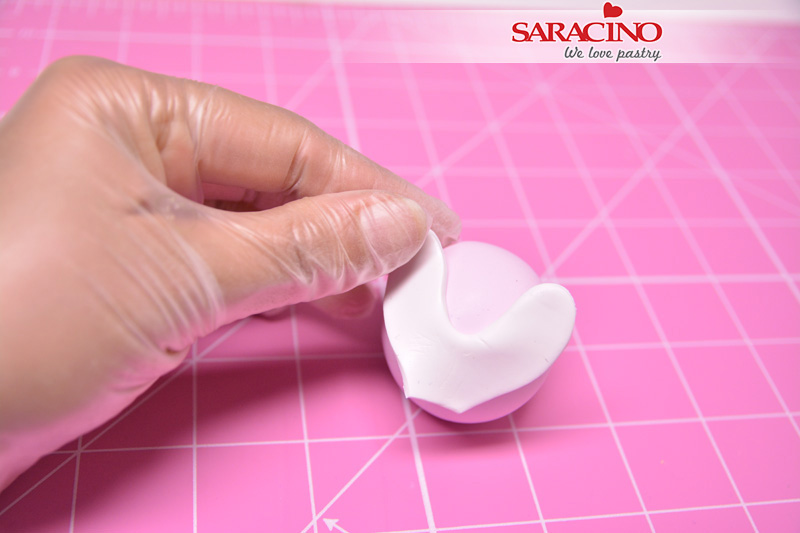
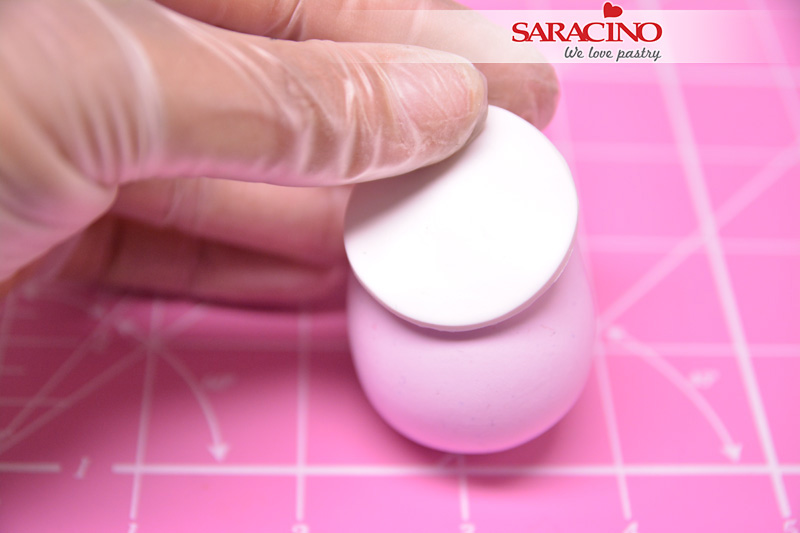
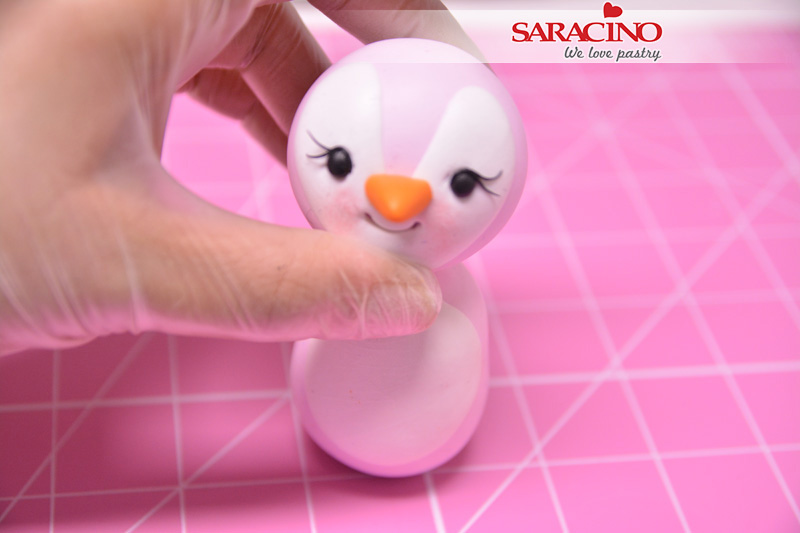
Step 6
Place this heart on the pink ball
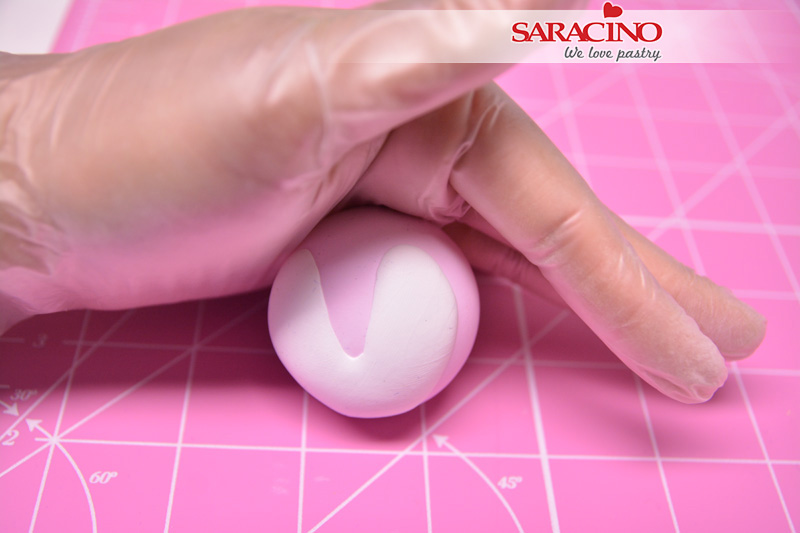
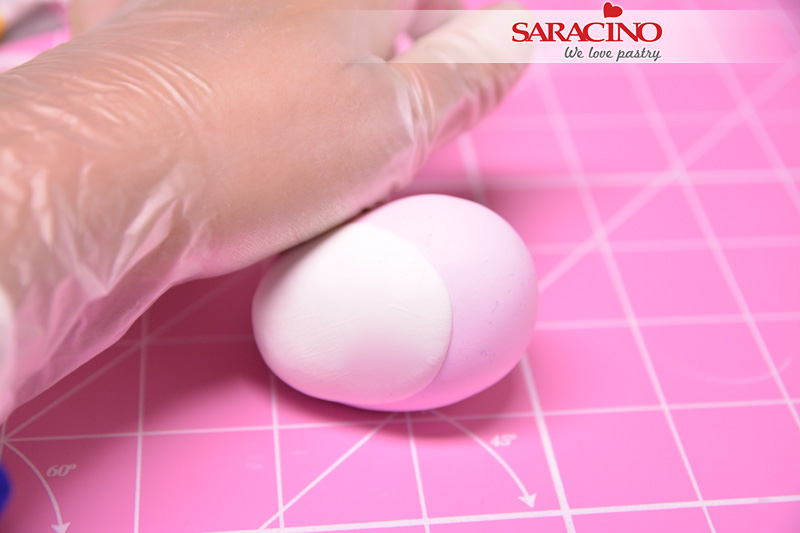
Step 7
Gently roll and blend the edges of the heart well with the pink ball
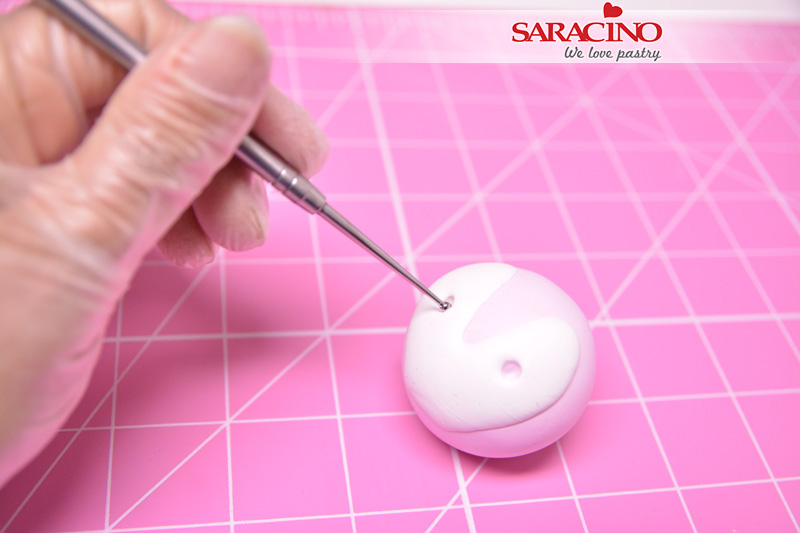
Step 8
Using a ball tool mark the position of the eyes
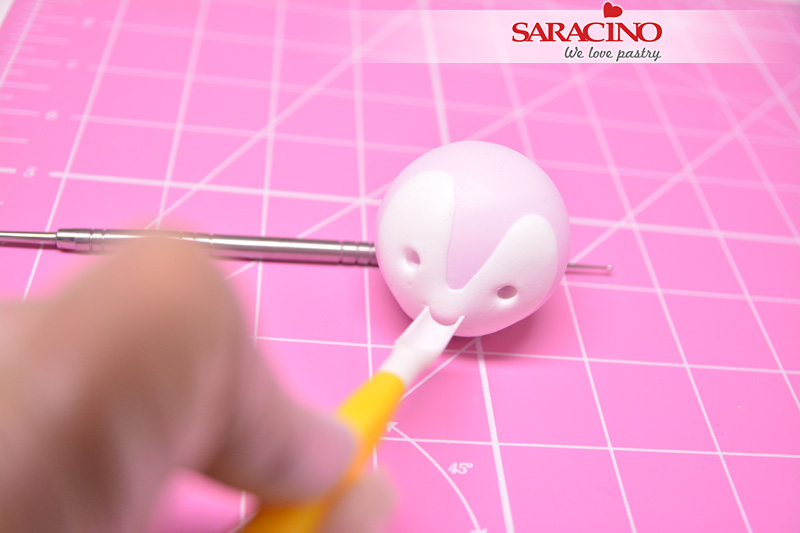
Step 9
Make a lovely smile with the PME scallop tool

Step 10
Add tiny black eye balls made with Saracino black modelling paste
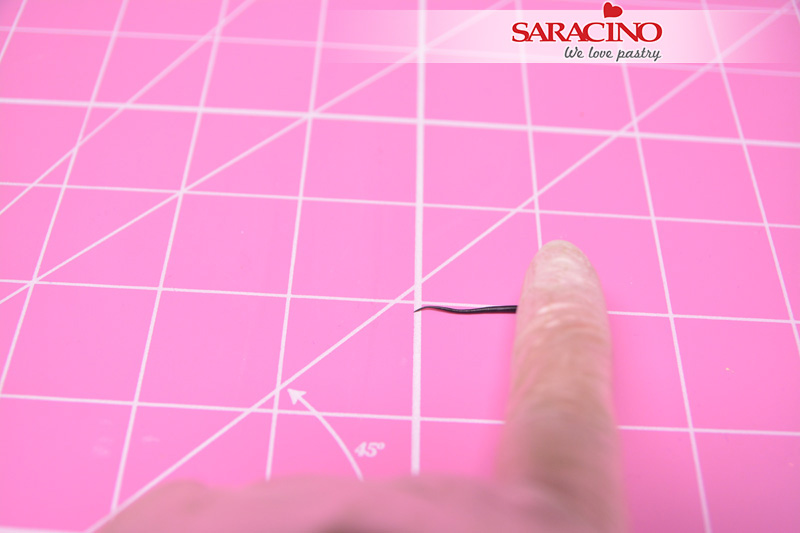
Step 11
To make lashes roll a very small amount of black modelling paste and taper it from one end
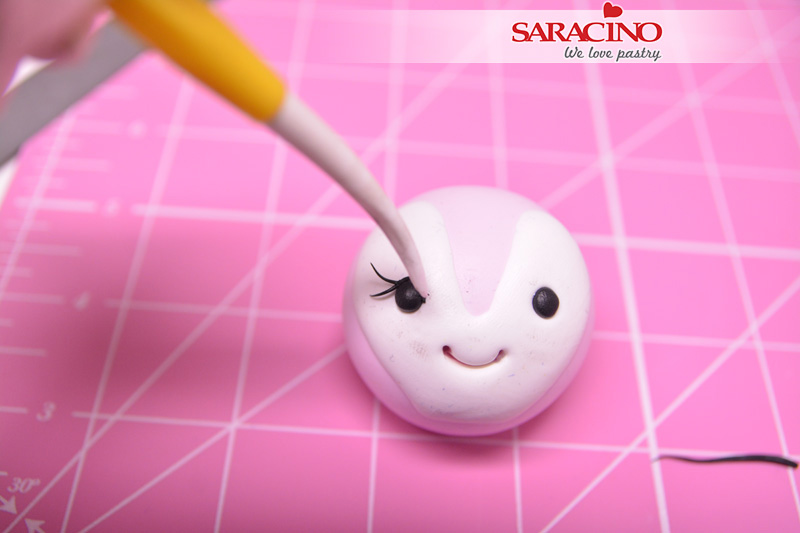
Step 12
Gently place two lashes on each eye using the pointy end of the dresden tool
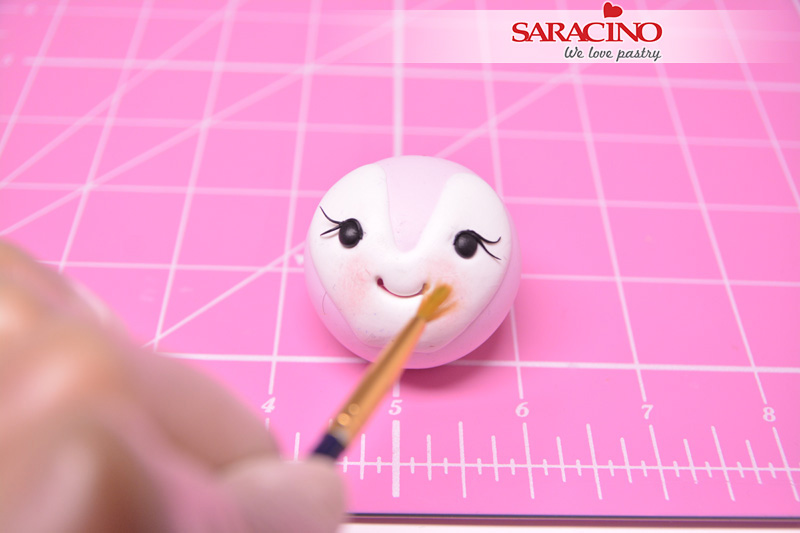
Step 13
Add some blush on the cheeks using Saracino pink dust
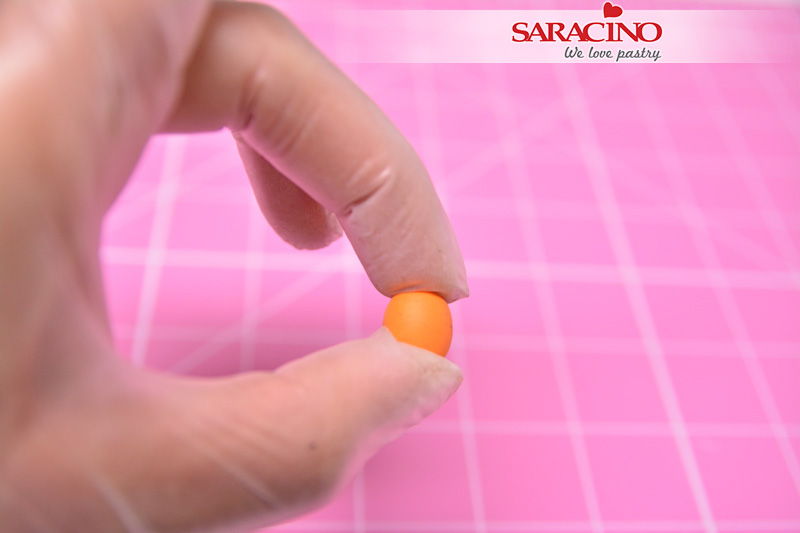
Step 14
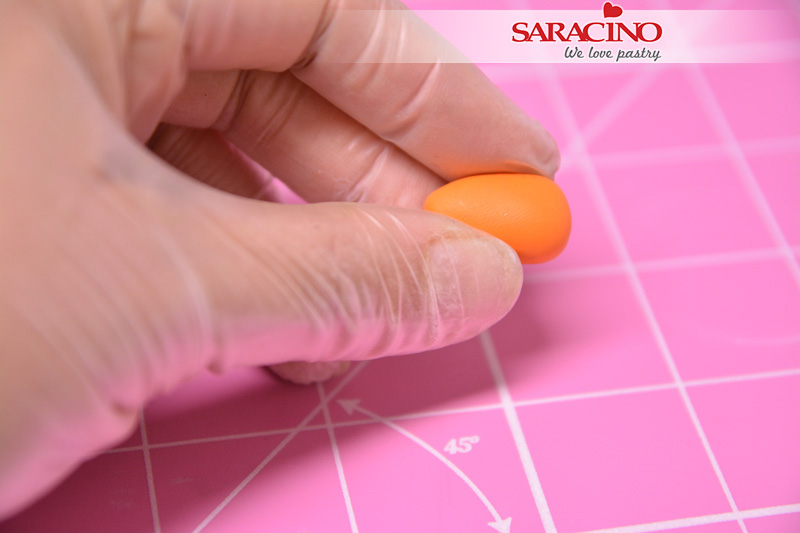
For the beak roll a tiny ball of orange modelling paste
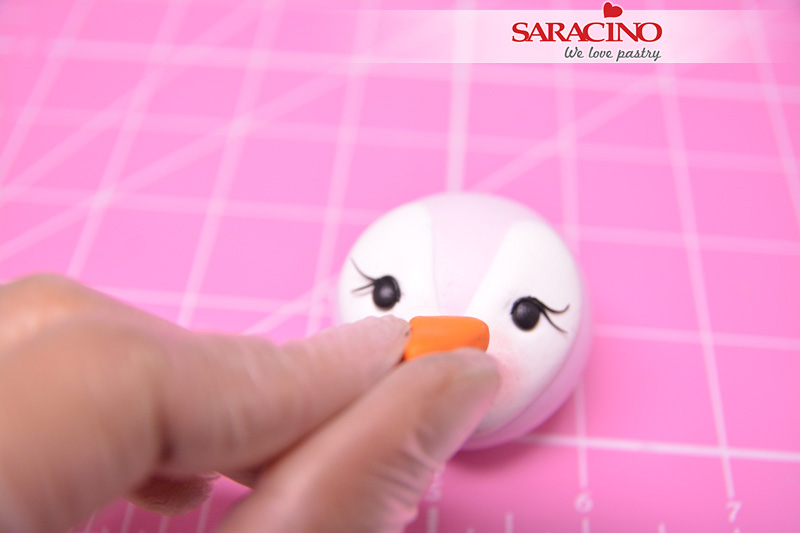
Step 15
Flatten it and pinch from one end to form a beak and then glue it in position like shown in the picture
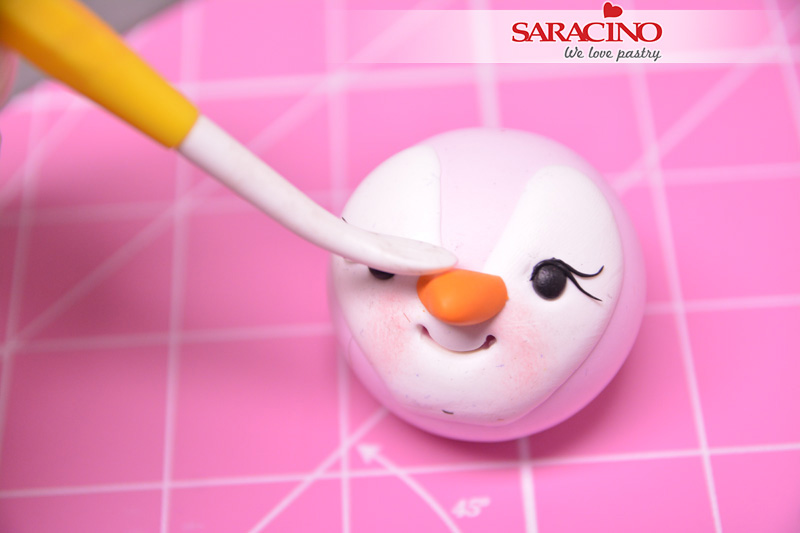
Step 16
Gently blend it onto the head
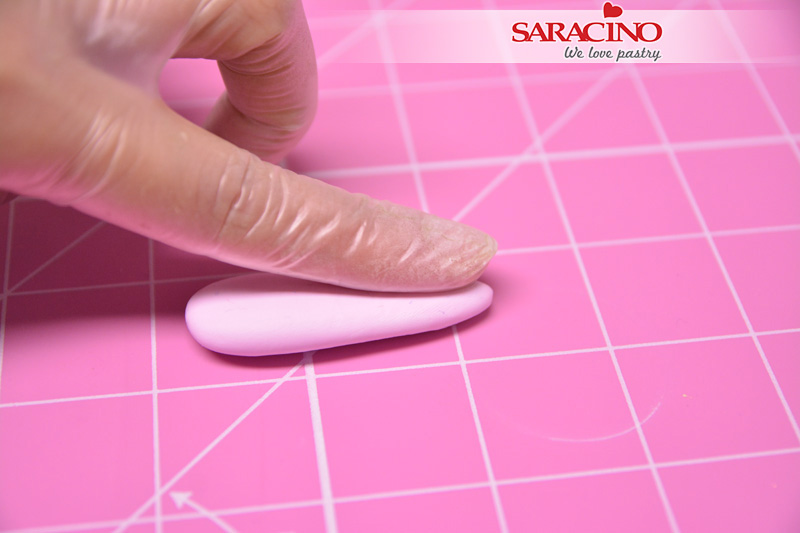
Step 17
For the body roll an oval shape ball out of pink modelling paste
Step 18
Roll out some white sugar paste and cut a small circle (roughly 4cm in diameter)
Step 19
Place it on the upper part of the body (oval shape)
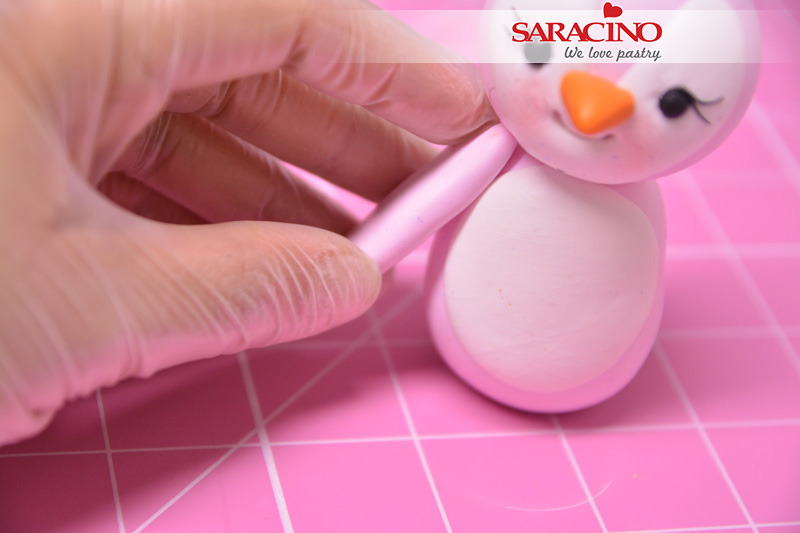
Step 20
Blend it well by gently rolling
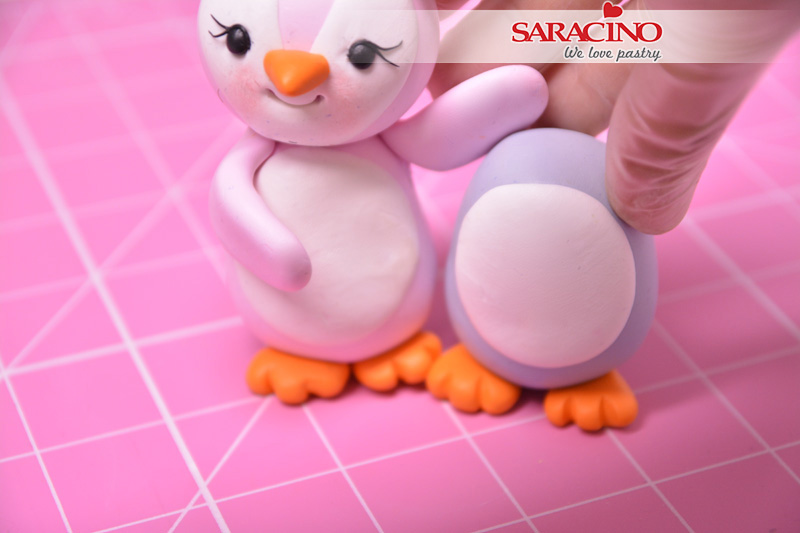
Step 21
Secure the head onto the body, use a tooth pick if required and some edible glue

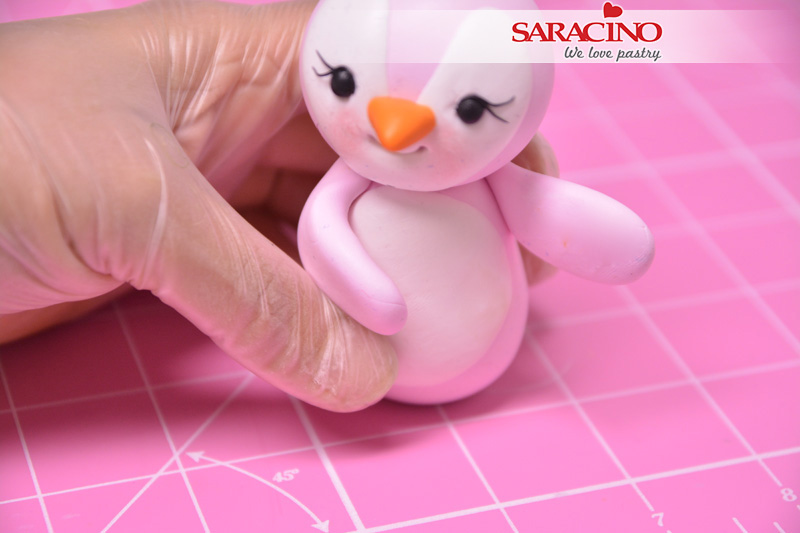
Step 22
For the flippers, roll a small pink ball
Step 23
Taper this ball to form a drop shape and flatten
Step 24
Glue the flippers in position as in the picture
Step 25
Position the flippers at this stage before they dry
Step 26
To make penguins feet, take a small bit of orange modelling paste and form a drop shape
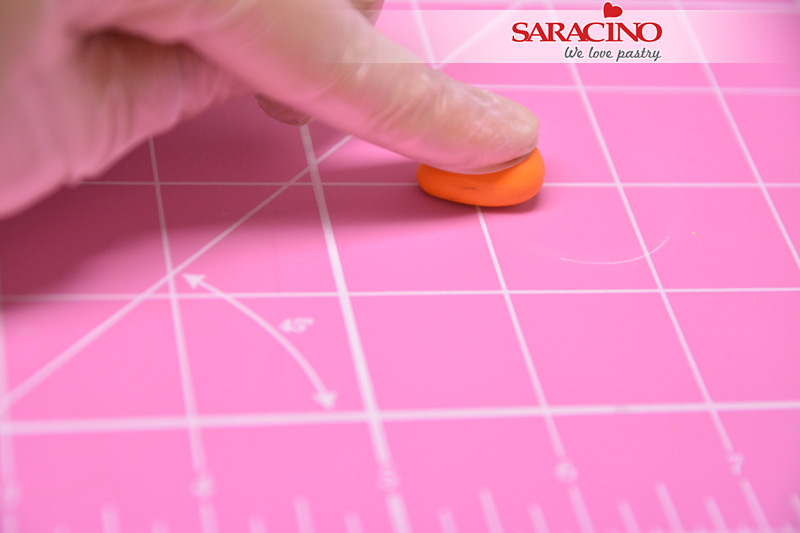
Step 27
Flatten the drop shape
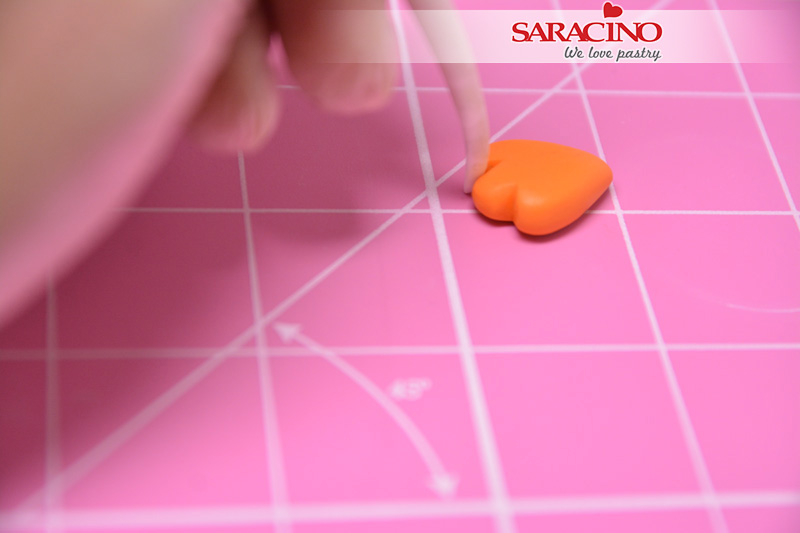
Step 28
Using the pointy end of Dresden tool mark the toes on the feet
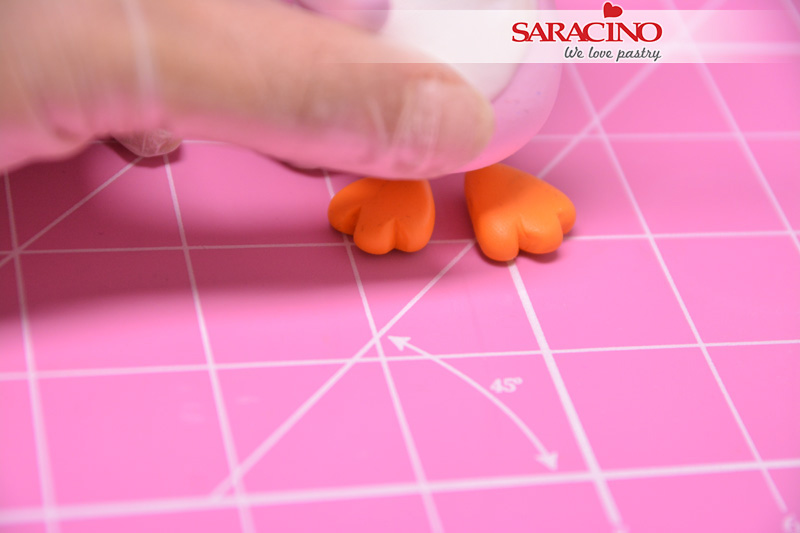
Step 29
Glue the body onto the feet
Step 30
Repeat the same for the male penguin. Use a slightly darker colour if you would like them to look different.
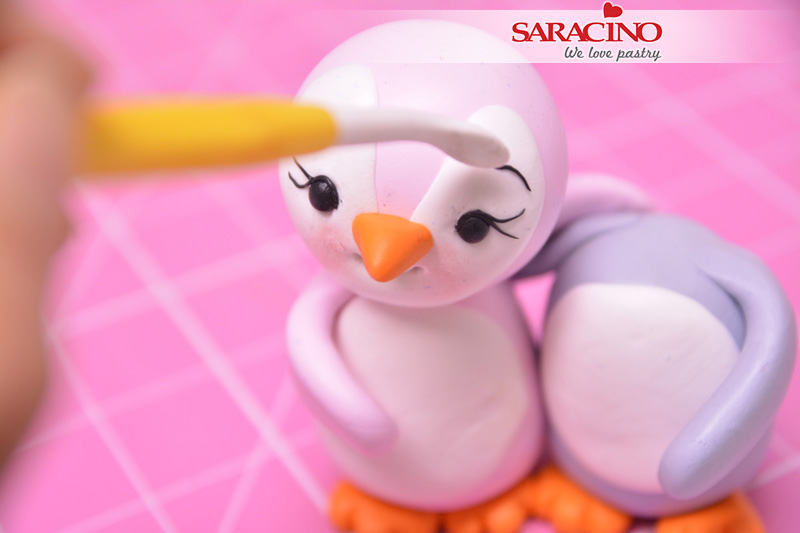
Step 31
Make tiny eyebrows for both the penguins using black modelling paste
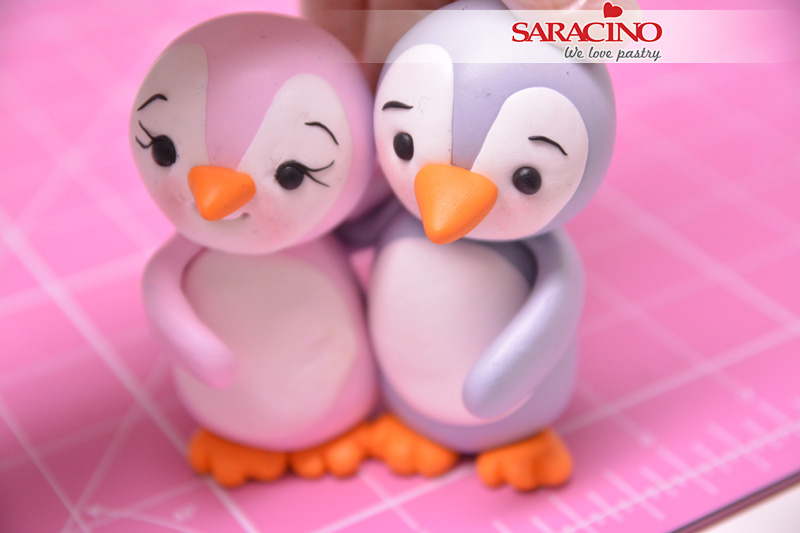
Step 32
Fix the head of the male penguin and glue both of them together in a cuddling position
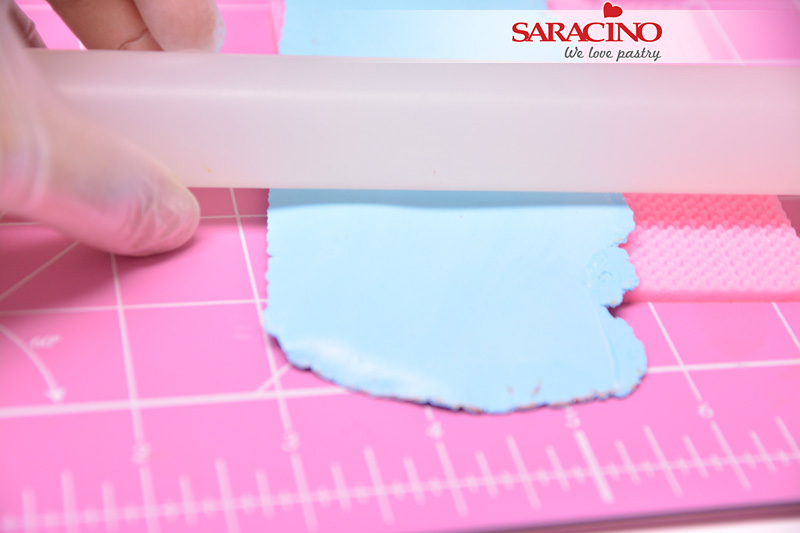
Step 33
For the scarf – roll light blue modelling paste and use the knit impression mat to get the knitted texture
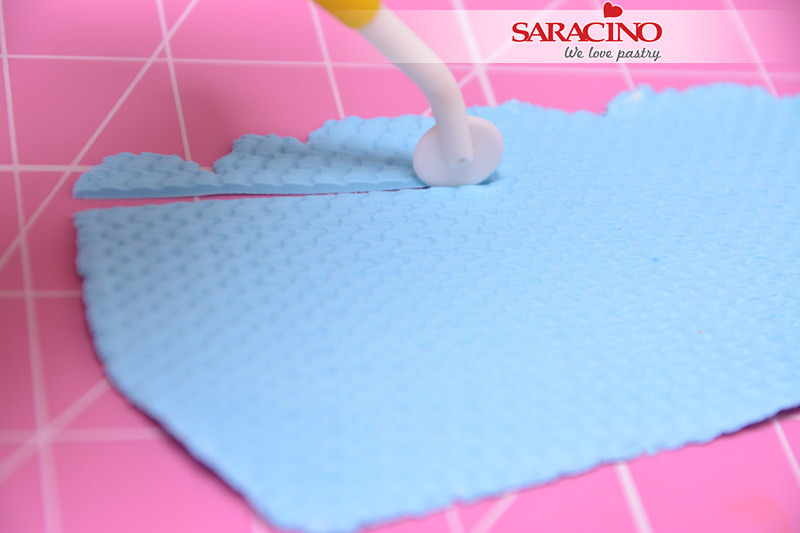
Step 34
With a cutting wheel cut a long strip

Step 35
At both the ends of the strip make some fringe
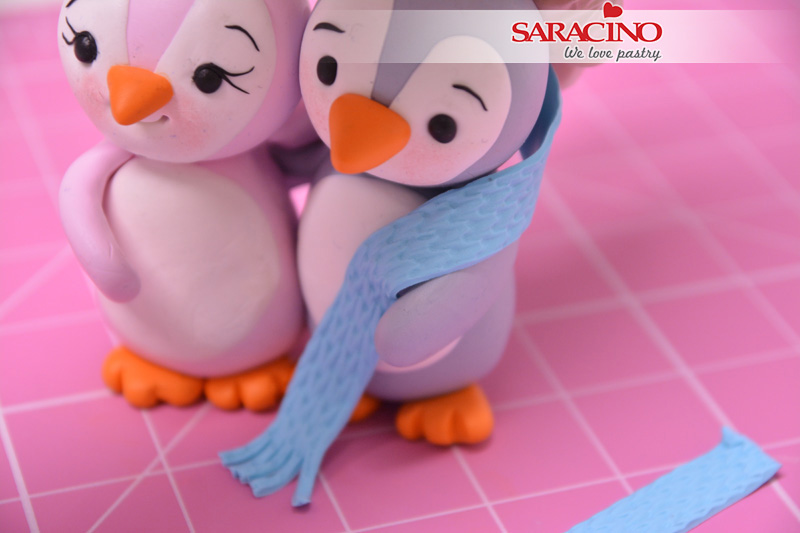
Step 36
Wrap the scarf around both the penguins neck
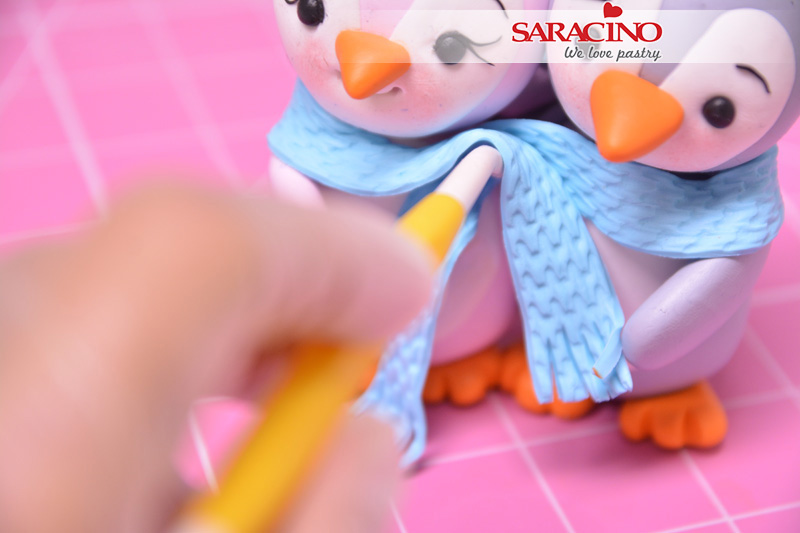
Step 37
With a dresden tool hold it in the centre and gently press
Step 38
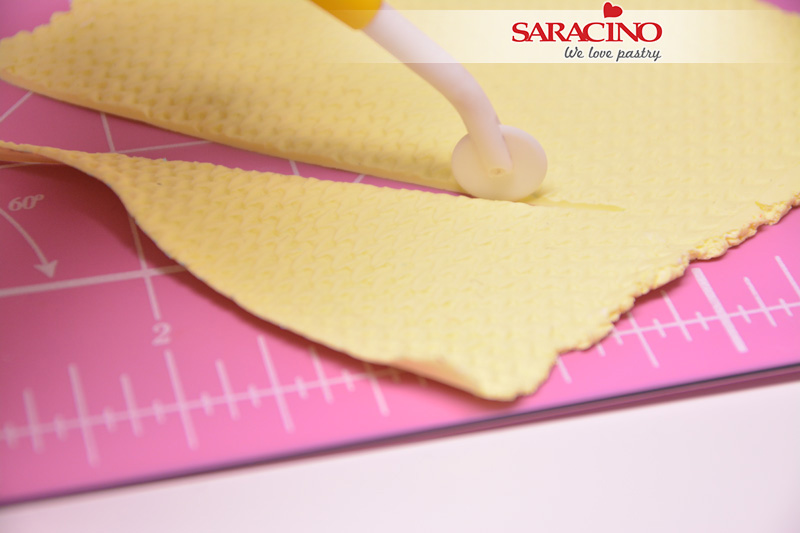
To make the hat for our girl penguin roll some yellow modelling paste and texture with the knit mat and start cutting
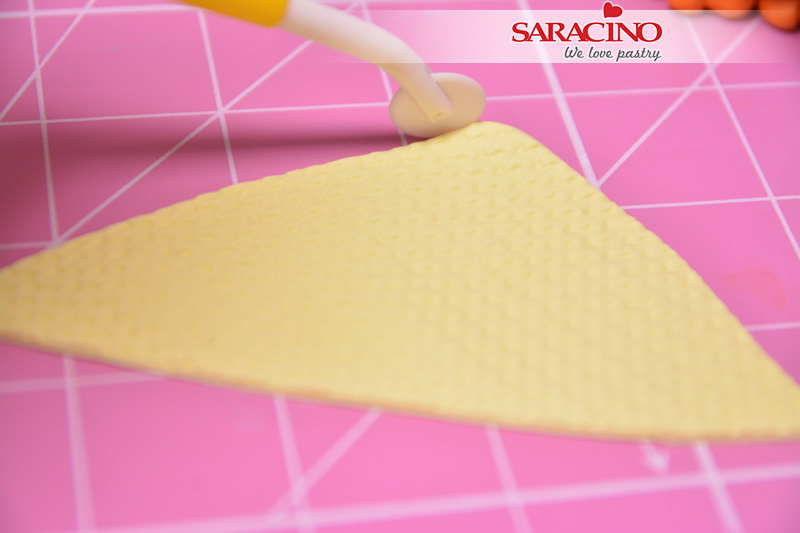
Step 39
Cut a triangular shape out of it

Step 40
Make a cone and seal the ends using edible glue
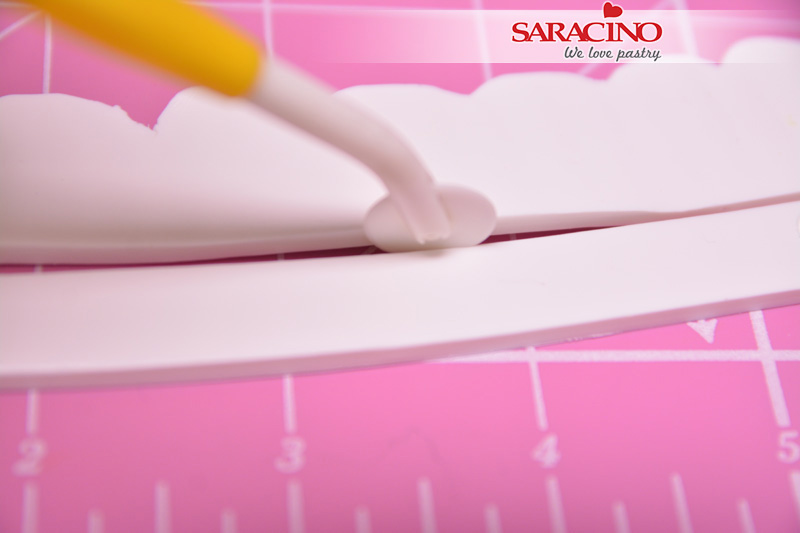
Step 41
Roll some white modelling paste with a rolling pin and cut a thin strip for the rim of the hat
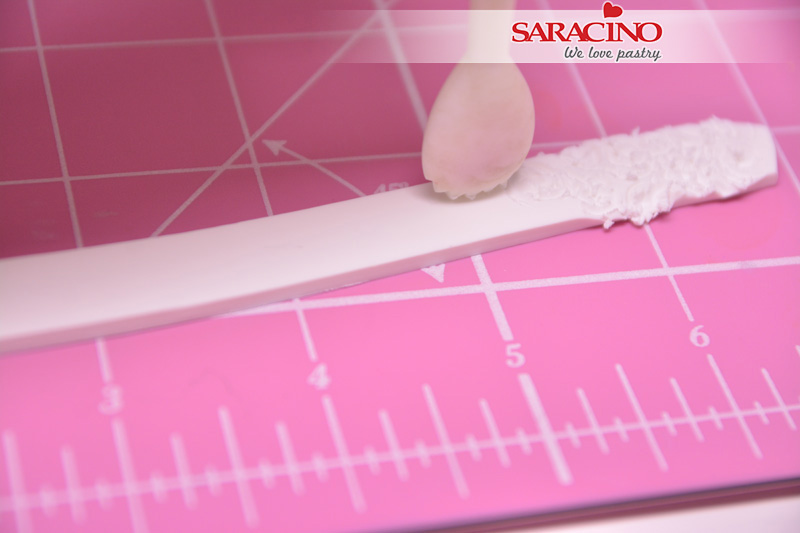
Step 42
Texture with the shell tool
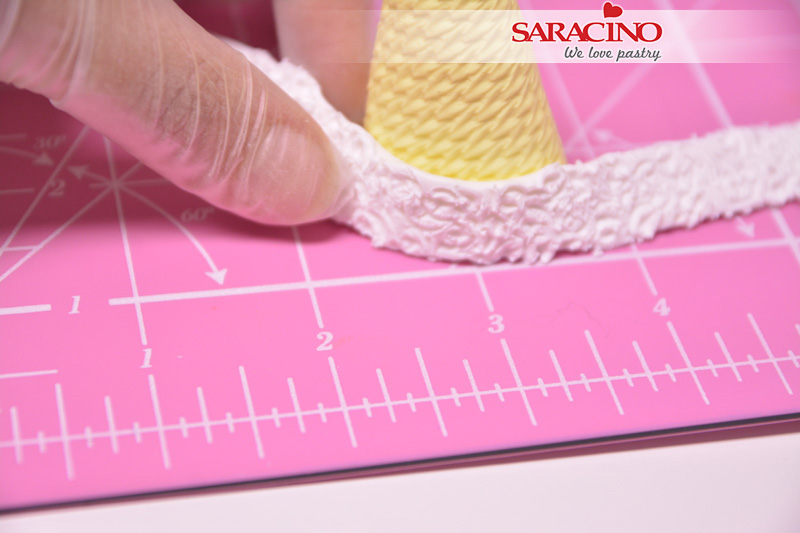
Step 43
Glue the rim on the base of the hat
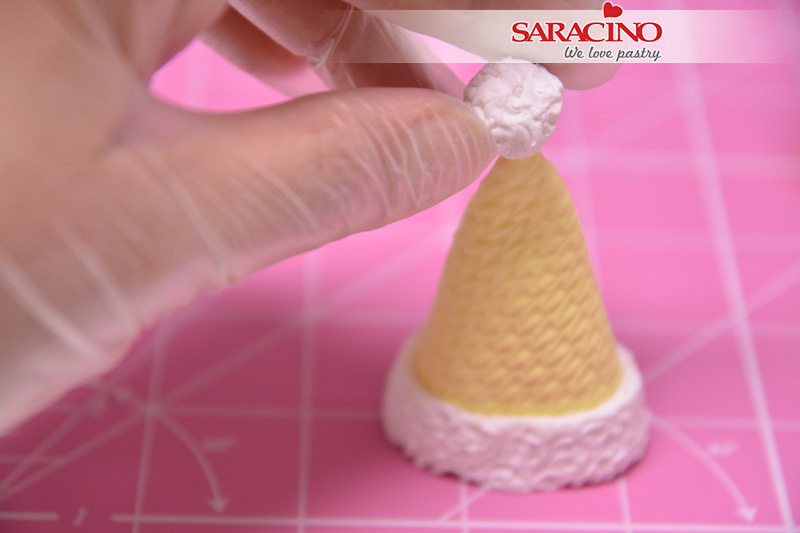
Step 44
Make a tiny pom pom ball out of white modelling paste and glue on top of the hat
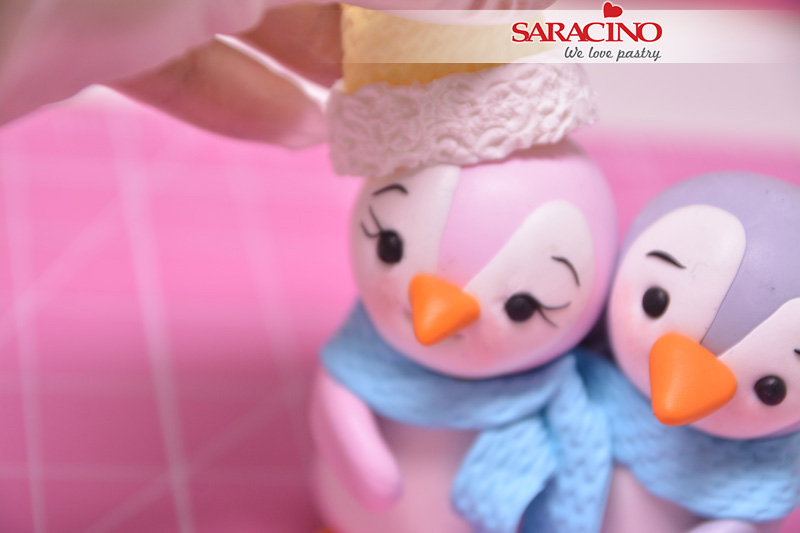
Step 45
Glue the hat on the female penguin
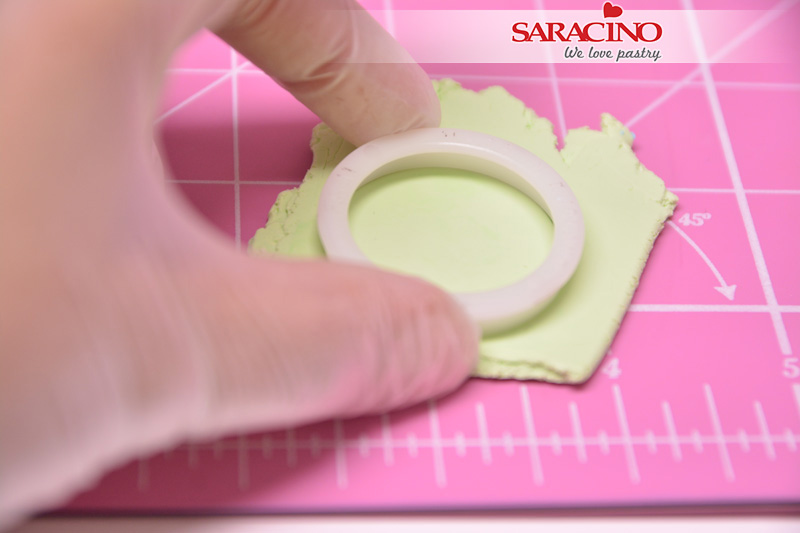
Step 46
To make the hat for our male penguin cut a small light green disk
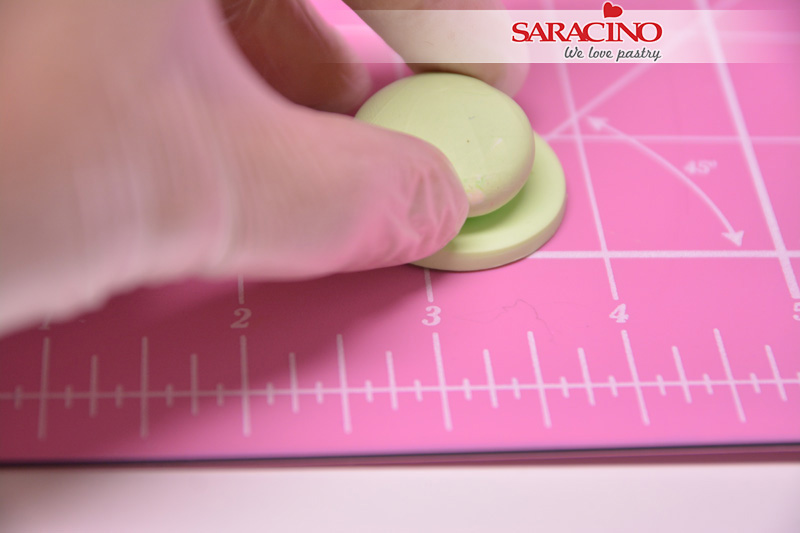
Step 47
Roll a small ball in light green and glue on top of this disk
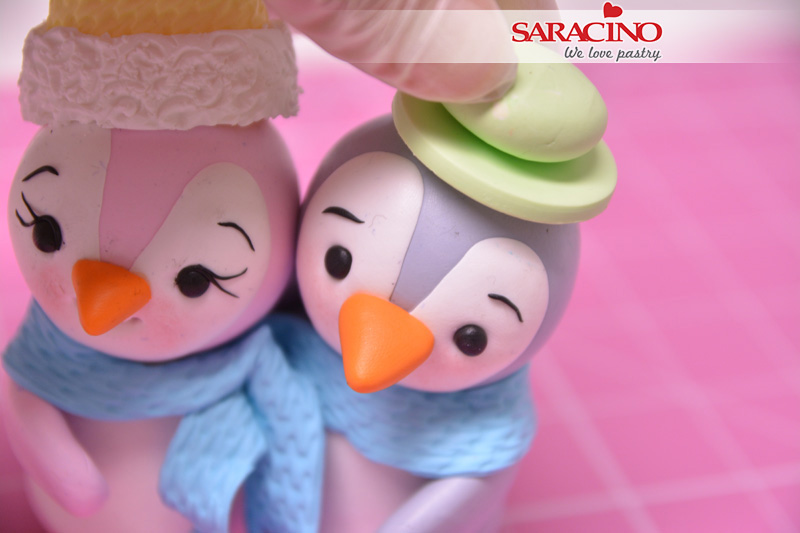
Step 48
Glue the hat on the male penguin
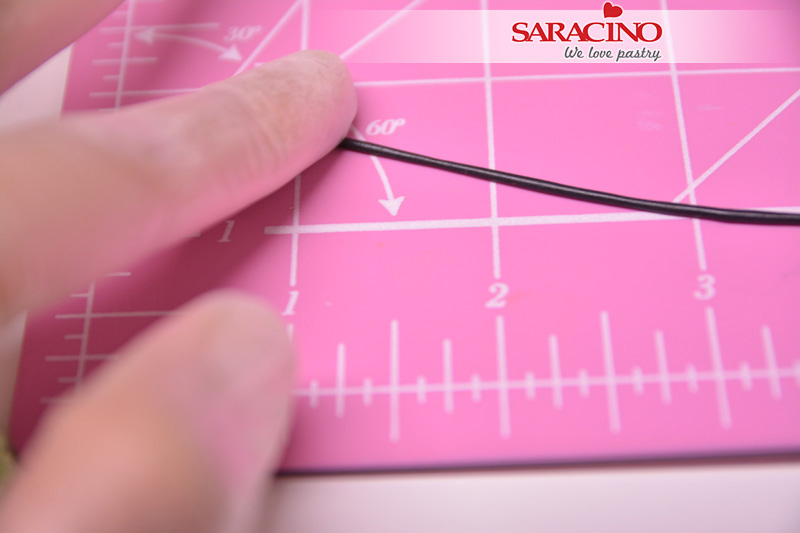
Step 49
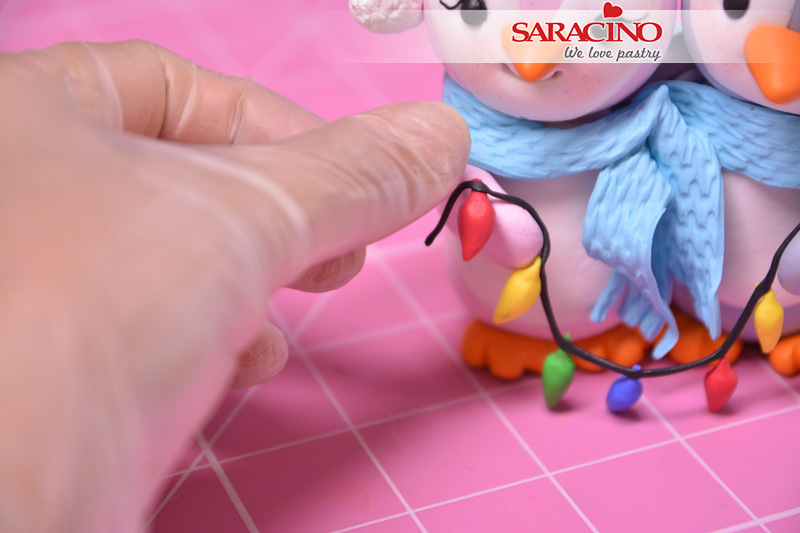
Roll a small thin black string for the string lights

Step 50
Make tiny bulbs as shown in the picture in different colours of sugar paste
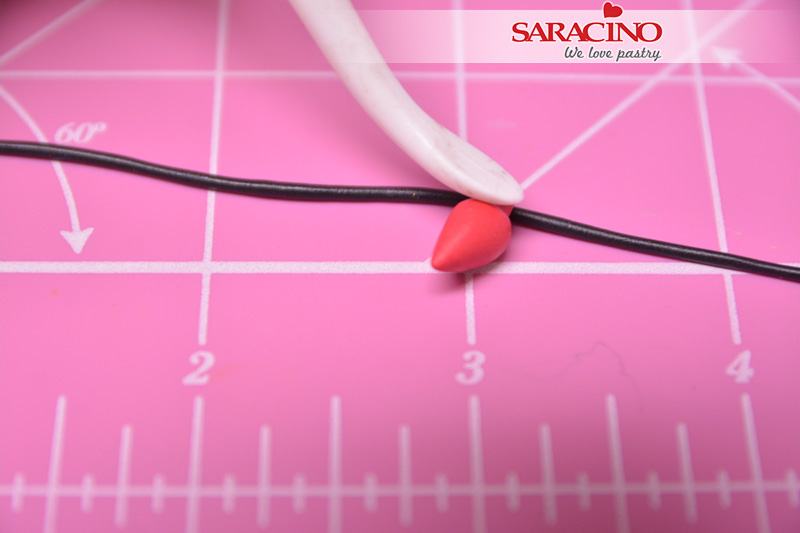
Step 51
Glue the bulbs onto the string
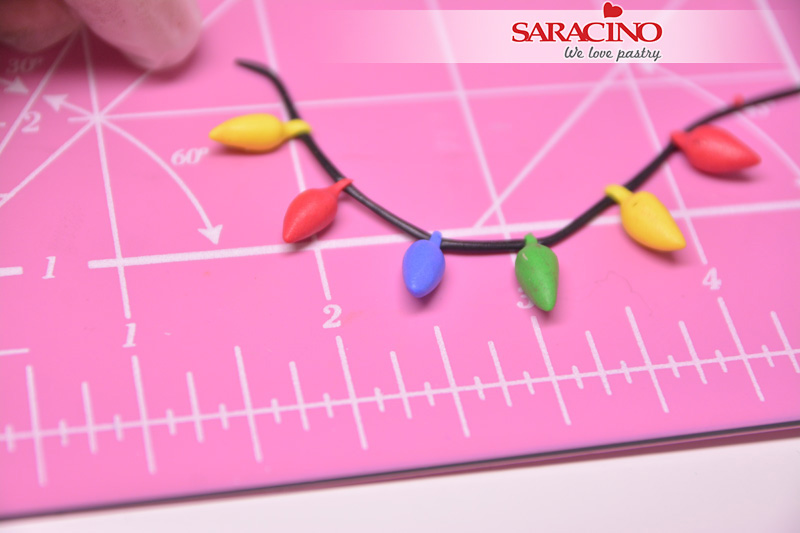
Step 52
Let the bulbs dry for some time on the string before you lift them
Step 53
Glue one end of the string on the female penguins hand and the other on the male penguins hand
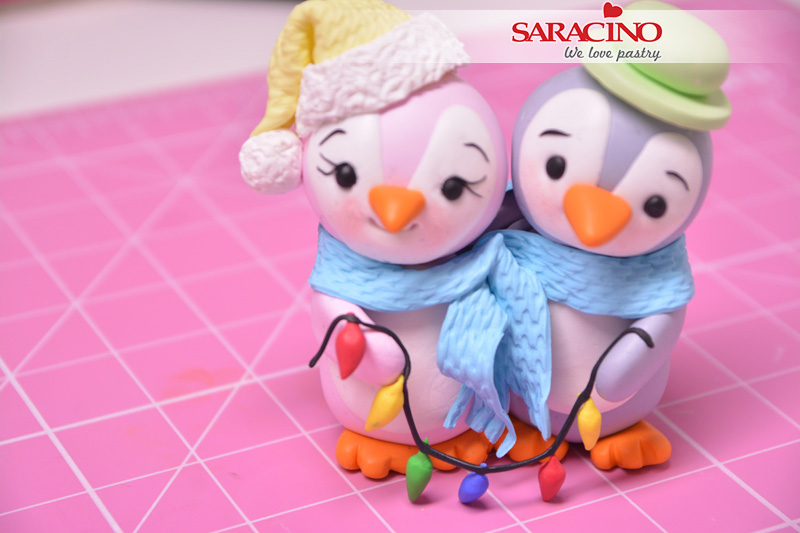
Step 54
Your cute penguin couple is now ready to chill out on your cake
