Author: Zlatina Lewis
FB: ZL CAKE BOUTIQUE
Skill level: BEGINNERS
FROM ZLATINA
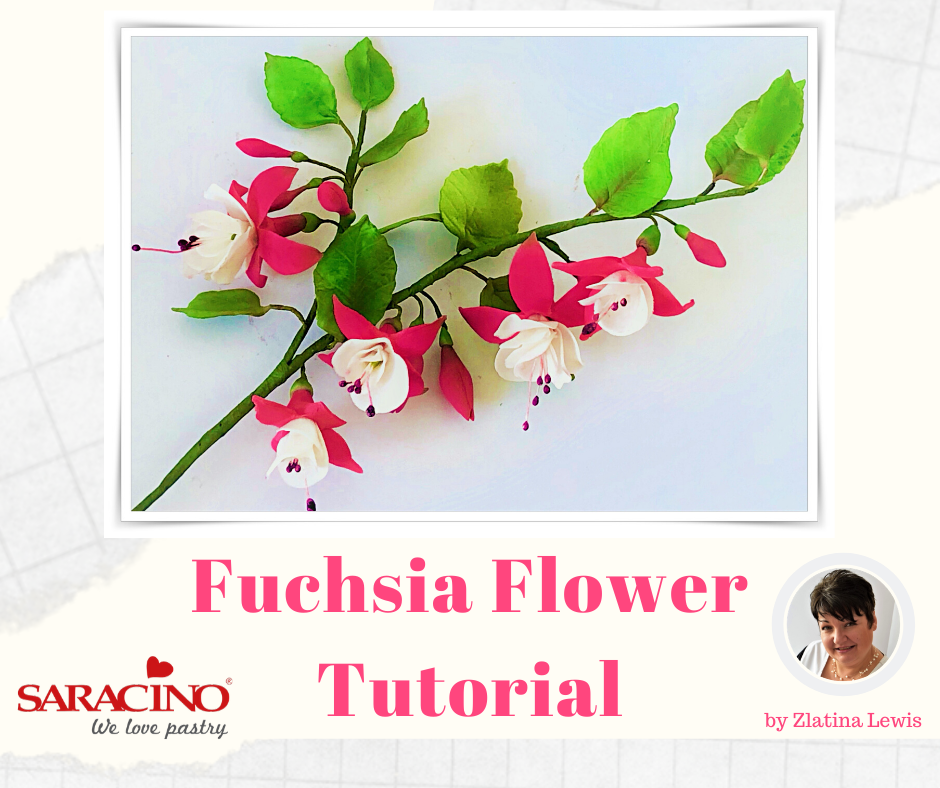
Fuchsia comes in different varieties and colours. I’ve made a type which is one of my favourite and grows in my garden.
I’ve made the flower as near to nature as possible, although it is not 100% botanically accurate.
You will need:
- Saracino pasta bouquet
- Saracino Food gel colours – Pink,Green
- Saracino Dusting colours – Pink, Green, White, Purple
- Fuchsia cutter
- Rose leaf cutter
- Rose leaf veiner
- Medium head stamens – 1 longer; 4 cut into ½
- ¼ width white flower tape
- Green flower tape
- Ball tool
- 24, 26, 28 gauge wire
- Rolling pin
- Board
- Groove board
- Dusting brushes
- Fine scissors

Step 1
To make one blossom, you will need 4 head stamens cut in half and 1 longer one. Add a tiny amount of flower paste to the head of the long stamen.

Step 2
Cut a quarter length of 26 gauge wire and form a hook on the end. You will need the pieces shown in the picture to make each flower.

Step 3
Tape the stamens together first then hook the wire over the tape to secure the stamens and tape together with a ½ width green floristry tape. Paint the stamen heads with purple dust colour, mixed with 1-2 drops of clear alcohol. Set aside and repeat the process making 4-5 blossoms

Step 4
Thinly roll white flower paste and cut a rosette with the fuchsia rosette cutter.

Step 5
Soften the edges of each petal with a ball tool on your foam mat. Press in the middle gently, so the petals curve a little. Put a small amount of edible glue in the middle and fold over in half.

Step 6
Put a spot of glue in the middle, add the taped stamens and wire.

Step 7
Roll the rosette around the wire, as to form a ‘skirt’ around. Repeat the process as many times as number of blossoms you are making and leave to dry for few hours.

Step 8
Colour a small amount of paste with pink gel colour.

Step 9
Take a small amount of pink paste and form a Mexican hat.

Step 10
Roll out the edges thinner and cut out the fuchsia.

Step 11
Soften each side of the petals with ball tool.

Step 12
With the ball tool roll gently backwards each petal, so it curves and turns upwards.

Step 13
Add small amount of glue to the dry centres and thread the pink petal on top of the white rosette. Tidy up the back of the flower and take off any excess of paste.

Step 14
Take a small ball of green paste and form the calix with a cone tool.

Step 15
Glue the calix back to the blossom and leave to dry.

Step 16
To make the buds of the fuchsia, you need a quarter length of 26 gauge wire with a hook at one end. Take a small ball of pink paste and form a cone, to represent the bud. Dip the hook end of the wire into edible glue, and push into the bud. Turn gently around and twist, to form a strong connection.

Step 17
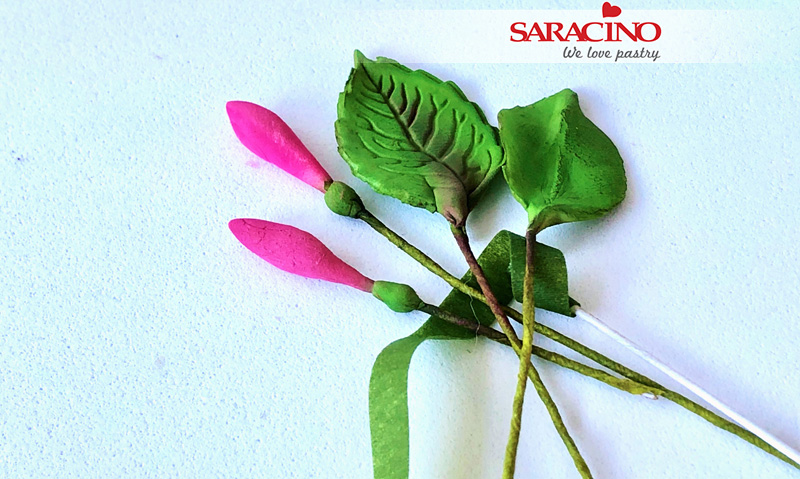
Mark 3 lines on the bud, where the leaves will be. Add a small calix and leave the buds to dry. You will need to make 5-6 buds.

Step 18
To make the leaves, you will need to colour a small amount of paste with foliage green gel paste.

Step 19
Roll small amount of green paste over the grove board and cut a leaf shape with the rose leaf cutter.

Step 20
Dip the end of a quarter length of 28 gauge wire into edible glue and thread the end into the grove. Pinch the leaf end gently to secure it to the wire.

Step 21
Vein the leaf with the rose leaf veiner and thin the edges with a ball tool. Form a very slightly curve to the wire with your fingers, to add ‘movement’ to the leaf.

Step 22
Repeat the process, to make 6-10 leaves. Leave to dry.

Step 23
Cover the wires with Nile green tape.
Step 24
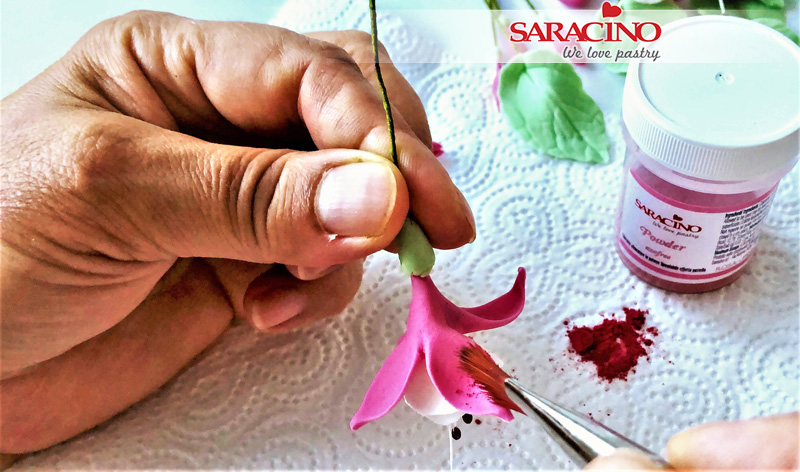
Dust the outer side of the blossoms with pink dust. Be careful not to get any dust colour on the white rosette part.

Step 25
Dust the buds with same dust colour, as you add a small amount of green colour at the base of the buds.
Step 26
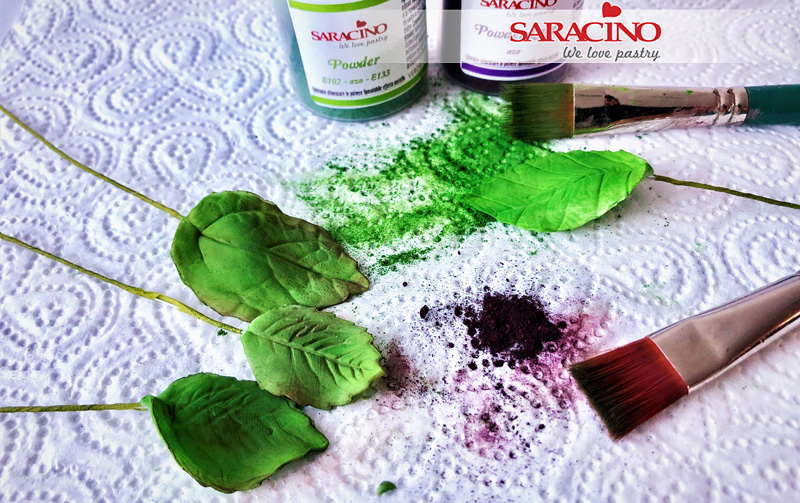
Dust the leaves with green at the centre and over dust at the base towards the edges with mix of green and very small amount of purple.
Step 27
Now we assemble our fuchsia. Start with a small bud and a few small leaves, taping them on to a 24 gauge wire with ½ width green florist tape.
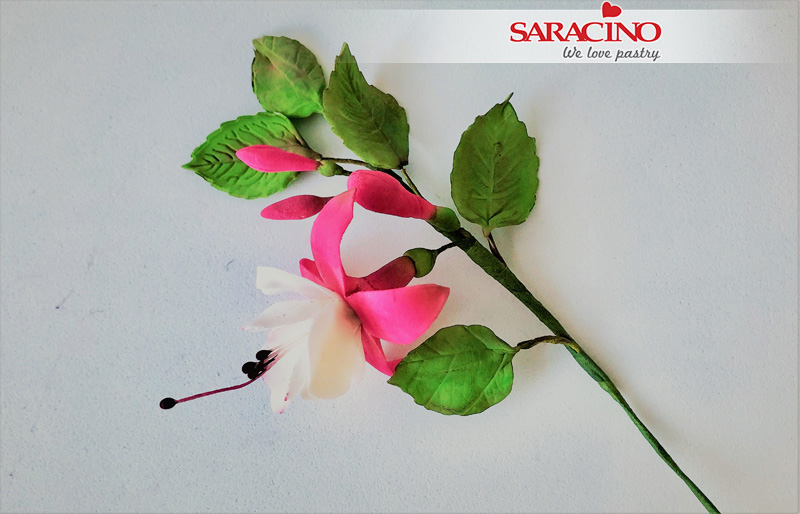
Step 28
Using a few of the small branches, tape them on to the main wire.
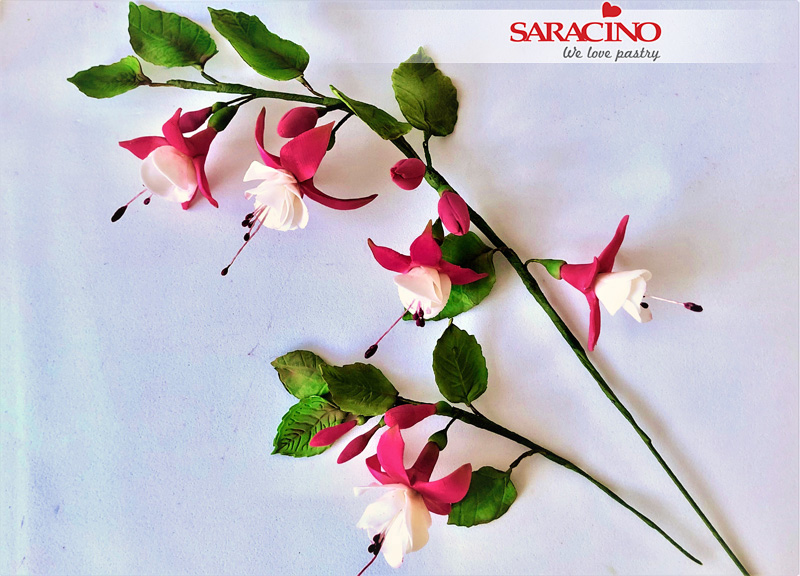
Step 29
As you go along the branch, add on bigger leaves and buds and leave them to droop down, taping them together. Add blossoms in groups of 2-3 and tape them half way down the wire, so they droop down and have a natural look.


