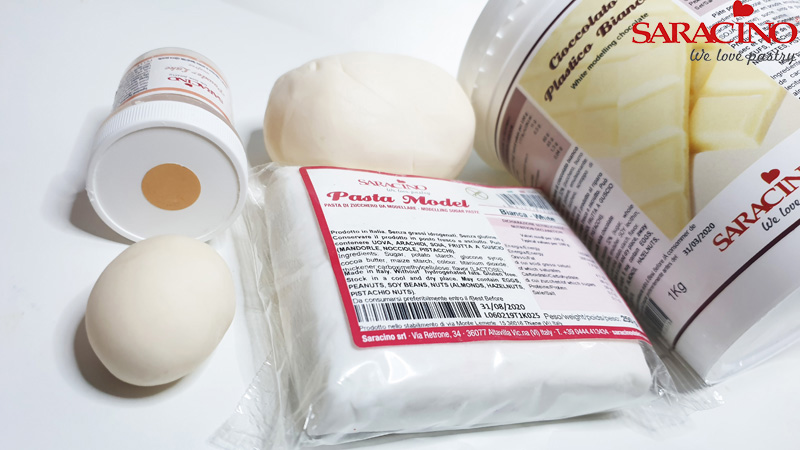
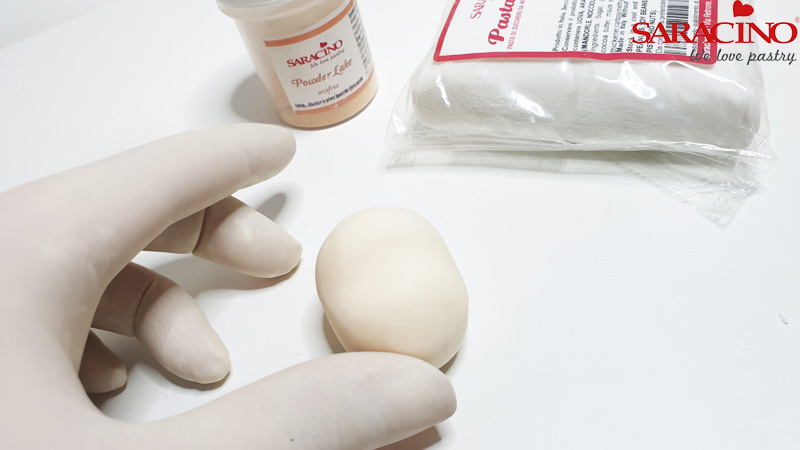
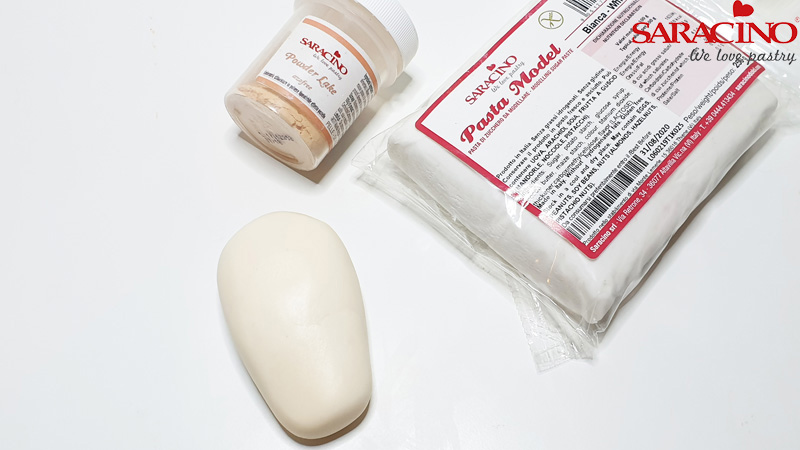
You will need:
- Saracino white modelling paste
- Saracino modelling chocolate
- Saracino black modelling paste
- Saracino skin tone powder colour
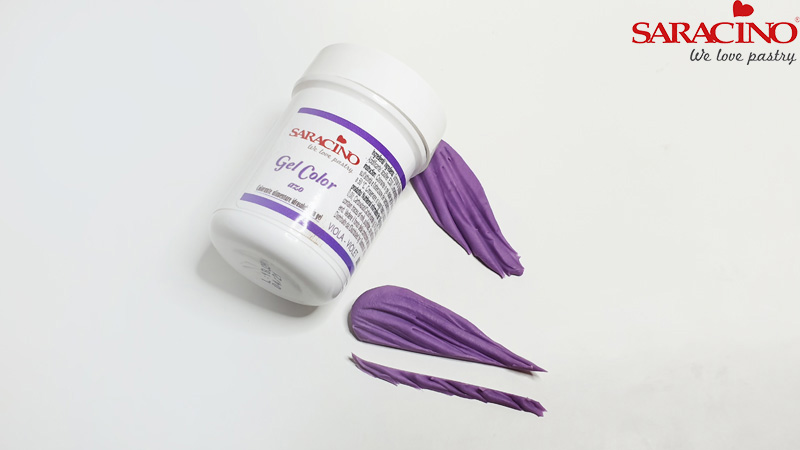
- Saracino purple gel colour
- Craft knife or scalpel
- Rolling pin
- Large brush
- Small brush
- Dummy
- Cocktail sticks and wooden skewer
- Florist wire
- Tool with a sharp point
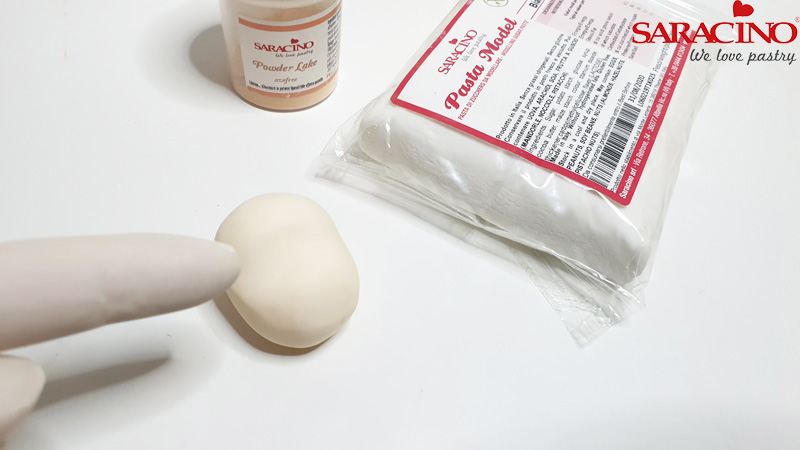
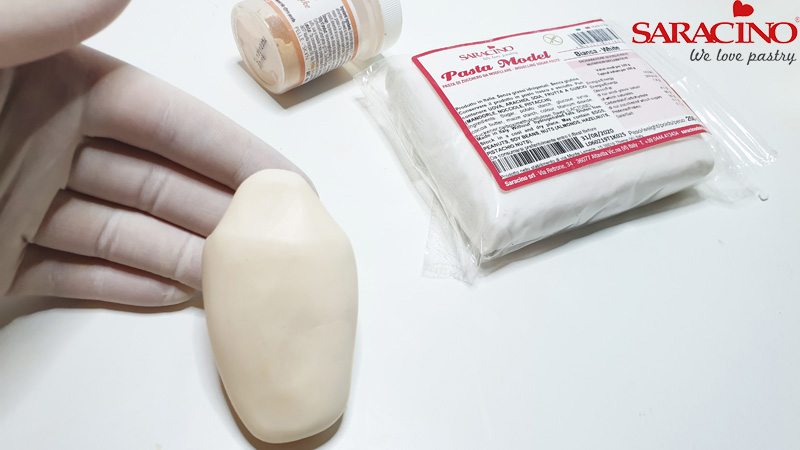
Step 1
Mix white modelling paste with skin tone powder colour. Form an oval shape.
Step 2
Then with your finger form a dent across the centre
Step 3
To create a chin, find the centre of the bottom of the face. Press gently on both sides to create a triangle shape.
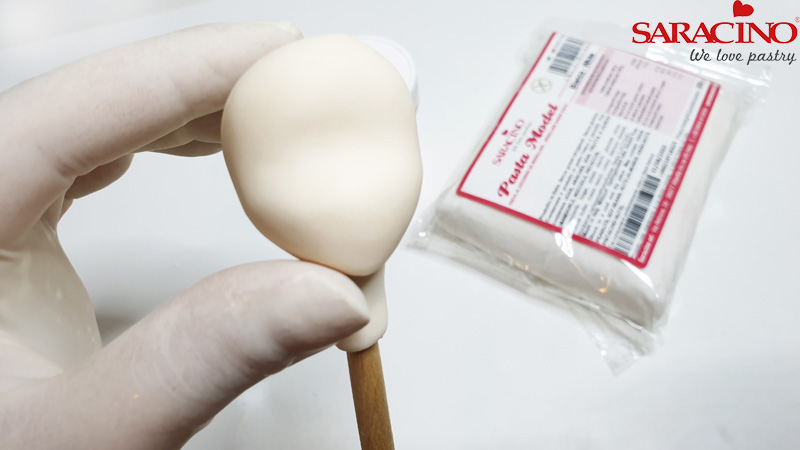
Step 4
Attach the head to the wooden stick. Using a small amount of paste, fix a piece of paste around the top of the stick to stop the head sliding down. This is not a neck and will be removed later.
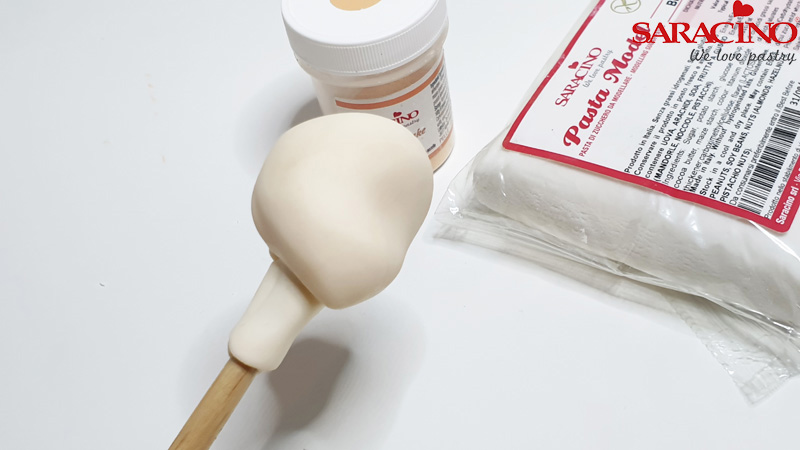
Step 5
Face should look as shown on the picture. You are trying to achieve a delicate narrow look to the chin area.
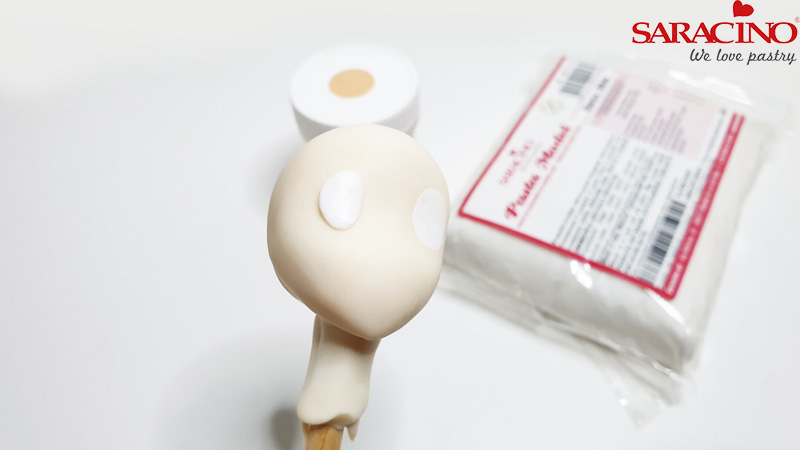
Step 6
Make two small balls from your white modelling paste and position over each eye location. Gently press to flatten the white ball making sure you do not blend into the skin tone. The white eye needs to stand out.
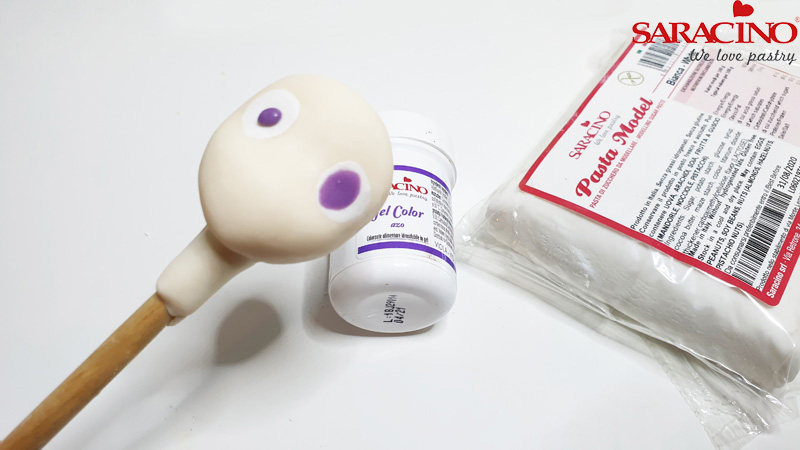
Step 7
Colour a small amount of paste with purple gel colour and form two small balls. Position them in the centre of the eye and blend to form an oval shape as shown.
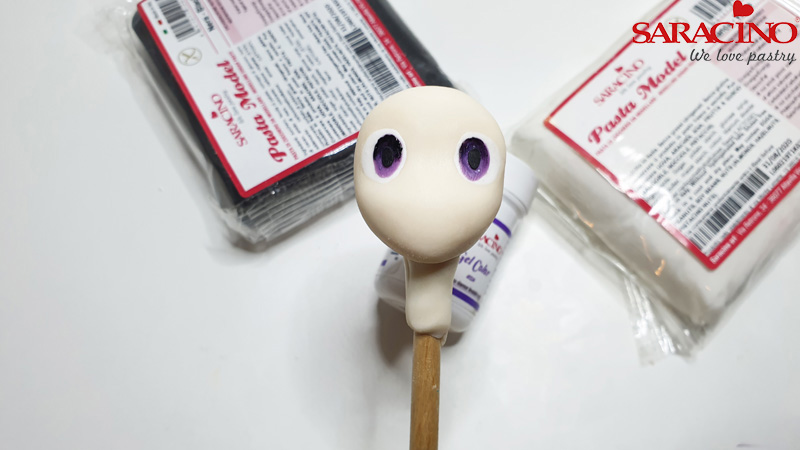
Step 8
Using the purple gel colour add darker shade to the top of the eye. Create two small balls using black modelling paste and position in the centre of eyes. Blend gently.
Step 9
Using black modelling paste roll out two very thin sausages to create eyelashes. Fix above both eyes.
Step 10
Add additional line above eyelashes on both eyes.
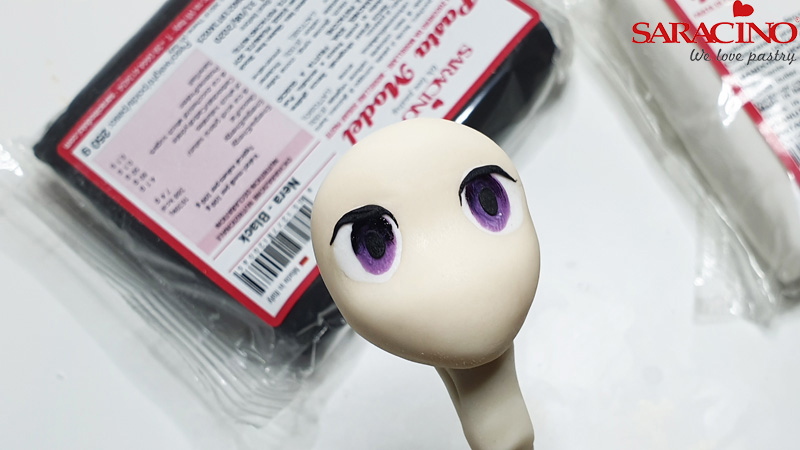
Step 11
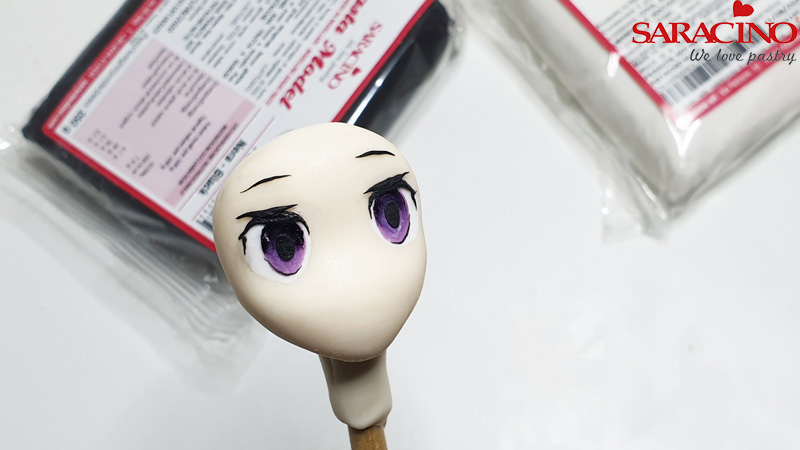
Roll more of black modelling paste very thinly and create two eyebrows as shown on the picture. Add thin lines at the bottom of each coloured area of the eyes.
Step 12
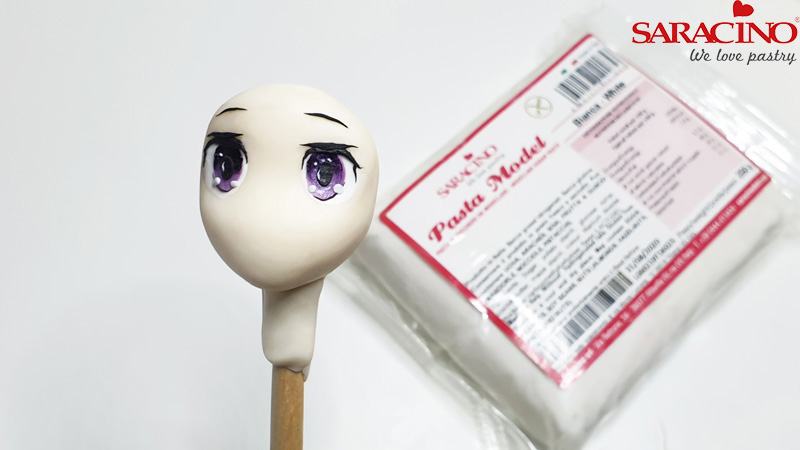
Using white modelling paste, create tiny balls and fix to the eyes where shown. This is characteristic of anime characters.
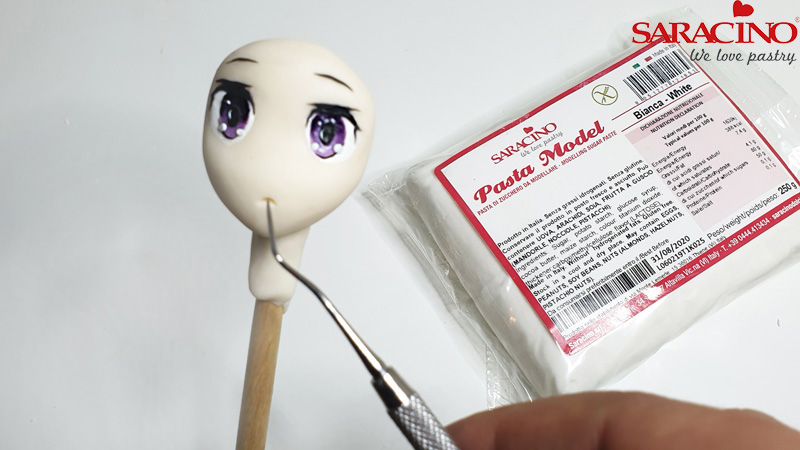
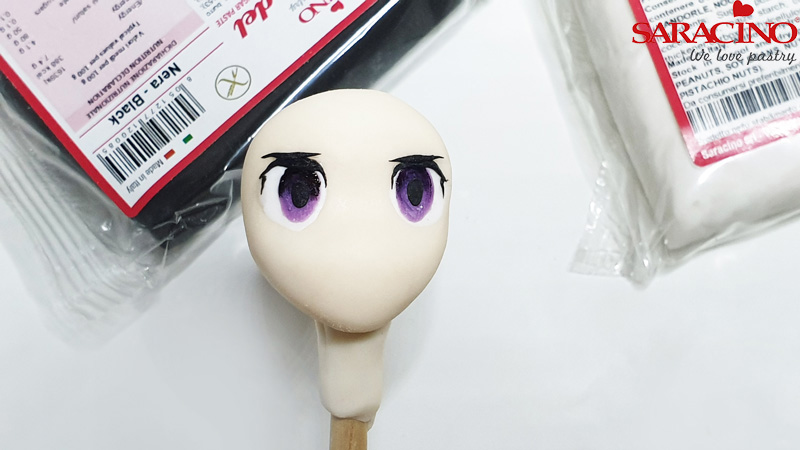
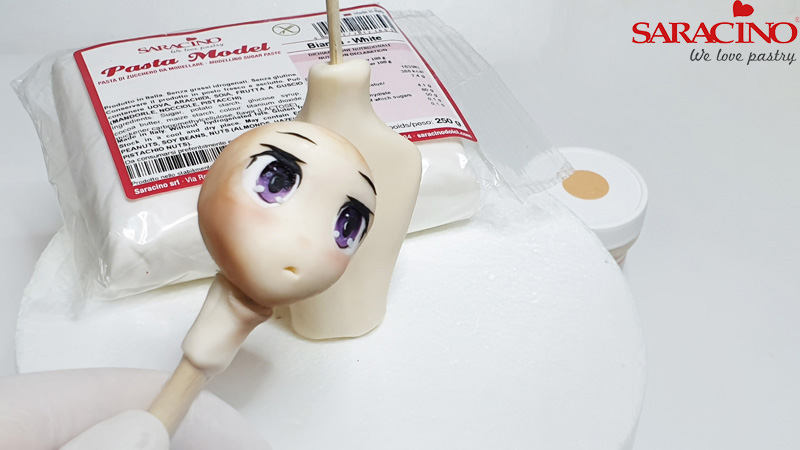
Step 13
Use the sharp tool to make a mouth.
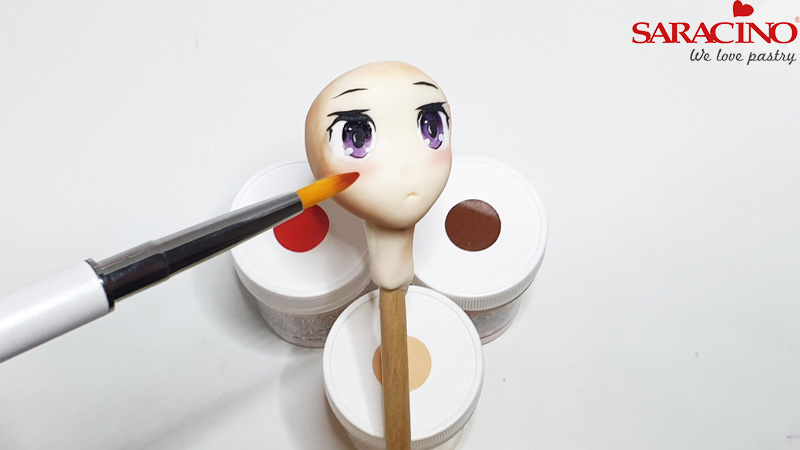
Step 14
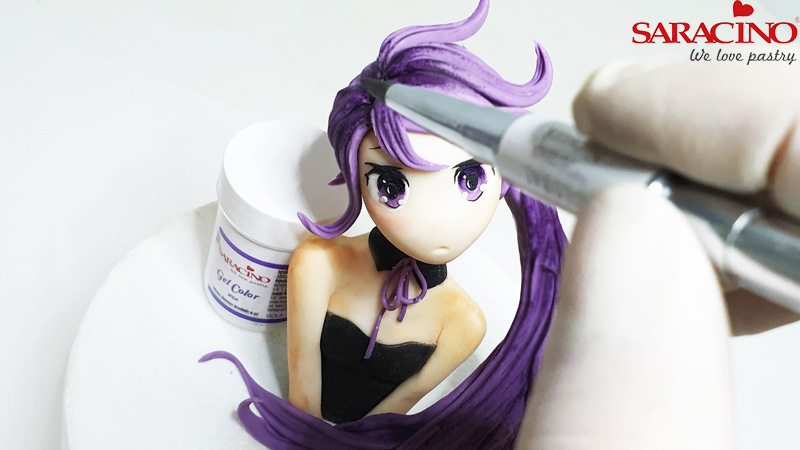
Mix some red, skin tone and brown dust colours. Using a soft brush apply tone to the face to create definition as shown
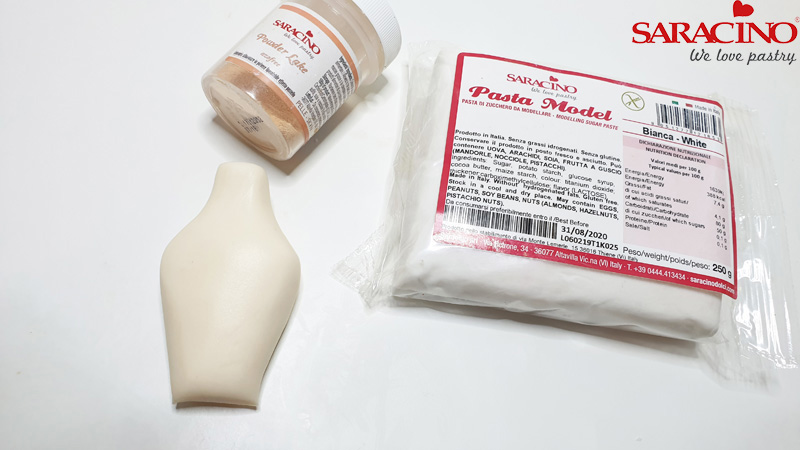
Step 15
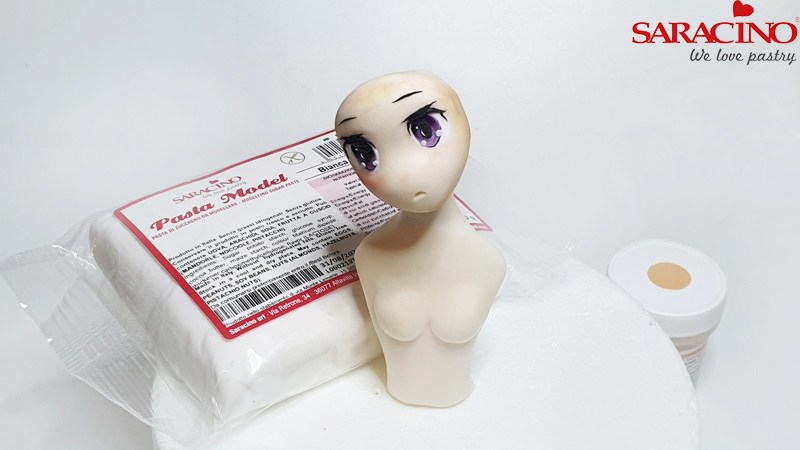
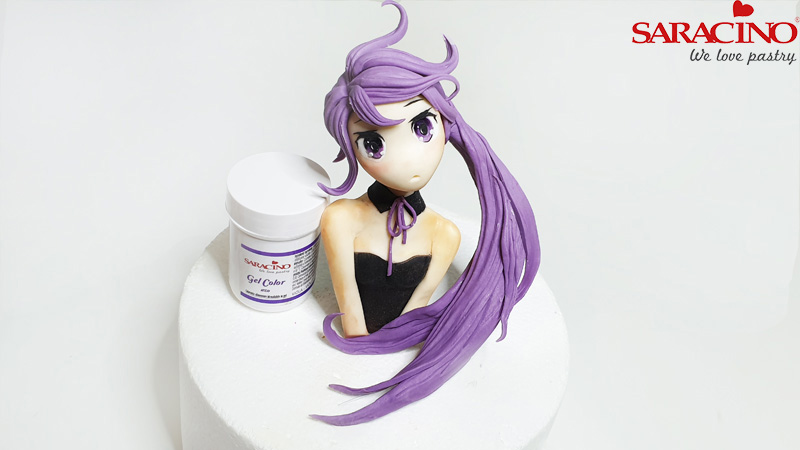
Put sugar face on one side and let it dry. Create body using the same modelling paste (white mixed with skin tone dust)
Step 16
Using finger pressure form the shoulder and neck area.
Step 17
Gently form the neck to make it thin and delicate.
Step 18
Place a wooden skewer through the body into your dummy with the short piece left from the neck to fix the head. Get your head off the stick. Make sure you remove the piece that has been created to secure the head from sliding down.
Step 19
Apply the head to the body at a slight angle. Roll out two small balls of skin tone paste and fix to the chest. Blend the paste around the top to the chest area.
Step 20
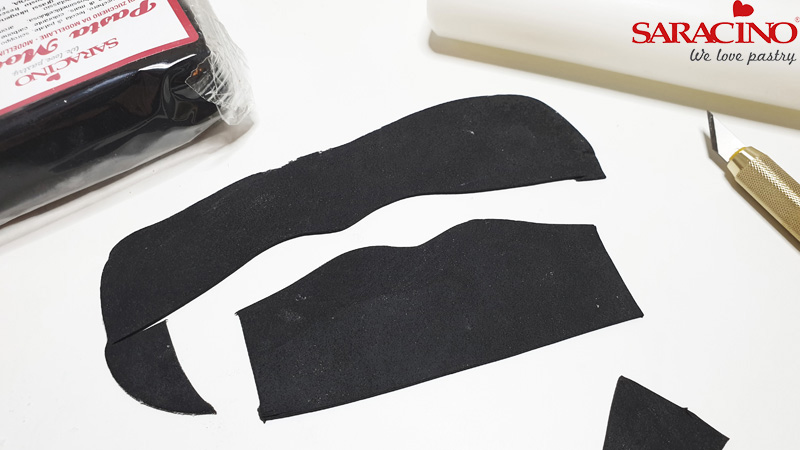
Roll thinly a small amount of black modelling paste to create the top.
Step 21
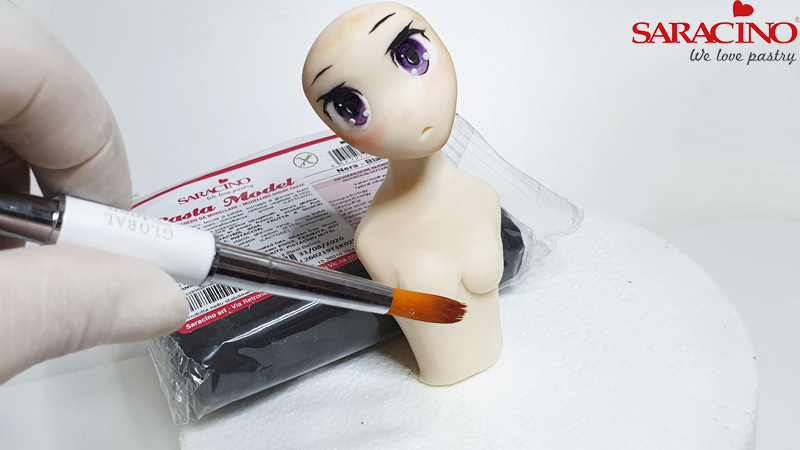
Apply a tiny amount of water using soft brush. This will help stick the clothes to the body.
Step 22
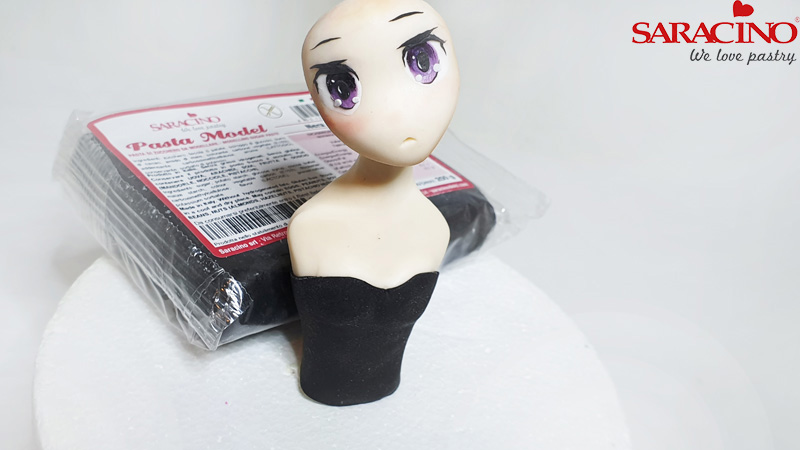
Apply clothes to the body.
Step 23
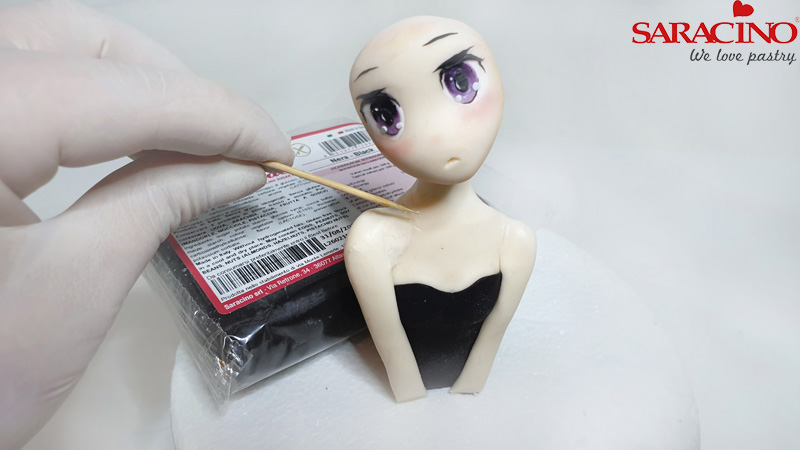
Roll out two sausage shapes using your skin tone paste. Fix to the sides of the body as shown. Blend the top of the arms with the shoulders.
Step 24
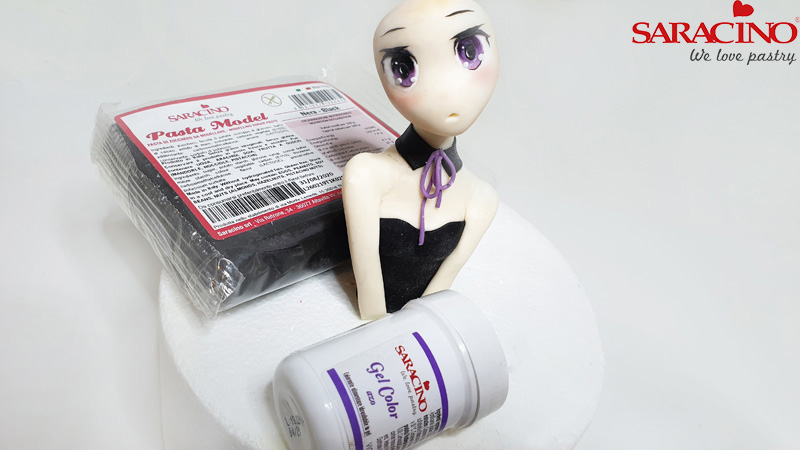
Using black modelling paste, cut out a little collar and attach to the neck. Add a bow using white modelling paste mixed with purple gel colour.
Step 25
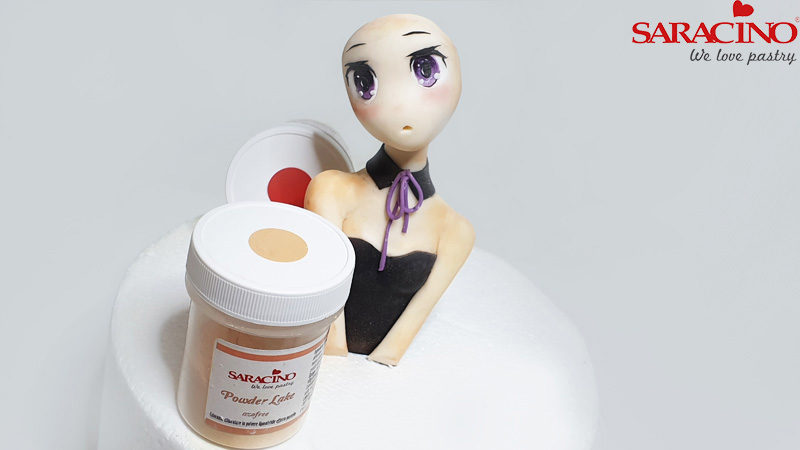
Using skin tone powder colour add shades to the body.
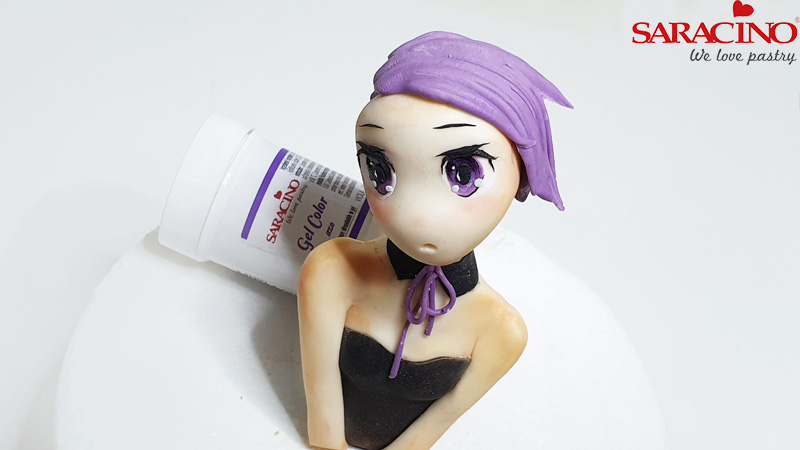
Step 26
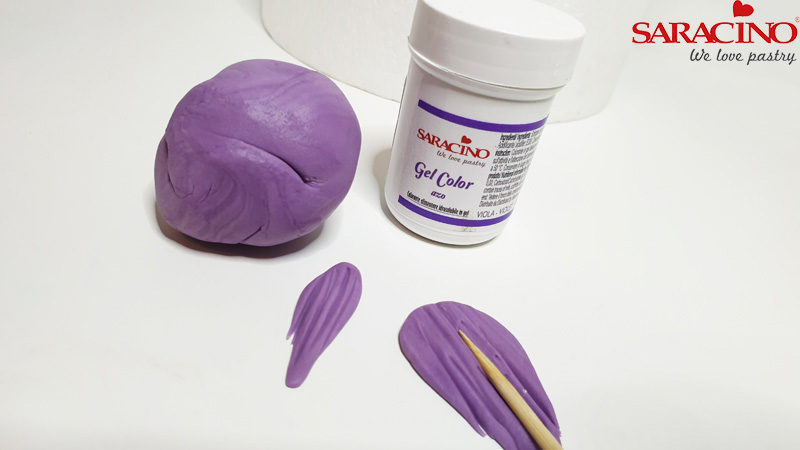
Colour white modelling paste with purple gel colour and start creating hair.
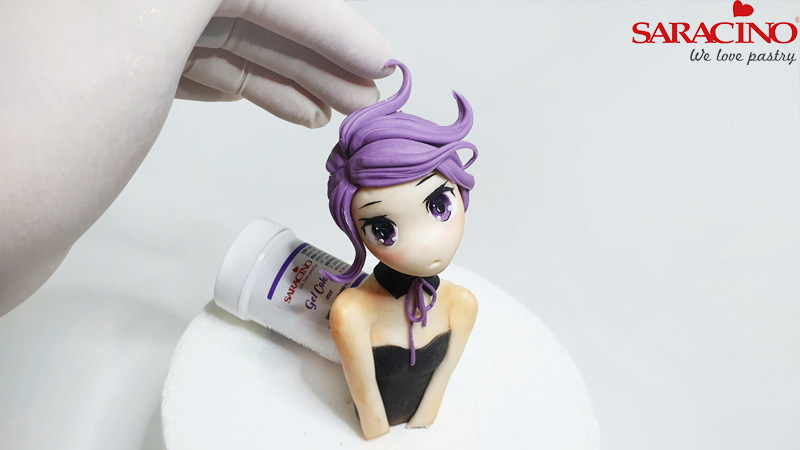
Step 27
Starting from the back of the head fix the hair going to one side.
Step 28
Using the purple paste create finer strands of hair.
Step 29
Apply them one by one and curl the ends.
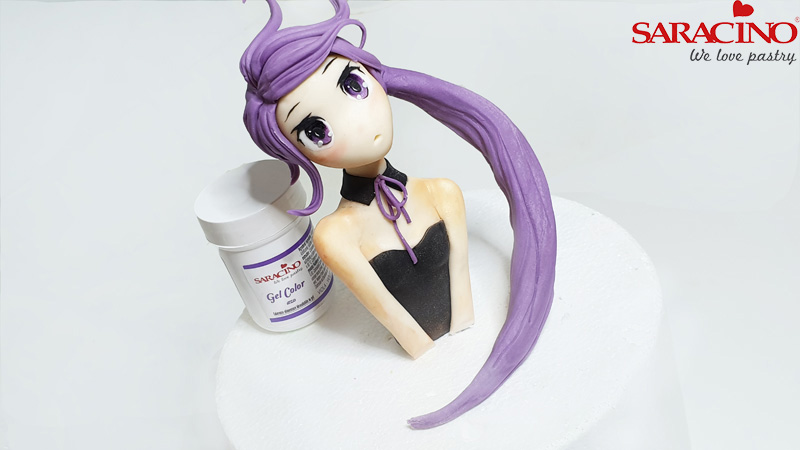
Step 30
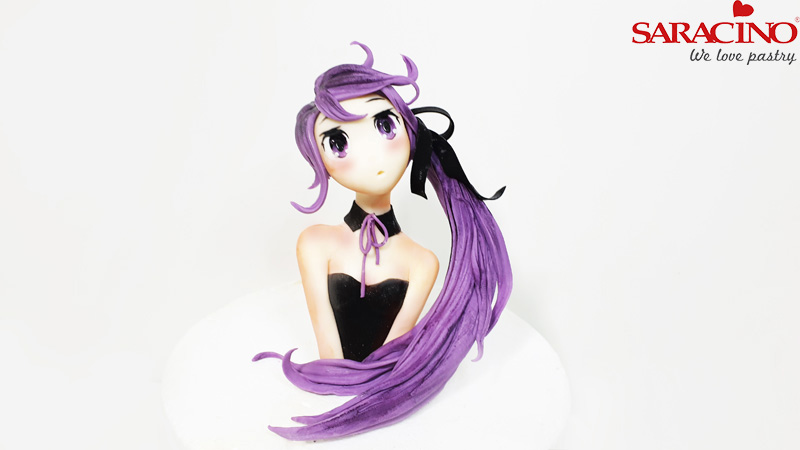
Create one long strand of the hair to form a pony tail. Thread the pony tail over a florist wire. Bend to give shape to the hair and fix to the side of the head where shown on the picture.
Step 31
Add layers to the pony tail.
Step 32
Using purple gel colour add darker shade to the top of the hair.
Step 33
Using black modelling paste create a thin ribbon and fix to the pony tail.
