
FROM CALLI:
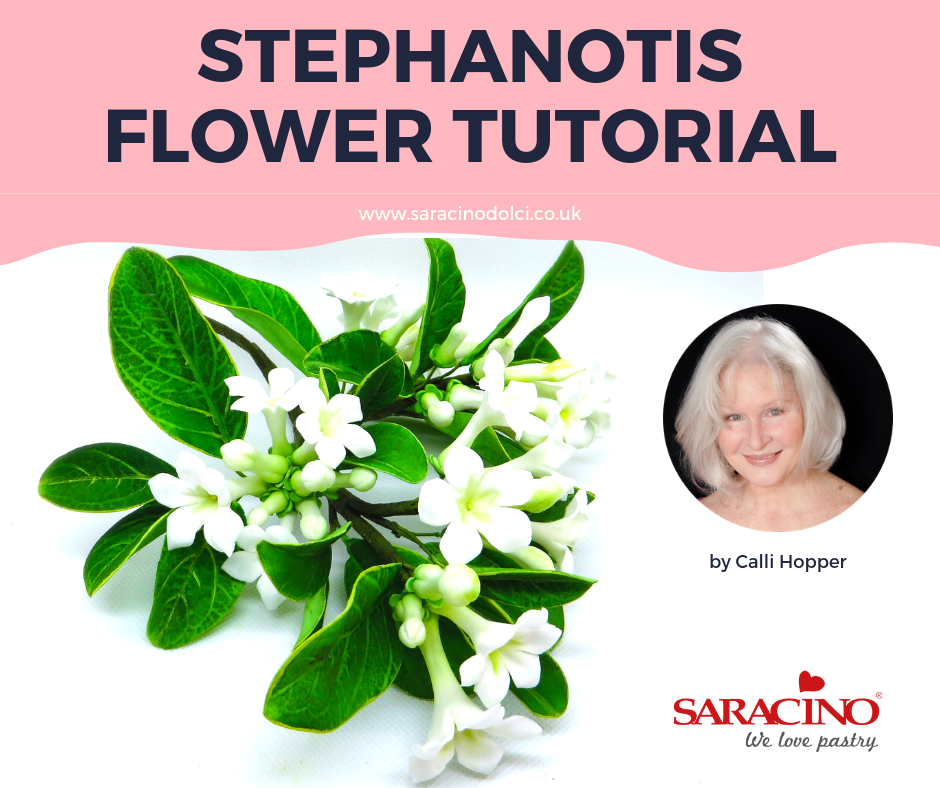
I’ve made the flower as near to nature as possible, but used artistic licence so not botanically accurate.
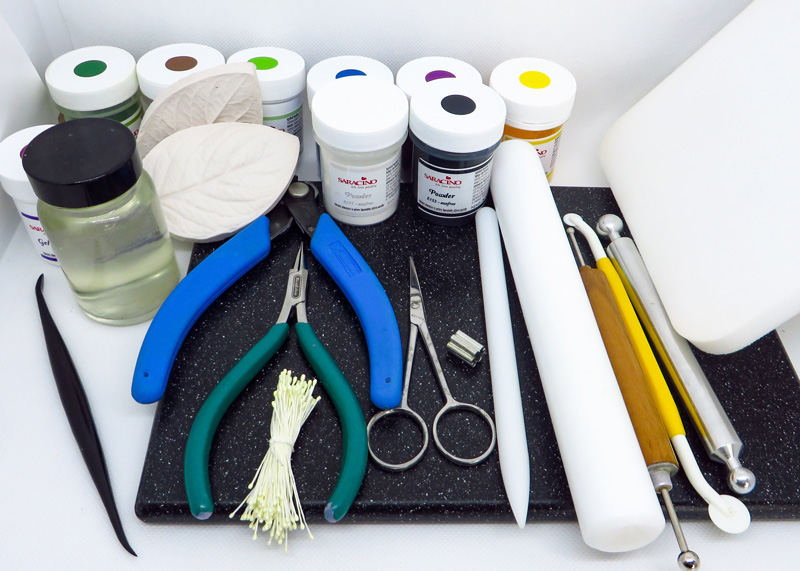
You will need:
- Saracino Flower Pasta Bouquet
- Saracino Colour Dusts white, yellow, green, brown
- Saracino Colour Paste (green)
- Florist Wires (26, 22, 18)
- Florist Tape (Nile Green – ¼ inch)
- Edible Glue
- Cornflour for dusting
- Balling tool
- Non stick rolling pin (I use 9”)
- Cel Pad
- Cel Board
- Dresden tool or cutting wheel
- Paint brushes (Flat for dusting (size 2 – 4 and one fine line brush [eg 000 size])
- Small blossom cutter (I used tinkertech metal, 1cm)
- Wire Cutter
Step 1
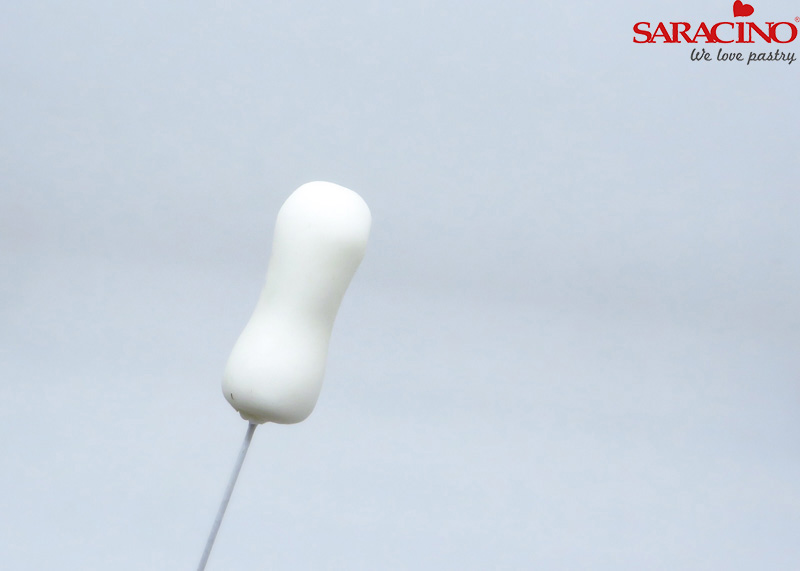
Roll out a ball of Saracino flower paste (about the size of a large pea) onto a 26 gauge wire and roll the middle gently between thumb and forefinger to narrow centre
Step 2
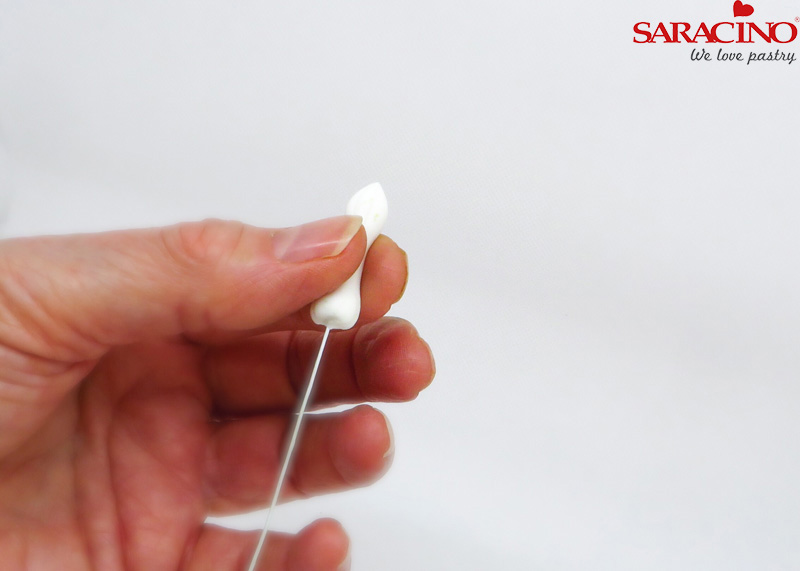
Roll the tip of one end to form a point
Step 3
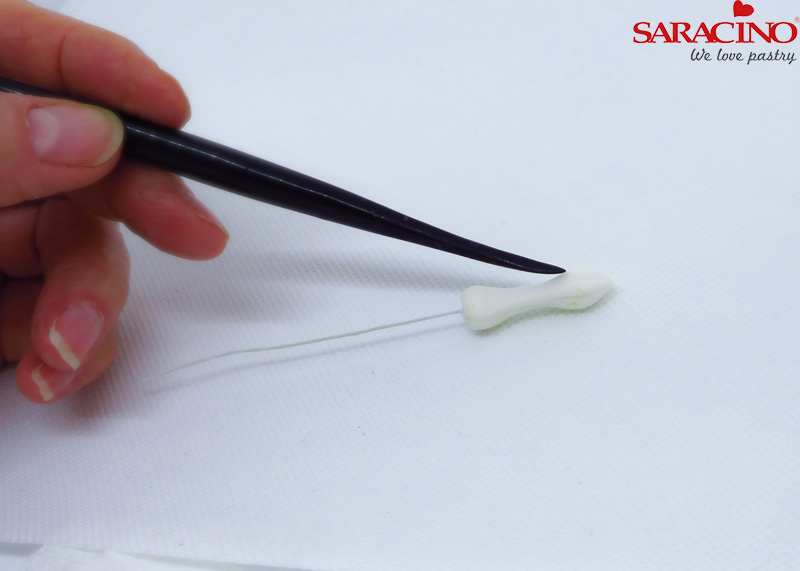
Using your dresden tool or cutting wheel, scribe in a few random grooves.
Step 4
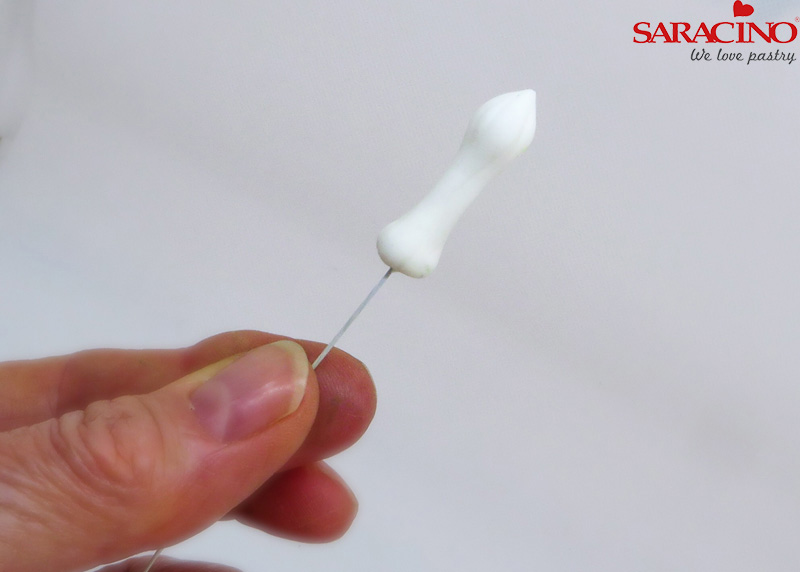
Here is how it looks before colouring, the grooves are just there to indicate where petals are forming.
Step 5
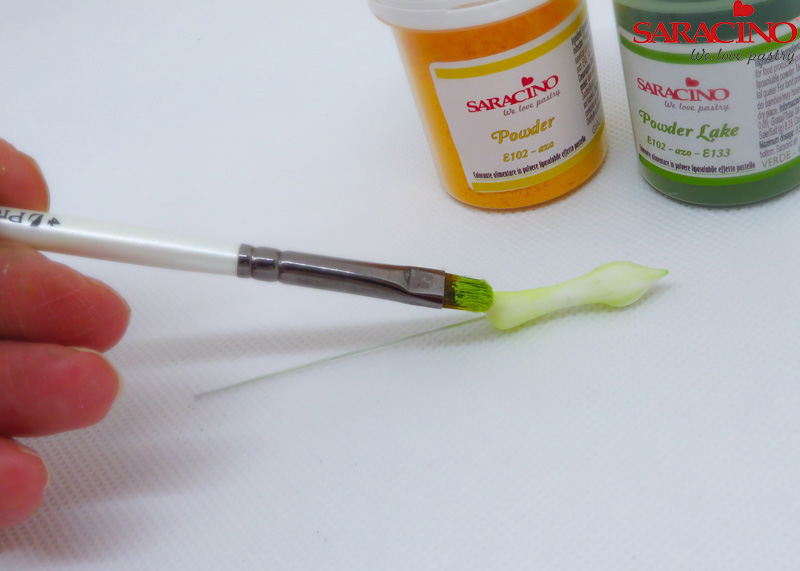
Mix green and yellow dust colour to make a lime green. Brush lightly over base and tip of bud.
Step 6
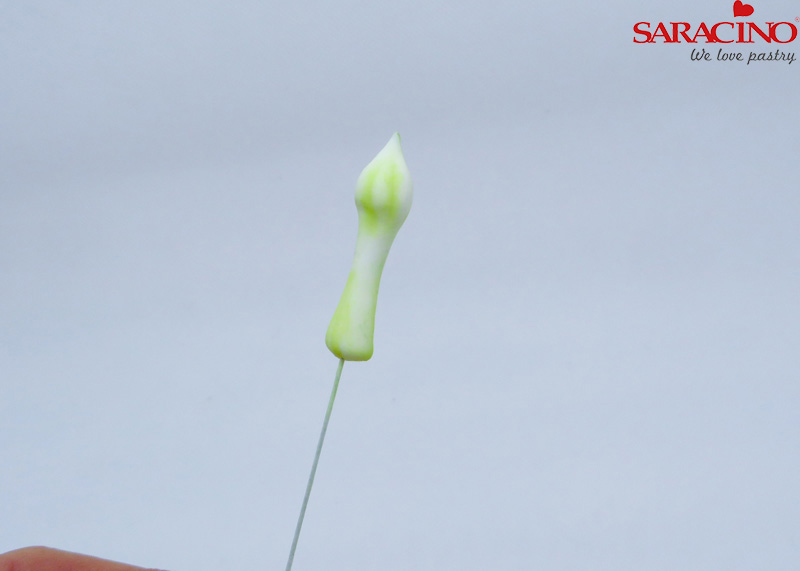
Close up showing light green on bud and in groves. Make sure to leave white bits as the bud is not all green.
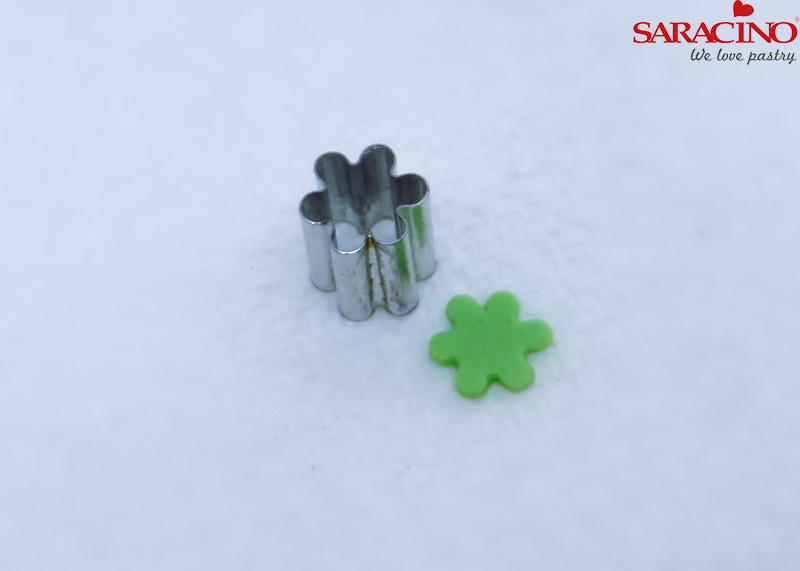
Step 7
To make the sepal (leafy part at base of buds and flowers) Roll out green flower paste quite thinly and cut with blossom cutter
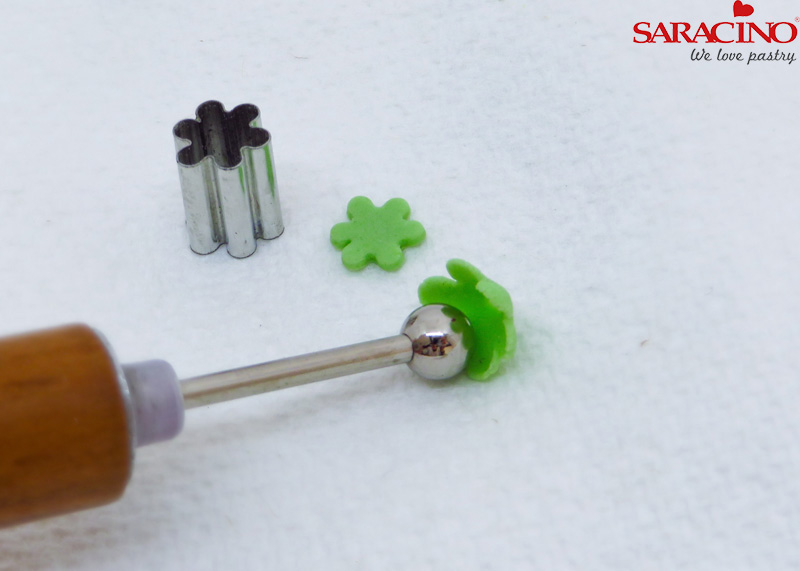
Step 8
Using Ball tool, roll out each part of sepal.
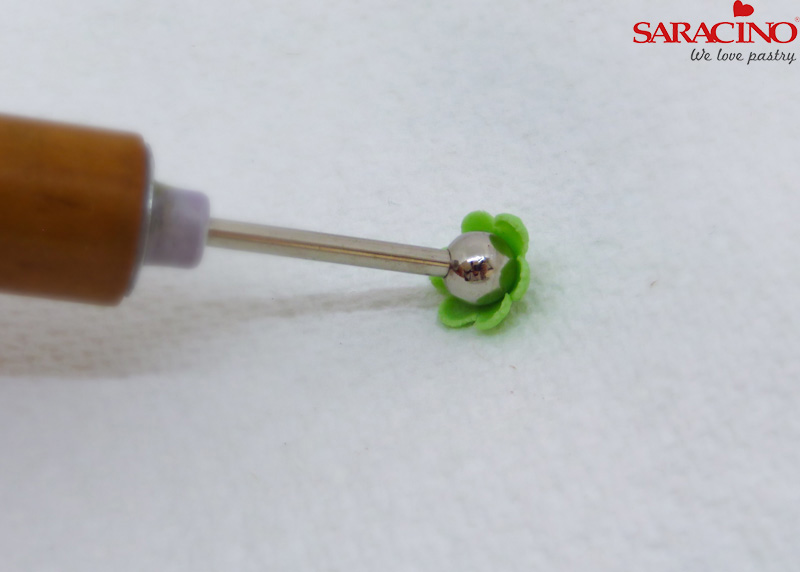
Step 9
As well as centre so it curls inwards
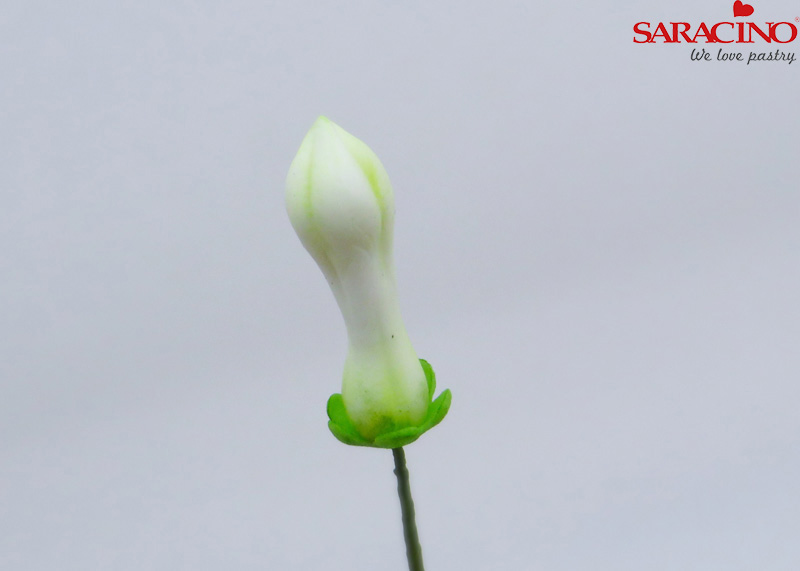
Step 10
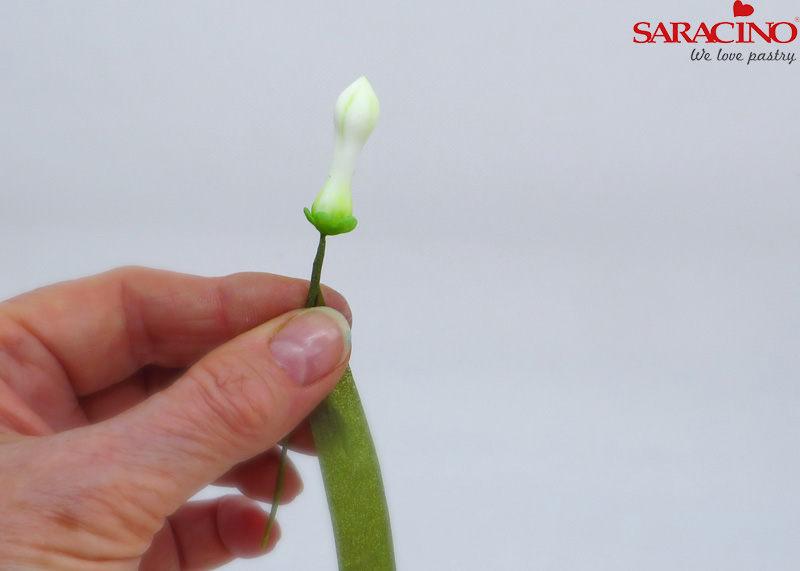
Place a hole in the centre with toothpick and insert onto the base of bud
Step 11
Tape the wire with nile green tape.
Step 12
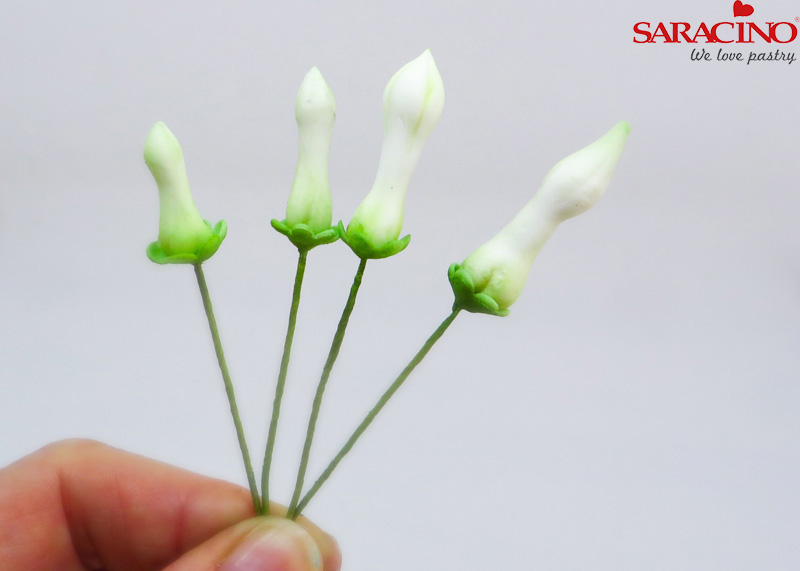
Make quite a few different sized buds
Step 13
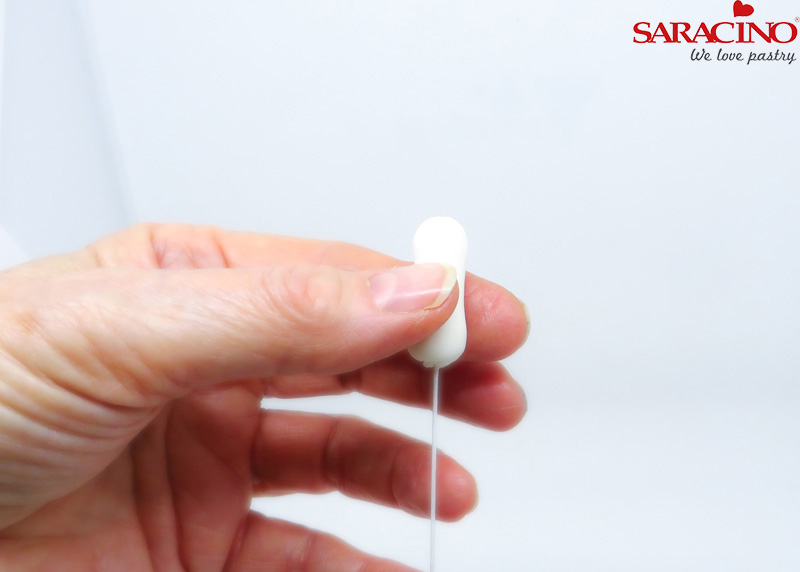
Start same as making buds, using 26 gauge wire
Step 14
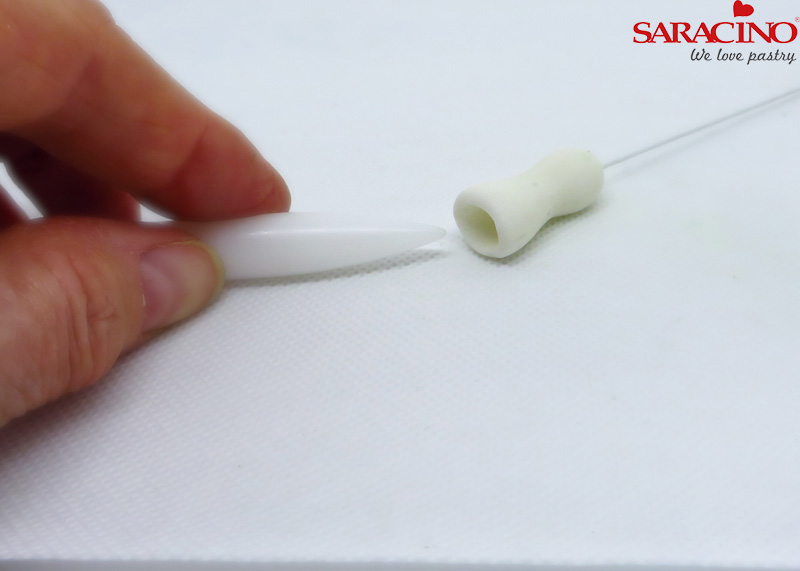
Using cel stick, make a hole in centre.
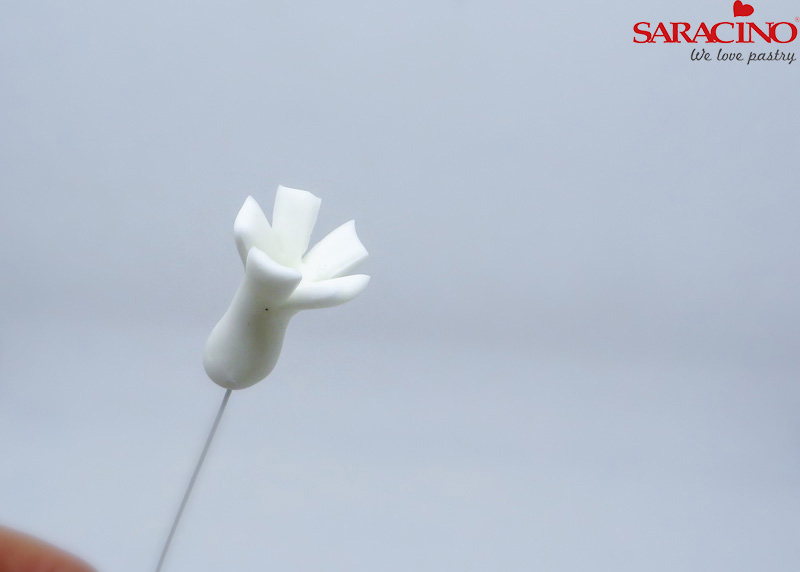
Step 15
Using small scissors, cut five petals
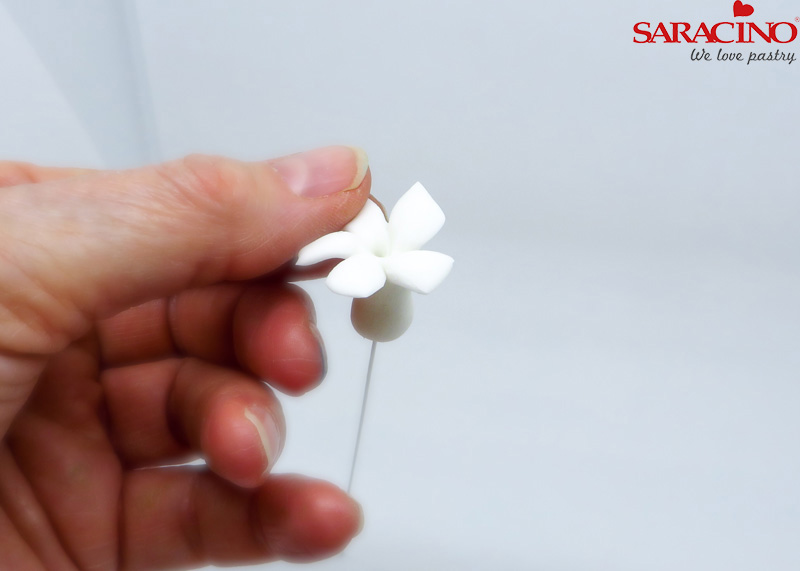
Step 16
Gently press the ends of each petal, between thumb and forefinger, to thin and form petal shape of the flower.
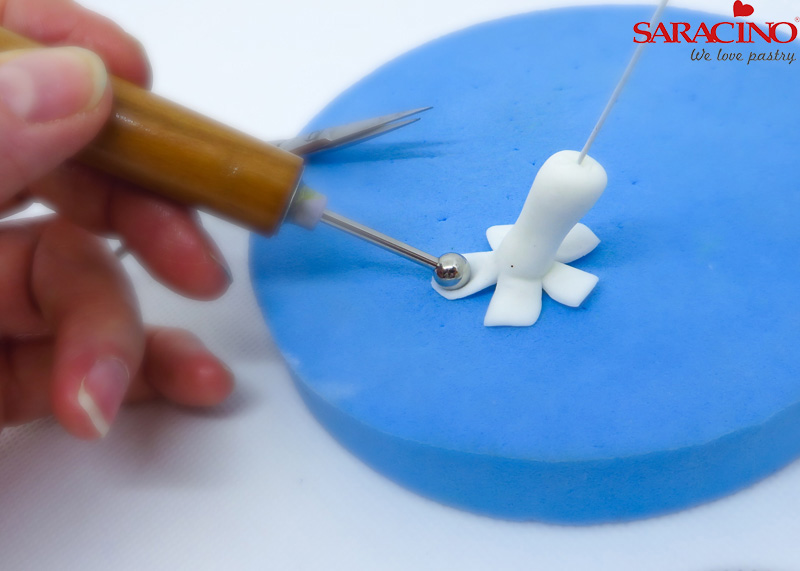
Step 17
Turn flower upside down onto a foam pad and gently press and roll out each petal, this aids in shaping the petals
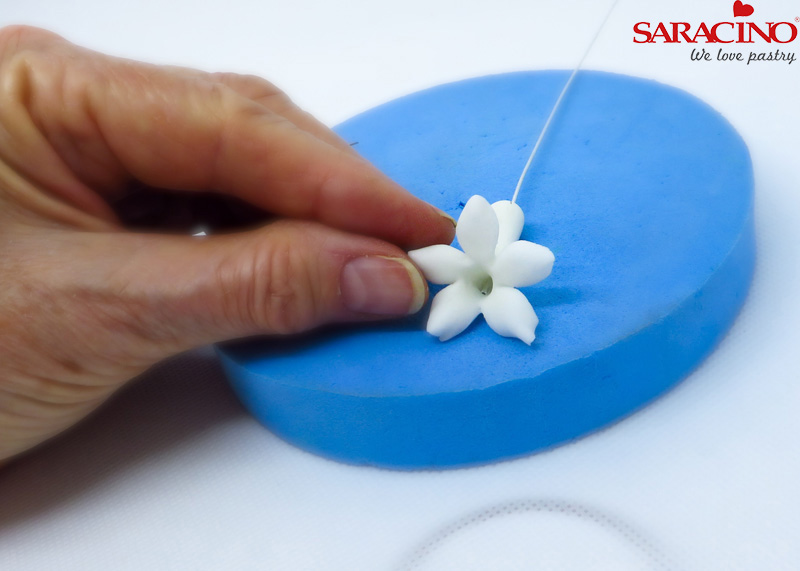
Step 18
Gently form edge of each petal tip between thumb and forefinger
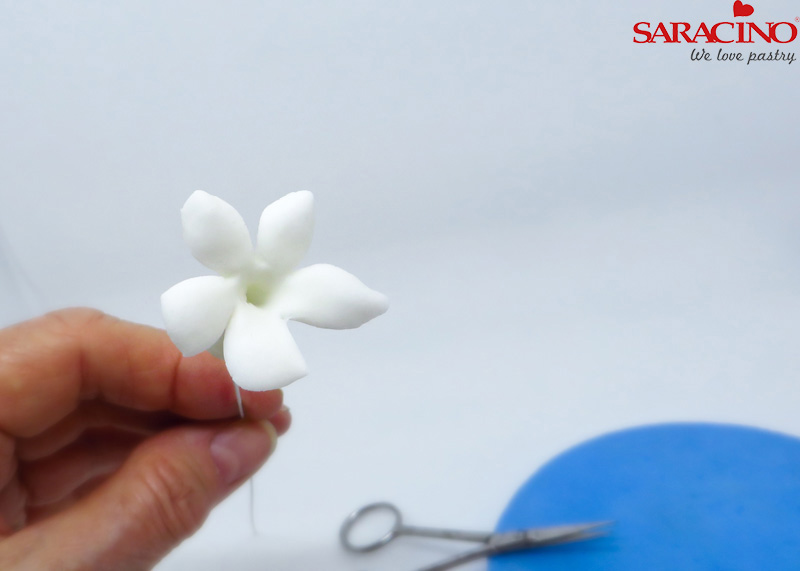
Step 19
This progress photo shows the flat petal as well as formed petals.
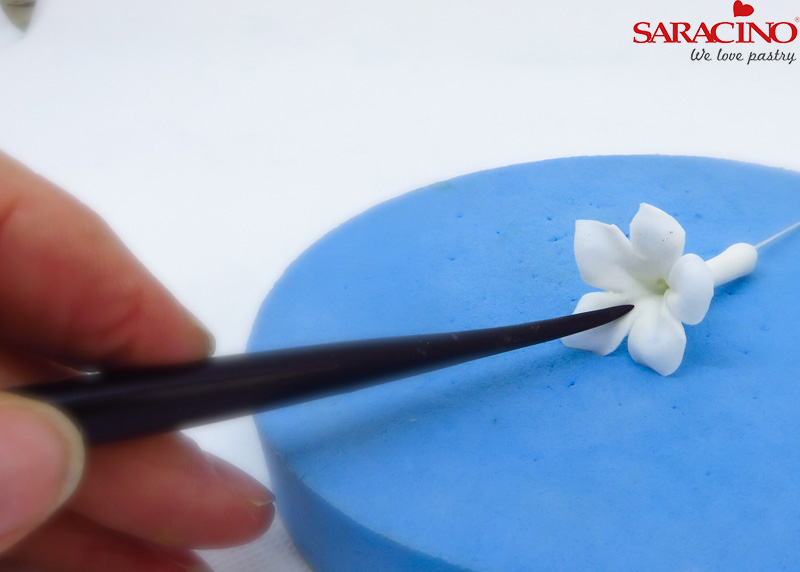
Step 20
Make a small groove in the centre base of each petal, using dresden tool.
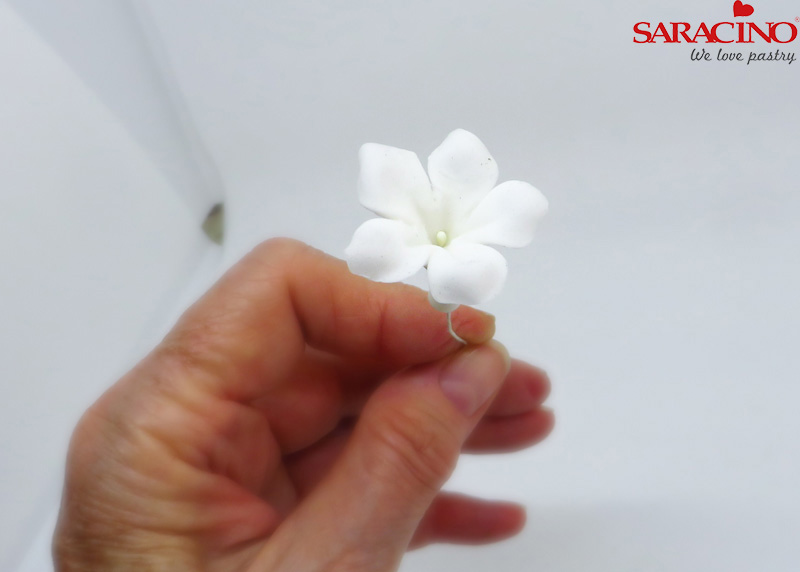
Step 21
Insert a small stamen in the centre.
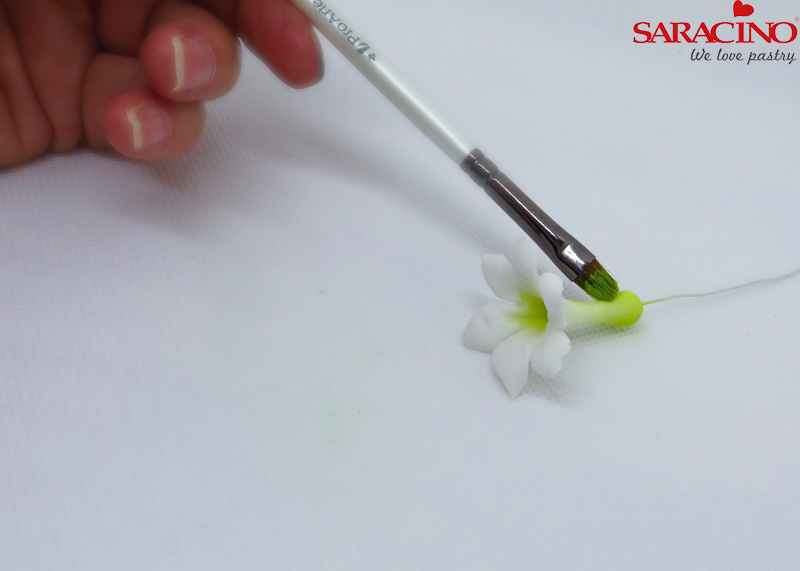
Step 22
Using same lime green as buds, lightly brush the base of the flower and a little in the centre.
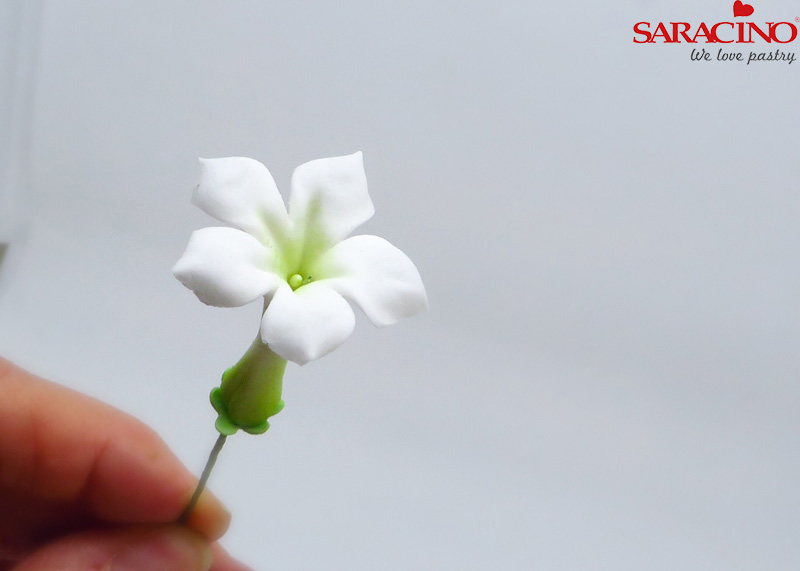
Step 23
As with buds, add the green sepal at base of flower
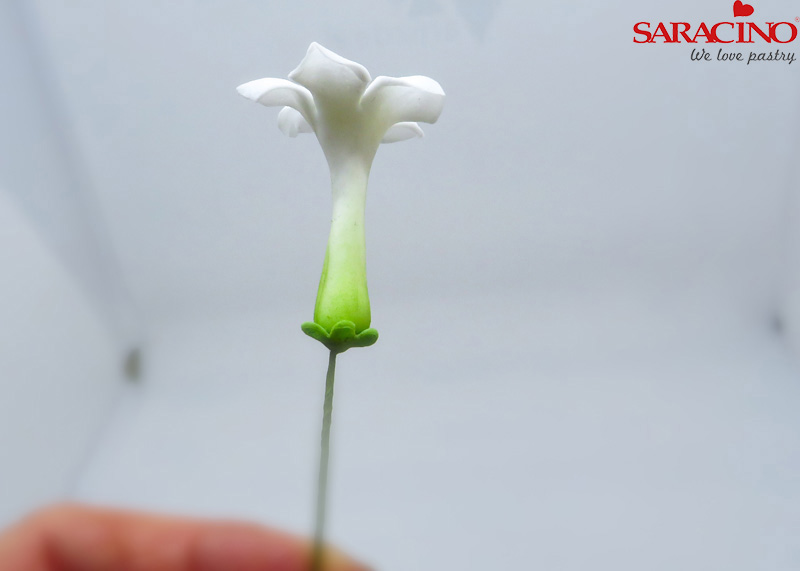
Step 24
As a guide, make enough flowers for approximately 1-2 flowers to about 3-6 buds
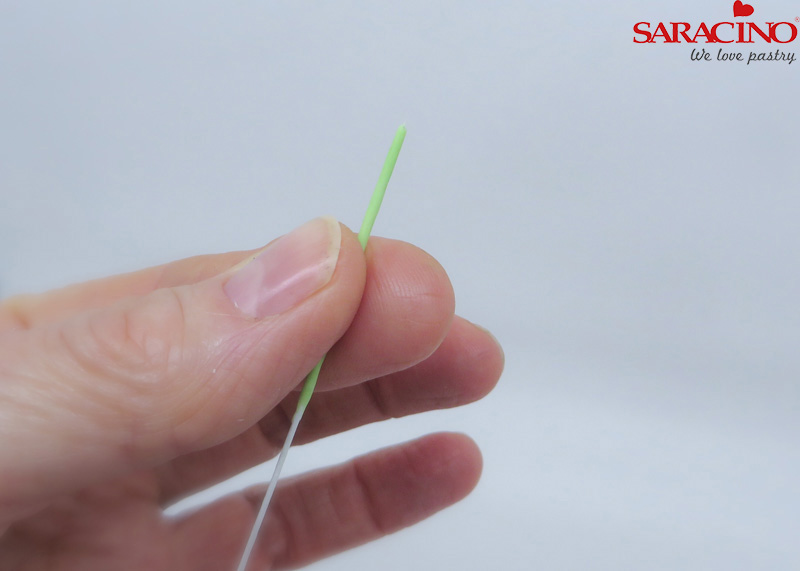
Step 25
You will need to make quite a few leaves of about 4-5 different sizes.
Place a small ball of green paste onto a 26 gauge wire (larger leaves use 22 gauge wire) and taper it down so that length will be just short of what the leaf will be.
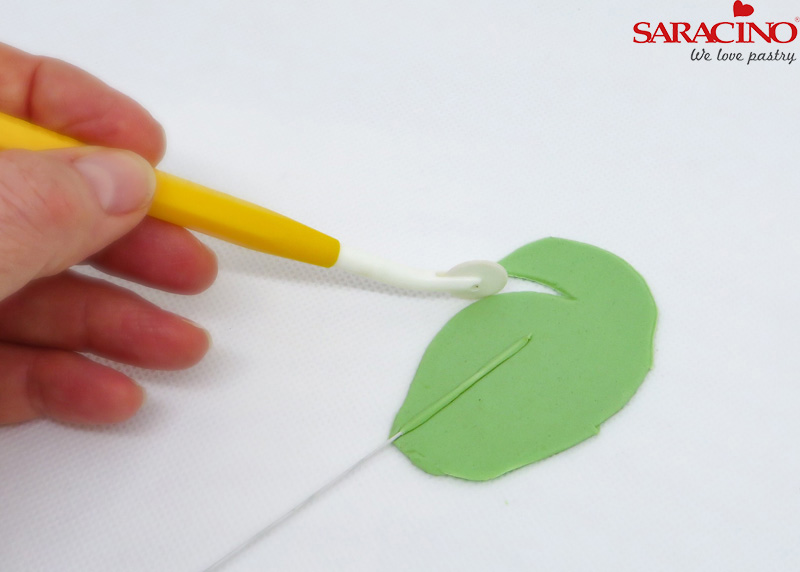
Step 26
Place onto rolled out paste and cut a leaf shape with cutting wheel.

Step 27
Gently smooth the green covered wire into the leaf.
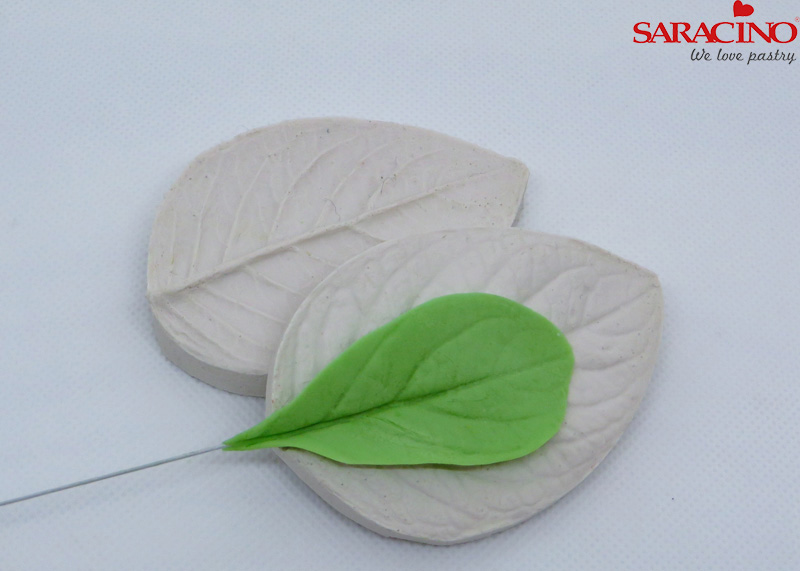
Step 28
Press gently into a universal leaf veiner and form a gentle shape
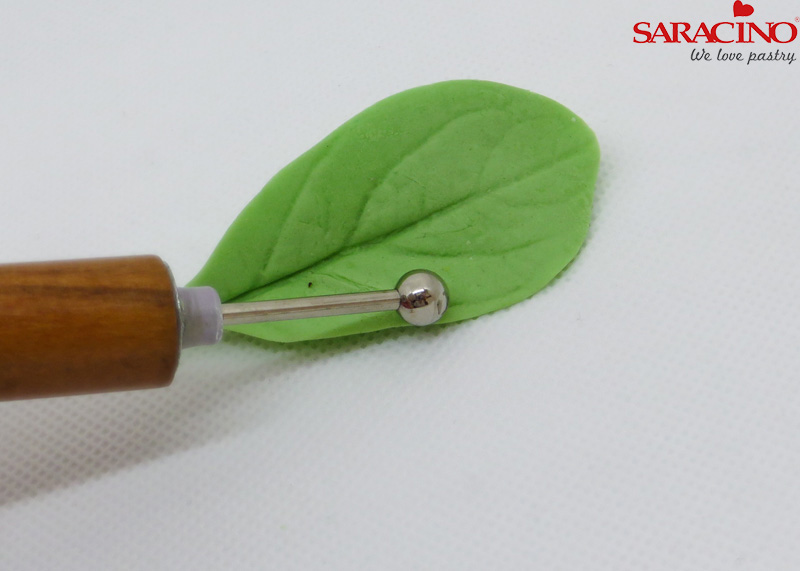
Step 29
Thin the edge with a balling tool
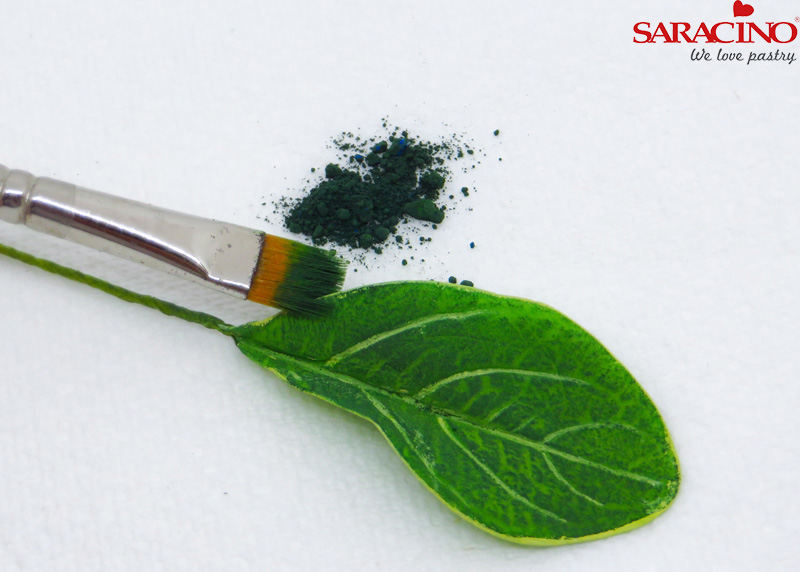
Step 30
Brush with Saracino green dust and over dust again with green/brown mix dust
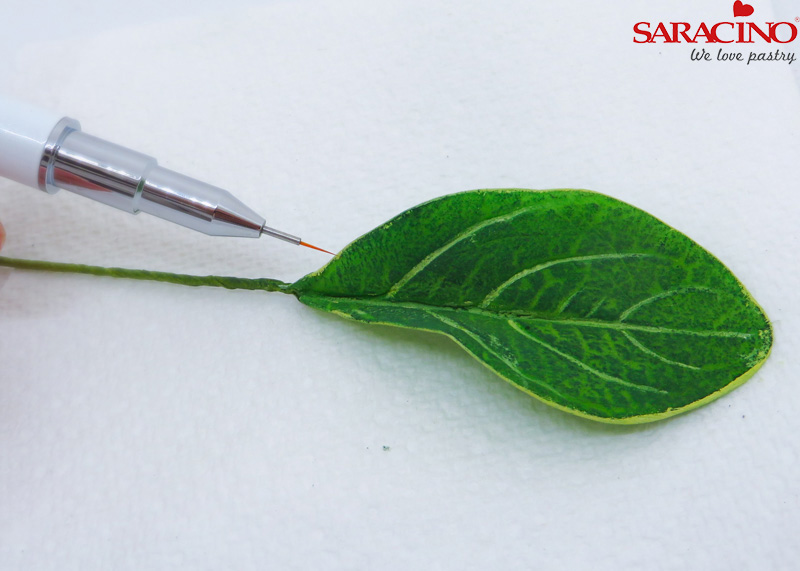
Step 31
Using a fine brush (size 00000) paint a thin line on edge and veins top of leaf
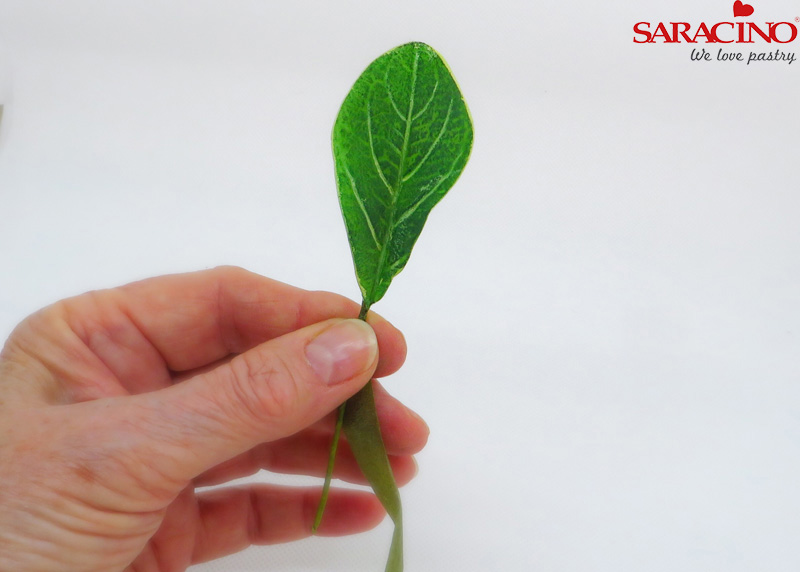
Step 32
Tape the leaves with nile green tape.
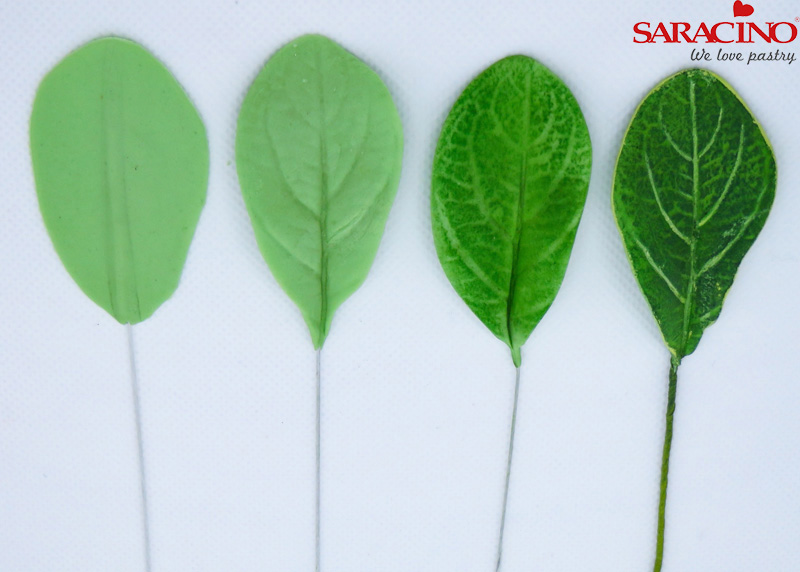
Step 33
This photo shows you the stages I just described
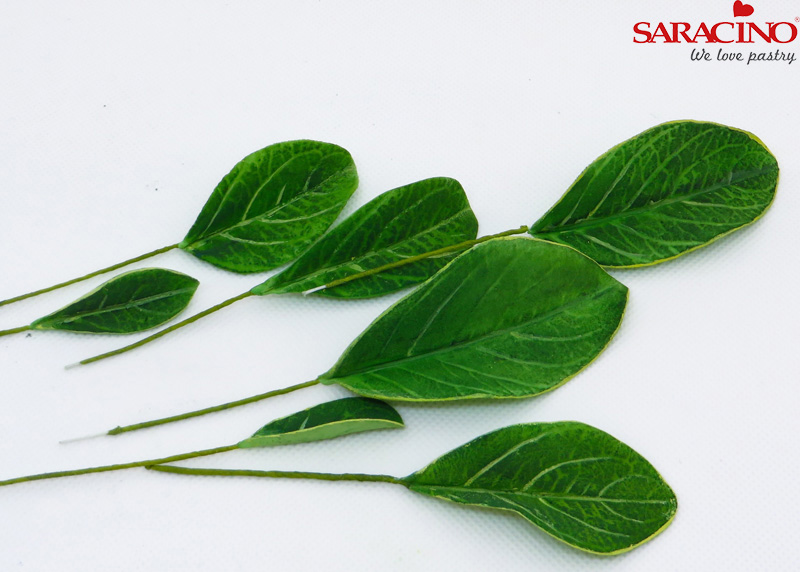
Step 34
Here are several sizes that I made a few of
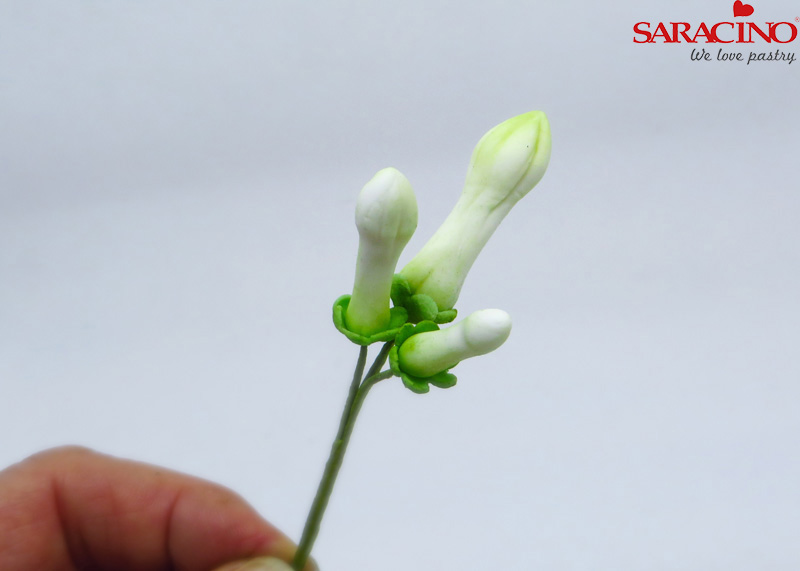
Step 35
Tape together groups of different size buds.
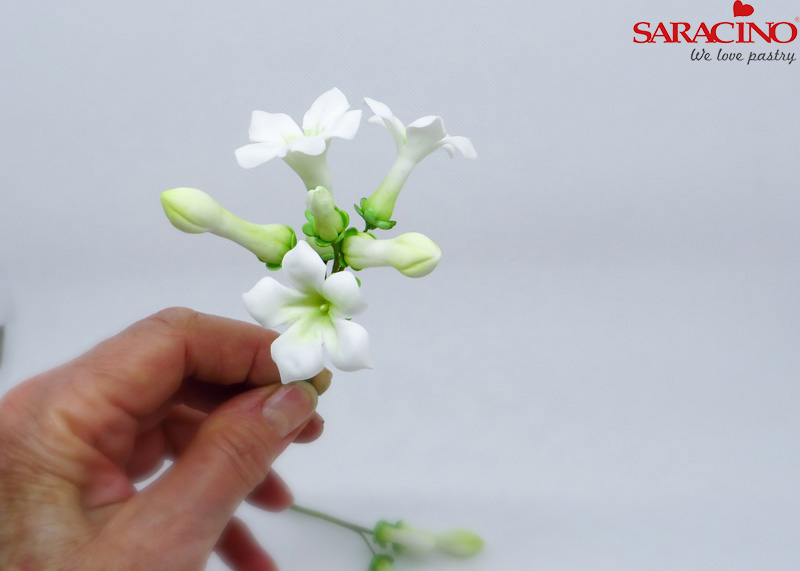
Step 36
Add a few flowers
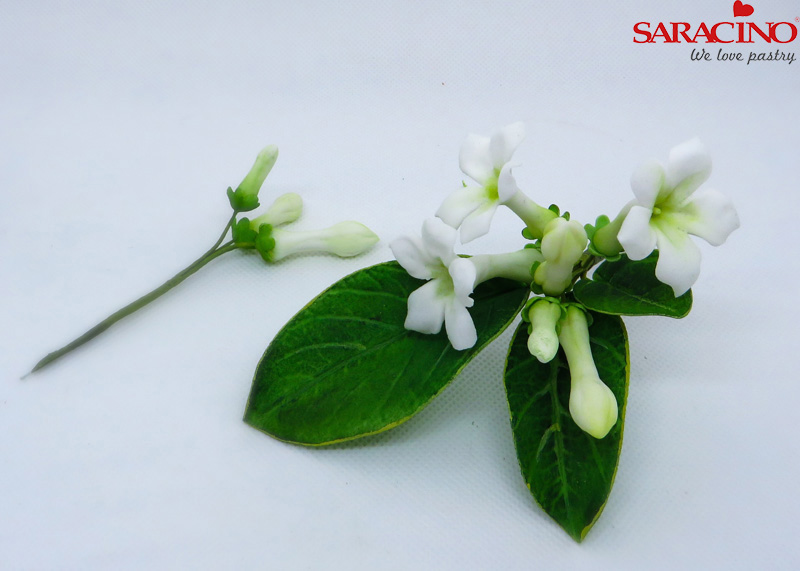
Step 37
Add a few different size leaves
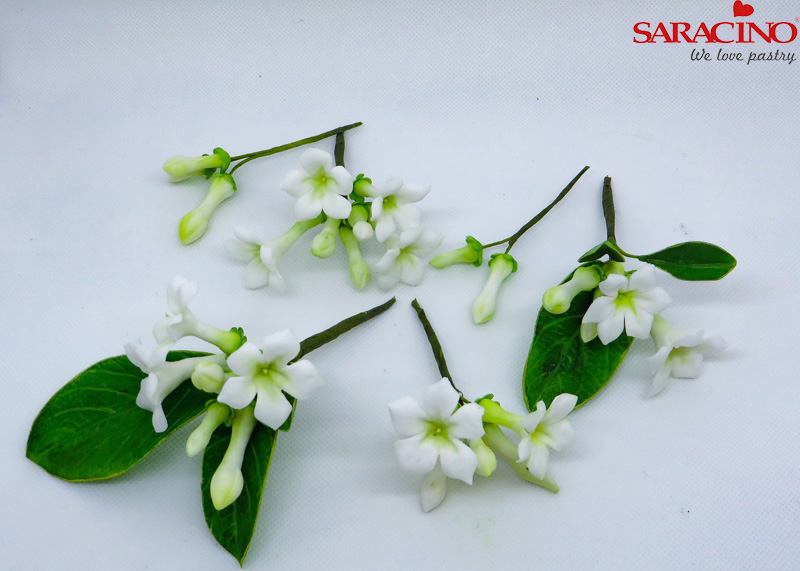
Step 38
This photo shows varied clusters of flowers, buds and leaves I taped together
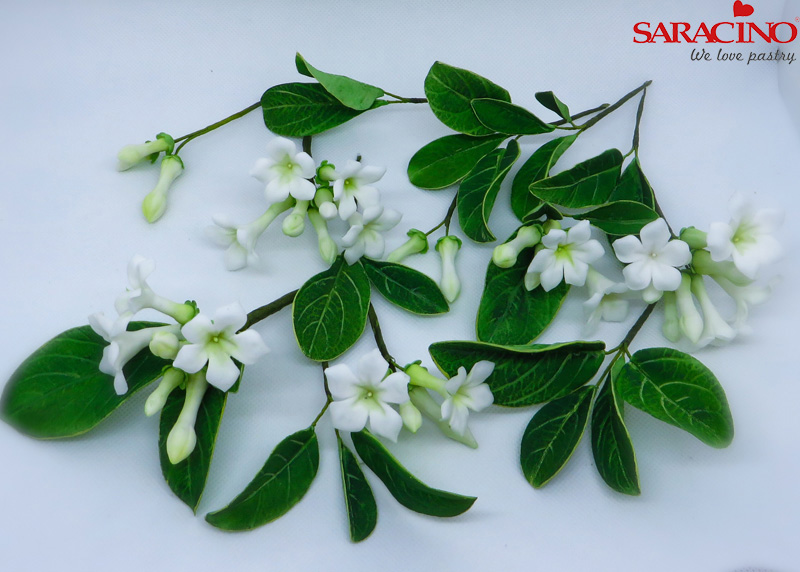
Step 39
Then (using an 18 gauge wire) start taping the clusters in a formation to suit the sugar flower arrangement you may be adding this too.
These are relatively quick to make and are a great addition to any floral arrangement, making for a lovely contrast and adding a bit of freshness. I do hope you enjoy the tutorial.

