

Author: Silvia Mancini

Skill level: BEGINNERS
TIP:
Attach all the parts using only a drop of water. You will need to wait until the paste is a little bit harder before you start to assemble the parts you cut off.
You will need:
- Scalpel
- Rolling pin
- Hard pointed brush
- Straw
- Pointed tool
- Flat brush size 1
- Pointed brush size 000
- Saracino edible glue (if required)
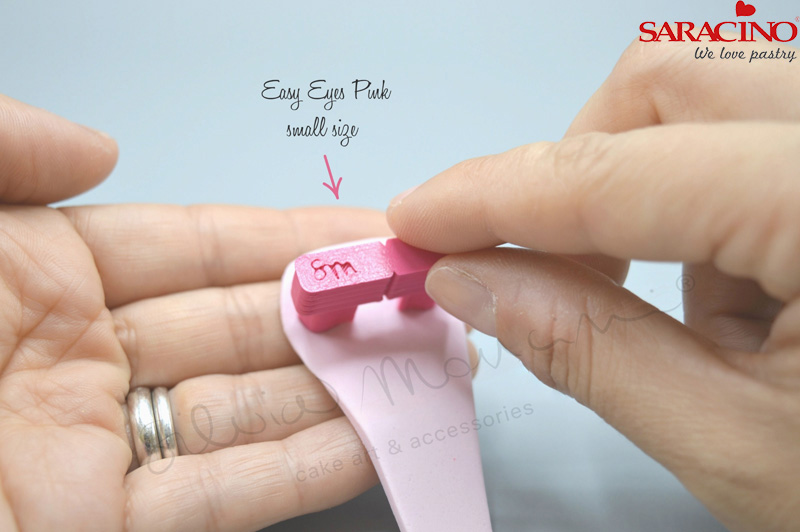
- Easy Eyes – You can use the shapes you like most. I used the pink and yellow shape – small sizes
- Saracino Modelling sugarpaste: white, fuchsia, pink, blue, red, Tiffany (it needs only for few details), a little bit of grey and light blue (for the eyes of the boy’s shoes)
- Saracino black gel colour
- Saracino white gel colour
- Clear alcohol
- Saracino dust pink
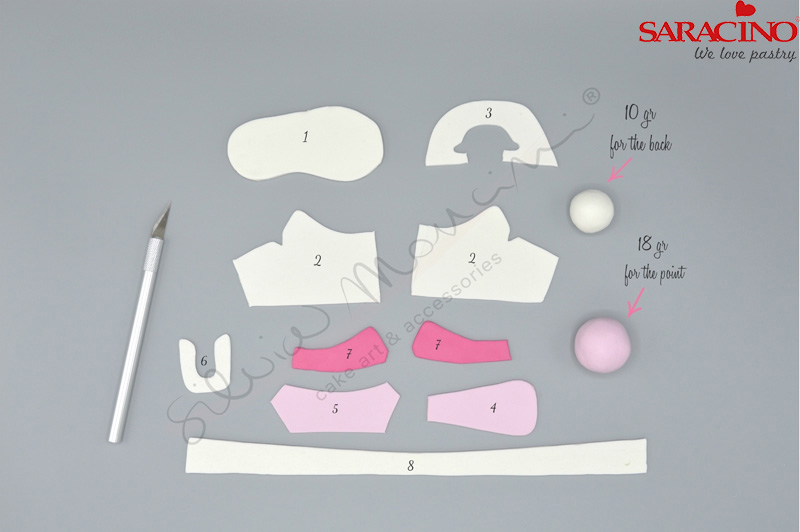
Step 1
Using the downloaded template cut out all the shapes. Make two balls: white 10g and pink 18g.
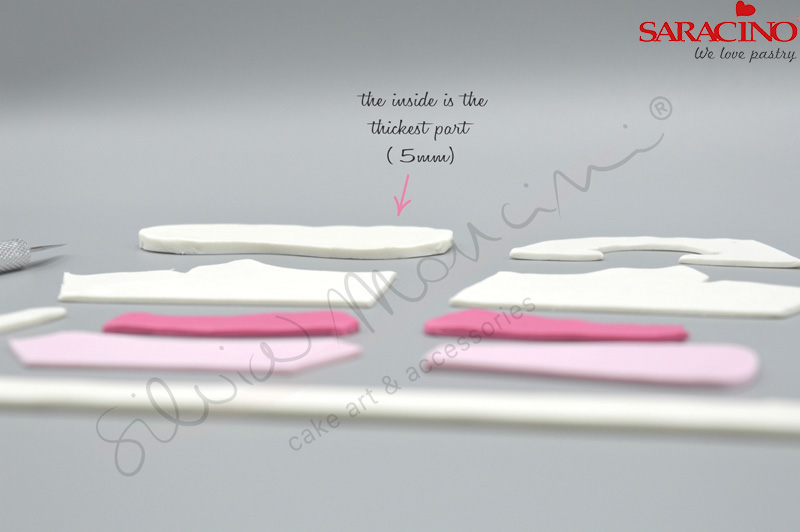
Step 2
Vary the thickness as shown.
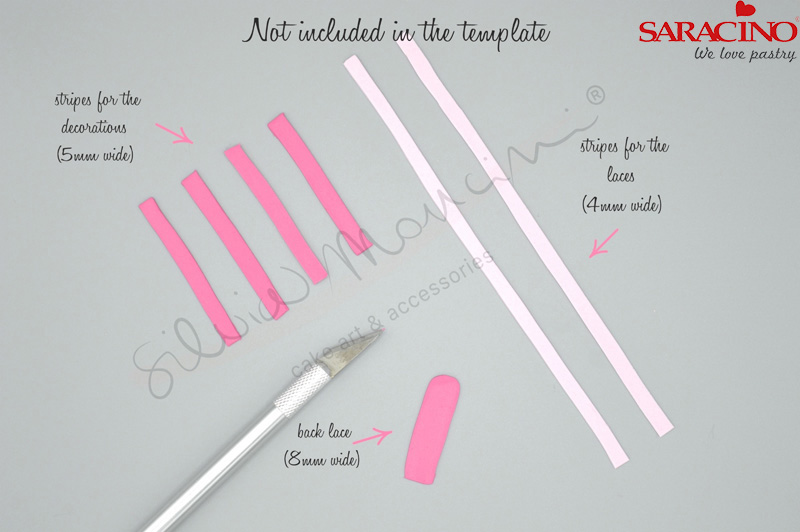
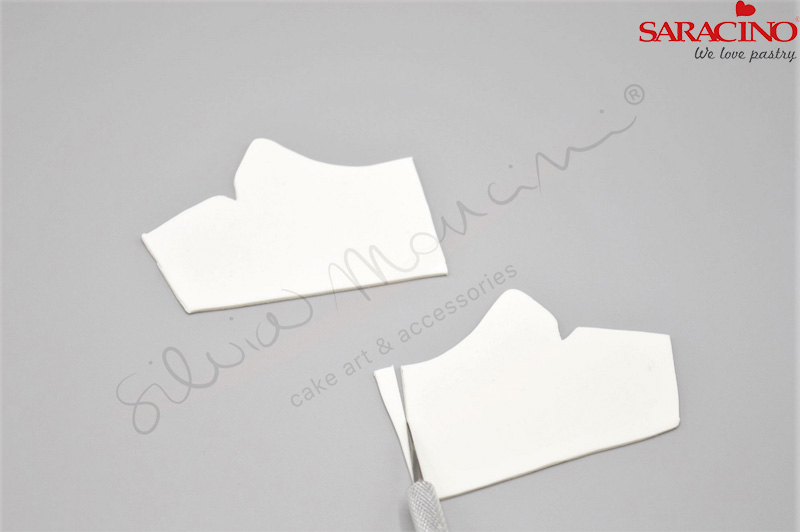
Step 3
You will need to cut out some additional strips that are not on your template.
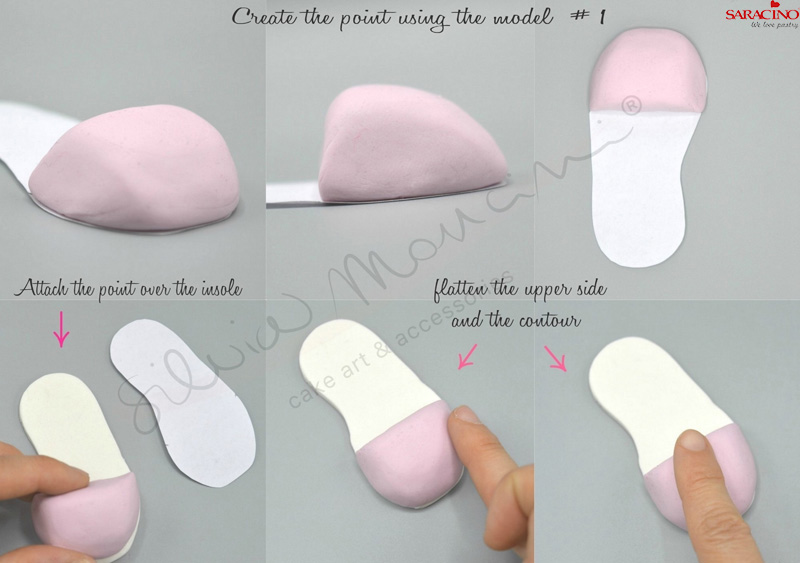
Step 4
Form the toe of the shoe as shown.

Step 5
Create the heel of the shoe.
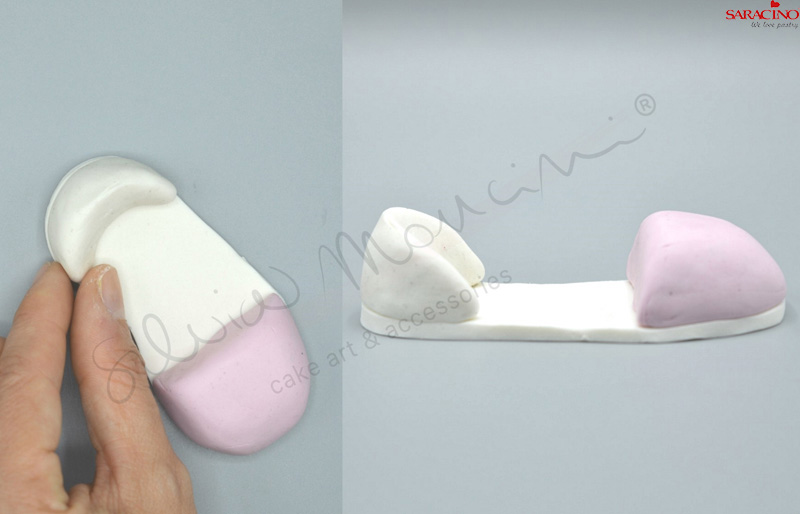
Step 6
Attach the heel as shown using a drop of water.
Step 7
Using a blade trim shape number two
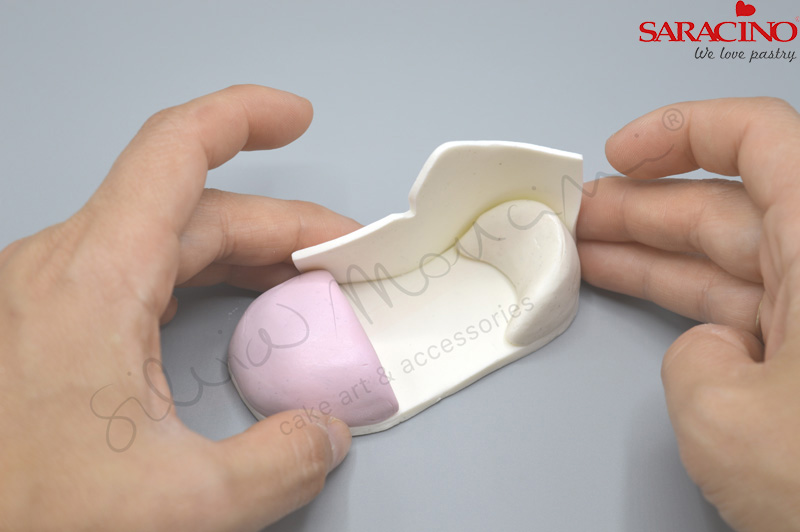
Step 8
Attach shape number 2 to the base.
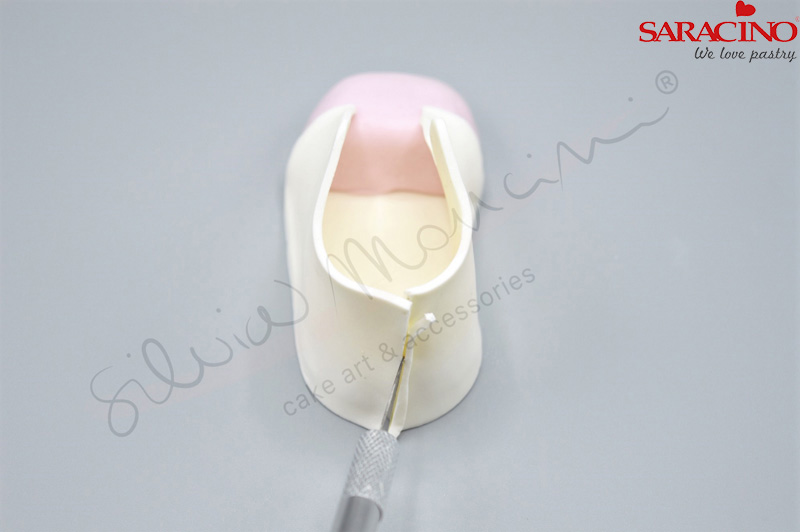
Step 9
Trim any overlapping excess paste using a scalpel. It doesn’t have to be perfect we can blend as shown in the next step.
Step 10
Using a Dresden tool blend the joint.
Step 11
Use the Easy Eye cutter on the tongue.
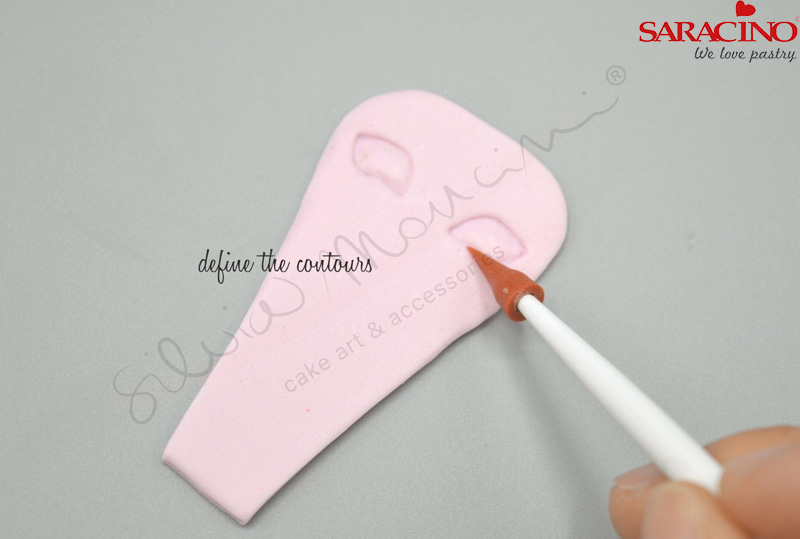
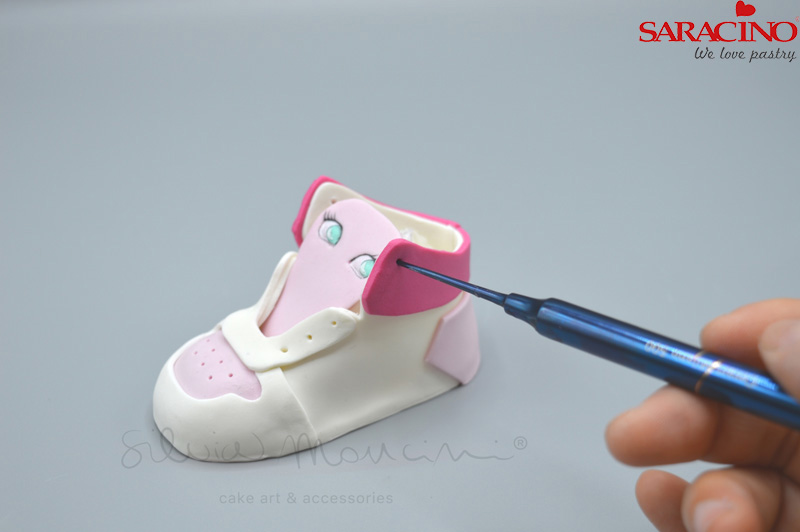
Step 12
Using your pointed tool define the shape.
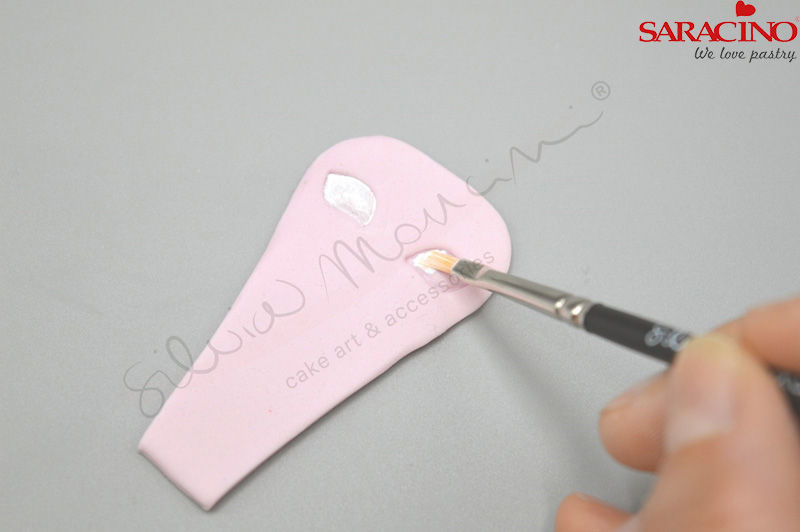
Step 13
Using the white colours paint inside the defined areas.
Step 14
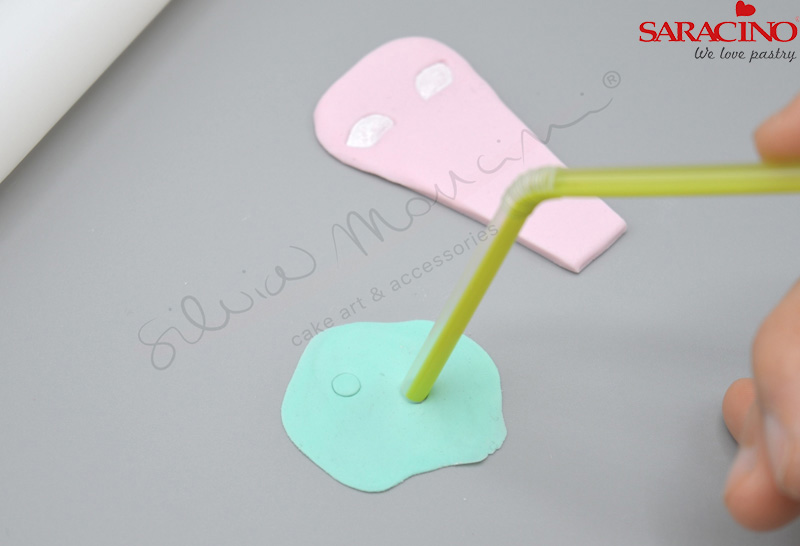
Using the end of a straw cut out the ‘eyes’ from rolled out blue paste.
Step 15
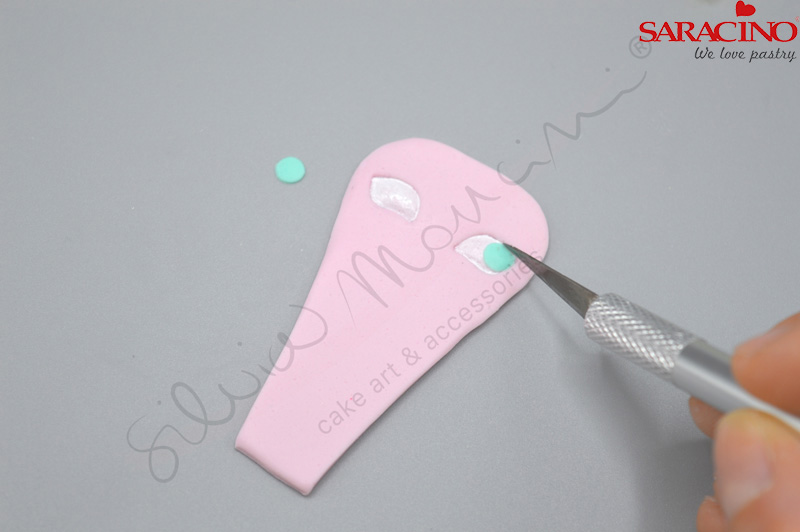
Attach as shown using a drop of water.
Step 16
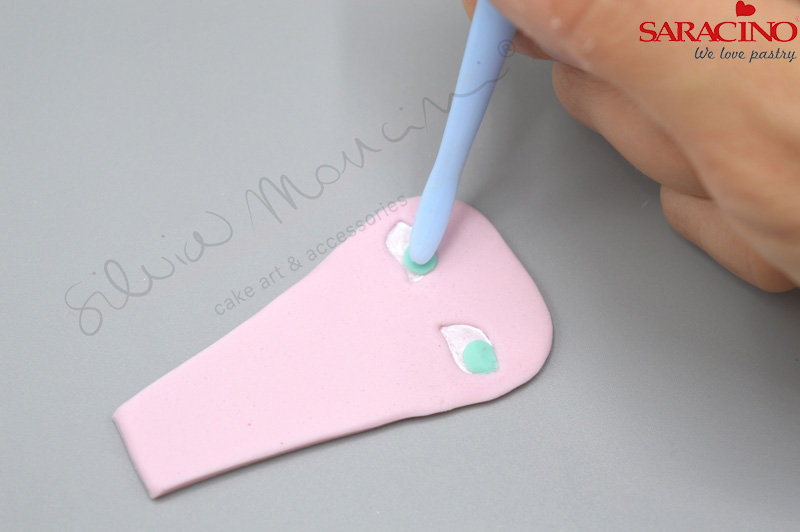
Blend using a Dresden tool.
Step 17
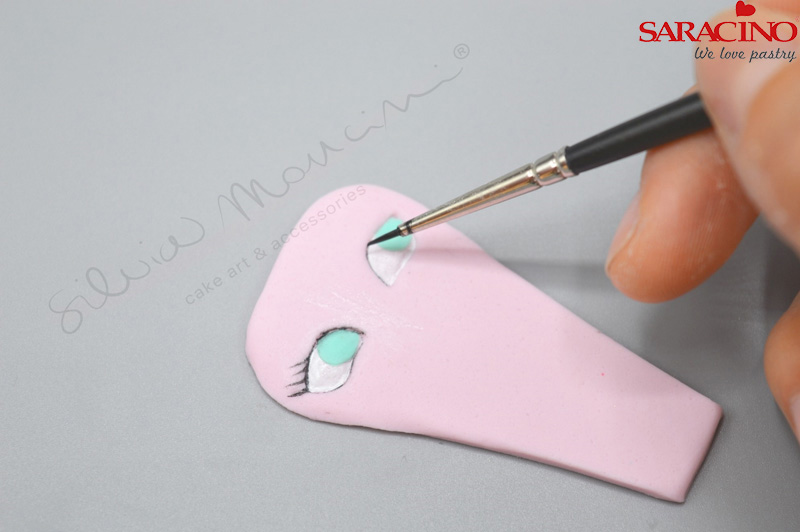
Using your fine paintbrush draw eye lashes using the black colours. Blend your powder with a clear alcohol as required.
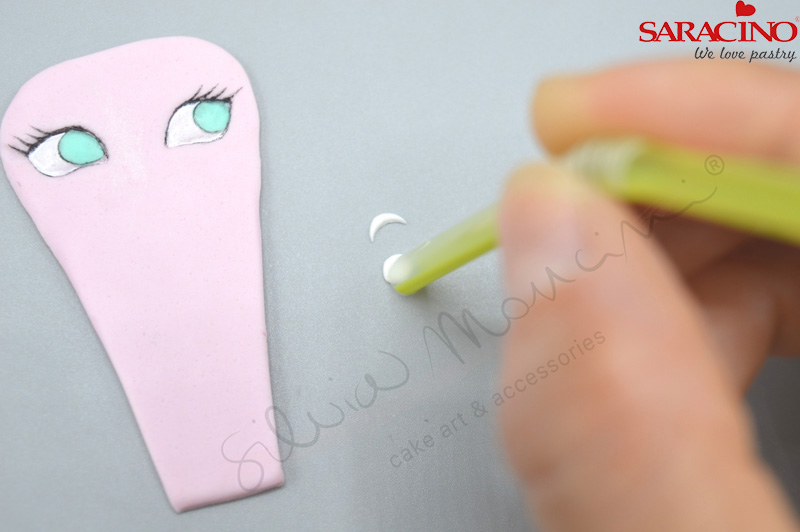
Step 18
Using your straw cut out highlights for the eyes.
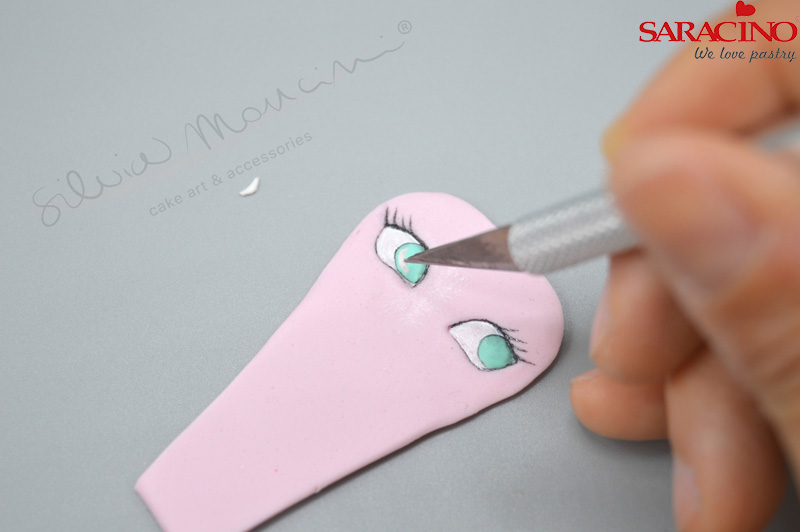
Step 19
Attach and blend the highlights to each eye.
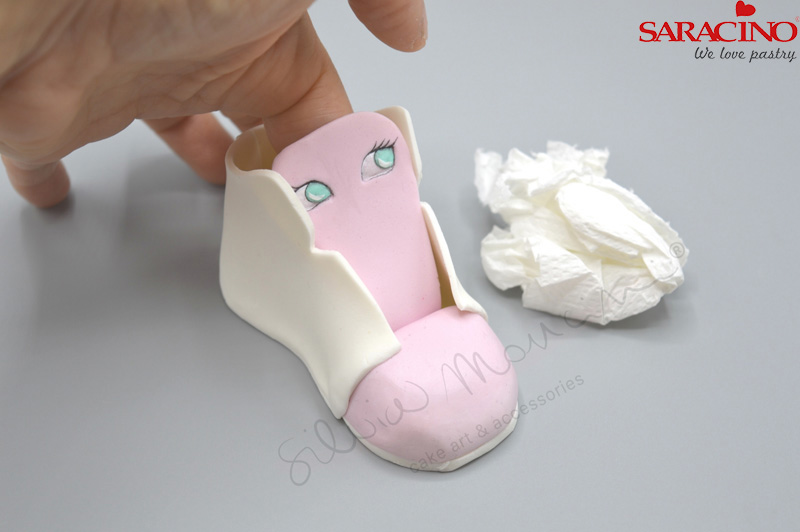
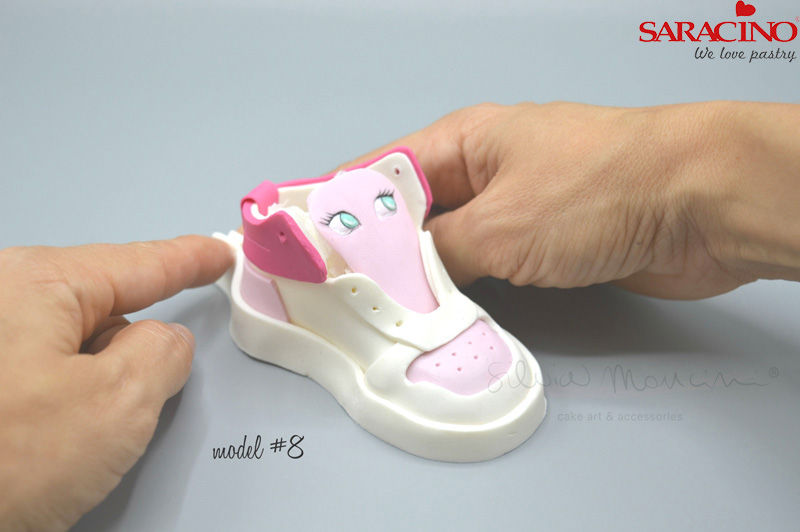
Step 20
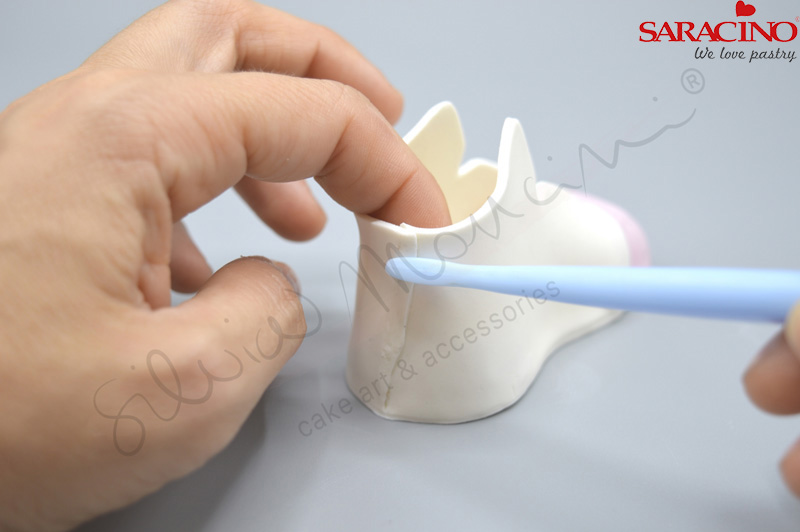
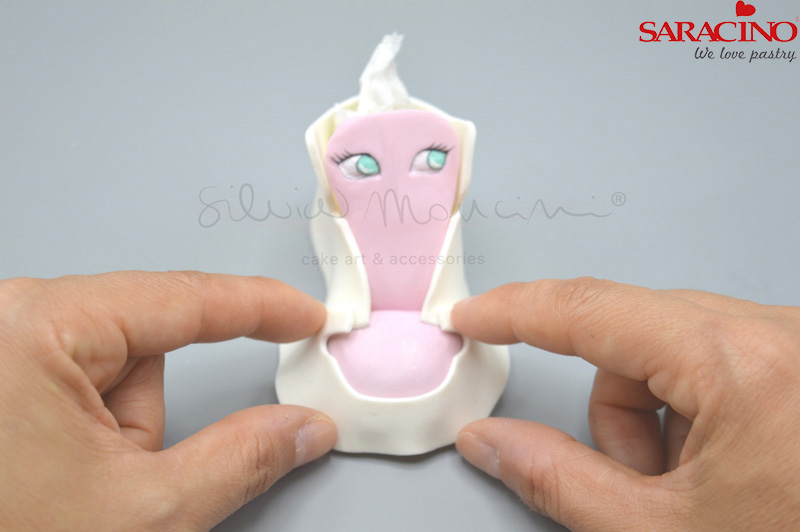
Fix the shoe tongue into place using Saracino edible glue or a drop of water.
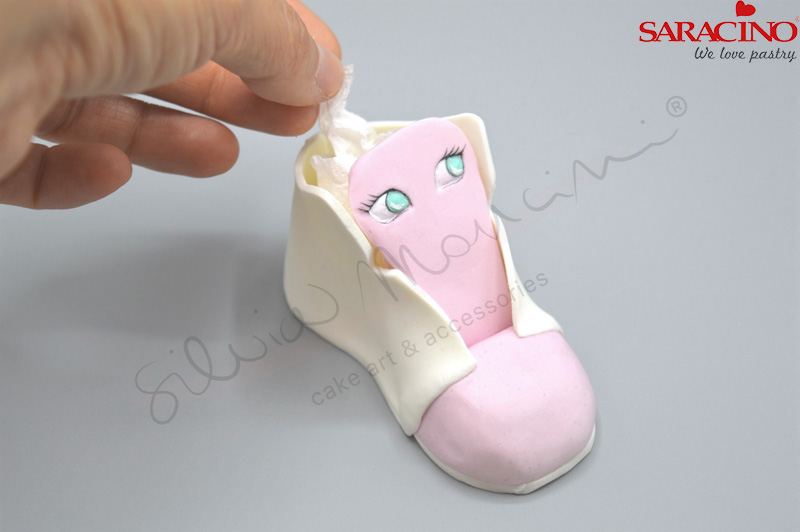
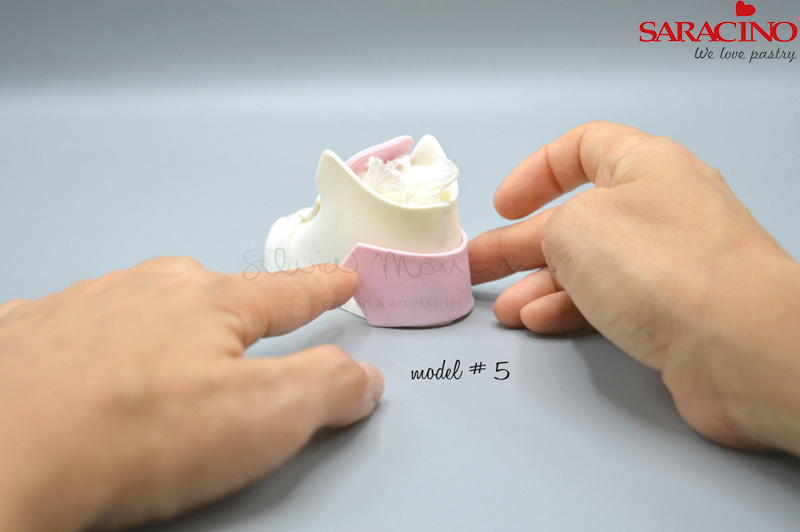
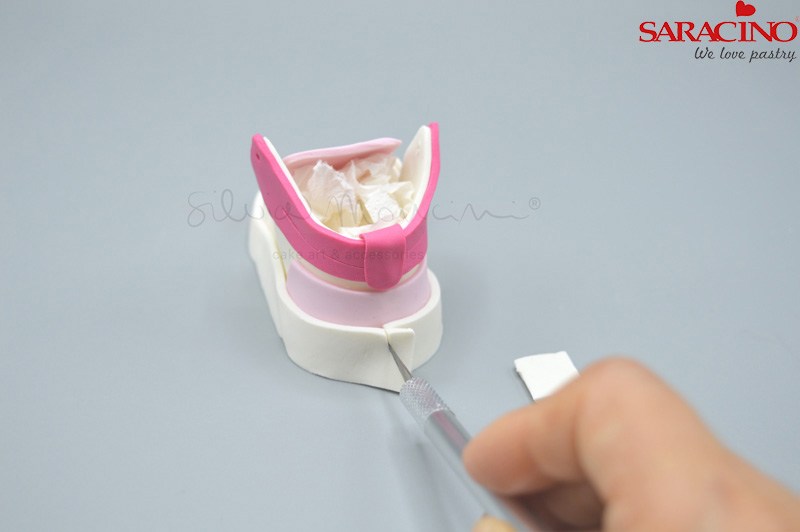
Step 21
Pack behind the tongue with tissue to keep shape until dry.
Step 22
Using shape number three wrap around the front of the shoe.
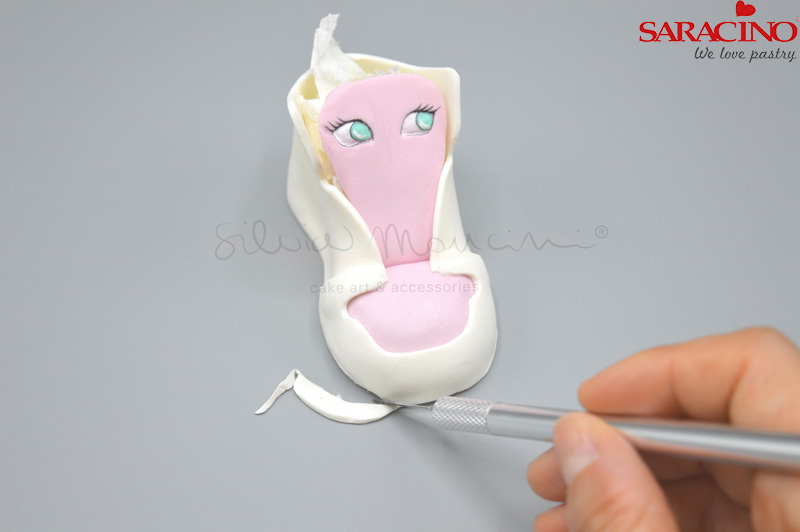
Step 23
Trim any excess with your scalpel.
Step 24
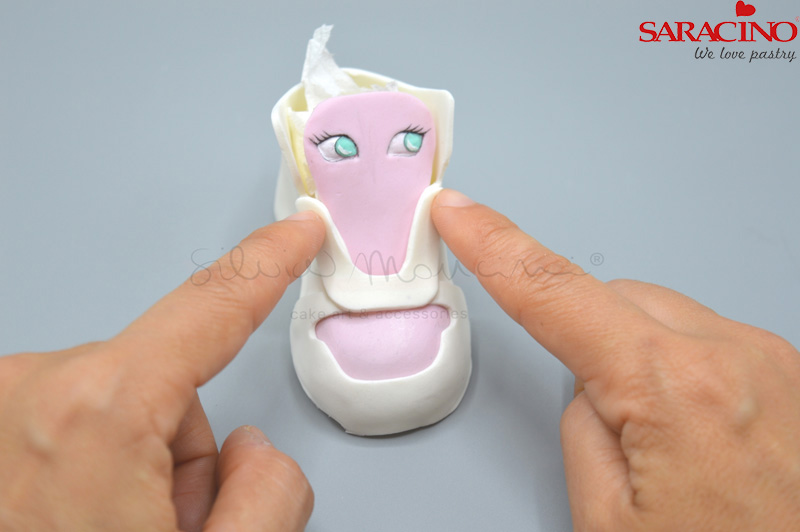
Using shape number six fix as shown.
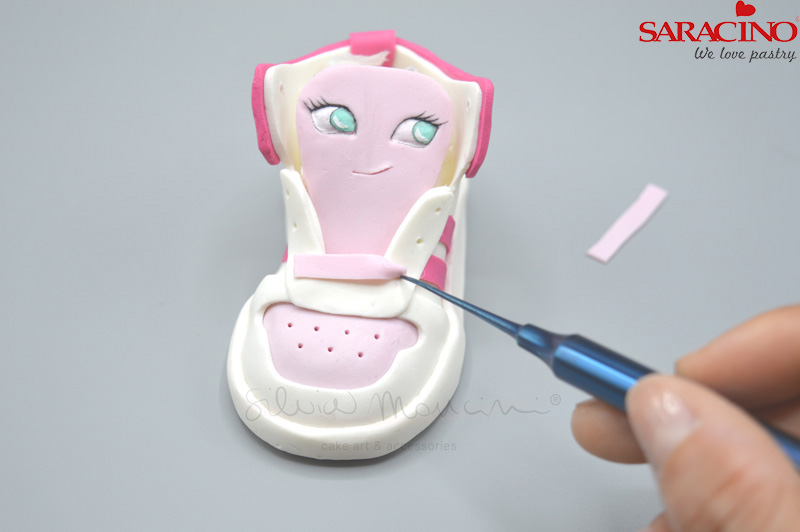
Step 25
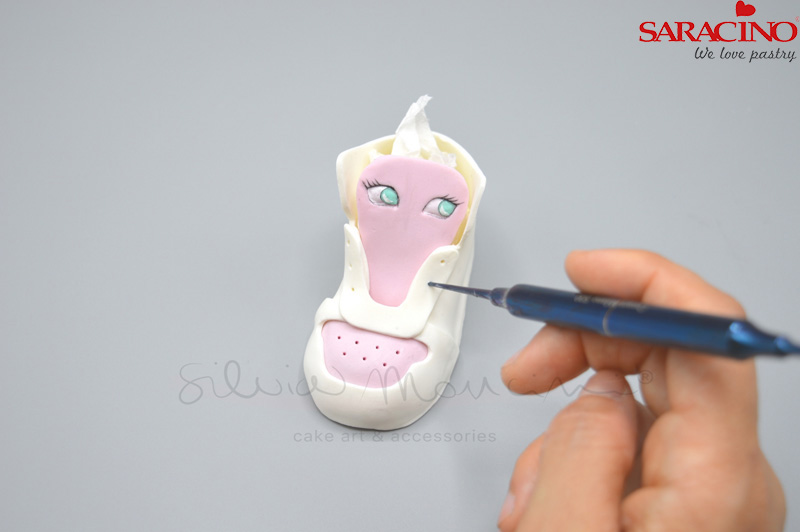
Using a small ball tool make lace holes and pattern on the front of the shoe.
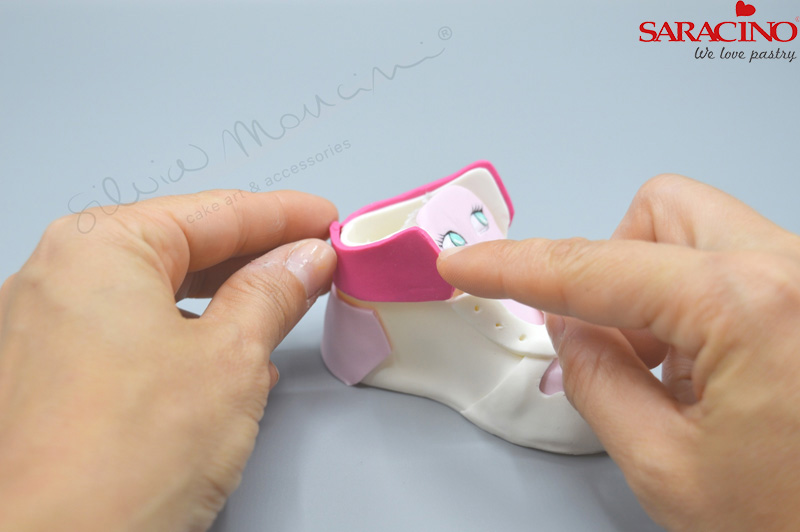
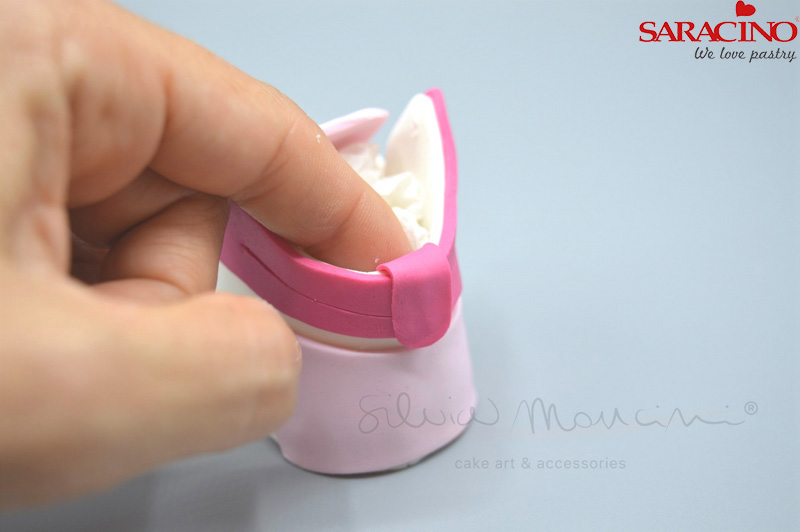
Step 26
Fix shape number 5 to the heel of the shoe.
Step 27
Fix shapes number 7 to the back of the shoe.
Step 28
Make lace holes using your small ball tool.
Step 29
Make stitch lines using a scalpel or sharp tool.
Step 30
Attach the 8mm back lace as shown.
Step 31
Attach piece number 8 around the sole as shown.
Step 32
Trim any excess at the back using a scalpel.
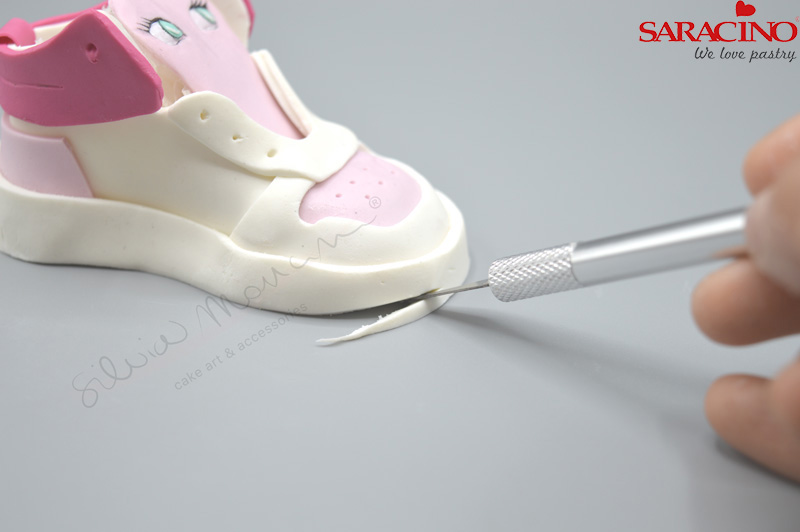
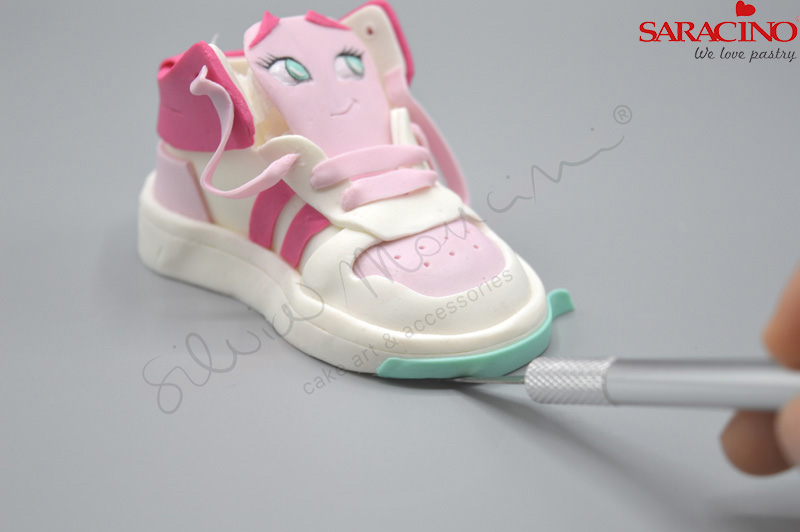
Step 33
Trim the toe of the shoe as shown to raise off the floor
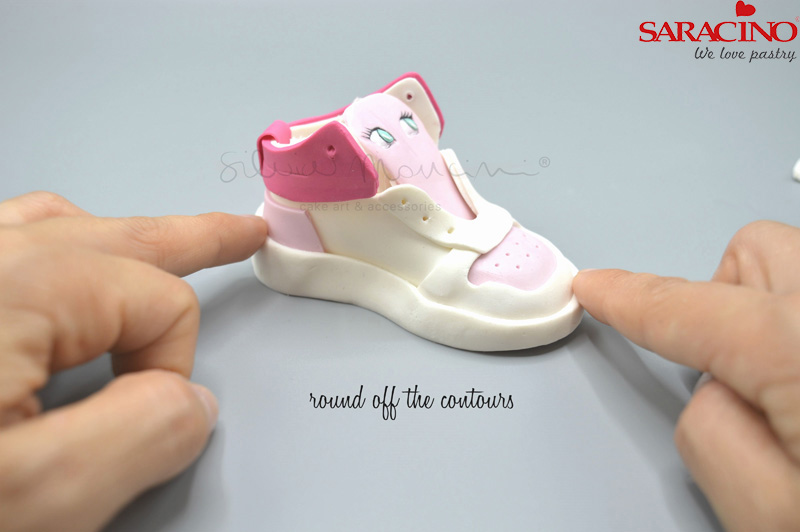
Step 34
Blend edges to round off.
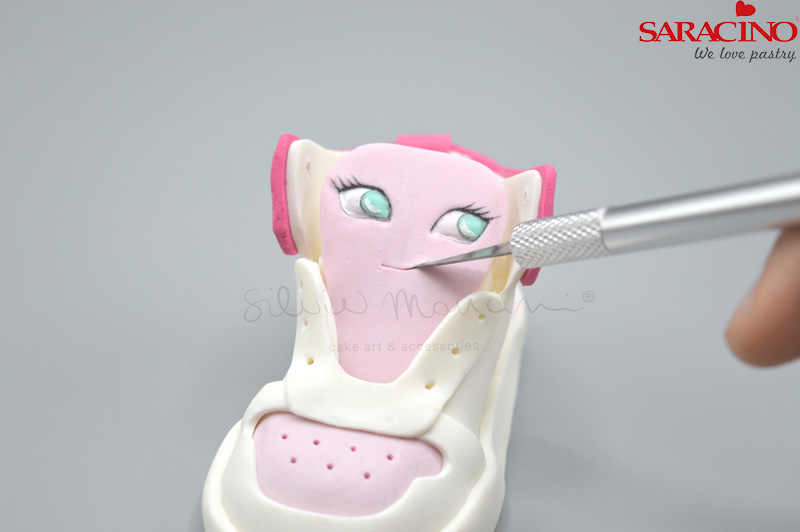
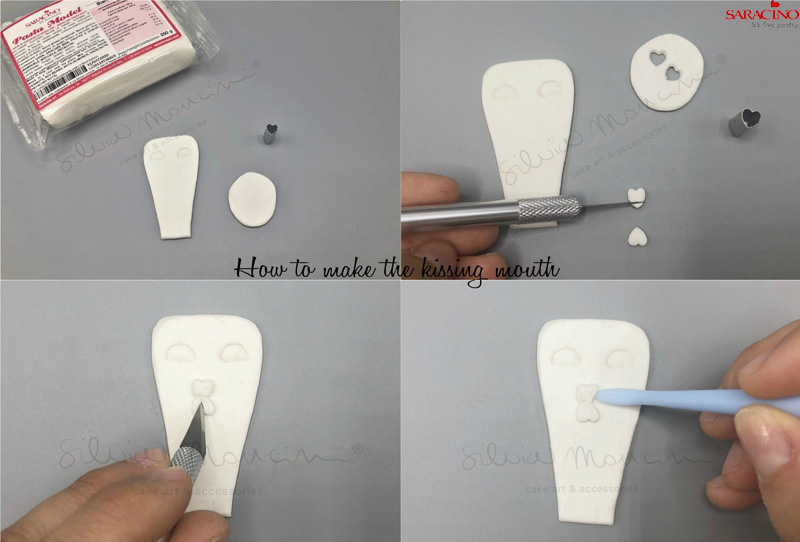
Step 35
Form a mouth using your scalpel.
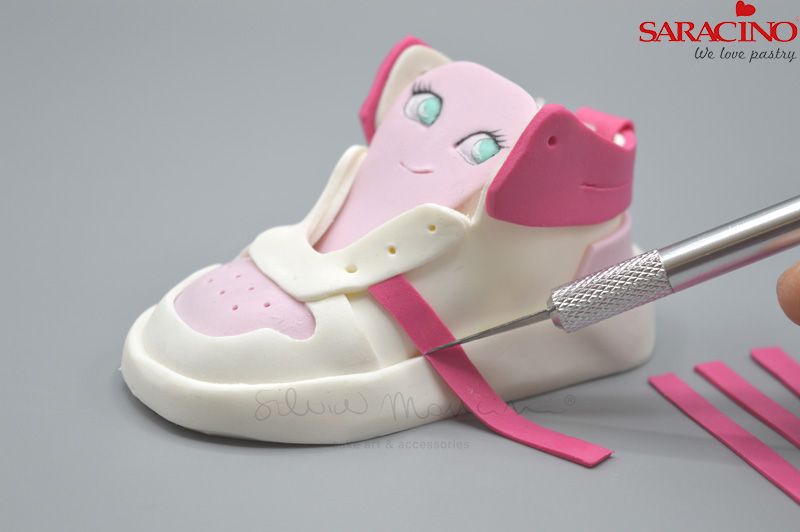
Step 36
Add the 5mm strips as shown.
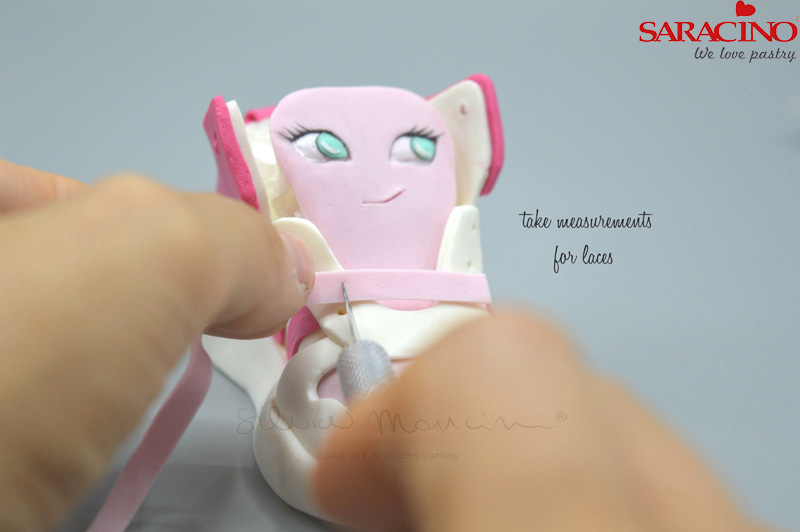
Step 37
Check the length needed for your laces.
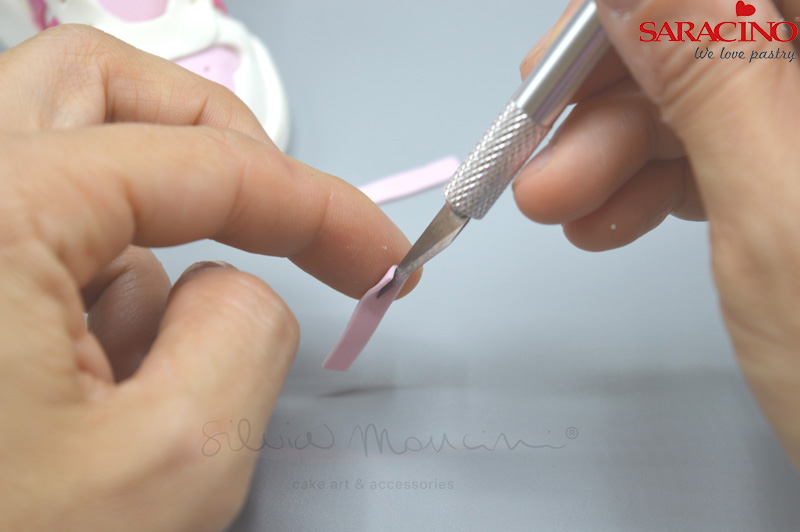
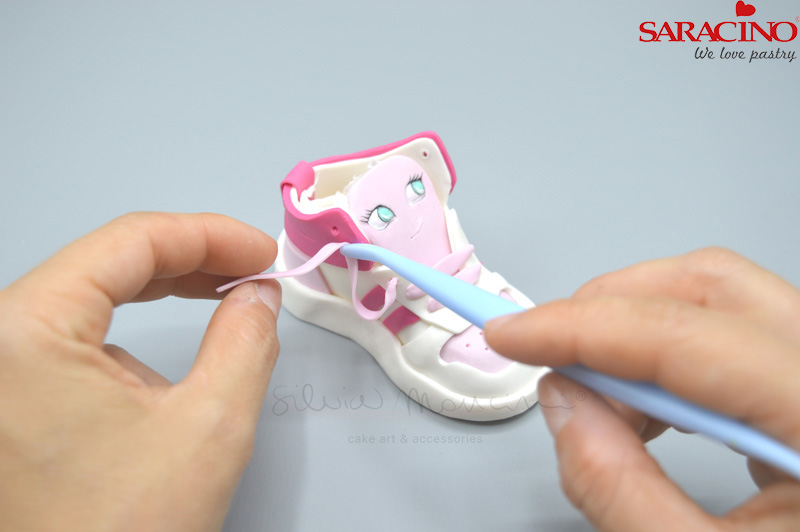
Step 38
Give the lace definition using the back of a sharp tool.
Step 39
Fix the lace into the lace holes previously formed.
Step 40
Using the longer laces fix to the side of the shoe as shown.
Step 41
Cut out and fix eyebrows.
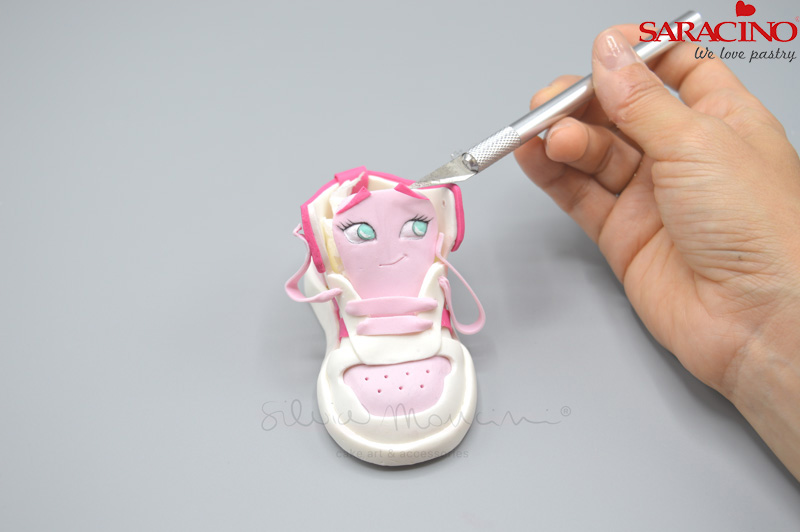
Step 42
Use your scalpel to make a stitch line around the shoe.
Step 43
Using Tiffany coloured paste attach the front of the shoe.
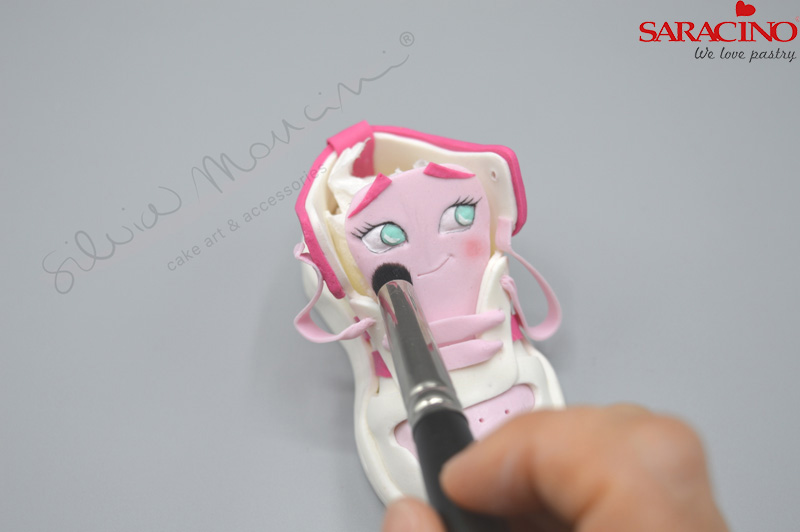
Step 44
Using pink powder dust give the cheeks some definition with a soft brush.
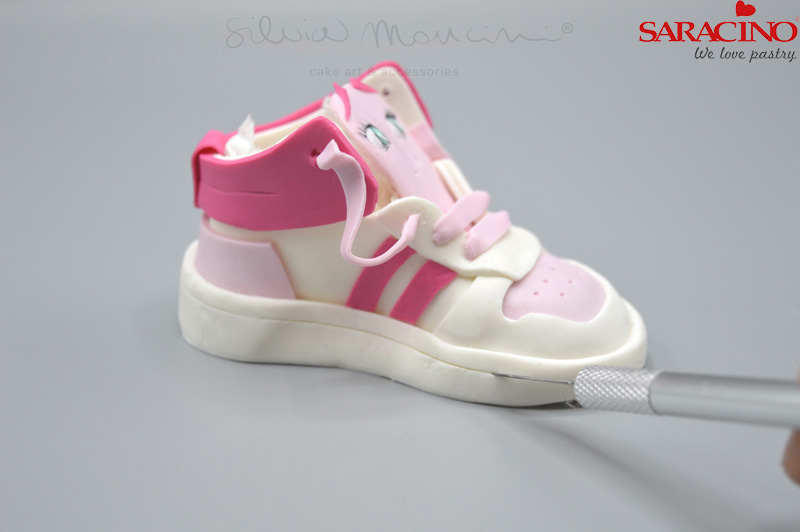
Step 45
Repeat all the above steps to create the other shoe. You can customise each shoe to look how you want.
