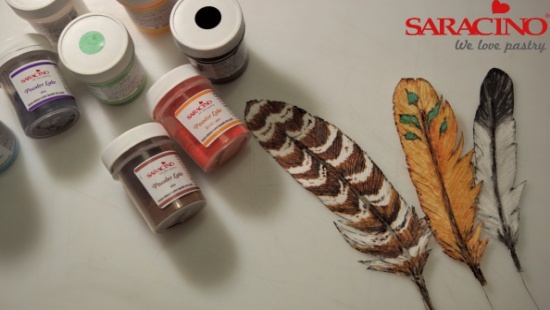

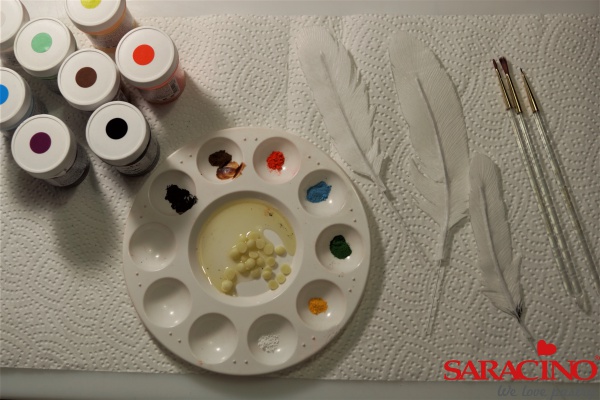
You will need:
- Wafer Paper from Saracino – 0.27 thickens
- Saracino cocoa butter
- Powder dust – black, brown, green, blue, yellow, orange from Saracino
- Flower wire 24 gauge
- Piping gel from Saracino
- Small scissors
- Pencil
- Dresden tool
- Painters palette
- Brush big wide
- Fine brushes
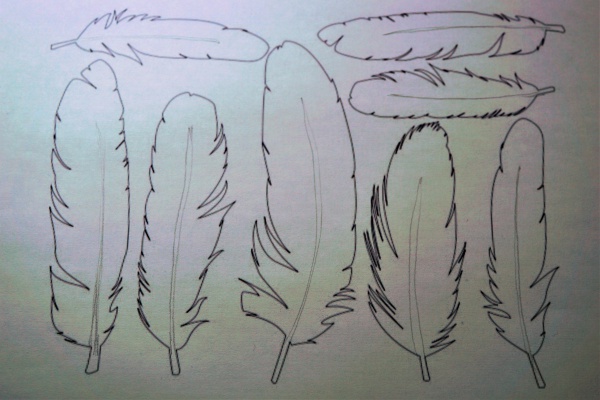
Step 1
Choose a feather template and cut it out with scissors.
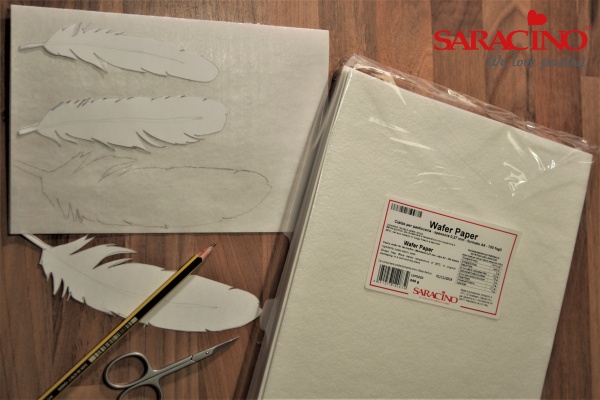
Step 2
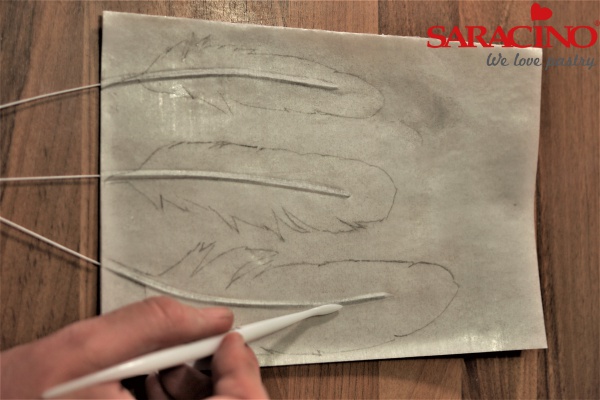
Fold the waferpaper so that the rough side is inside. Transfer the template to the outside of the paper using a pencil.
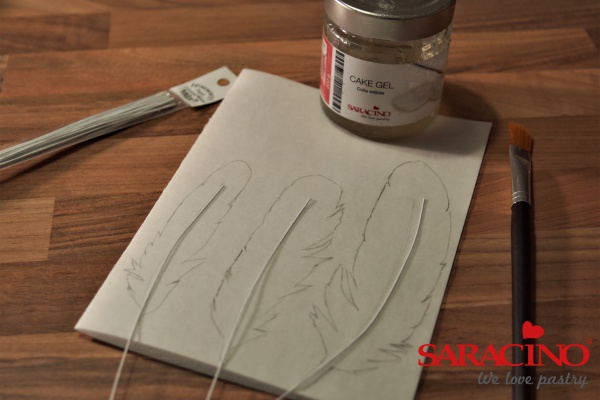
Step 3
Prepare floral wire to a length suitable to fit the centre of the feathers and bend them slightly to give them gentle curvature.
Step 4
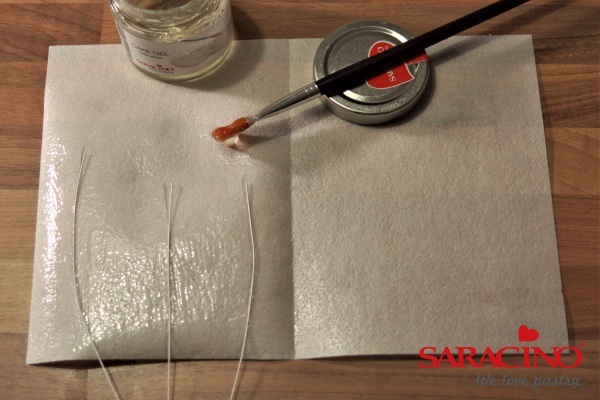
Coat the edible paper on the inside with piping gel using a large brush, then place the floral wire and fold. Give good pressure to glue the waferpaper well.
Step 5
Using a dresden tool push the wafer paper over the wire to form the centre of the feather. Let it dry for several hours.
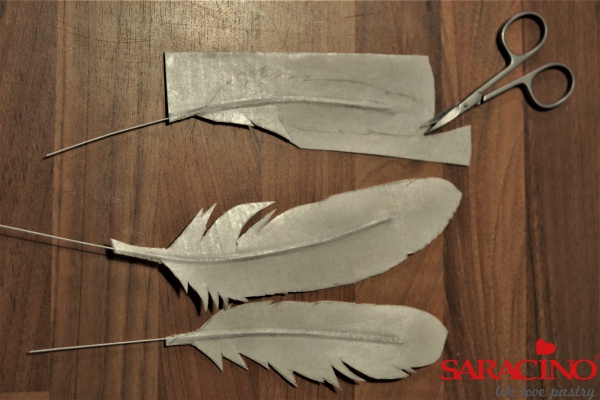
Step 6
Cut out the feathers carefully with small scissors. Add texture to the feather using a Dresden tool.
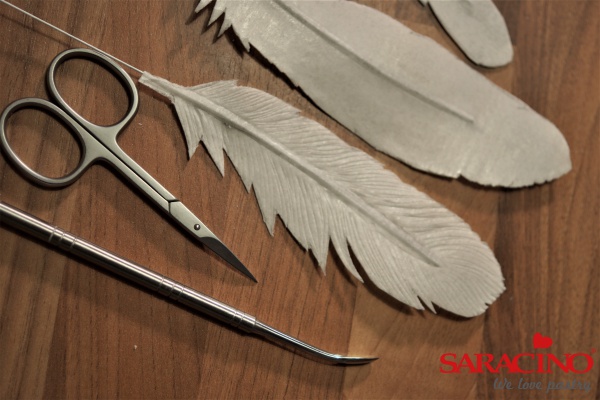
Step 7
Now you are ready to paint your feathers as required.
Step 8
Melt the cocoa butter and mix with powder colours.
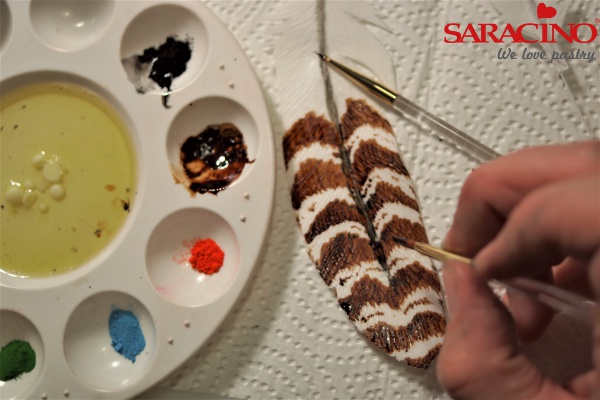
Step 9
Using a thicker mixture paint the darker parts of the feather. To achieve more transparent colour for the lighter sections use a thinner mix.
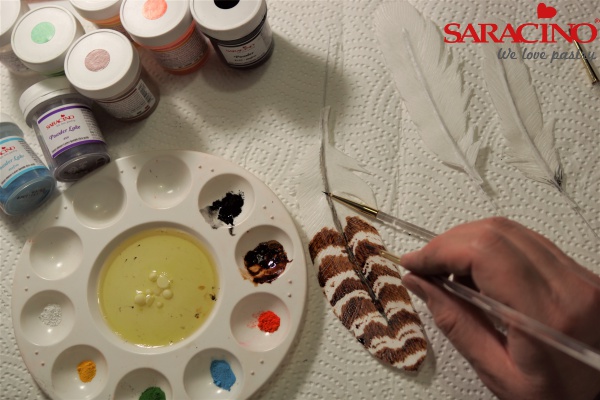
Step 10
I always start with a general base colour (thinner blend) and work with the details gradually. The following details are usually marked in colour and applied with a finer brush.
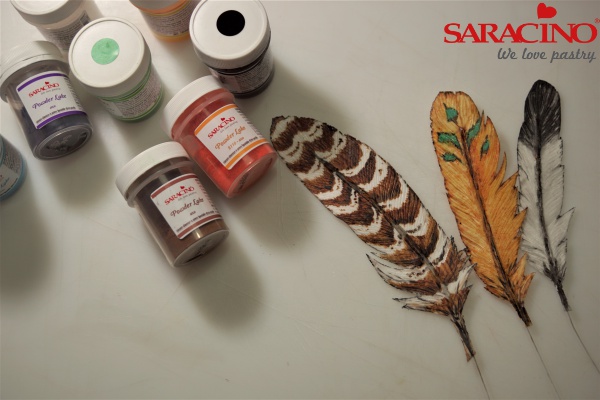
Step 11
The colour scheme can be made as you wish – add a fine marking outer line around the edge of the feather.
