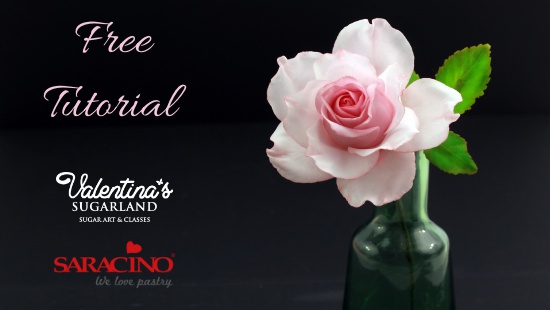
You will need:
- 50-70g Saracino Pasta Bouquet Gum Paste
- Saracino Cake Gel or glue
- Gel colours green and pink
- Dust colours – pink, green, white, yellow, red
- Floral wire green 20G and 28G
- Floral wire white 28G
- Styrofoam rose center 3.5cm
- Floral tape, green
- Teardrop cutter 4.5cm and 5cm
- Rose leave cutter 4cm and 3cm
- Veiner rose petal, large
- Veiner rose leave
- Calyx cutter 3.5cm
- Cell-board with grooves
- Foam pad
- Ball tool, big
- Craft knife
- Hot Glue
- Pliers
- Plastic spoons
Step 1
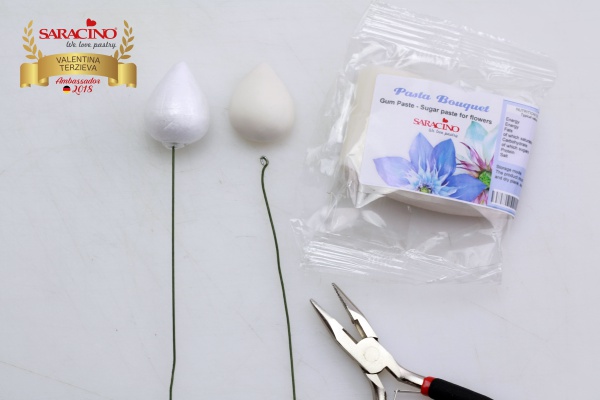
Use a styrofoam rose center glued on the 20G green wire or make one out of 15g white Gum Paste. If you are using a gum paste center make it ahead of time and leave it to dry well.
Step 2
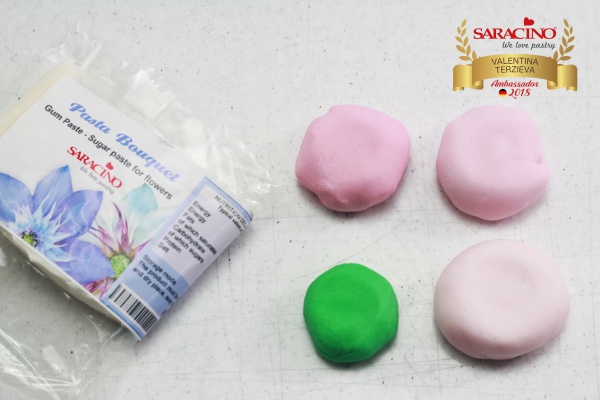
Colour your paste in three different shade of pink using gel colour and one shade of green. You will probably need to colour about 10-20g for each colour.
Step 3
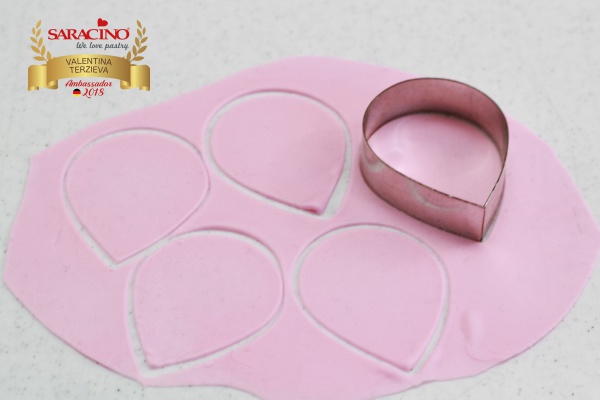
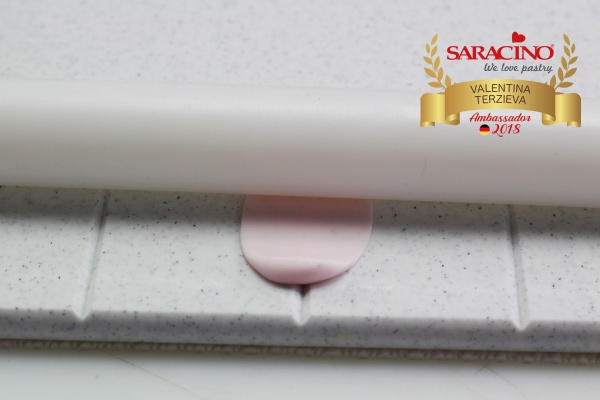
For the rose petals roll out the paste with the darkest colour very thin. Before rolling out apply some vegetable fat on your board, that will allow you to roll out thin. Cut out 5 petals with the 4.5cm teardrop cutter.
Step 4
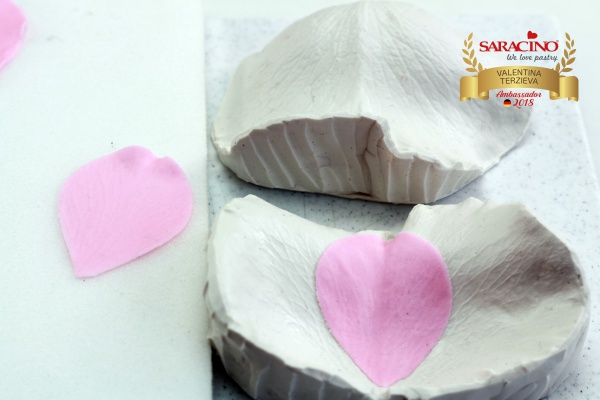
Place the petals on the foam pad and thin the edges using a large ball tool. Applying pressure roll the ball tool half on the paste and half on the pad. If needed use some cornstarch to make sure the paste will not stick to the pad or to the ball tool.
Step 5
Place every petal in the veiner and firmly press to texture with the petal structure. Before first use of the veiner dust it with little cornstarch and dab off. Open the veiner and carefully lift the petal and place on a tablespoon to dry a bit.
Step 6
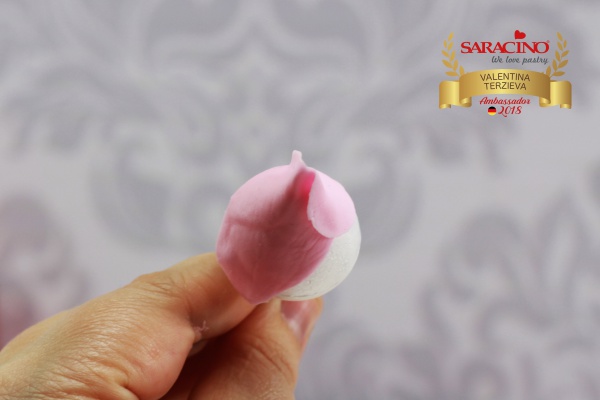
Use two petals to cover the centre completely. Apply glue to the center and attach the first petal so it covers half of the cone. Keep one side open and slide the second petal underneath the open edge. Stick to the cone tightly.
Step 7
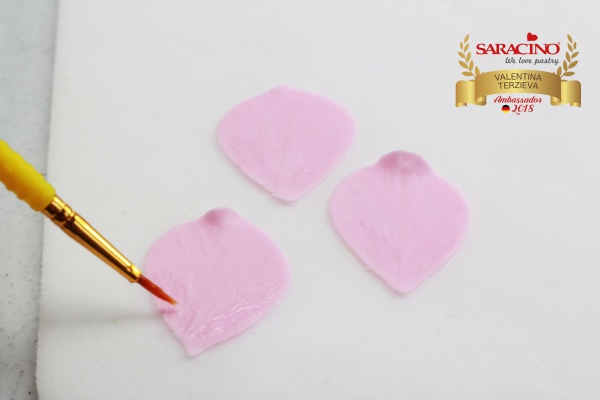
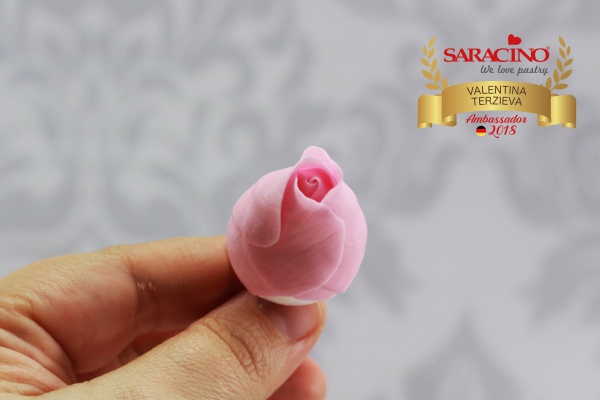
Apply glue to the edges of the pointed tip of the three remaining petals – like a “V”
Step 8
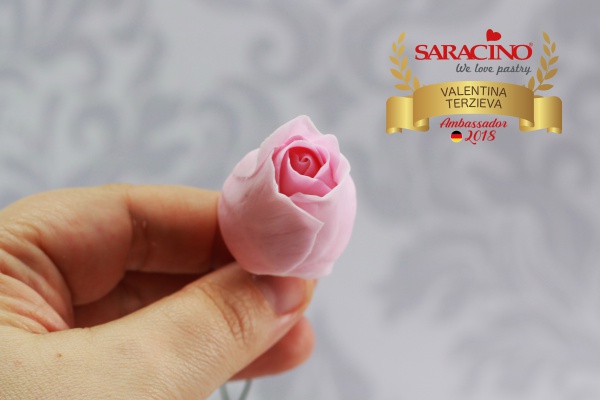
Add the first petal of the second row overlapping the joint of the petals of the first row. Keep the left side open. Add the second and third petal clockwise. Slide the left edge of the third petal under the open edge of the first. The petals are tight around the cone, only the upper edges are slightly open.
Step 9
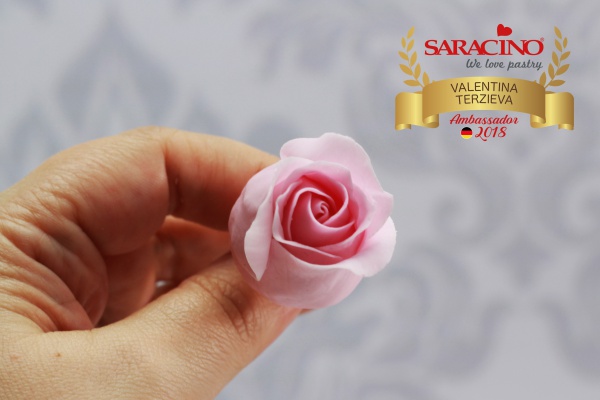
Roll out the middle colour and cut out 6 petals of 4.5cm. Thin the edges and press between the veiner as shown before. For the third row place three petals around the cone as shown in step 8. Leave the upper edges a bit more open than in row 2.
Step 10
For the fourth row place the remaining three petal in the same way as for row 3. Curve the upper and the side edges with your finger tips.
Step 11
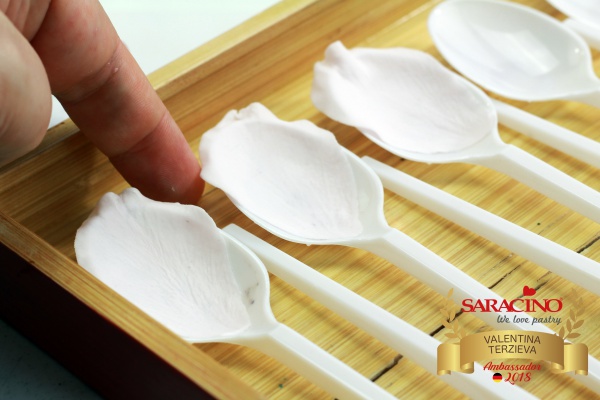
Roll out very thin the lightest colour of your Pasta Bouquet and cut out 5 petals with the 5cm long teardrop cutter. Thin the edges and impress with the veiner. Place to dry on the tablespoons. Curve the upper edge with your finger tip and leave a bit longer to dry. The petals are ready to be placed on the rose when they can hold their shape and have a leathery feel.

Step 12
In the meantime prepare your last row of petals. To have more movement on those petals, you have to support them with wire and let them dry longer. Use a non stick board with grooves. Apply vegetable fat over one groove, place small amount gum paste of the brightest colour and roll out thin.
Step 13
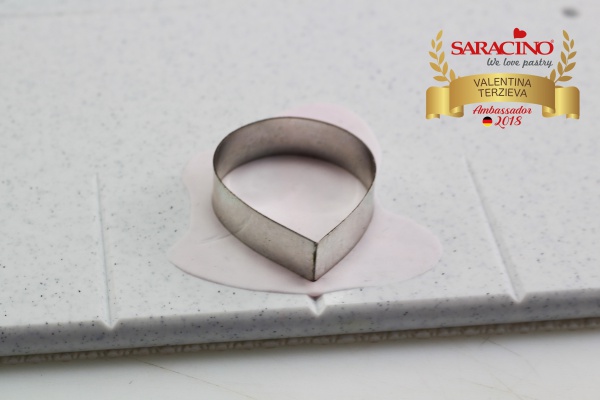
Cut out a petal with the teardrop cutter with 5cm length.
Step 14
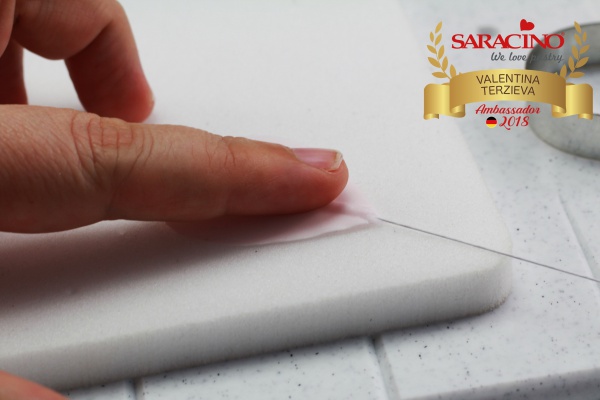
Cut one 28G wire in three and use one piece per petal. Place the petal with the back side up on the foam pad. Place one finger over the thicker center and insert the wire carefully with the other hand. It may help if you slightly twist the wire. Apply glue on the wire end before inserting. Now turn the petal with the right side up and using the ball tool thin the edges.
Step 15
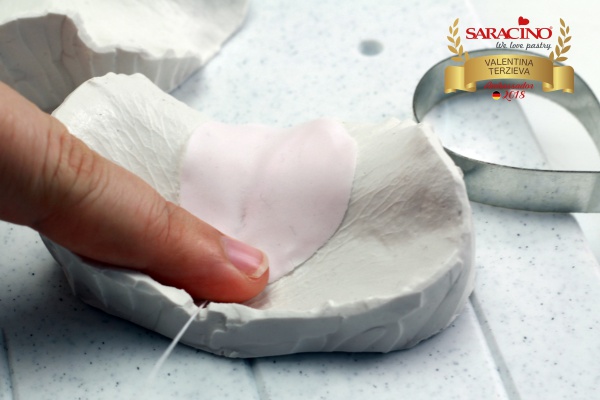
Place the wired petal onto the veiner and press with one finger in order for the wire to bend to the curves of the veiner. Impress the petal structure as usual.
Step 16
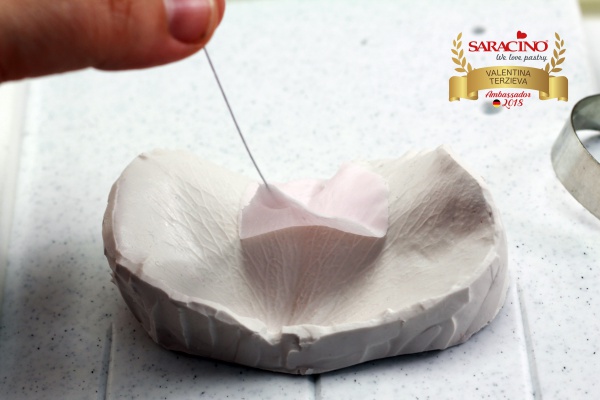
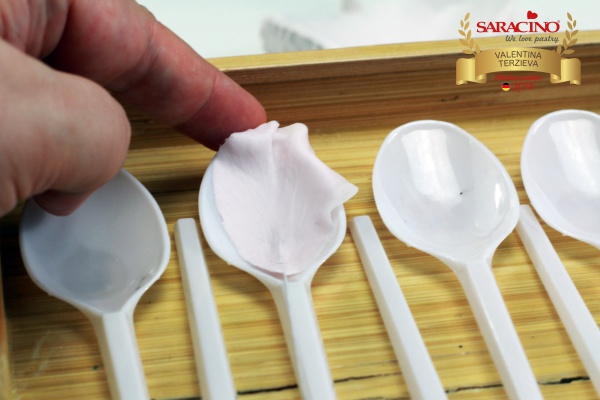
Carefully lift the petal out of the veiner and place it on a tablespoon.
Step 17
Curve the edges and leave at lease for 1 hour to dry.
Step 18
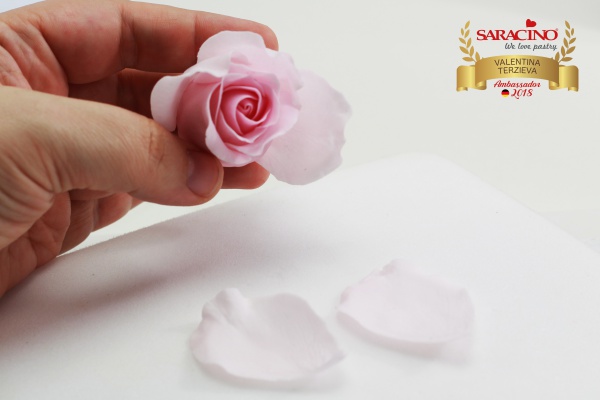
If the fifth row petals are dry enough, you can assemble them around the rose. Apply “V”-like glue on the petal and place them clockwise around the cone, every one slightly under the previous one.
Step 19
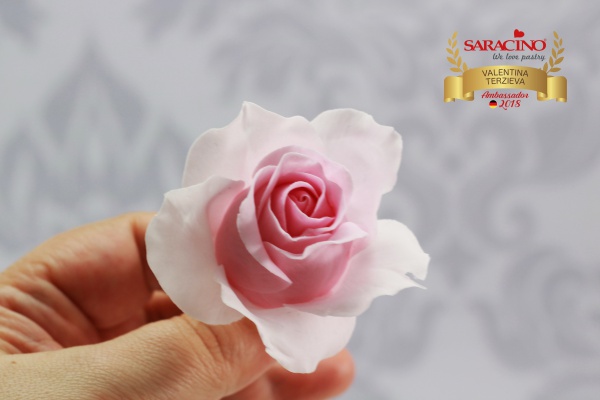
This petal row is more open and only glued to the base of the cone. Leave it for at least 30min to dry assembled like this.
Step 20
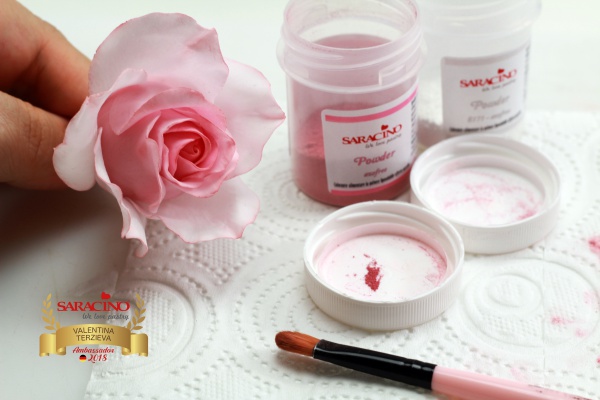
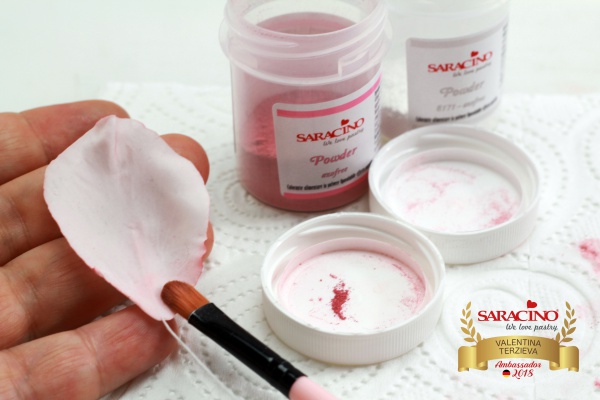
Dust the rose centre and the edges of the petals with edible dust colours. I am using here Saracino Dust colour in pink and white, mixing the intensity depending on that which part I am dusting – darker in the center, lighter on the outer petals.
Step 21
Dust the wired petals too. Apply the dust on the edges and on the base of the petal inside and outside.
Step 22
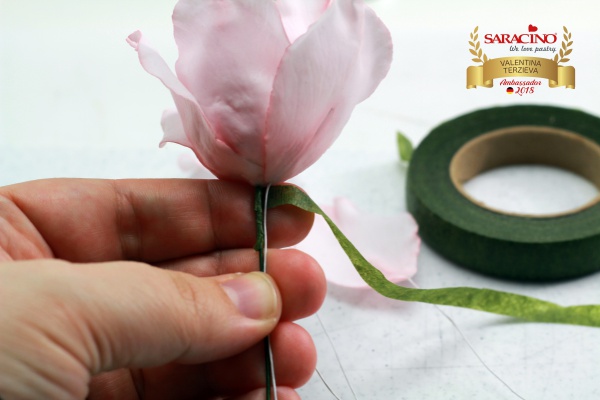
Using flower tape put together the wired petals clockwise and always slightly one underneath the other.
Step 23
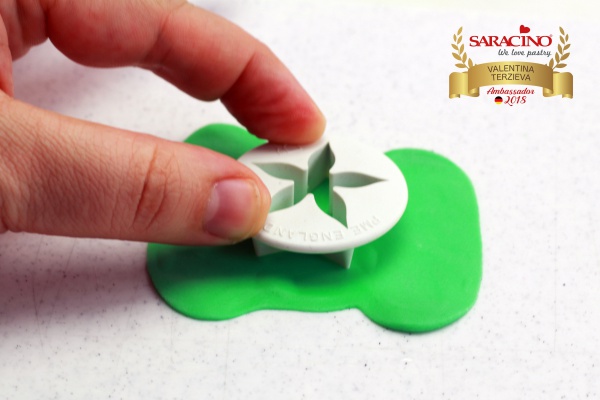
Roll out thick green gum paste and cut out one calyx.
Step 24
Using the ball tool go over each petal of the calyx and stretch it.
Step 25
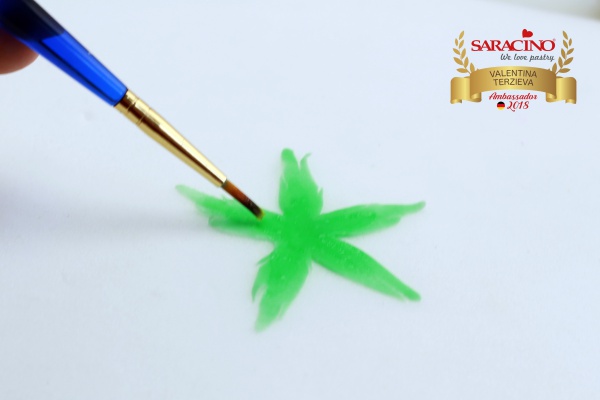
Cut with a craft knife the top of each petal in two or three sections. Apply glue on the petals leaving the tips glue-free.
Step 26
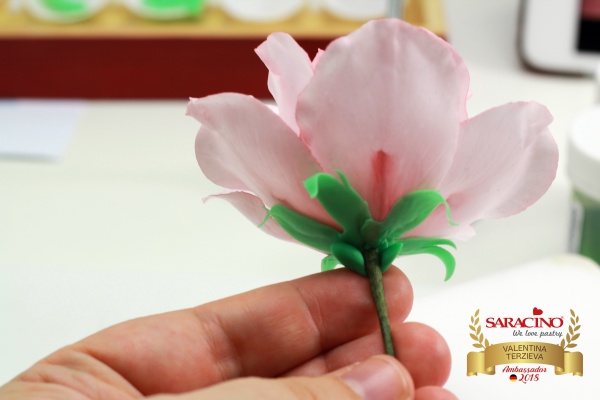
Attach the calyx to the rose and make sure it is sticking to the rose petals. Place small amount green gum paste behind the calyx and shape it as a half-ball.
Step 27
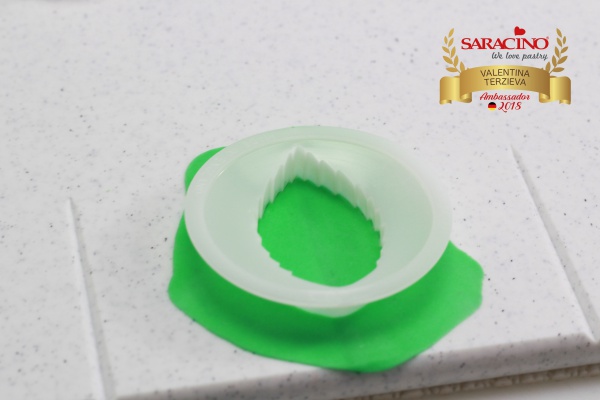
For the leaves roll out small amount green gum paste over the rill board and cut out one 4cm leaf. Insert a piece of 28G wire inside and thin the edges.
Step 28
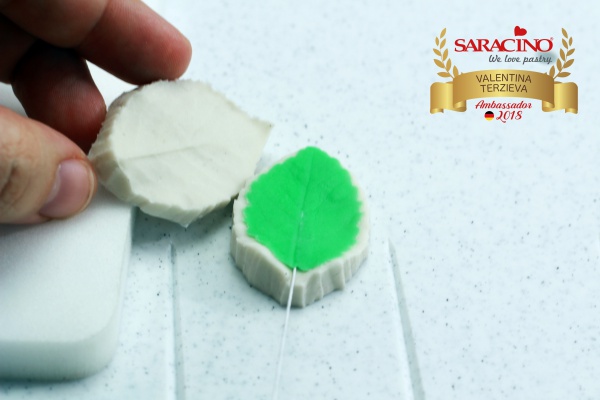
Impress with petal structure using a veiner. Make another two leaves each 3cm long and leave all three of them to dry.
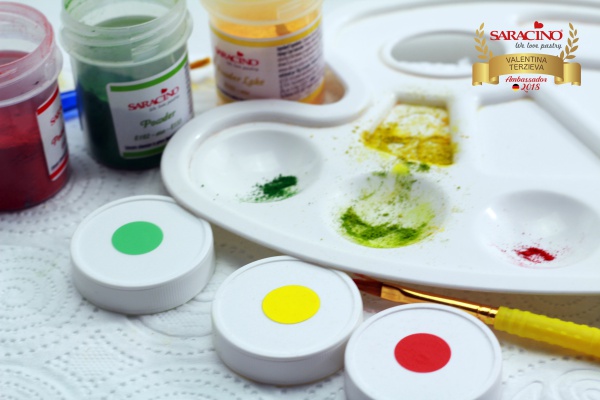
Step 29
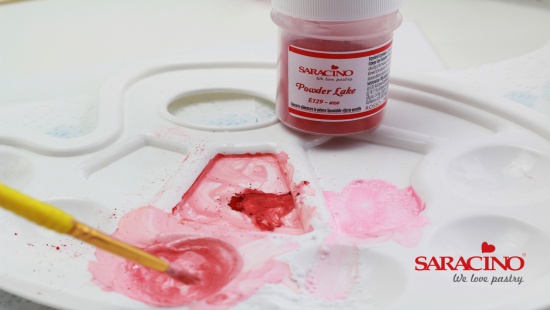
Mix green and and yellow dust colour to achieve different shades of green. You will also need a bit of red dust.
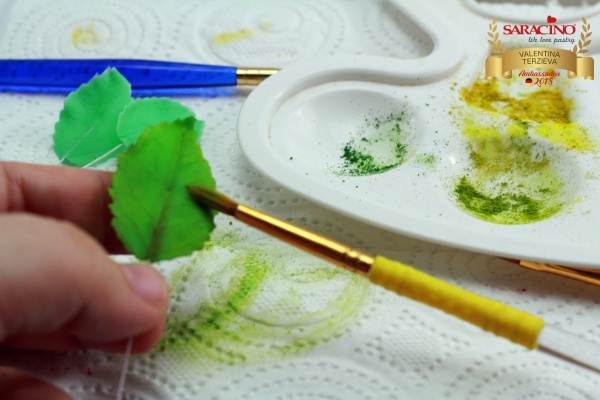
Step 30
Dust the rose leaves with darker and lighter green. Dust the edges with red. Dust also the calyx with these colours.
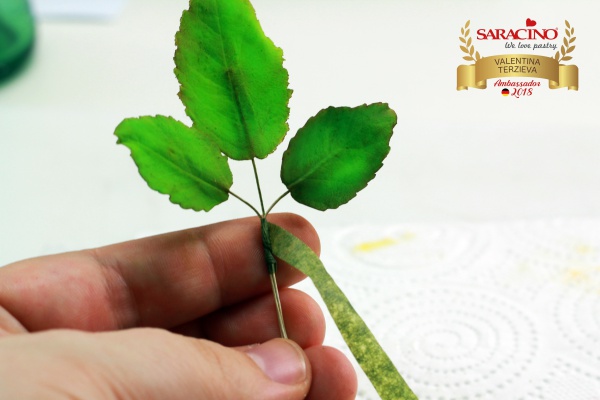
Step 31
Bind the three leaves with florist tape, the biggest leaf is in the middle, the smaller ones lower and on the sides. Bind rose and leaf branch together.


