
You will need:
- Black sugarpaste with tylose powder
- Purple sugarpaste with tylose powder (I coloured white paste with Saracino violet gel colour)
- Saracino modelling paste purple
- Saracino modelling paste orange
- Saracino modelling paste fuschia
- Saracino modelling paste light green
- Saracino modelling paste white
- Sugar glue
- Fine tipped edible black pen
- Pale pink edible dust
- 58mm round cutter
- Cobble impression mat
- Foam drying mat
- Rolling pin
- 29mm circle cutter
- Paintbrush
- Craft knife
- Small ball tool
- 2.5cm circle cutter
- 6mm round plunger cutter
- Small soft brush
- Silicon shaping tool
GHOSTS
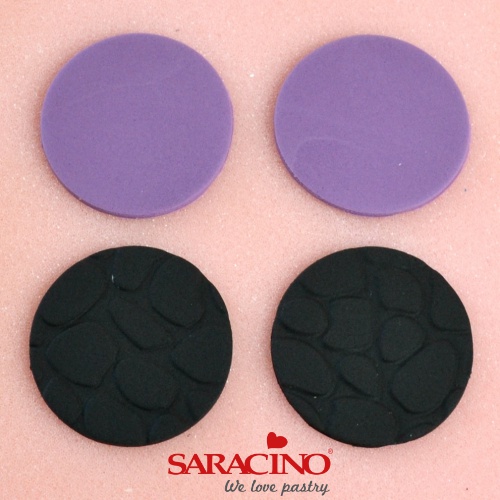
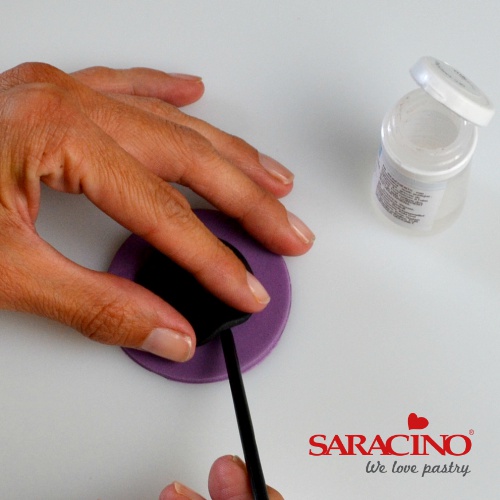
Step 1
Roll out black paste and use a cobble impression mat to make a pattern. Cut out two 58mm circles. Cut out two 58mm purple circles. Leave to dry on a foam mat.
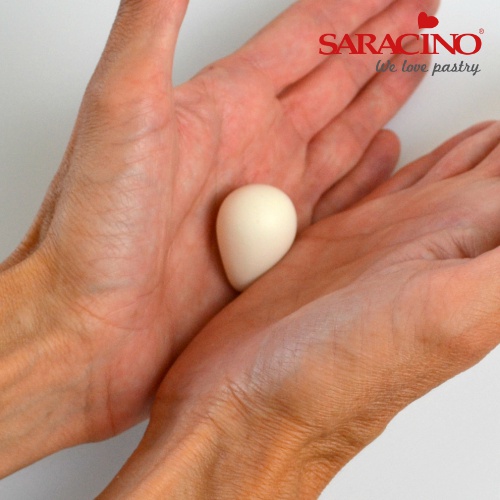
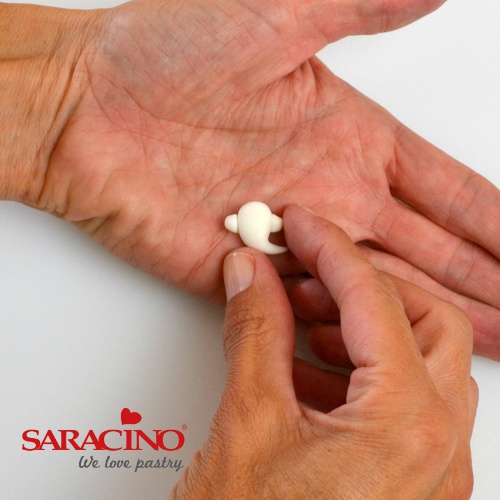
Step 2
To make the larger ghost roll a cherry tomato sized piece of white paste into a ball and angle your hands to make a teardrop shape. Bend the tail of the ghost slightly.

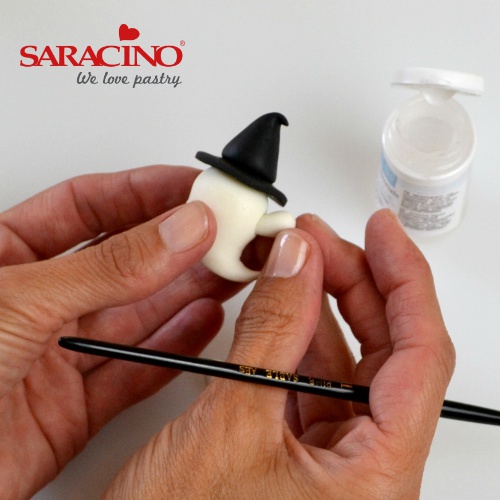
Step 3
Cut out a 29mm circle of black paste for the brim of the hat and glue to the ghosts head. Roll a marble sized piece of black paste into a teardrop shape using the sides of your hands. Cut off the rounded end and stick onto the brim of the hat bending the tip over.
Step 4
To make the ghosts arms roll two small teardrop shapes from white paste. Make a little dent on each side of the ghost with the end of a paintbrush and glue the arms inside (pointed end first)
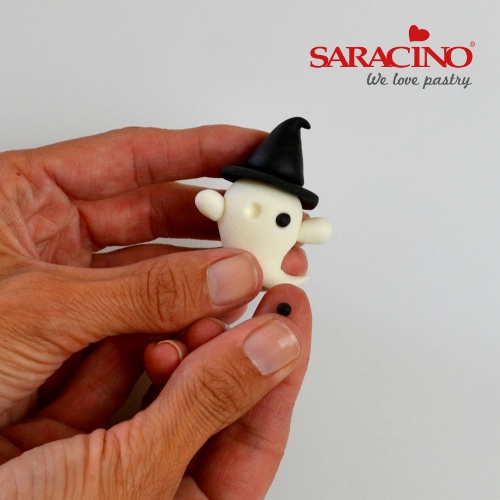
Step 5
Make two small indents for the eyes and add small balls of black paste. Add tiny white pieces of paste for the highlights.
Step 6
For the baby ghost make a small teardrop shape as before and bend the end up. Roll a small sausage shape of white paste and cut in half to make the baby ghosts arms and stick on with glue.
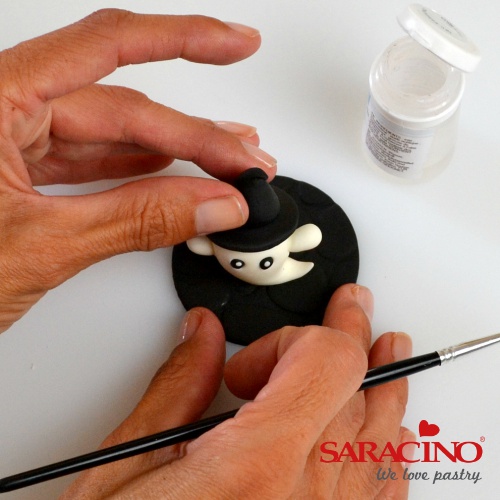
Step 7
Glue both ghosts to the black cobbled topper and leave to dry (supporting with kitchen roll if necessary)
WITCHES HAT
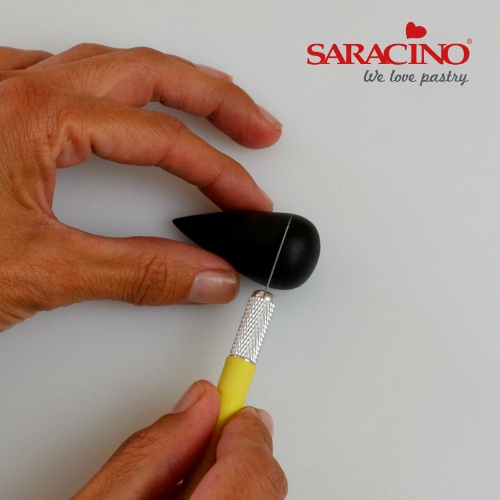
Step 1
Roll a cherry tomato sized piece of black paste into a ball and angle your hands to make a teardrop shape and cut of the rounded end to make the witches hat.
Step 2
Cut out a 29mm circle of black paste. Add a small spot of glue to the centre of the circle and attach to a purple discs. Use the end of a paintbrush to lift the brim in three places slightly. Glue on the cone of the hat and bend tip slightly.
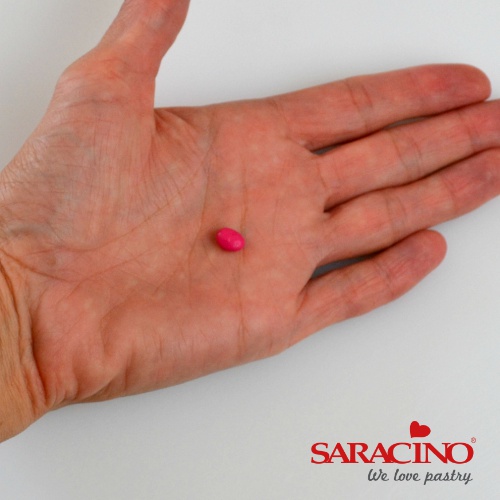
Step 3
To make the spider roll a small oval ball of fuschia paste in the palm of your hand.
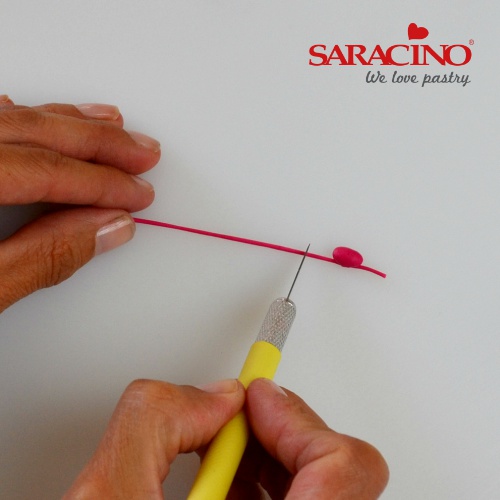
Step 4
Roll another piece of fuschia paste into a long thin length. Place the body on top of the length of paste and cut the first pair of legs
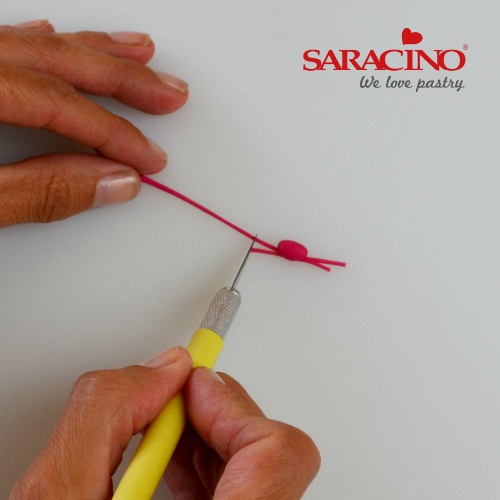
Step 5
Repeat this three times to create the spiders 8 legs and use a craft knife to separate and shorten the legs.
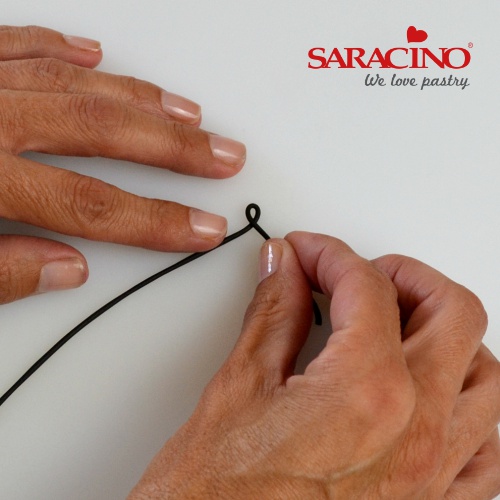
Step 6a
Roll out a long thin length of black paste and bend the top section over to make the first loop (in the shape of an ‘e’)
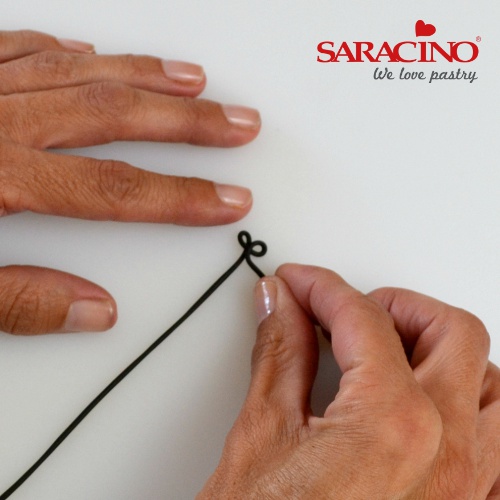
Step 6b
Repeat to make a second loop and cut off excess.
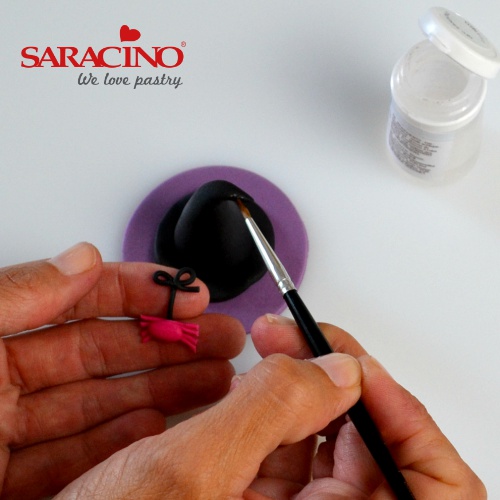
Step 6c
Glue the spider to the bottom of this length and attach this to the witches hat with sugar glue.
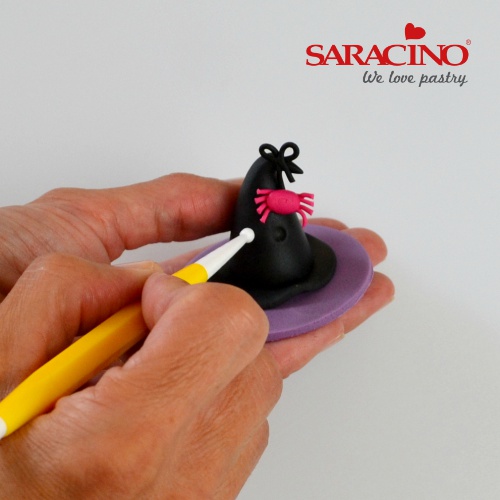
Step 7
Use a small ball tool to make two indents for eyes and fill with small balls of black paste. Add highlights as before.
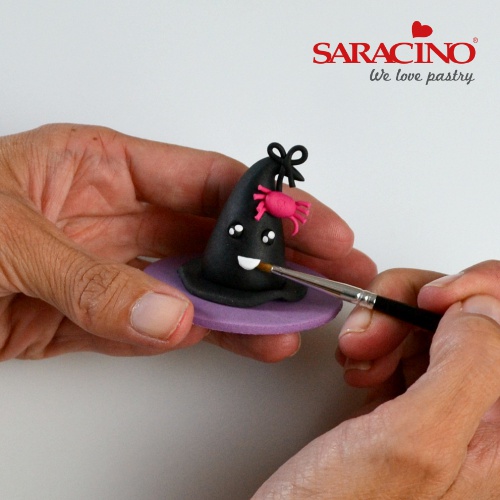
Step 8
Using a 6mm round plunger cutter, cut out a thin circle of white paste. Cut in half and attach one half for the mouth of the hat.
PUMPKIN
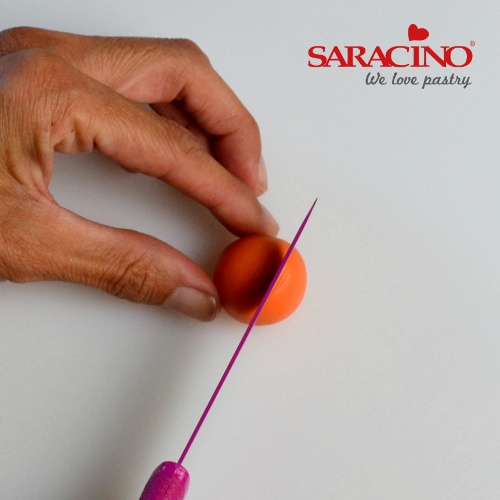
Step 1
Roll a cherry tomato sized piece of orange paste into a ball and cut off a quarter with a craft knife and set aside.
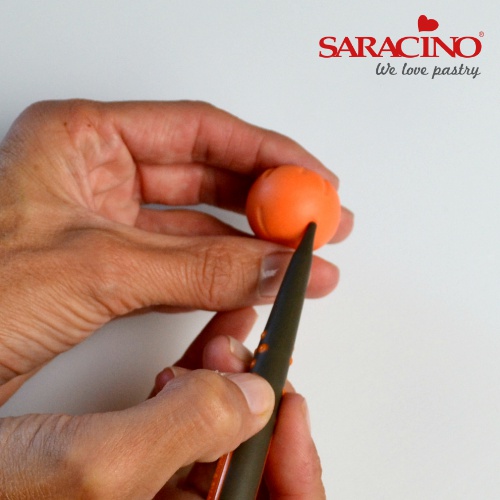
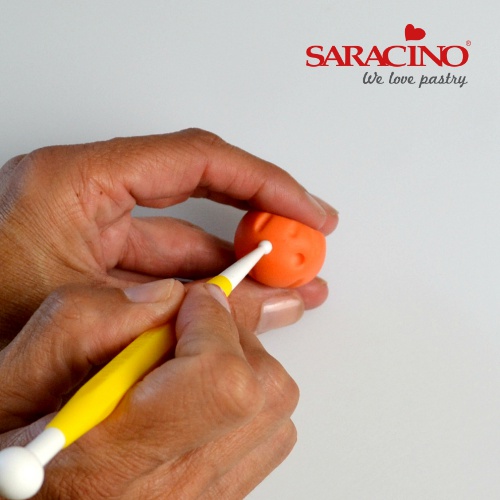
Step 2
Push the ball into the workboard leaning it back slightly and use a silicon shaping tool to create grooves for the pumpkin and repeat on the lid.
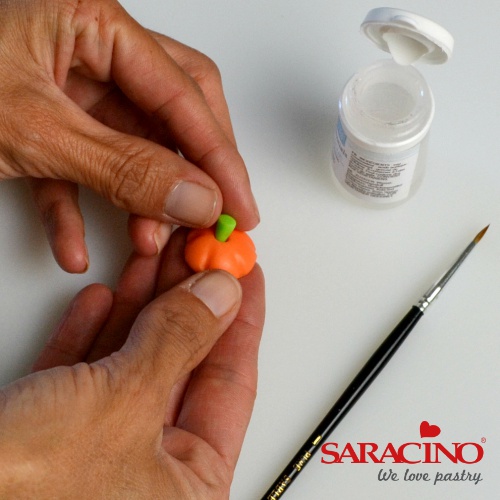
Step 3
Roll a small piece of light green paste into a teardrop shape and cut off the rounded end. Make a small indent with a small ball tool in the lid and glue in the stalk.

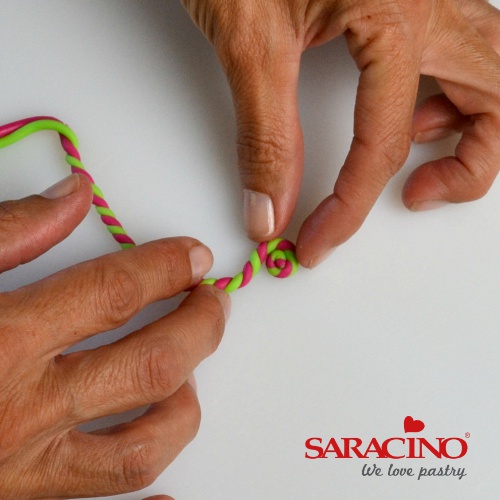
Step 4
To make the lollies roll out two long thin lengths of green and fuchsia paste. Pinch together and the top and twist into a rope.
Step 5
Curl these round to make a lolly and repeat to make a smaller one. Flatten slightly with your finger
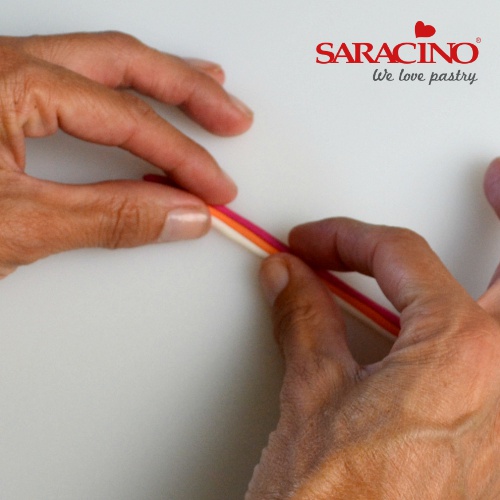
Step 6
To make the candies roll three thin lengths of fuchsia, orange and white paste and push together.
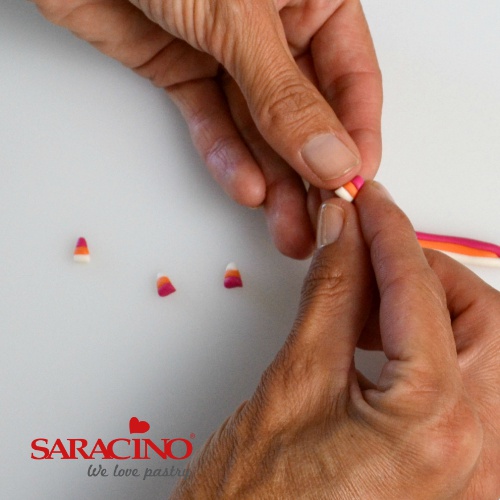
Step 7
Cut diagonally one way and the other to cut 6 little candies. Use your thumb and fingers to push and shape them together.
Step 8
Use a small ball tool to make two indents for eyes and fill with small balls of black paste. Add white highlights as before.
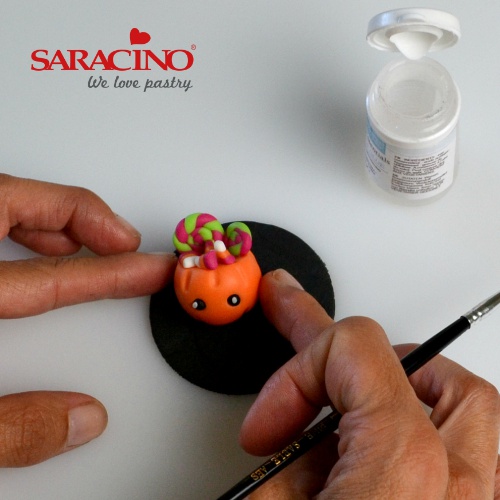
Step 9
Fill the pumpkin with the sweets and candies. Attach pumpkin, lid and additional sweet onto the black topper.
CAULDRON
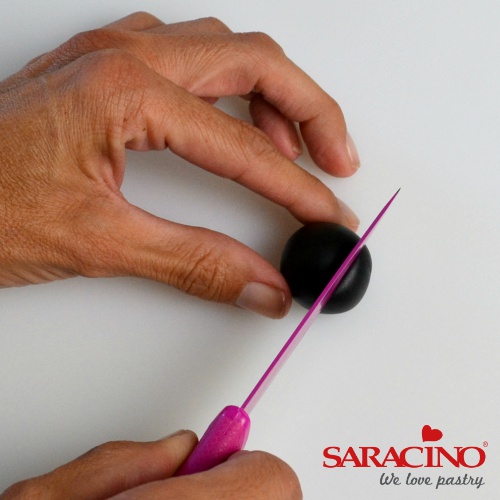
Step 1
Roll a cherry tomato sized piece of black paste into a ball. Cut off a quarter with a knife.
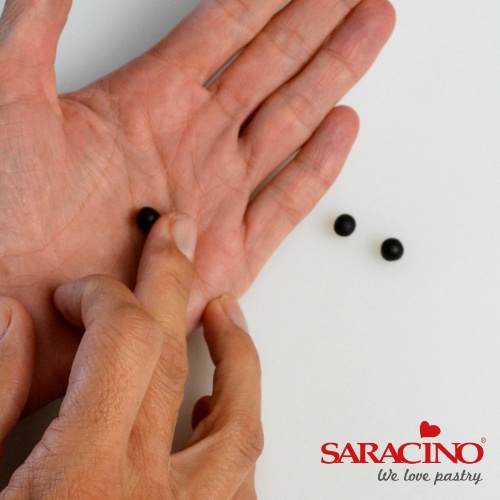
Step 2
Roll 3 pea sized pieces of black paste into balls and set aside to dry.
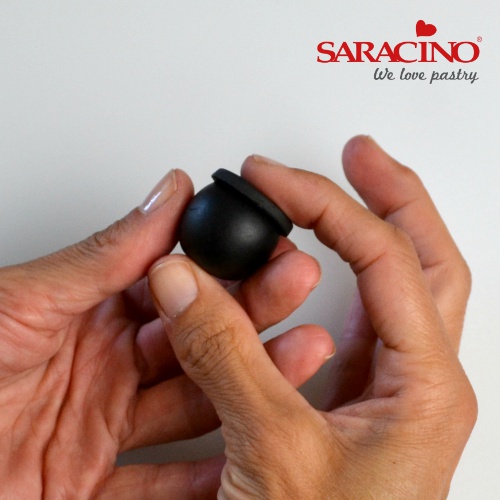
Step 3
For the rim of the cauldron roll out a piece of paste 3mm thick and cut out a 2.5cm circle and attach to the flat side of the cauldron with sugar glue.
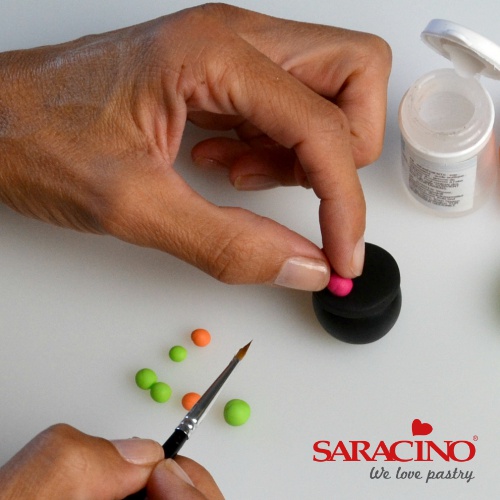
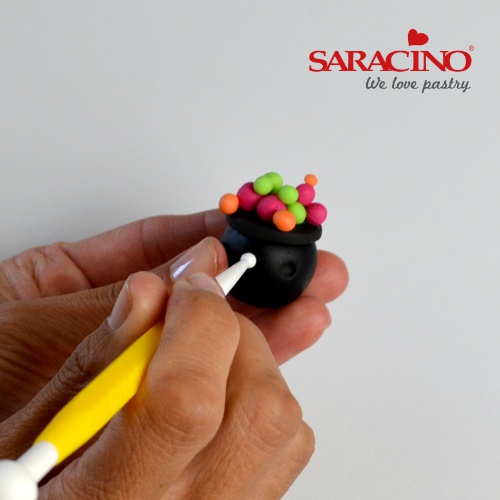
Step 4
Roll a collection of little balls of varying sizes using green, fuchsia and orange paste and arrange these on the top of the cauldron securing with sugar glue.
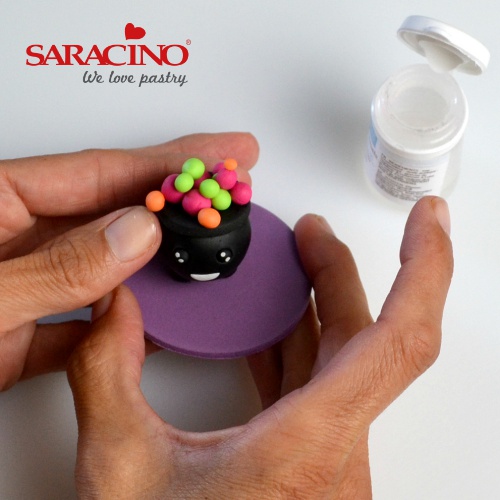
Step 5
Use a small ball tool to make two indents for eyes and fill with small balls of black paste. Add white highlights as before.
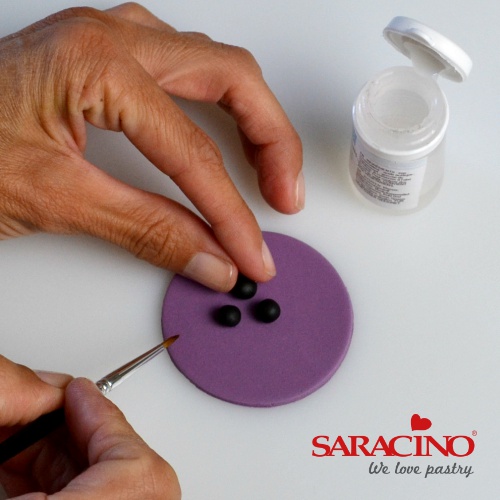
Step 6
When the cauldron legs feel firmer arrange them in a small triangle on the purple disc and gently stick the cauldron on top.
Step 7
Using a 6mm round plunger cutter, cut out a thin circle of white paste. Cut in half and attach one half for the mouth of the cauldron. Add a few bubbles to the side of the cauldron.

Step 8
Roll 2 small white balls of paste and use a small ball tool to make an indent. Stick in 2 small balls of black paste and add highlights as before. Stick these onto the topper.
