

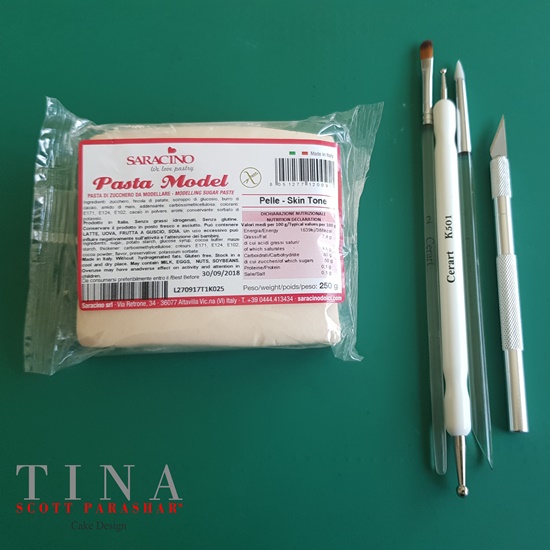
You will need:
- 3 gm Saracino modelling paste – Skin colour
- Medium ball tool
- Pointed tip sugar shaper
- Exacto knife
- Brush for dusting
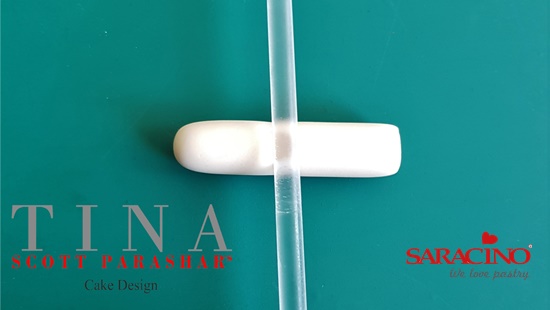
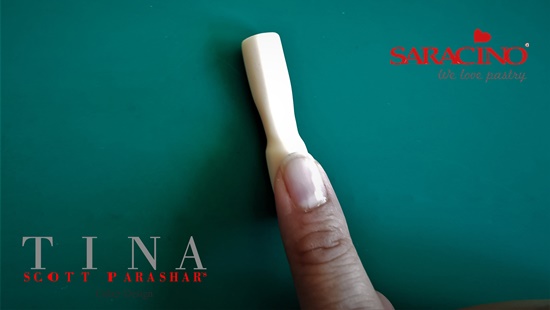
Step 1
Make a sausage shape and cut one end. Using the back of your brush, mark the wrist and roll your paste along the brush. You can use your finger for this step or even a skewer.
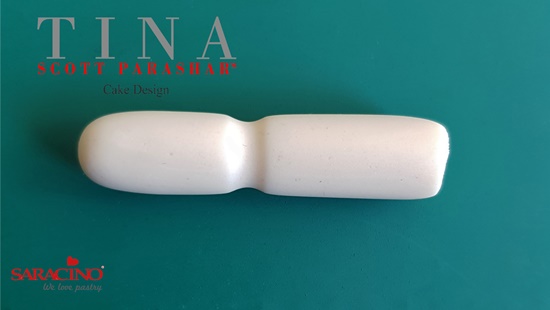
Step 2
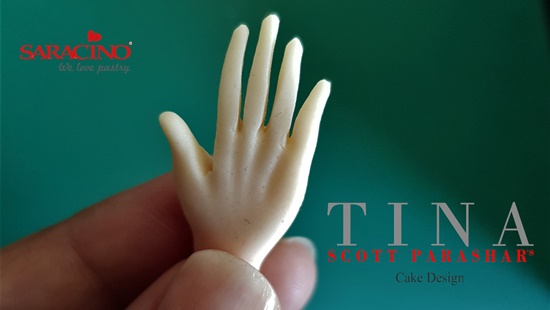
This is how it will look once done.
Step 3
Using your index finger, leave a little space between the wrist and your finger and push down on the paste to create the fleshy part of the palm.
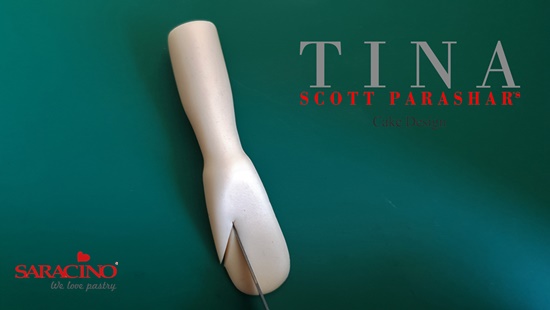
Step 4
Using the exacto knife, cut a little ‘V’ to bring out the thumb.
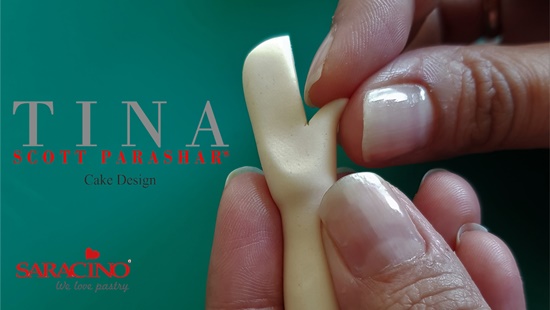
Step 5
Using your fingers, work on the thumb to give it shape.
Step 6
Using the exacto knife cut out the other fingers.
Step 7
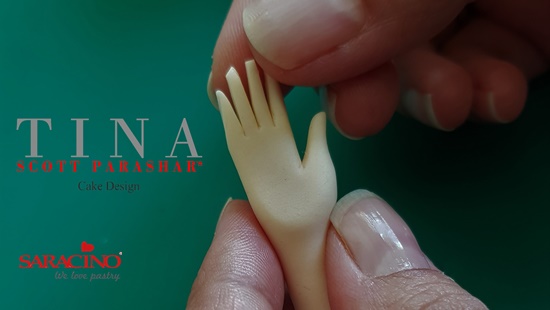
Give shape to the fingers and make them longer by rolling between your fingers.
Step 8
Using the ball tool, make a little upside-down triangle in the centre of the palm. Use your own hand for reference.
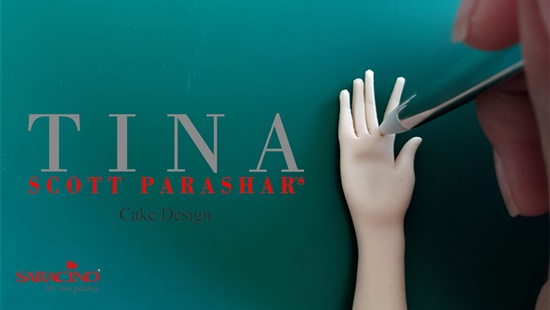
Step 9
Use the pointed sugar shaper to separate the fingers and smoothen the cuts between each finger.
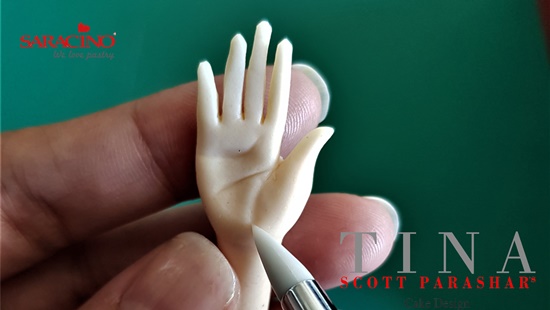
Step 10
Use the pointed sugar shaper to mark the lines on the palm.
.
Step 11
Turn the hand around and use the sugar shaper to mark the bones.
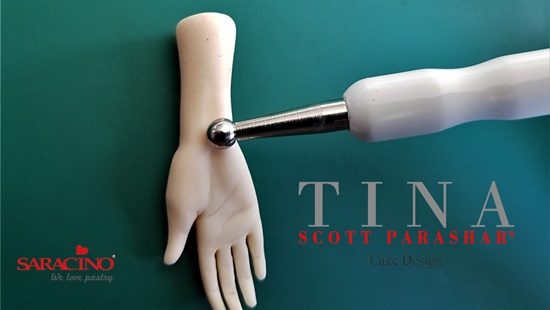
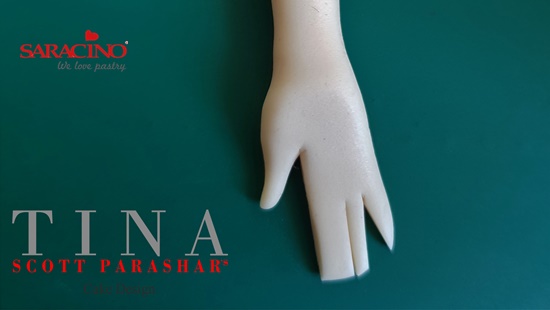
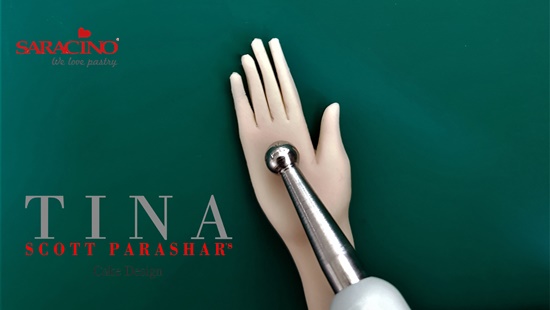
Step 12
Use the ball tool to define the wrist.

Step 13
This is how it should look once done.
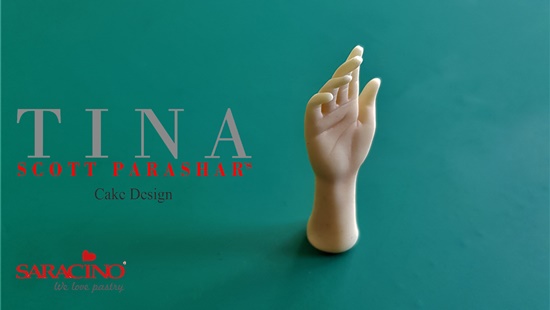
Step 14
Bend the fingers as desired.
