


You will need:
- Saracino white modelling paste
- Saracino wafer paper thickness 0.27mm
- Saracino wafer glue
- small rolling pin
- mixing palette
- clear alcohol
- pink powder or gel colour
- green powder or gel colur
- rose petal cutter
- rose veiner
- rose leaf veiner
- 20 gauge wire
- 3 x 30 gauge wires
- florist tape
- 2 makeup sponges
- small scisors
- pair of gloves
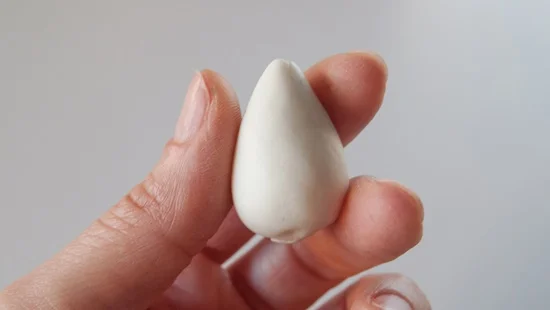
Step 1
Knead the paste and form a centre cone for your rose.
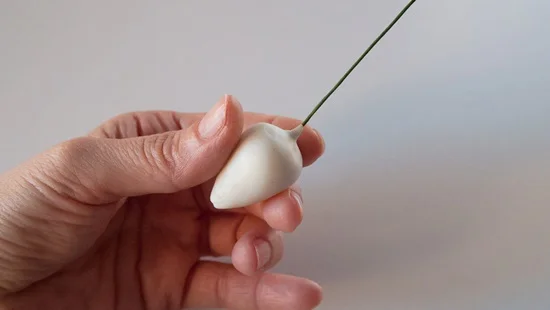
Step 2
Insert the 20 gauge wire into cone and let it dry.
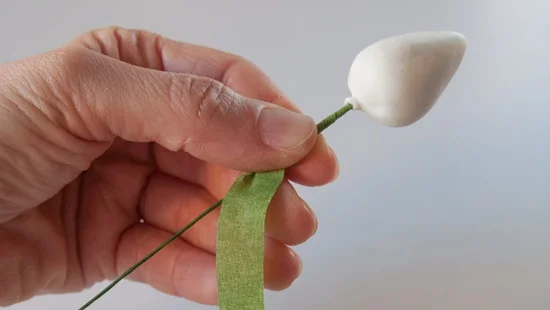
Step 3
Cover the wire with florist tape.
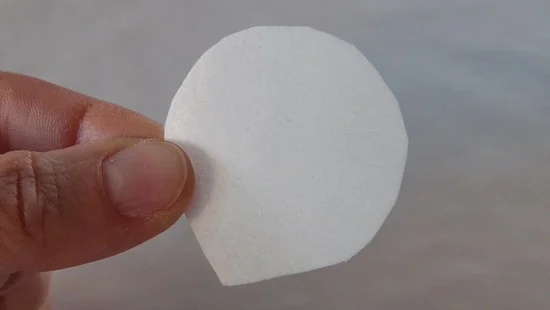
Step 4
Using the rose petal cutter cut out 18-20 petals.
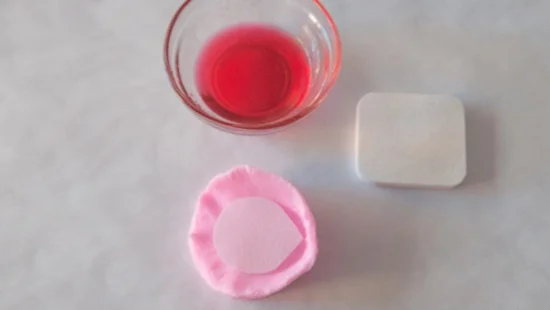
Step 5
Place your ready cut out rose petal on the veiner.
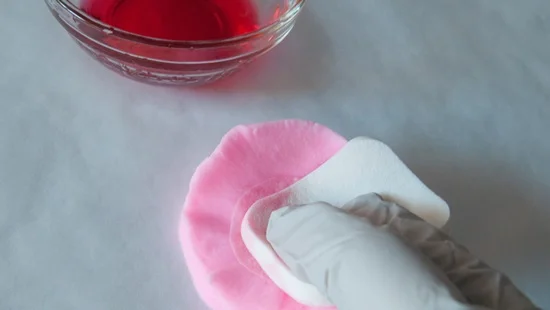
Step 6
Using a makeup sponge soaked in the diluted pink colouring wet the petal and take care not to drag or tear. Simply press lightly without moving. Allow to dry but not completely.
.
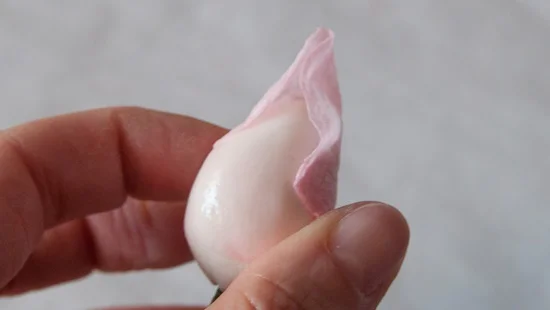
Step 7
Fix the first petal to the centre cone using wafer paper glue. Texture the remainder of the petals.
.
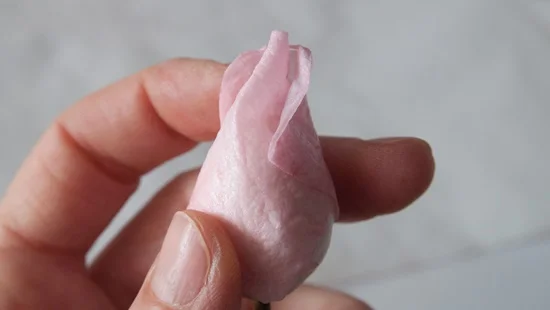
Step 8
Place the next petal in front of the previous one.
.
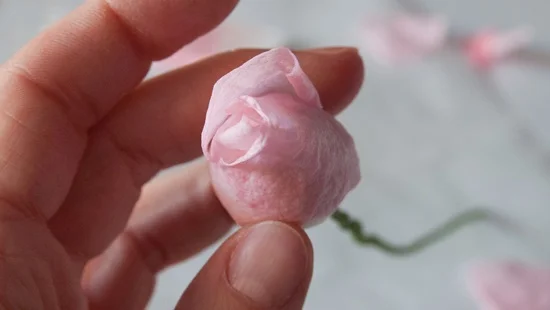
Step 9
Start adding the next layer of petals by adding one in the gap of the previous two.
Step 10
Continue adding petals, making sure the beginning of each one is placed slightly under the previous.
.
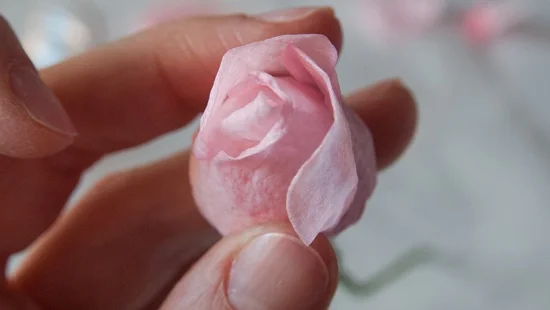
Step 11
Add another layer of 3 petals using technique described in step 10.
.
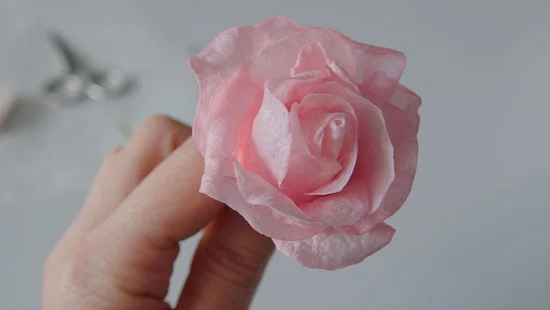
Step 12
You can make the rose as large as you require by adding more petals. If you are going to add more than 4 layers of petals, make sure you cut them larger than previous ones.
.
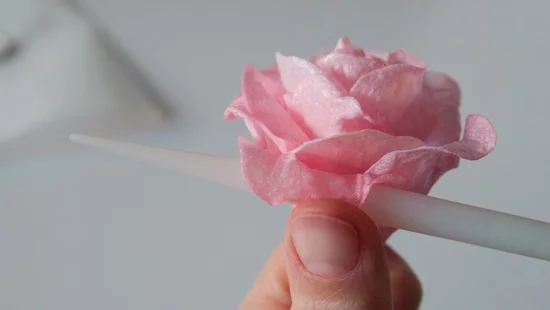
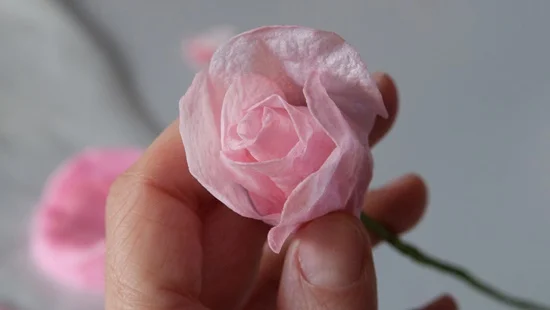
Step 13
Whilst the petals are not completely dry they can be formed into shape using any circular tool, such as a small rolling pin.
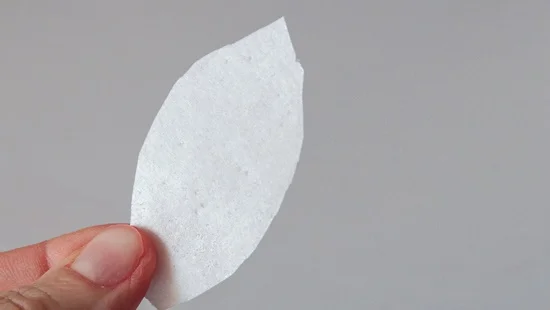
Step 14
Cut out 3 rose leaves.
.
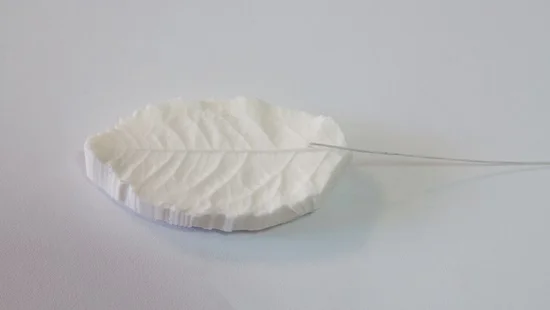
Step 15
Place the 30 gauge wire on the leaf veiner.
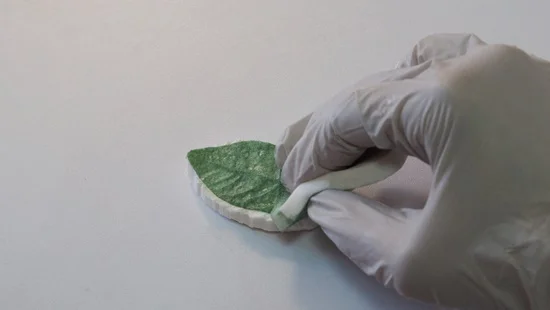
Step 16
Place the wafer paper leaf over the wire on the veiner. Press with a makeup sponge that has been soaked in the green dilution. Make sure you do not move and tear the wafer paper. Allow to dry completely.
.
.
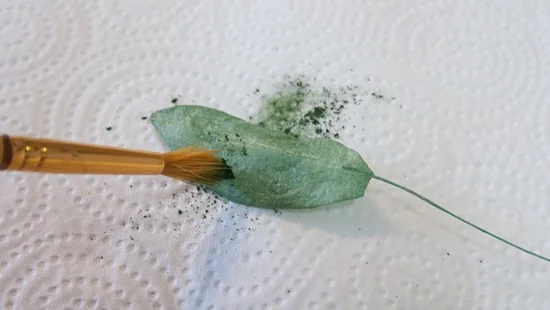
Step 17
Once the leaves are dry, they can be dusted to add a more natural look.
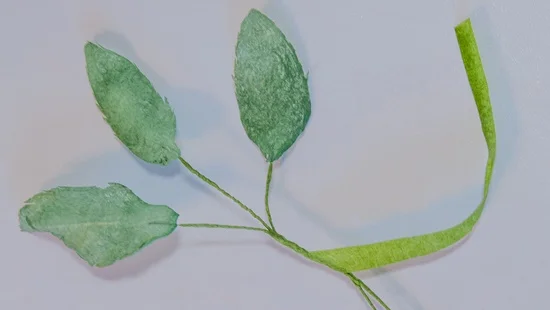
Step 18
Fix 3 leaves together using florist tape.
.
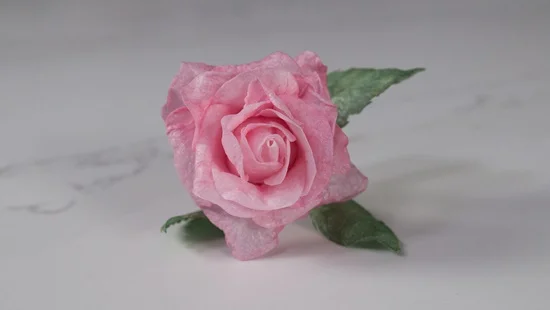
Step 19
Assemble the leaves and rose together using florist tape.
