


Author: Katarzyna Osiecka

FB: Lukrowe Czary
Skill level: BEGINNERS
TIPS FROM KASIA
Remember not to over kneed the paste. When it is too soft and warm it’s hard to model. To avoid dust and hairs in the paste always work in low temperature and bright clothes. You can also use silicone or nitryl hand gloves.
.
You will need:
- 140g Sarcino Pasta Model Light Green
- 20g Saracino Pasta Model Pink
- 5g Saracino Pasta Model Blue
- 5g Saracino Pasta Model Lilac
- 1g Saracino Pasta Model black
- Skewer
- Cerart Dresden Tool
- Cerart Silicone Tool
- Ball tool (medium and small)
- Heart, star and big petal cutter
- Scratch tool
- Rolling pin
- Lime, Pink and brown dust colours
- Paintbrushes
- Clear alcohol
- Glue or water
- 15 cm drum and 10 cm cake or dummy covered in light pink Saracino Pasta Top.
Step 1
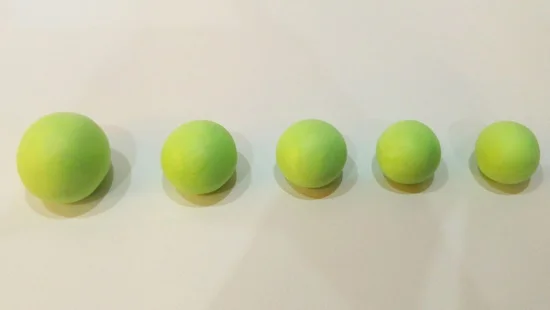
Prepare the light green paste. Divide the paste : 50g for the head, 2x20g for the hands and legs, 25g for the torso, 25g for the ears and 5g for the trunk. Keep in a plastic bag until required.
Step 2
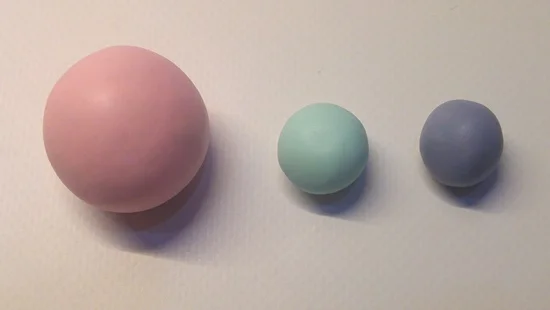
Prepare the pink, blue and lilac paste for the details. Keep in a plastic bag.
Step 3
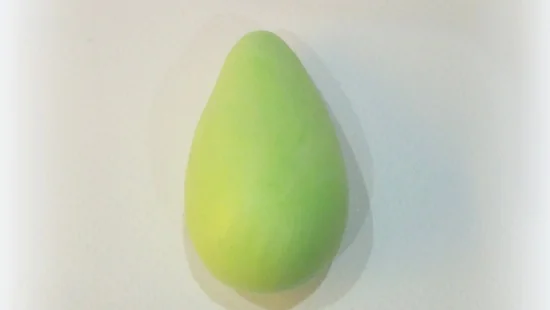
Take the green torso part and shape it into a cone.
Step 4
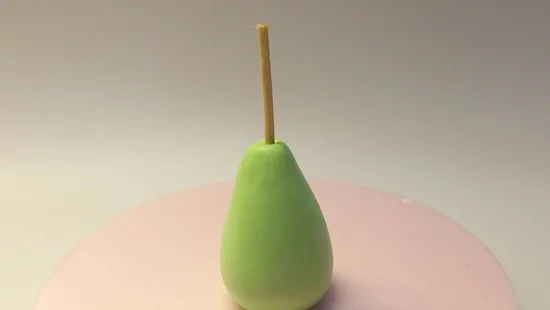
Attach the shaped torso to the drum using skewer.
Step 5
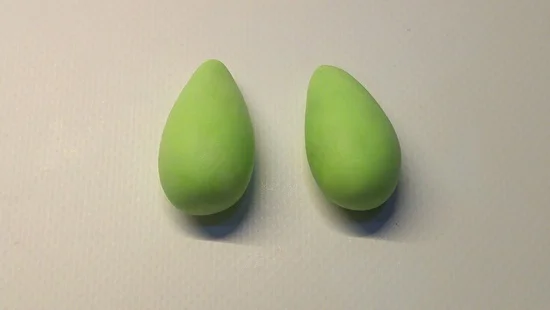
Take the green paste for the legs and separate it into two equal parts. Shape each one into a cone.
Step 6
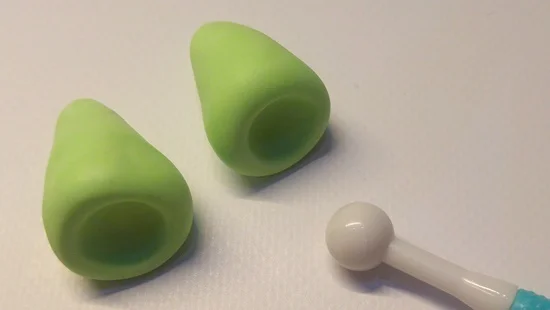
Press a medium ball tool into the wider end of the cone.
.
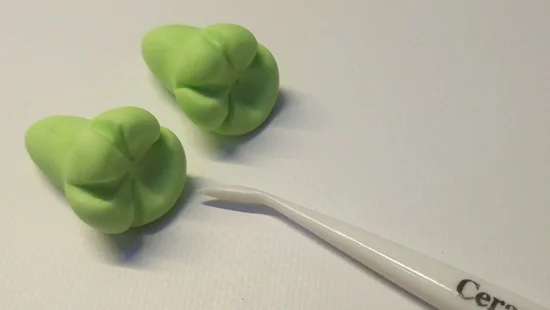
Step 7
Use a Cerart Dresden Tool to make thick toes.
.

Step 8
Make small pink balls and put them into the holes in the legs. Attach the legs to the torso using edible glue or water.
.
.
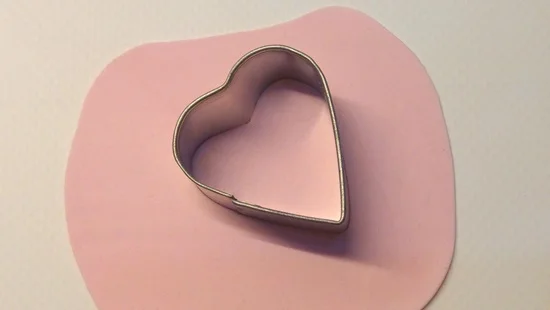
Step 9
Roll pink paste and cut heart shape.
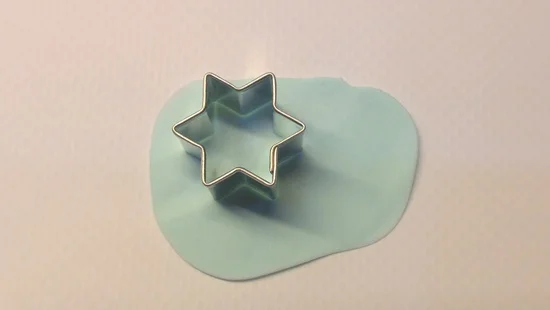
Step 10
Roll blue paste and cut star shape
.
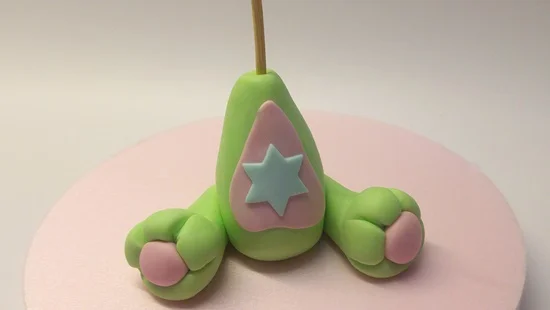
Step 11
Glue the heart and star to the tummy.
.
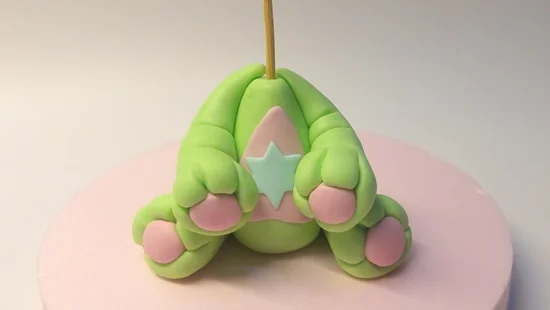
Step 12
Repeat step 5-8 to make hands. Attach them to the torso using edible glue or water.
.
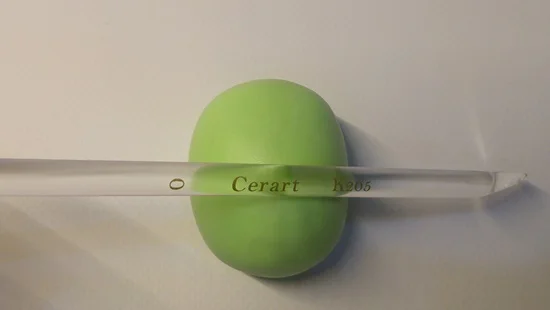
Step 13
Take the green paste for the head and make a plain ball. Form a line using the round end of the Cerart Silicone Tool.
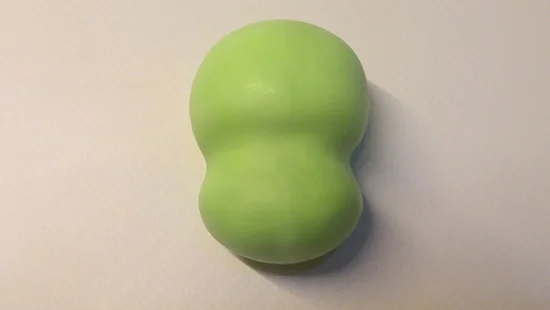
Step 14
Smooth the lines to make plain eye sockets.
.
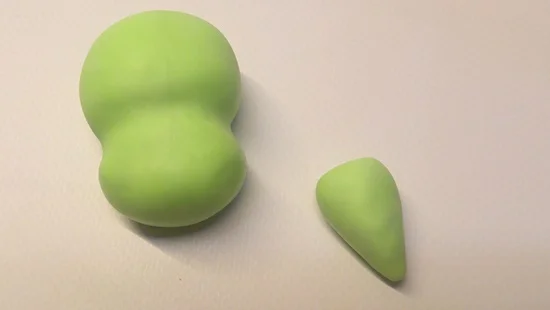
Step 15
Take 5g of the light green paste and shape it into a cone shape. Using the Cerart Dresden Tool mark lines on the trunk.
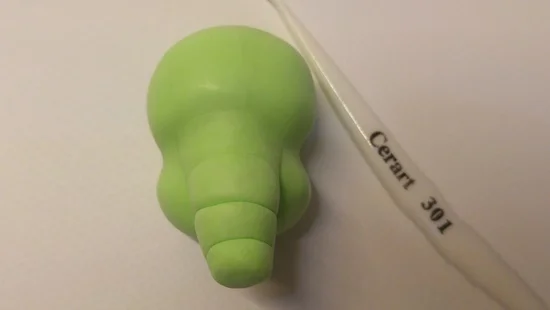
Step 16
Glue the trunk to the middle of the head. Use a small amount of water and silicone tool to blend the seams.
.
.
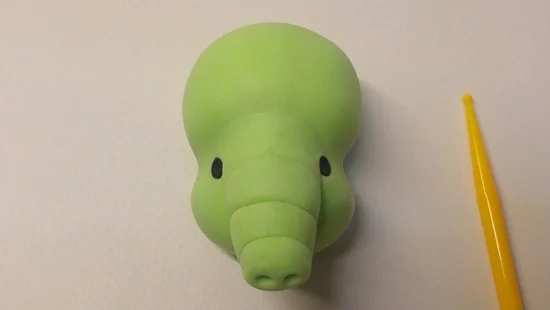
Step 17
Use a small ball tool to make the nose and eye holes. Put tiny black balls into the eyes holes.
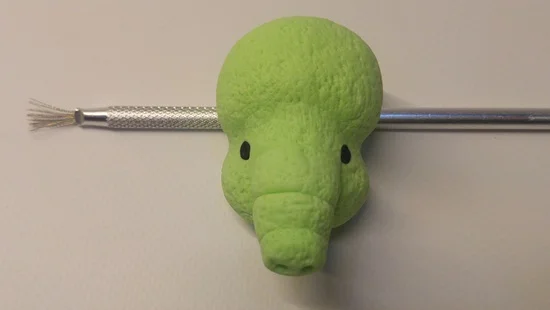
Step 18
Texture using a scratch tool to make the head appear fluffy.
.
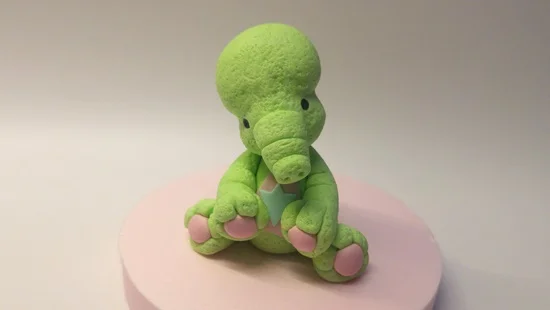
Step 19
Attach the head to the torso. Glue the head and scratch the rest of the body to make it look textured.
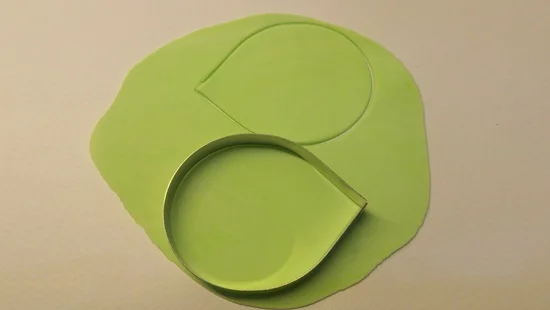
Step 20
Roll light green paste and cut large petal shaped ears.
.
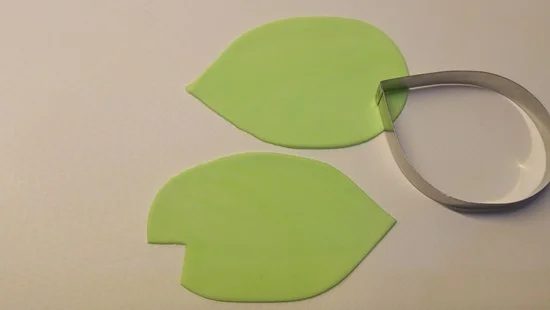
Step 21
Use thin tip of the cutter to cut shape in the middle of the ears.
.
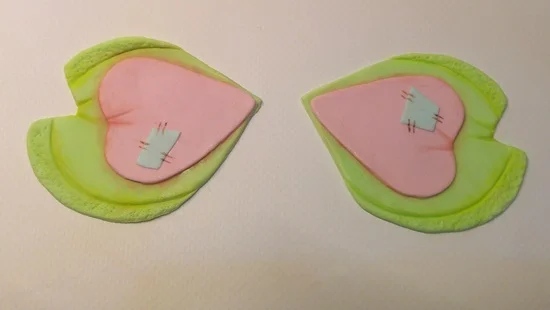
Step 23
Roll pink and blue paste to make details – cut pink and blue shapes. Scratch edges to make them more fluffy. Dust with pink and lime colours. Paint brown stitches using dust colour that has been diluted with clear alcohol.
Step 24
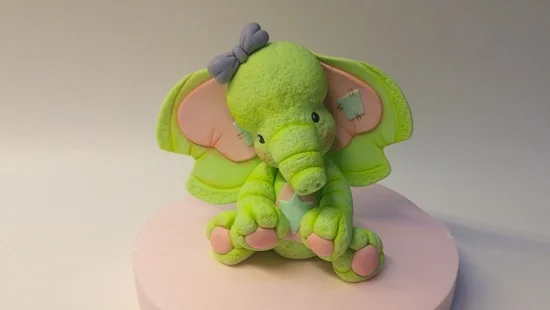
Make the lilac bow and glue it to the head. Dust the creases with a lime colour and pink on the cheeks.
.
.
