

Author: ANJALI TAMBDE

.
Skill level: BEGINNERS
.
You will need:
-
250 gms White Saracino
-
100 gms Blue Saracino
-
100 gms Brown Saracino
-
50 gms black Saracino
-
100 gms Skin Saracino
-
PME Leaf tool
-
Sharp cutting knife
-
Cutting wheel
-
Some blending tools{these can be cerart or any that you are used to}
-
Paint brushes
-
Saracino glue
-
Glitter
-
Pink dust for blushing
-
Blue,black and white edible paints
-
Polystyrene cone 10 cms
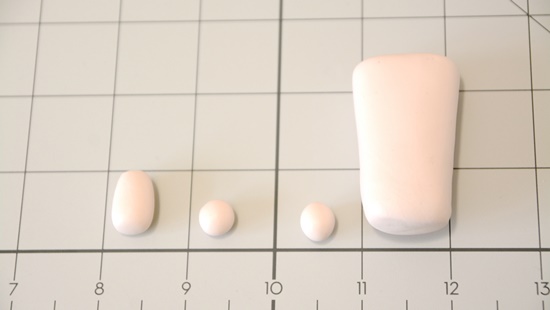
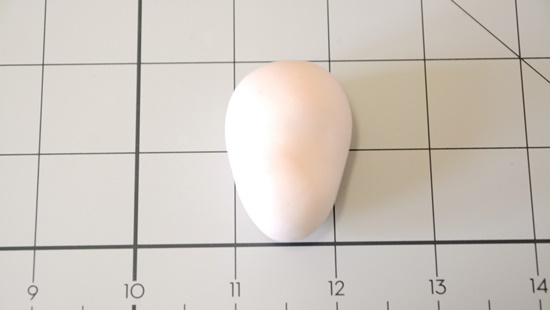
Step 1
Take a small ball of skin Saracino and model it into a rectangle and then taper it from one of the smaller ends to shape it like a body, make two small balls for the boobs and one elongated ball for the neck.
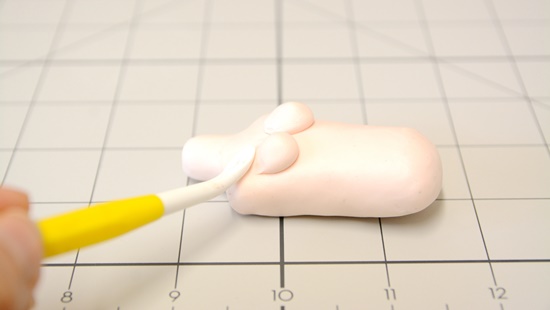
Step 2
Using a leaf tool blend the neck and the boobs in place.
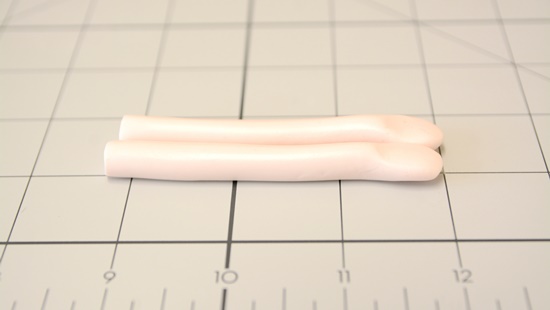
Step 3
Now roll two sausage pieces for hands and flatten the ends
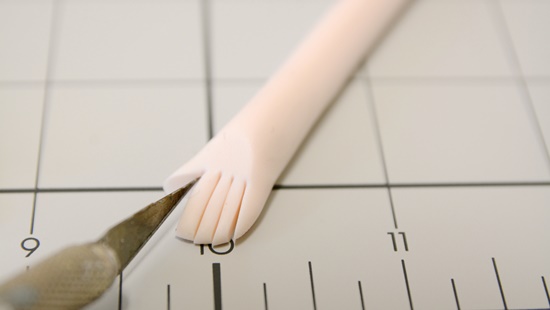
Step 4
On the flattened end cut the thumb first and then the fingers,using a sharp pointy knife.
Step 5
Smooth the fingers with the cerart smoothing tools.
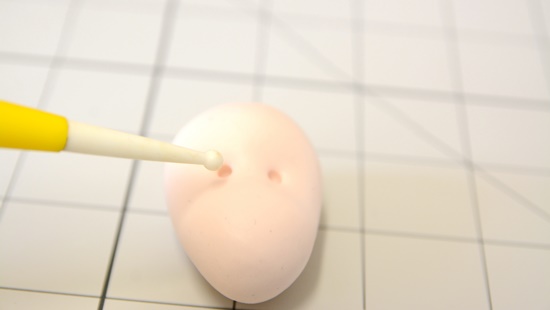
Step 6
Now using a ball tool mark the position of the eyes
.
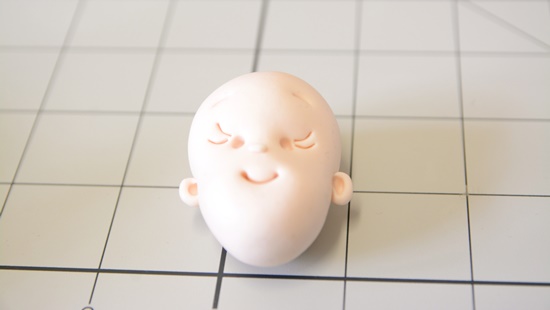
Step 7
With a smiley tool mark the mouth, then add a tiny piece for the nose.
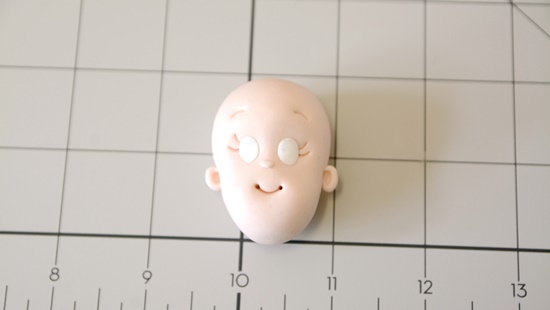
Step 8
Add two small white balls for the eyes and press them to flatten.
.

Step 9
For the dress mix small piece of blue with white Saracino.
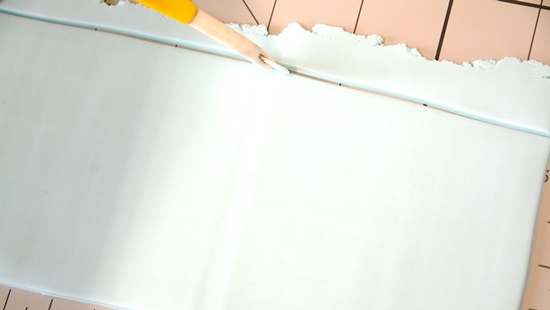
Step 10
Roll in to a thin sheet for making an elongated piece that will form her skirt. Cut into an elongated rectangle using a cutting wheel or a pizza cutter.
.
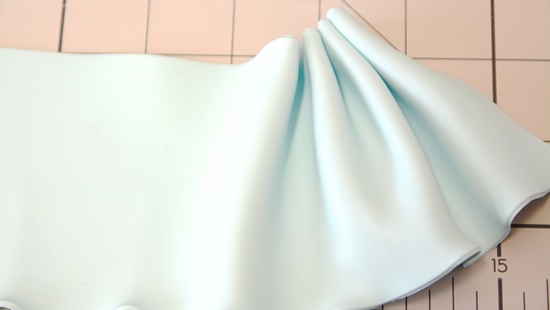
Step 11
Start gathering from one end.
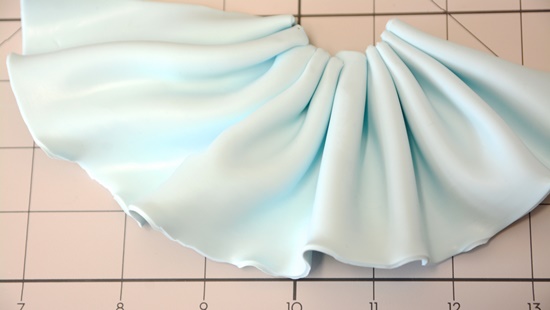
Step 12
Slightly pinch while gathering to form a nice frilly skirt.
.
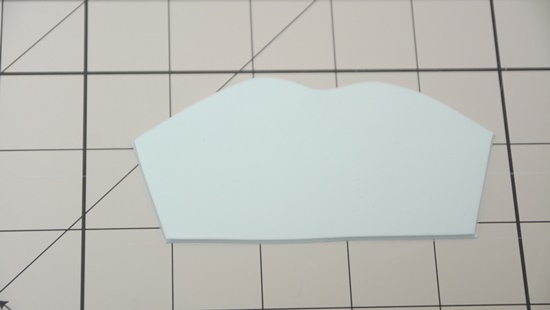
Step 13
For the top of the dress, cut a sweetheart centred shape that tapers from both ends
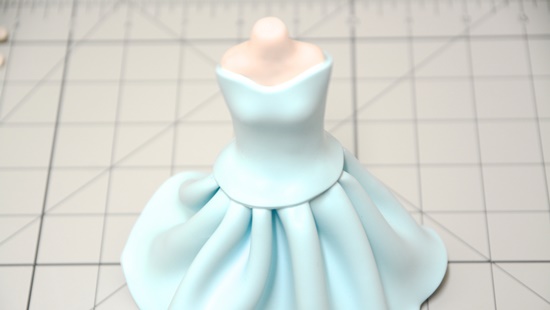
Step 14
Place the body on the styrofoam cone and glue the skirt around the waist. Blend the top onto the body and smoothen the seams.
.
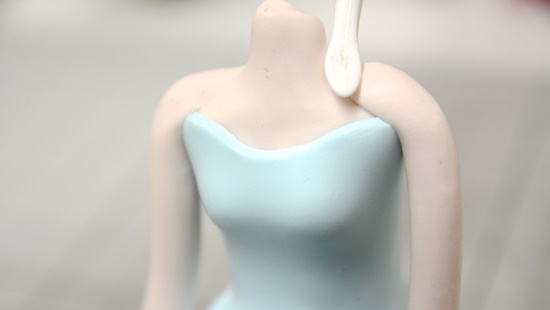
Step 15
Join in the hands and blend it at the shoulders.
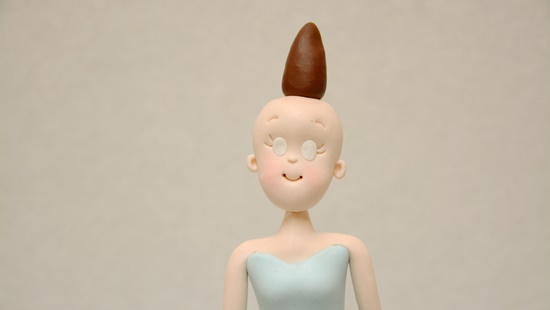
Step 16
Model a small drop shape in brown and place it on top of the head.
.

Step 17
Now for the hair, roll a thin string with tapering ends and swirl the tapered end.

Step 18
Start gluing the hair with the think end at the bottom and the swirls at the top.
.
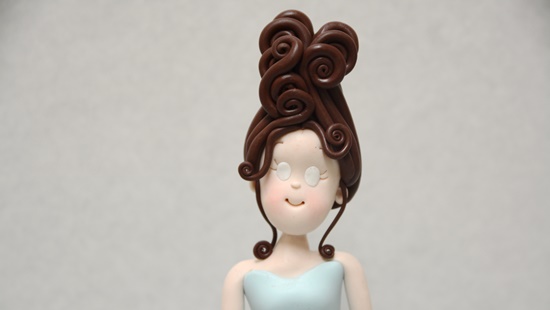
Step 19
Continue in the similar manner all around the head until you are happy with the look of your fairy
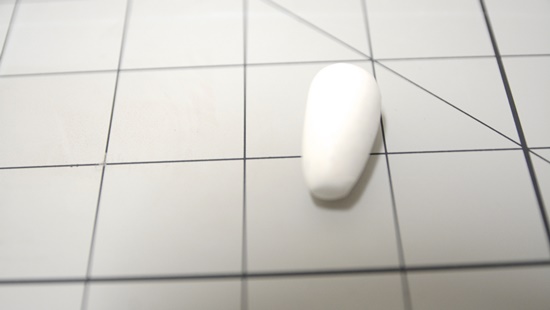
Step 20
For making tiny tooth roll a drop shape in white and flatten a bit at the pointy end
.
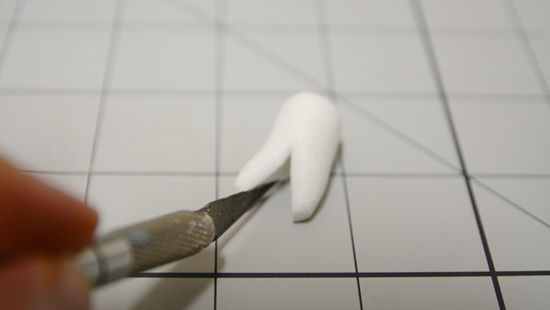
Step 21
Using a sharp knife slit in the middle of the thin end
Step 22
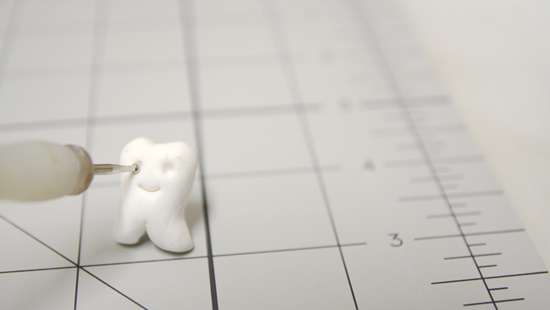
Smooth it forming a small tooth shape. Using a ball tool mark the eyes and a small smile.
.
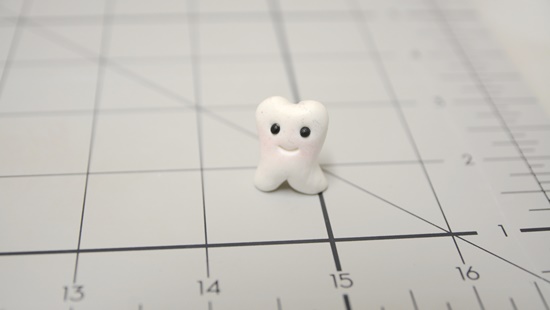
Step 23
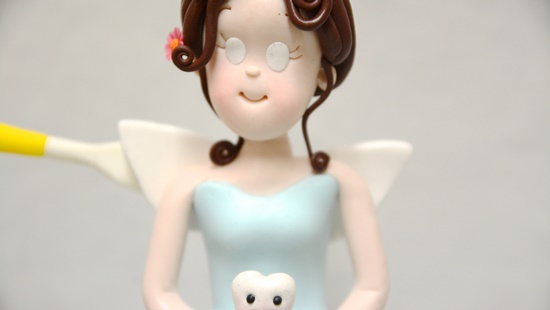
Add tiny black eyeballs and blush the cheeks with pink dust, make one more in the similar manner.
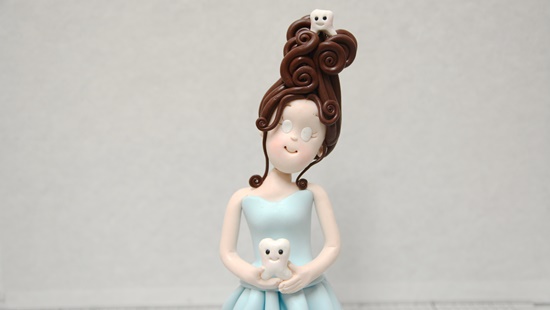
Step 24
Place one tooth onto her hair and the other in her hands. At this stage you can even write your little ones name on the tooth using a small brush or even paint the tooth golden and write a letter beside saying that the tooth fairy has magically turned the tooth into a golden one!
.
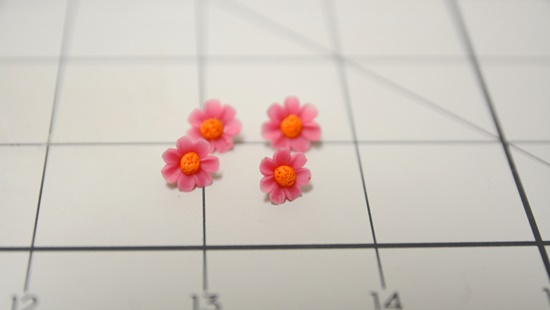
Step 25
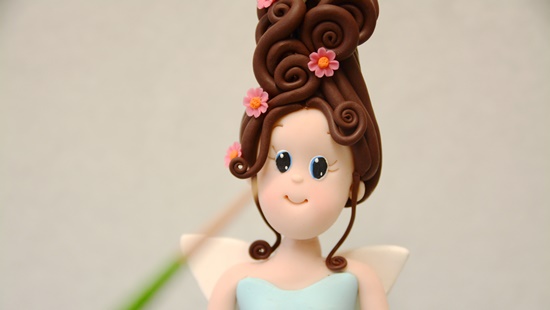
Make tiny flowers of your choice to embellish.
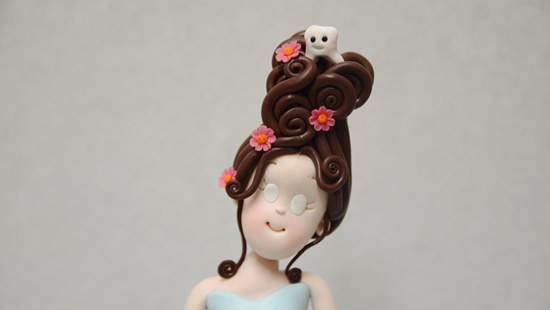
Step 26
Place the flowers on her hair.
.
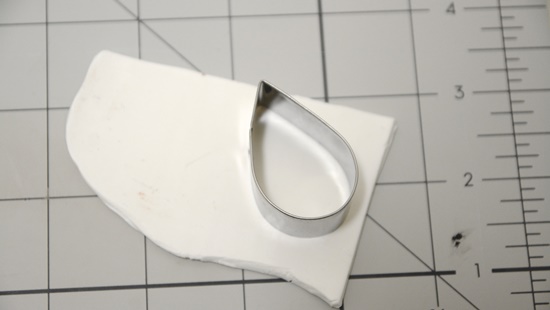
Step 27
Now for the fairy wings roll a slightly thick sheet of white sugar paste and using a drop cutter cut out two wings.
Step 28
Glue the wings at the back.
.
Step 29
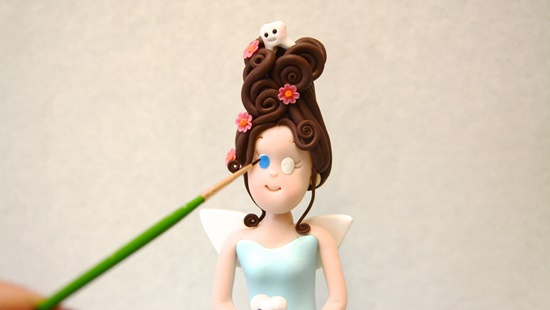
Paint the eye balls with a blue base coat
Step 30
Now paint the pupils in black and add two tiny white dots, also blush her cheeks a little with pink dust.
.
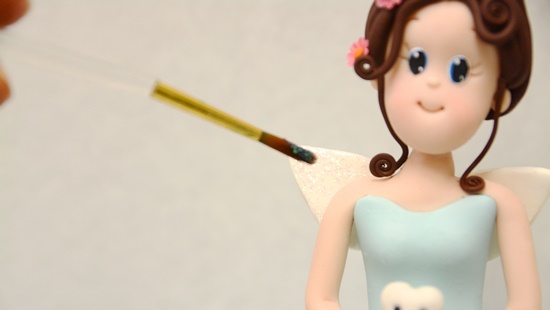
Step 31
Now mix edible glitter with a little bit of glue and paint the wings to get a shiny effect. Also paint some hair strands with glitter
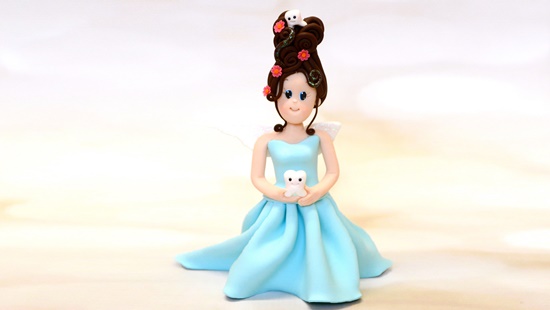
Step 32
Now your tooth fairy is all ready to go on top of your cakes!
.
